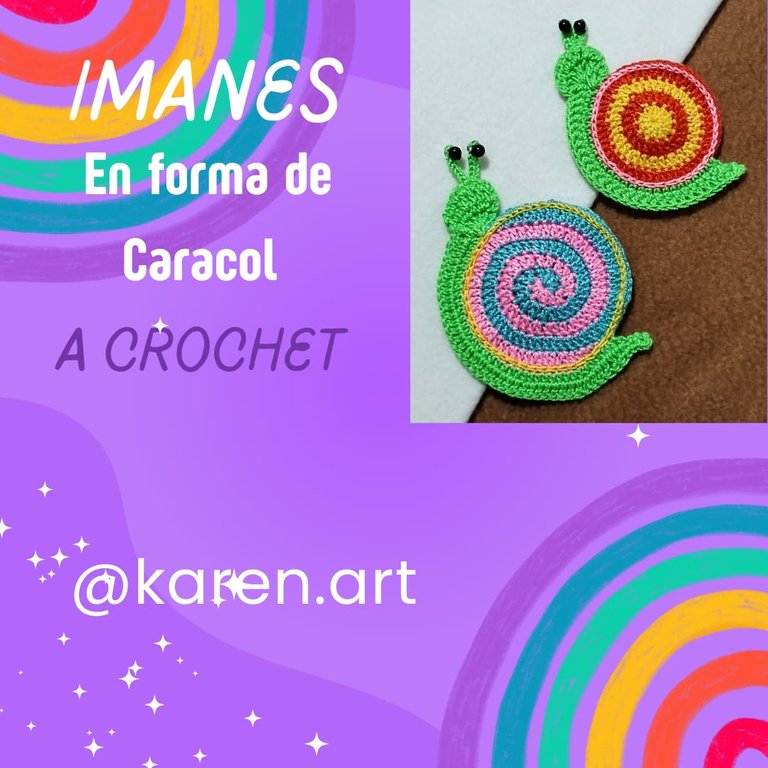
| Small crocheted snails with magnets. | Pequeños caracoles a crochet con imanes. |
|---|---|
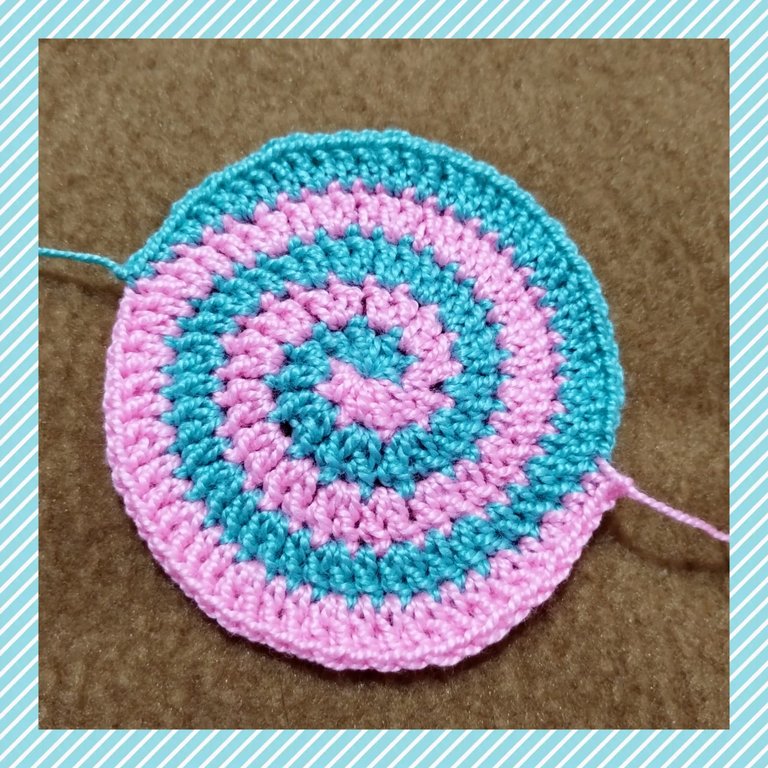
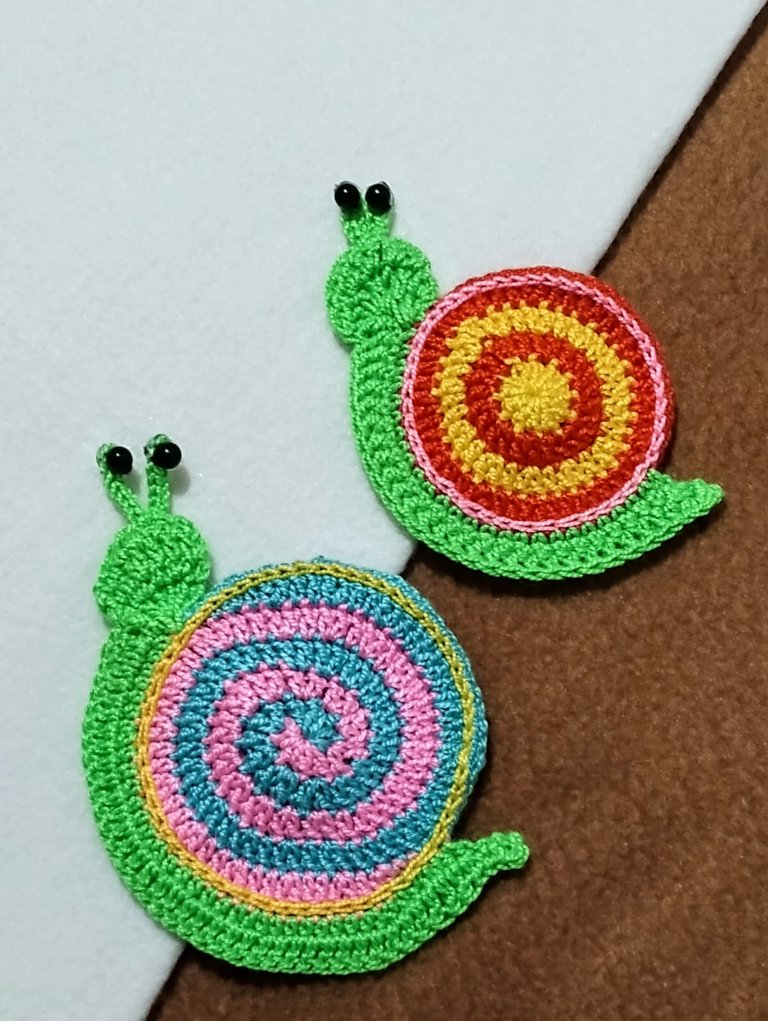
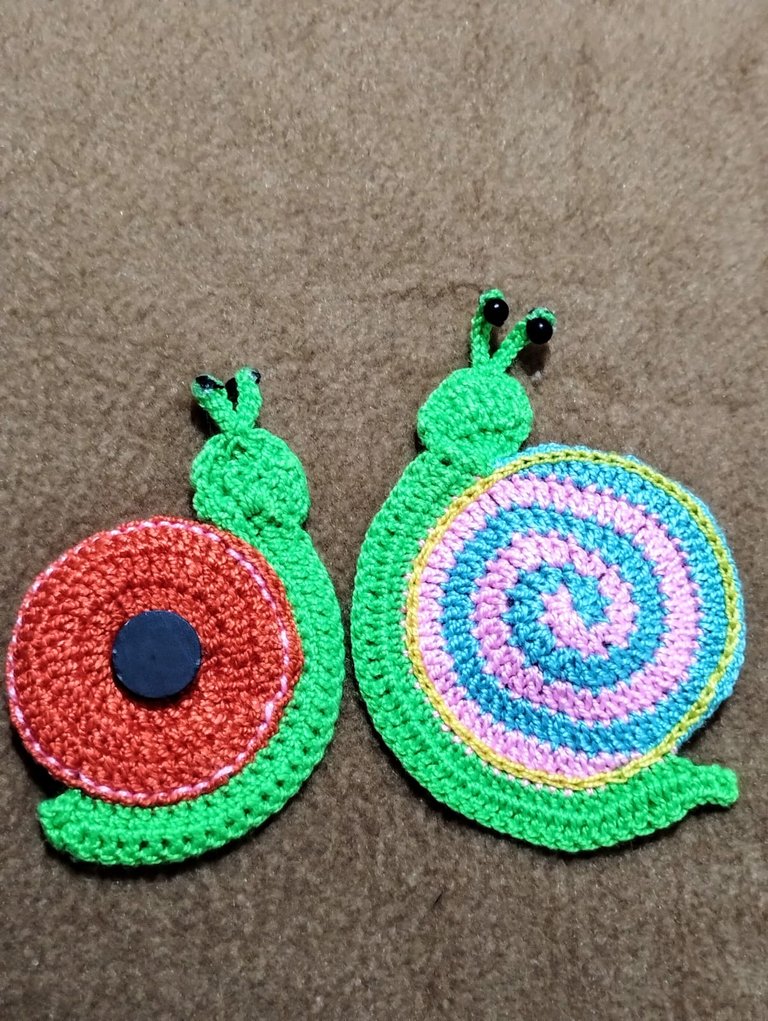
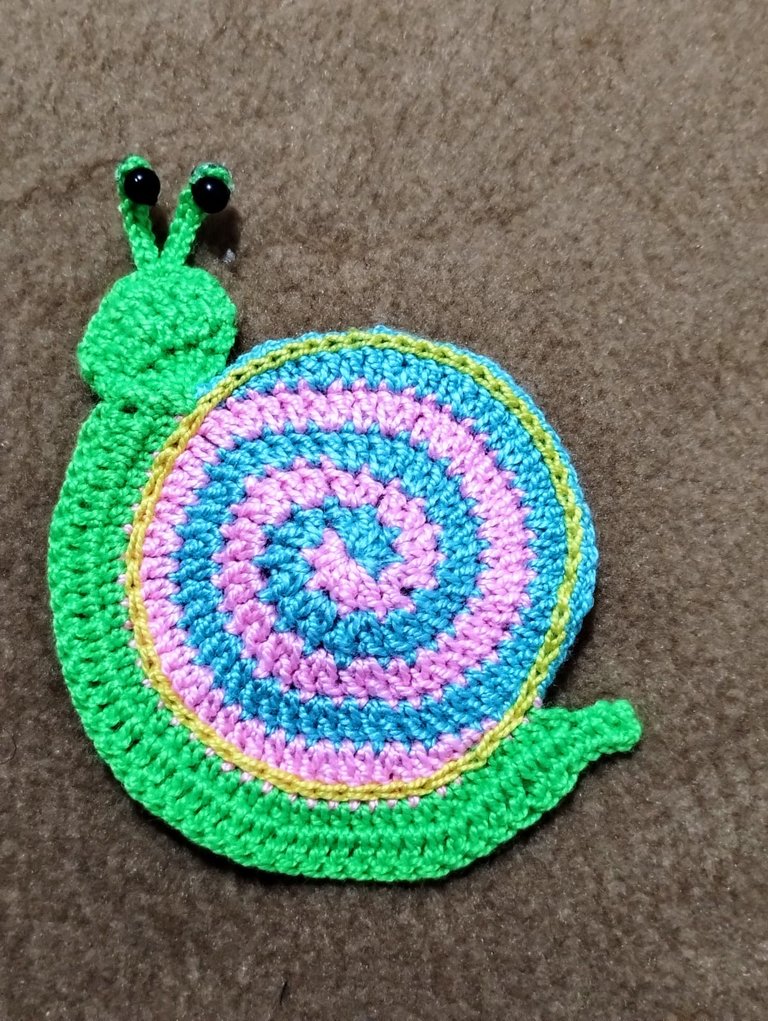
Snails can be very inspiring creatures, especially because of their eye-catching shells. Today I made some cute magnets inspired by these little animals and I found them fascinating because their shape allows you to play with colors. I made one with the snail in the shape of a spiral and one in the shape of a circle with multiples of 6 with color changes at each turn. | Los caracoles pueden ser criaturas muy inspiradoras en particular por sus llamativas corazas. Hoy realicé unos tiernos imanes inspirados en estos pequeño animalitos y me resultó fascinante porque su forma permite jugar los colores. Realicé uno con la caracola en forma de espiral y uno de la forma que haría un círculo con aumentos múltiplos de 6 con cambios de color en cada vuelta. |

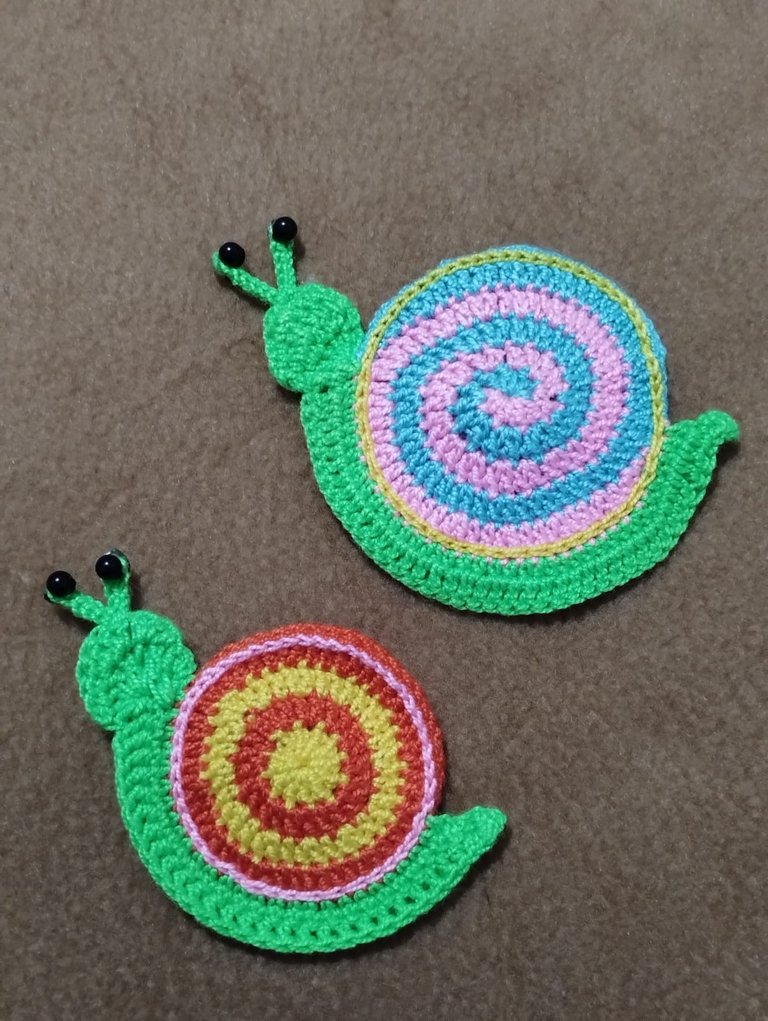

In this post I will share with you how to make the spiral shape, since the other one is not very complicated, and although this one is also very simple to make, once you get the hang of it, it is necessary to explain it in detail. | En este post les compartiré cómo realizar el de forma en espiral, ya que el otros no tiene mayor complicación, y aunque esté también es muy sencillo de realizar, una vez que se agarra el truco, es menester explicarlo a detalle. |

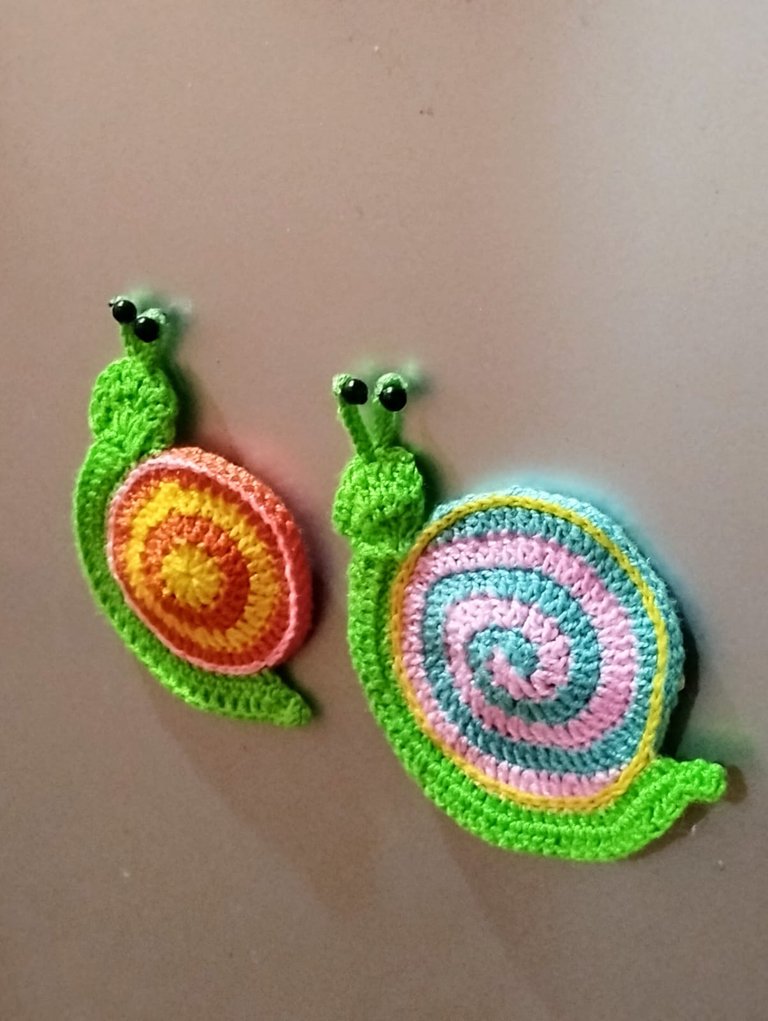

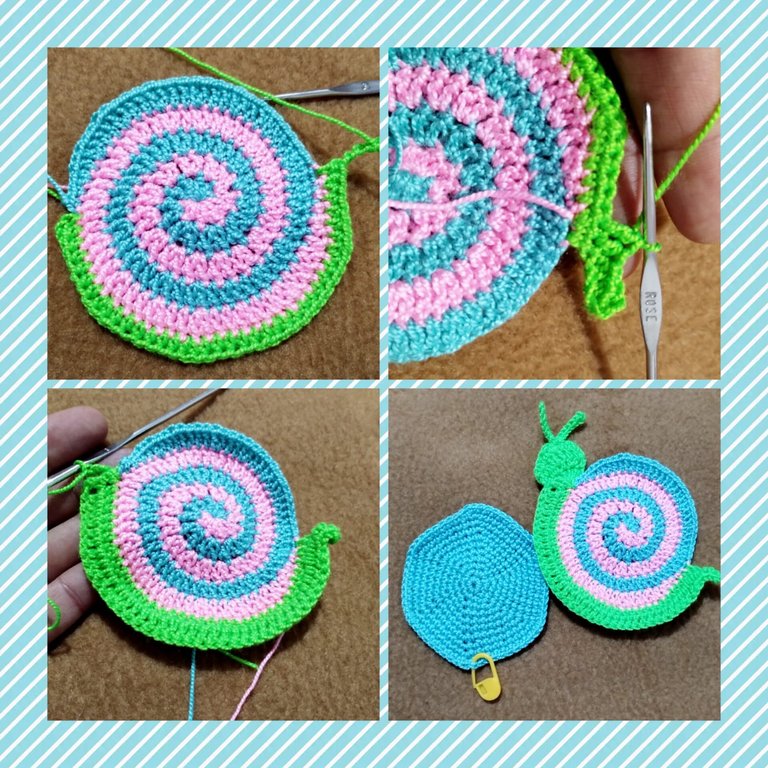
In a magic ring we make a low stitch, a medium high stitch and two high stitches with one color. In the same magic ring we make the same pattern of stitches, but with another color. Without cutting the yarns, we pull the slipped yarn of the magic ring to adjust the fabric and we get a kind of bow. | En un anillo mágico realizamos un punto bajo, un punto medio alto y dos puntos altos con un color. En el mismo anillo mágico realizamos el mismo patrón de puntos, pero con otro color. Sin cortar los hilos, tiramos del hilo corredizo del anillo mágico para ajustar el tejido y queda una especie de moño. |

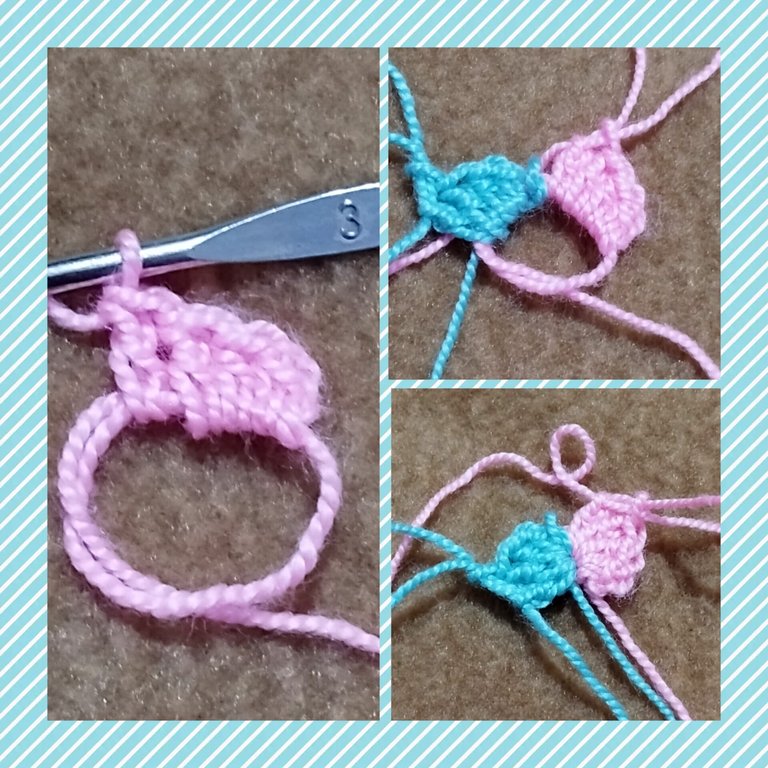

In the next turn, we make an increase in each stitch and we will have 16 high stitches and we go forward on the other color's side with an increase in each stitch and we will also have 16 high stitches. | En el siguiente giro, realizamos un aumento en cada punto y tendremos 16 puntos altos y vamos avanzando del lado del otro color con un aumento en cada punto y también tendremos 16 puntos altos. |

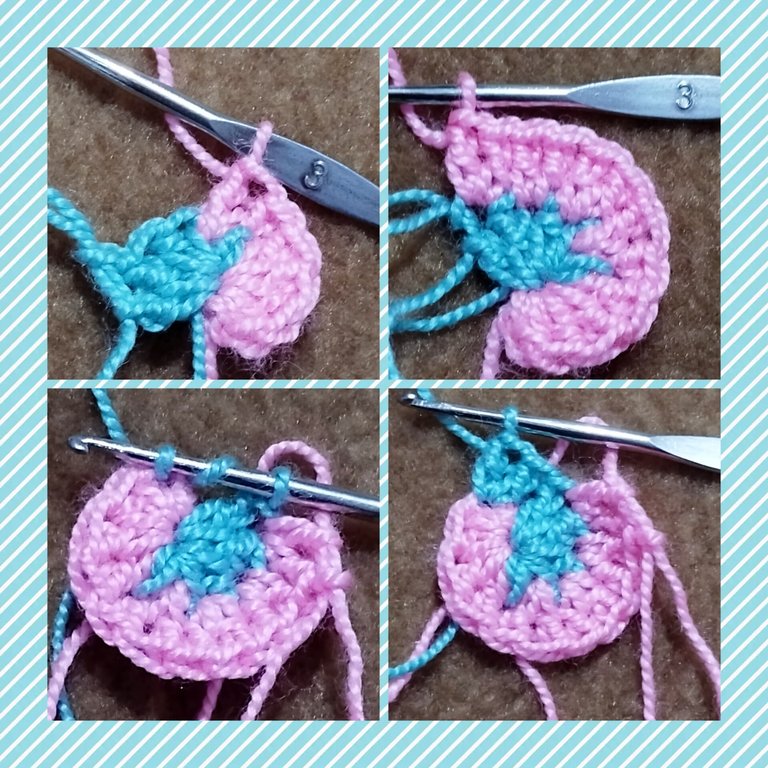

In the next turn we have to increase to 24 high stitches for each color. We achieve this by making a high stitch and an increase until we complete the total of 24 stitches. Each time we complete a turn, in the next one we will make an increase multiple of 8, since at the beginning we started with 8 stitches, 4 of each color. In this sense, in the next turn it is necessary to make 2 double crochet stitches and one increase until we reach 32 stitches with each color. | En el siguiente giro hemos de aumentar a 24 puntos altos por cada color. Esto lo conseguimos realizando un punto alto y un aumento hasta completar el total de 24 puntos. Cada vez que completamos un giro, en el siguiente haremos un aumento múltiplo de 8, ya que al principio comenzamos con 8 puntos, 4 de cada color. En este sentido, en la siguiente vuelta corresponde realizar 2 puntos altos y un aumento hasta llegar a 32 puntos con cada color. |

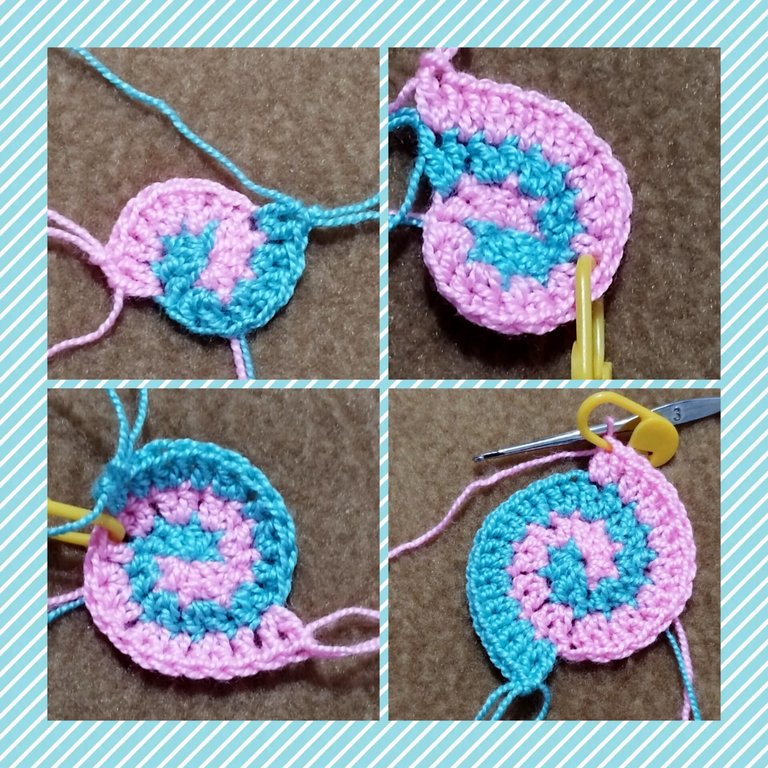

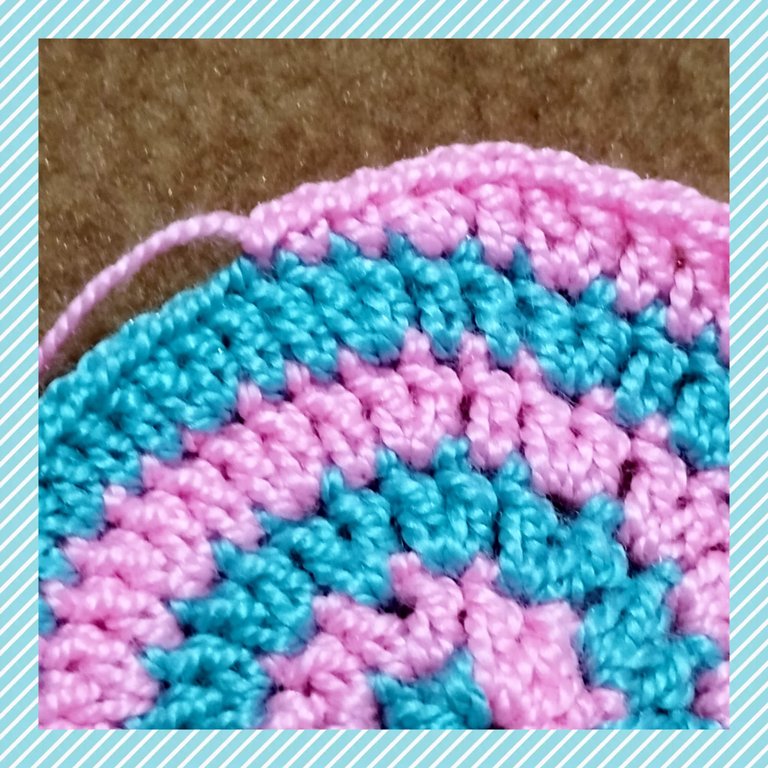
We make as many rows as we wish, keeping in mind the principle of increases corresponding increases. To close, knit a double crochet, an increase of half double crochet, two single crochets and a slip stitch. Repeat with the opposite color. | Realizamos tantas vueltas deseamos teniendo en cuenta el principio de aumentos correspondientes. Para cerrar realizamos un punto alto, un aumento de medios puntos altos, dos puntos bajos y un punto deslizado. Repetimos con el color opuesto. |



For the body of the snail, we change to green yarn and cast on a row of 30 half double crochet stitches, which covers approximately half of the shell. Then we knit 4 chain stitches and return in the knitting all over this base with high stitches. We knit the head and also the eyes. For the back part, we knit a circle that fits the size of the shell. We join the parts with chain stitches. | Para el cuerpo del caracol cambiamos a hilo verde y realizamos una hilera de 30 puntos medios altos que abarca aproximadamente la mitad del caparazón. Luego realizamos 4 puntos de cadena y retornamos en el tejido por toda esta base con puntos altos. Tejemos la cabeza y también los ojos. Para la parte de atrás, tejemos un círculo que se ajuste al tamaño del caparazón. Unimos las partes con puntos de cadena. |


The last thing left is to glue the magnets with silicone and place them on the fridge door or on any metal surface, as a paperweight. That's all, friends. Thanks for joining me on my blog. Blessed day. | Lo último que queda es pegar los imanes con silicón y colocarlos en la puerta de la nevera o sobre cualquier superficie metálica, a modo de pisapapeles. Es todo amigos. Gracias por acompañarme en mi blog. Bendecido día. |




Imágenes editadas en: inshot
Fotos tomadas con MOTOROLA G 32

Images edited in: inshot
Photos taken with MOTOROLA G 32

Me encantaron estos caracoles te felicito
Gracias, mi bella.
Feliz tarde.
Sending you an Ecency curation vote!
Thank you for your support.
Best regards.
It is my pleasure!
!INDEED
Hello @karent.art , those carolcoles are beautiful
Thank you very much.
Regards.
Super lindos y tiernos. Se ven muy sencillos de elaborar, gracias por compartir. Saludos 🤗
Ay amiga, me costó agarrarle el truco a los aumentos porque me quedaba cóncavo, pero ya después se hace muy fácil.
Gracias querida Katty, por tu comentario.
Bendiciones.
Ay amoooo, que lindo los oclores y la ternura que transmite.