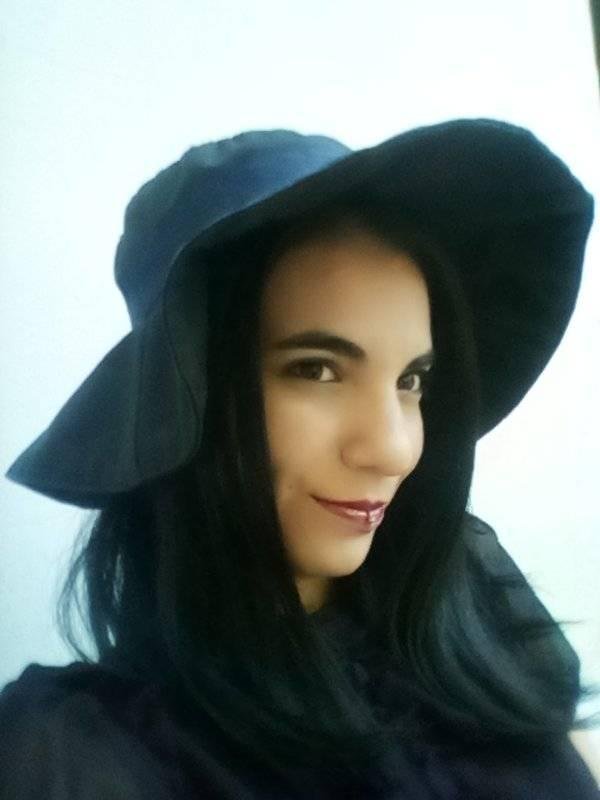
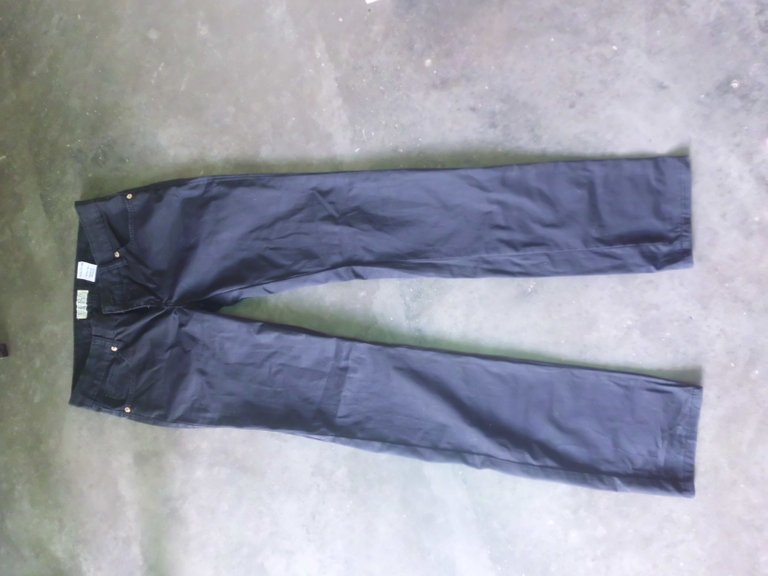
Greetings, I've wanted to make a hat for myself for a long time but I didn't have time, taking advantage of the closet cleaning I found some black pants that I didn't usually wear, that's why I decided to recycle the trouser fabric and make my hat . Here I share the step by step.
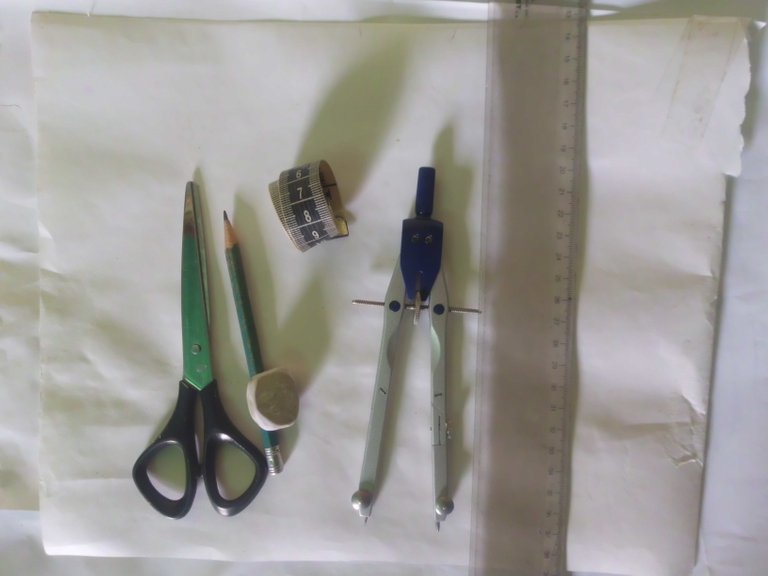
Materiales / Materials
Tela reciclada
Entretela, yo usé POP no tejido
Tela para forro
Una cinta para decorar
Papel de reciclaje
Tijeras
Cinta métrica
Regla recta y regla para hacer curvas o en su defecto un compas y buen pulso jeje
Alfileres
Hilo y aguja o máquina de coser
Lápiz o color para marcar la tela
Recycled fabric
Interlining, I used non-woven POP fabric
Fabric for lining
A ribbon to decorate
Recycling paper
Scissors
Measuring tape
Straight ruler and ruler to make curves or failing that, a compass and a good pulse hehe
Pins
Thread and needle or sewing machine
Pencil or color to mark the fabric
Proceso/ Process
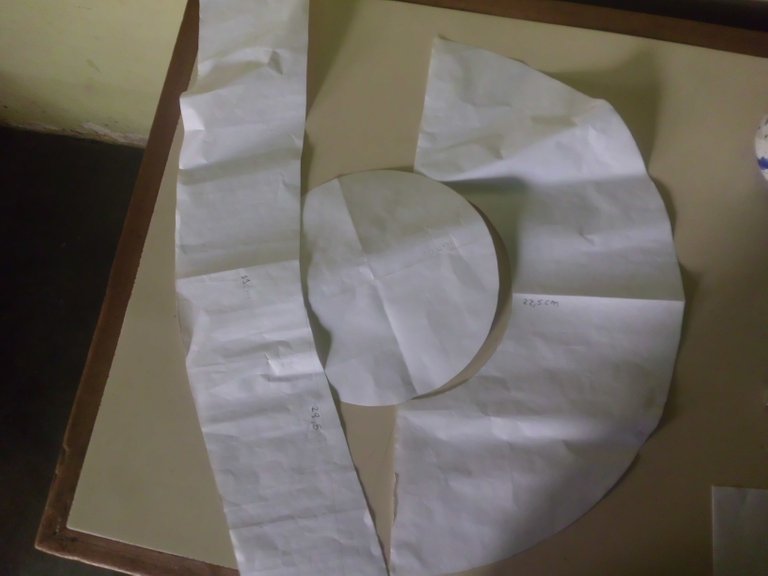
The first thing I did was measure the circumference of my head, it measured 57 centimeters and based on this measurement I set out to make the paper molds as follows:I folded the paper and drew a rectangle 29.5 centimeters long and 11 centimeters high.On the side of the paper that is not folded, I measured 3.5 centimeters up.In the upper corner I extended the vertical line 3.5 centimeters upwards and from there I measured 2 centimeters horizontally.
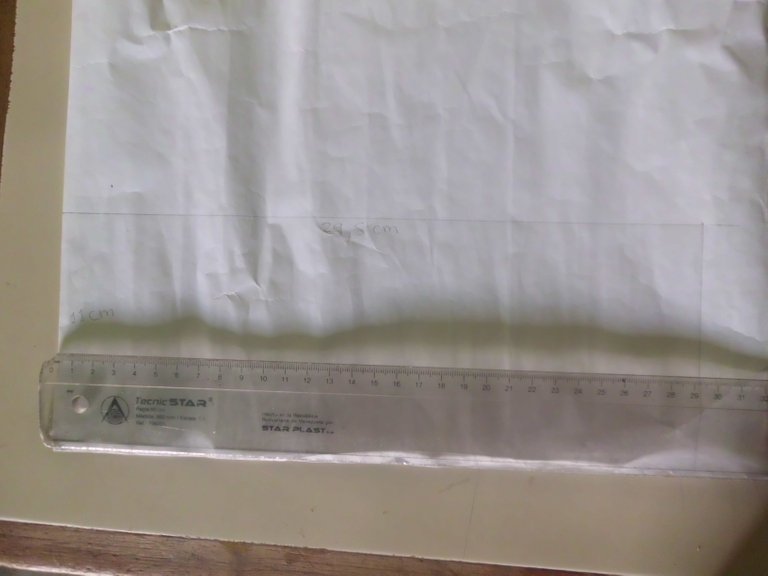
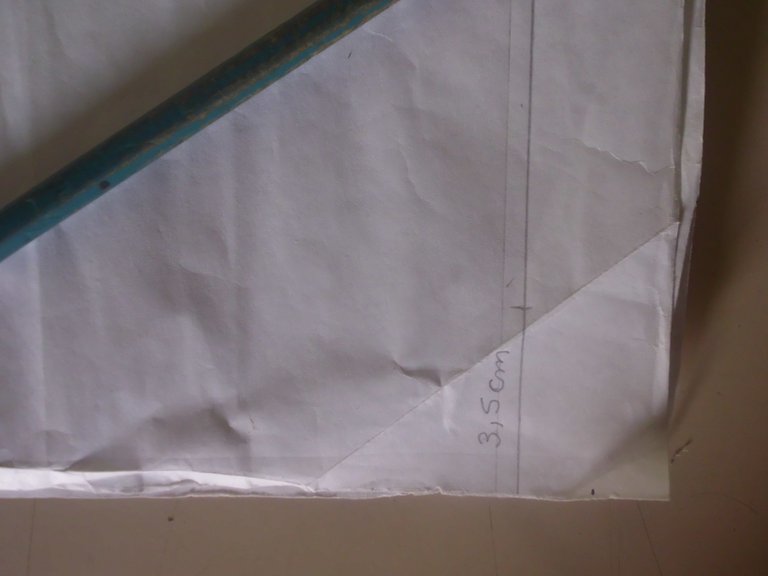
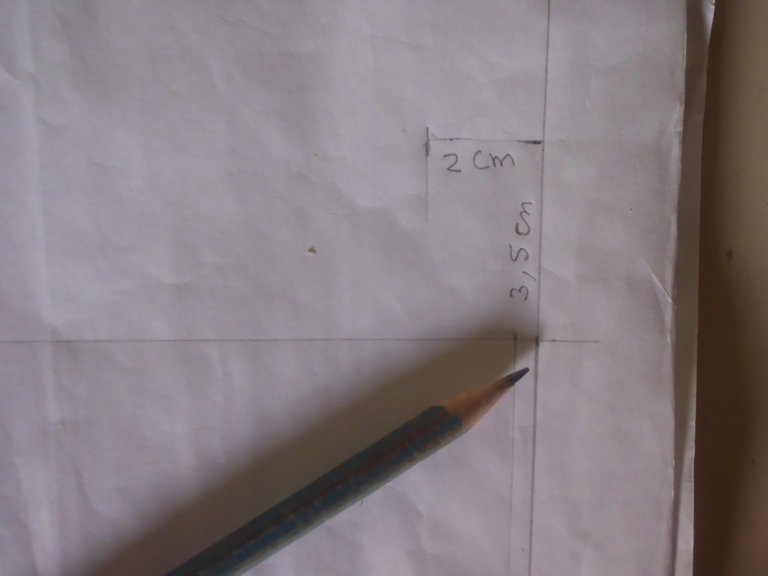
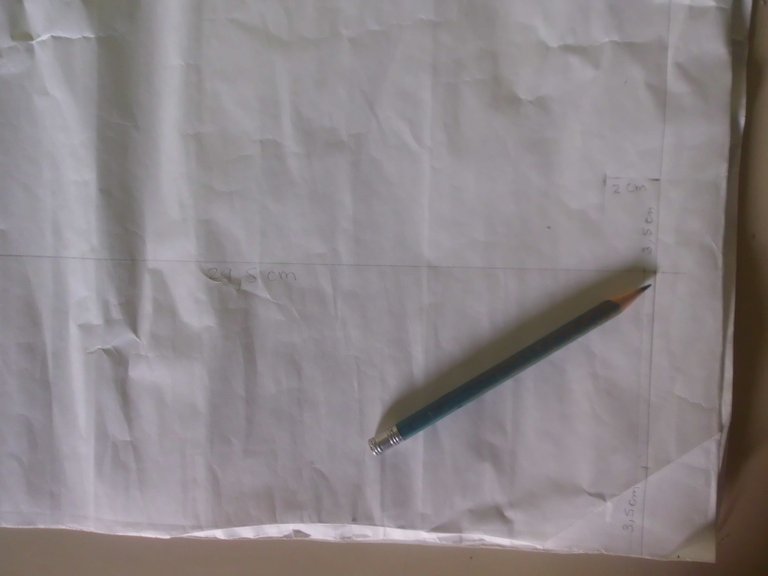
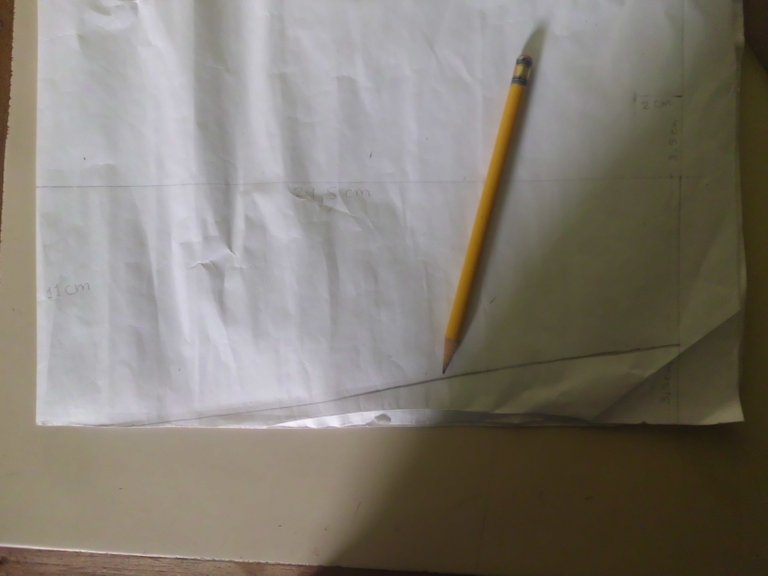
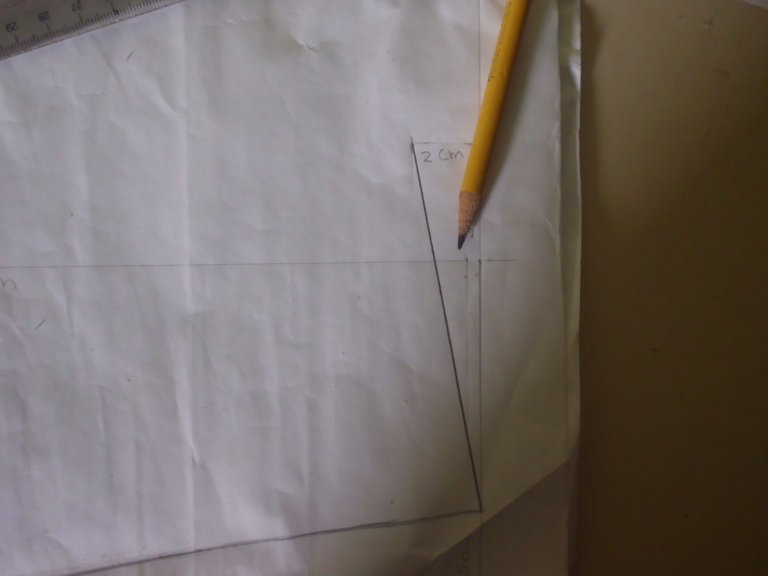
From the bottom corner of the folded side of the paper I traced a smooth curve to the point located 3.5 centimeters up.From the bottom corner I drew a straight line to the point 2 centimeters forward.From the top corner of the folded side of the paper, I traced a smooth curve to the point located 3.5 centimeters up.I cut out the mold with scissors
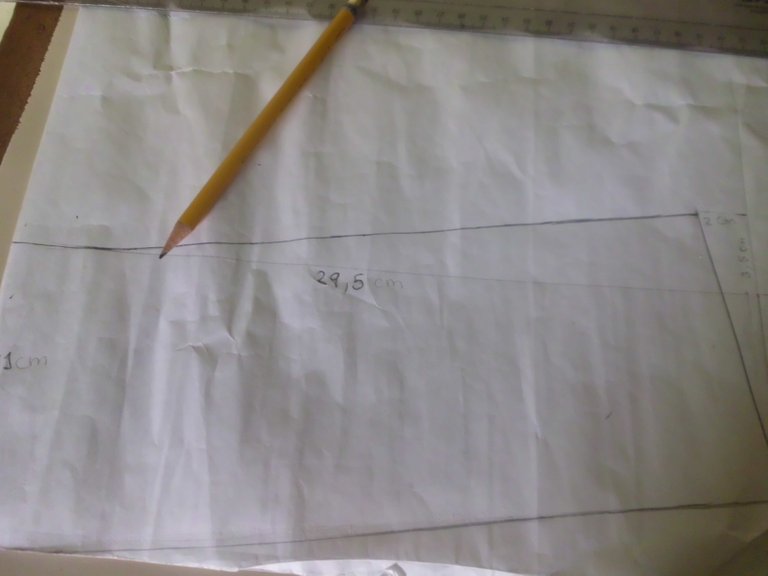
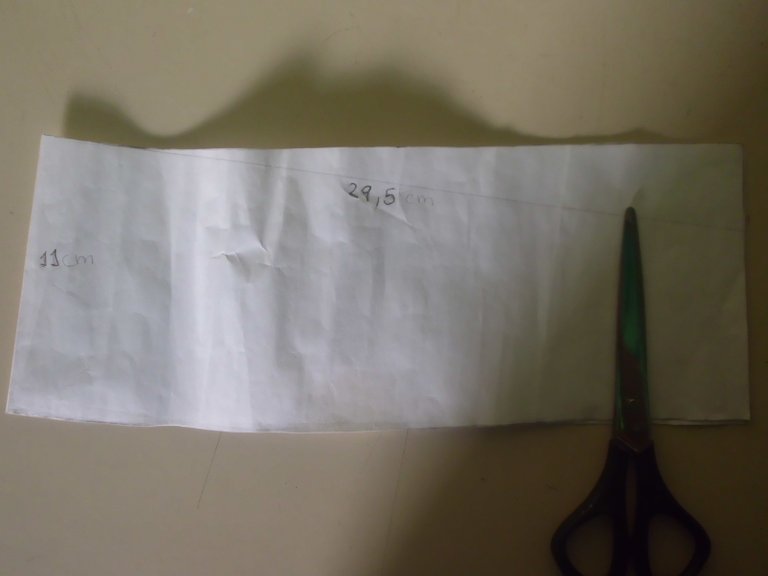
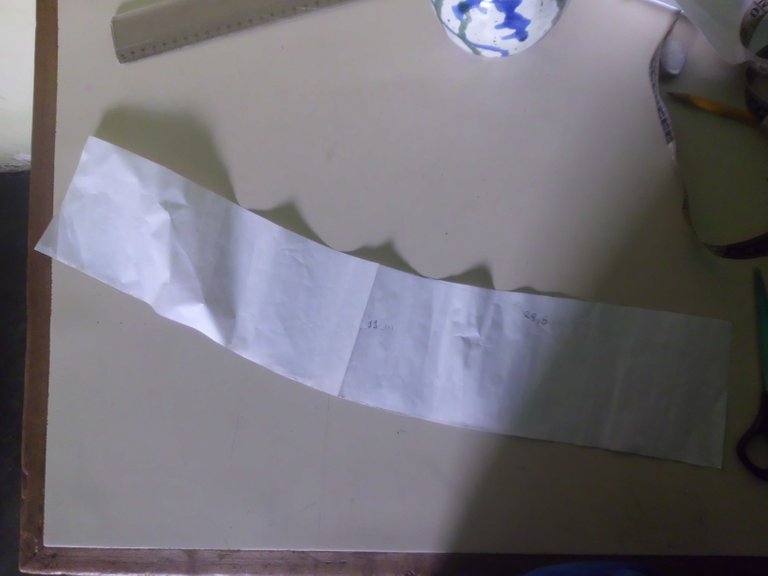
I folded the paper in 4 parts and from the central corner I measured 10 centimeters.I drew a circle with a compass.I cut with the scissors and got the mold for the top of the hat.
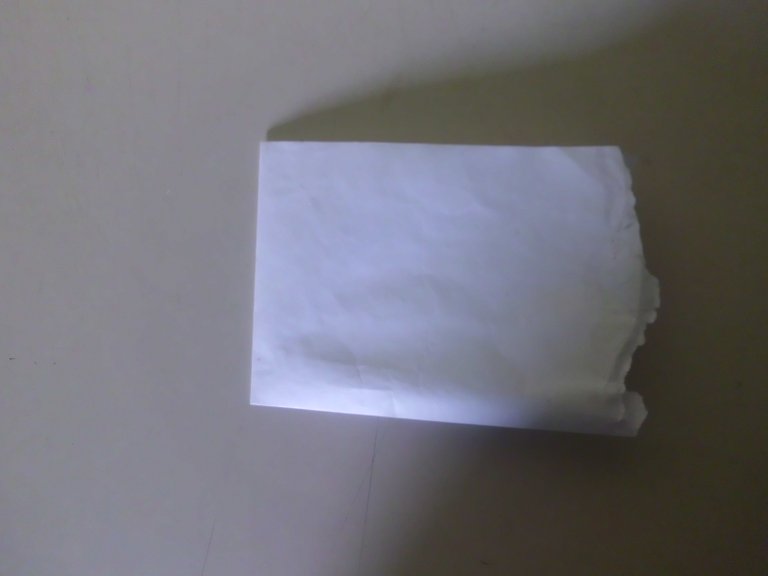
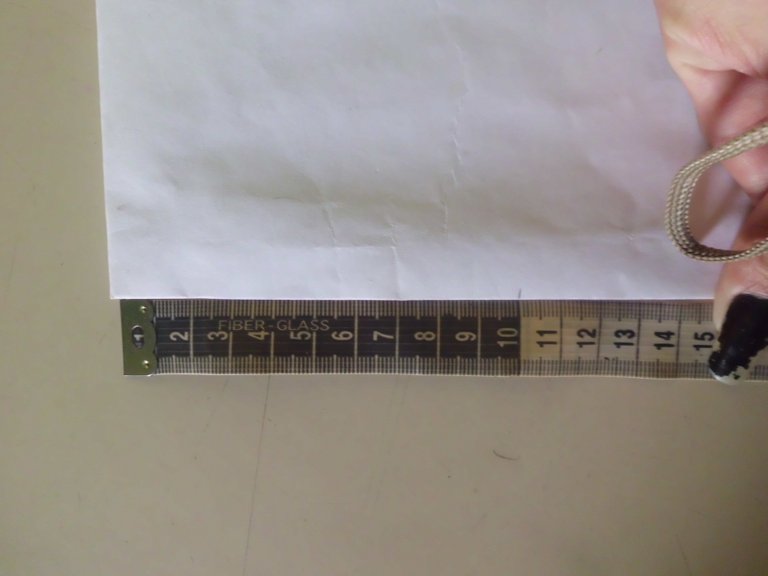
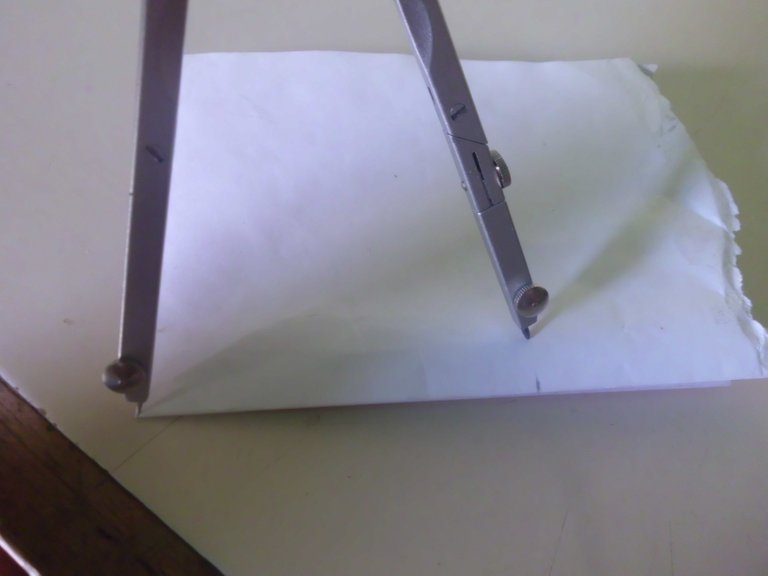
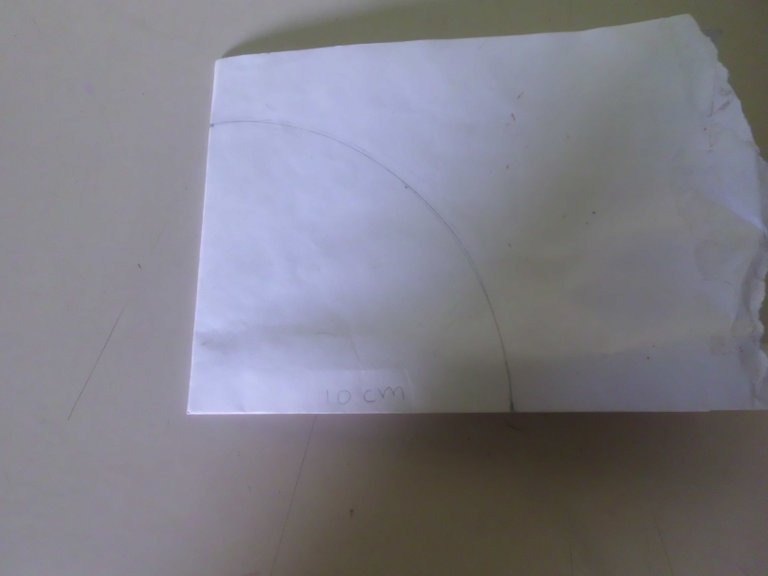
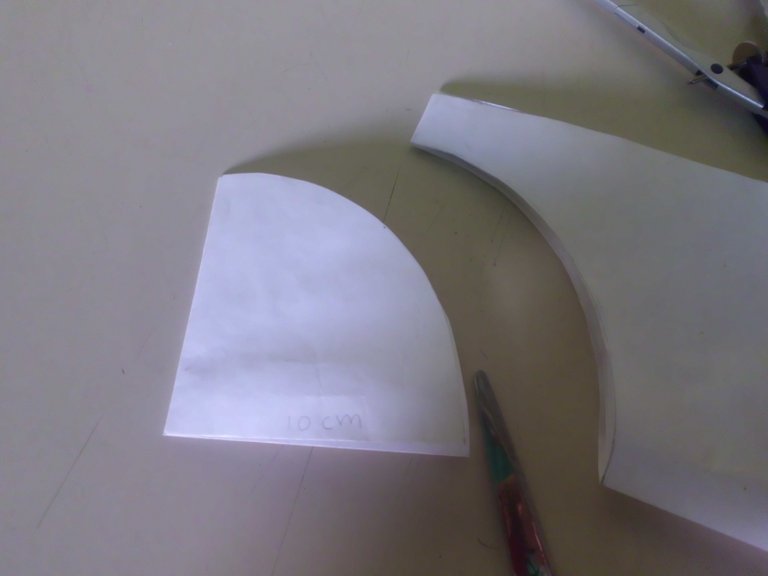
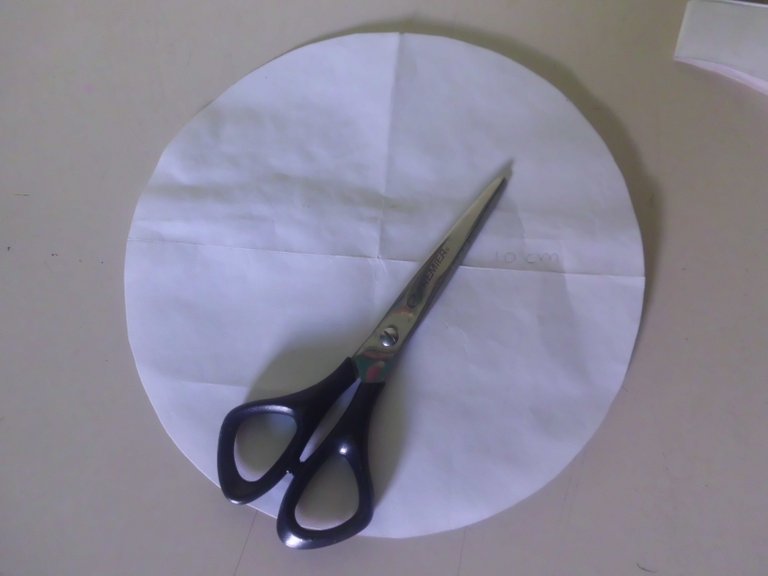
Fold the paper and measure 9 centimeters from the folded edge and trace a curve with the compass.I measured 22.5 centimeters and drew a curve. With the scissors I cut the paper to obtain the mold for the hat lapel.
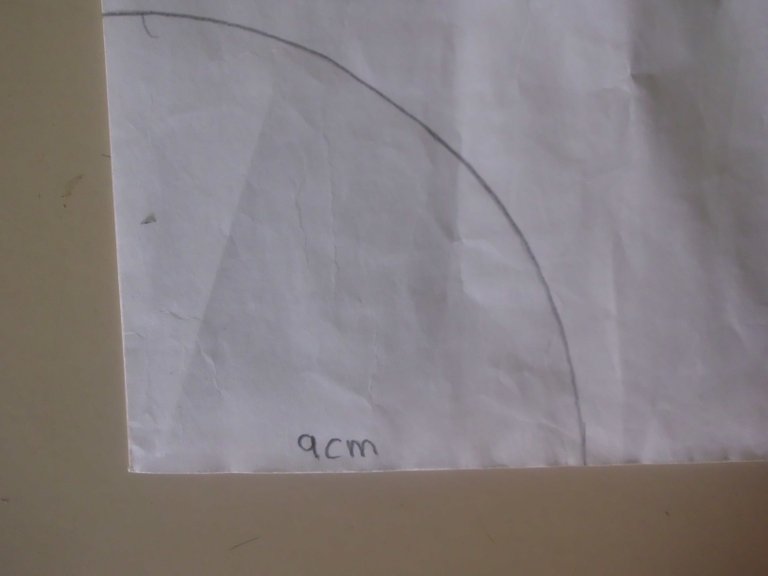
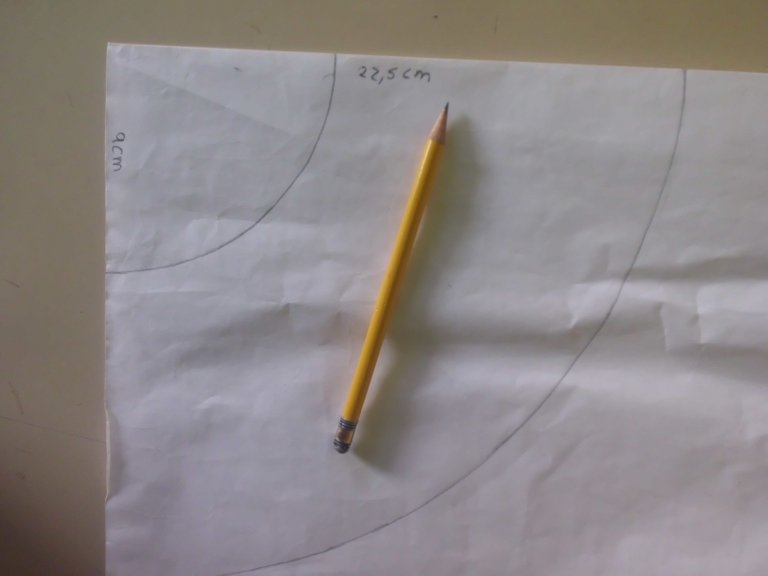
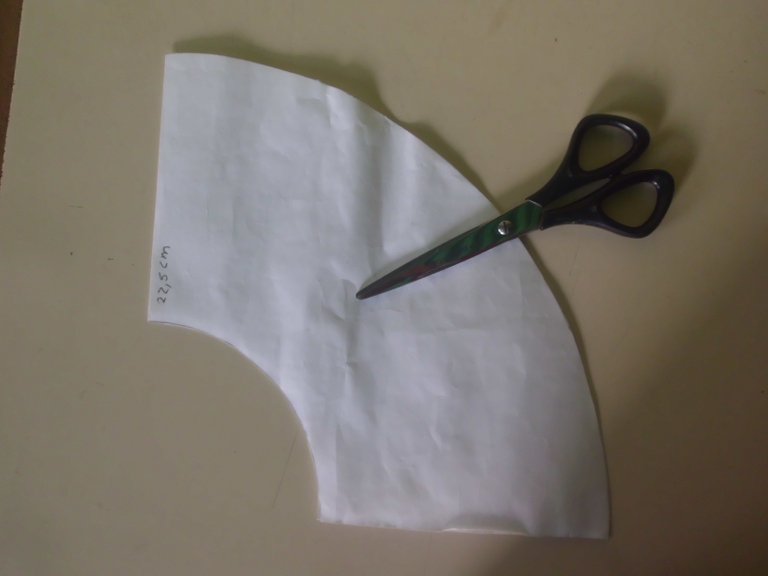
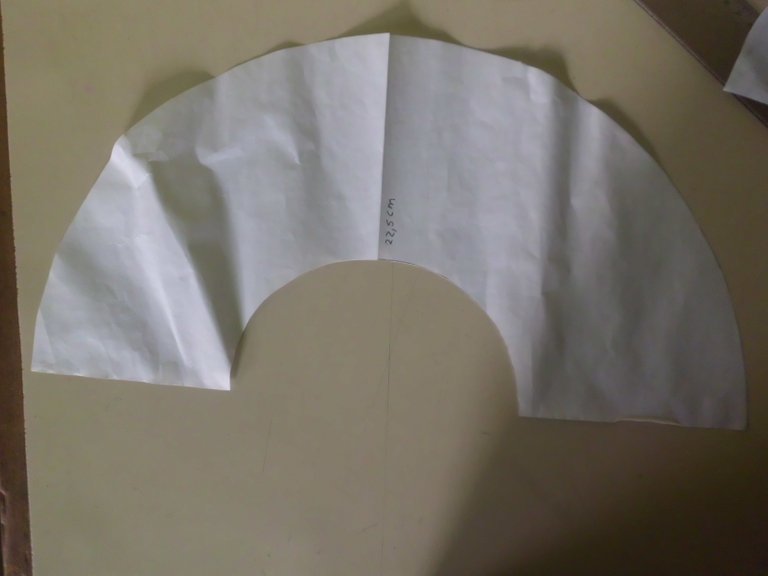
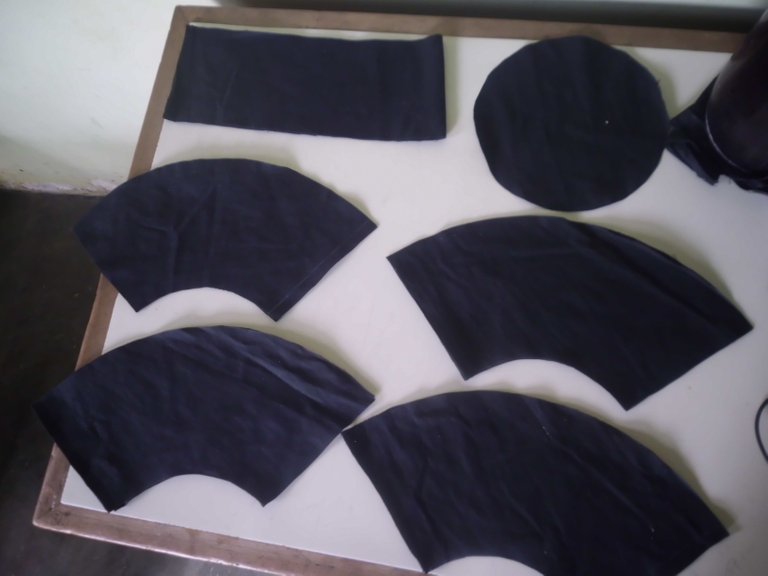
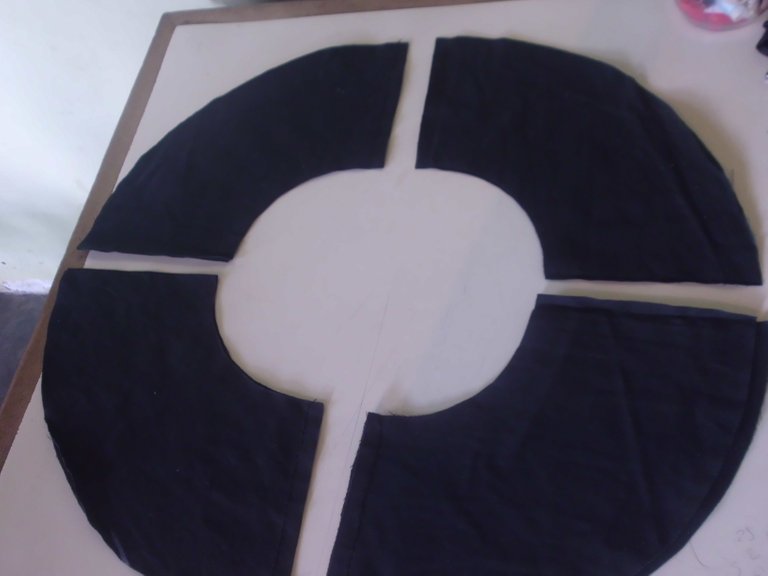
With the molds made, the next step was to cut the pants to extract the fabric. When I did it I realized that it was not wide enough to make the mold of the half flap so I decided to make half of said mold (later I would join the parts) that is to say that I cut the head mold, the cover mold and 8 Lapel mold parts instead of 4. In the photo they look like 4 because they are one on top of the other.
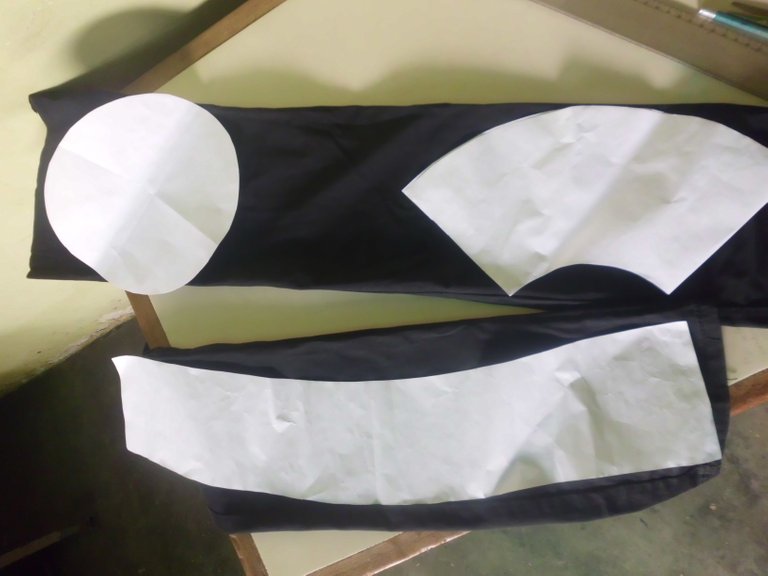
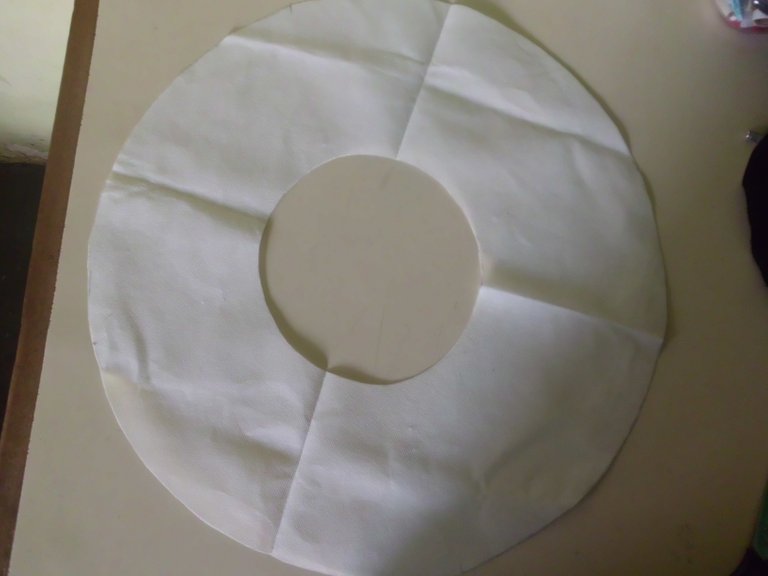
Then with the head and cap mold I measured and cut the interlining or POP fabric and the lining fabric. Both the Pop and the lining fabric had it saved from past projects so it was not necessary to buy fabric.
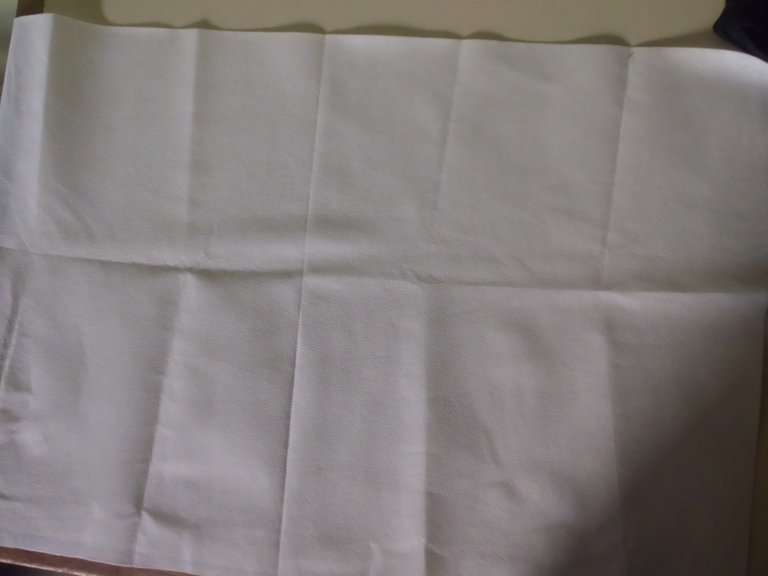
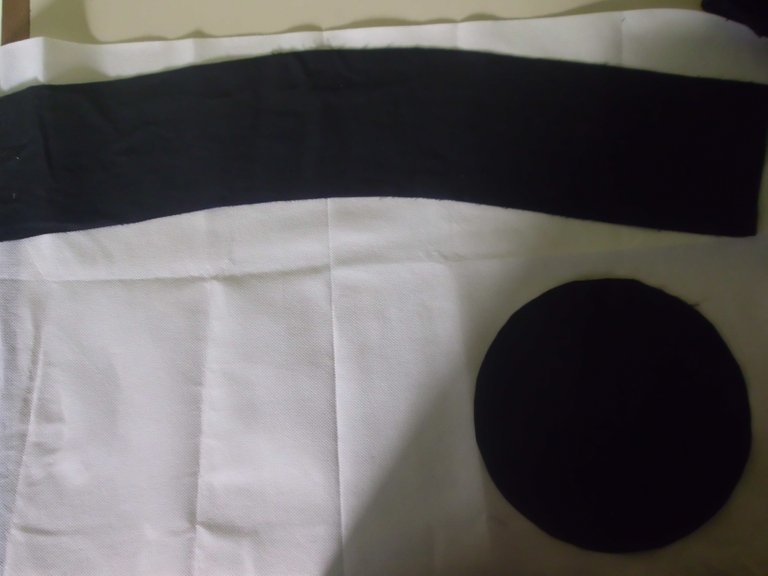
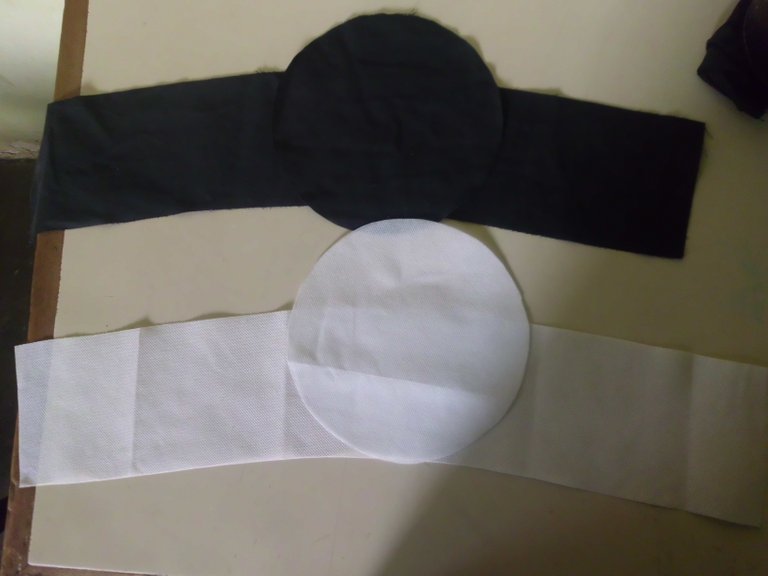
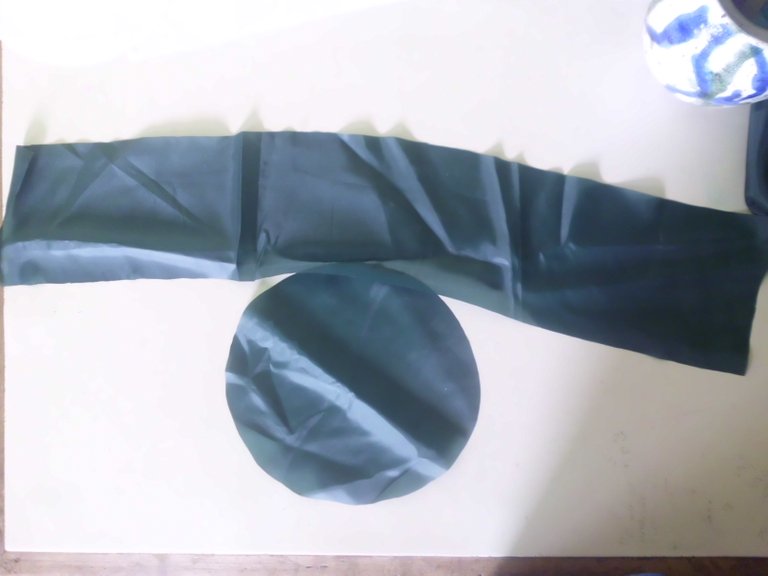
I laid the interfacing on top of the black fabric and secured with pins, traced the seam lines and sewed the side of the head first, then sewed the cap.
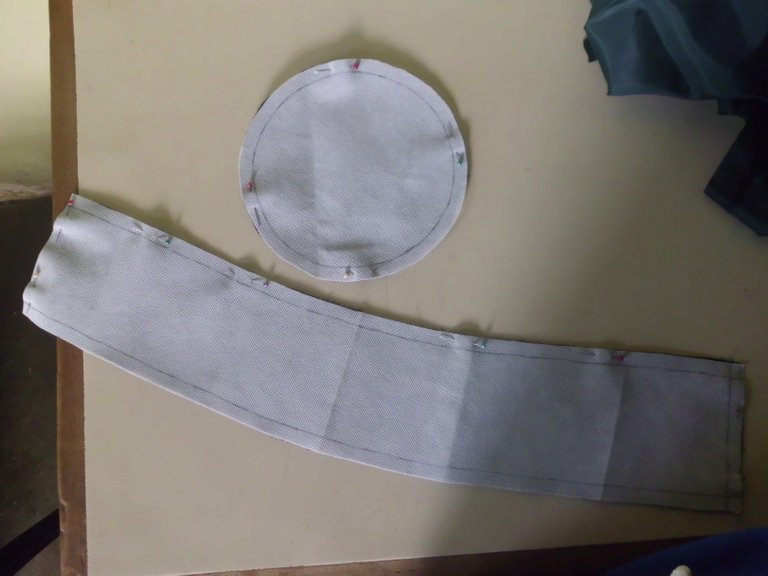
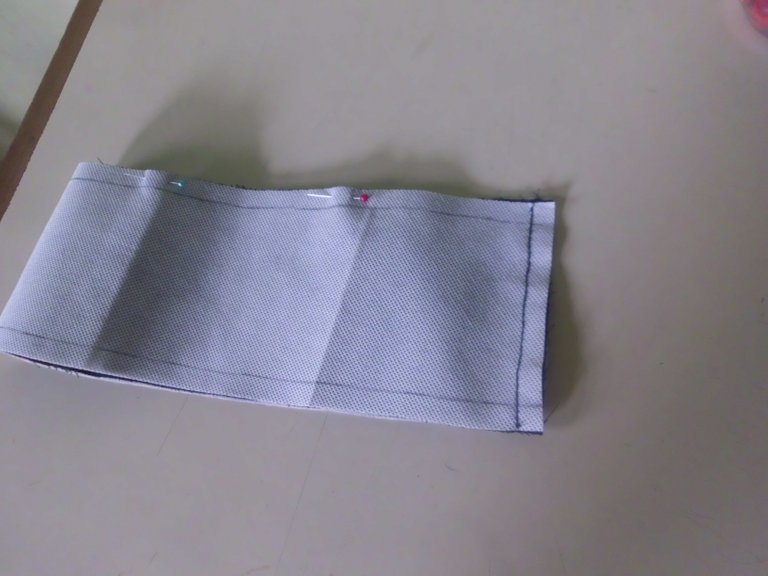
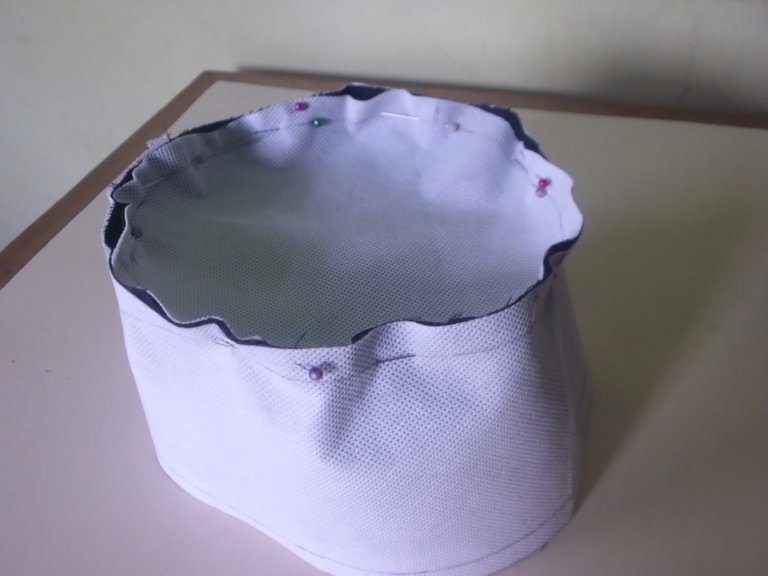
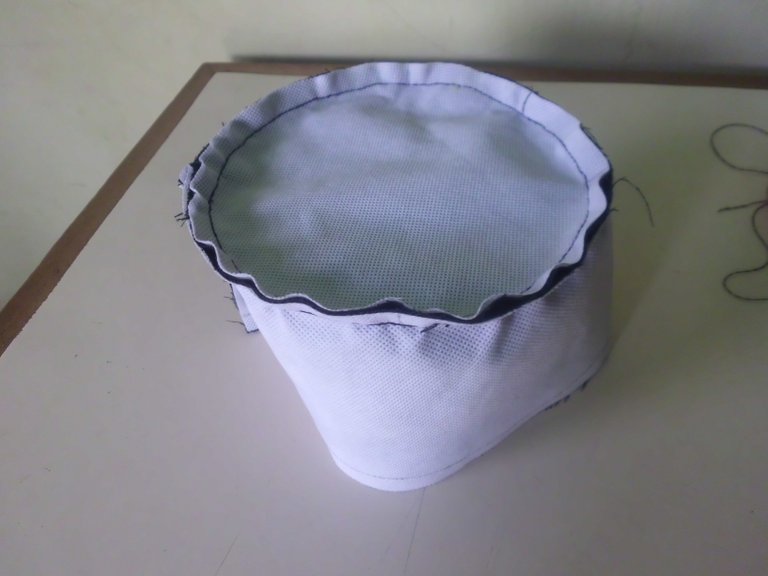
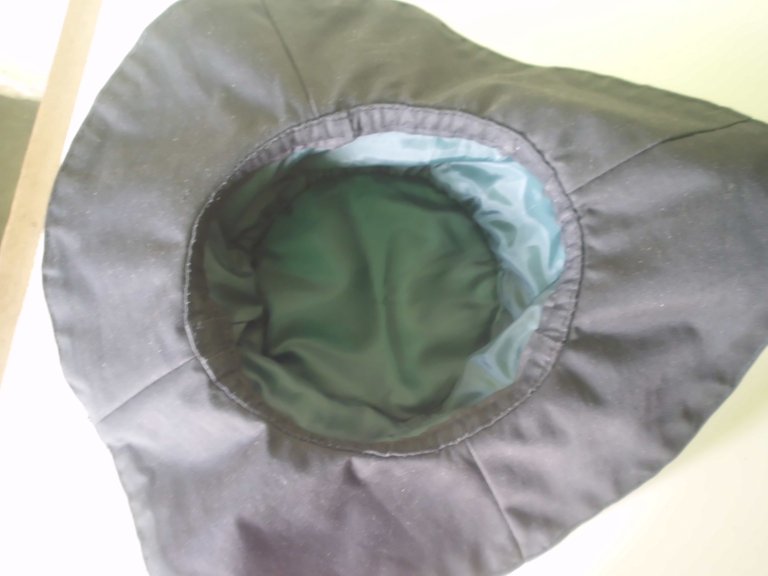
I sewed the lining in the same way and then sewed the lining to the inside.
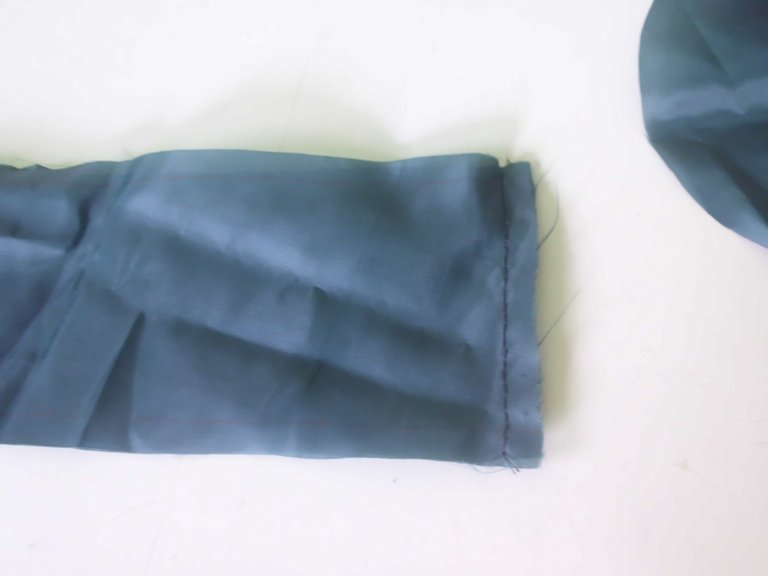
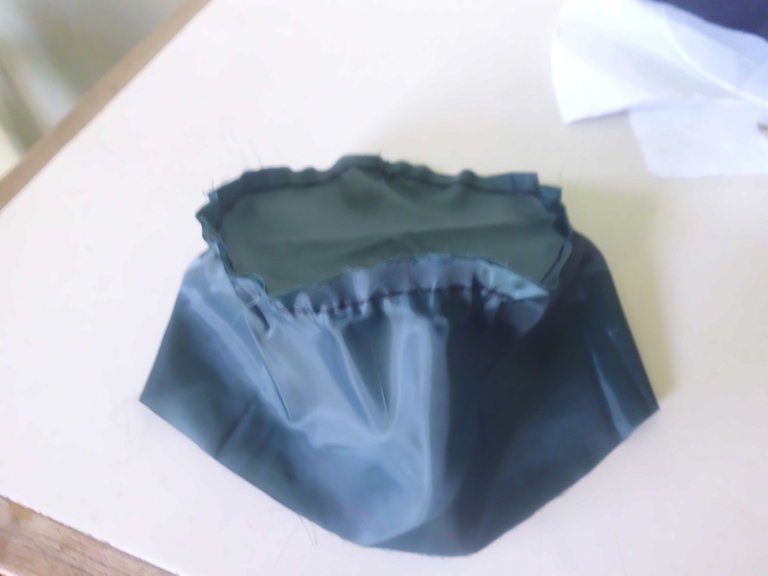
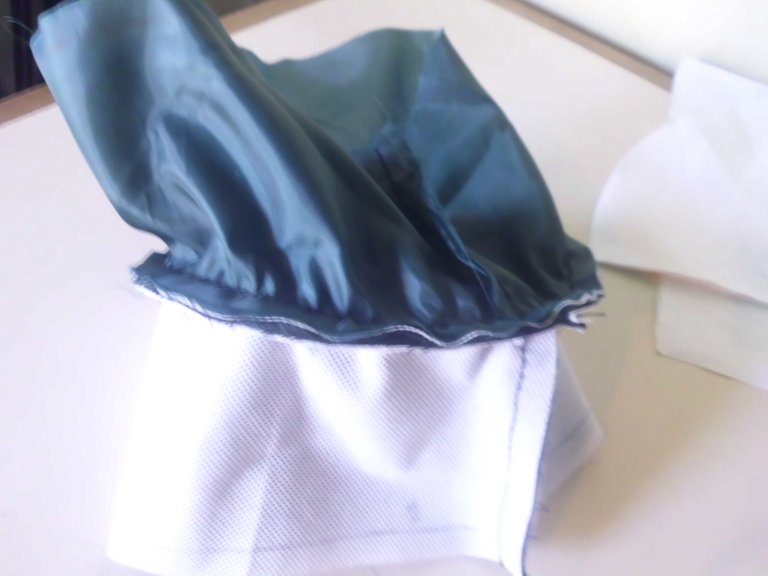

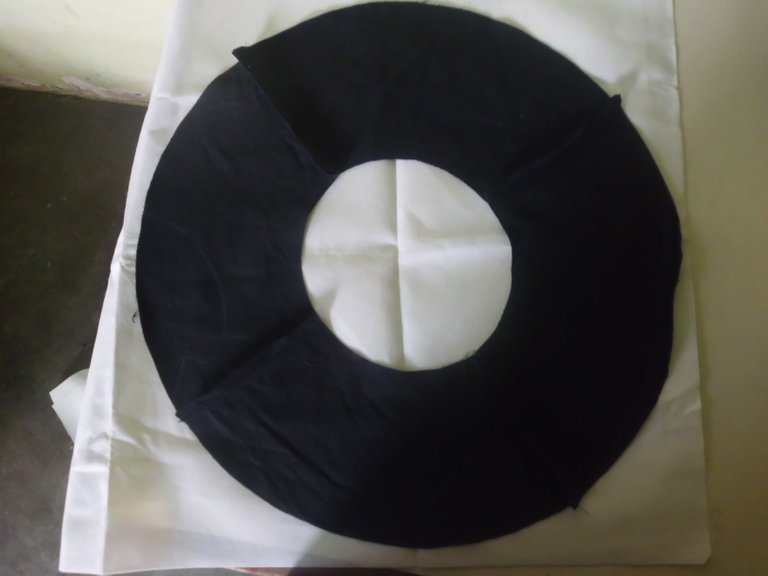
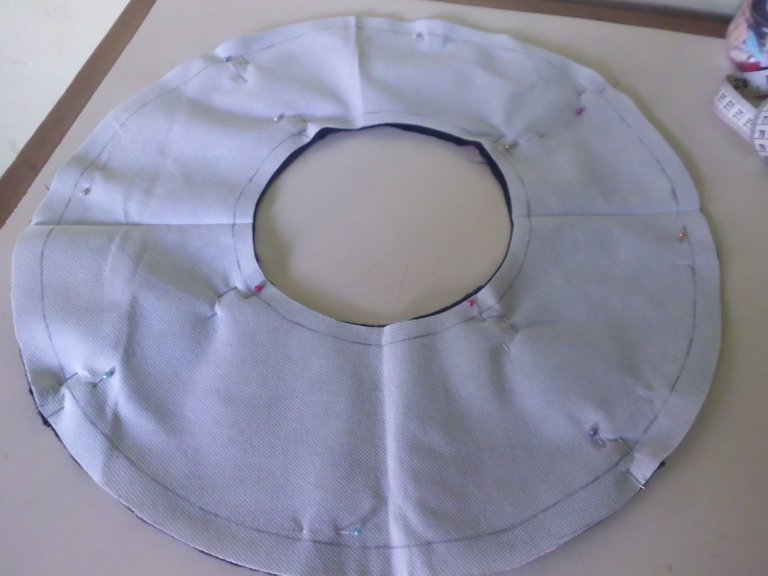
I sewed all the parts of the flap to get the entire circumference. I laid the flap over the interfacing to measure and cut it.Then I placed the two layers of fabric and on top I placed the interlining layer, secured with pins and sewed all over the outer edge of the circle.Then I turned the fabric over, so that the interfacing was on the inside side, I ironed it with a hair straightener and sewed again on the outside of the circle.
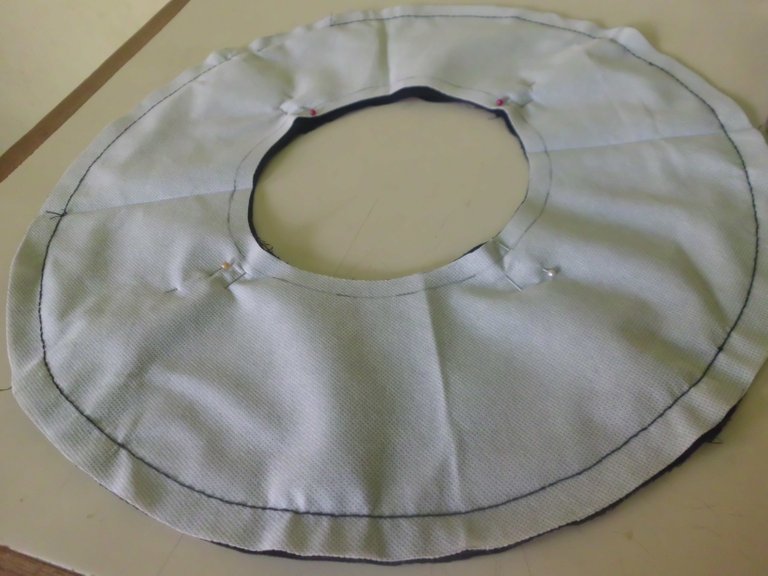
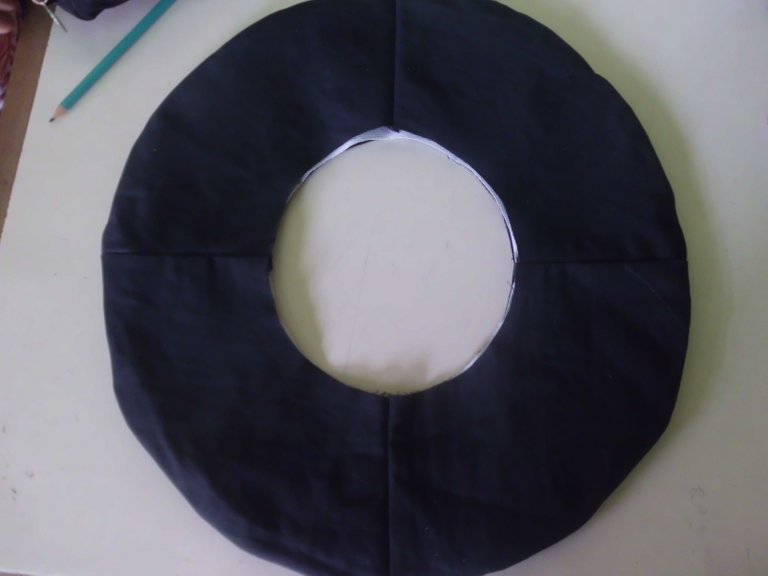
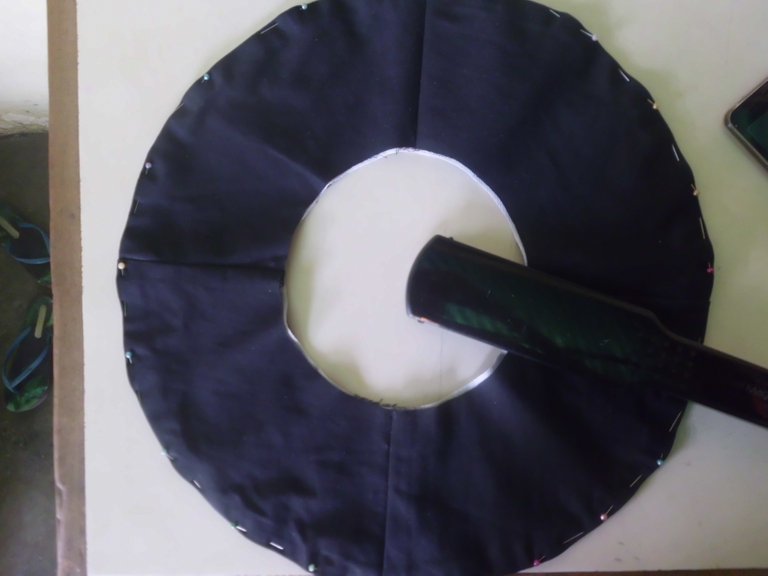
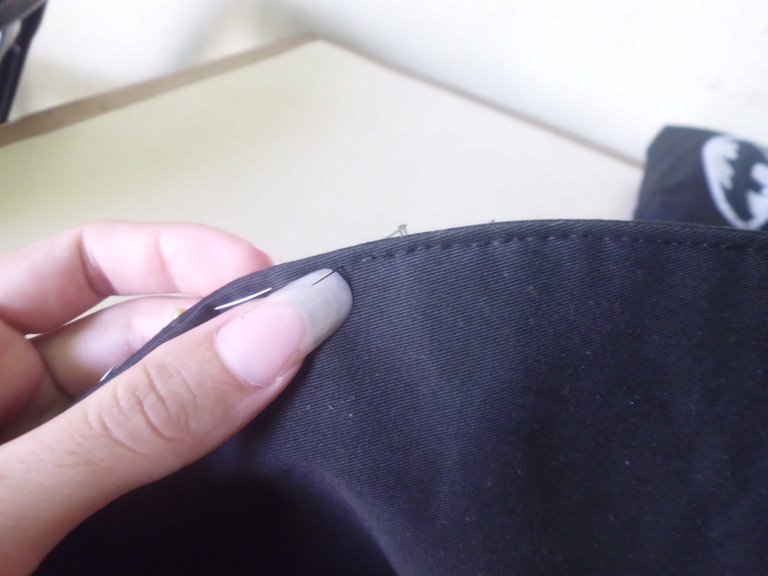
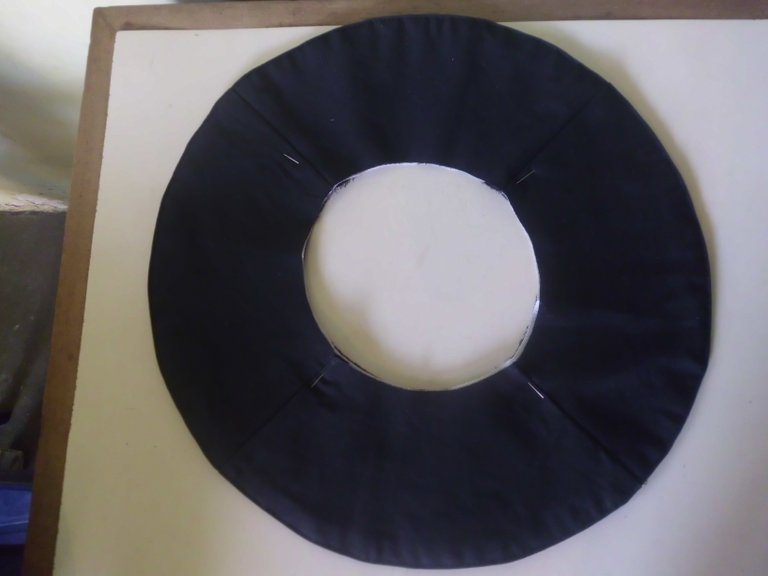
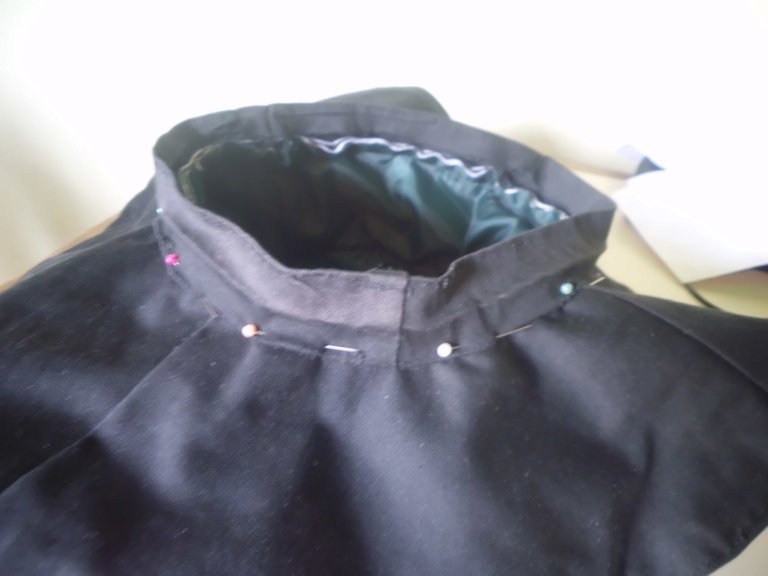
I secured the flap to the top of the hat with pins and then sewed the entire inner brim.
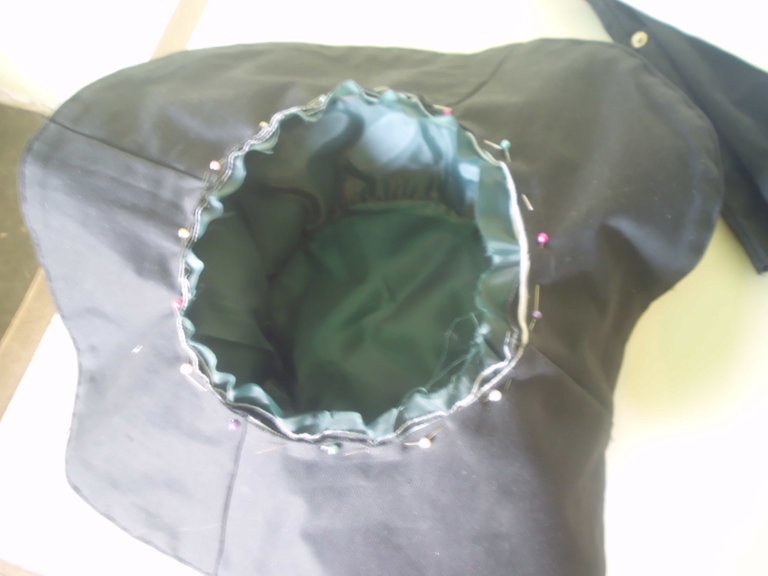
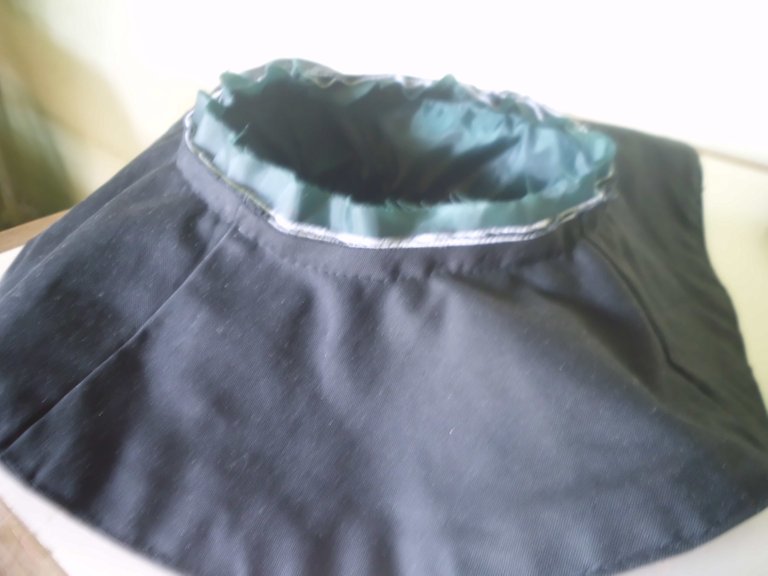
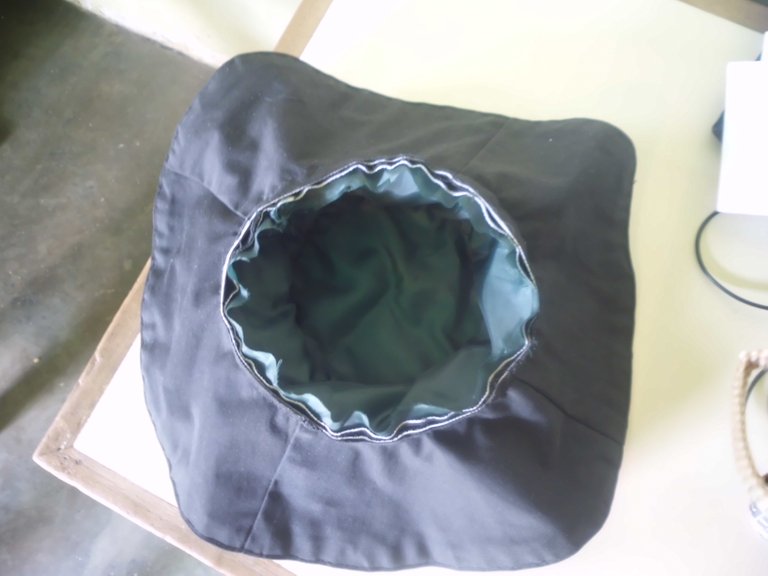
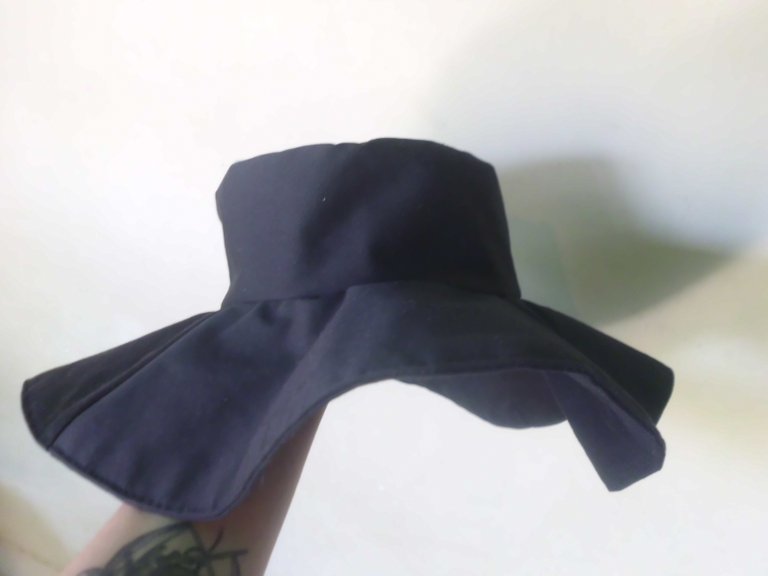
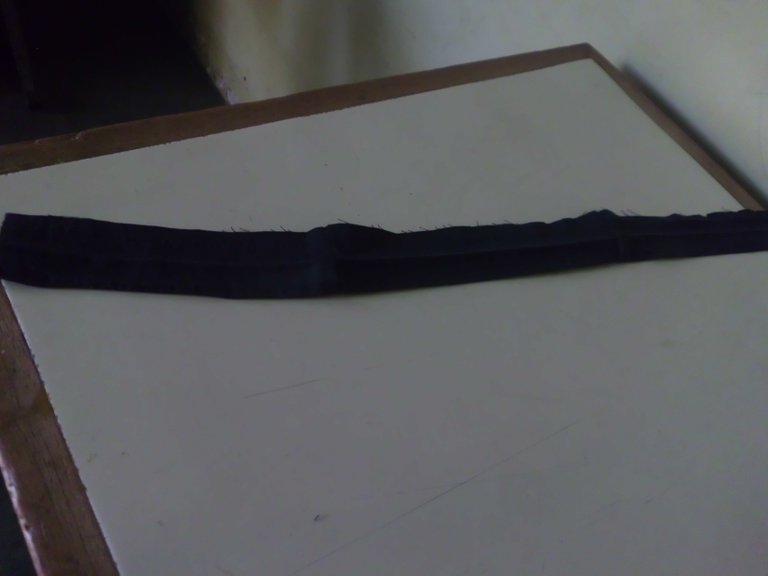
I cut a 23-inch long strip of black fabric and sewed it to the inside edge of the hat. First the bottom hold of the fabric and then the top edge by hemming the inside.
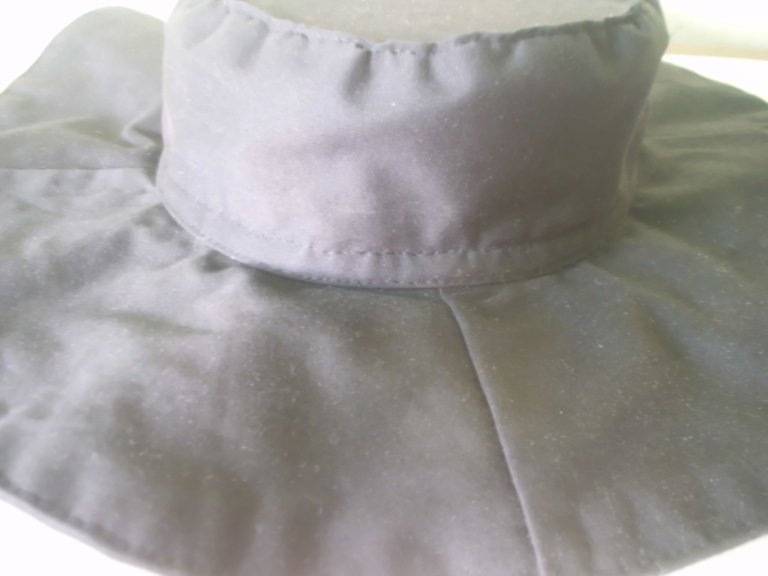
With the ribbon to decorate, go around the hat and make a bow at the back.
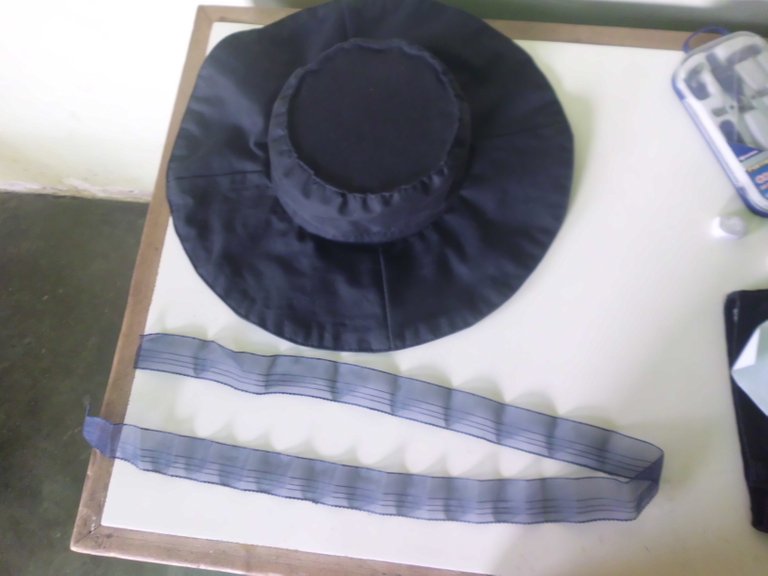
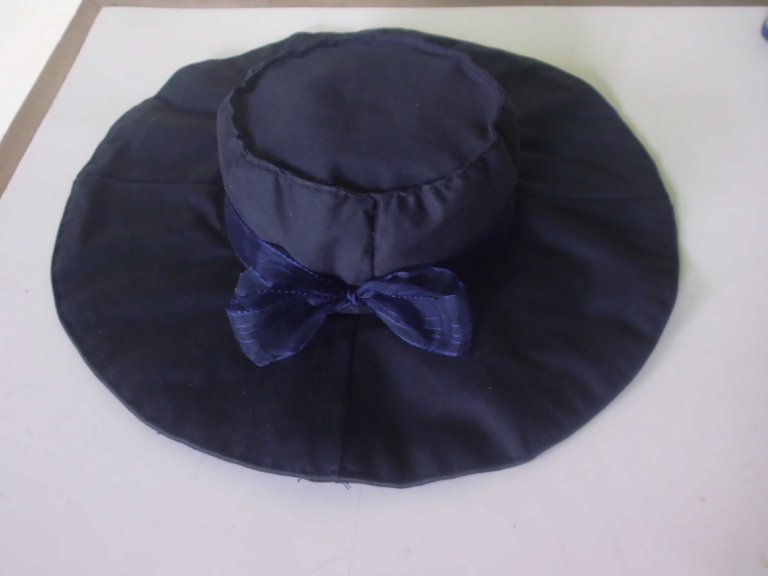
Resultado / Result
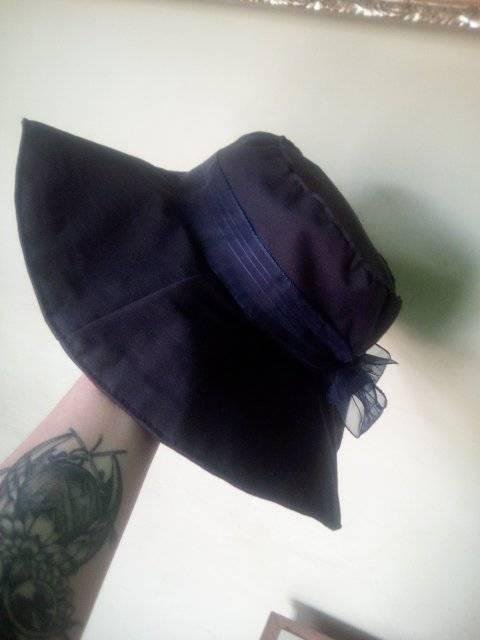
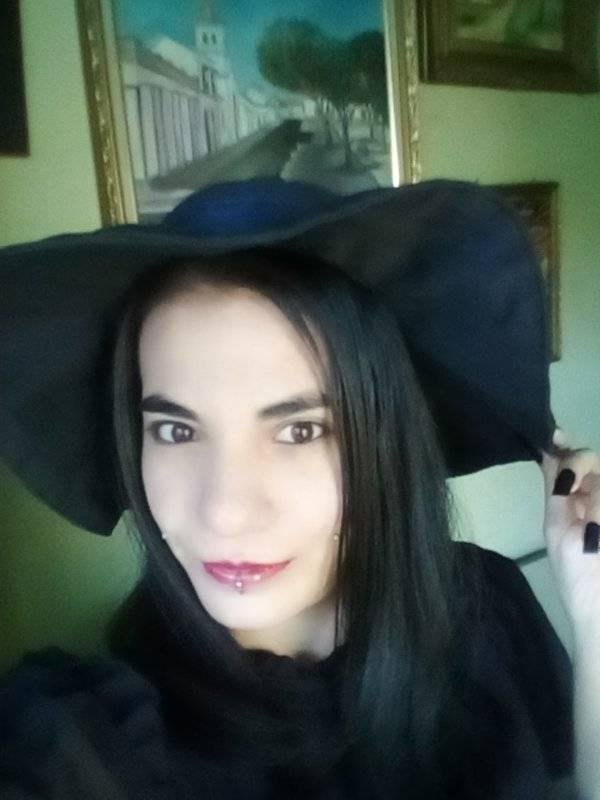
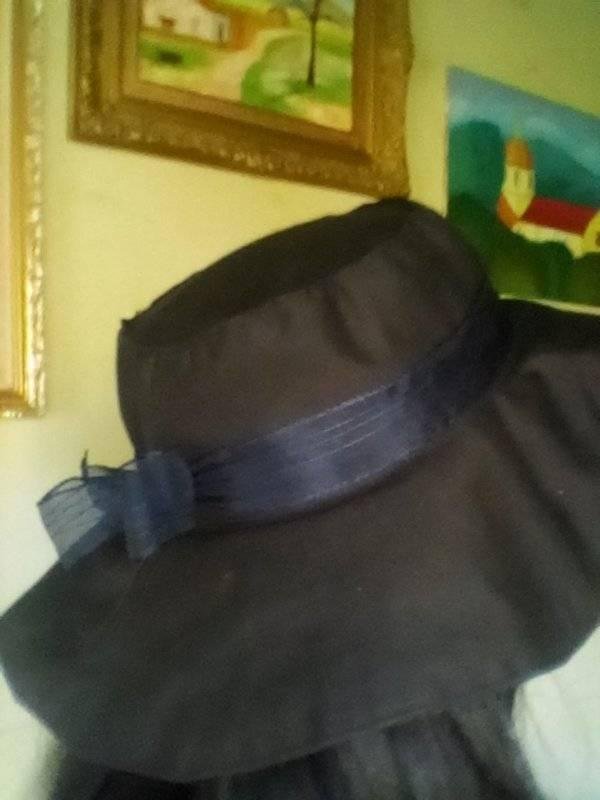
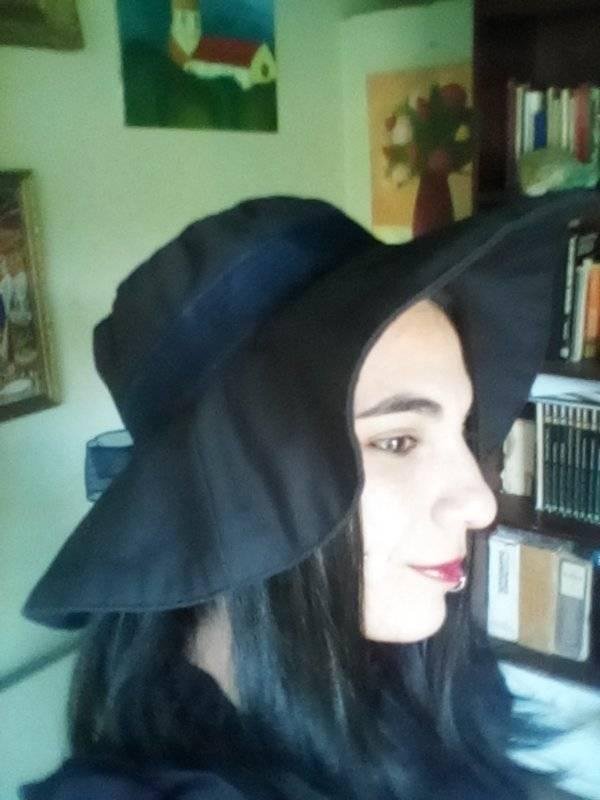
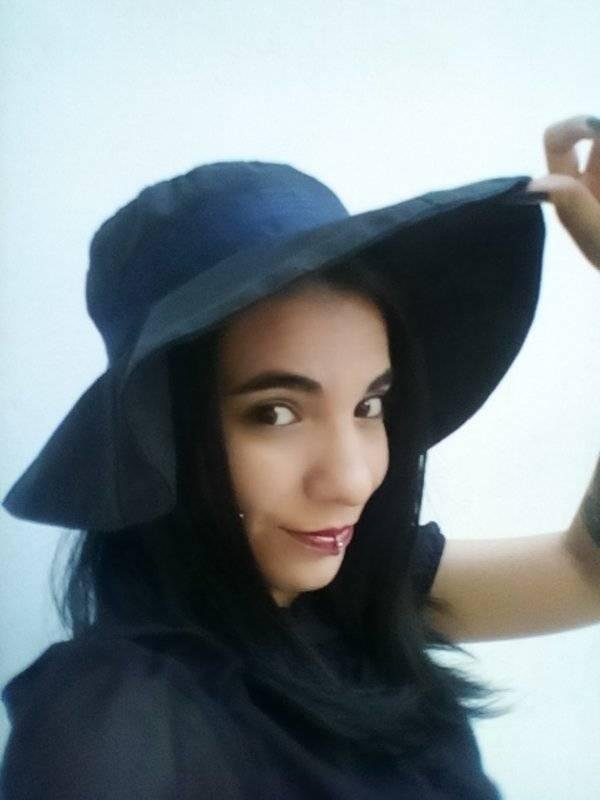
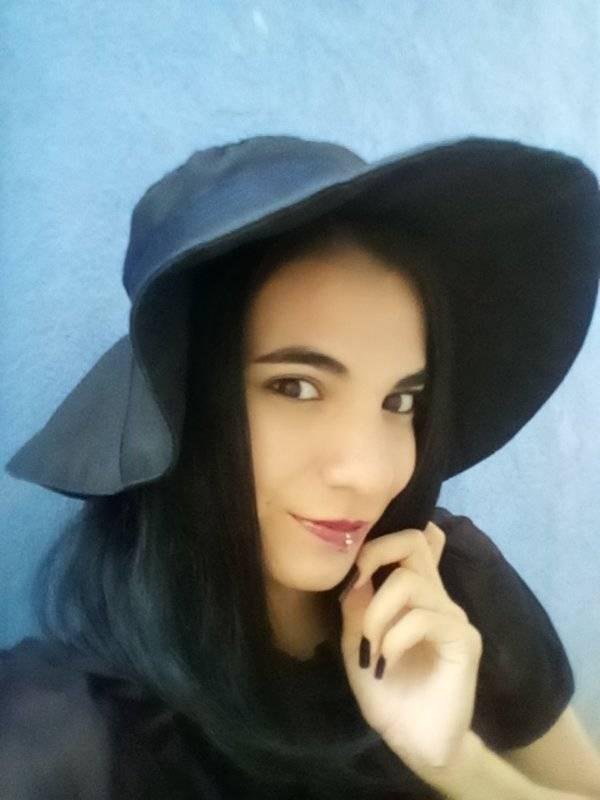
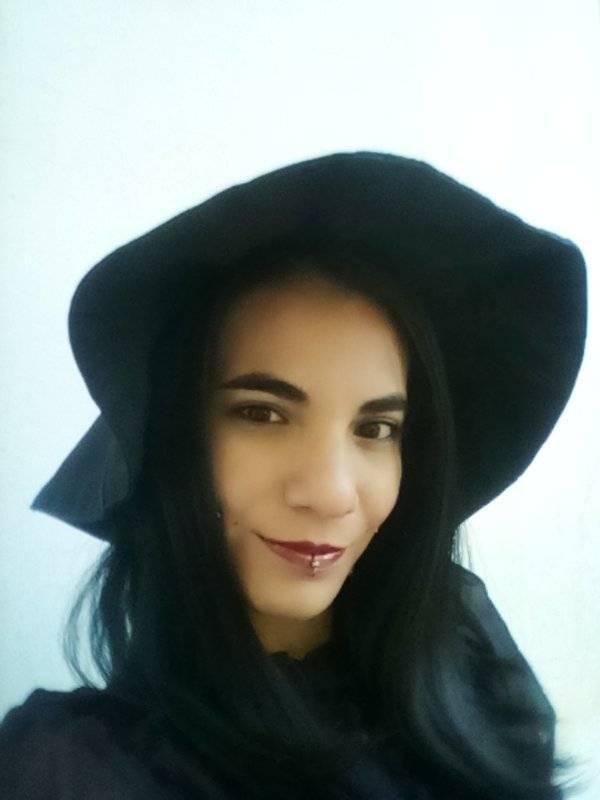
Imágenes tomadas con cámara Casio QV-R100 y editadas en Adobe Photoshop Cs6
Images taken with Casio QV-R100 camera and edited in Adobe Photoshop Cs6
Invítenme un Café/Support Me on Ko-Fi
Si te gusta mi contenido y quieres apoyarme a seguir dibujando, pintando, escribiendo y tejiendo puedes invitarme un Ko-fi en el enlace que les dejo aquí abajo, les recuerdo que es fácil, se usa Paypal y Tarjeta. ¡Muchas gracias a todos!
If you want to support my art you can also make donations for the value of a coffee (Ko-Fi) this uses Paypal, it is simple and with it I will be able to continue knitting and buying materials to create and share my publications

https://ko-fi.com/irenenavarroart
Espero les haya gustado. Les invito a leer mis próximas publicaciones y siempre estaré dispuesta a responder sus preguntas y comentarios, también pueden seguirme y contactarme en cualquiera de mis redes sociales. ¡Muchas gracias!
I hope you liked it. I invite you to read my next publications and I will always be willing to answer your questions and comments, you can also follow me and contact me on any of my social networks. Thank you!
Que bonito te quedó! Me recuerdas a Mavis de Hotel Transylvania 🖤
ay que linda XD Muchas gracias <3
Congratulations on your new hat! 👍
Wonderful stitching!
Thank you very much :) Sewing by hand hurts my fingers but I really wanted to make my hat, thank you for commenting
Está genial!!! mi hermana hizo uno pero forrado con tela de cerecitas y parece sacada de la comiquita "strawberry shortcake"
ay que lindo, debe verse como una fruit lolita <3
Congratulations, your post has been upvoted by @dsc-r2cornell, which is the curating account for @R2cornell's Discord Community.
Que buena manera de reciclar, me encantaaa. Te queda muy bien este sombrero 😍❤️.
Muchas gracias <3