Saludos amigos de hive, hace un buen tiempo que no compartía con ustedes, pero varias razones me llevaron a alejarme un tanto de este medio,una de ellas es que estuve dedica un poco más a la costura, perfeccionando un poco lo que ya sabia. Realizando así diversos proyectos a nivel de costura, y es por ello que como fue -digamos- la costura quien me alejo un poco de este medio, decidí retomar desde este ámbito, compartiendo con ustedes el paso a paso de un lindo vestido fruncido con hilo elástico, que a decir verdad pensé que traería muchas complicaciones a la hora de coser, pero no, es realmente un proyecto súper sencillo, y que no requiere de muchos materiales o conocimientos.
Greetings hive friends, it has been a long time since I shared with you, but several reasons led me to distance myself somewhat from this medium, one of them is that I was dedicated a little more to sewing, perfecting a bit what I already knew. Thus, carrying out various projects at the sewing level, and that is why, as it was - let's say - sewing that moved me away from this medium a bit, I decided to return to this area, sharing with you the step by step of a beautiful dress gathered with thread. elastic, which to tell the truth I thought would bring many complications when sewing, but no, it is really a super simple project, and it does not require many materials or knowledge.

Materiales:
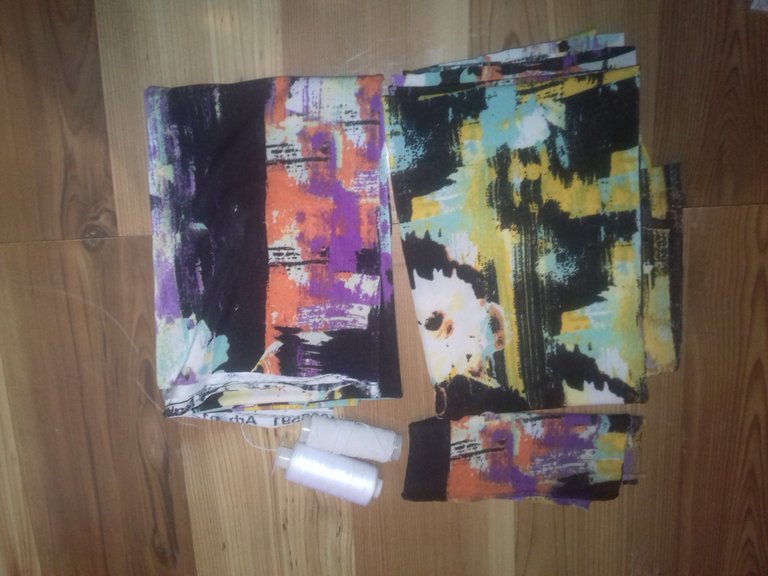
- 1 1/4m de tela de su preferencia
- Hilo elastico
- Tijera, agujas, hilos, algún tipo de encaje (opcional).
Materials:
- 1 1/4m of fabric of your preference
- Elastic thread
- Scissors, needles, threads, some kind of lace (optional).
Proceso / Process
Para este proyecto no fue necesario utilizar algún tipo de patrón, pues solo necesitamos un rectángulo de 80cm (para medidas pequeñas, tallas aproximadamente S-M) por el largo que deseemos, en mi caso utilice 65cm. Sin olvidar dejar dos trozos pequeños que serán los tirantes del vestido, estos los utilice de aproximadamente 3cm de ancho por 40cm de largo.
For this project it was not necessary to use some type of pattern, since we only need a 80cm rectangle for the length we want, in my case I used 65 cm. Without forgetting to leave two small pieces that will be the straps of the dress, these are used approximately 3cm wide by 40cm long.
Luego de tener las piezas cortadas, tocó ubicarse en la maquina de coser, lo primero fue colocar el hilo elástico en el carrete de forma manual, vale la pena acotar que no existe la necesidad de estirar mientras se enrolla, simplemente toca distribuir el hilo por todo el carreta, como se realizaría con cualquier otro tipo de hilo.
Debo admitir que existen diferentes formas de coser con hilo elástico, yo en lo particular lo utilizo tal cual fuese cualquier hilo, con la diferencia de que no llego a tender totalmente el hilo, es decir dejo que este quede algo "flojo".
After having the pieces cut, he had to go to the sewing machine, the first thing was to place the elastic thread on the spool manually, it is worth noting that there is no need to stretch while winding, simply distribute the thread by the entire cart, as would be done with any other type of thread. I must admit that there are different ways of sewing with elastic thread, in particular I use it as any thread, with the difference that I do not fully stretch the thread, that is, I let it remain somewhat "loose".
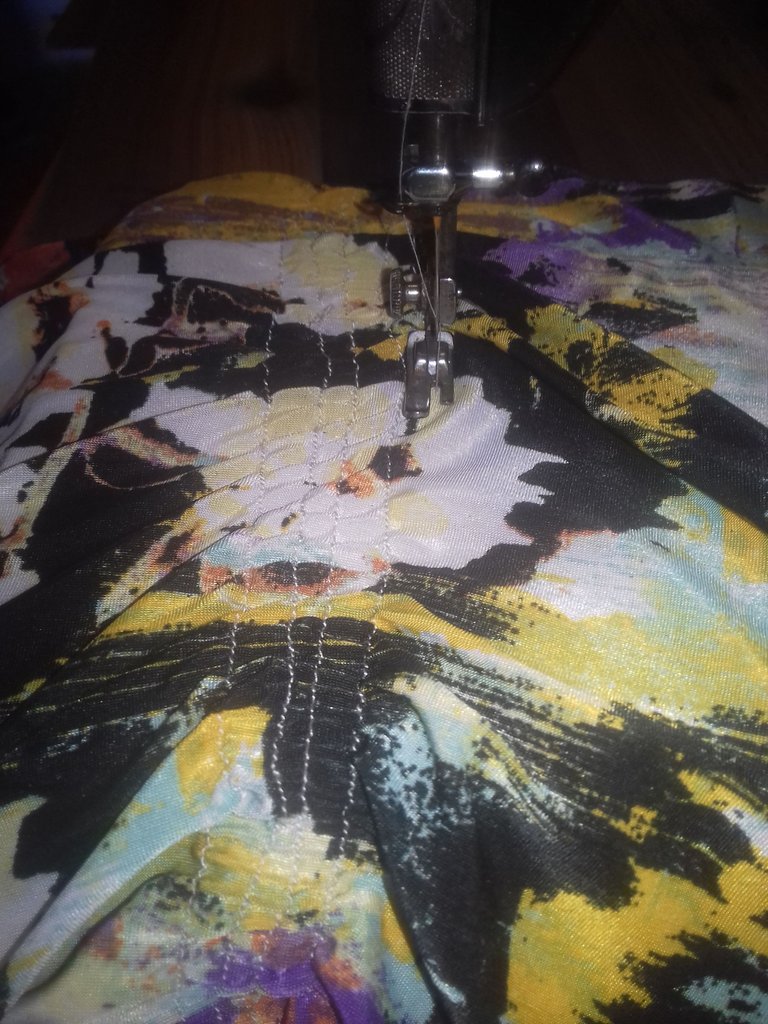
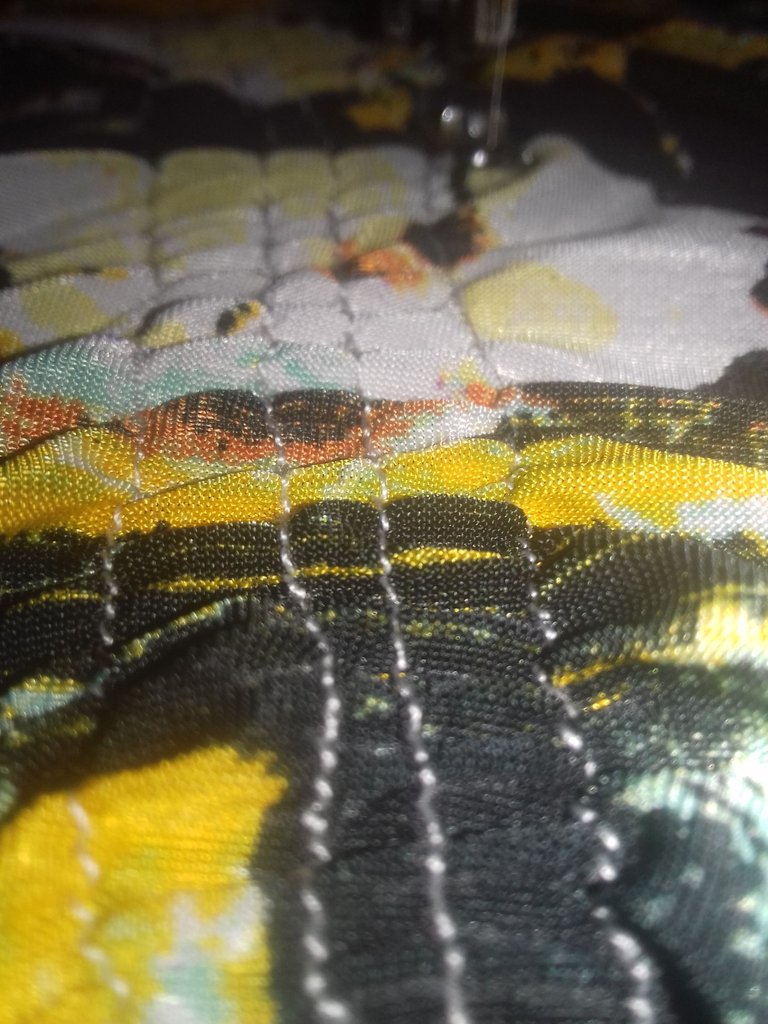
Ahora bien, se coloca la tela de forma horizontal, del lado donde ira el fruncido, sin olvidar que la tela debe estar por el lado derecho, de este modo comenzamos a coser de forma lineal de lado a lado, cuando culminamos la primera líneas toca devolverse, en caso yo utilice 1cm de distancia entre los carriles de fruncido, pero todo depende del resultado que se quiera obtener, pues podemos hacerlos más largos o un poco más cortos, vale aclarar que en cuanto más corto el fruncido es mayor. Este procedimiento lo haremos cuantas veces sea necesario yo realice un fruncido de 25cm de largo.
Now, the fabric is placed horizontally, on the side where the gathering will go, without forgetting that the fabric must be on the right side, in this way we begin to sew linearly from side to side, when we finish the first lines touch return, in case I use 1cm of distance between the gathering rails, but it all depends on the result you want to obtain, as we can make them longer or a little shorter, it is worth clarifying that the shorter the gathering is greater. We will do this procedure as many times as necessary and make a 25cm long gathering.
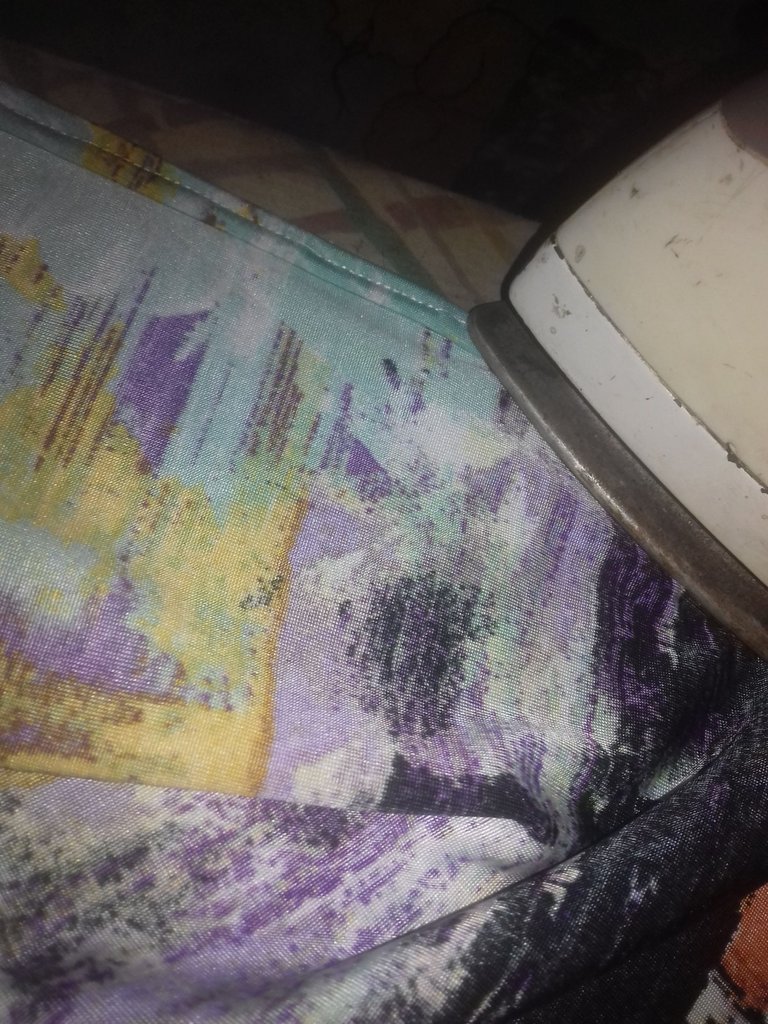
Después de haber culminado con el fruncido se procede a coser las orillas tanto superior como inferior de la tela, utilizando aproximadamente 1cm de costura, luego de ello, pasamos la plancha sobre la costura para dar un mejor acabado a la costura y por supuesto al vestido.
After having finished with the gathering, we proceed to sew both the upper and lower edges of the fabric, using approximately 1cm of seam, after that, we pass the iron over the seam to give a better finish to the seam and of course to the dress.
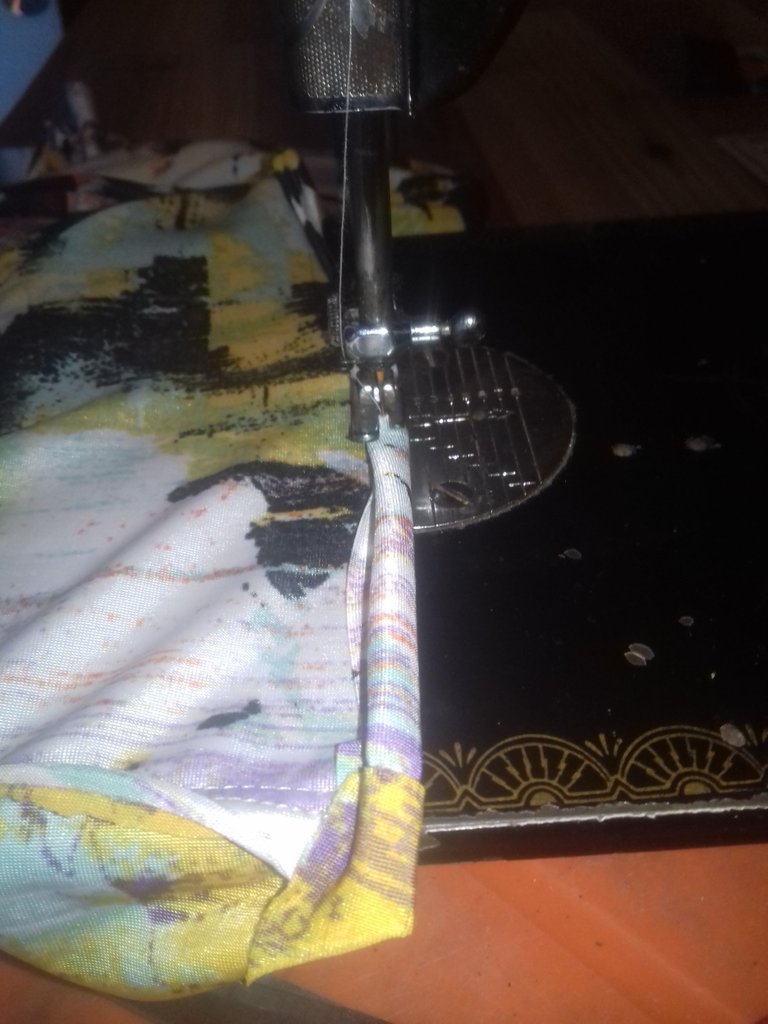
Seguidamente se unen ambos extremos por el lado posterior de la tela y se realiza una costura doble, para finalmente proceder a coser los tirantes del vestido, para ello colocamos la tela por el lado posterior cosemos, y luego damos la vuelta con la ayuda de algún objeto fino. Al momento de coser estas tira al vestidos, consideraremos una medida de 4cm del extremo hacia adentro, sera en este punto donde se realizara la costura.
Then both ends are joined on the back side of the fabric and a double seam is made, to finally proceed to sew the straps of the dress, for this we place the fabric on the back side we sew, and then we turn it over with the help of some fine object. At the time of sewing these strips to the dresses, we will consider a measurement of 4cm from the end to the inside, it will be at this point where the sewing will be made.
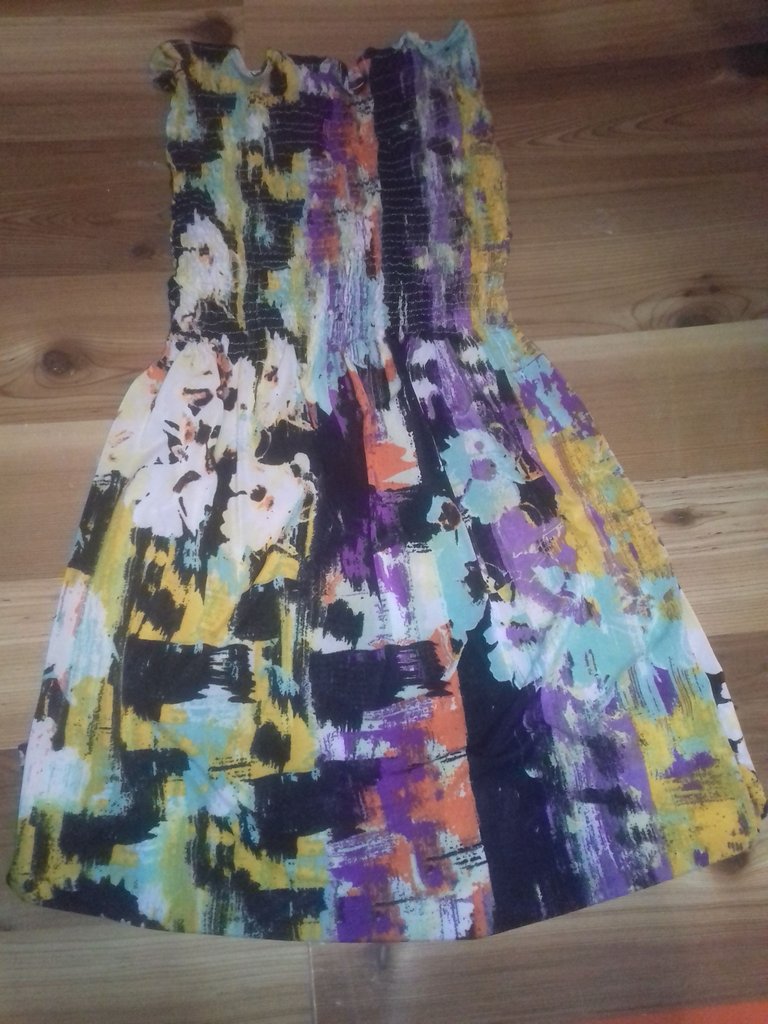
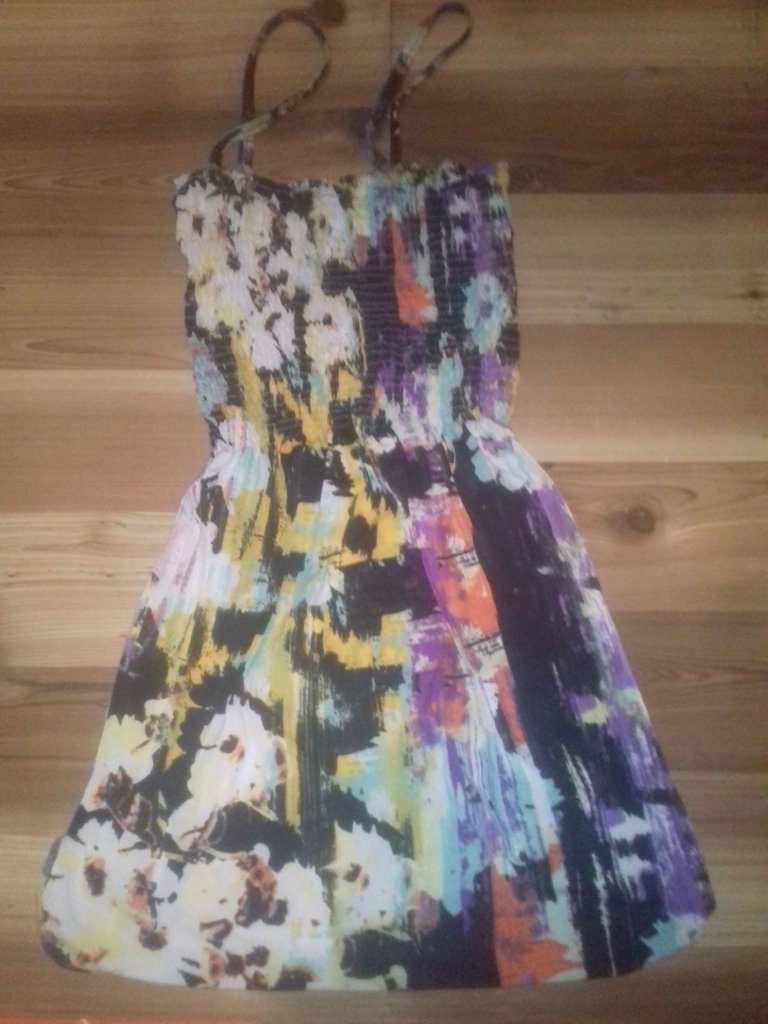
Luego de realizar este proceso tenemos un lindo vestido fruncido para usar. En la próxima foto, pueden ver el resultado.
After doing this we have a nice ruched dress to wear. In the next photo, you can see the result.
Espero les haya gustado este post y disfrutado leer tanto como a mi me encanto compartir este proyecto.
Nos vemos en la próxima.
¡Un abrazo!
See you next time.
Thank you for reading. A hug!
Congratulations @hildajtua! You have completed the following achievement on the Hive blockchain and have been rewarded with new badge(s):
Your next target is to reach 400 upvotes.
You can view your badges on your board and compare yourself to others in the Ranking
If you no longer want to receive notifications, reply to this comment with the word
STOPTo support your work, I also upvoted your post!
Check out the last post from @hivebuzz:
Support the HiveBuzz project. Vote for our proposal!
Beautiful thanks for sharing
Thank you for sharing this amazing post on HIVE!
Your content got selected by our fellow curator @rezoanulvibes & you just received a little thank you via an upvote from our non-profit curation initiative!
You will be featured in one of our recurring curation compilations and on our pinterest boards! Both are aiming to offer you a stage to widen your audience within and outside of the DIY scene of hive.
Join the official DIYHub community on HIVE and show us more of your amazing work and feel free to connect with us and other DIYers via our discord server: https://discord.gg/mY5uCfQ !
If you want to support our goal to motivate other DIY/art/music/homesteading/... creators just delegate to us and earn 100% of your curation rewards!
Stay creative & hive on!