Happy Valentine's Day to my beautiful people of this community, I have always liked knitting and lately embroidering, but never before had I made a work of a figure either animal or person, that's why I challenged myself to make a bee, of all the animals and insects that exist is the only one I can not approach.
Although I love their colors and see them in the flowers, I am allergic to their sting as a child without knowing how one night some bees fell on my bed and I had more than 12 stings and more than 15 days of rest and a lot of burning and pain, that is why the first amigurumi I wanted to make was Abi because she can not sting me and if I can carry her.
Feliz día de San Valentín a mi gente bella de esta comunidad, siempre me ha gustado tejer y últimamente bordar, más nunca antes había realizado una labor de una figura ya fuera animal o persona, fue por ello que me desafíe a mi misma a realizar una abeja, de todos los animales e insectos que existen es al único que no puedo acercarme.
Aunque me encantan sus colores y verles en las flores, soy alérgica a su picadura de niña sin saber cómo una noche cayeron unas abejas en mi cama y resulté con más de 12 picaduras y más de 15 días de reposo y mucho ardor y dolor, es por ello que el primer amigurumi que quise hacer fue a Abi ya que no me puede picar y si la pueda cargar.
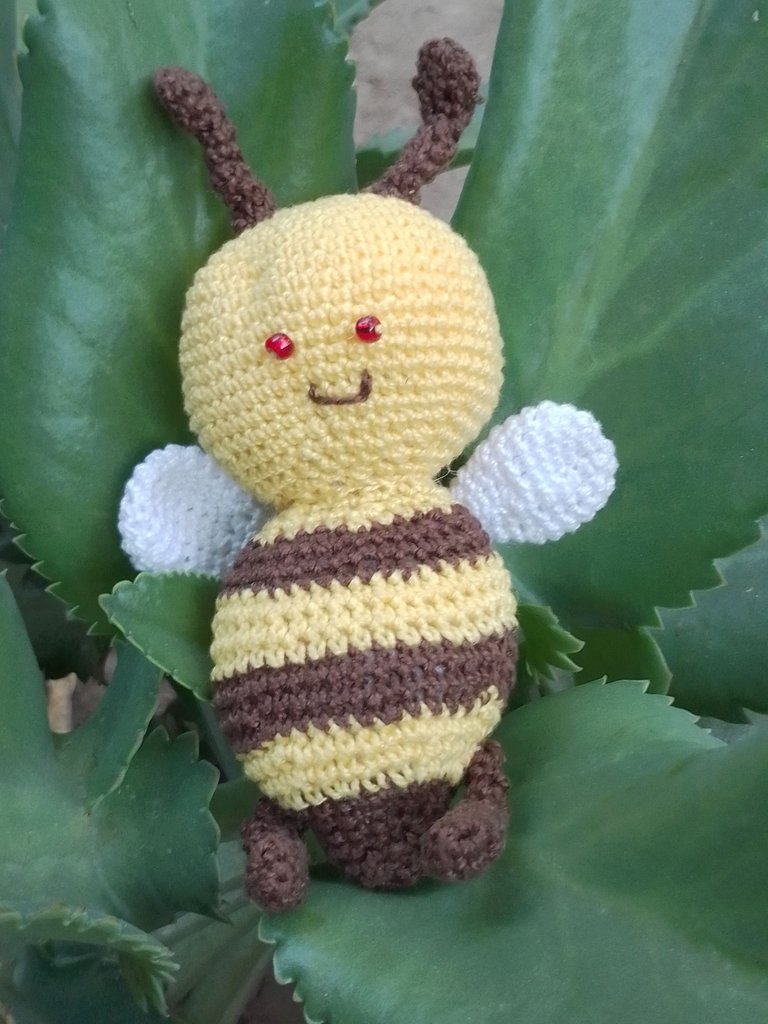
At first I thought it would be easy to knit the bee, but it was not so at the beginning, in spite of counting each stitch in some loops I had too many or too few stitches, I was on the verge of collapse, so I took a deep breath and began to knit with more patience until little by little, although I had to knit and unknit several times I was able to finish my work.
Al principio pensaba que me sería fácil tejer la abeja, pero no fue así al principio a pesar de ir contando cada punto en algunas vueltas me sobraban o me faltaban puntos, estaba al borde del colapso, así que respiré profundo y comencé a tejer con más paciencia hasta que poco a poco, aunque tuve de tejer y destejer varias veces pude lograr terminar mi labor.
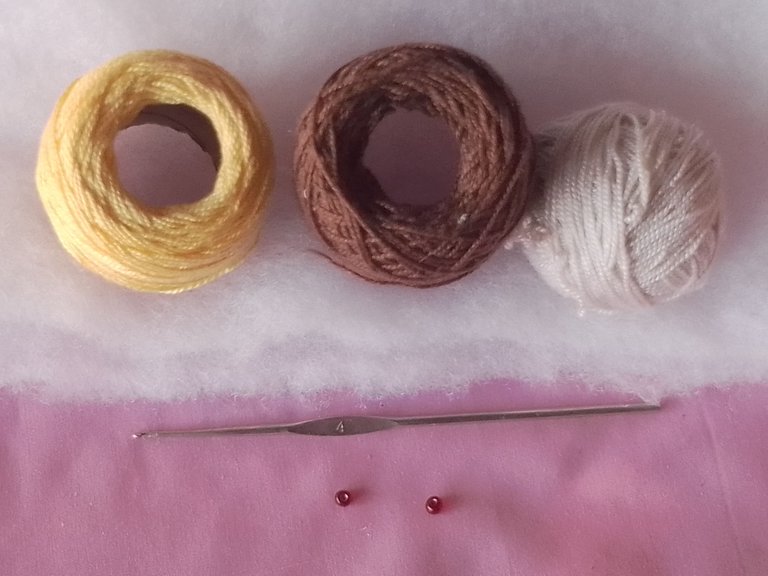
To make it I used the following materials:
- crochet thread # 10 yellow, brown and white.
- Crochet hook # 4
- 2 red beads
- Fiber stuffing (wadding).
- Blunt needle.
Para realizar utilicé los siguientes materiales:
- hilo de crochet # 10 amarillo, marrón y blanco.
- Ganchillo # 4
- 2 mostacillas rojas
- Relleno de fibra (guata).
- Aguja punta roma.
Procedure.
First I started with the body in brown:
**Row 1: ** I knit 6 single crochet over a magic knot.
Procedimiento
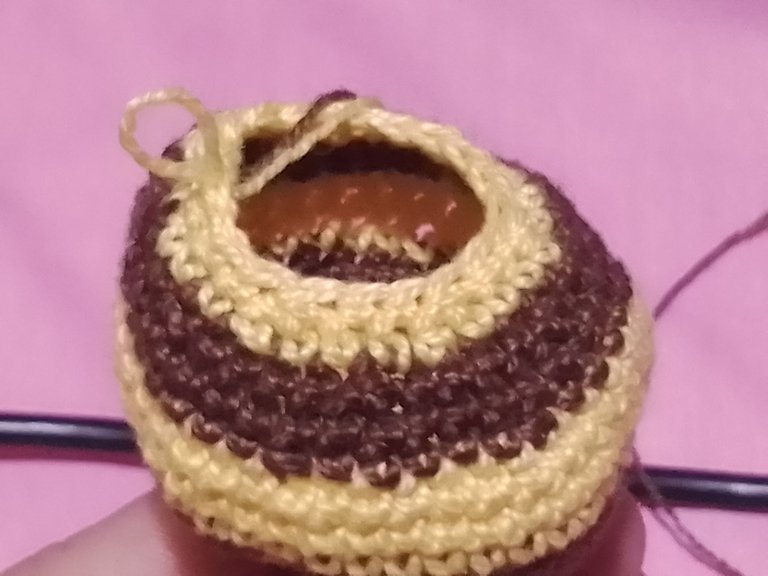
Primero comencé por el cuerpo en color marrón:
Vuelta 1: tejí 6 puntos bajos sobre un nudo mágico.
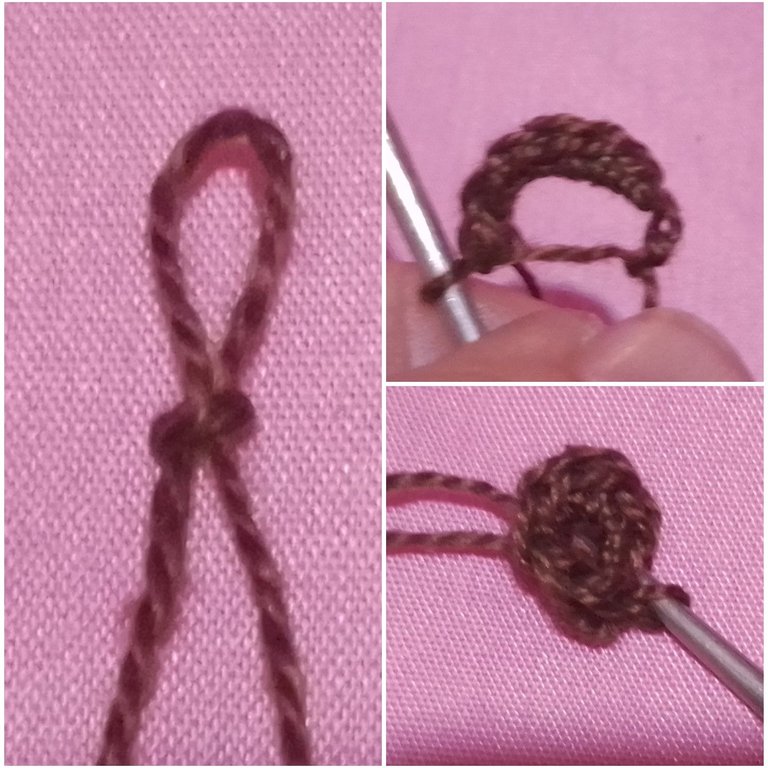
Row 2: I knit 6 single crochet over each stitch of the previous row.
Vuelta 2: tejí 6 puntos bajos sobre cada punto de la vuelta anterior.
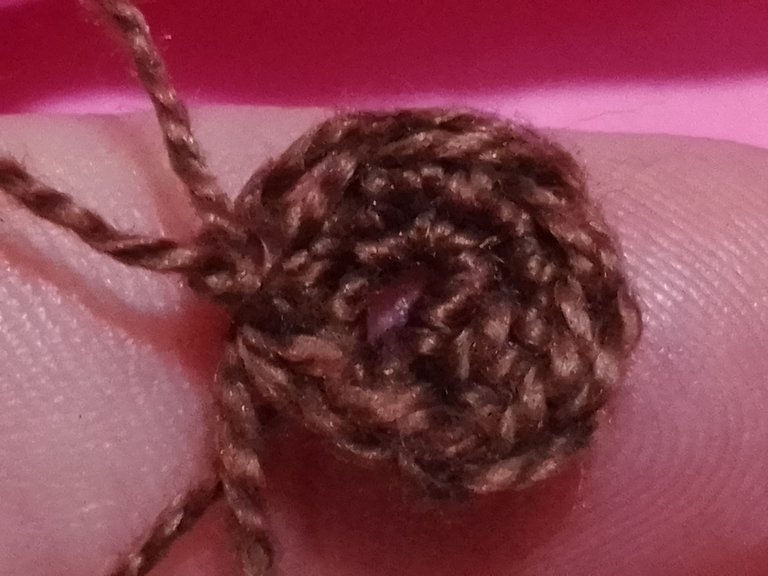
Row 3: in this row I made 6 increases by knitting two single crochet stitches in each stitch of the previous row.
Vuelta 3: en esta vuelta hice 6 aumentos tejiendo dos puntos bajos en cada punto de la vuelta anterior.
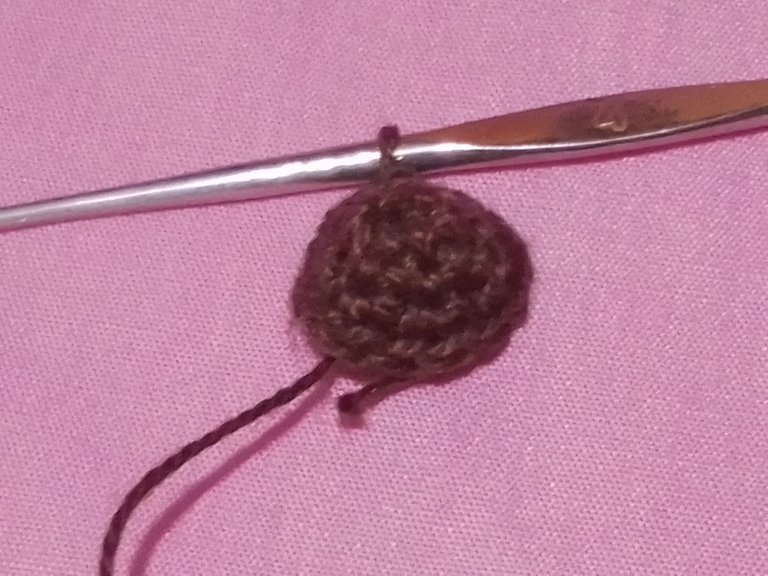
Row 4-6: I knit one single crochet on each stitch of the previous row.
Vuelta 4-6: tejí un punto bajo en cada punto de la vuelta anterior.
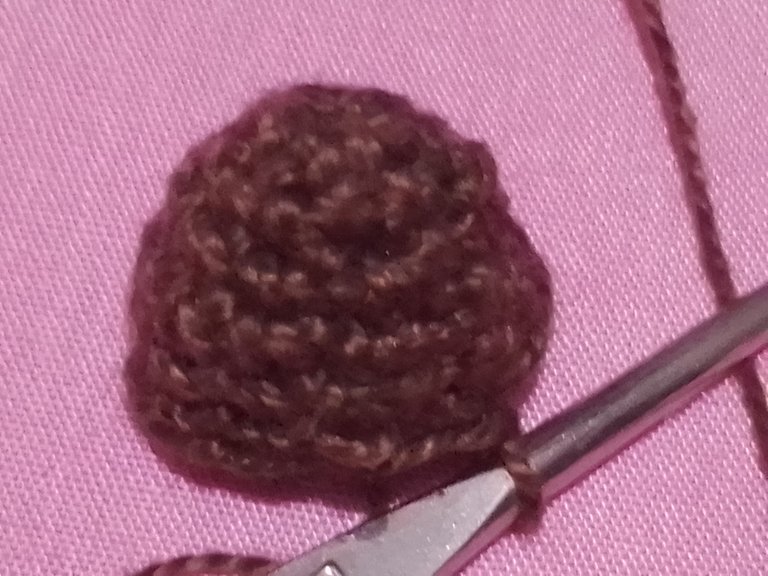
Row 7: in this row I made 6 increases, knitting one single crochet and one increase, and so on until I had 18 stitches.
Vuelta 7: en esta vuelta hice 6 aumentos, tejiendo un punto bajo y un aumento, así sucesivamente hasta obtener 18 puntos.
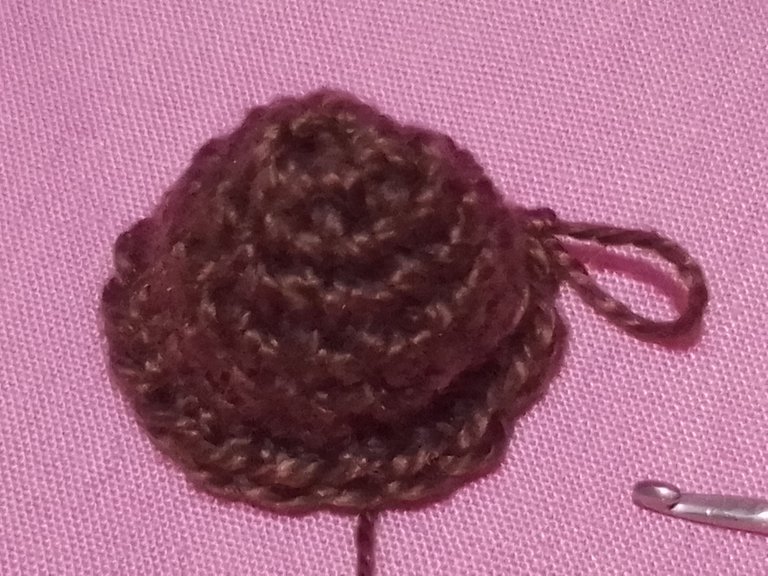
Row 8: in this row I changed the yarn color (yellow), made 6 increases, knitting 2 single crochet stitches and one increase and so on, until 24 stitches were obtained.
Vuelta 8: en esta vuelta cambié de color de hilo (amarillo), hice 6 aumentos, tejiendo 2 puntos bajos y un aumento y así sucesivamente, hasta obtener 24 puntos.
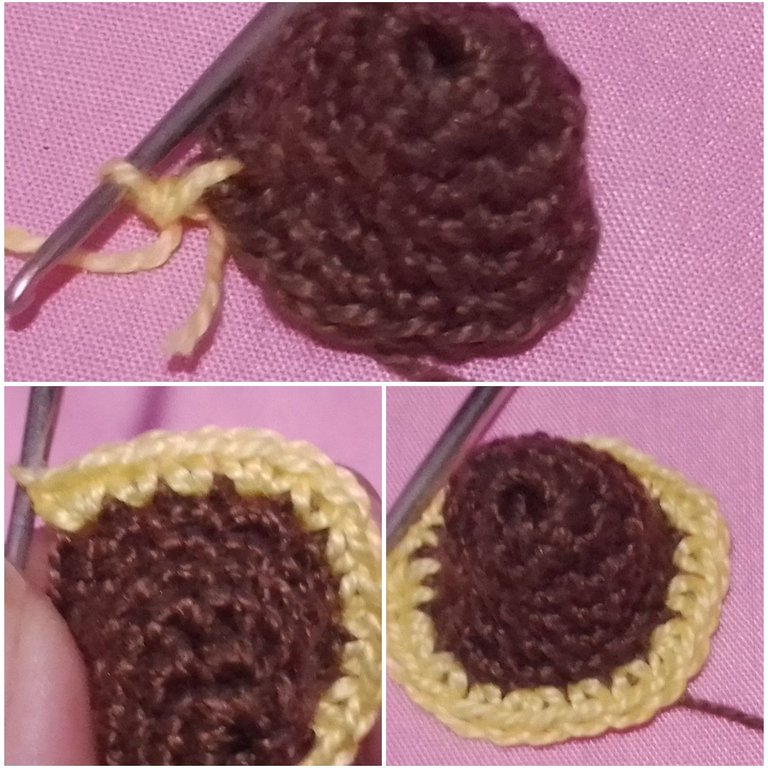
Row 9: in this row I made 6 more increases, knitting successively 3 single crochet stitches and one increase, to obtain 30 stitches.
Vuelta 9: en esta vuelta realicé 6 aumentos más, tejiendo sucesivamente 3 puntos bajos y un aumento, hasta obtener 30 puntos.
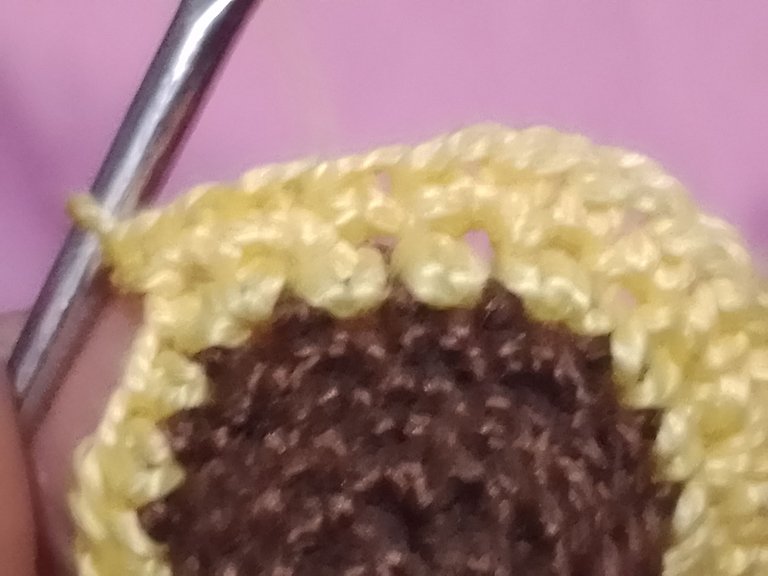
Row 10: I knit 6 increases, knitting 4 single crochet decreases and 1 increase in succession, to obtain 36 stitches.
Vuelta 10: realicé 6 aumentos, tejiendo 4 puntos bajos 1 aumento sucesivos, hasta obtener 36 puntos.
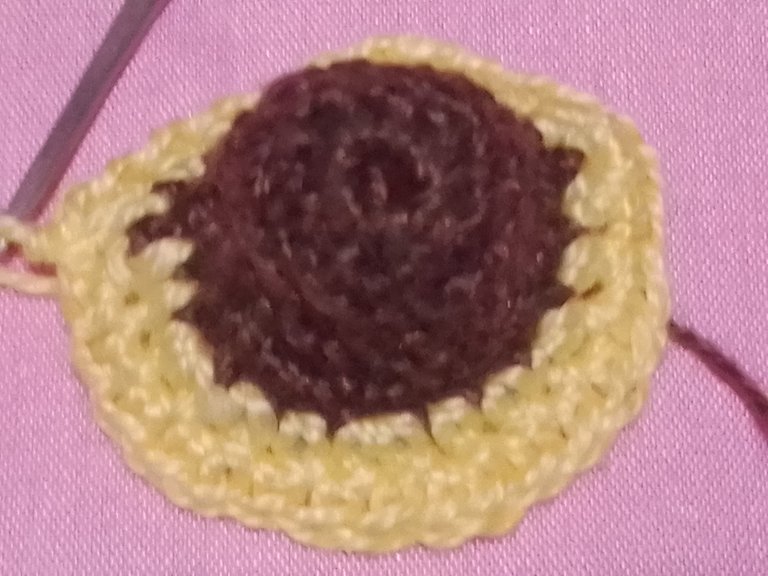
Row 11: these next three rows I knit in brown and in this row I continued increasing 6 stitches, this time I knit 5 single crochets and made an increase, until I completed 42 stitches.
Vuelta 11: estas tres vueltas siguientes las tejí en color marrón y en esta vuelta seguí aumentando 6 puntos esta vez tejí 5 puntos bajos e hice un aumento, hasta completar 42 puntos.
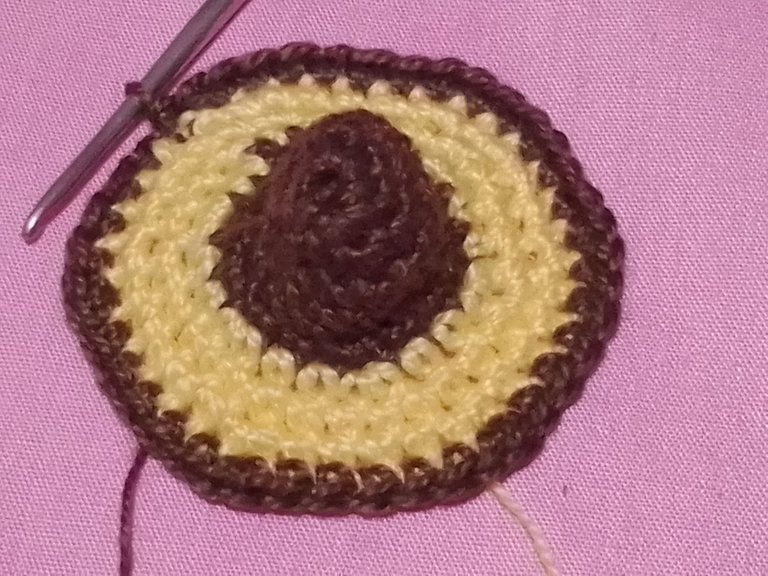
Row 12 -13: in these rows I knit a single crochet over each stitch of the previous row.
Vuelta 12 -13: en estas vueltas tejí un punto bajo sobre cada punto de la vuelta anterior.
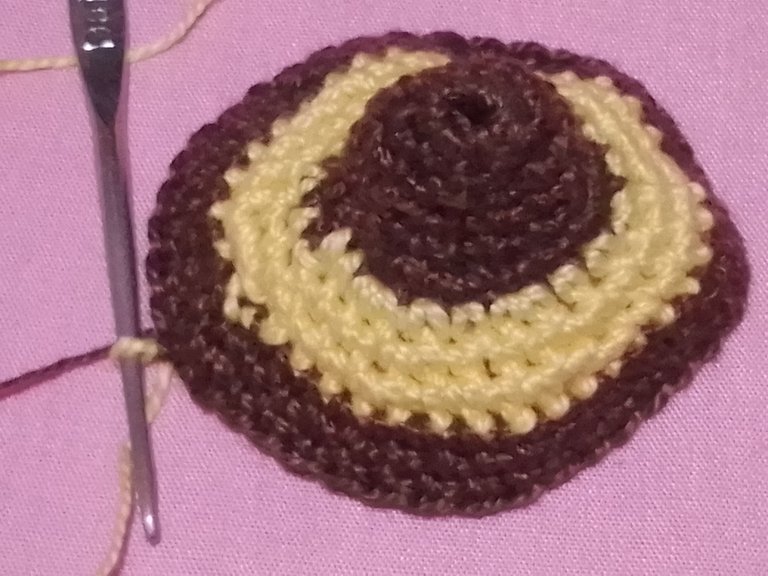
Row 14-16: in yellow color, I continued knitting 1 single crochet in each stitch of the previous row.
Vuelta 14-16: en color amarillo, seguí tejiendo 1 punto bajo en cada punto de la vuelta anterior.
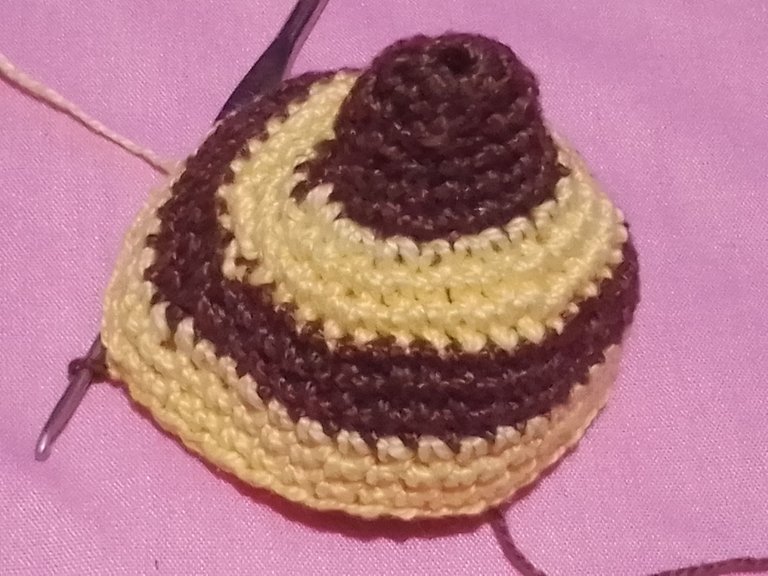
Row 17: in brown color, in this row I started to make the decreases, knitting 5 single crochet 1 decrease, to obtain 36 stitches.
Vuelta 17: en color marrón, en esta vuelta comencé a realizar las disminuciones, tejiendo 5 puntos bajos 1 disminución, para obtener 36 puntos.
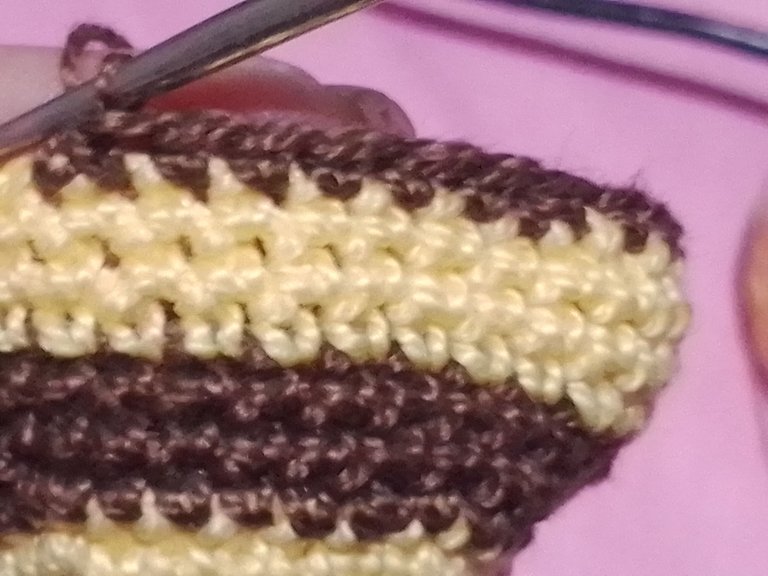
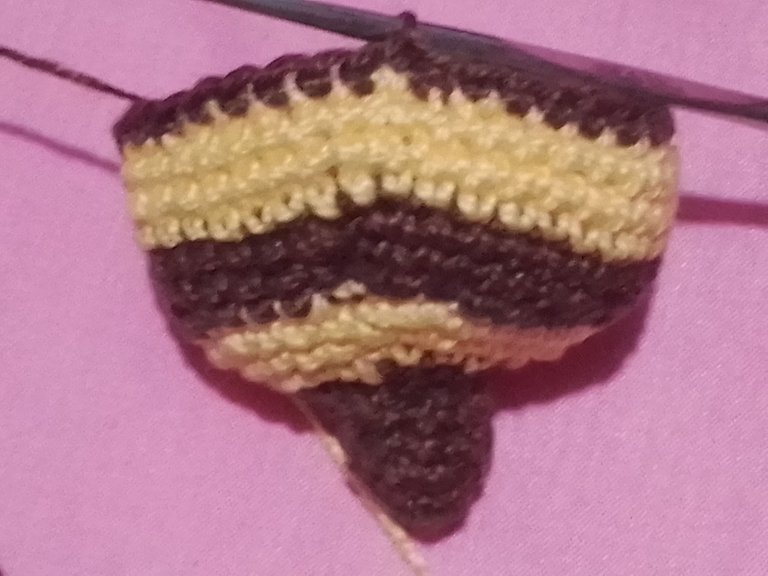
Row 18: I knit one single crochet in each stitch of the previous row.
Vuelta 18: tejí un punto bajo en cada punto de la vuelta anterior.
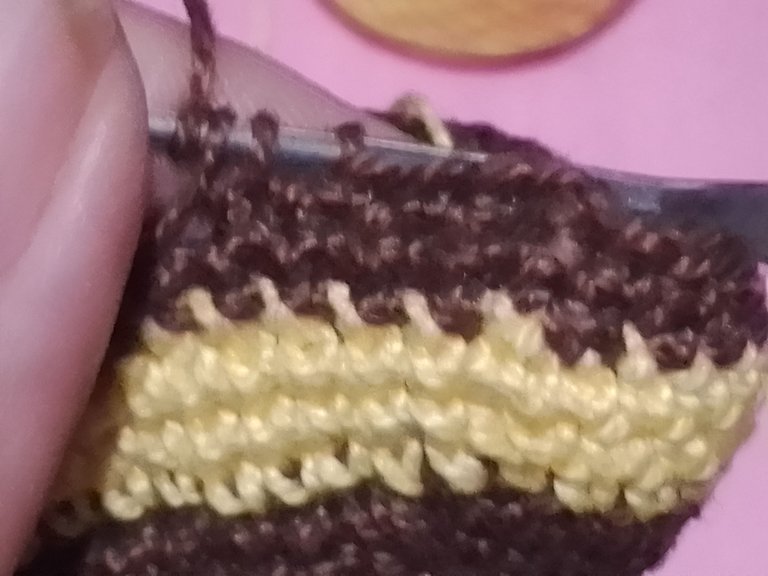
Row 19: in this row, I knit 4 single crochet and a decrease to obtain 30 stitches.
Vuelta 19: en esta vuelta tejí 4 puntos bajos y una disminución, hasta obtener 30 puntos.
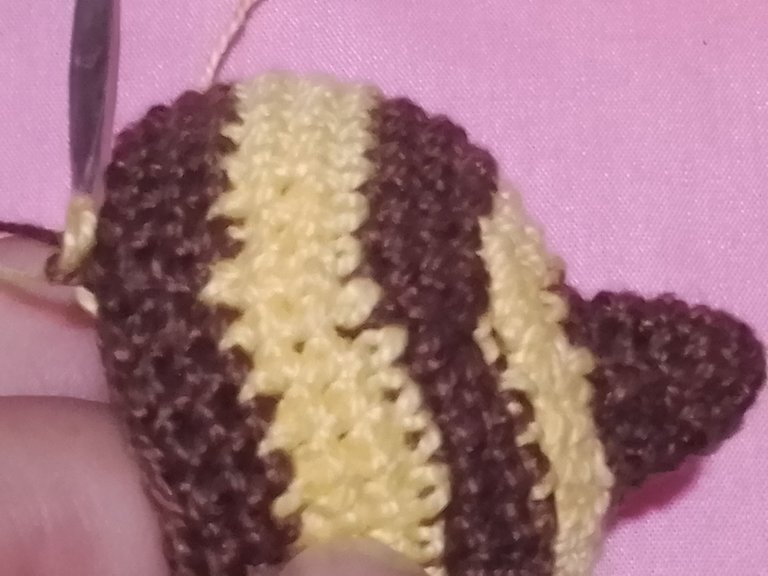
Row 20: in yellow, I knit 3 single crochet and a decrease to obtain 24 stitches.
Vuelta 20: en color amarillo, tejí 3 puntos bajos y una disminución hasta obtener 24 puntos.
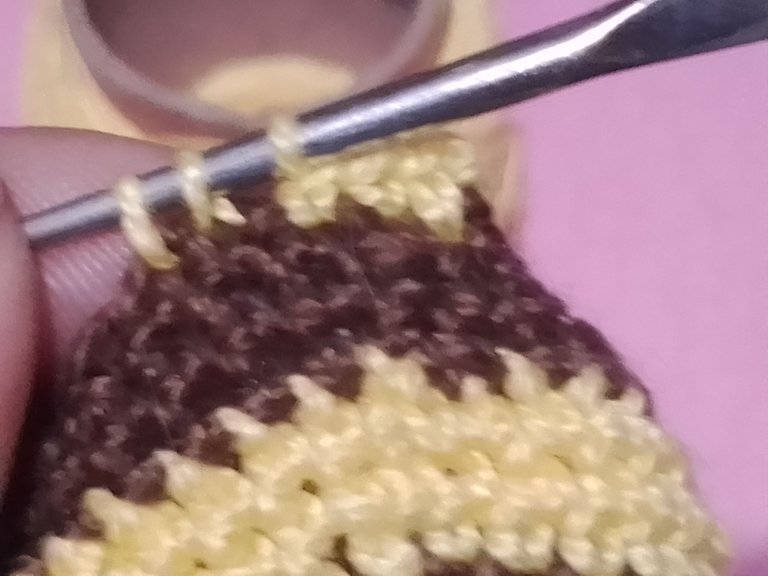
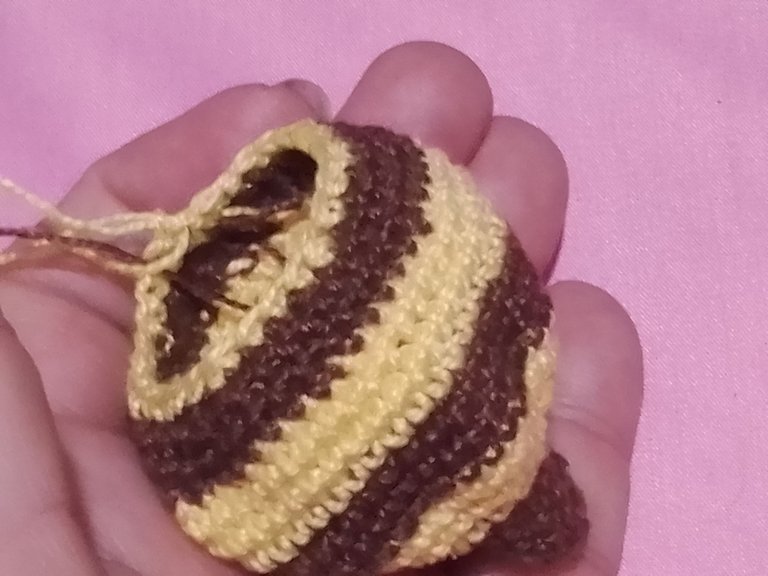
Row 21: in this row, I knit 2 single crochet and 1 decrease to obtain 18 stitches.
Vuelta 21: tejí 2 puntos bajo y 1 disminución, para obtener 18 puntos.
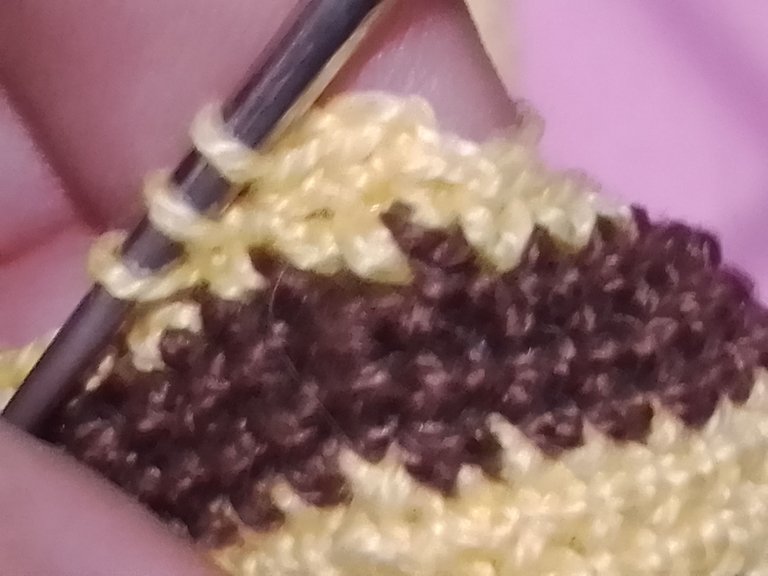

Row 22: I knit a single crochet in each stitch of the previous row, closed the row with a slipknot and cut.
Vuelta 22: tejí un punto bajo en cada punto de la vuelta anterior, cerré la vuelta con un nudo corredizo y corté.
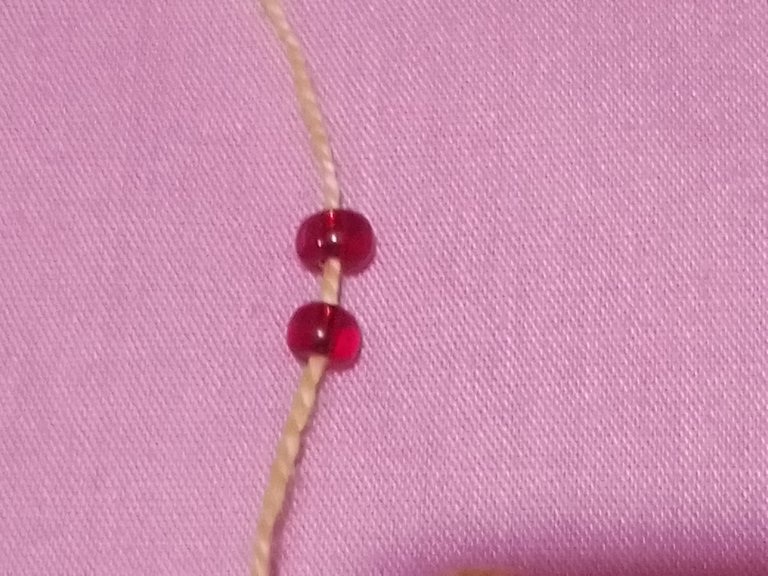
Next I began to knit the head, I knitted it in yellow and before starting to knit I introduced the 2 beads that will form the bee's eyes.
Seguidamente comencé a tejer la cabeza, la tejí en color amarillo y antes de comenzar a tejer introduje las 2 mostacillas que formaran los ojos de la abeja.
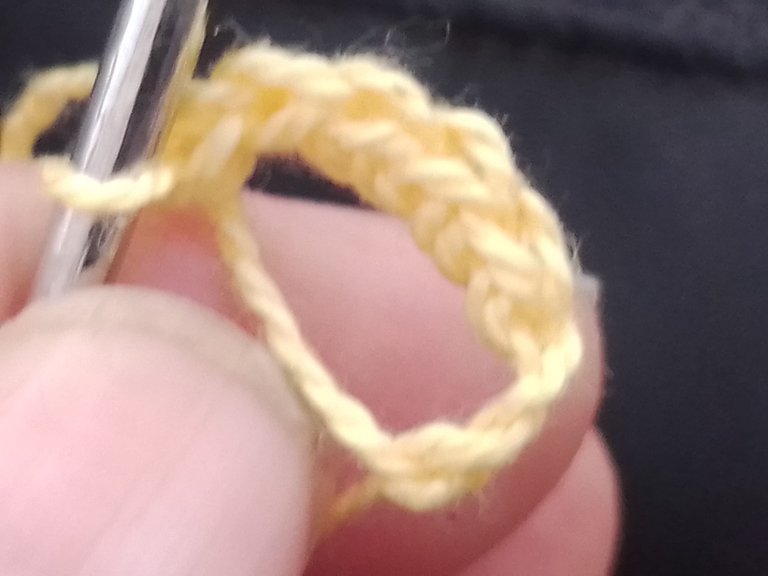
Row 1: I started knitting 6 single crochet stitches in a magic ring.
Vuelta 1: comencé tejiendo 6 puntos bajos en un anillo mágico.
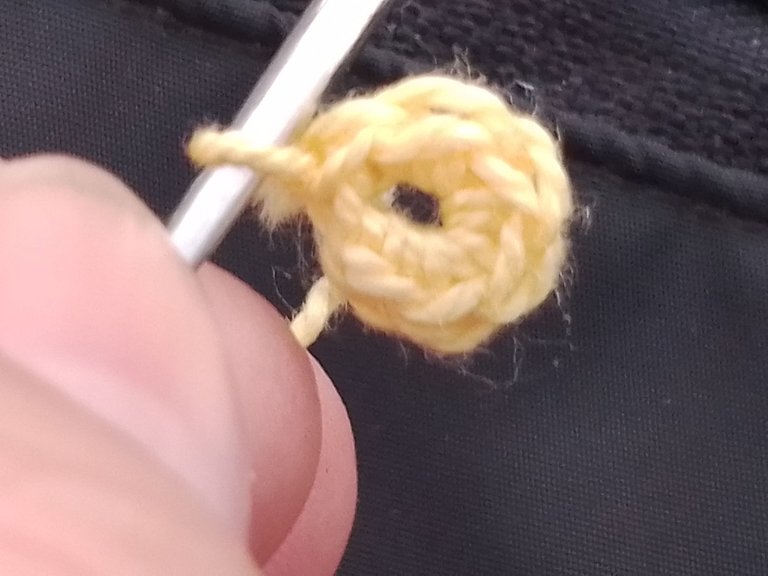
Row 2: I made 6 increases, knitting 2 single crochet stitches in each stitch of the previous row, obtaining 12 stitches.
Vuelta 2: hice 6 aumentos, tejiendo 2 puntos bajos en cada punto de la vuelta anterior, obteniendo 12 puntos.
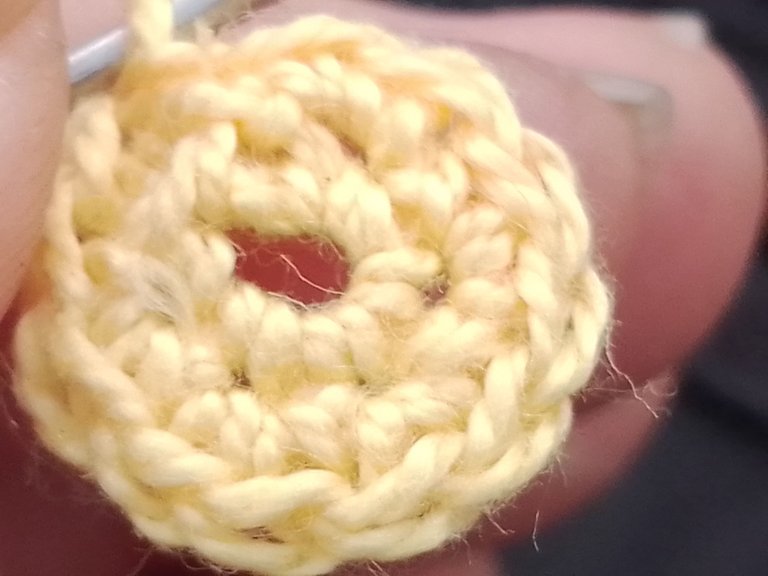
Row 3: I knit 6 increases in the following way, knitting 1 single crochet 1 increase until I obtained 18 stitches.
Vuelta 3: volví a tejer 6 aumentos de la siguiente manera, tejiendo 1 punto bajo 1 aumento hasta obtener 18 puntos.
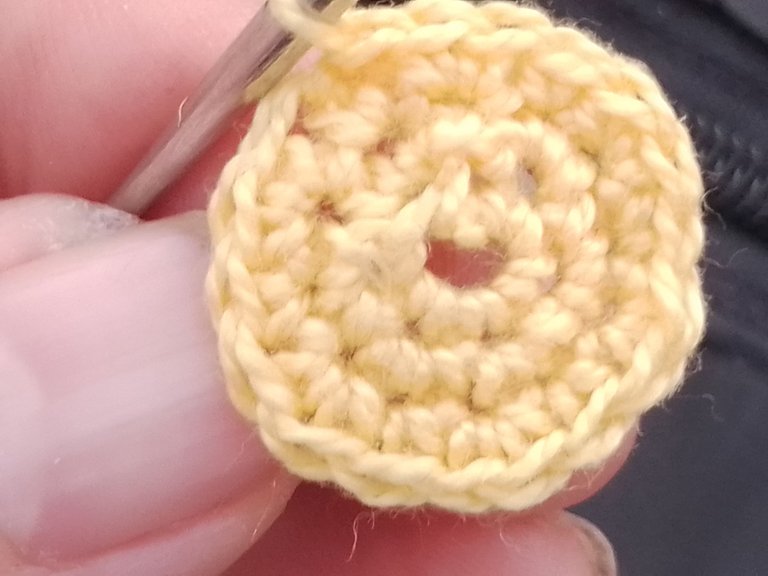
Row 4: I knit 2 single crochet 1 increase, to obtain 24 stitches.
Vuelta 4: Tejí 2 puntos bajos 1 aumento, para obtener 24 puntos.
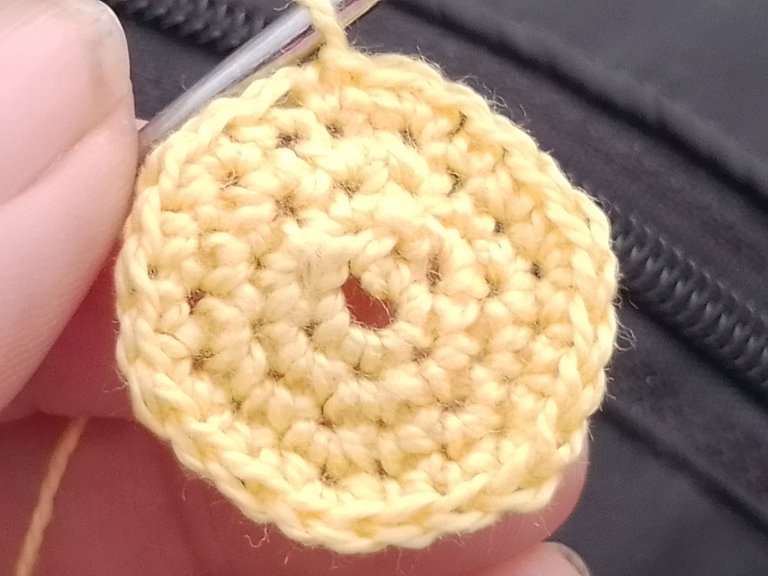
Row 5: I knit 3 single crochet and 1 increase, to obtain 30 stitches.
Vuelta 5: tejí 3 puntos bajos y 1 aumento, hasta obtener 30 puntos.
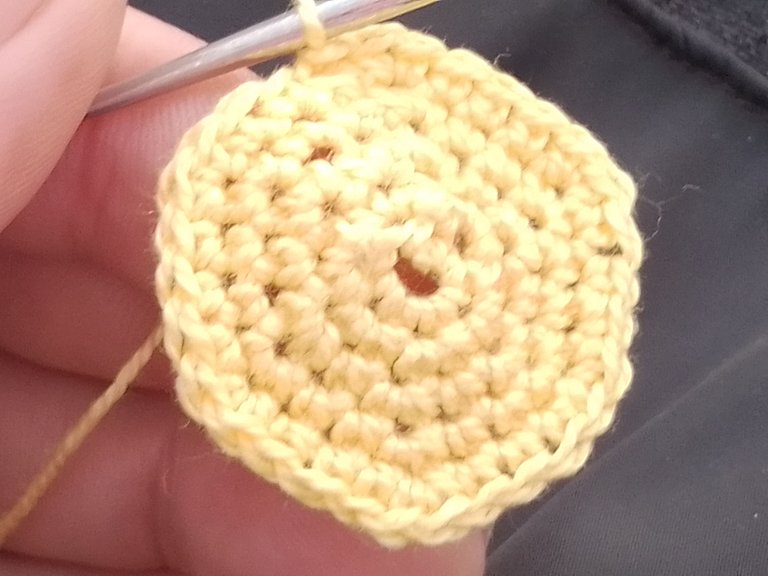
Row 6: I knit 4 single crochet and 1 increase, for 36 stitches.
Vuelta 6: tejí 4 puntos bajos y 1 aumento, hasta obtener 36 puntos.
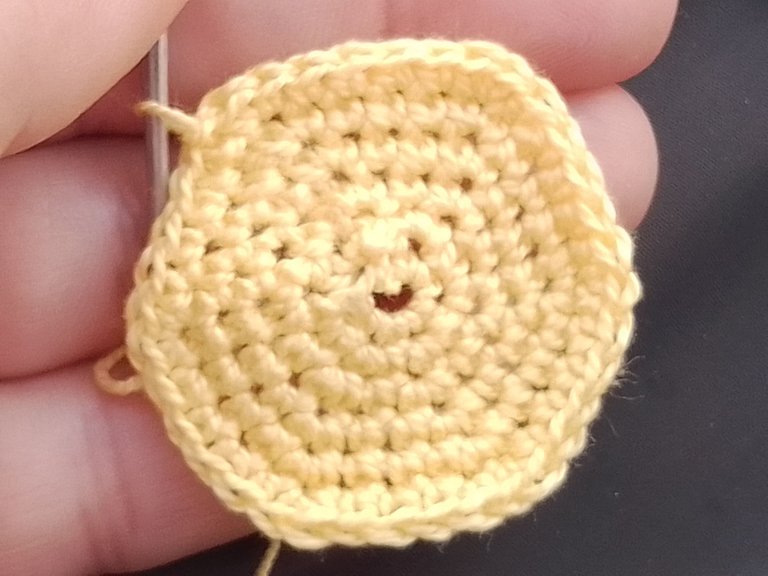
Row 7: knit 5 single crochet and 1 double crochet to 42 stitches.
Vuelta 7: tejí 5 puntos bajos y 1 aumento, hasta tener 42 puntos.
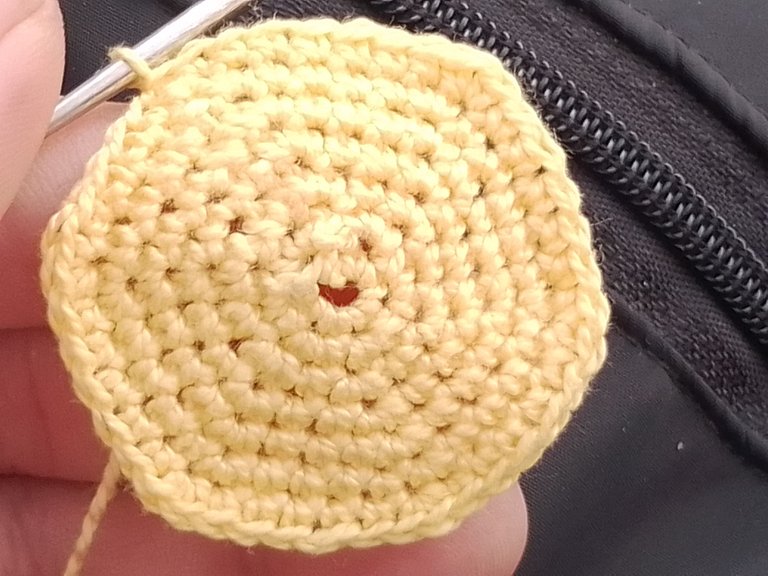
Row 8: knit a single crochet in each stitch of the previous row.
Vuelta 8: tejí un punto bajo en cada punto de la vuelta anterior.
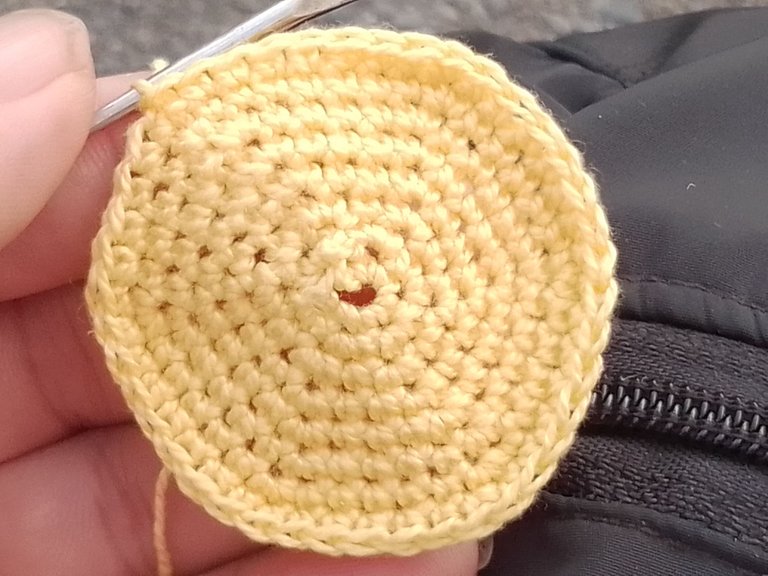
Row 9: knit 6 single crochet and 1 increase to 48 stitches.
Vuelta 9: tejí 6 puntos bajos y 1 aumento hasta obtener 48 puntos.
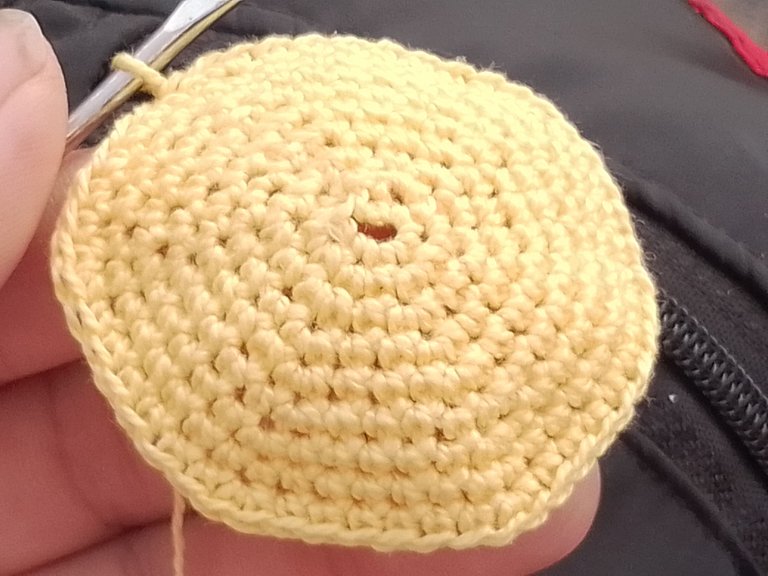
Row 10: knit 23 single crochet and 1 increase, again 23 single crochet and 1 increase, making 50 stitches.
Vuelta 10: tejí 23 puntos bajos y 1 aumento, nuevamente 23 puntos bajos y un aumento, obteniendo así 50 puntos.
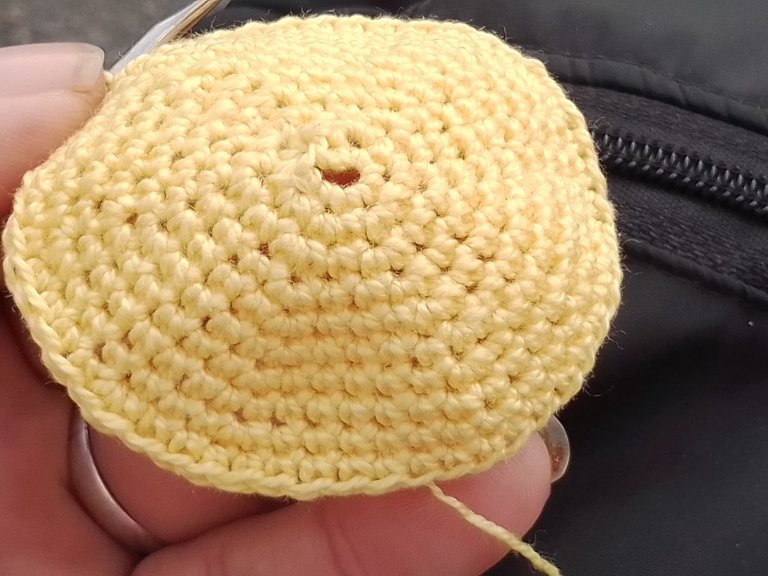
Row 11-15: I knit a single crochet over each stitch of the previous row (in row 13 I placed the eyes, leaving 4 stitches between each one).
Vuelta 11-15: tejí un punto bajo sobre cada punto de la vuelta anterior (en la vuelta 13 coloqué los ojos dejando 4 puntos de distancia entre cada uno de ellos)
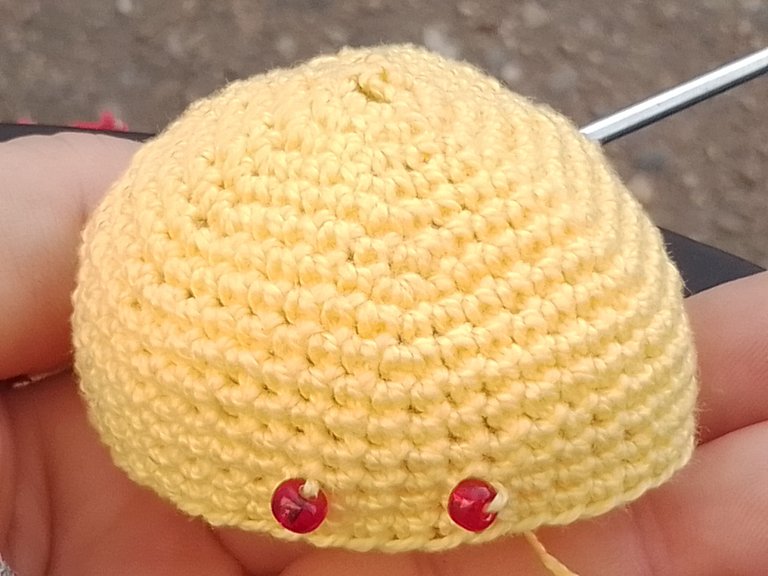
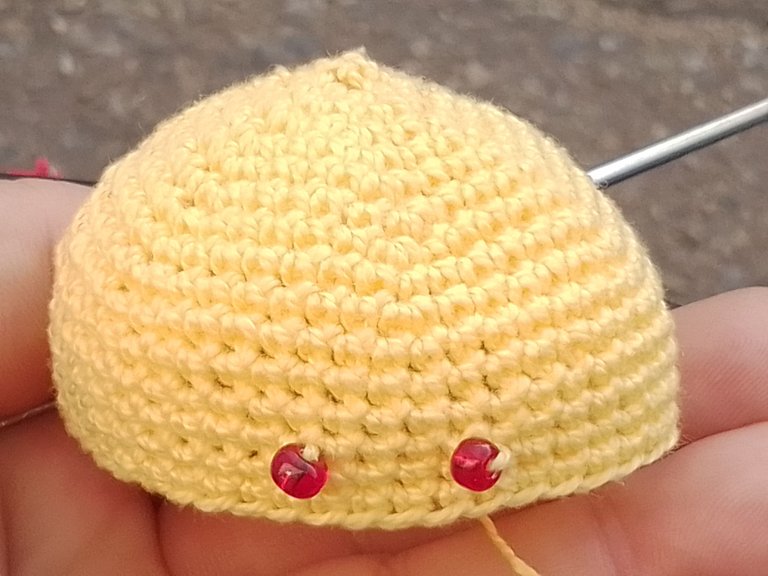
Row 16: in this row begin the decreases, I knit 23 single crochets and a decrease, again 23 single crochets and a decrease, obtaining 48 stitches.
Vuelta 16: en esta vuelta comienzan las disminuciones, tejí 23 puntos bajos y una disminución, nuevamente 23 puntos bajos y una disminución, obteniendo 48 puntos.
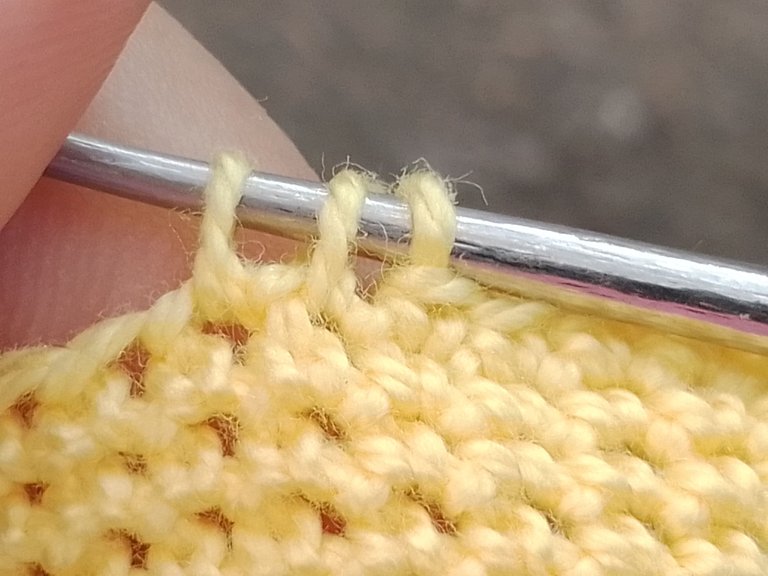
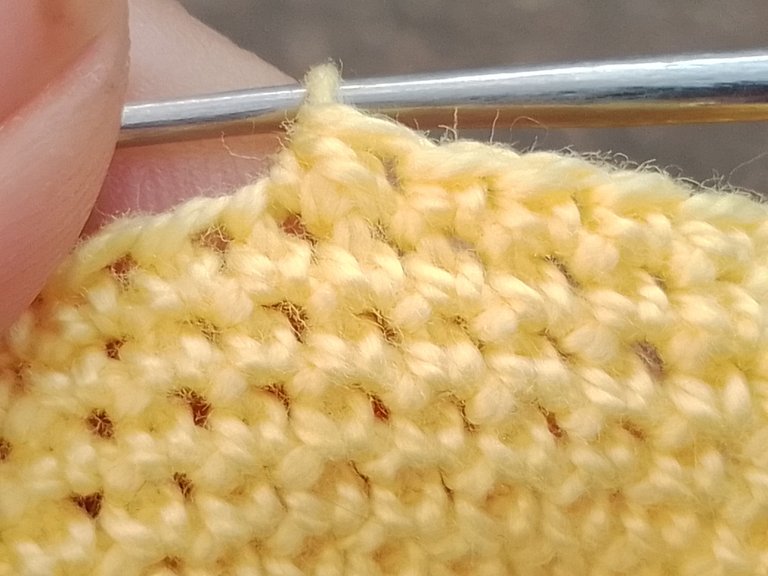
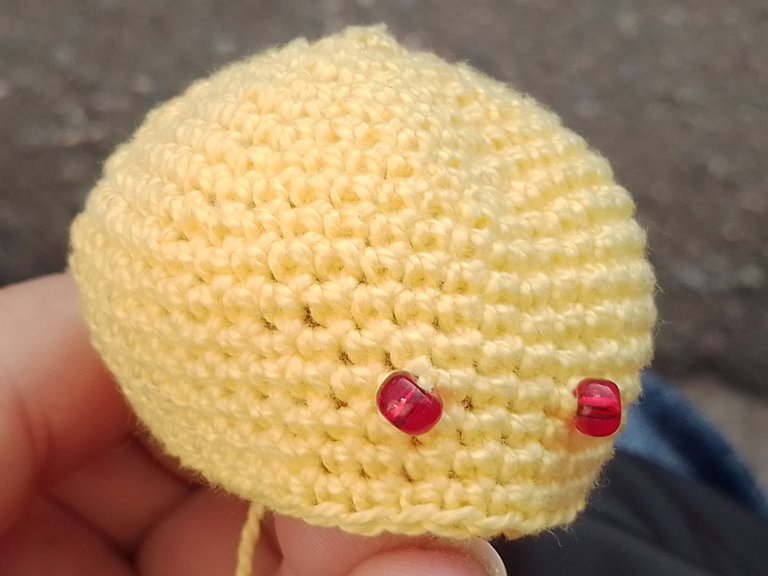
Row 17: I knit 6 single crochet and 1 decrease, obtaining 42 stitches.
Vuelta 17: tejí 6 puntos bajos y 1 disminución, obteniendo 42 puntos.
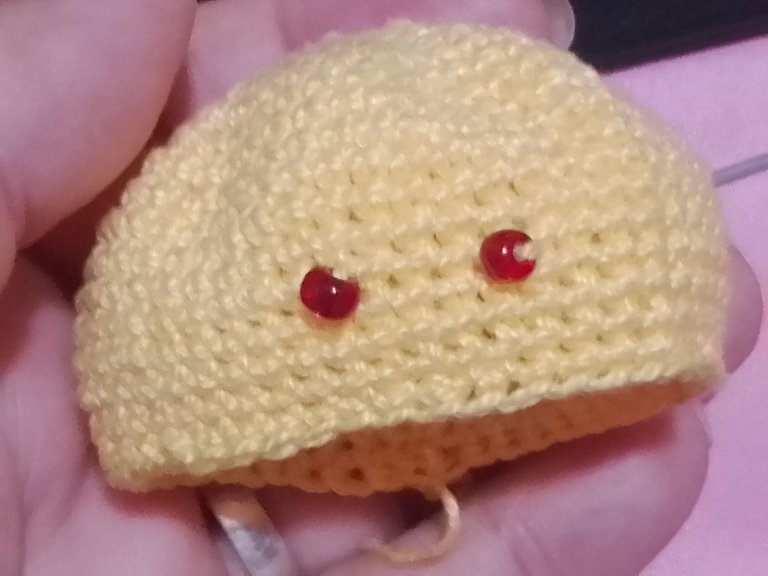
Row 18: I knit 5 single crochet and 1 decrease, until I have 36 stitches.
Vuelta 18: tejí 5 puntos bajos y 1 disminución, hasta tener 36 puntos.
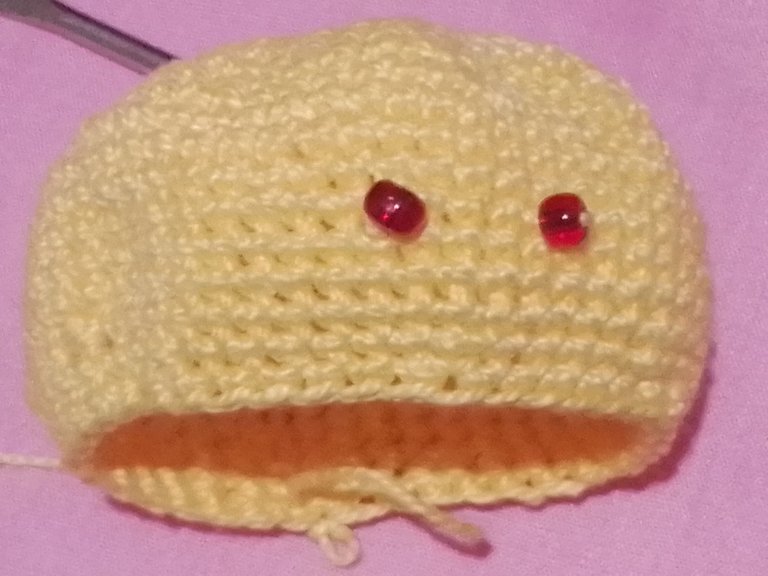
Row 19: I knit 4 single crochet and 1 decrease, making 30 stitches.
Vuelta 19: tejí 4 puntos bajos y 1 disminución, obteniendo 30 puntos.
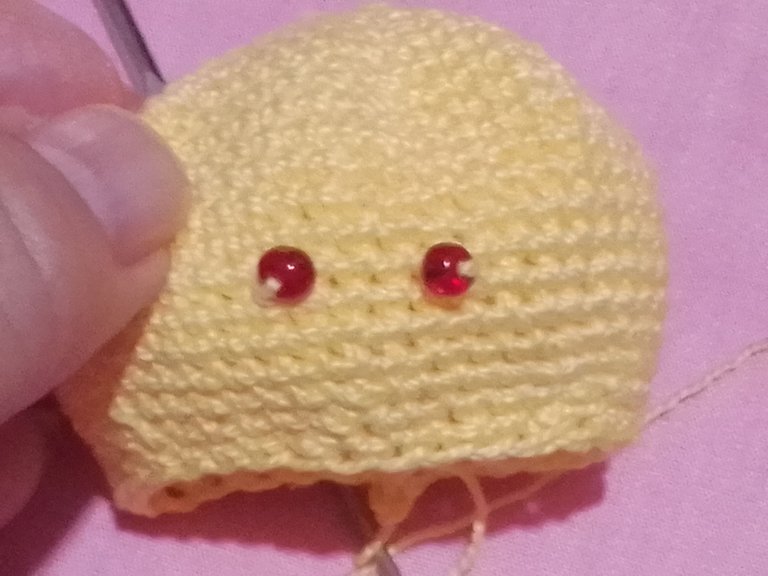
Row 20: knit 3 single crochet and 1 decrease, making 24 stitches.
Vuelta 20: tejí 3 puntos bajos y 1 disminución, obteniendo 24 puntos.
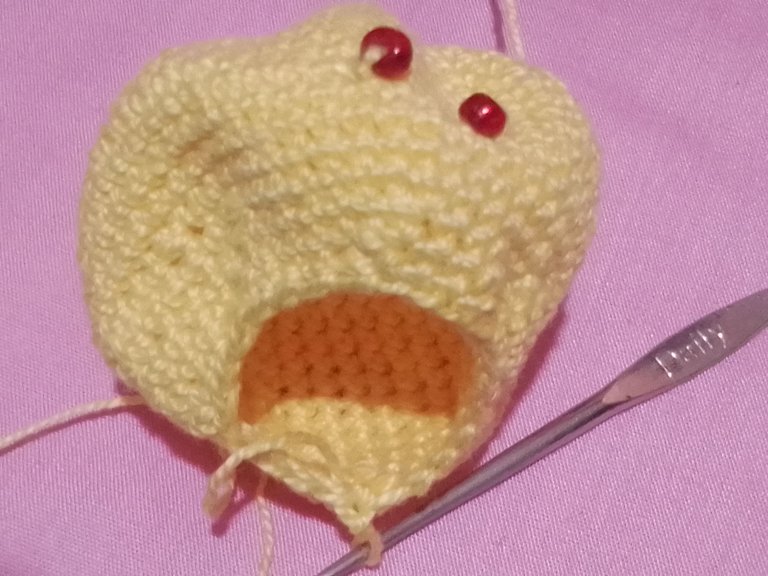
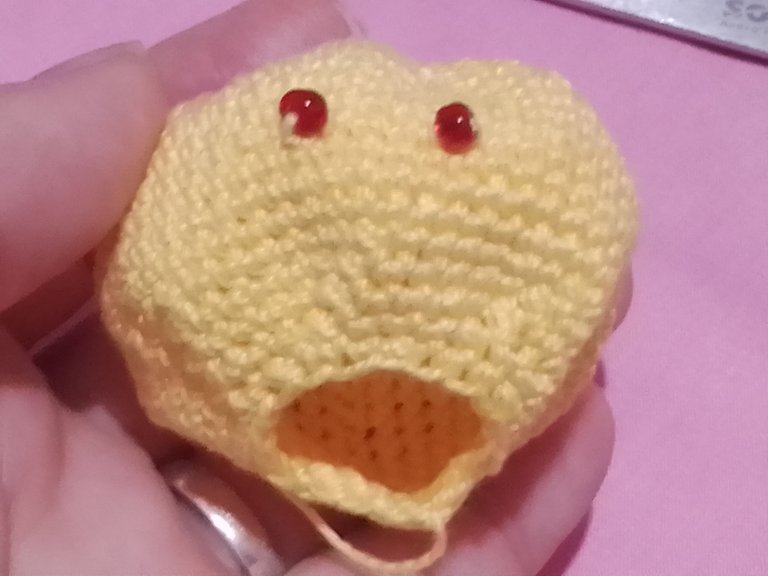
Row 21: knit 2 single crochet and 1 decrease, making 18 stitches, close with a slip knot and cut.
Vuelta 21: tejí 2 puntos bajos y 1 disminución, obteniendo 18 puntos, cerré con un nudo deslizable y corté.
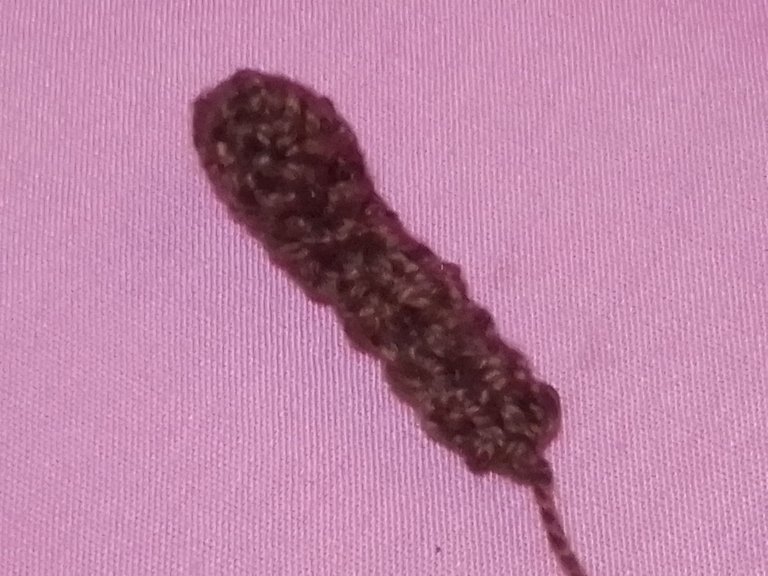
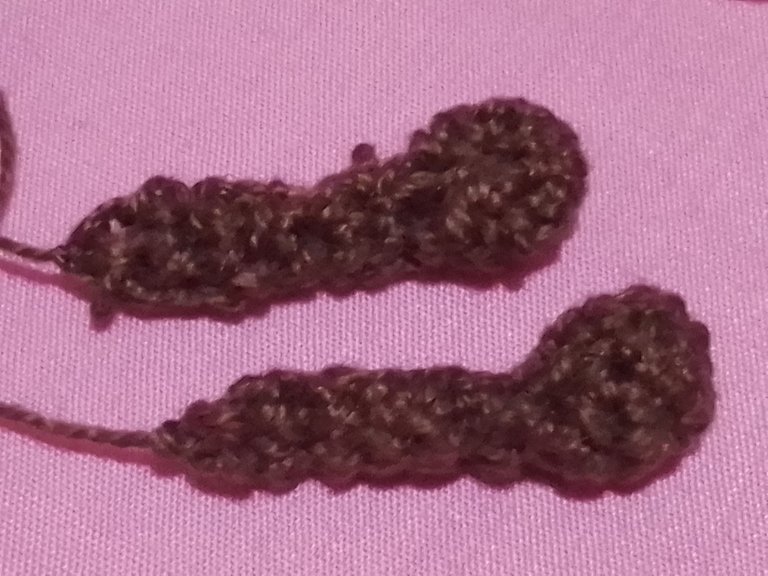
The antennae are knitted in brown:
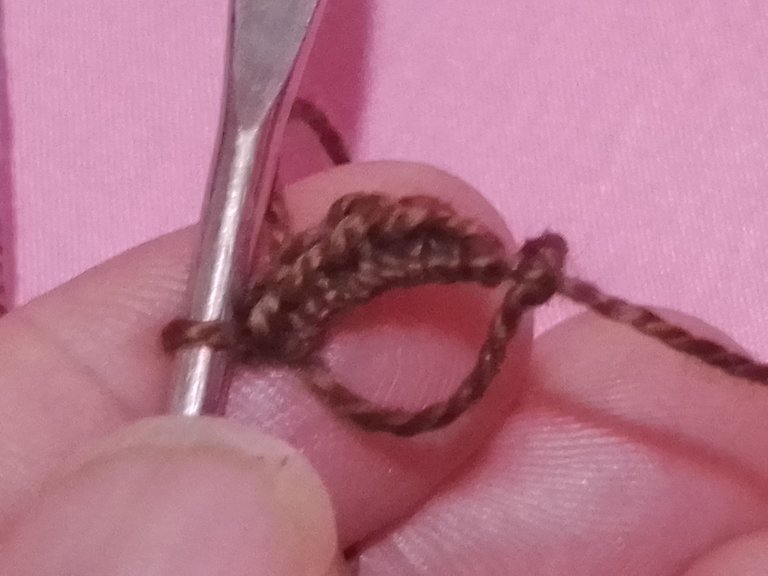
Row 1: I knit 6 single crochet over a magic ring.
Las antenas las tejí en color marrón:
Vuelta 1: tejí 6 puntos bajos sobre un anillo mágico.
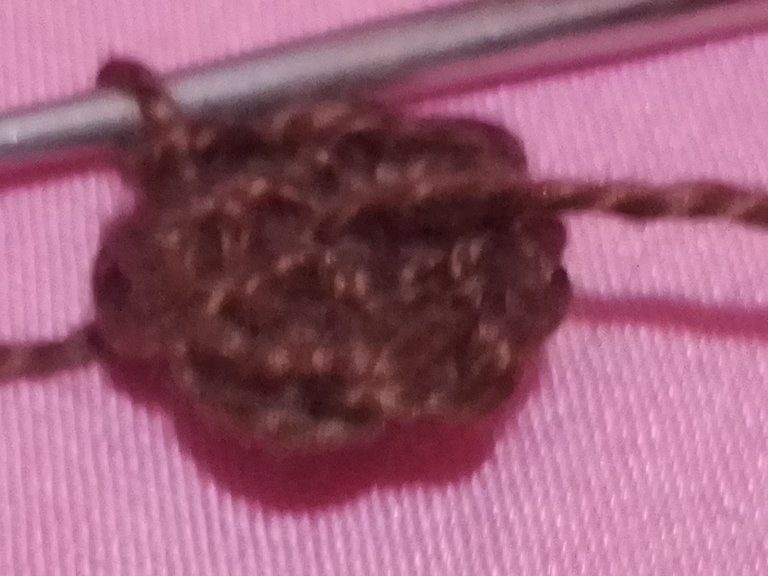
Row 2: I knit a single crochet over each stitch of the previous row.
Vuelta 2: tejí un punto bajo sobre cada punto de la vuelta anterior.
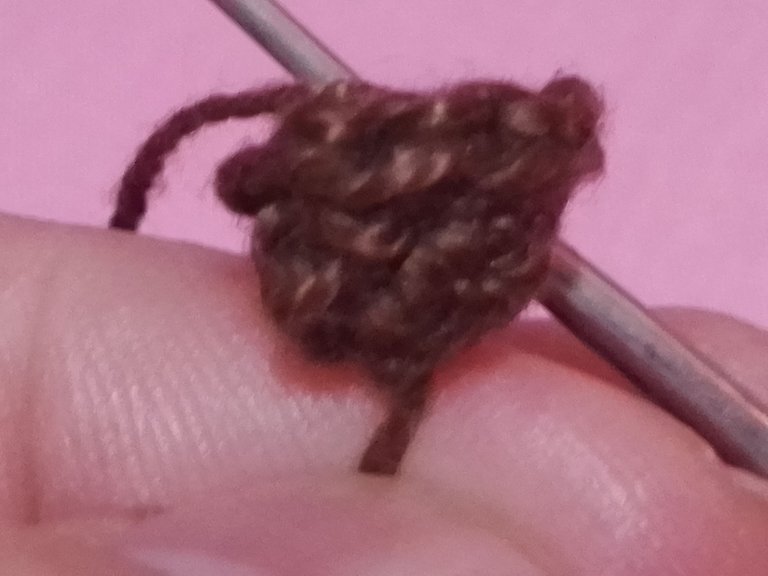
Row 3: in this row I knit 4 single crochet 1 decrease, obtaining 5 stitches.
Vuelta 3: en esta vuelta tejí 4 puntos bajos 1 disminución, obteniendo 5 puntos.
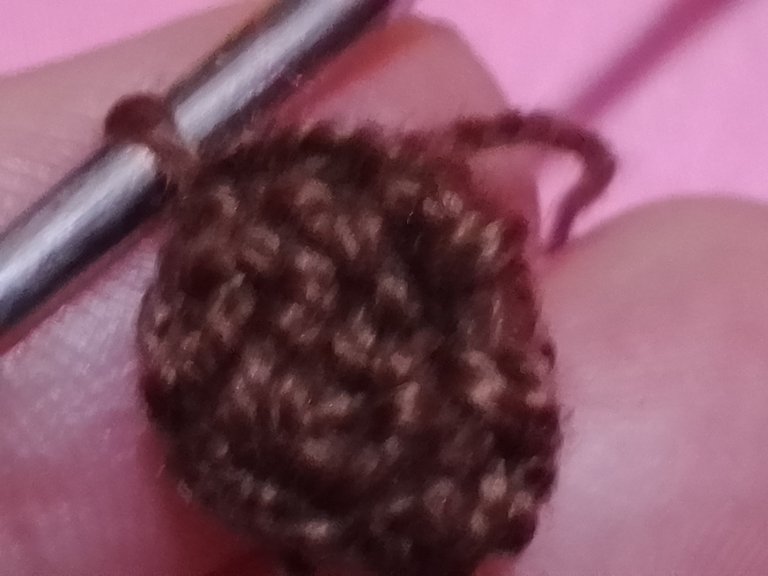
Row 4: I knit 3 single crochet 1 decrease, making 4 stitches.
Vuelta 4: tejí 3 puntos bajos 1 disminución, obteniendo 4 puntos.
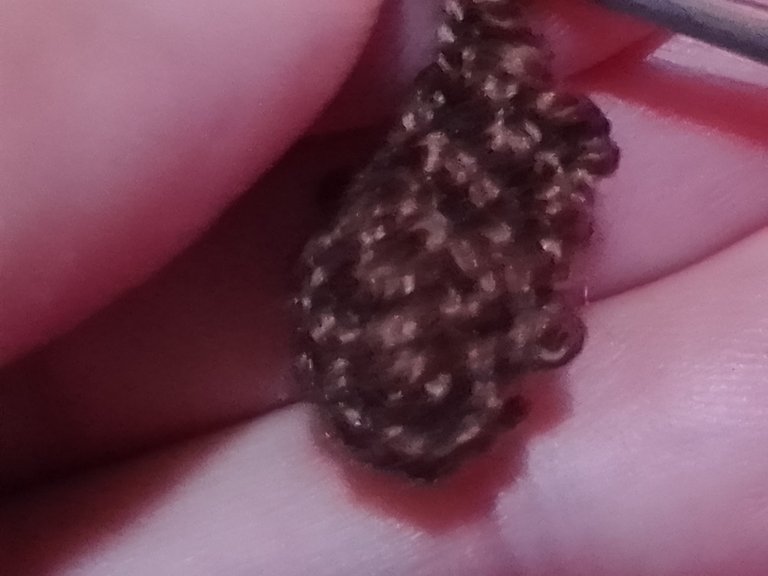
Rows 5-8: I knit a single crochet over each stitch of the previous row, closing with a slip knot.
Vueltas 5-8: tejí un punto bajo sobre cada punto de la vuelta anterior, cerrando con un nudo corredizo.
I also knit the legs in brown.
Row 1: I knit 5 single crochet stitches over a magic ring.
Las piernas también las tejí en marrón.
Vuelta 1: tejí 5 puntos bajos sobre un anillo mágico.
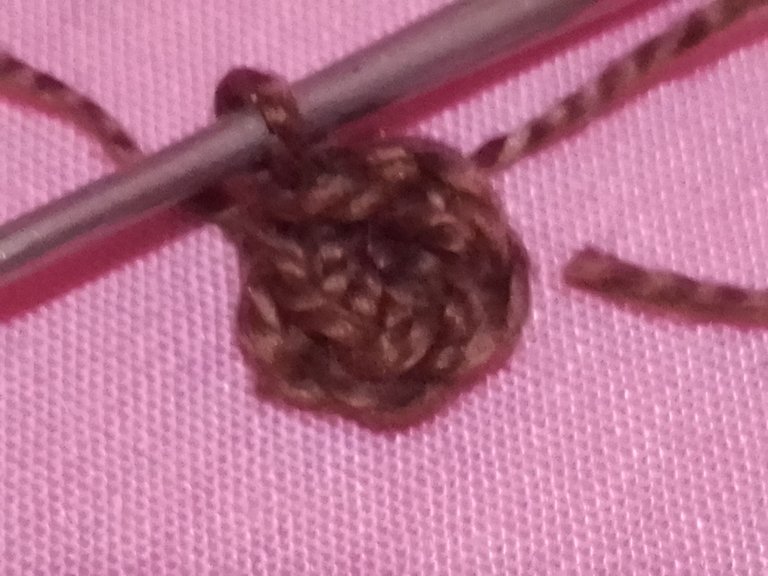
Row 2: I knit a single crochet over each stitch of the previous row.
Vuelta 2: tejí un punto bajo sobre cada punto de la vuelta anterior.
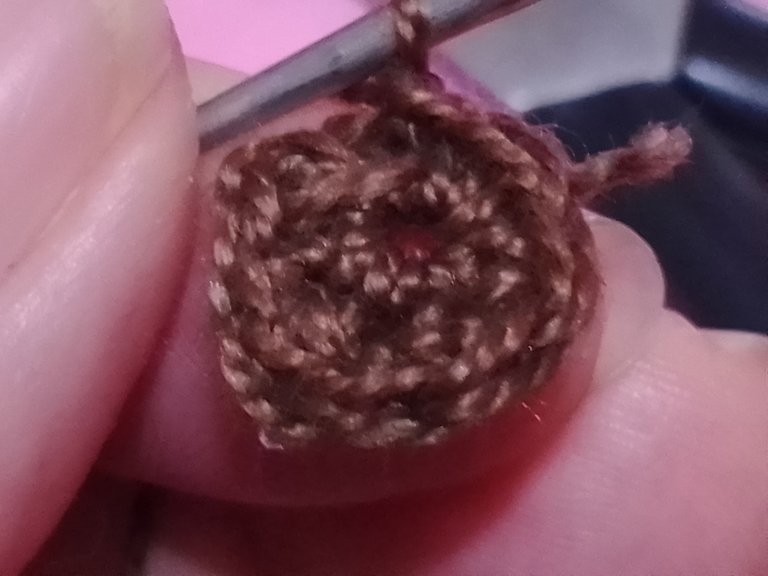
Row 3: in this row I knit 3 single crochet 1 decrease, making 4 stitches.
Vuelta 3: en esta vuelta tejí 3 puntos bajos 1 disminución, obteniendo 4 puntos.
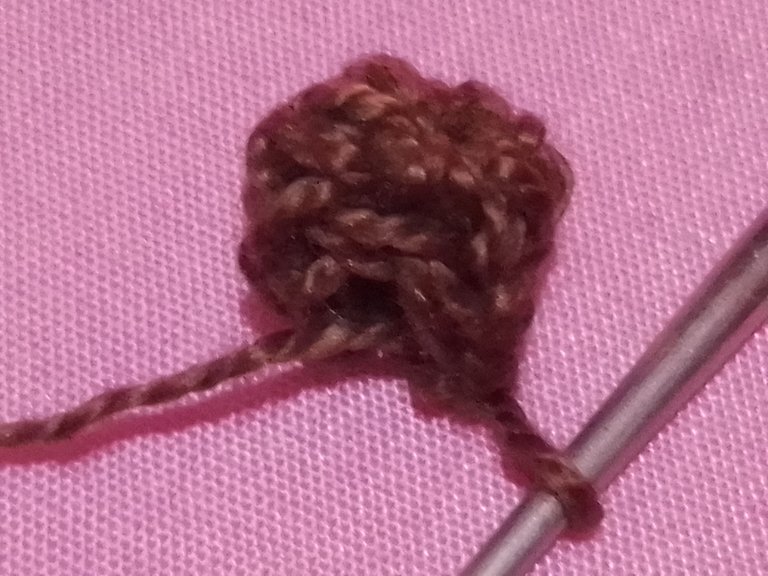
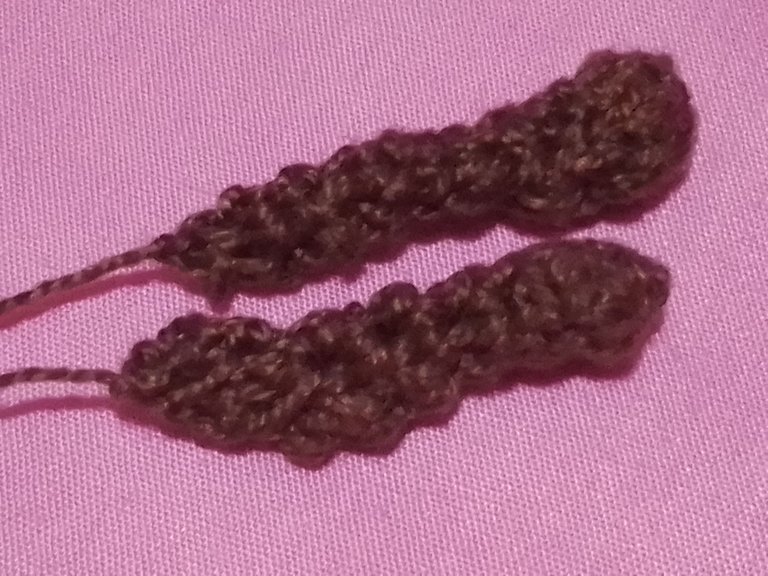
Rows 4-8: I knit a single crochet over each stitch of the previous row, closing with a slip knot.
Vueltas 4-8: tejí un punto bajo sobre cada punto de la vuelta anterior, cerrando con un nudo corredizo.
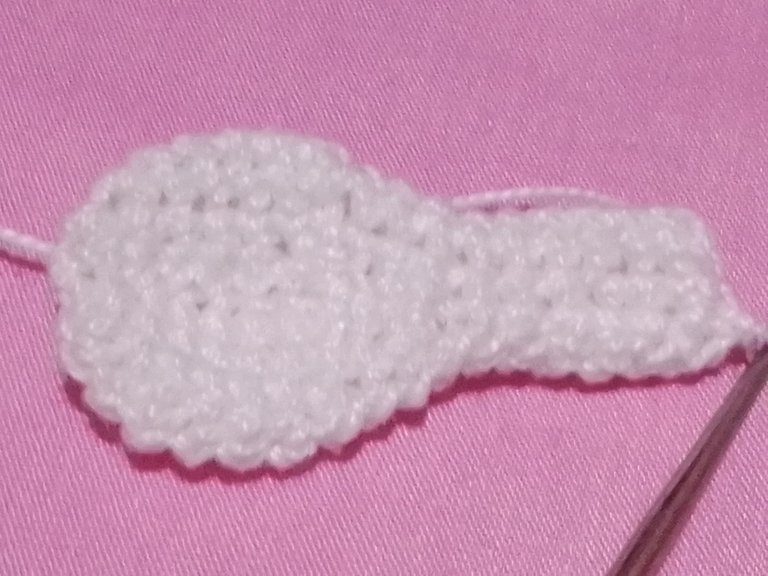
The wings are knitted in white.
Row 1: I knit 6 single crochet over a magic ring.
Las alas las tejí en color blanco.
Vuelta 1: tejí 6 puntos bajos sobre un anillo mágico.
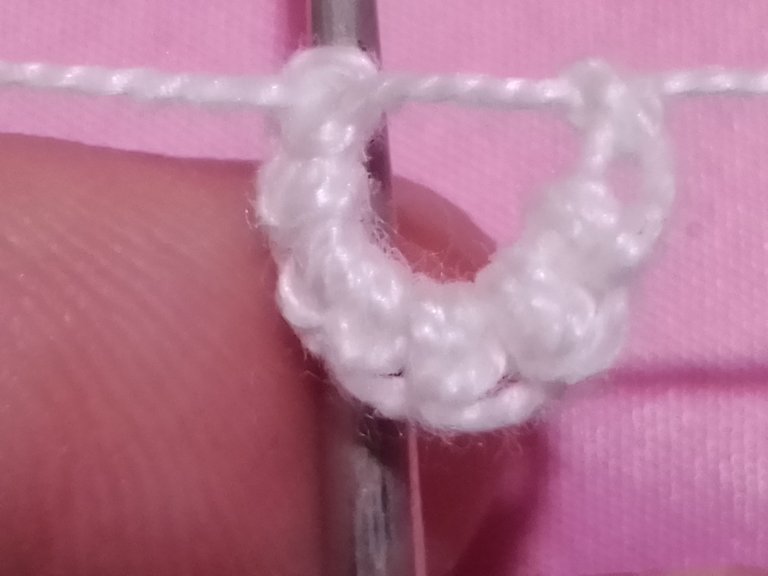
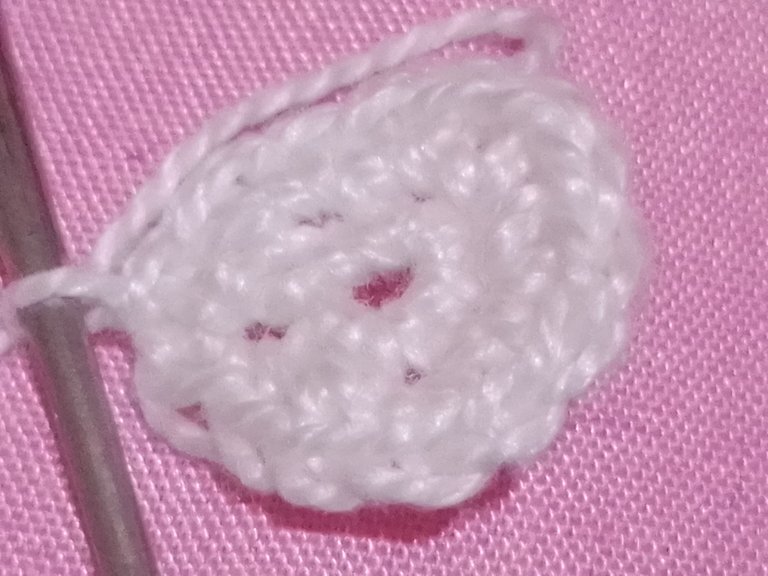
Row 2: in this row I made 6 increases by knitting 1 single crochet and 1 double crochet, obtaining 12 stitches.
Vuelta 2: en esta vuelta hice 6 aumentos tejiendo 1 punto bajo y 1 aumento, obteniendo 12 puntos
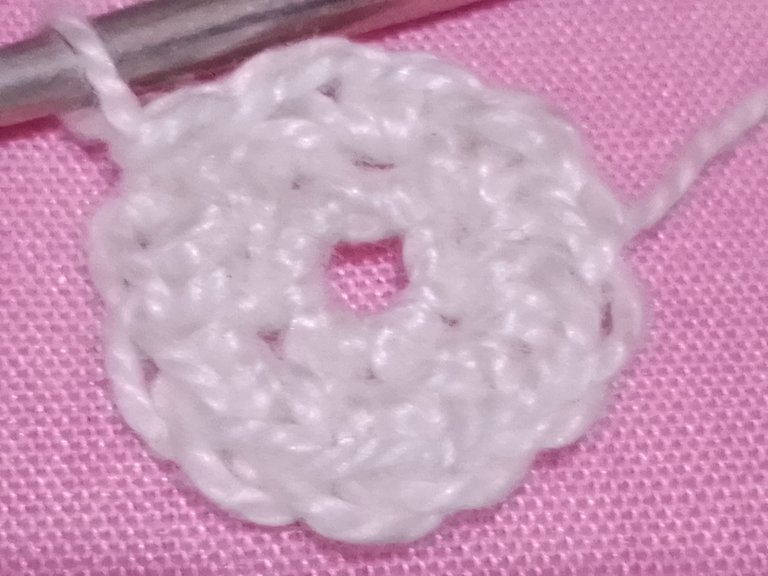
Row 3: again I knit 6 increases, knitting 2 single crochet and 1 increase, and so on until I obtained 18 stitches.
Vuelta 3: nuevamente hice 6 aumentos, tejiendo 2 puntos bajos y un aumento, así sucesivamente hasta obtener 18 puntos.
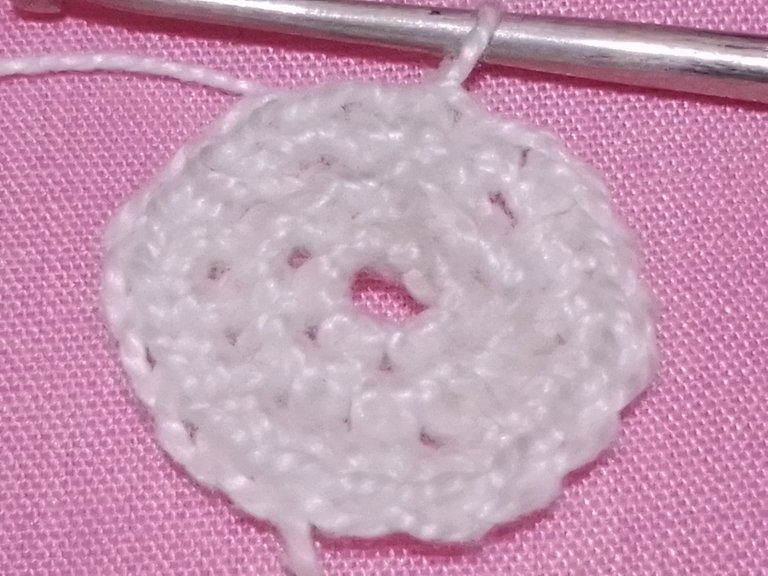
Row 4-7: knit a single crochet over each stitch of the previous row.
Vuelta 4-7: tejí un punto bajo sobre cada punto de la vuelta anterior
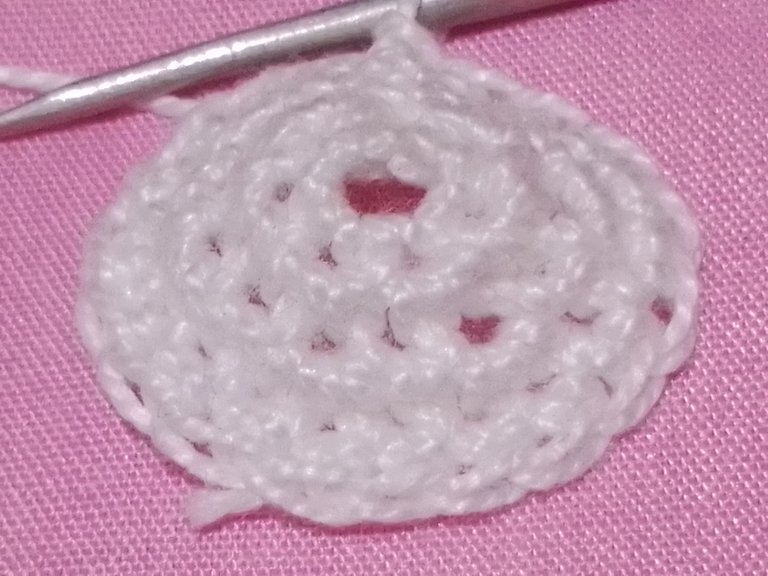
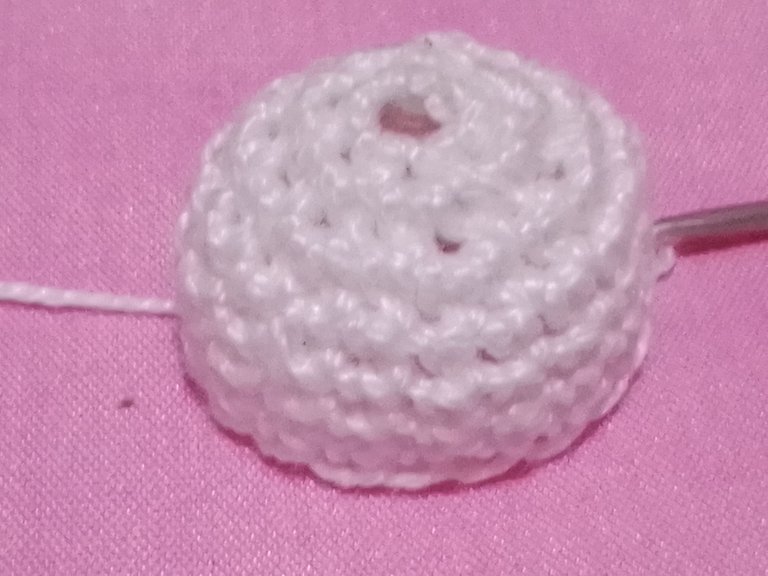
Row 8: in this row I made 6 decreases, knitting 2 single crochets and 1 decrease, obtaining 12 stitches.
Vuelta 8: en esta vuelta hice 6 reducciones tejiendo 2 puntos bajos y 1 reducción, obteniendo 12 puntos
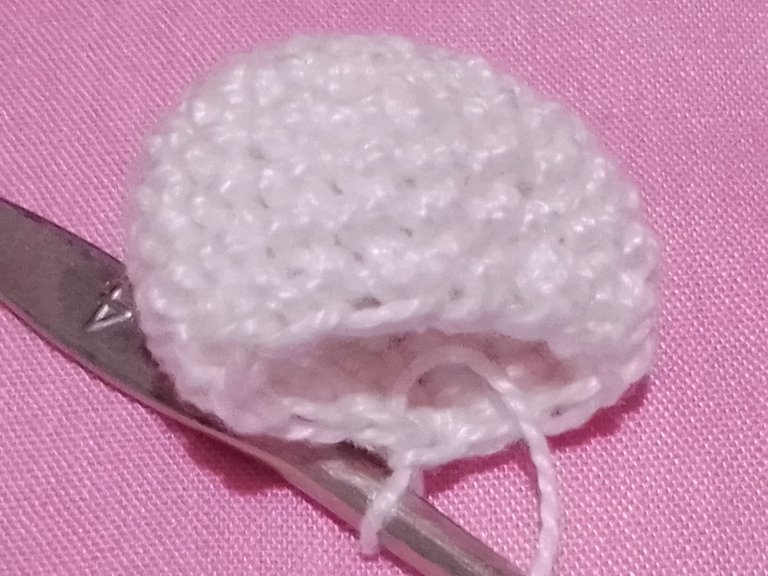
Row 9-10: I knit a single crochet over each stitch of the previous row.
Vuelta 9-10: tejí un punto bajo en cada punto de la vuelta anterior.
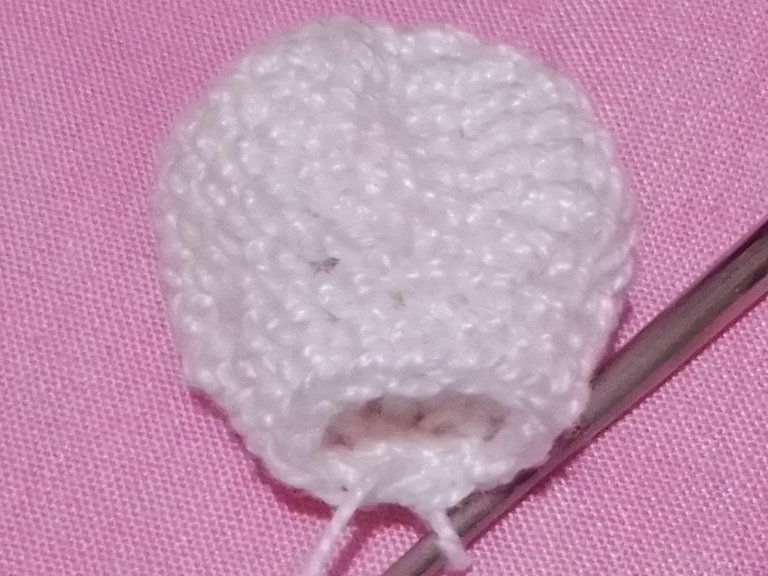
Row 11: in this row I knit 2 single crochets and 1 reduction to obtain 9 stitches.
Vuelta 11: en esta vuelta tejí 2 puntos bajos y 1 reducción hasta obtener 9 puntos.
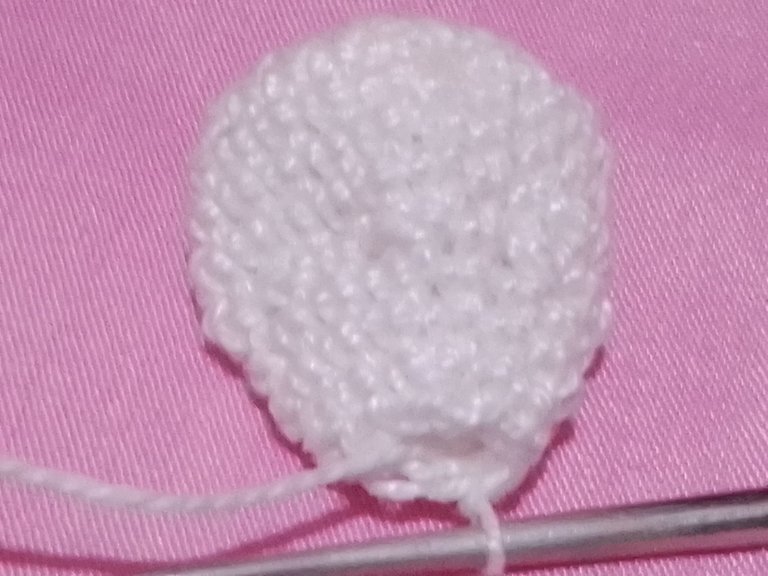
Rows 12-14: I knit a single crochet over each stitch of the previous row, in row 14 I closed with a slip knot and cut.
Vueltas 12-14: tejí un punto bajo sobre cada punto de la vuelta anterior, en la vuelta 14 cerré con un nudo corredizo y corté.
After knitting all the knitted pieces, I proceeded to fill both the head and the body with the wadding, then I placed the yellow yarn on the blunt needle to join the head and the body.
Después de tejer todas las piezas tejidas, procedí a rellenar tanto la cabeza como el cuerpo con la guata, luego le coloqué el hilo amarillo en la aguja punta roma para unir la cabeza y el cuerpo.
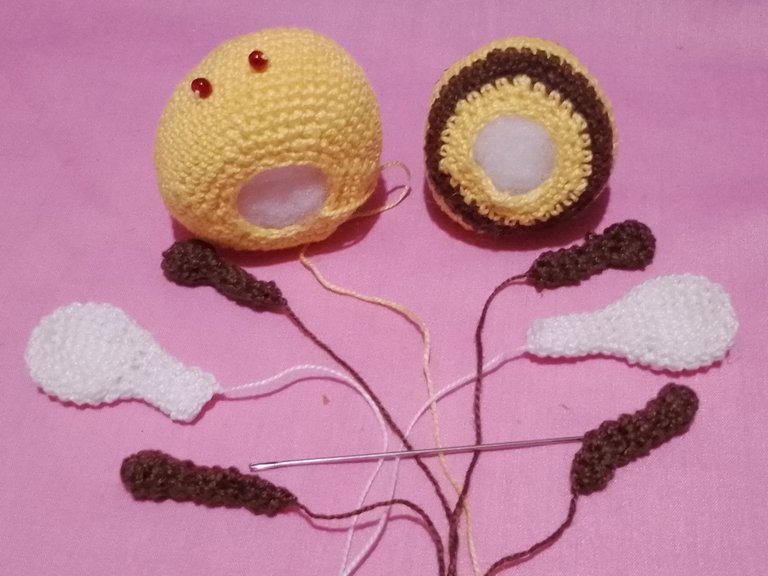
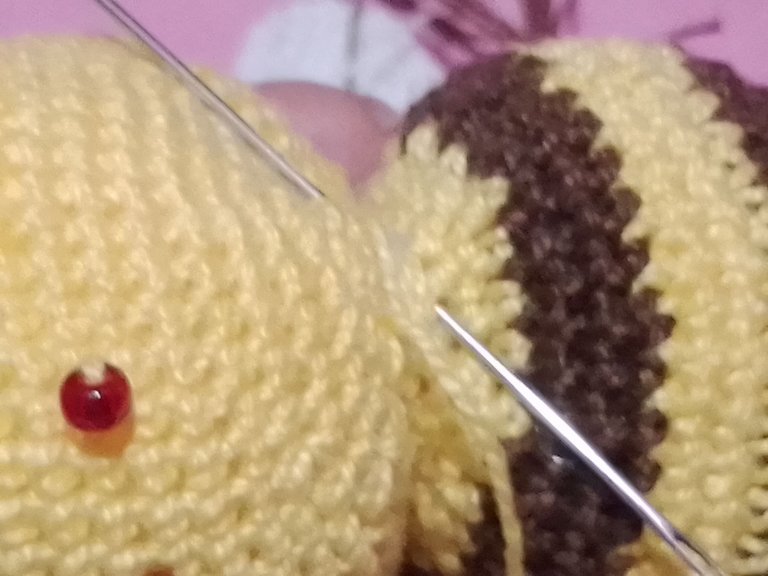
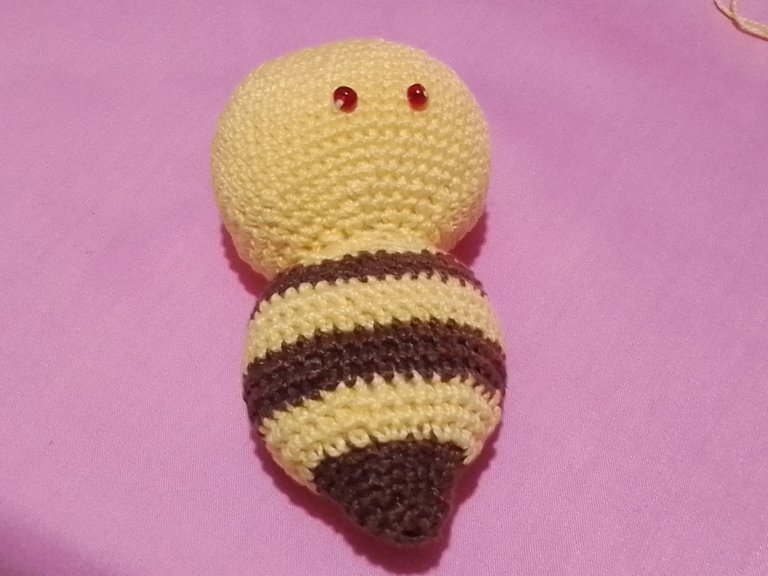
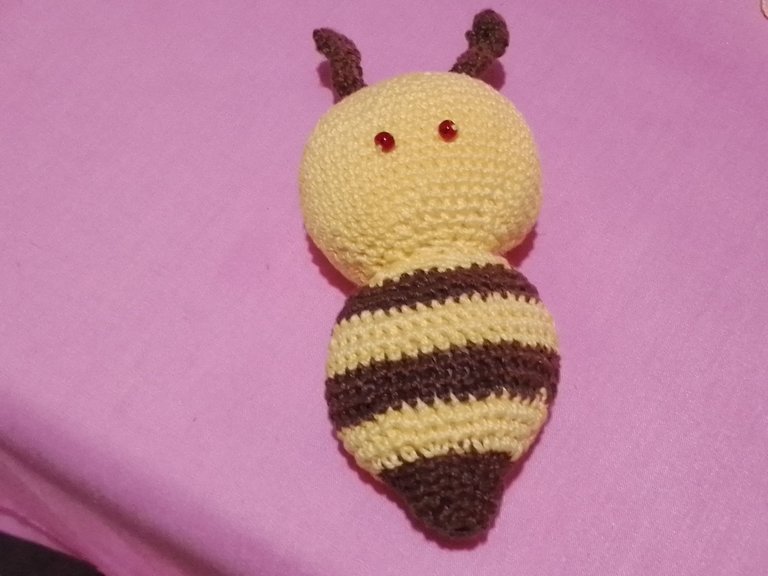
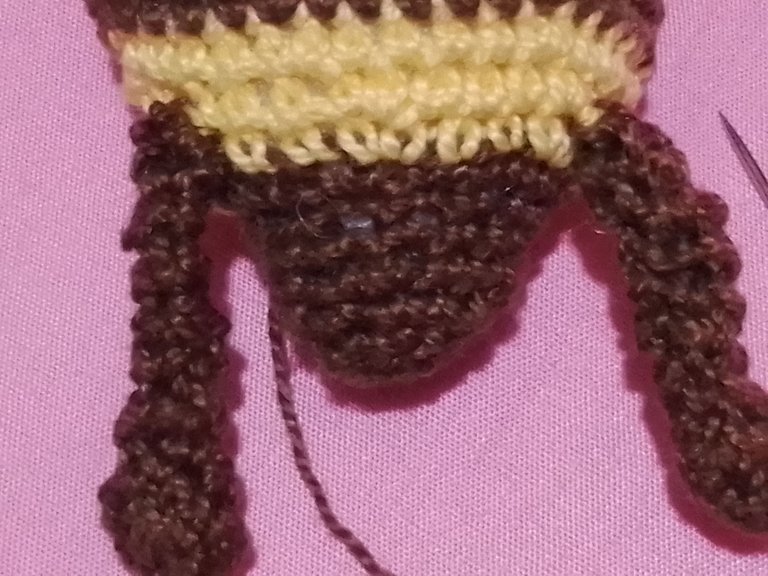
Then with brown thread I sewed the antennae and legs.
Luego con hilo marrón cosí las antenas y piernas.
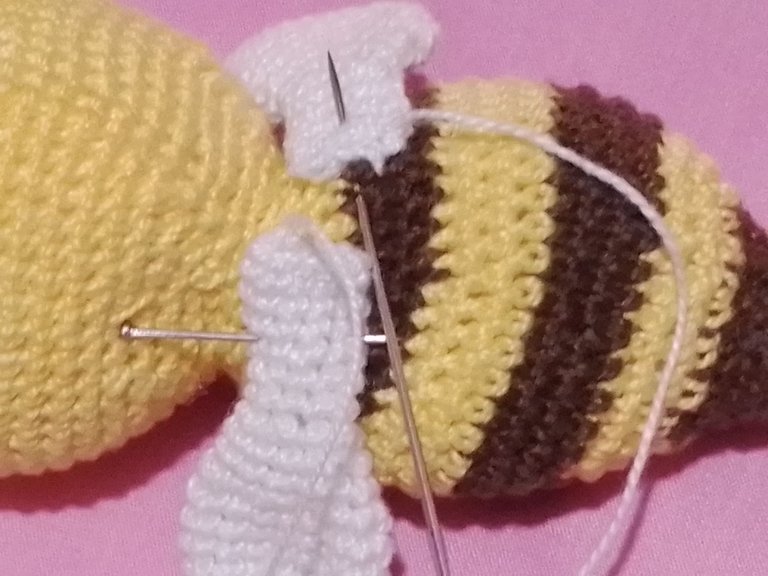
Then with white thread I sewed the wings,
Seguidamente con hilo blanco cosí las alas,
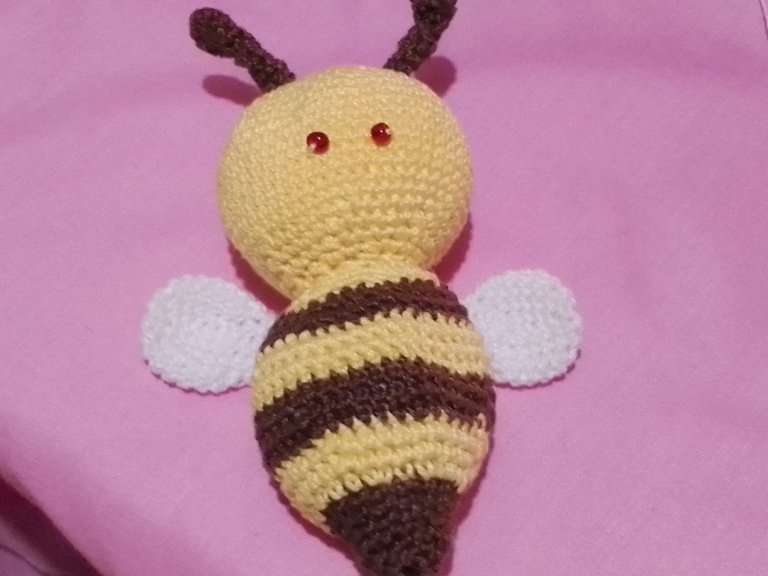
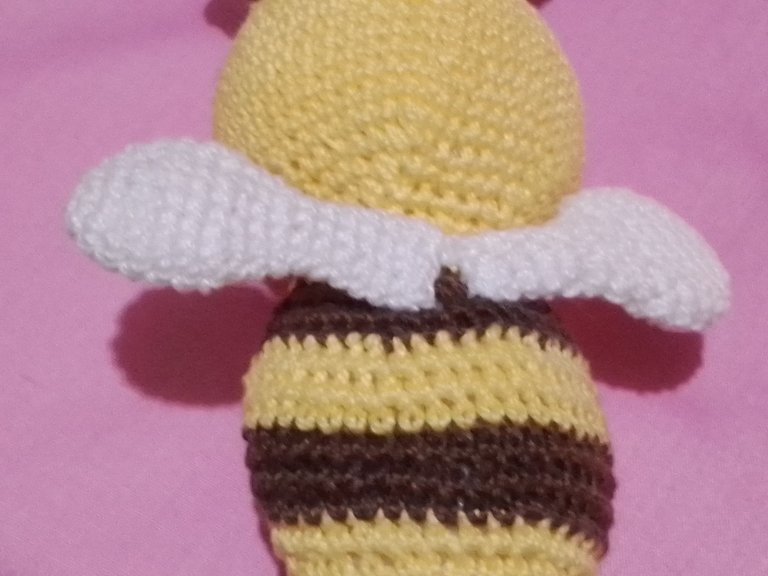
I know that I still have a long way to grow in this world of amigurumi but with sacrifice and perseverance I managed to finish my first work, I thank you all for your support and comments.
Luego con hilo marrón le borde la boca, sé que aún me falta mucho por crecer en este mundo de amigurumi pero con sacrificio y perseverancia logré culminar mi primera labor, agradezco a todos por su apoyo y comentarios.
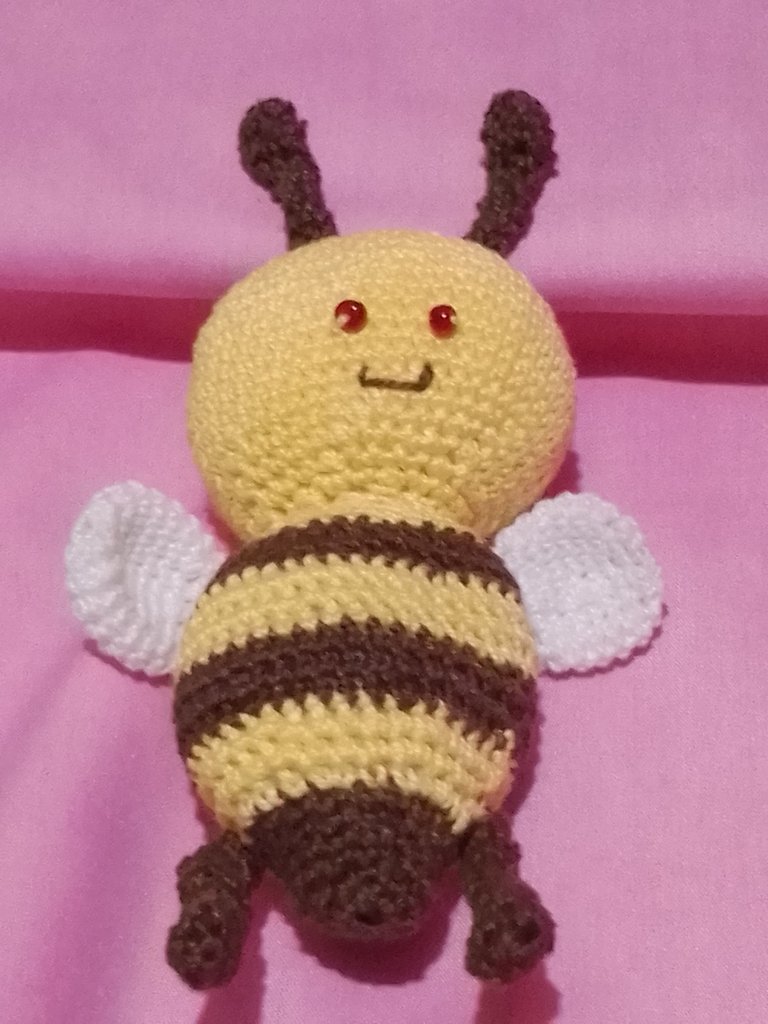
The photos were taken with my Moto E6I cell phone and was translated with www.DeepL.com,Translator (free version).
Las fotos fueron tomadas con mi celular Moto E6I y fue traducido con www.DeepL.com,Translator (versión gratuita)
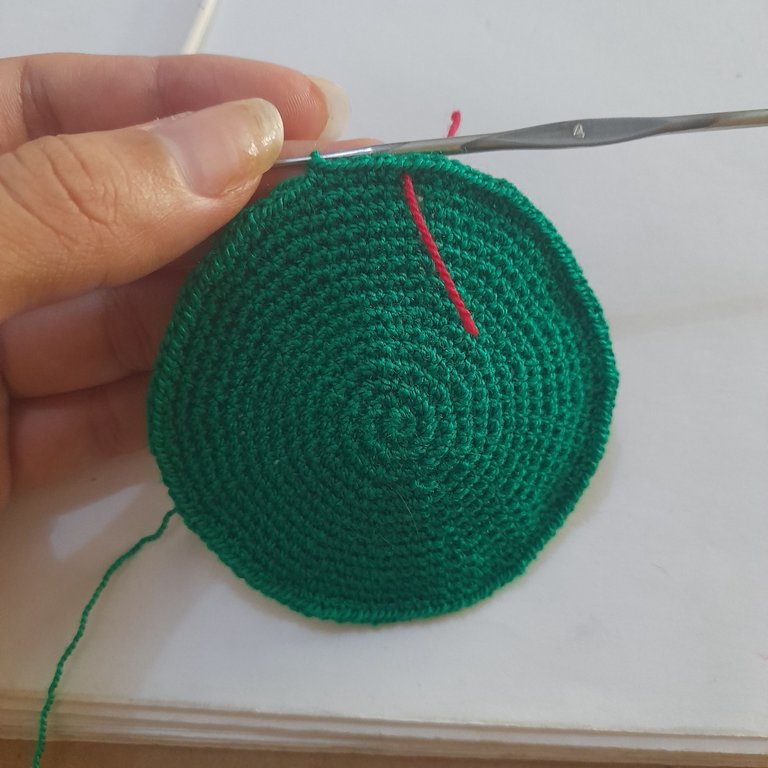
Que alegría que hayas realizado tu primer amigurumi, te ha quedado muy bien para ser la primera vez, te felicito, para no perder la cuenta te aconsejo que marques el inicio de cada ronda atravesando una hebra de otro color o un marcador de esos que venden, mucha concentración e ir contando los aumentos poco a poco, verificar al final de cada ronda si lo hiciste bien para que no avances a la próxima y darte cuenta cuenta te faltan o te sobran y tener que deshacer la ronda completa. Que emoción, espero el próximo se te haga más fácil, ánimo 💪
Gracias por tus consejos querida @irenenavarroart lo tendré en cuenta veré si esta semana viajo a Velencia a ver si consigo esos marcadores porqu eacá ni los conocen. Saludos feliz noche
Si no los consigues no importa amiga, usas una hebra como to hago, mira la pones allí atravesada al inicio de la ronda y luego a quitas y la pones al inicio de la siguiente. Es algo simple pero créeme ayuda mucho cuando tejes en redondo y chiquito
Gracias por el consejo y bueno así lo haré. Saludos
Que ternurita de abeja... Felicidades...
Gracias querida
Es un muy buen trabajo! Los próximos seguro serán mucho mejores y te Resultaran más fácil de hacer
Gracias y sí eso espero, con la práctica viene la mejora, así deciía mi abuela, Saludos y gracias por comentar
Congratulations @gladymar1973! You have completed the following achievement on the Hive blockchain and have been rewarded with new badge(s):
Your next target is to reach 8000 upvotes.
You can view your badges on your board and compare yourself to others in the Ranking
If you no longer want to receive notifications, reply to this comment with the word
STOPCheck out the last post from @hivebuzz:
Support the HiveBuzz project. Vote for our proposal!
This is so beautiful @gladymar1973 weldon thanks for sharing
Thanks to you @smilestitches for commenting and Greetings
You’re welcome 😊
That is very cute and I love the colours!
Thank you and yes, it is good to get out of the daily routine. Greetings and thanks for commenting
That is one cute bee. Greetings from the Philippines!
@afterglow Thanks for commenting, from Venezuela
You're welcome (^_^)
Your little bee turned out great! And it won't sting lol
Exactly Aby does not itch
You have woven this very nicely. Greetings and good luck in your future work.
Thank you very much for your support and for commenting
Todos tenemos un comienzo, me alegra ver éste tipo de trabajos son muy bonitos, yo aún no aprendo a tejer, pero este arte es hermoso, me gustan mucho. Hermoso trabajo! Bendiciones y mucho éxito para ti!
Nunca es tarde para aprender y en esta comunidad hay muchas amigas que te podremos ayudar en tus primeros pasos, todo lo que podamos aprender es bueno.
I think you should be very happy with your first creation! I love all the details in this post. :-) Great job @gladymar1973.