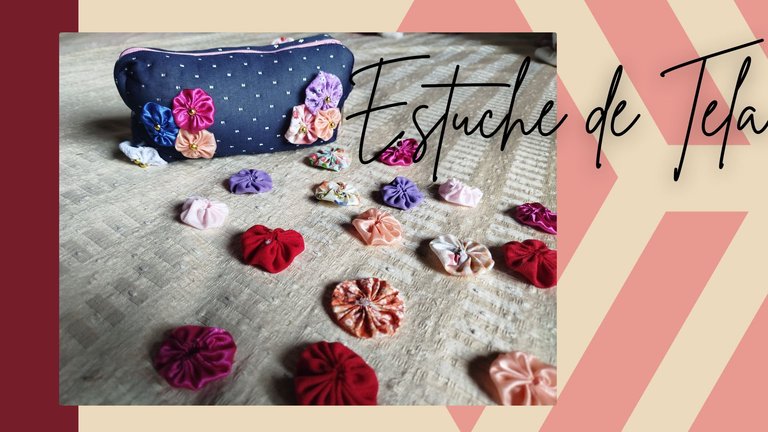

¡Feliz lunes y feliz inicio de semana mis queridos amigos de Hive, bienvenidos de nuevo a mi blog!
El día de hoy quiero compartir para ustedes un pequeño tutorial sobre la elaboración de un estuche multiuso decorado con pequeñas flores de tela, ideal para que guardes maquillaje, accesorios o inclusive usarlo como cartuchera para guardar bolígrafos, lápices entre otros.
La elaboración es bastante sencilla, ya que no utilizaremos ningún molde en especifico, solo debemos cortar telas en cuadros de 30x30 cm y un círculo de 7 cm de diámetro aproximadamente, para la elaboración de las flores, y por supuesto que estas medidas pueden variar según el tamaño deseado del proyecto.
Y ahora sí, sin más, les dejo el paso a paso.

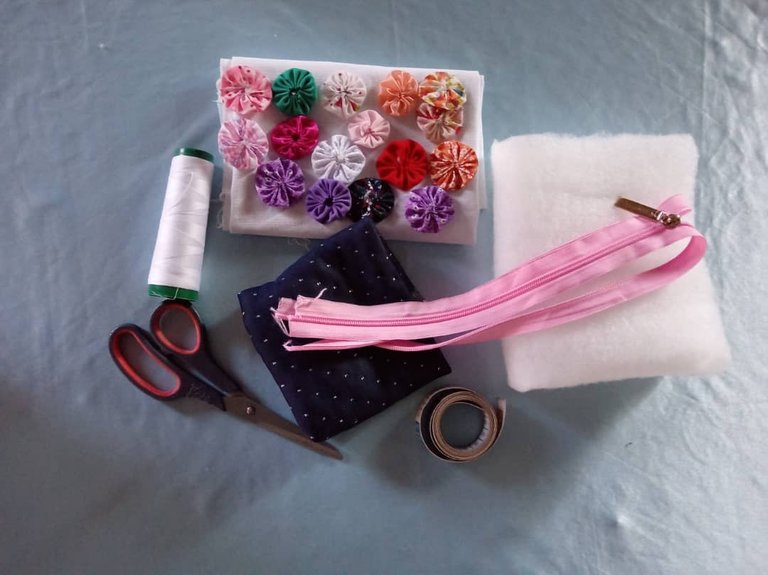
- 30 cm por 30 cm de tela rígida.
- 30 cm de tela de forro.
- 30 cm de guata.
- Cierre o Zipper de 35 cm.
- Retazos de tela para hacer los botones o yuyitos.
- Hilo, tijeras, alfileres.

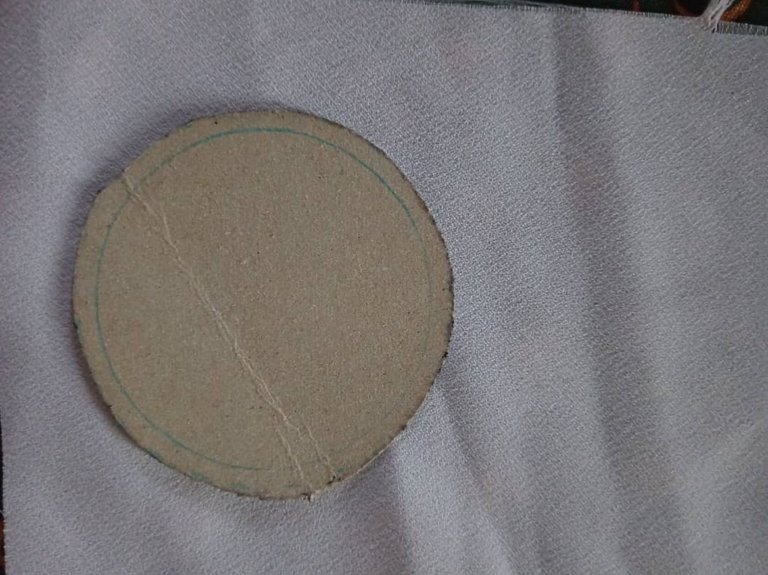
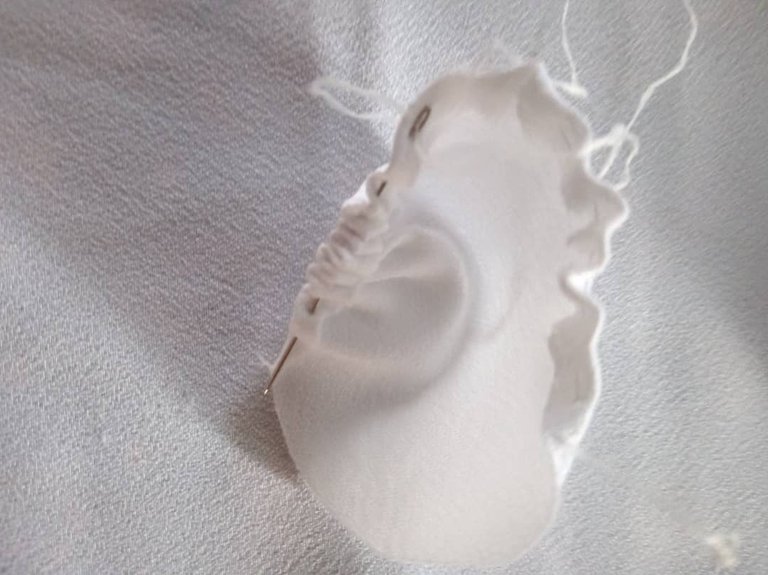
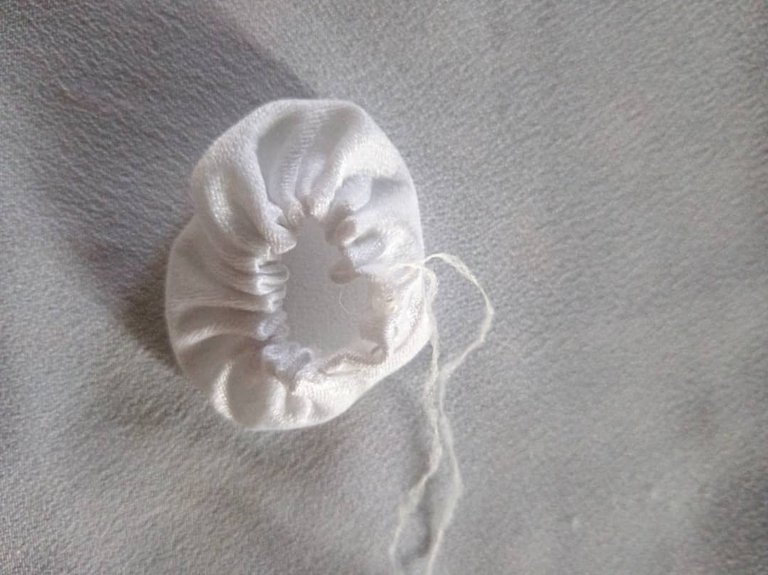
Comenzamos elaborando las flores de telas o los yuyitos y para ello cortamos con ayuda de nuestro primer molde, que será un círculo del tamaño deseado. Los mismos, los haremos en retazos de tela.
Cortamos cada círculo
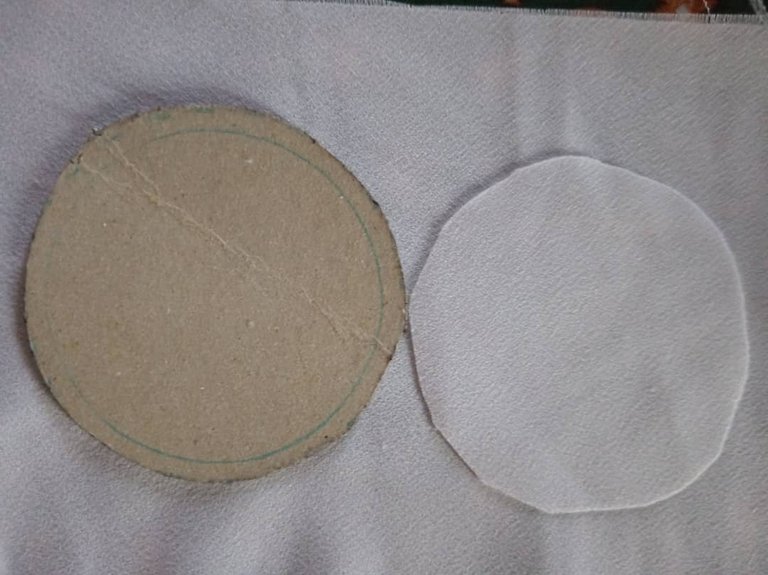
Luego por el orillo cosemos con costura larga, recogemos o fruncimos y se cierra. En la parte del fruncido, de manera opcional, colocamos una perla, botón o cualquier adorno.

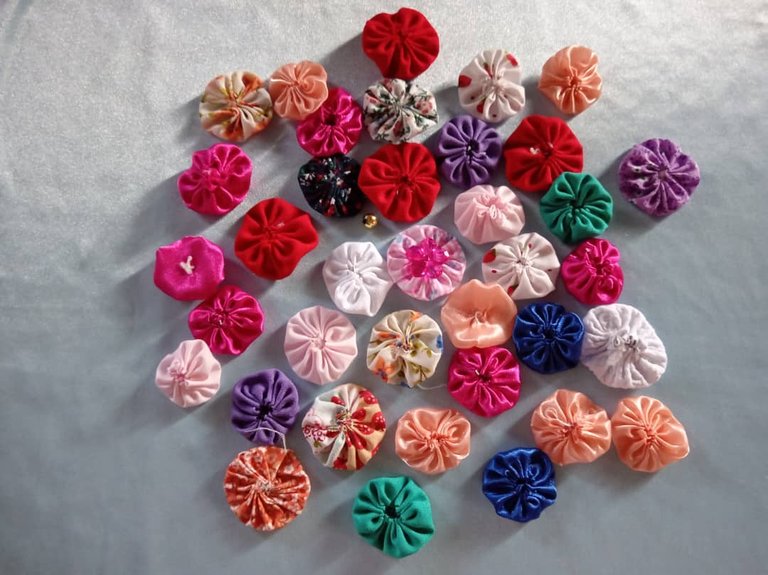
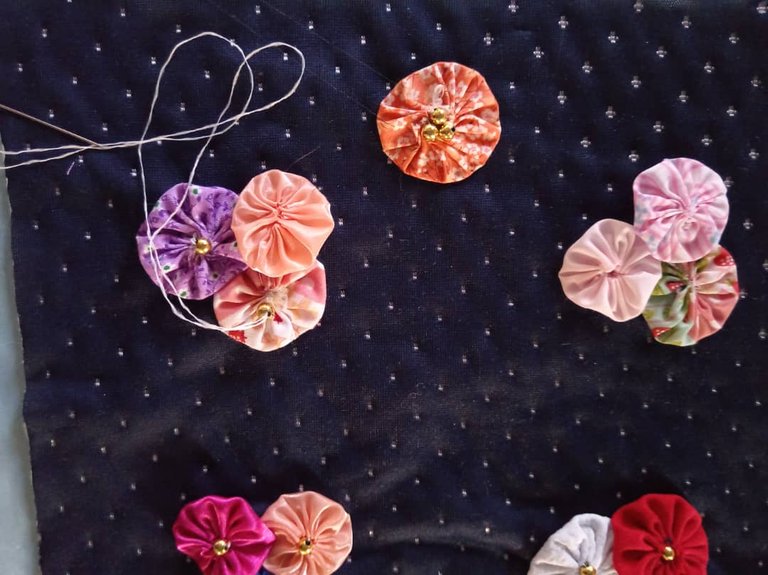
Trabajamos sobre la tela rígida, la colocamos por la parte delantera, y allí ubicamos y distribuimos los yuyitos previamente elaborados y decorados.
Se puede hacer una costura para unirlos a la tela o se pueden pegar con silicón caliente.

Aparte, procedemos a cortar en tela rígida, guata y tela de forro, un cuadrado de 30x30 cm (Si deseas hacerlo más pequeño o más grande puedes aumentar o disminuir centímetros).
Luego de tener las piezas cortadas, procedemos a ordenarlas para poder confeccionar, para ello primero colocamos tela, sobre ella la guata y sobre ambas, el forro.
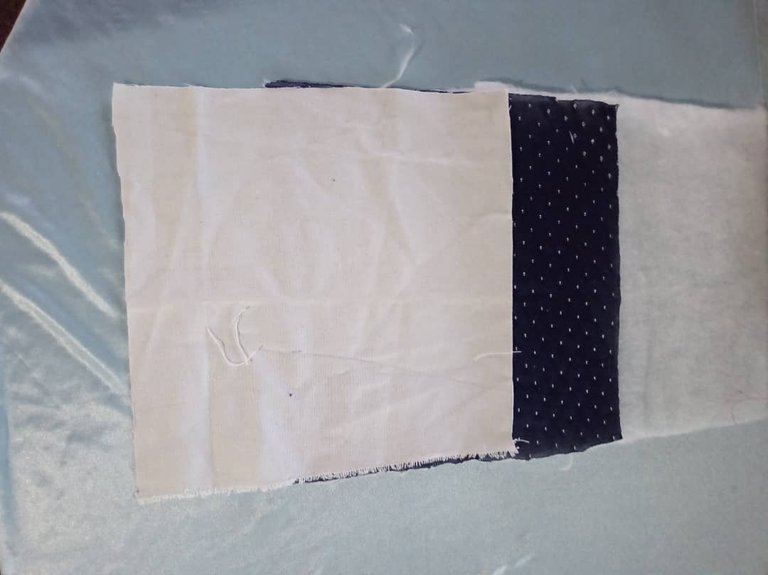
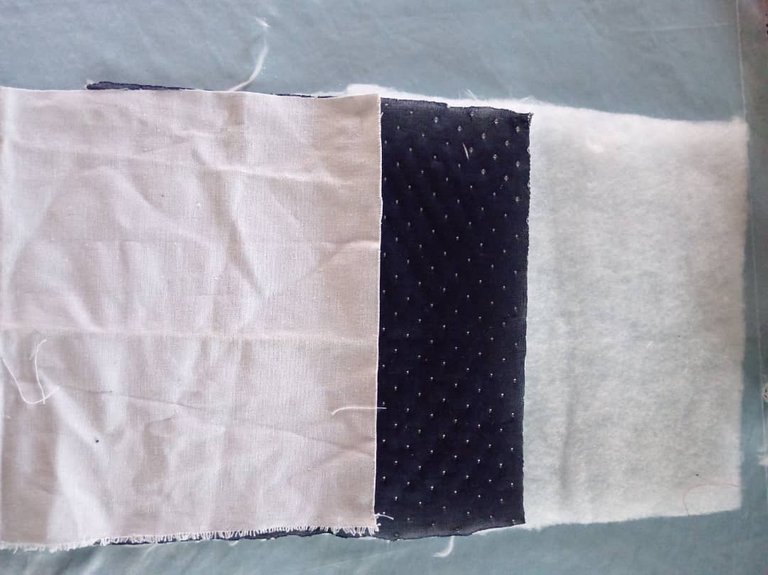

También debemos de colocar entre la tela y el forro, el cierre con la parte más pronunciada o el carril del cierre hacia abajo.
Fijamos con unos alfileres todas las piezas y pasamos costura por todo el contorno.
Si se desea, pasamos doble costura, de manera que quede reforzada.
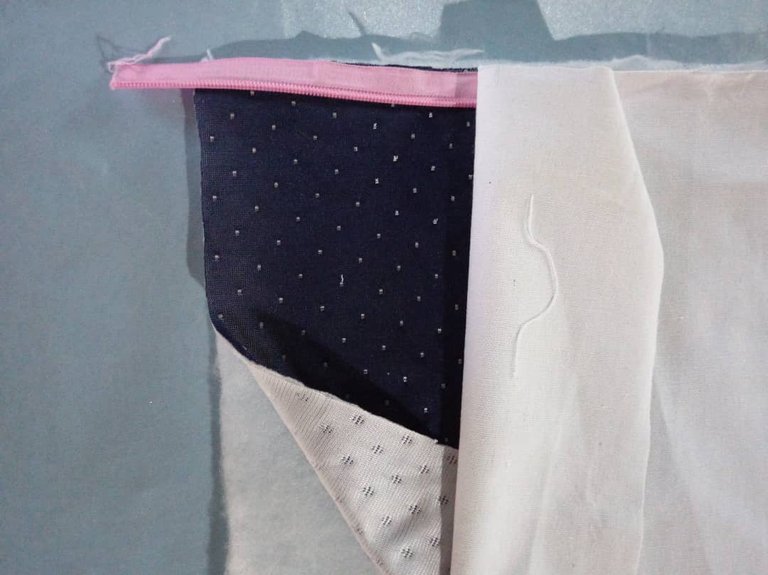
Al fijar el cierre, volteamos y pasamos costura por los lados del cierre y el resto de todos los lados.
Luego cerramos por el lado interno y medimos o buscamos la mitad del estuche, para proceder a marcar un cuadrado de 4x4 cm, lo marcamos en cada una de las esquinas con marcador y cortamos.
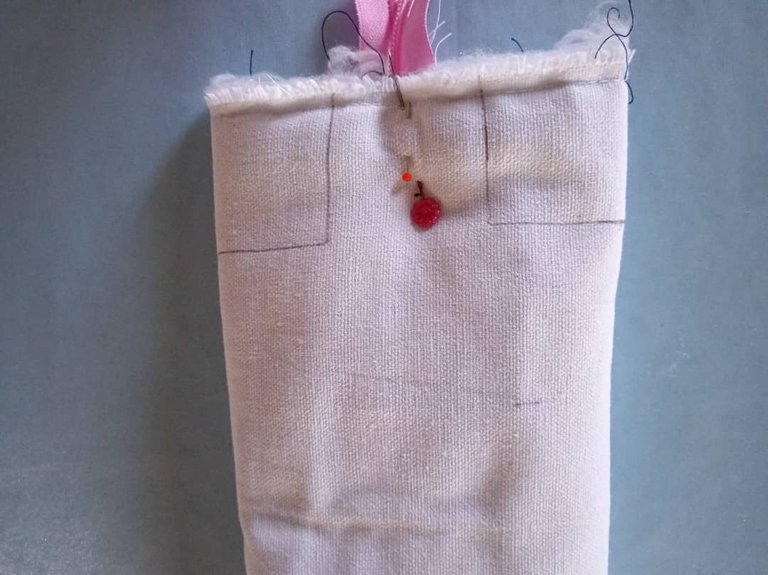
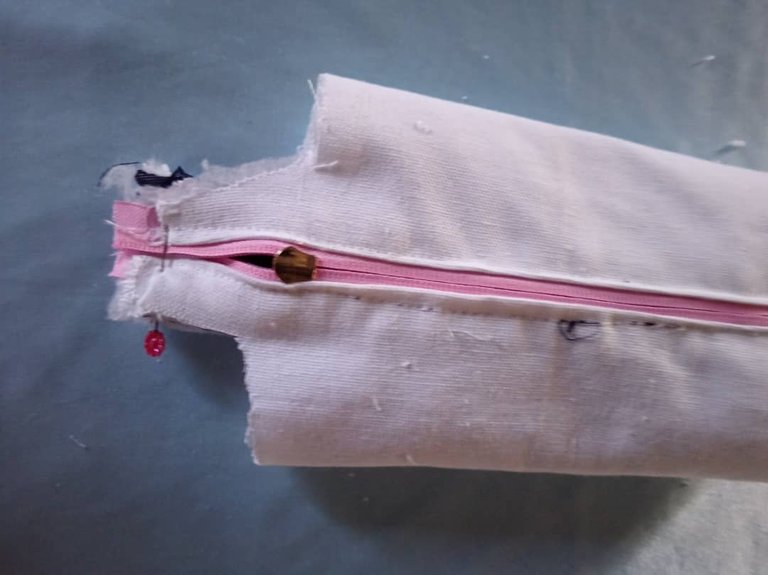
Luego, unimos los cortes que acabamos de realizar y procedemos a coser con un sesgo que tapara las costuras internas.
El mismo lo hice con tela rígida estampada que combinara con el resto del estuche, y aunque sigue siendo la parte interna del neceser, me gusta que todo quede bien, y siento que estos pequeños detalles hacen la diferencia en los acabados del proyecto.
Volteamos y con esto tendremos listo el proyecto de la semana, lindo, práctico y fácil de elaborar.
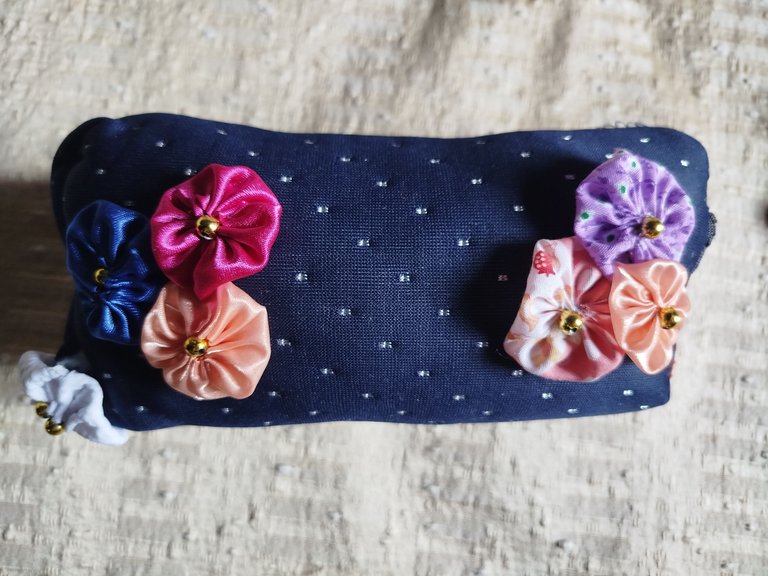

Y con esto tendremos listo este bonito proyecto, gracias por leer mi blog y llegar hasta aquí, les deseo que tengan una buena semana y que tengan un feliz día y noche.

Happy Monday and happy start of the week my dear friends of Hive, welcome back to my blog!
Today I want to share with you a small tutorial on how to make a multipurpose case decorated with small fabric flowers, ideal for storing makeup, accessories or even use it as a pencil case to store pens, pencils and more.
The elaboration is quite simple, since we will not use any specific mold, we only need to cut fabrics in squares of 30x30 cm and a circle of 7 cm in diameter approximately, for the elaboration of the flowers, and of course these measures may vary according to the desired size of the project.
And now, without further ado, I leave you the step by step.
Translated with DeepL.com (free version)Happy Monday and happy start of the week my dear friends of Hive, welcome back to my blog!
Today I want to share with you a small tutorial on how to make a multipurpose case decorated with small fabric flowers, ideal for storing makeup, accessories or even use it as a pencil case to store pens, pencils and more.
The elaboration is quite simple, since we will not use any specific mold, we only need to cut fabrics in squares of 30x30 cm and a circle of 7 cm in diameter approximately, for the elaboration of the flowers, and of course these measures may vary according to the desired size of the project.
And now, without further ado, I leave you the step by step.

- 30 cm by 30 cm of rigid fabric.
- 30 cm of lining fabric.
- 30 cm of wadding.
- Zipper of 35 cm.
- Fabric scraps to make the buttons.
- Thread, scissors, pins.


We begin by making the fabric flowers or the yuyitos and for this we cut with the help of our first mold, which will be a circle of the desired size. We will make them out of scraps of fabric.
We cut each circle.


Then along the selvedge we sew with a long seam, gather or gather and close. In the gathering part, optionally, we place a pearl, button or any ornament.


We work on the rigid fabric, we place it on the front side, and there we place and distribute the previously made and decorated yuyitos.
A seam can be made to join them to the fabric or they can be glued with hot silicone.


After having the pieces cut, we proceed to arrange them in order to be able to make them. To do so, we first place the fabric, the wadding on top of it and the lining on both.


We must also place between the fabric and the lining, the zipper with the most pronounced part or the rail of the zipper downwards.
We fix with pins all the pieces and we sew all around the contour.
If desired, we pass double stitching, so that it is reinforced.

When we fix the zipper, we turn over and sew along the sides of the zipper and the rest of the sides.
Then we close the inner side and measure or look for the middle of the case, to proceed to mark a square of 4x4 cm, we mark it in each of the corners with a marker and cut.


Then, we join the cuts we just made and proceed to sew with a bias binding that will cover the internal seams.
I made it with printed rigid fabric to match the rest of the case, and although it is still the internal part of the vanity case, I like everything to look good, and I feel that these small details make the difference in the finish of the project.
We flip it over and with this we have the project of the week ready, cute, practical and easy to make.


And with this we will have ready this nice project, thank you for reading my blog and get here, I wish you have a good week and have a happy day and night.
Fotos tomadas de mi teléfono Xiaomi Redmi Note 6 Pro y mi teléfono Honor X8a || Photos taken from my Xiaomi Redmi Note 6 Pro phone and from my Honor X8a phone.
Fuente del editor de imágenes || Image editor source
Está muy bonito. Las flores hacen de este estuche, una pieza muy auténtica.
Hola @karen.art
Me alegra que te haya gustado el diseño de las flores, saludos.
El estuche es muy bonito y práctico, los yuyitos quedan preciosos, me gustaría hacerlos, son muy decorativos.
Gracias por compartir amiga, abrazos.🤗🌸🌸🌸🌸🌸
Hola Laura, muchas gracias
Hola bella, feliz día es un gran placer.💙🙂
El estuche luce muy lindo, me encantaron las florecitas están hermosas. Gracias por compartir. Saludos!
Hola Katty, muchas gracias, trate de usar colores en las flores que resaltaran del color azul oscuro de la tela.