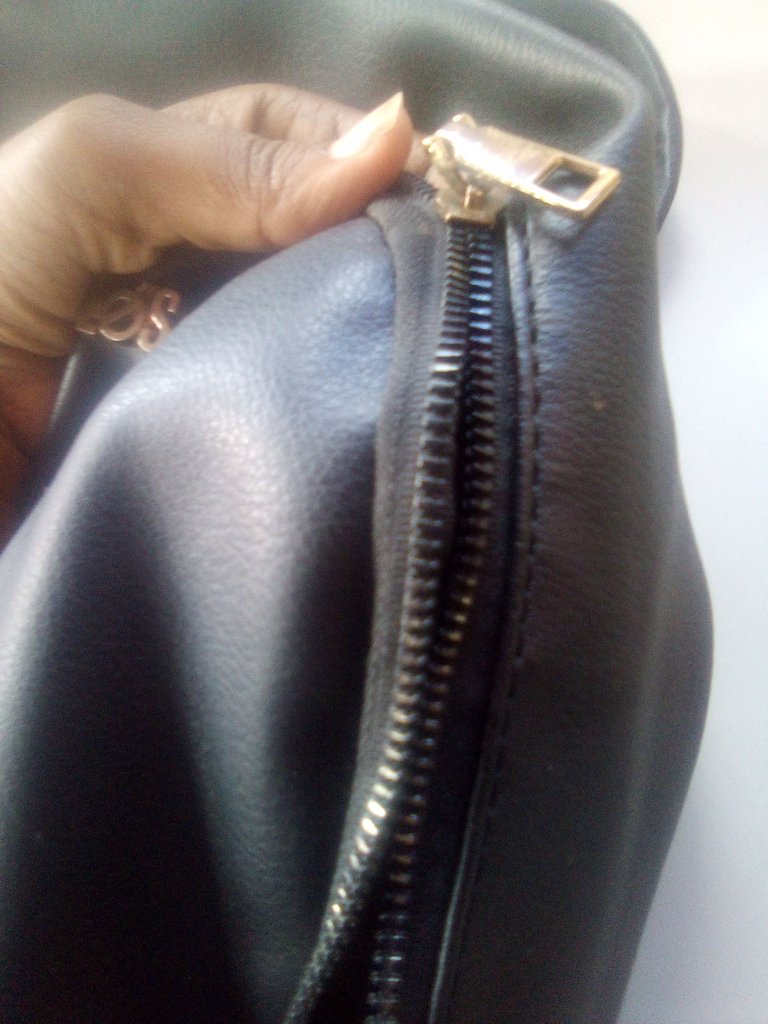

En esta oportunidad mostrare el proceso de descoser y coser un cierre para bolso. Todo comenzó cuando cuando venia de una de las ferias en la cual laboro exponiendo mis prendas, estaba super full con todo, mi hermano @mundomanaure me ayudaba a cargar las otras cosas.

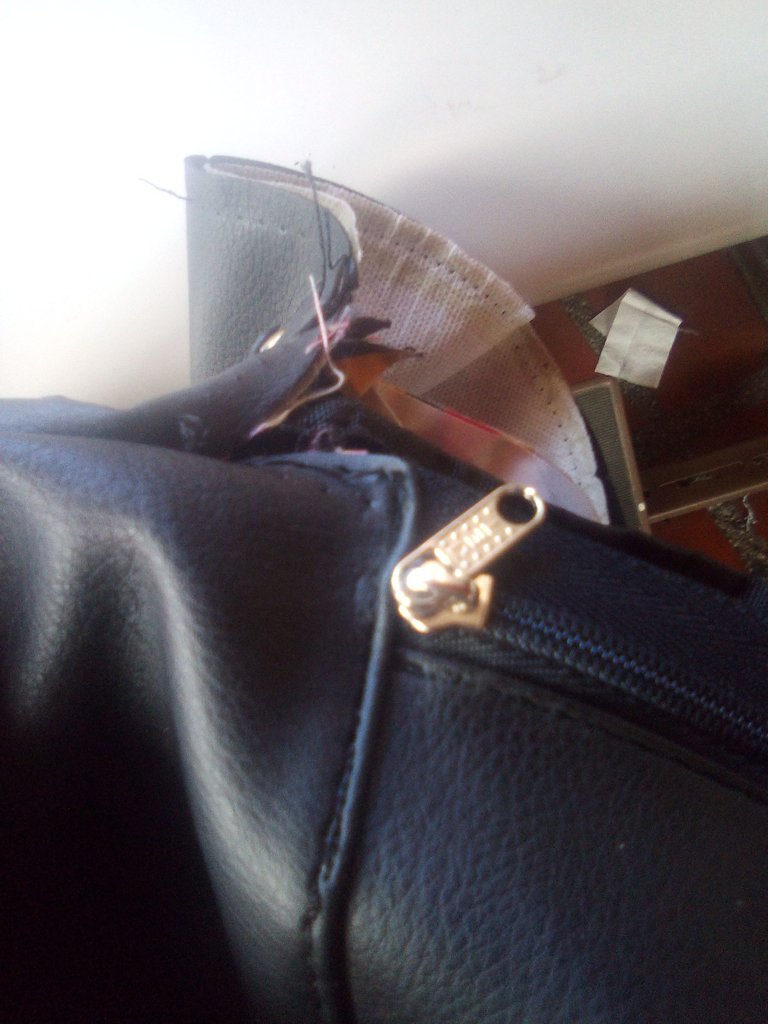
This time we had to take the bus with all the bags, as good entrepreneurs nothing stops us. in the process in which I opened the bag to get the ticket and closed saaaass..... the zipper opened again I realized because a passenger told me I tried to accommodate it and nothing, ps I had to walk like that all over the city until I got home.
Esta vez nos toco agarrar bus con todos los macundales, como buenos emprendedores nada nos detiene. en el proceso en el que abrí el bolso para sacar el pasaje y cerré saaaass..... el cierre se volvió abrir me di cuenta porque una pasajera me lo comento intente acomodarlo y nada, ps me toco andar así por toda la ciudad hasta llegar a mi hogar.

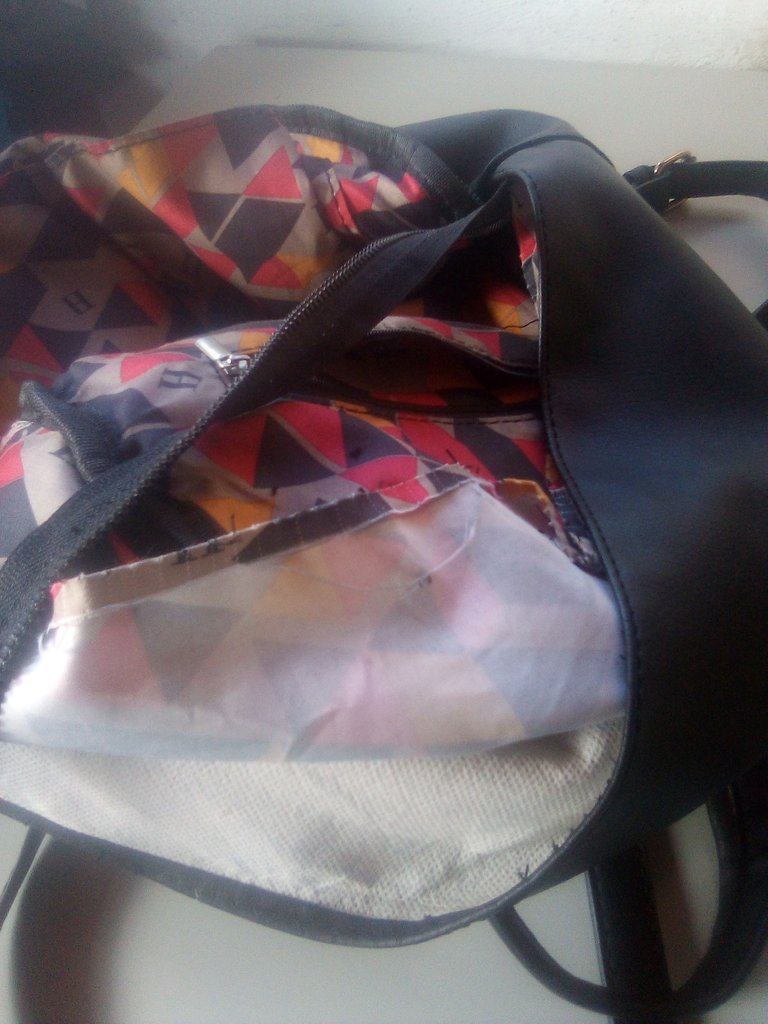
Well, I had to give the bag a little love, I bought a meter of zipper plus the slider and so began the adventure, I started unzipping both parts, I confess that it is something that I do not like but it is necessary.
Y bueno toco darle un cariñito al bolso compre un metro de cierre mas el slider y así comenzó la aventura, inicie descociendo ambas partes, confieso que es algo que no me agrada pero es necesario.

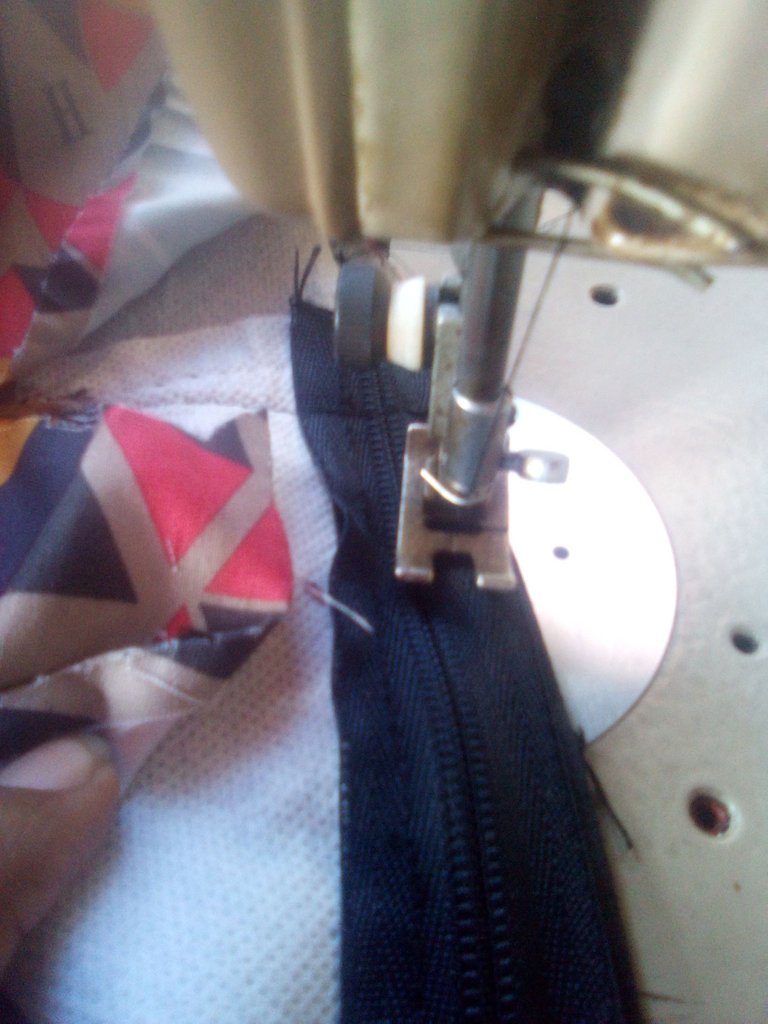
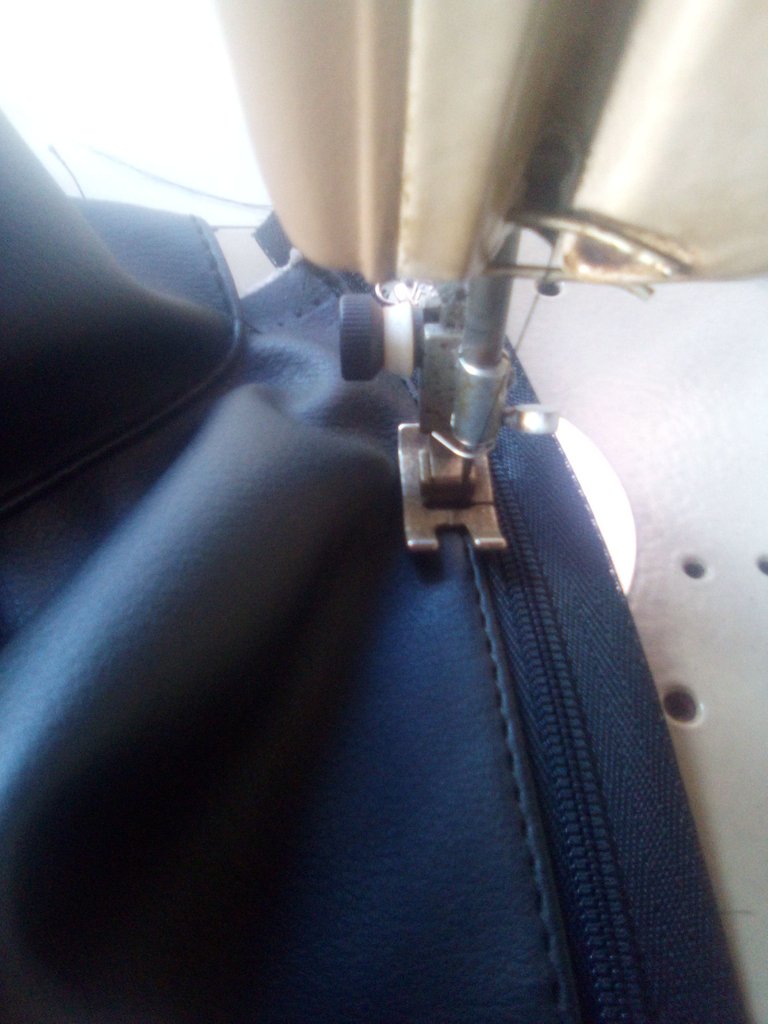
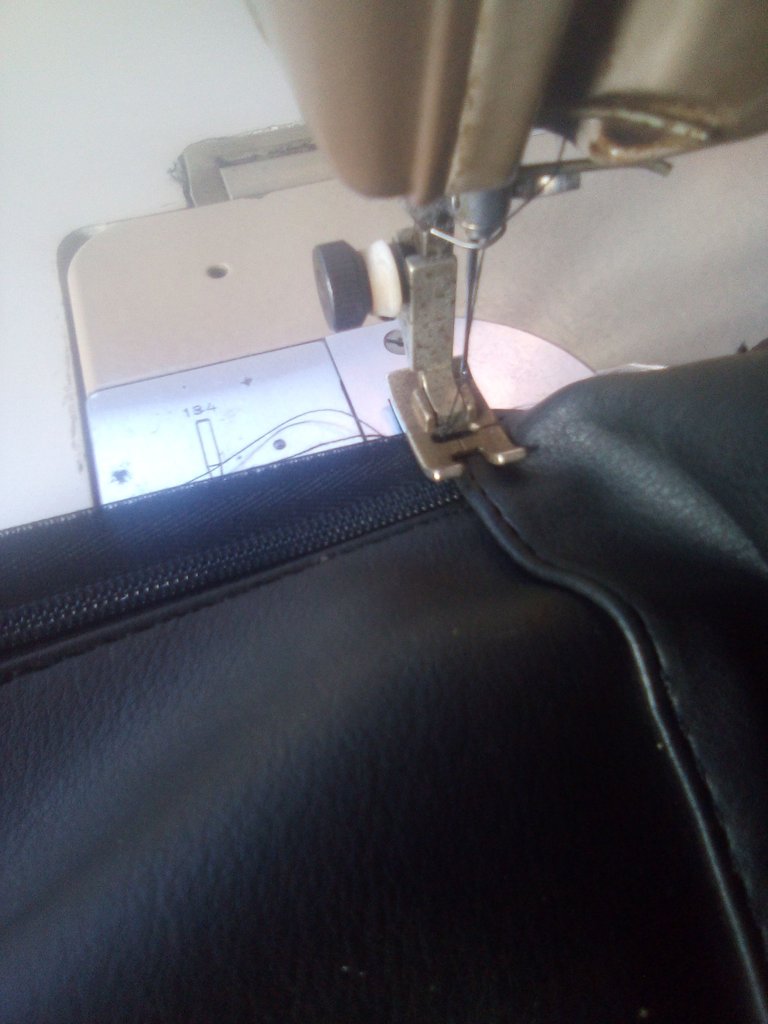
Remove the old zipper and place the new one with the help of the pins, I began to pass the machine very carefully, this was done on both sides.
Retire el cierre viejo y ubique el nuevo con ayuda de los alfileres, comencé a pasar la maquina con mucho cuidado, esto lo realice en ambos lados.

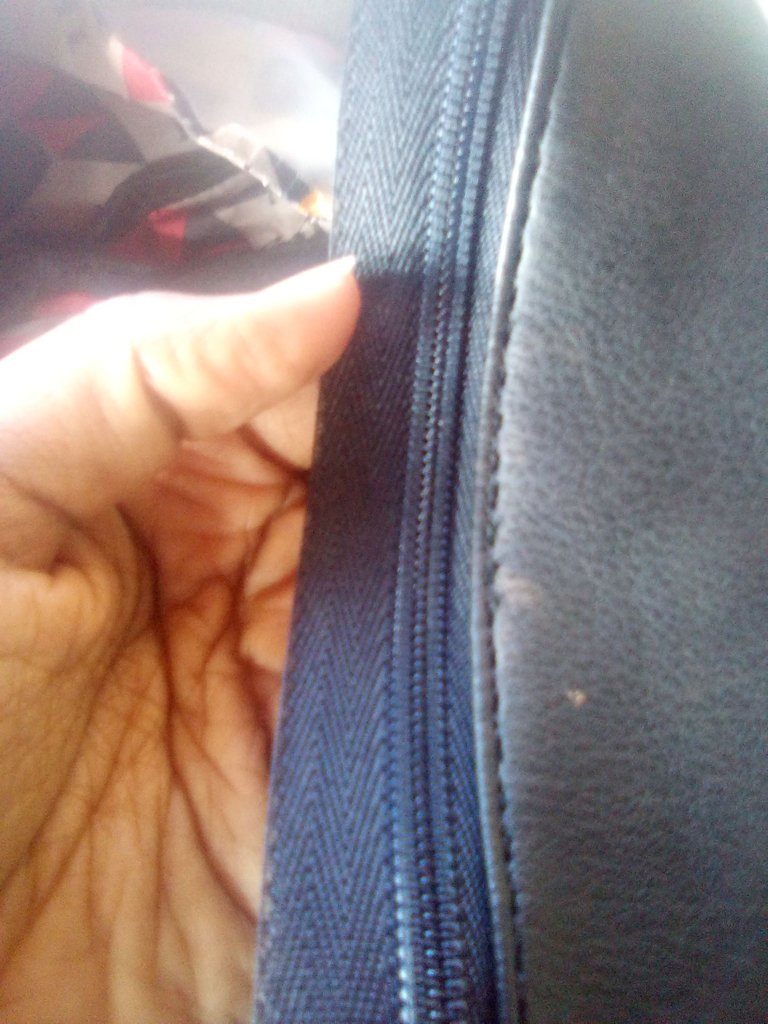
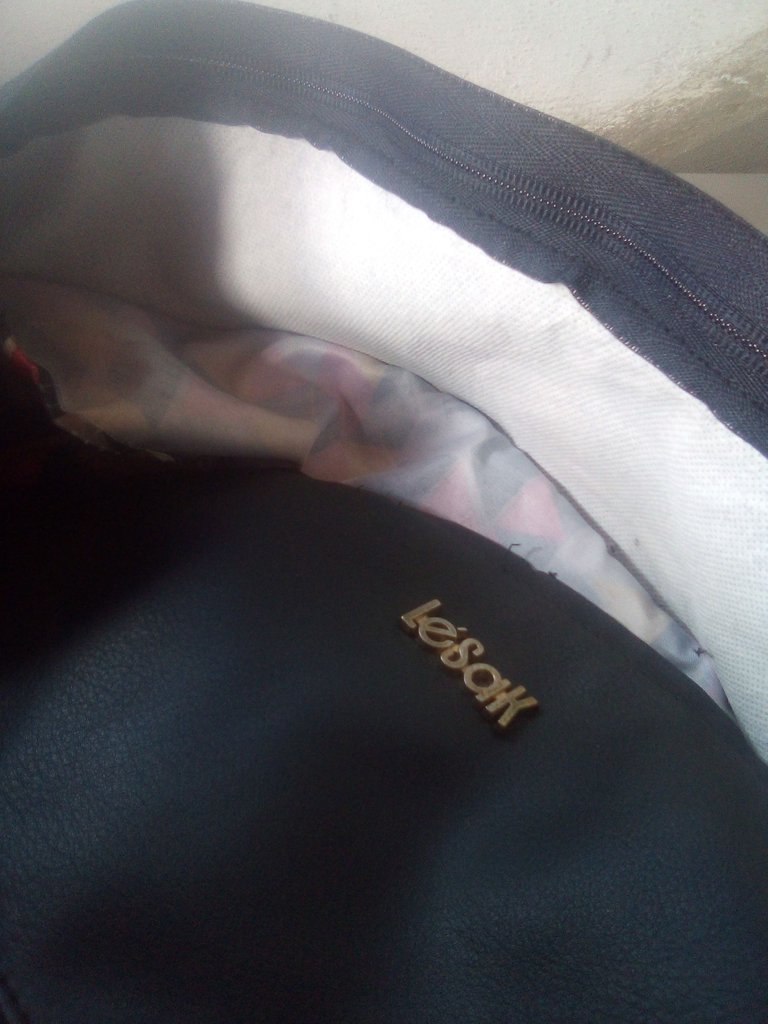
With the help of a needle and thread I started to hand sew the lining with the zipper to finish. I confess that it took me several days to make this arrangement, the benefit of all this is that I love sewing and everything has a solution, I think that most of you have had this happen to you? Tell me your story in the comments. The photos are my own and I did the translation with Deel.com.
Con ayuda de una aguja e hilo inicie a coser a mano el forro con el cierre para finalizar. Confieso que tarde varios días para hacerme este arreglo, el beneficio de todo esto es que amo coser y todo tiene solución, creo que la gran mayoría le a ocurrido esto... Cuéntame tu historia en los comentarios. las fotos son de mi autoría y realice la traducción con Deel.com
Beautiful and very neat thanks for sharing
Congratulations @caribayarte! You have completed the following achievement on the Hive blockchain and have been rewarded with new badge(s) :
Your next target is to reach 4250 upvotes.
You can view your badges on your board and compare yourself to others in the Ranking
If you no longer want to receive notifications, reply to this comment with the word
STOPCheck out the last post from @hivebuzz:
Support the HiveBuzz project. Vote for our proposal!
Good to know that you were able to fix it @caribayarte 😊
yes, it had its degree of difficulty but I made it.
Thank you for sharing this amazing post on HIVE!
Your content got selected by our fellow curator @stevenson7 & you just received a little thank you via an upvote from our non-profit curation initiative!
You will be featured in one of our recurring curation compilations and on our pinterest boards! Both are aiming to offer you a stage to widen your audience within and outside of the DIY scene of hive.
Join the official DIYHub community on HIVE and show us more of your amazing work and feel free to connect with us and other DIYers via our discord server: https://discord.gg/mY5uCfQ !
If you want to support our goal to motivate other DIY/art/music/homesteading/... creators just delegate to us and earn 100% of your curation rewards!
Stay creative & hive on!
thank you very much for your support