Español:
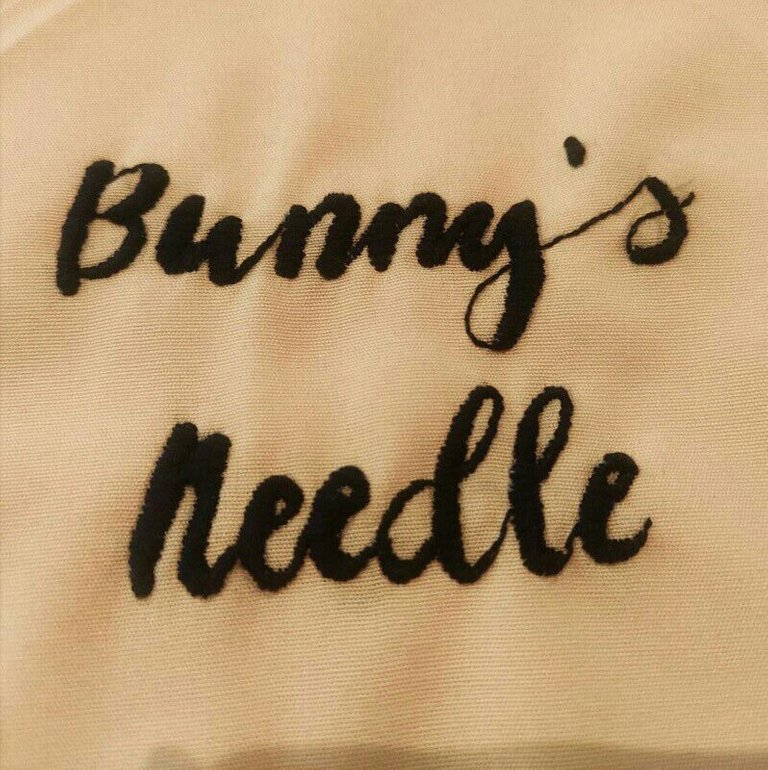
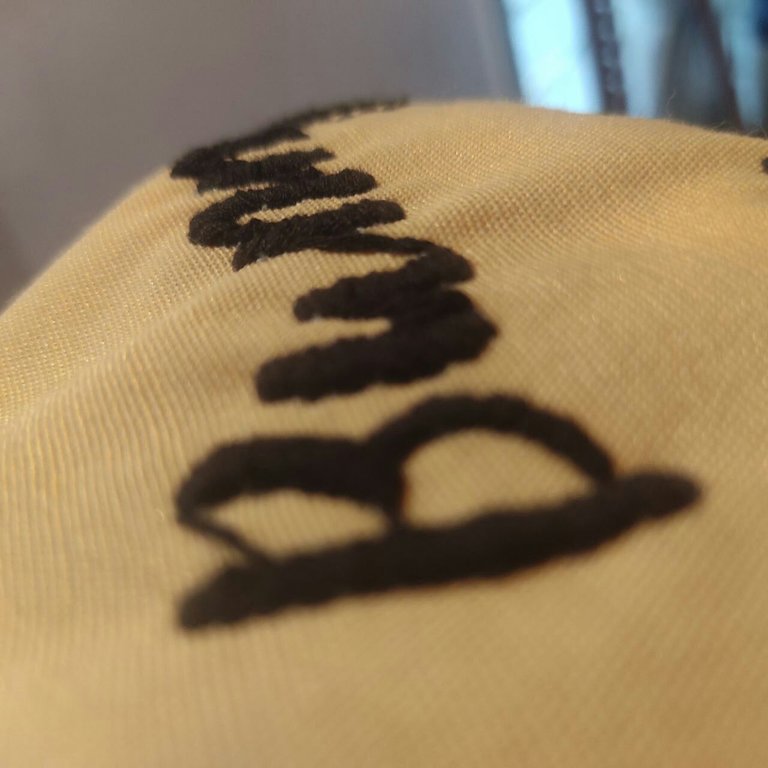
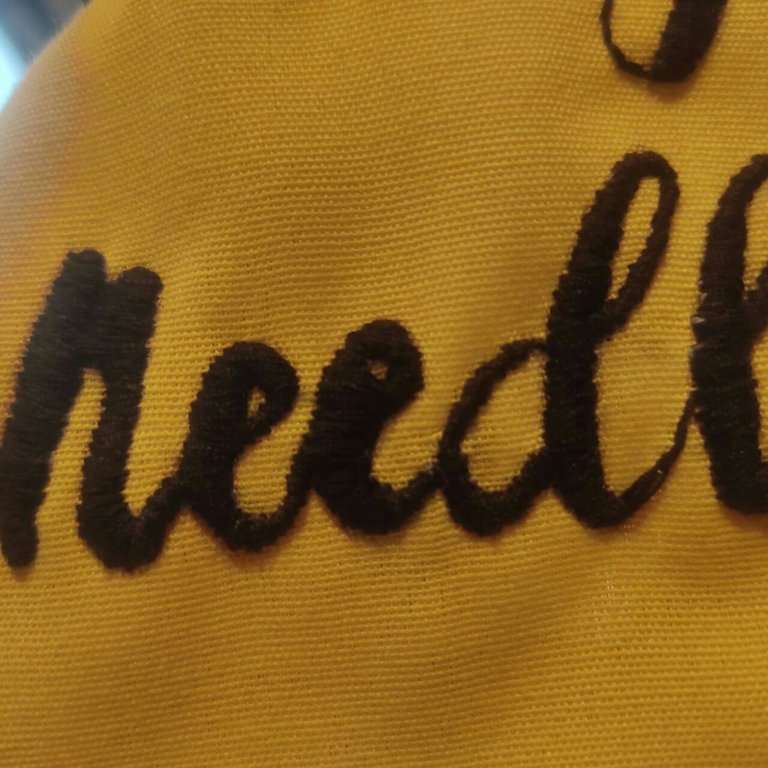
¡Saludos! En el tutorial de hoy les estaré enseñando cómo hacer unas bonitas letras con relieve, las cuales dan un efecto genial a nuestros trabajos y se siente muy bien al tacto (En caso de que seas rarito como yo y te guste tocar los bordados al terminar). Quizás no se aprecie muy bien en la foto, pero al terminar, tendrás unas hermosas letras rellenas, que se verán bastante abultadas y geniales.
¡Empecemos!
English:
Greetings! On today's tutorial I'm going to teach you how to make some pretty relief letters, which will give a cool effect to your works and feels really nice to touch (In case you're a weirdo like me that likes to touch her embroideries ones they are done). Maybe you cannot see it clearly in the photo, but when it is done, you will have some beautiful filled letters, that will look great and very bulky.
Let's begin!
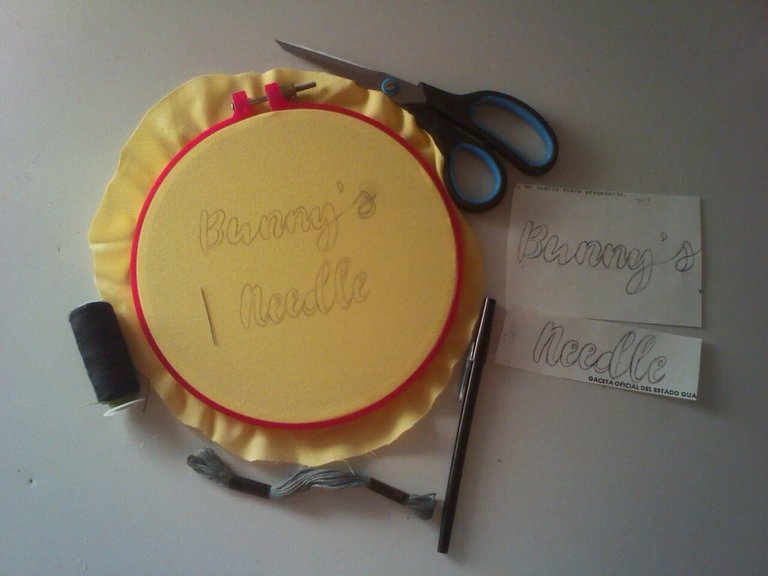
1- Reúne tus materiales:
Para bordar estas letras necesitarás:
-Tela: Una que no estire mucho y se resistente pero no muy gruesa.
-Hilo: Necesitarás dos, un hilo para crear el efecto abultado, el cuál estará tapado y no se verá (En mi caso estoy usando un hilo viejito que estaba algo oxidado, no lo quise botar porque pensaba que lo necesitaría para algo. Le llegó su tiempo) y otro el cuál definirá el color de las letras. En mi caso uso un hilo de coser color negro.
-Agujas: Usé una grande para el hilo feo de fondo y una más delgadita para el color negro.
-Dibujo de las letras: busqué en pinterest una tipografía bonita y la fui dibujando en un papel para luego pasarlo a la tela.
-Tijeras: Para cortar el hilo y la tela, obvio.
-Bolígrafo: Para trazar el dibujo (también puedes usar lapiz, depende de ti).
1- Collect all your materials
To embroider these letters you will need:
-Fabric: a resistant fabric that doesn't stretch that much and its not that thick.
-Thread: You will need 2 colors, one to create the bulky effect, that will be cover and will not be seen (In my case, i'm using an old stained thread that i didn't want to throw off because I thought that will be useful one day. The time has come.) And another one that will define the color of the letter. In my case I'm using a black sewing thread.
-Needle: I use one thick to use it with the ugly old thread and a smaller one for the black thread.
- Drawing of the letters: I searched on pinterest a cute typography and then i draw it into a paper. Later I draw the letters in the fabric.
-Scissors: To cut thread and fabric, obviously.
-A Pen: to trace the drawing (You can also use a pencil. Its your business).
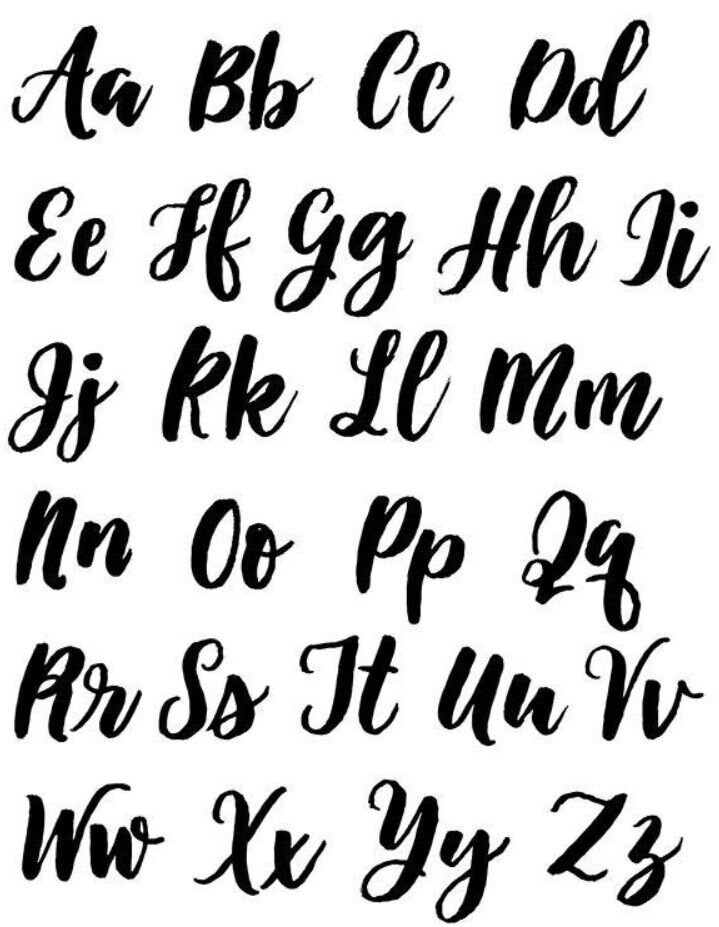
Here it is the typography that I use, so you can draw it.
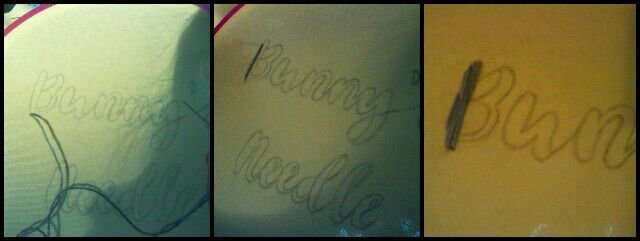
2- Haz puntadas verticales con el hilo de relleno
2- Haz puntadas verticales con el hilo de relleno
2- Do some vertical stitches using the stuffing thread
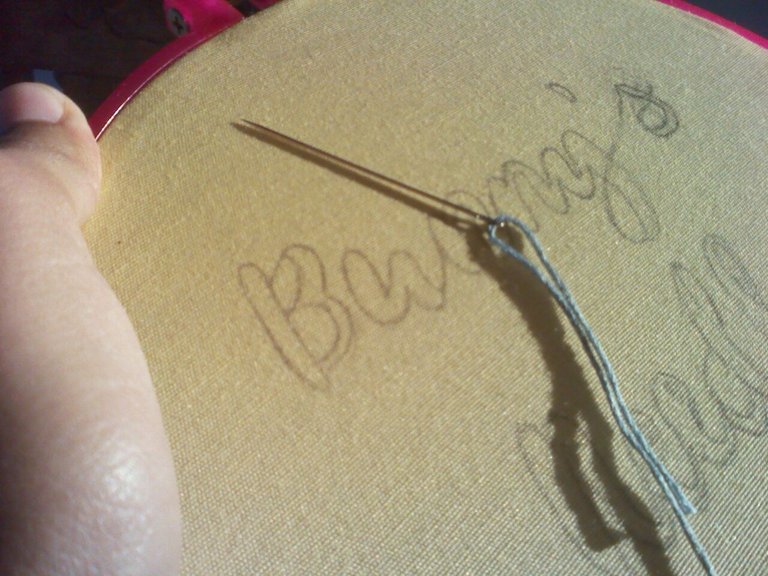
3- Haz puntadas horizontales para cubrir las lineas verticales
3- Do some horizontal stitches to cover those vertical lines
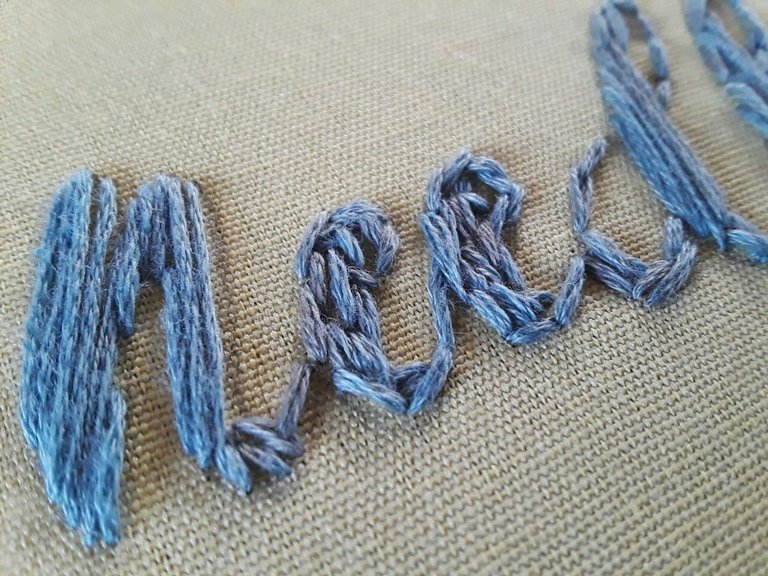
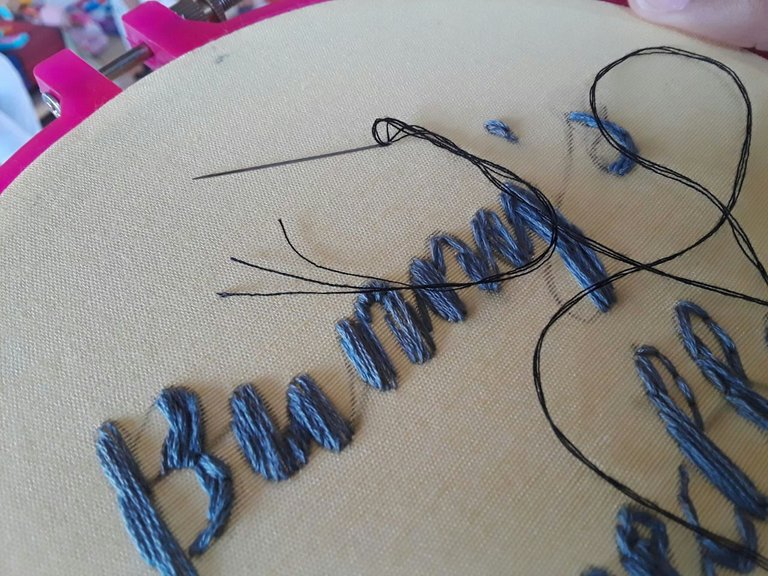
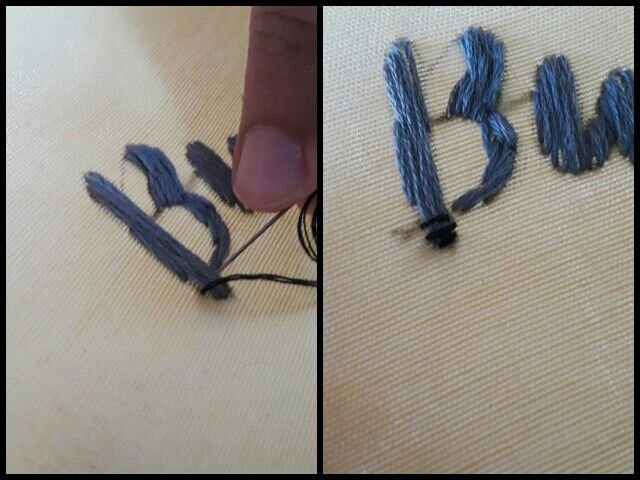
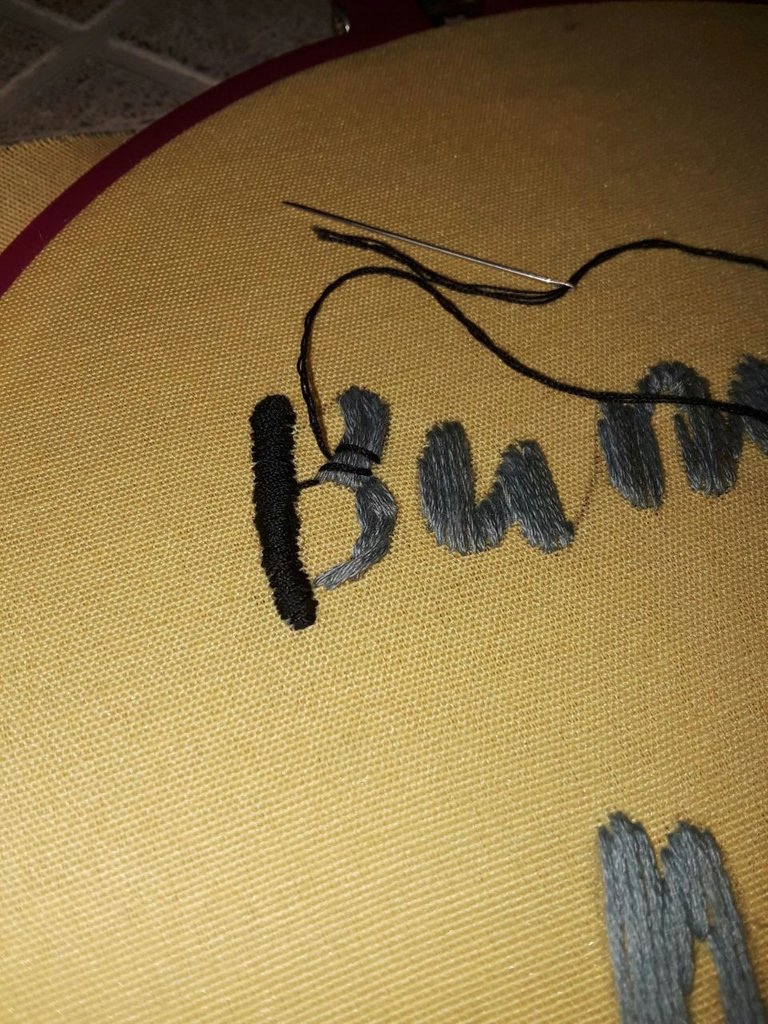
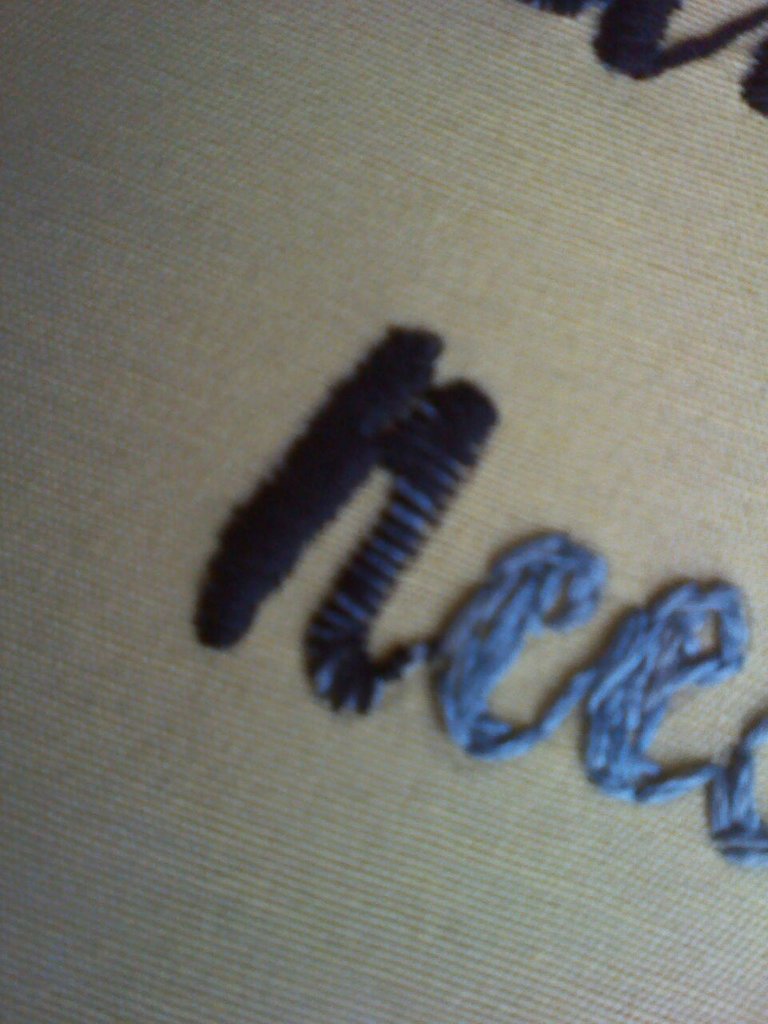
Ahora que tenemos nuestro hilo de relleno listo, es hora de cubrirlo con el hilo negro. Estaré usando tres hebras de hilo de coser negro con una aguja delgada.
Now that we have our stuffing thread ready, it's time to cover it with the black thread. I will be using 3 strands of black sewing thread with a thin needle.

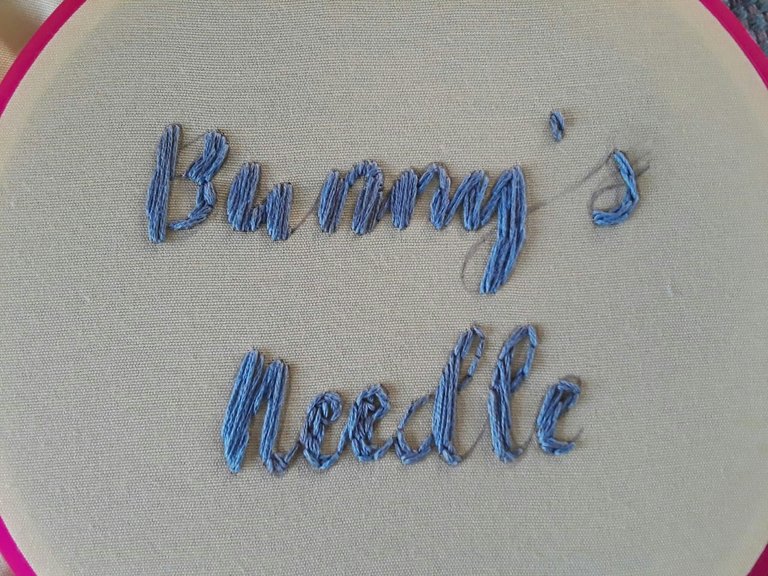
¡Ta-daa!
Aquí está el resultado final. Tal vez no se verá perfecto, pero es algo que con la práctica se irá mejorando.
Ta-daah!
Here is the final result. Maybe its not perfect, but practices makes perfect.

Congratulations @bunnysneedle! You have completed the following achievement on the Hive blockchain and have been rewarded with new badge(s) :
Your next target is to reach 200 upvotes.
You can view your badges on your board and compare yourself to others in the Ranking
If you no longer want to receive notifications, reply to this comment with the word
STOPCheck out the last post from @hivebuzz: