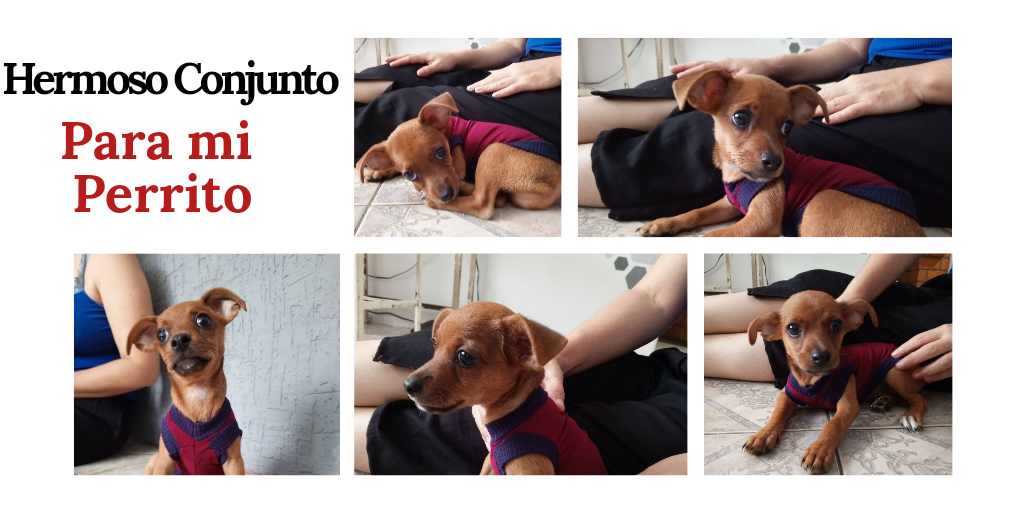
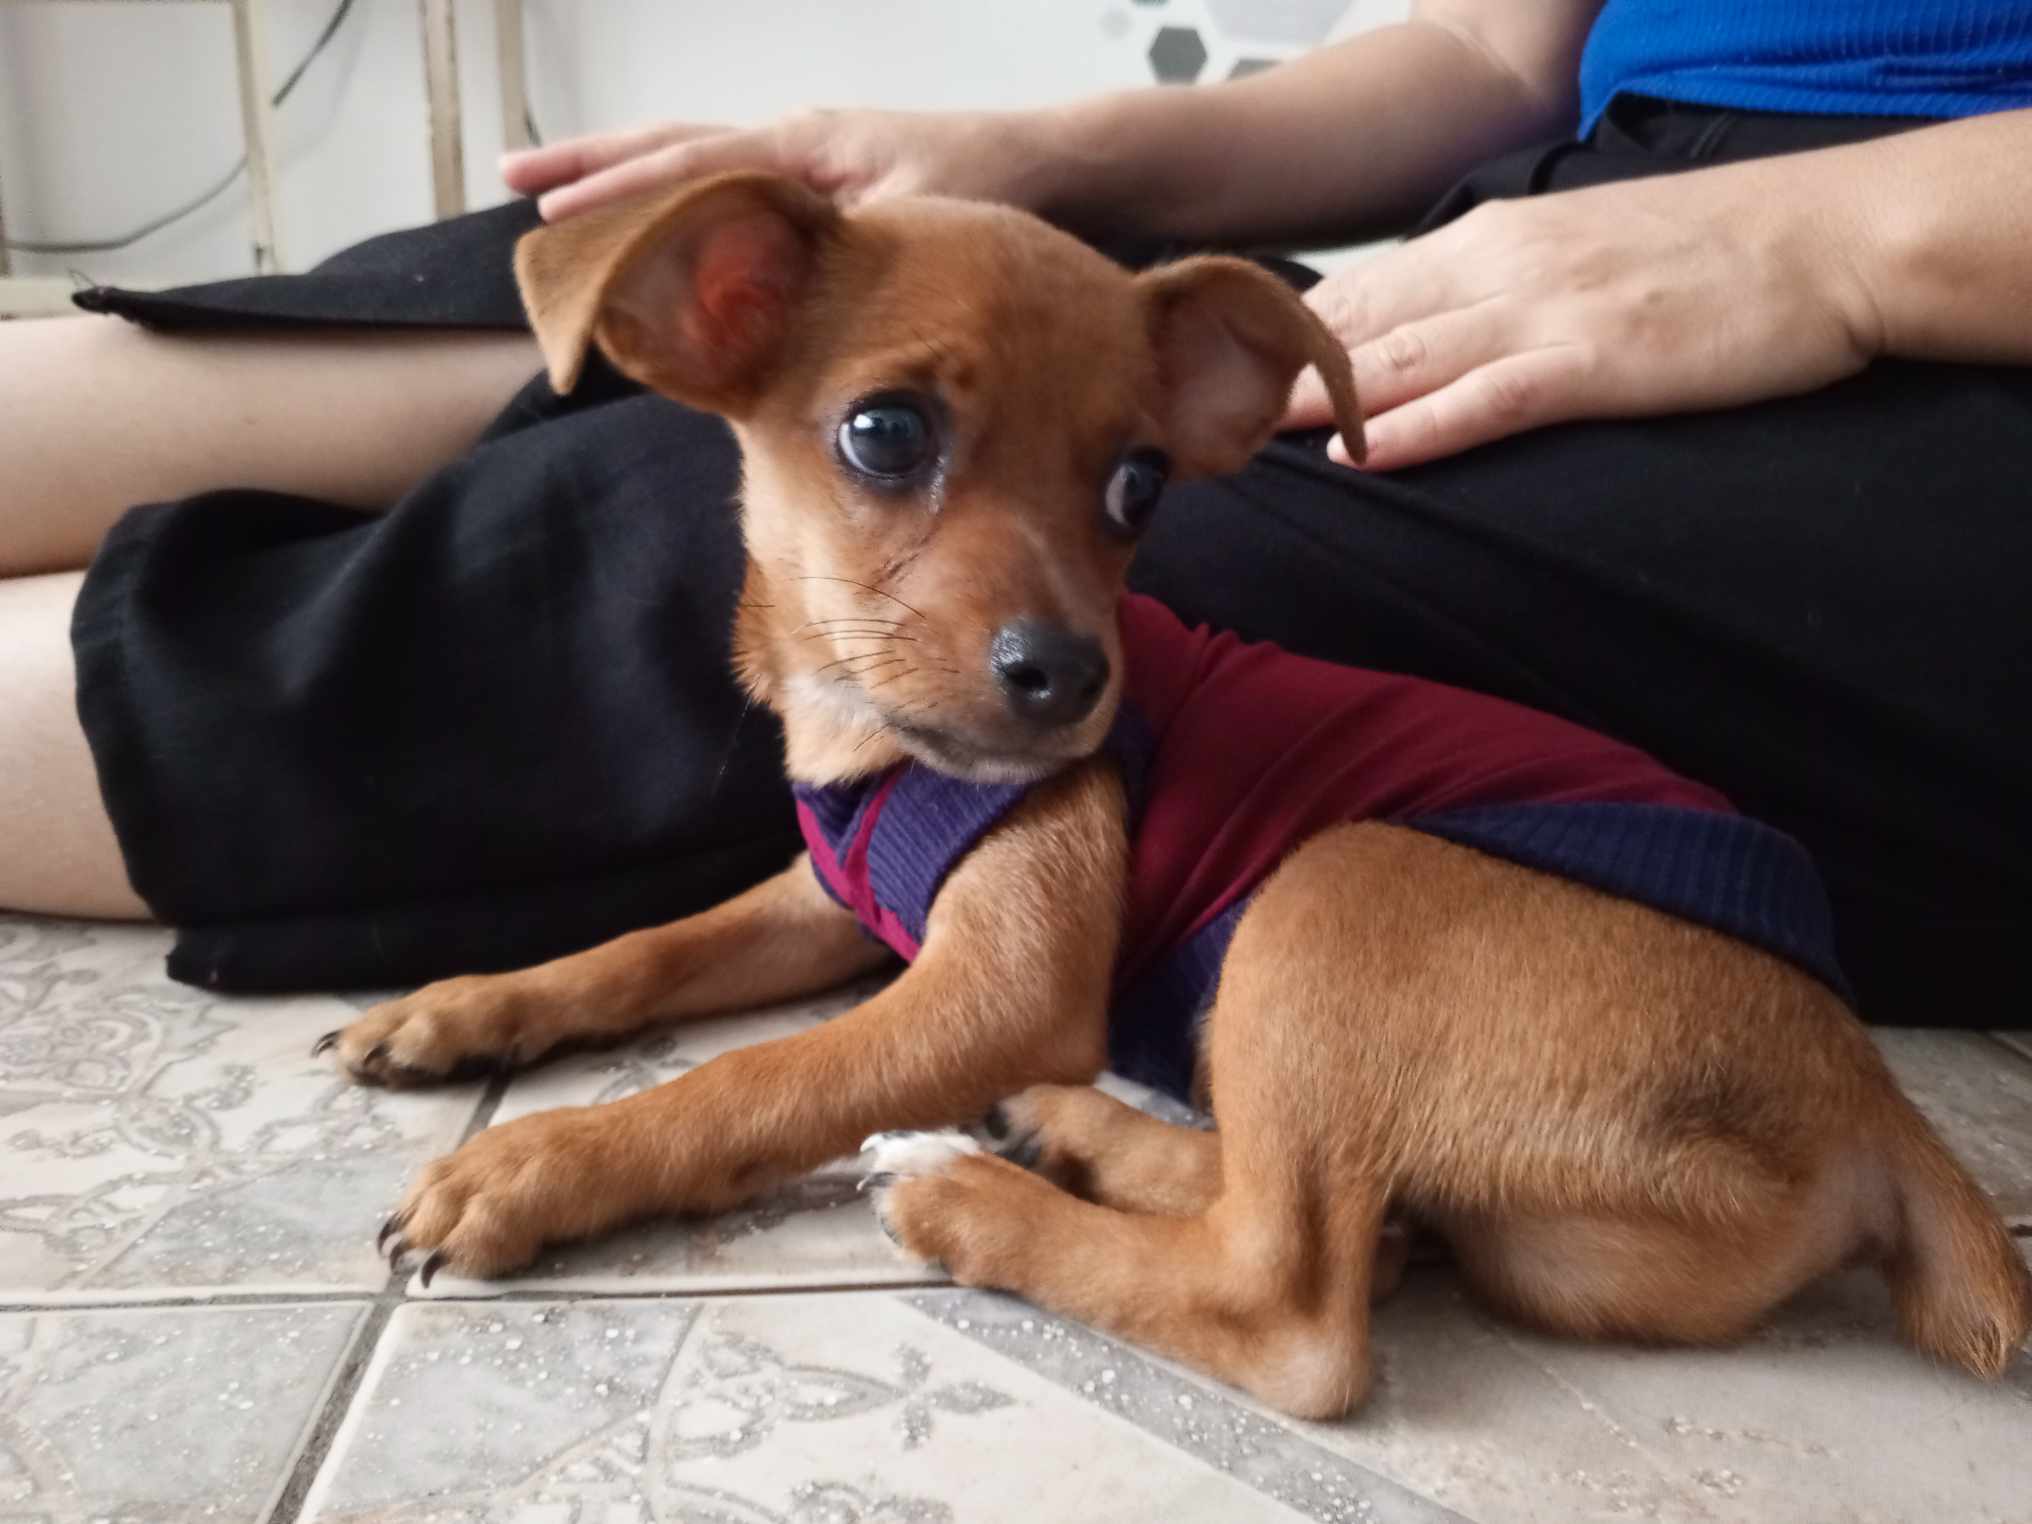
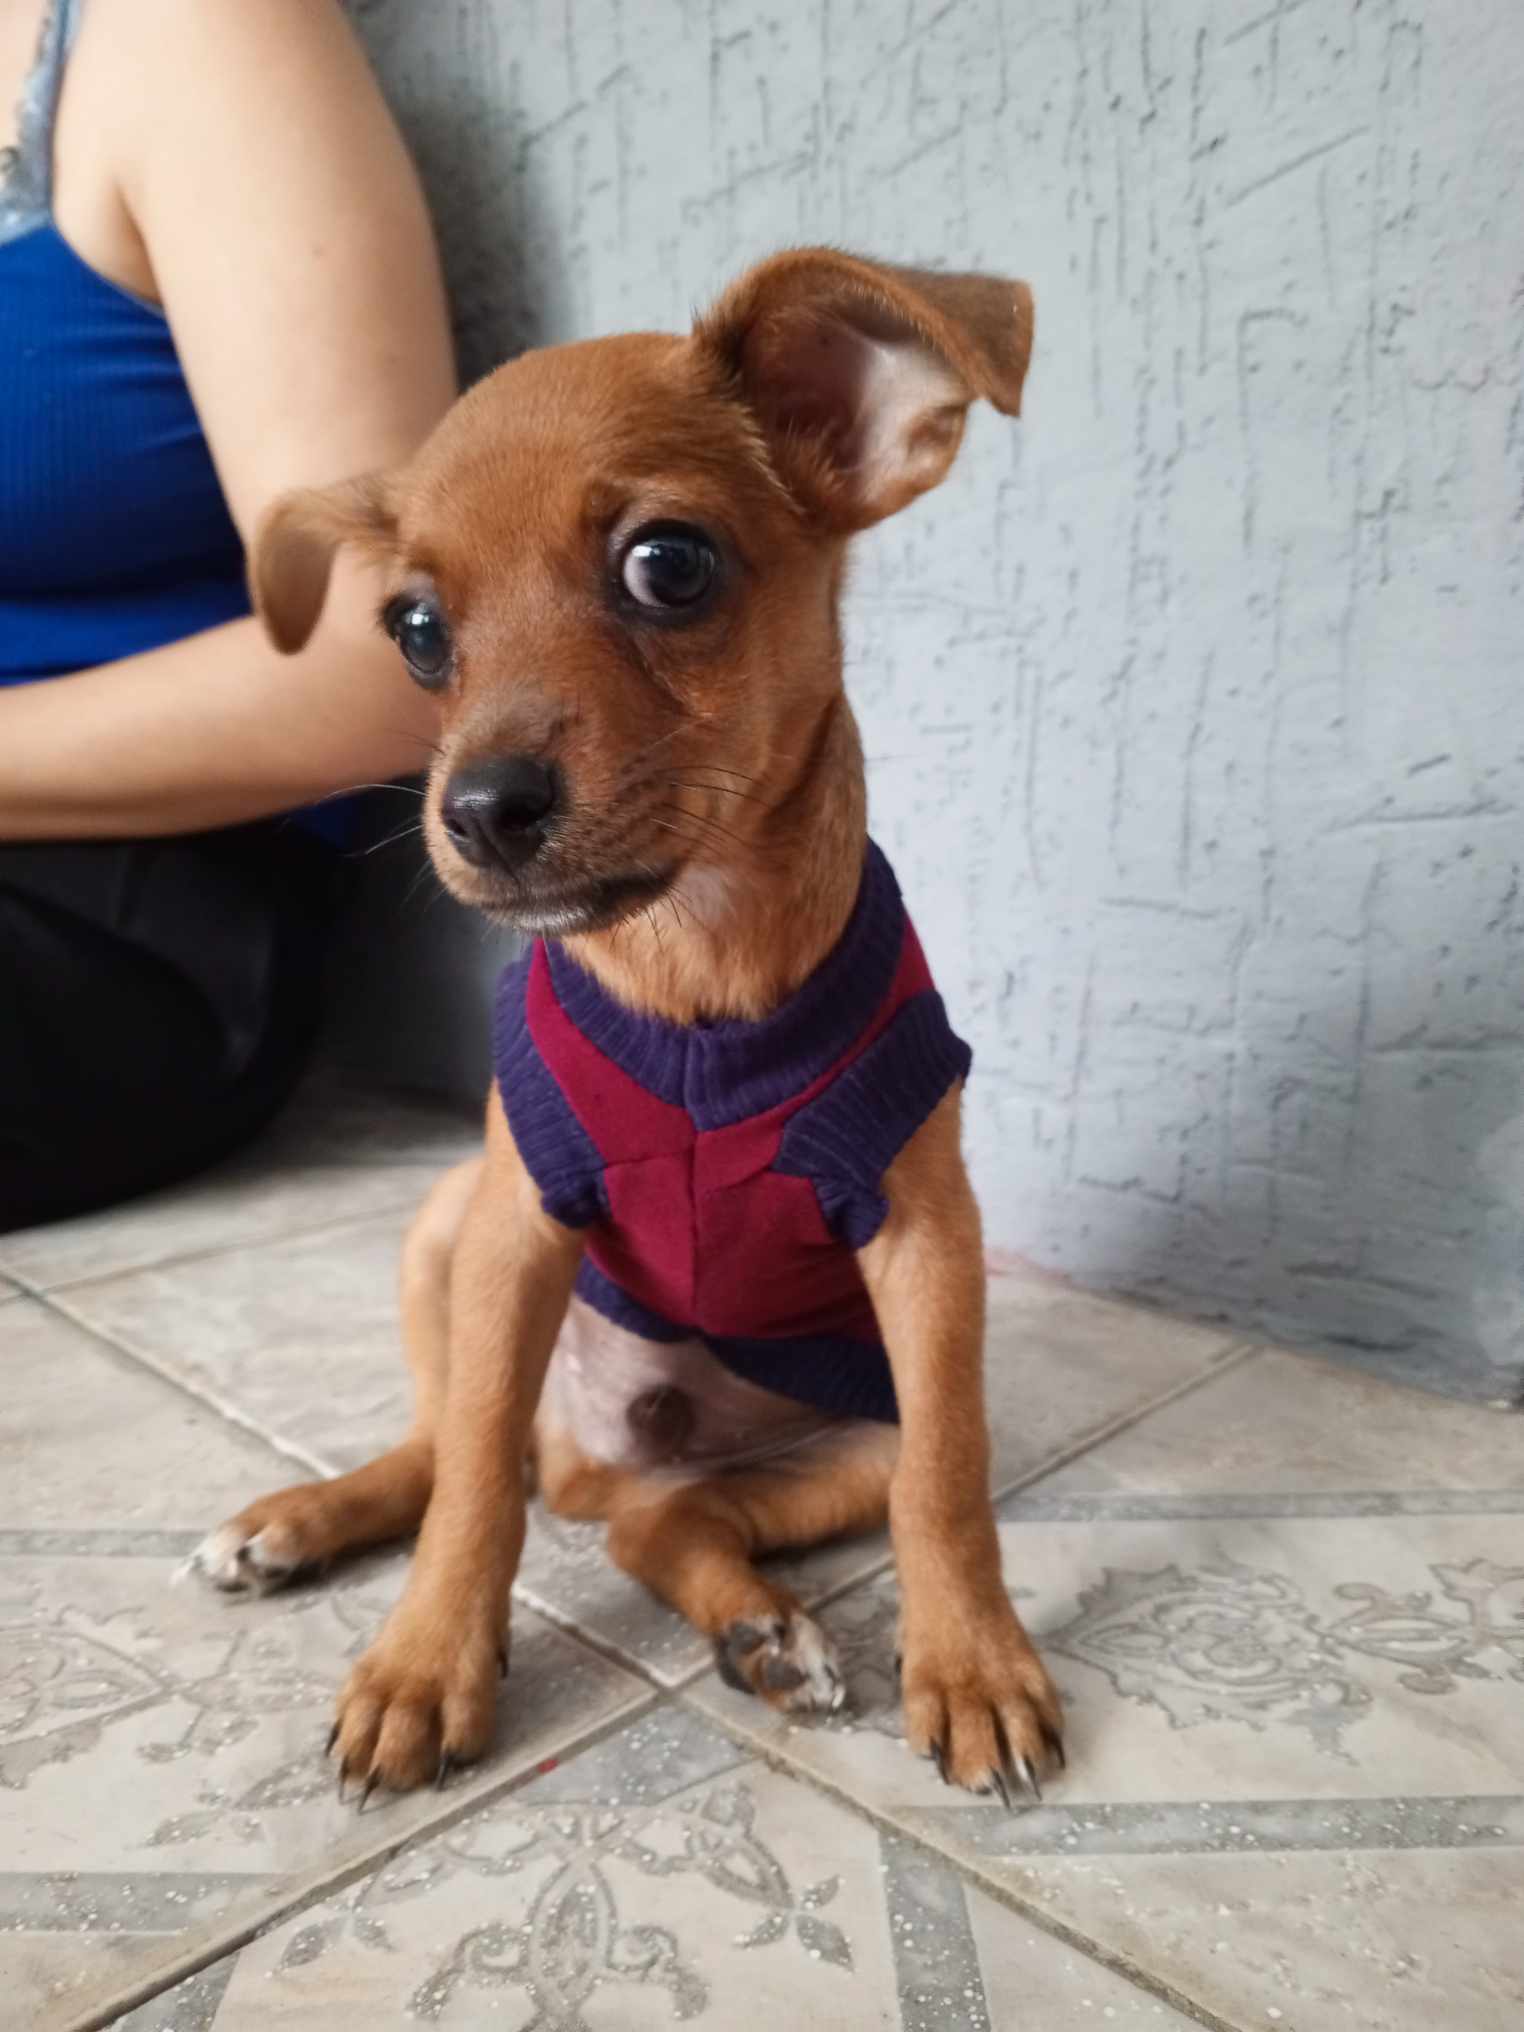
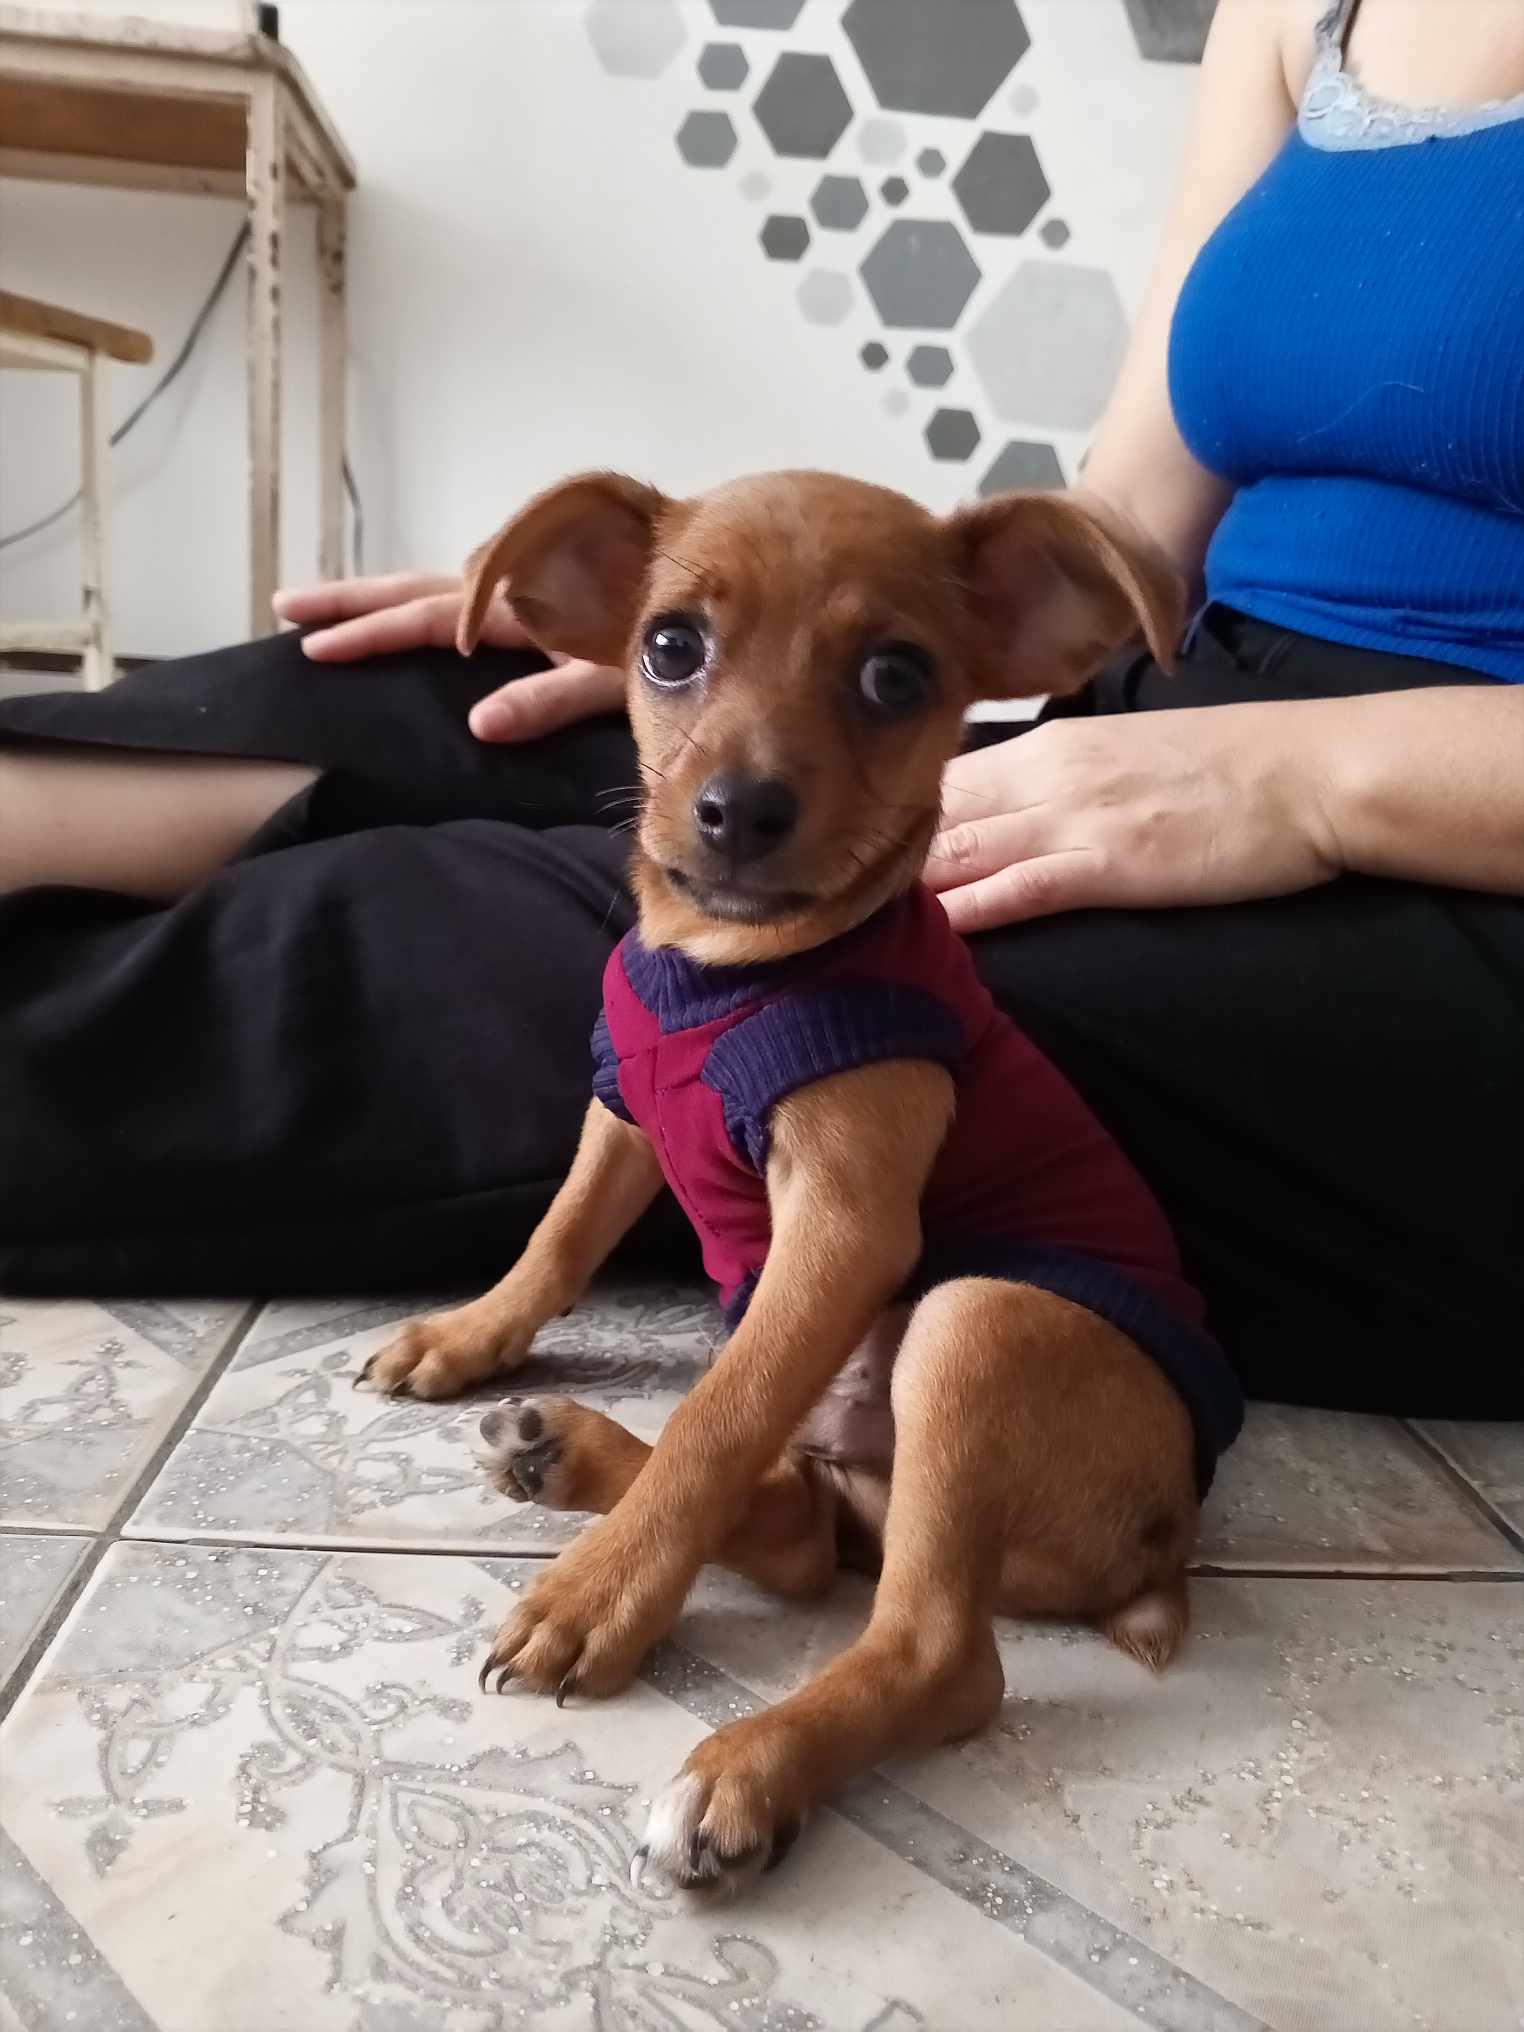
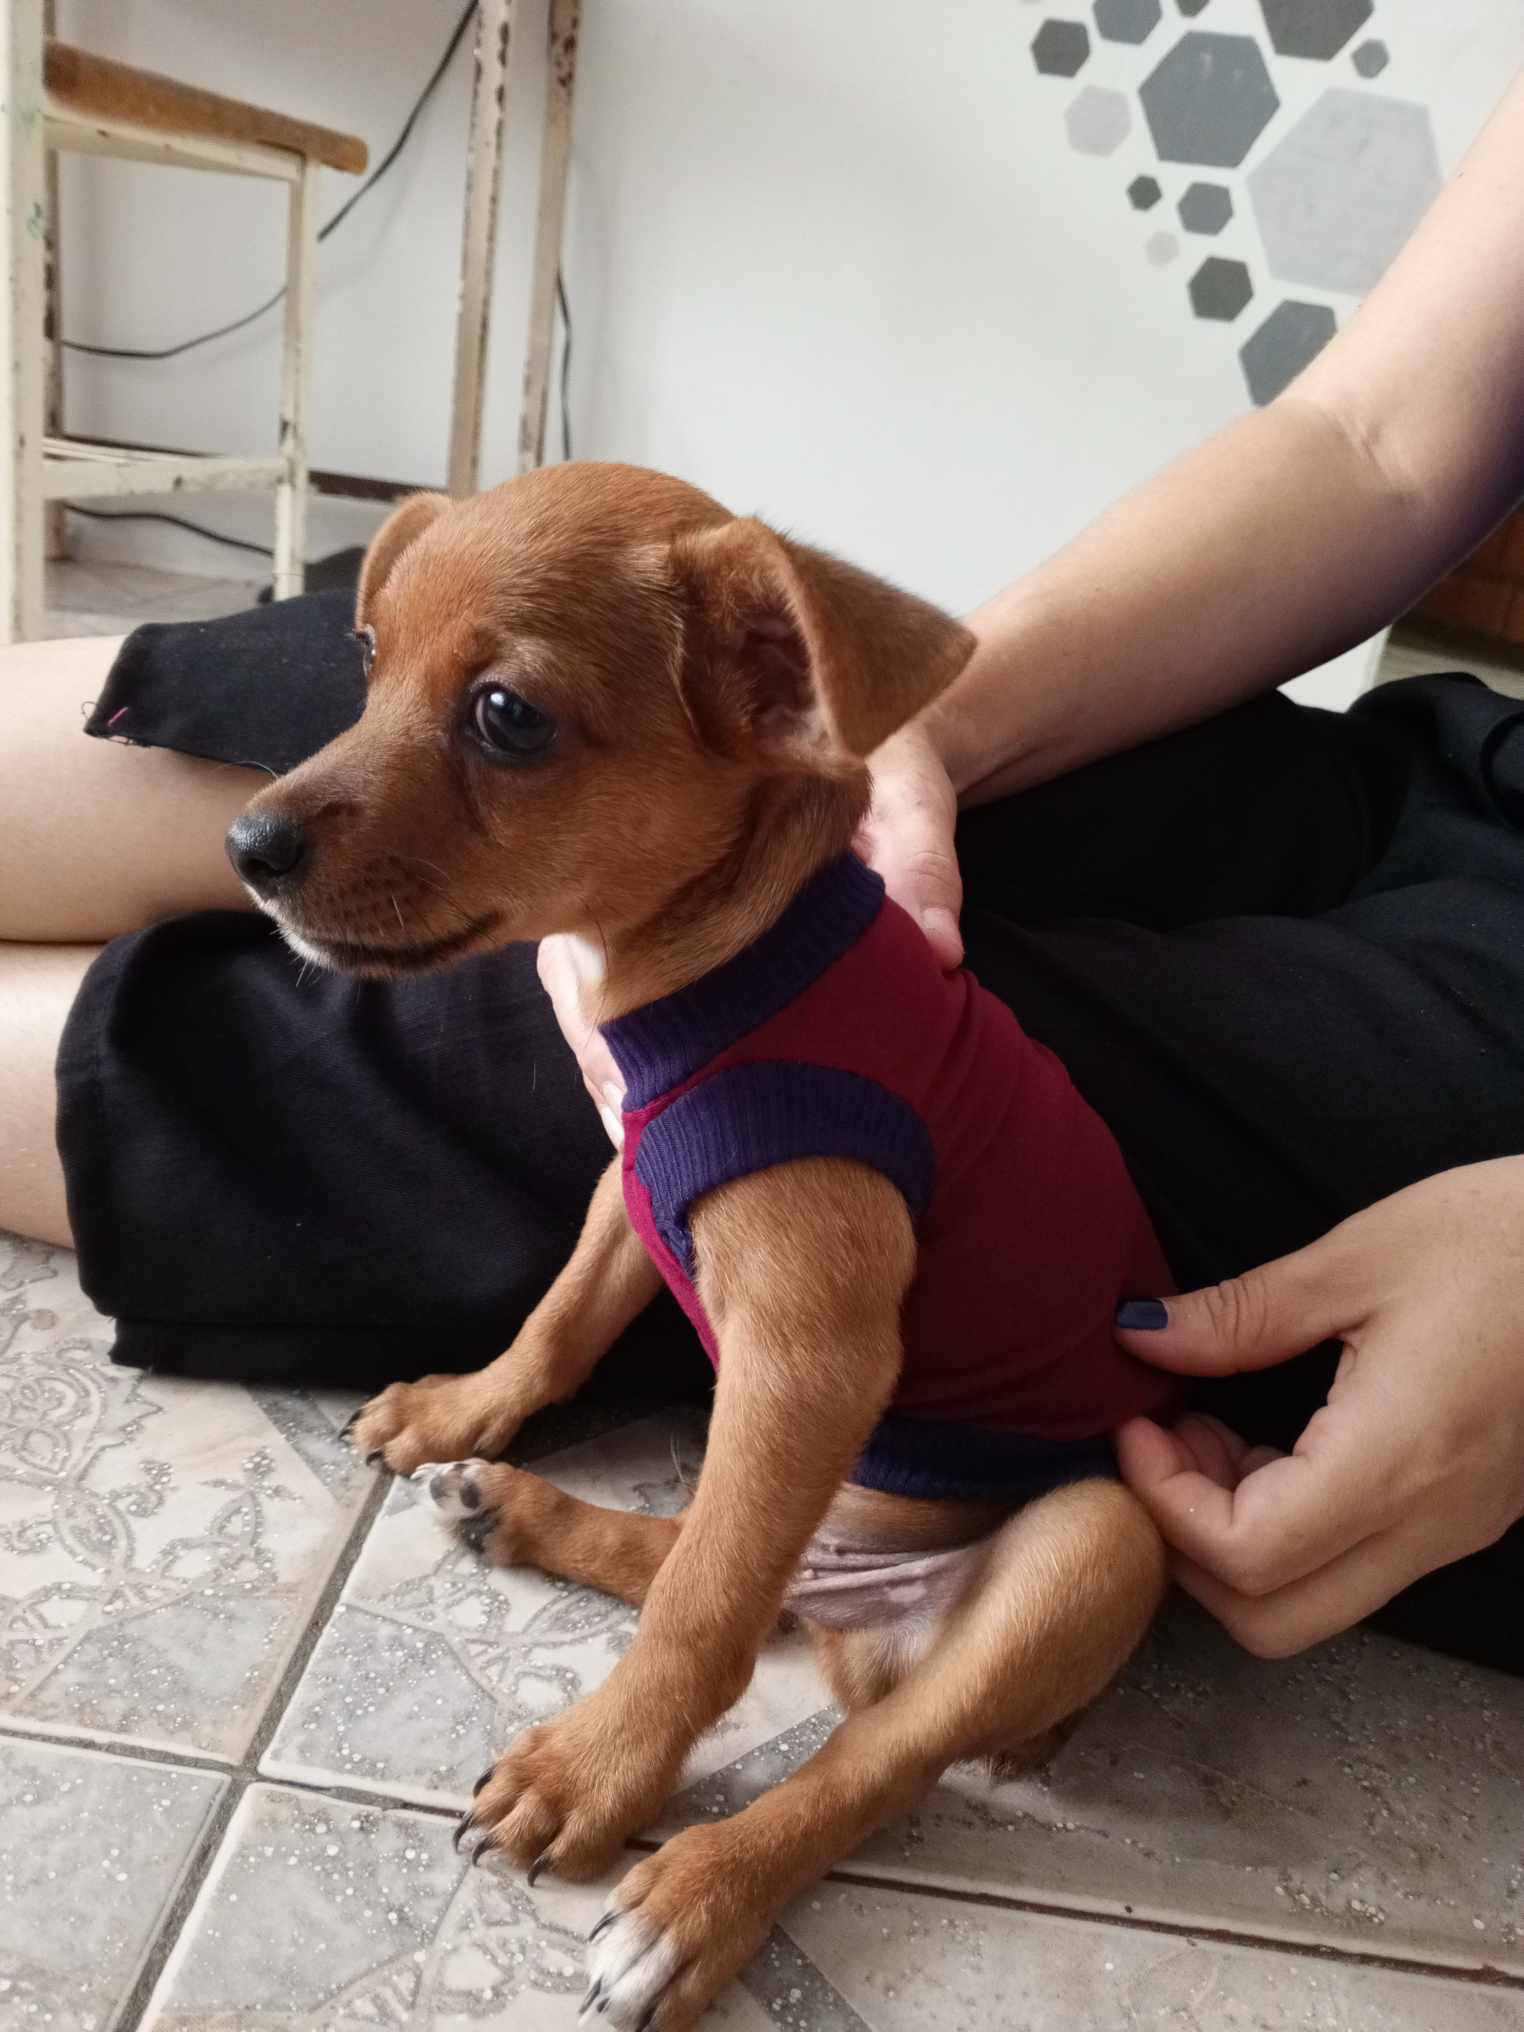
Hello friends of hive, how happy I am to be here again with all of you, I was a little lost but today I am back home, my home hive. You know I love sewing, I love to sew, create, design, be part of something inspired by a heart that I want to innovate new things to impact this generation, so today I am pleased to show you a small tutorial for those who have puppies at home, it is a very special tutorial where I will show you how to make a garment for my dog Rocco. I hope you like it and I hope it can help you to also create and make something like this or even better, I had a lot of fun doing it and he really liked it so let's see the step by step.
.jpg)
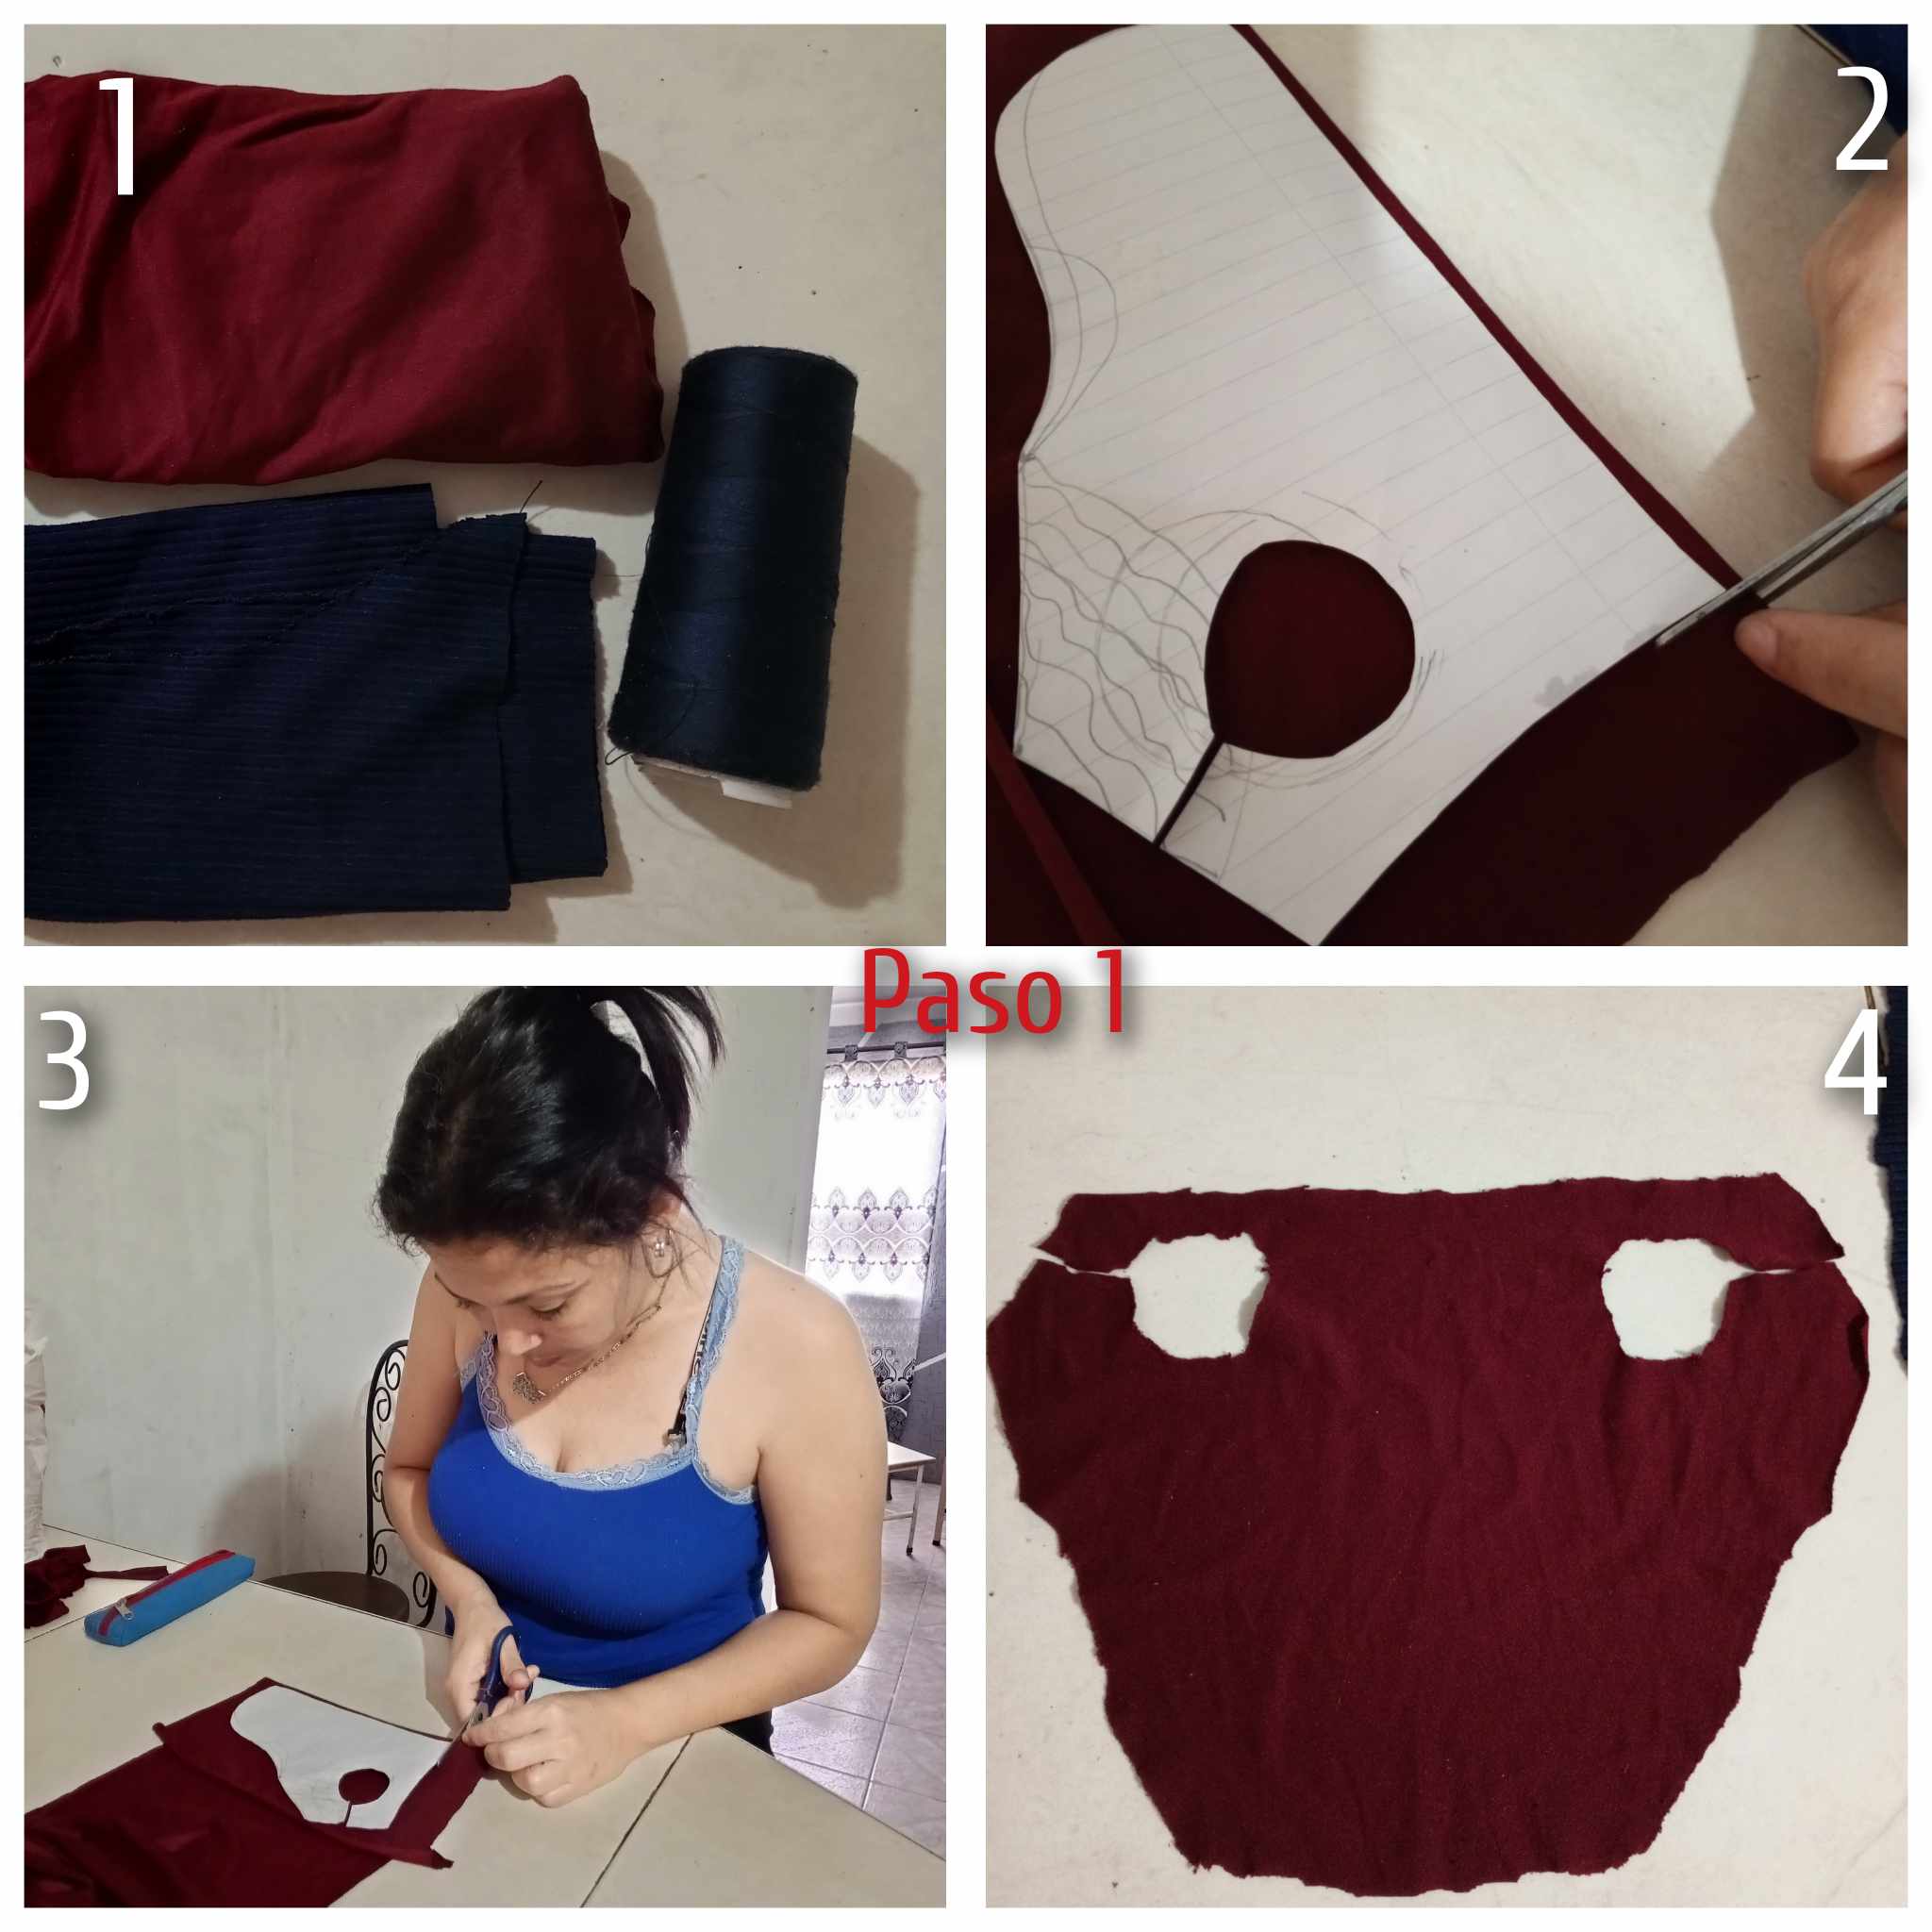
Paso 1: para realizar esta prenda vamos a necesitar tela suave, ya que ellos son muy delicados y no es conveniente que usen una tela muy rígida porque les hará daño, entonces usaremos una tela suave, dos colores combinaremos hoy, azul con rojo, haré un patrón tomando las medidas de mi perrito y colocaré el patrón sobre la tela para cortarla exactamente como debe ser. Dejando los agujeros por dónde las paticas pasarán.
Step 1: to make this garment we will need soft fabric, since they are very delicate and it is not convenient to use a very rigid fabric because it will hurt them, so we will use a soft fabric, we will combine two colors today, blue with red, I will make a pattern taking the measurements of my puppy and I will place the pattern on the fabric to cut it exactly as it should be. Leaving the holes where the paws will go through.
.jpg)
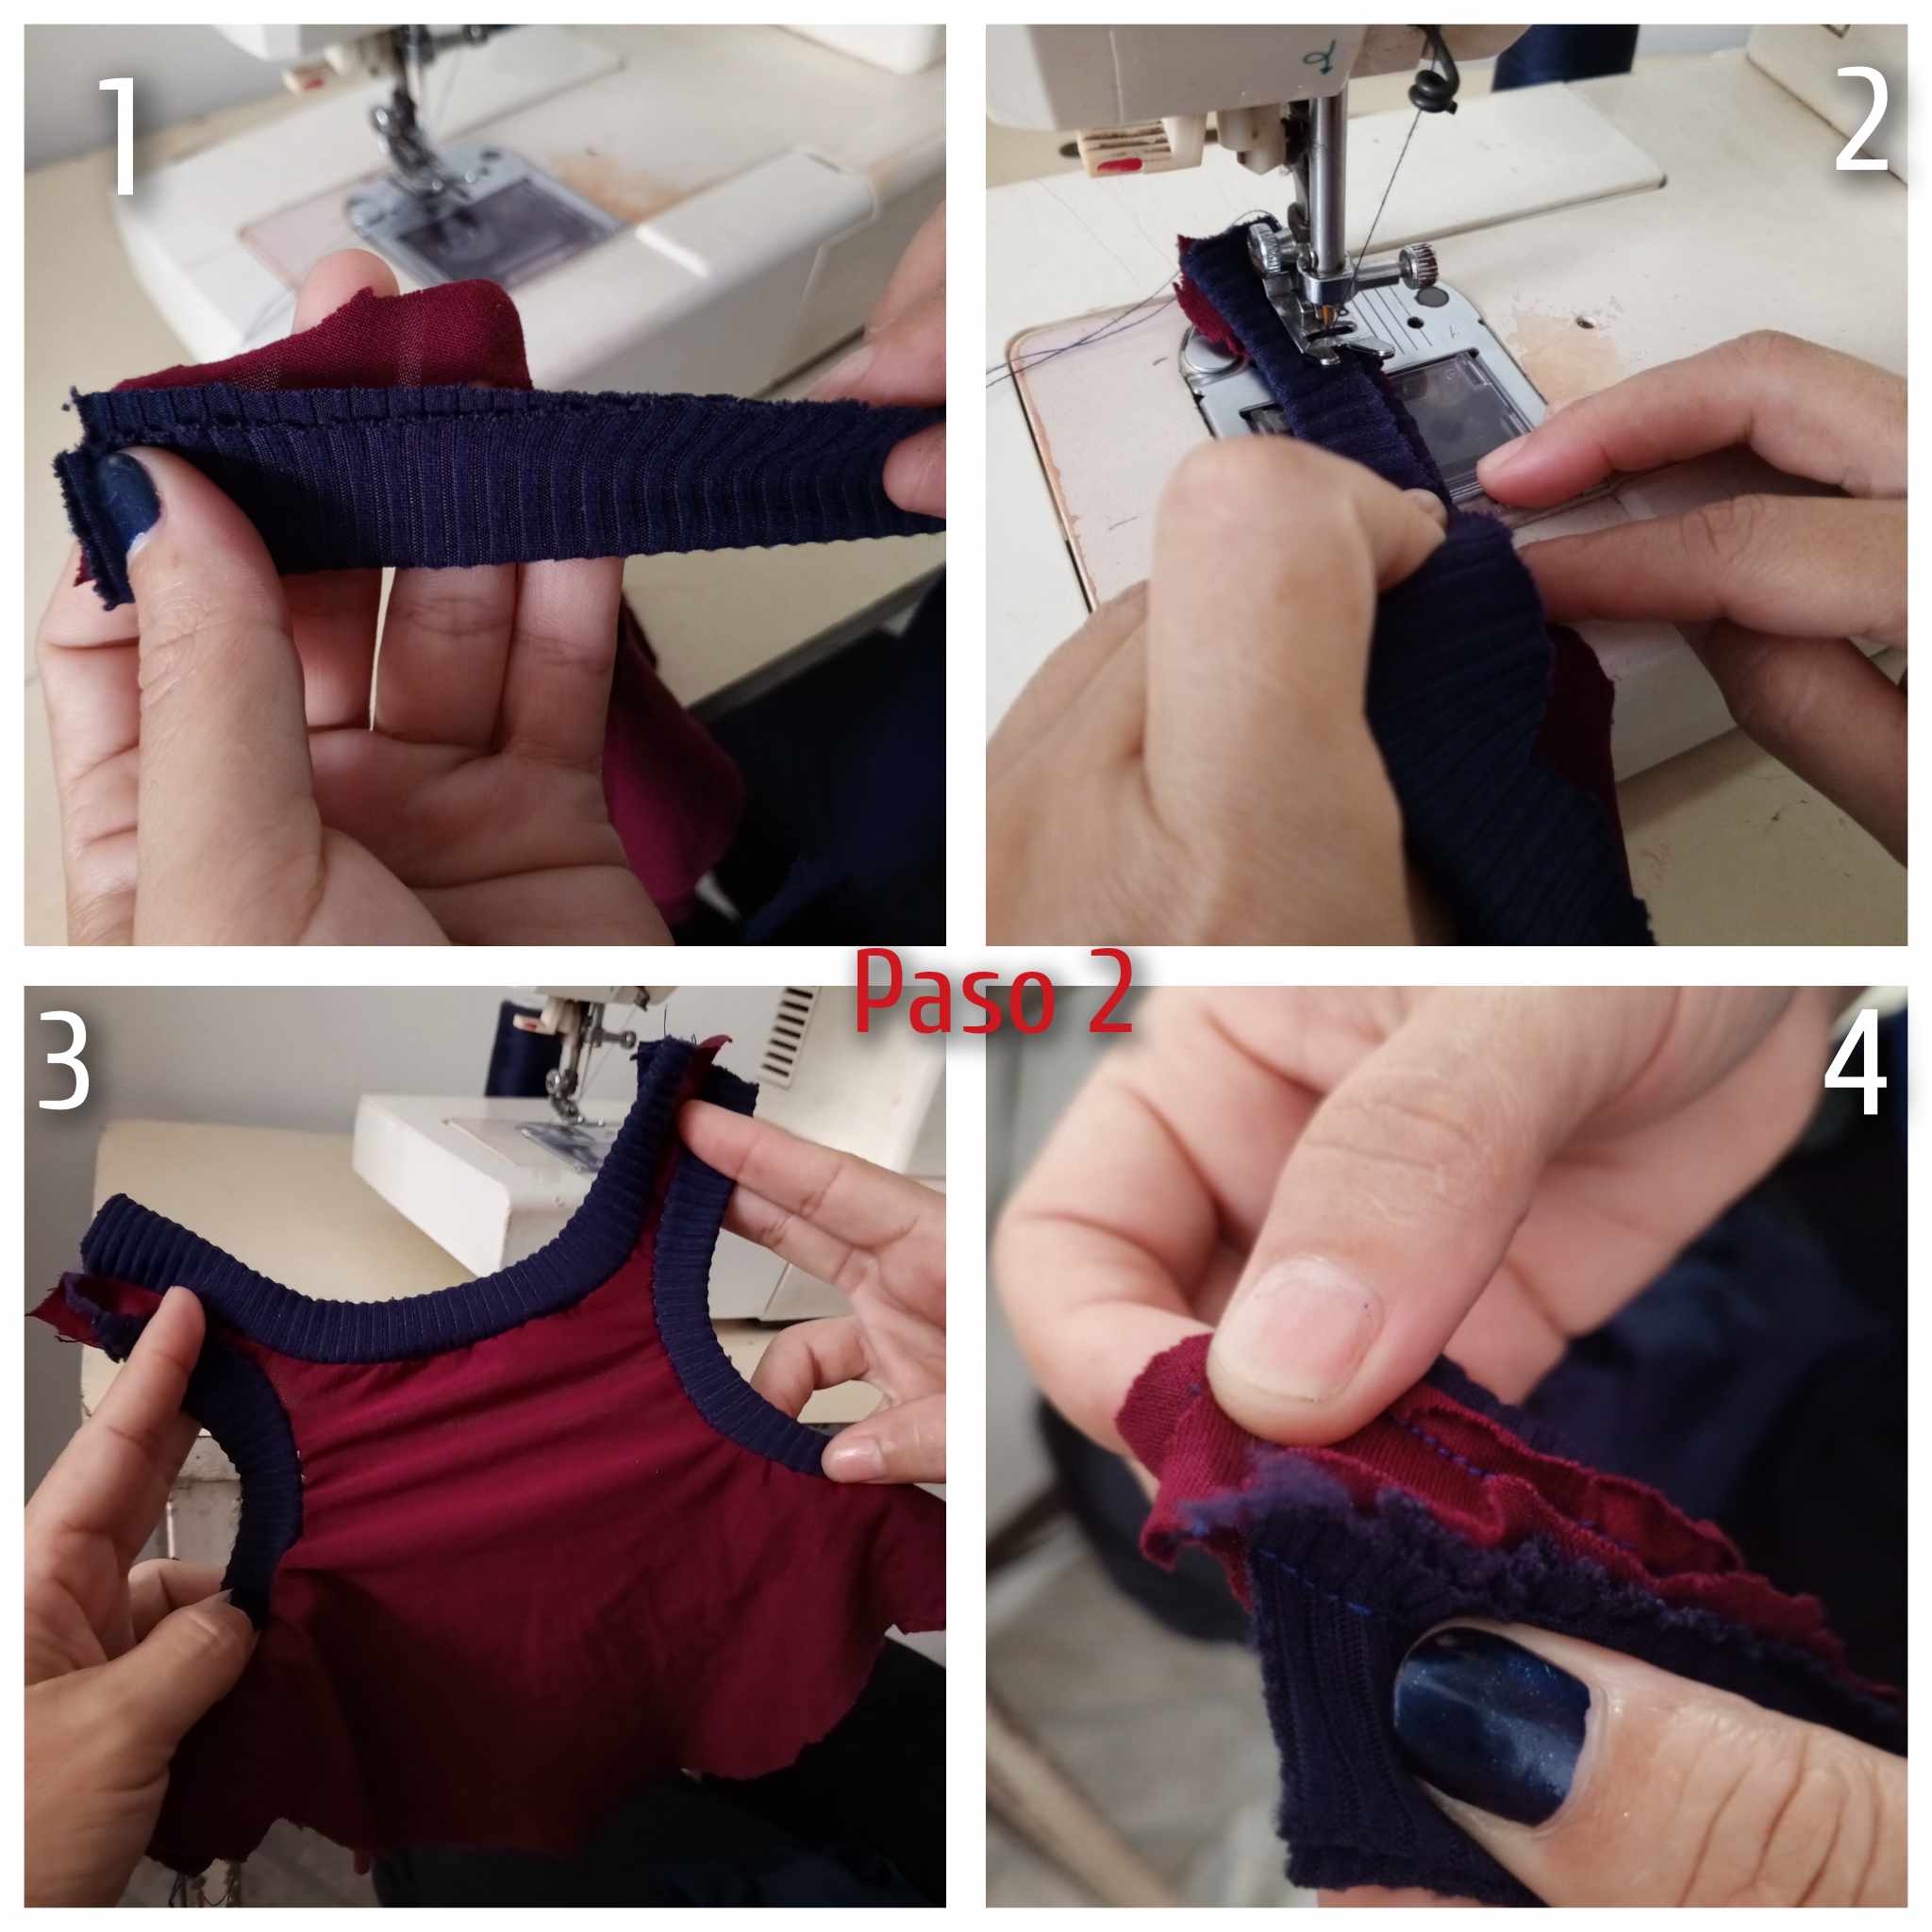
Paso 2: Ahora luego de tener todo cortado comenzaré a coser, iniciando por la tira que irá y rodeará las paticas y el cuello. Así como aparece en las imágenes de referencia, y comeremos cuidadosamente procurando obtener un bello acabado.
Step 2: Now after having everything cut I will start sewing, starting with the strip that will go around the legs and neck. As shown in the reference images, and we will eat carefully trying to obtain a beautiful finish.
.jpg)
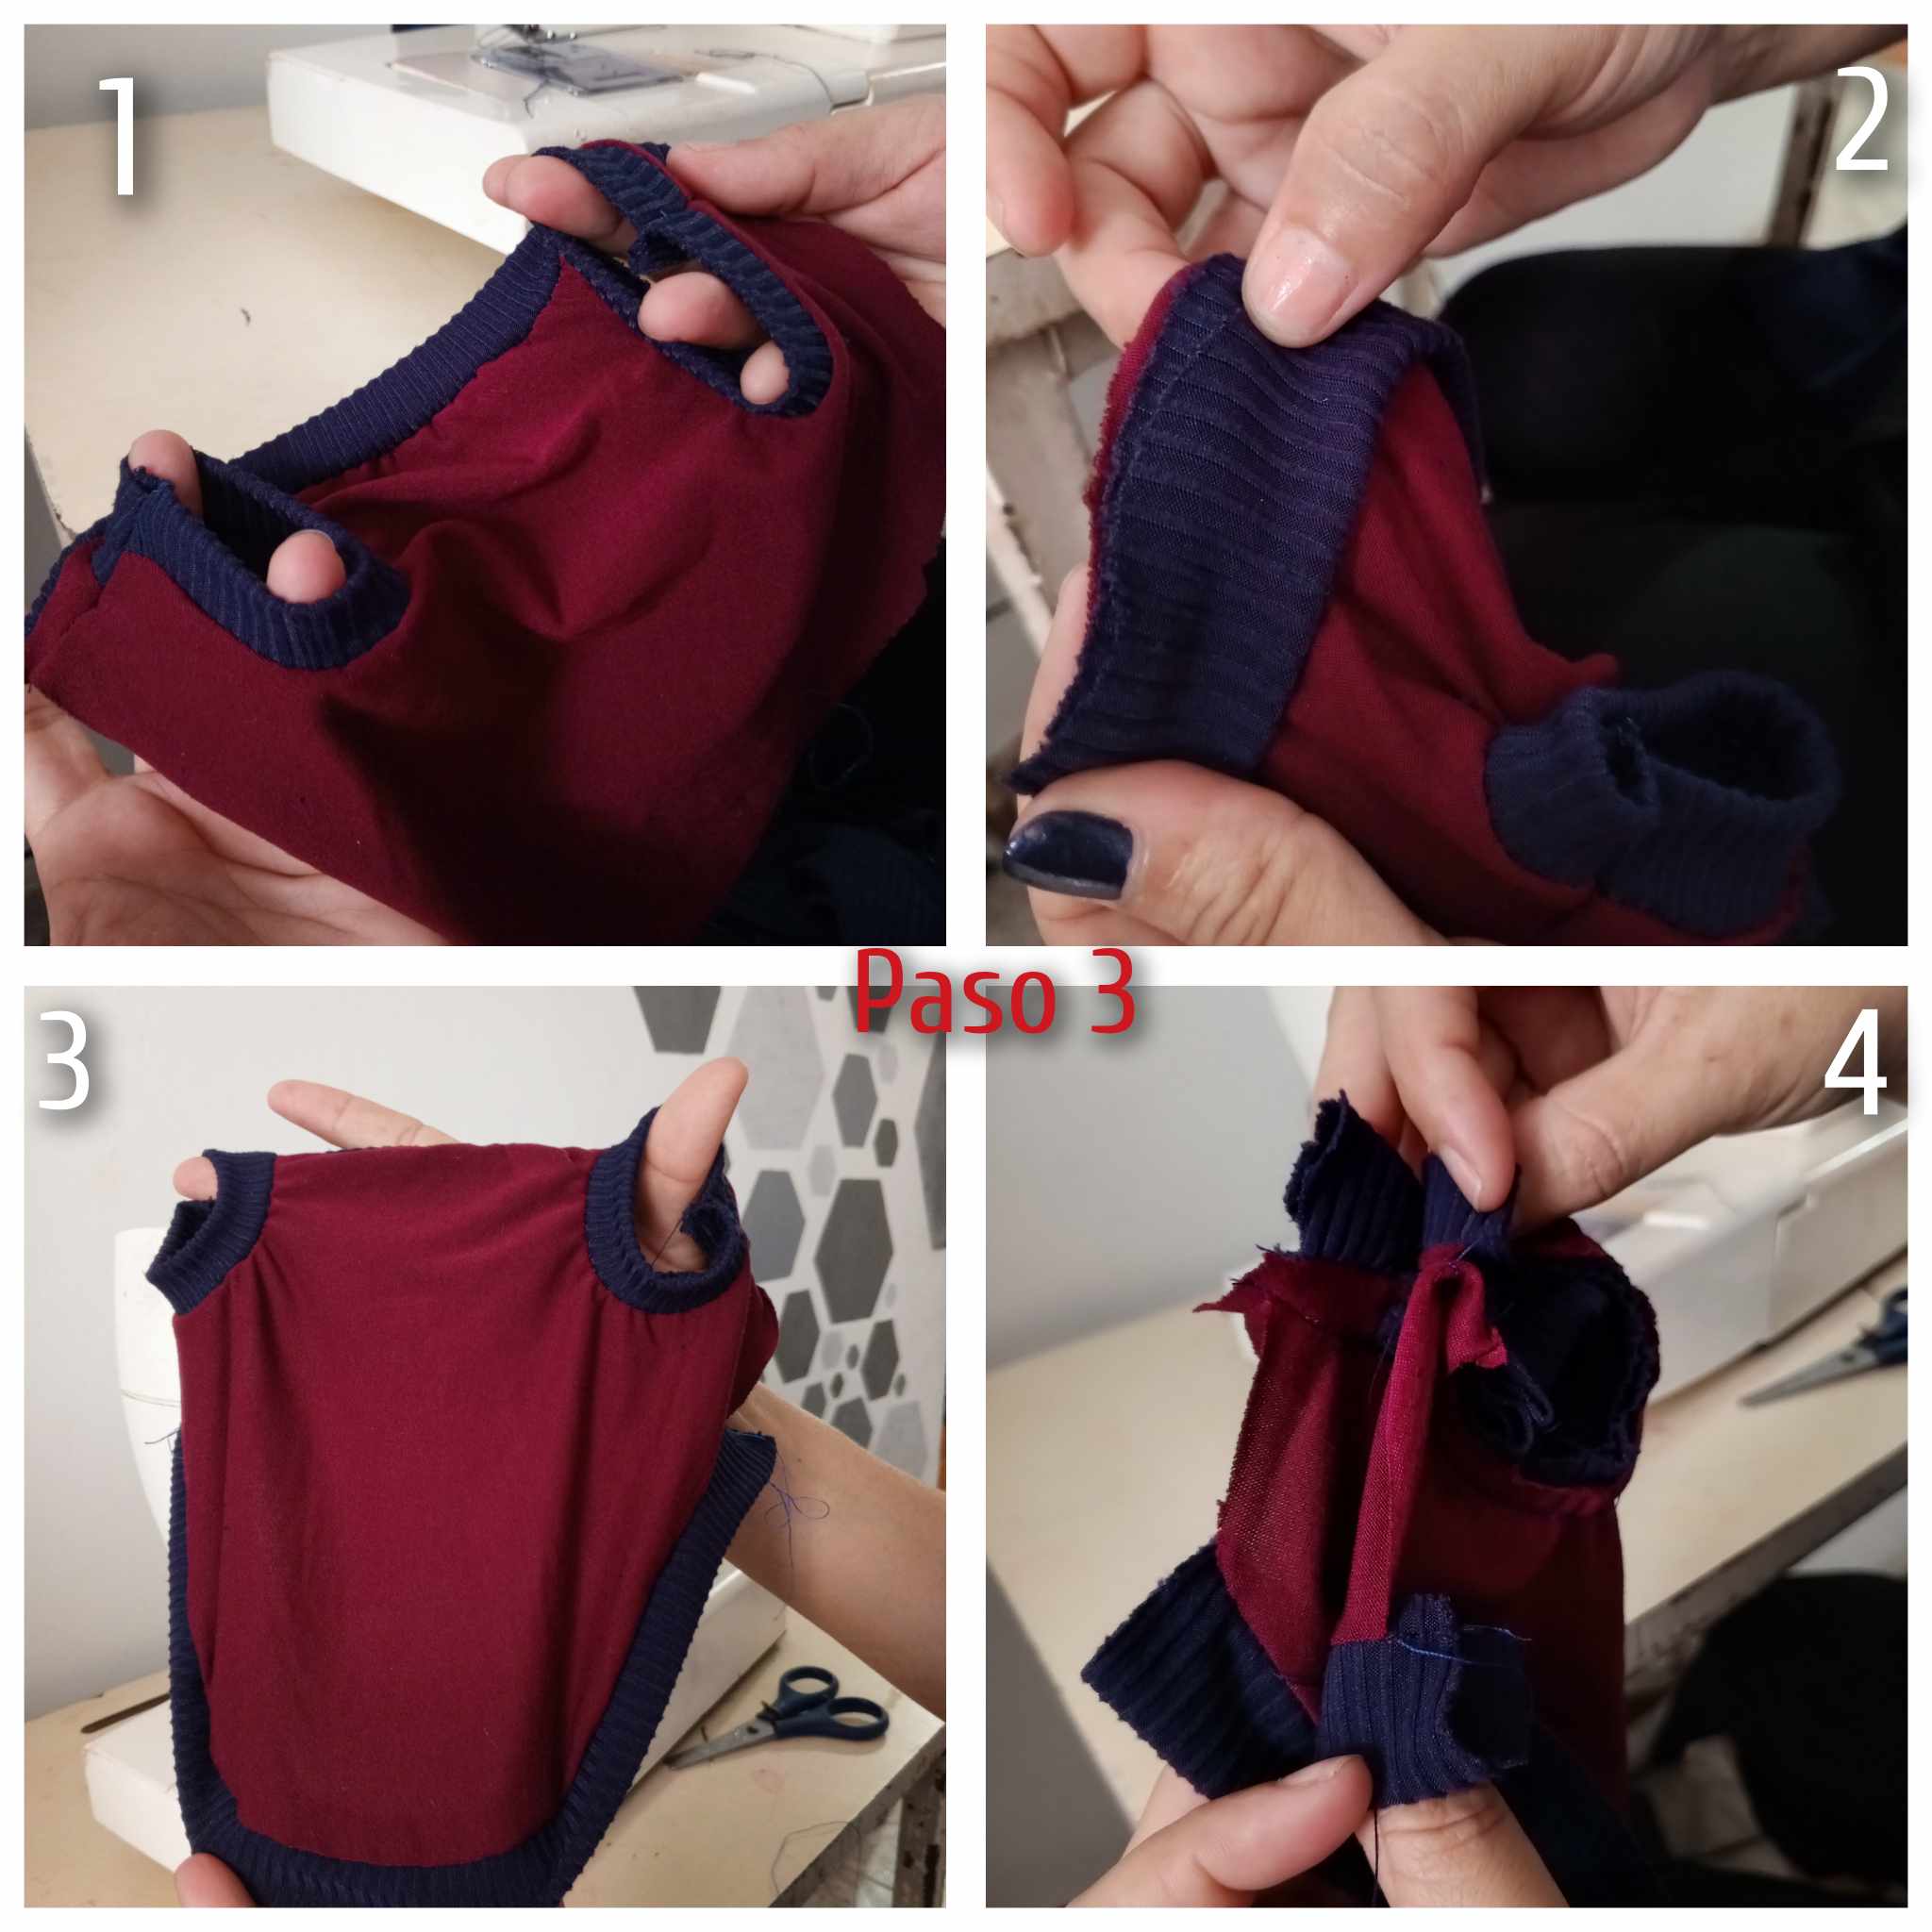
Paso 3: Al ya tener cosidas estás partes, comenzaremos a unir lo que será el cierre de la prenda, es muy sencillo lo que haremos aquí, es súper fácil y el acabo les gustará muchísimo. Comeremos las tiras azules por dónde pasan las paticas simulando la manga de la prenda y cerraré la costura.
Step 3: Once these parts are sewn, we will begin to join what will be the closure of the garment, it is very simple what we will do here, it is super easy and you will like the finish very much. We will eat the blue strips where the legs go through, simulating the sleeve of the garment and I will close the seam.
.jpg)
Final Result.
.jpg)

Hola, hola @betzy25, bienvenida de vuelta a la comunidad. Este atuendo para tu perrito ha quedado muy tierno y lindo. Gracias por compartir.
Todo un modelo tu perrito Rocco, que lindo es y su atuendo a quedado maravilloso, se ve muy cómodo que es lo ideal para ellos que se mueven tanto. Me sirve de guía tu proyecto, gracias por compartirlo con nosotros. Saludos.