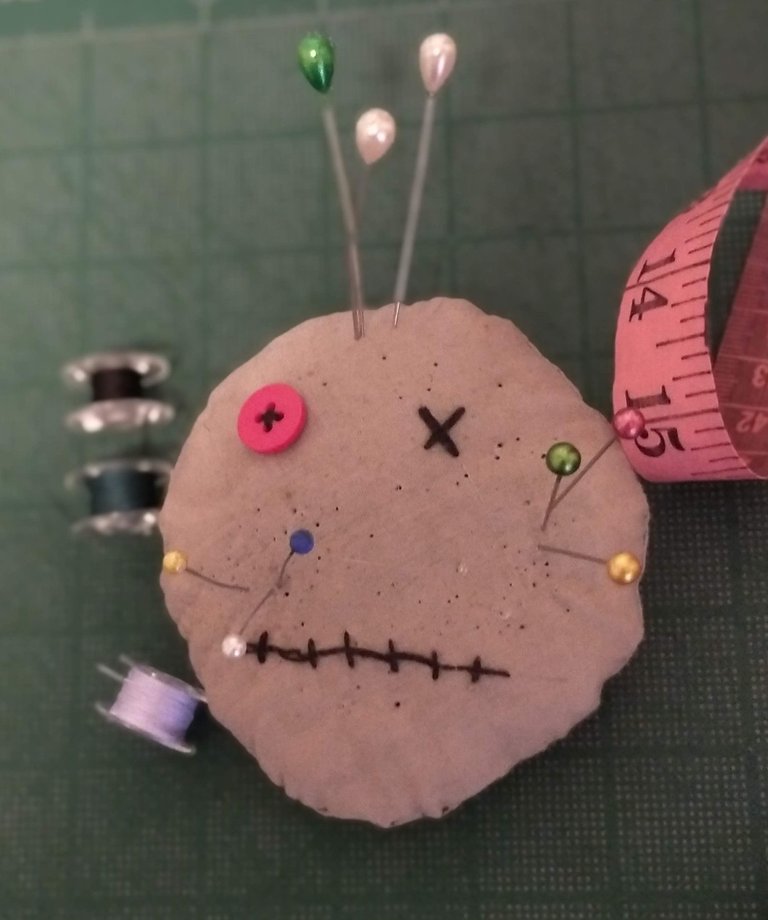
There is nothing more uncomfortable when it comes to sewing than having the pins out of order when you are going to join the pieces before sewing them. The truth is that I'm not a big fan of those that are like little apples because everyone has them and I find this one very funny because you already put pins on voodoo dolls, so it's double use if you fill it with the hair of the person you hate hahahahaha (I'm Joking).
It is my intention to make one that matches this one so he will have company. But I want to make that one as a doll, so it will be much smaller and I will have to manage to have some hard barrier at the bottom so I won't hurt myself with the pins (which is what happens to me with pincushions that I buy at the haberdashery).
¡El accesorio de costura más infravalorado de todos!
No hay nada más incomodo a la hora de coser que tener los alfileres desordenados cuando vas a unir las piezas antes de coserla. La verdad es que no soy muy fan de los que son como manzanita porque todo el mundo los tiene y este me parece muy cómico porque ya a los muñecos vudú se les pone alfileres, así que es doble uso si lo rellenas con el cabello de la persona que odias jajajajaja (mentira).
Son mis intenciones hacer uno que combine con este para que tenga compañía. Pero ese lo quiero hacer de muñeca, así que será mucho más chiquito y tendré que ingeniermelas para que tenga alguna barrera dura al final para no lastimarme con los alfileres (que es lo que me pasa con los alfileteros de muñeca que compro en la mercería).
These are the materials:
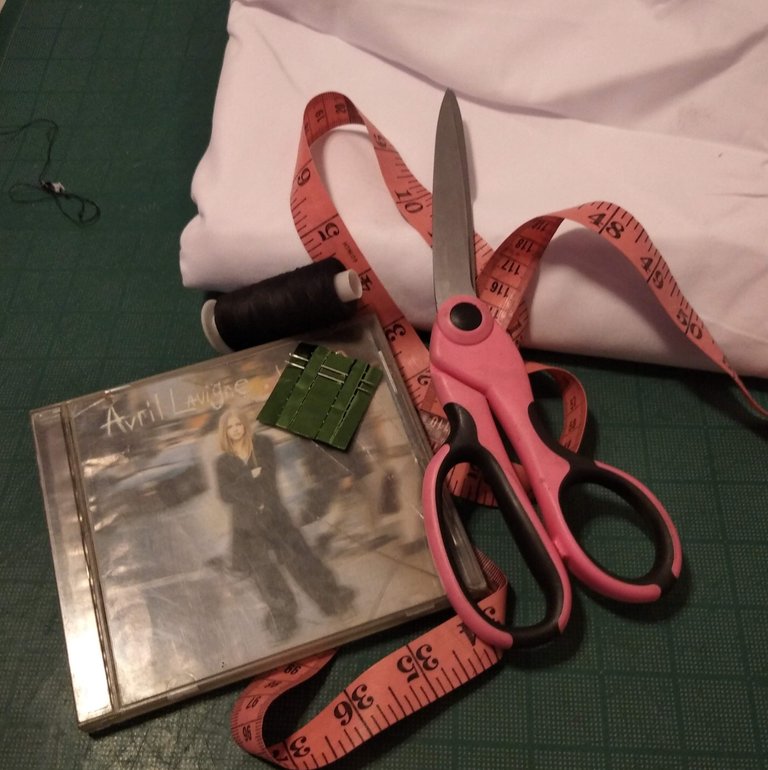
• A piece of fabric that is 26 x 26 cm (you don't need to buy fabric for this, any scrap you have lying around will do. I used leftover fabric from a college shirt I sewed).
• A CD (yes, the one I used is from Avril Lavigne because it was the one I had on hand). (Yes, I still have it and listen to it).
• Pencil or fabric marker or any pencil.
• Needle or sewing machine.
• Thread.
• Scissors.
• A button (I like it to be half crossed eyes).
• Black embroidery thread.
• Cotton.
• Hair of the hated person.
Estos son los materiales:
•Un retazo de tela que sea de 26 x 26 cm (no es necesario que compres tela para esto, cualquier retazo que tengas por ahí sirve. Yo usé la tela que sobro de una camisa de colegio que cosí).
•Un CD (si, el que usé es de Avril Lavigne porque era el que tenía a la mano). (Sí, todavía lo conservo y lo escucho).
•Lapiz o marcador de tela.
•Aguja o Máquina de coser.
•Hilo.
•Tijera.
•Un botón (a mi me gusta que sea medio visco).
•Hilo negro de bordar (Madeja).
•Aldodón.
•Cabello de una persona odiada.
It's one of the easiest sewing projects to make!
¡Es uno de los proyectos de costura más fáciles de hacer!
1. Mark the pattern.
1.Marcar el molde.
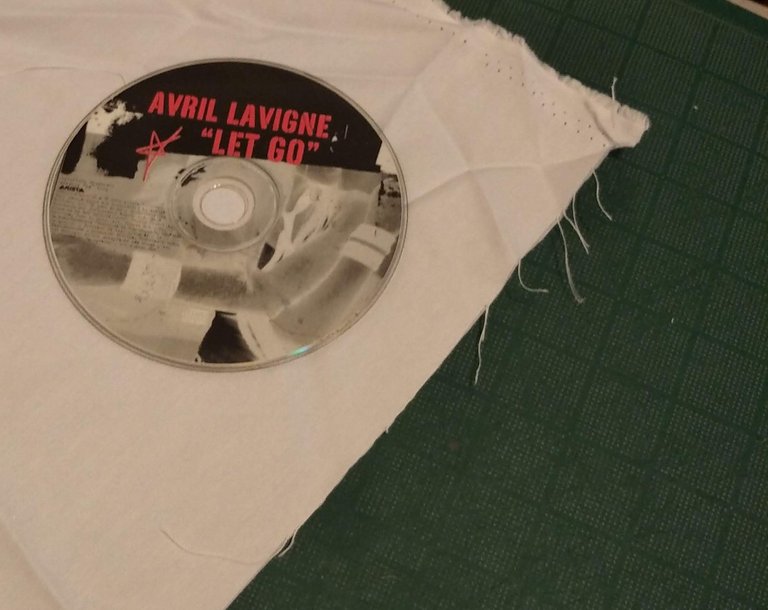
As you can see, the pattern is a CD. It's perfect because you don't have to make the pattern out of the paper. You don't have to look for a compass to make a perfect circle for the pattern or look a round for object that you can trace.
The CD is the perfect size for this pincushion because you don't even have to add seam allowances to it. I know that once you mark it on the fabric it seems that it is too big for what you want to do, but remember that this size will be subtracted from the seam allowance you use (which I recommend is 1 cm) and when you fill it, it will reduce a little more.
Remember that you have to have two layers of fabric, so I recommend folding the fabric in two and marking the circumference of the CD on the fabric you chose. You don't need to use a pencil or fabric marker because this won't be where you sew but where the fabric will be cut, so it won't show.
Como se podrán dar cuenta, el molde es el CD. Es perfecto porque no tienes que hacer el patrón el papel. No tienes que buscar un compás para hacer un circulo perfecto para el patrón o buscar un objeto redondo que puedas calcar.
El CD tiene el tamaño perfecto para este alfiletero porque ni siquiera le tienes que agregar márgenes de costura. Sé que una vez que lo marques en la tela parece que es muy grande para lo que se quiere hacer, pero recuerda que a este tamaño se le restará el margen de costura que utilices (que recomiendo que sea 1 cm) y cuando lo rellenes, va a reducir un poco más.
Recuerda que tienes que tener dos capas de tela, así que te recomiendo doblar la tela en dos y marcar así la circunferencia del CD en la tela que escogiste. No es necesario que use un lápiz o marcador de tela porque este no será por donde se cosa sino por donde se cortará la tela, así que no se verá.
2. Cut!
- ¡Cortar!
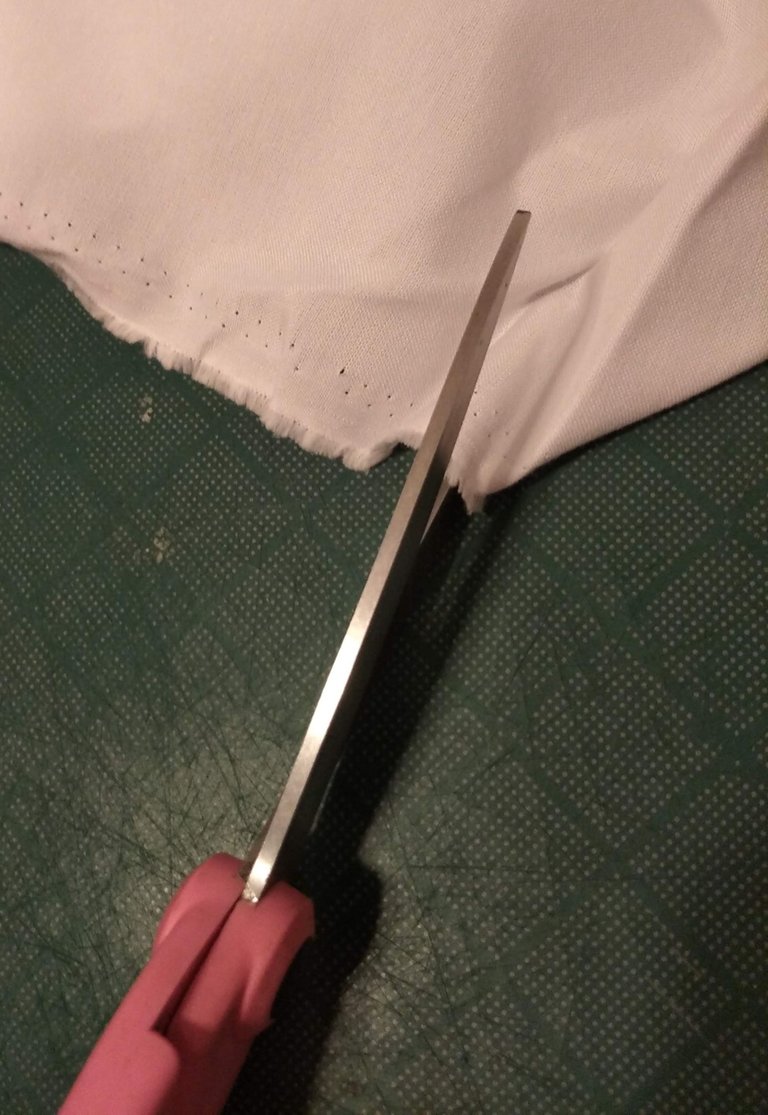
I recommend using scissors instead of a rotary cutter because making perfect circles is very difficult with a rotary cutter. So with the fabric folded, cut the CD mark on the fabric so you have two round layers of fabric.
Te recomiendo usar una tijera en lugar de un rotary cutter porque haer círculos perfectos es muy difícil con un rotary cutter. Así que con la tela doblada, corta la marca del CD sobre la tela para tener dos capas de tela redondas.
3. Sew the layers
3.Cose las capas
You can use a sewing machine or your trusty hand needle. I used the hand needle because I was too lazy to connect the machine just for this. Also, sewing by hand is perfect for when you want to watch a series on Netflix and feel like you're not wasting your time (Because having a pincushion is a basic necessity).
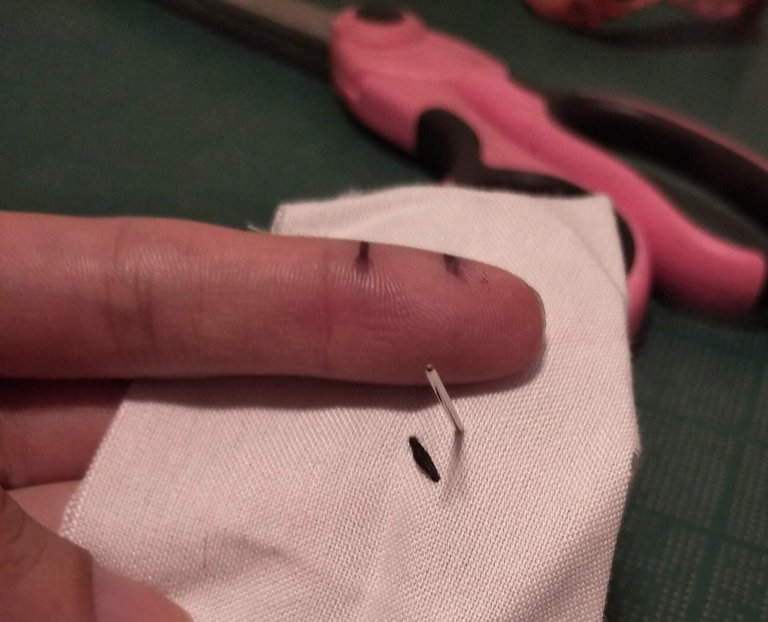
A trick to sew the circle so that it doesn't come out crooked is to draw two lines on your index finger using a marker and a tape measure that is 1 cm apart to use as a reference while you sew, and thus you don't have to look for the compass to mark where the needle has to pass. I also use this trick for the satin stitch.
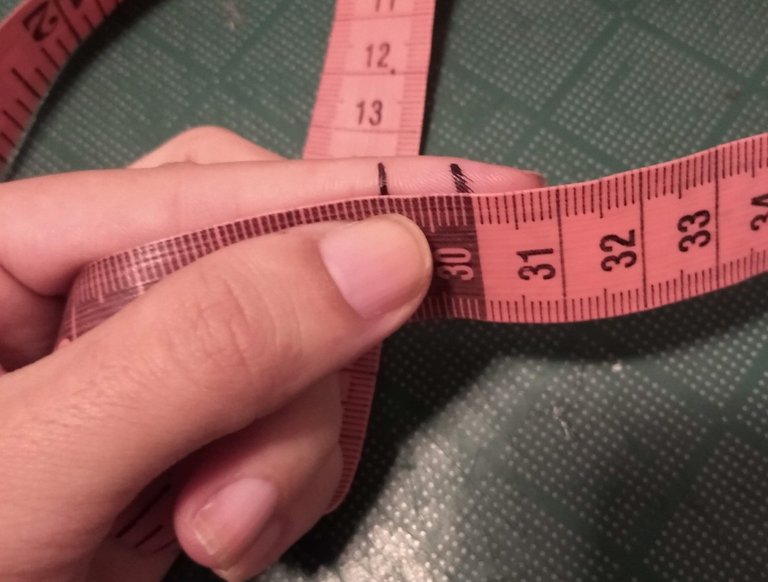
Do not sew the entire circle. Leave about 2-3 cm without sewing because it is the space that we will use to stuff the doll.
Puedes usar una máquina de coser o tu confiable aguja de mano. Yo usé la aguja de mano porque me daba flojera conectar la máquina solo para esto. Además, coser la mano es perfecto para cuando quieras ver una serie en Netflix y sentir que no estas perdiendo el tiempo (Porque tener un alfiletero es una necesidad básica).
Un truco para coser el circulo y que no te salga choreto es dibujar dos líneas en tu dedo índice usando un marcador y una cinta métrica que este a 1 cm de distancia para usar como referencia mientras coses, y así no tienes que buscar el compás para marcar por donde tiene que pasar la aguja. Este truco también lo uso para la puntada festón.
No cosas el circulo por completo. Deja unos 2-3 cm sin coser porque es el espacio que usaremos para rellenar el muñeco.
4. Flip and stuff the pincushion
4.Voltear y rellenar el alfiletero
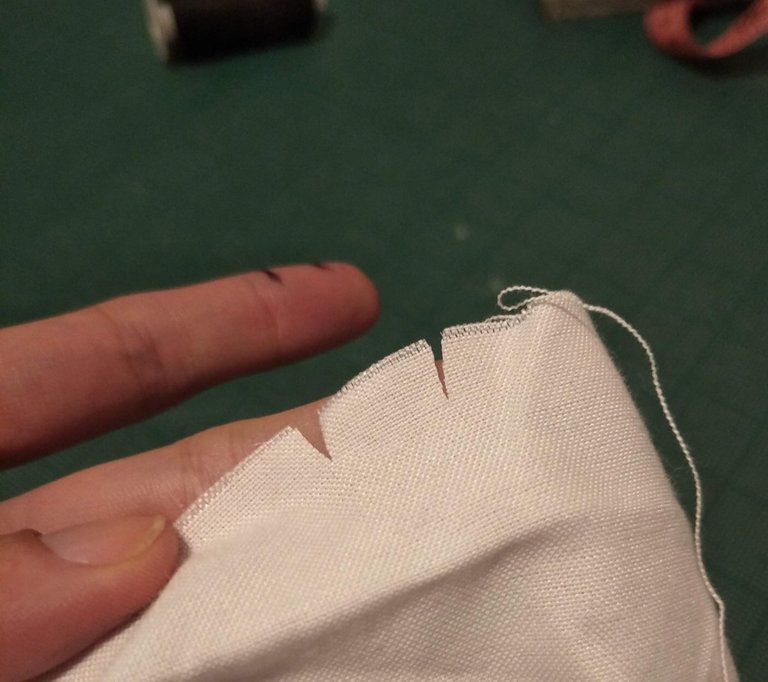
I recommend that before turning, make some pickets along the circle so that when turning the seams do not look strange. This is a trick that works when sewing any piece that is curved.
Flip the circle over through the hole we left and then fill it in. You can use whatever you want for stuffing, cotton balls, scraps of fabric that you have lying around, the hair of the toxic… Whatever you want.
Te recomiendo que antes de voltear, hagas unos piquetes a lo largo del circulo para que al voltearse no se vean raras las costuras. Este es un truco que funciona al coser cualquier pieza que sea curva.
Voltea el circulo por el agujero que dejamos y luego rellénalo. Puedes usar lo que quieras de relleno, bolitas de algodón, retazos de tela que tengas por ahí,el cabello del toxico… Lo que te provoque.
5. Close the voodoo doll
5.Cerrar el muñeco vudú
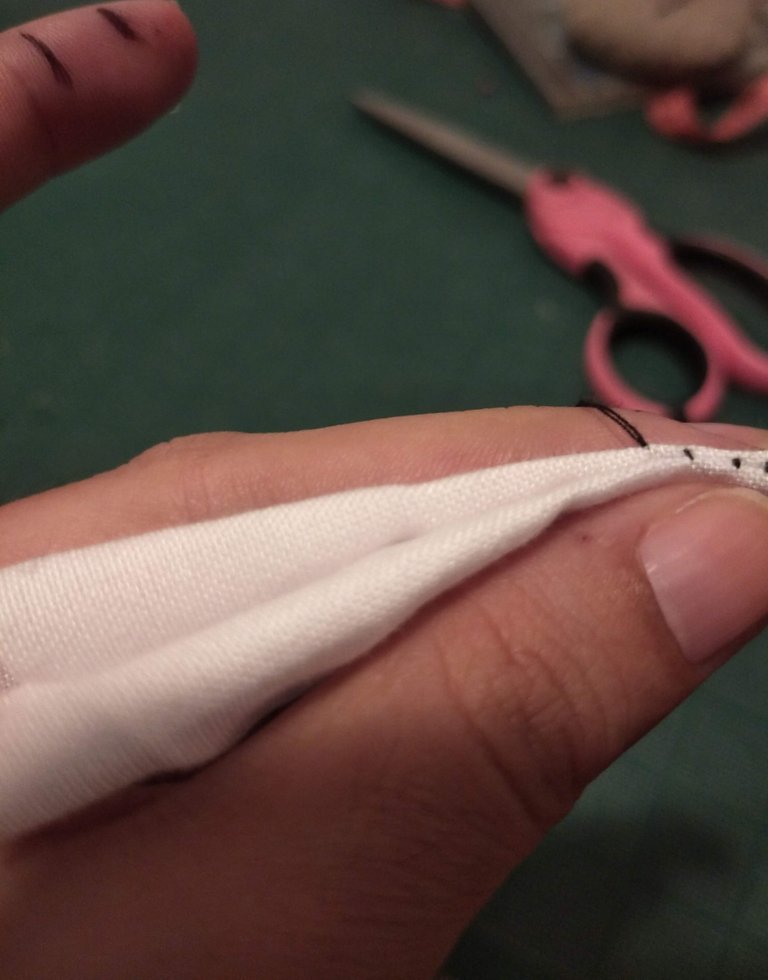
Fold in the seam allowance of the hole and with a needle (this can't be done on the machine unless you don't mind ugly seams), proceed to close it with an invisible stitch (if you want me to make a post of types of stitches and how to master them, let me know).
Dobla hacia adentro el margen de costura del agujero y con una aguja (esto si no puede hacerse con la máquina a menos que no te importe que se vea una costura fea), procede a cerrarlo con una puntada invisible (si quieren que haga un post de tipos de puntadas y como dominarlas, avísenme).
6. Bring the doll to life
6.Darle vida al muñeco
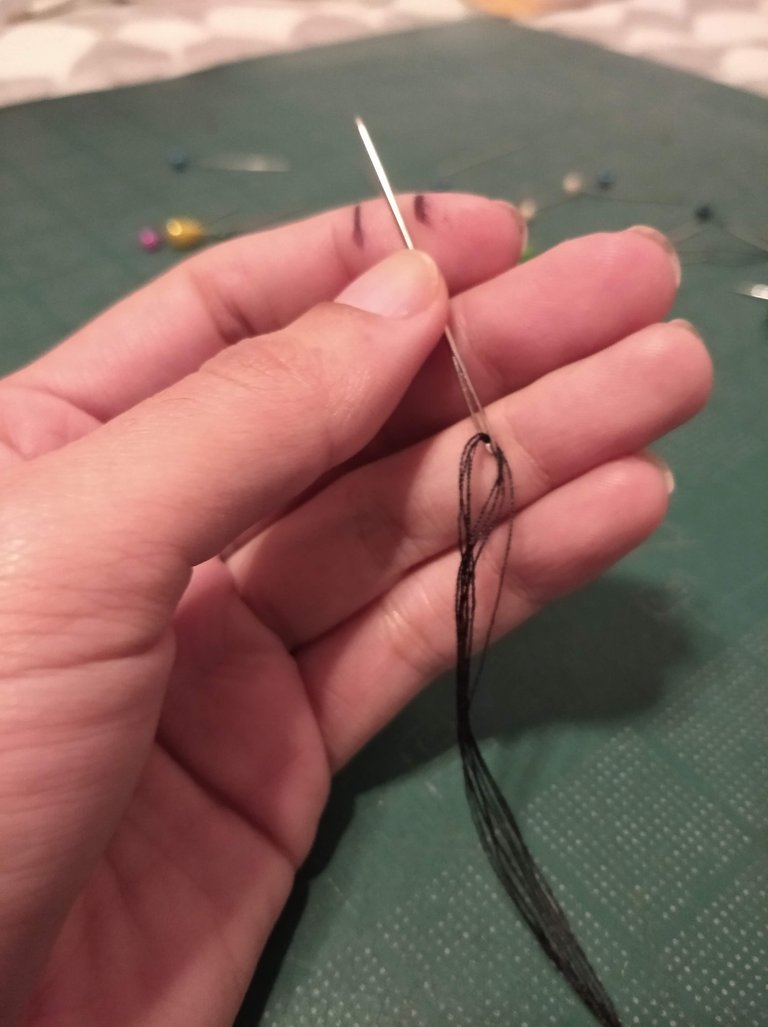
Kidding! I mean decorate it. You can be inspired by whatever you want, I like voodoo dolls with a single button as an eye because they seem cute to me. I used a pink one to make it even less intimidating.
For the seams of the other eye and the mouth, I used several threads inside the same needle and sewed the stitches several times but the ideal is to use an embroidery thread because it looks so much better, but I only had purple and a voodoo doll with purple threads didn't seem to look good to me.
Mentira, me refiero a decorarlo. Puedes inspirarte en lo que quieras, a mi me gustan los muñecos vudú de un solo botón como ojo porque me parecen cuchis. Yo usé uno rosado para hacerlo aún menos intimidante.
Para las costuras del otro ojo y la boca, usé varios hilos dentro de la misma aguja y cosi varias veces las puntadas pero lo ideal es usar madeja de bordar porque se ve aún mejor, pero yo solo tenía lila y un muñeco vudú con hilos lilas no me gustaba.
Done!
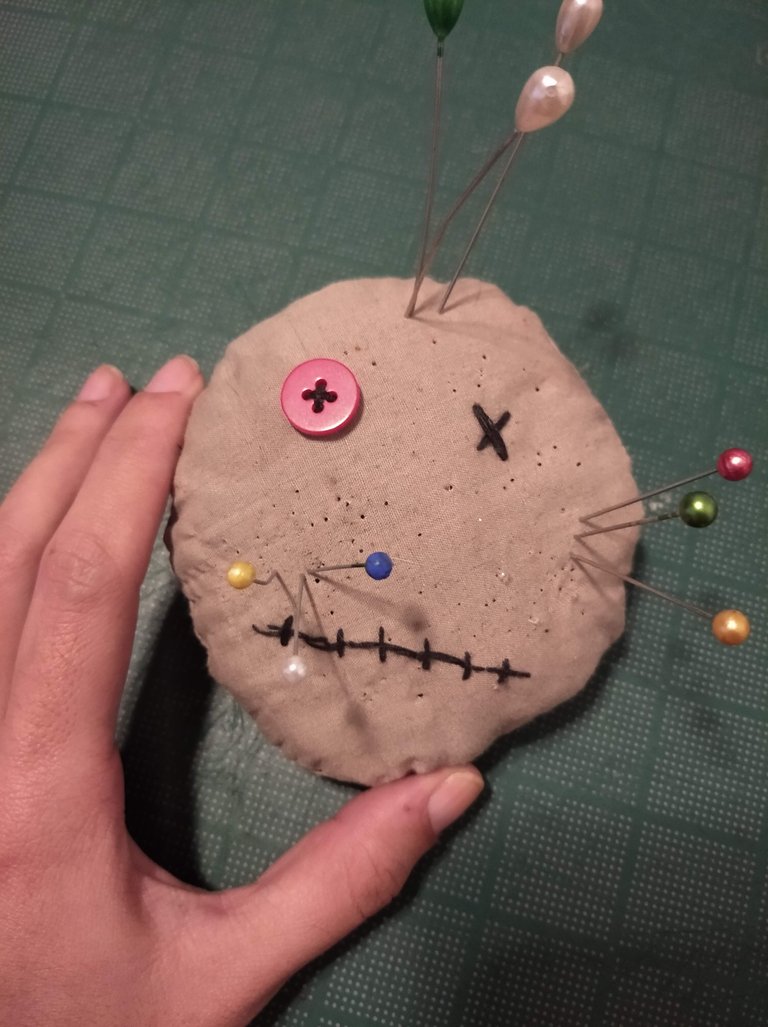
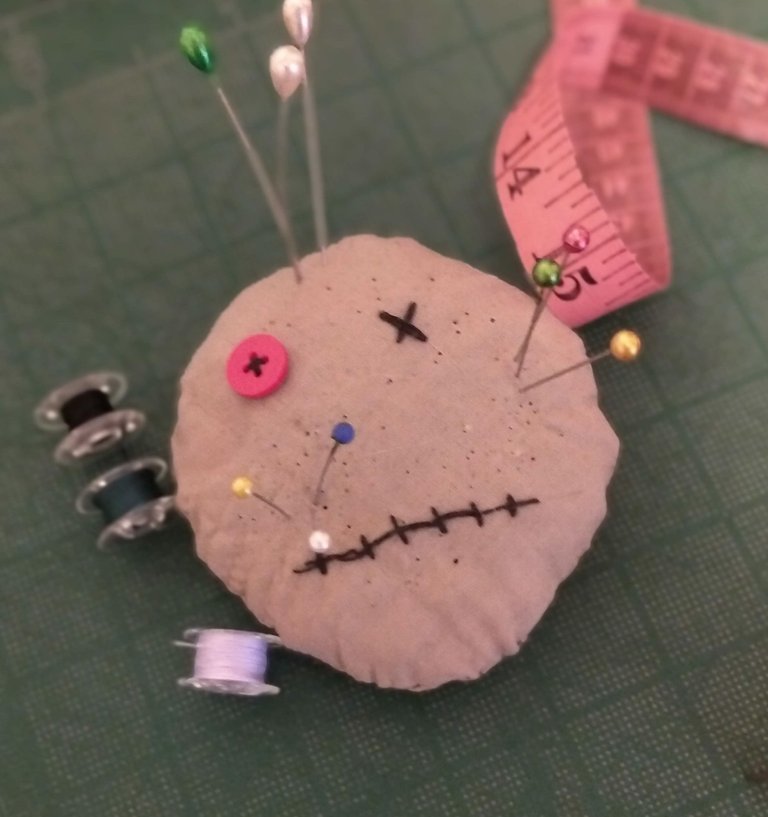
Our instrument of the evil voodoo doll pincushion is ready
¡LISTO!
Ya esta listonuestro instrumento del malalfiletero de muñeco vudú
Beautiful thanks for sharing for sharing @azucenastyle