If you have seen my previous posts, you know that I have embroidery fever (post here and here).
Hola chicos!
Si han visto mis post anteriores, saben que tengo la fiebre del bordado (post aquí y aquí).
The design that I show you now is from the coloring book that I showed you in the previous posts, it was a much bigger drawing, with that psychedelic rabbit that I don't know if it's beautiful or scary (haha), and that bunch of flowers. I decided to make only these two flowers because I only have my small earring at hand. I think at some point make a quilt with lots of embroidered flowers (I have material with all the flowers I've embroidered lately).
El diseño que les muestro ahora es del libro de colorear que les mostré en los post anteriores, era un dibujo mucho más grande, con ese conejo psicodelico que no se si es bello o da miedo (jaja), y ese montón de flores. Decidí hacer solo estas dos flores porque a la mano solo tengo mi aro pequeño. Creo que en algun punto hacer una colcha con muchas flores bordadas (material tengo con todas las flores que bordo ultimamente).
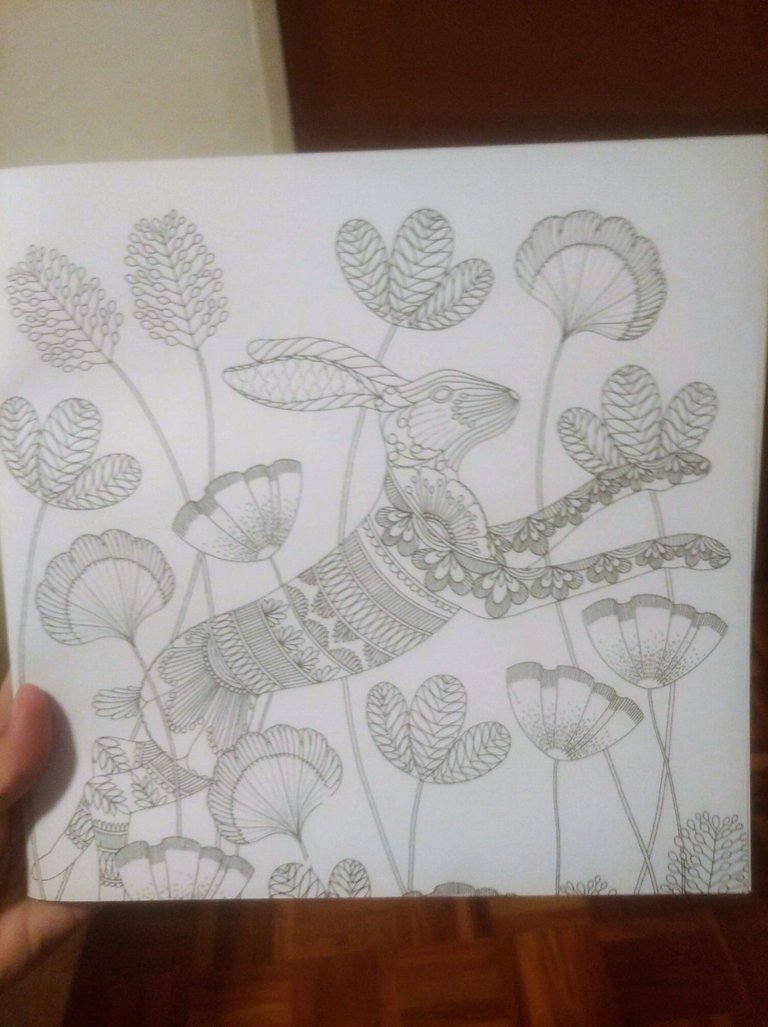
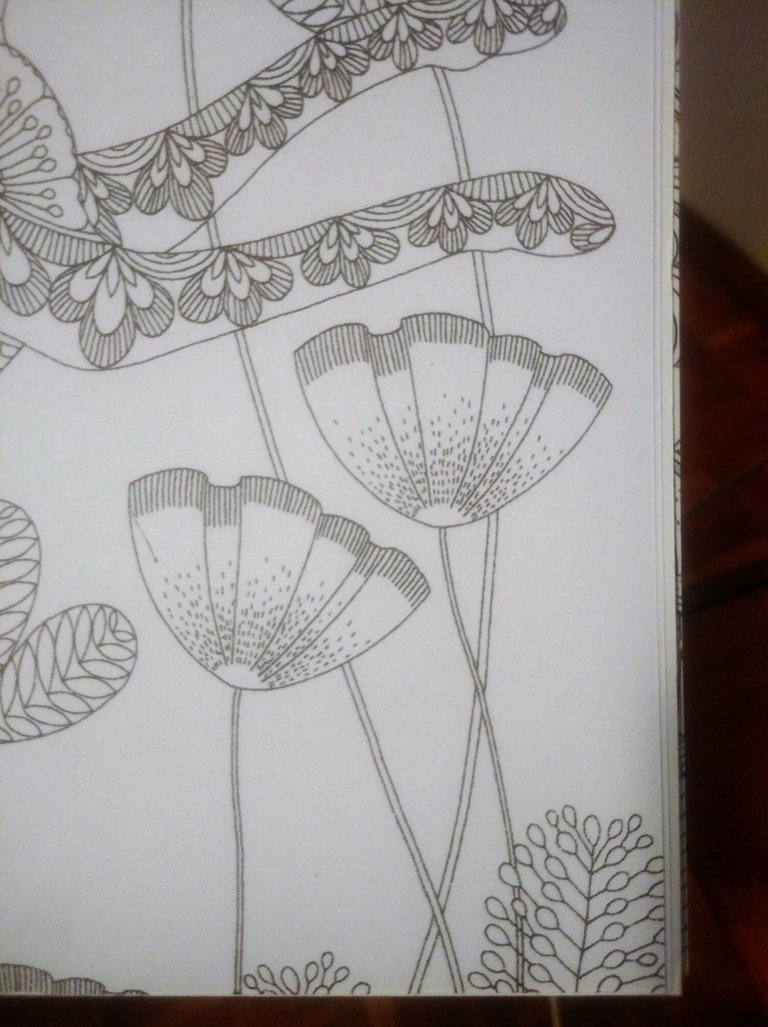
I think these flowers are poppies (a bit abstract) but I still found them very pretty. I can almost see them moving with the wind on a green field (lie, I just wanted to sound interesting lol).
Creo que estas flores son amapolas (un poco abstractas) pero aun así me parecieron muy bonitas. Casi las puedo ver moviendose con el viento en un campo verde (mentira, solo quise sonar interesante jajaja).
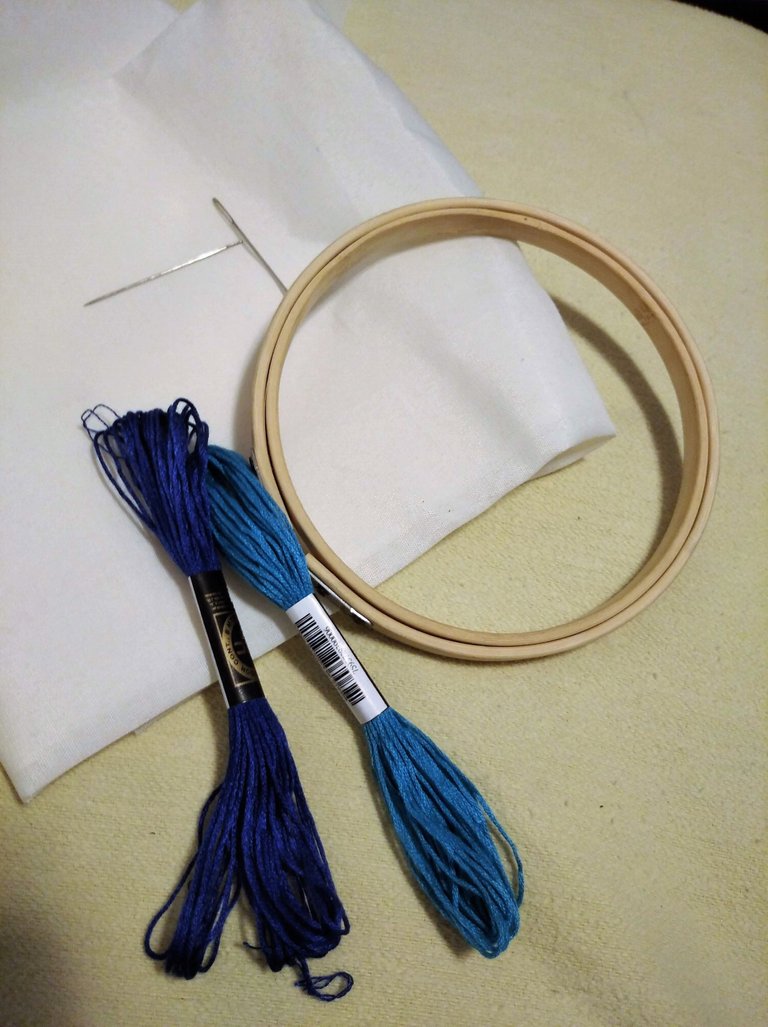
Materials I used:
- Embroidery hoop.
- Embroidery needle (if the fabric is thick use a blunt tip, if it is fine, use a pointed one so as not to pierce the fabric permanently).
- Carbon paper.
- Embroidery fabric (you have to see the small holes between the threads, I used Raw Linen).
- Skein of cotton in the colors you want. (I used white, purple, green, and lilac to decorate the sides). Change the colors after taking the photo.
Materiales que usé:
Aro de bordado.
Aguja de bordar (si la tela es gruesa usar una punta roma, si es fina, usar una puntiaguda para no agujerear la tela permanentemente).
Papel carbón.
Tela para bordar (tiene que verse los pequeños agujeros entre los hilos, yo usé Lino Crudo).
Madeja de algodón de los colores que desees. (Yo usé blanco, purpura, verde, y lila para adornar los lados). Cambie los colores luego de tomar la foto.
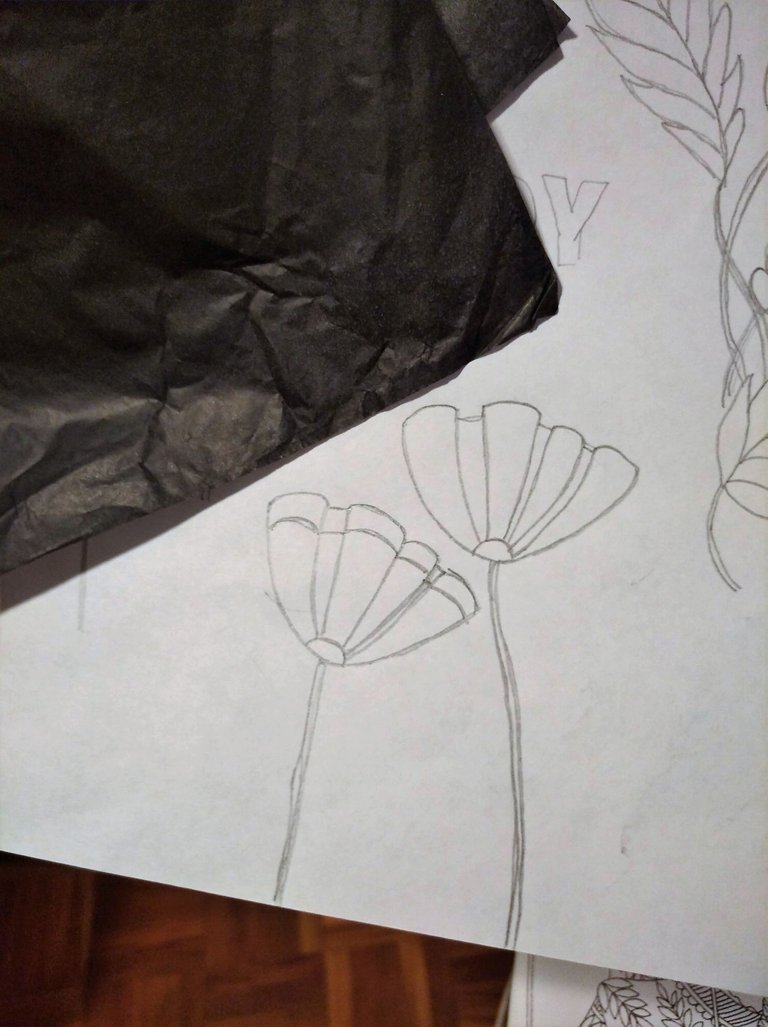
First, I copied the design onto a sheet of paper and then transferred it to the fabric with carbon paper.
Primero, copie el diseño en una hoja de papel y luego lo pasé a la tela con papel carbón.
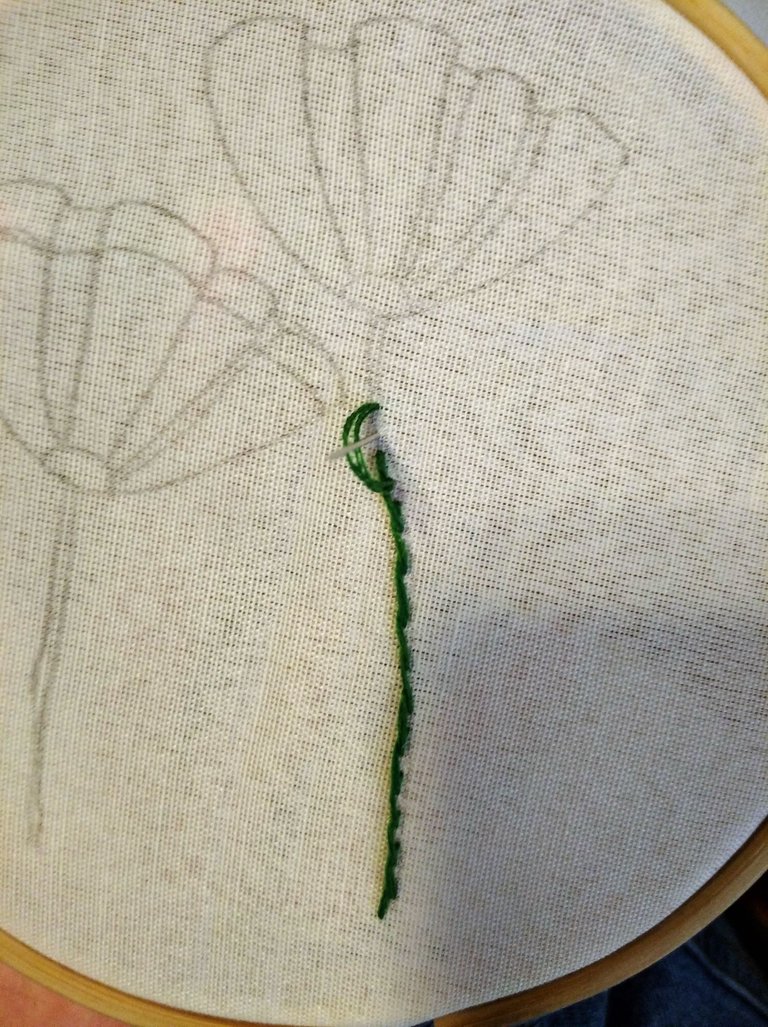
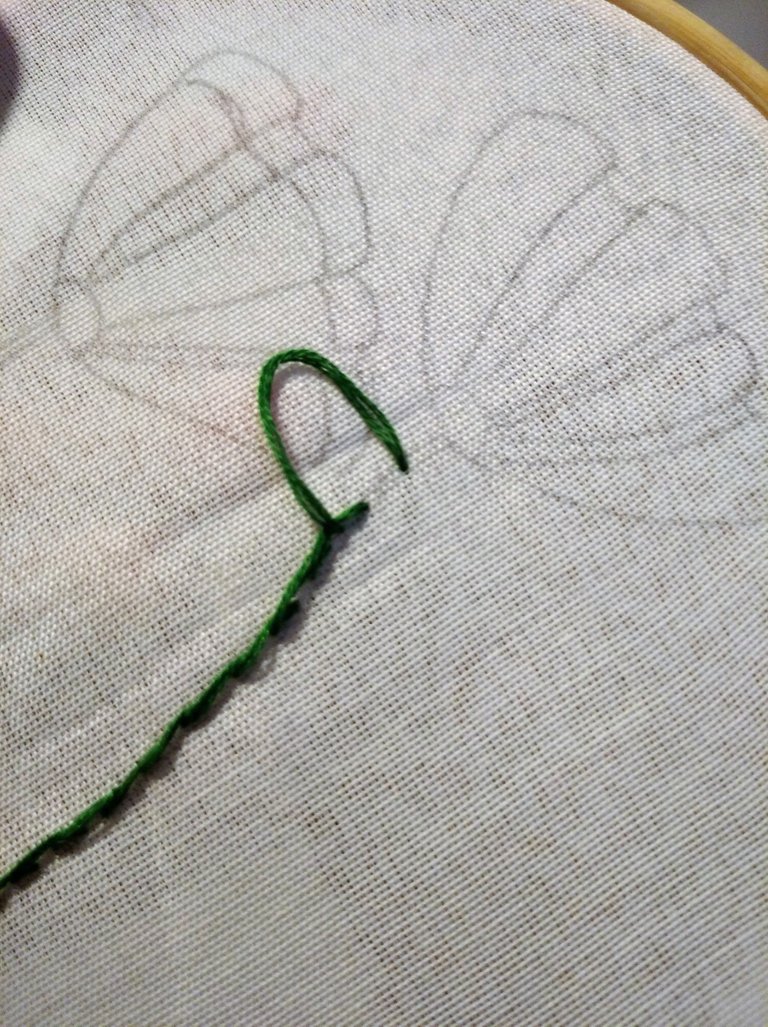
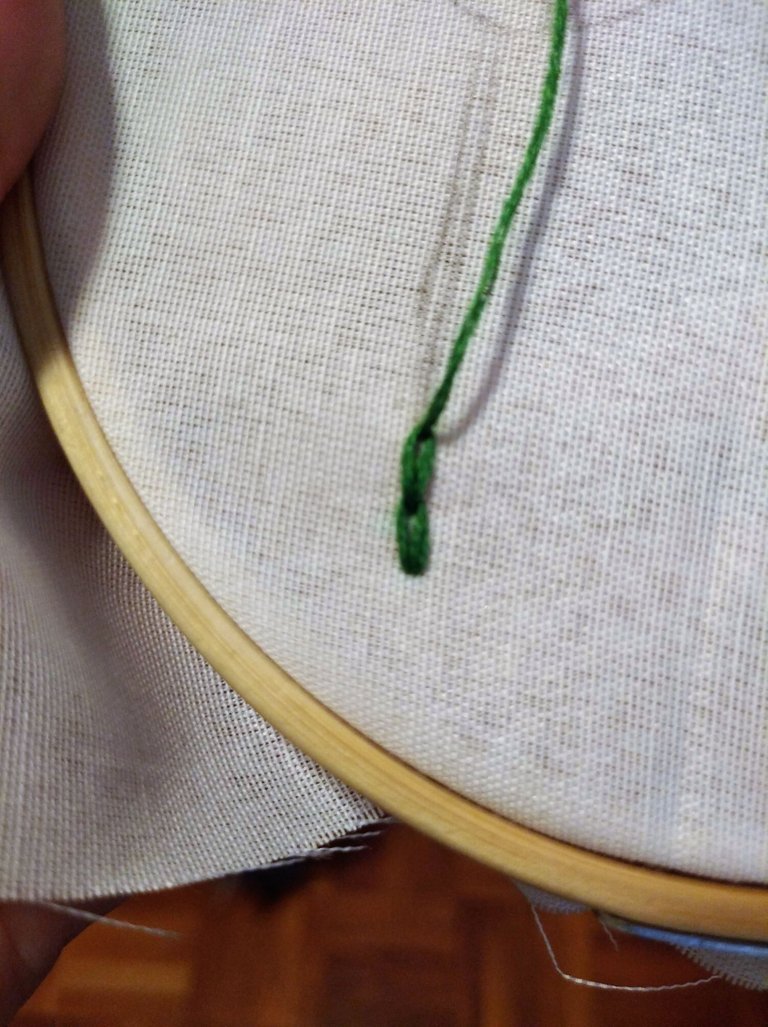
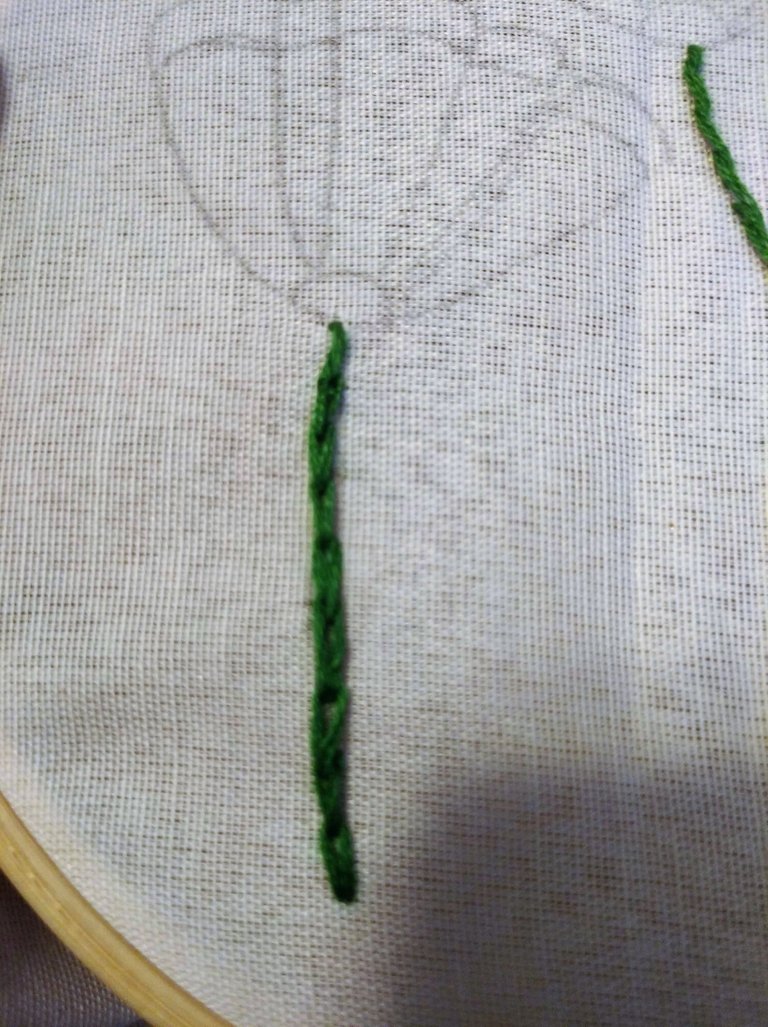
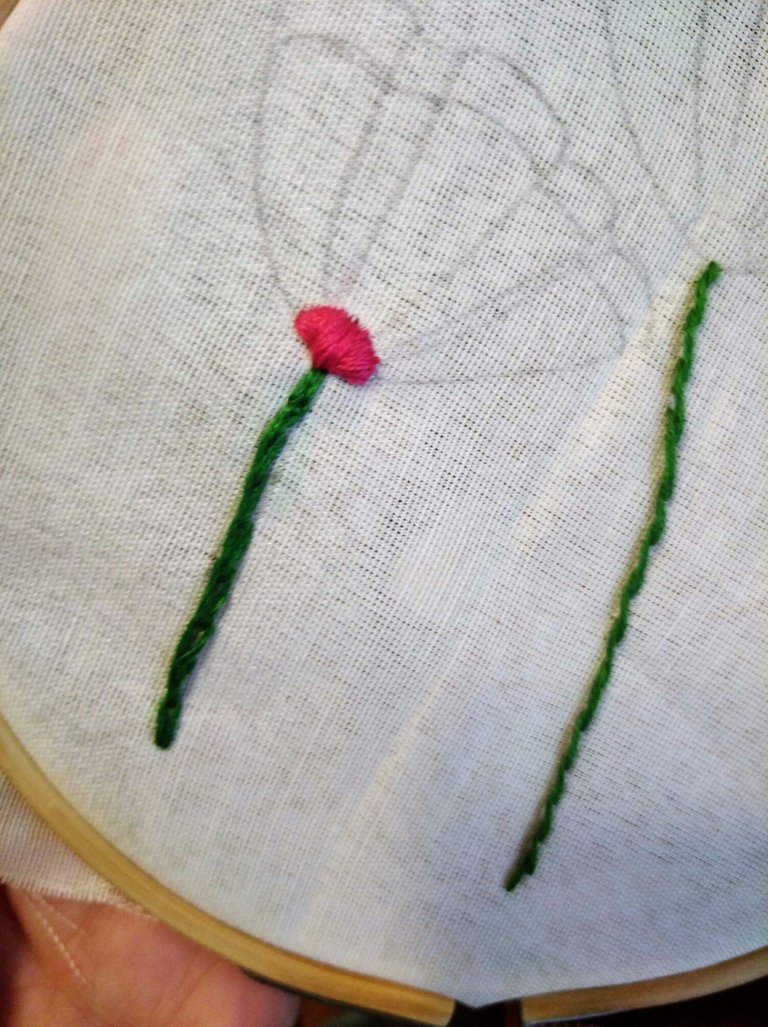
I made the stems with two different stitches.
The first one I did with a Stem stitch, which I show how to do in this post.
The second I did with a Chain Stitch that I also teach in this post. Anyway, here I teach how to do both stitches.
Los tallos los hice con dos puntadas diferentes.
El primero lo hice con una puntada Tallo, que muestro como hacer en este post.
El segundo lo hice con una Puntada Cadena que tambíen enseño en este post.
De todas formas, aquí enseño como hacer ambas puntadas.
Flower center
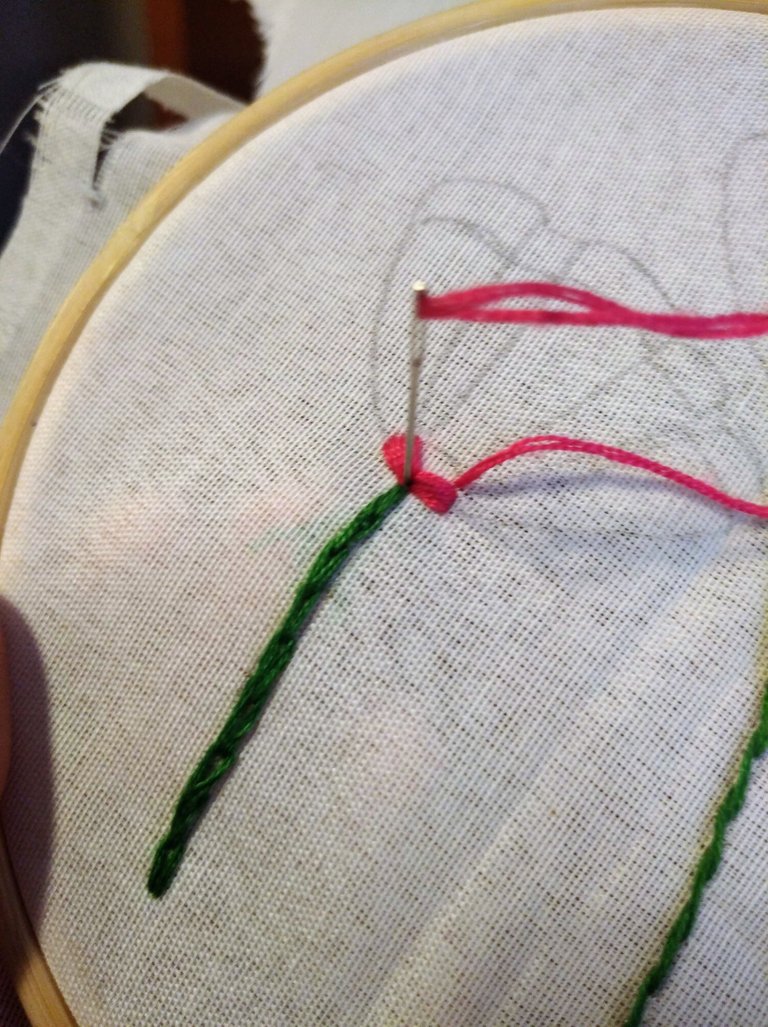
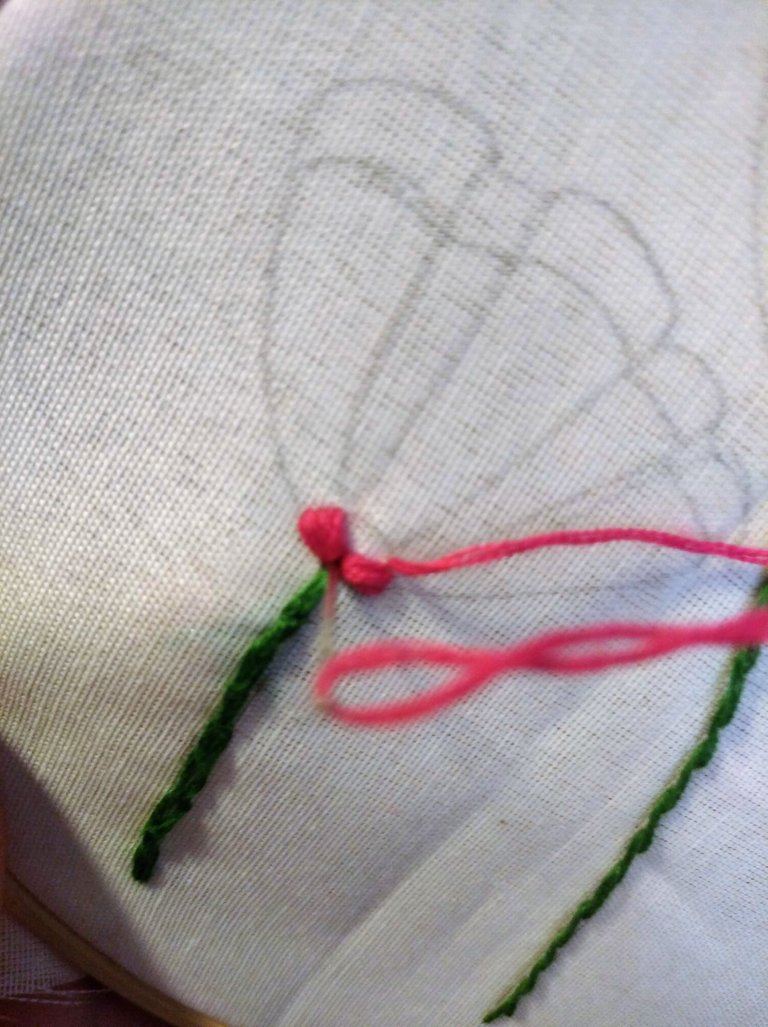
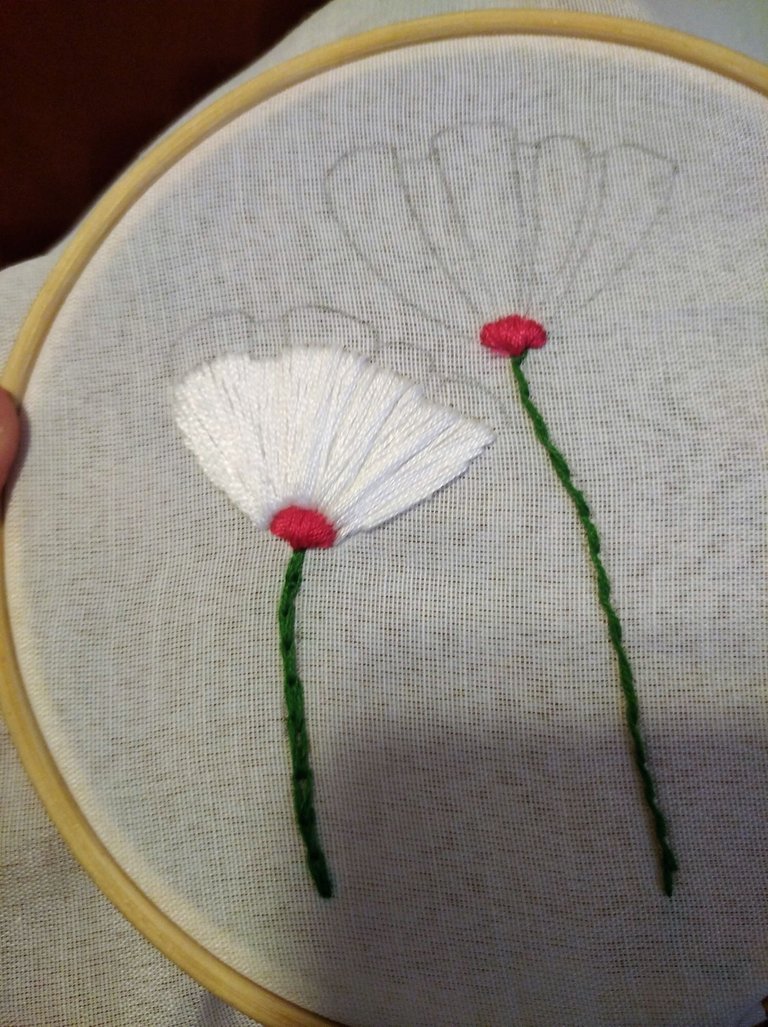
I have no idea what this part of the flower is called. I filled it with a beautiful fuchsia-pink ish. I filled it following the top edge and joining it in the center. A kind of Satin Stitch.
Centro de la flor.
No tengo ni idea de como se llama esta parte de la flor. La rellené con un rosado-fucsia hermoso. La rellené sigiendo el borde de arriba y uniendolo en el centro. Una especie de Puntada Saten.
Petals!
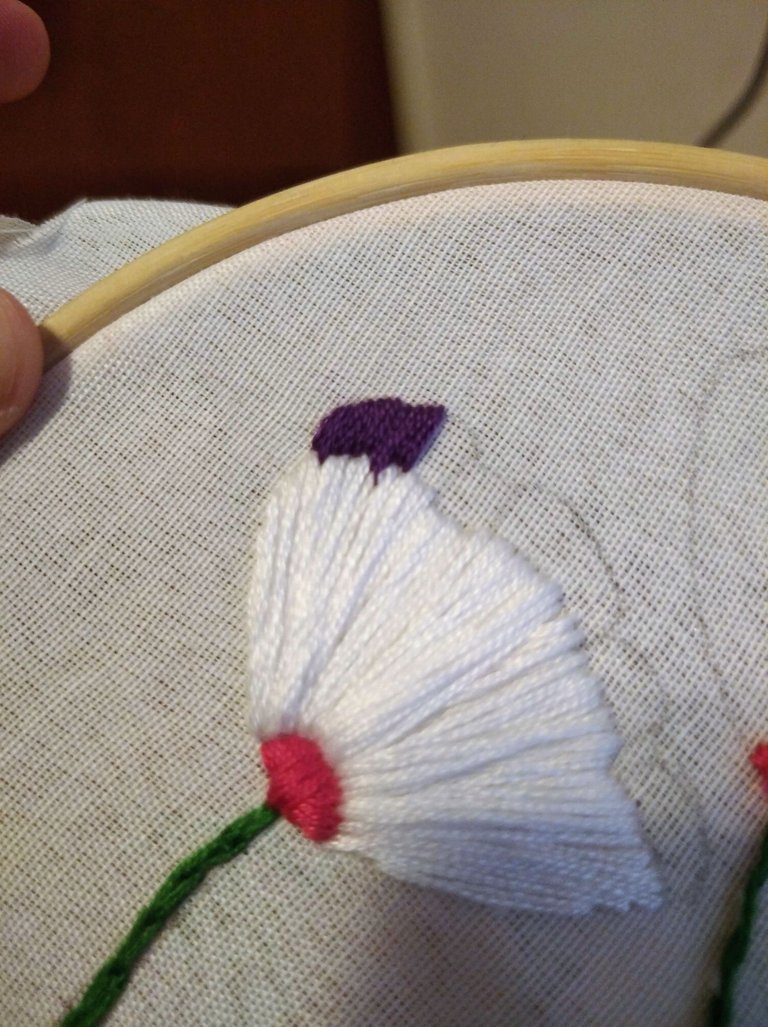
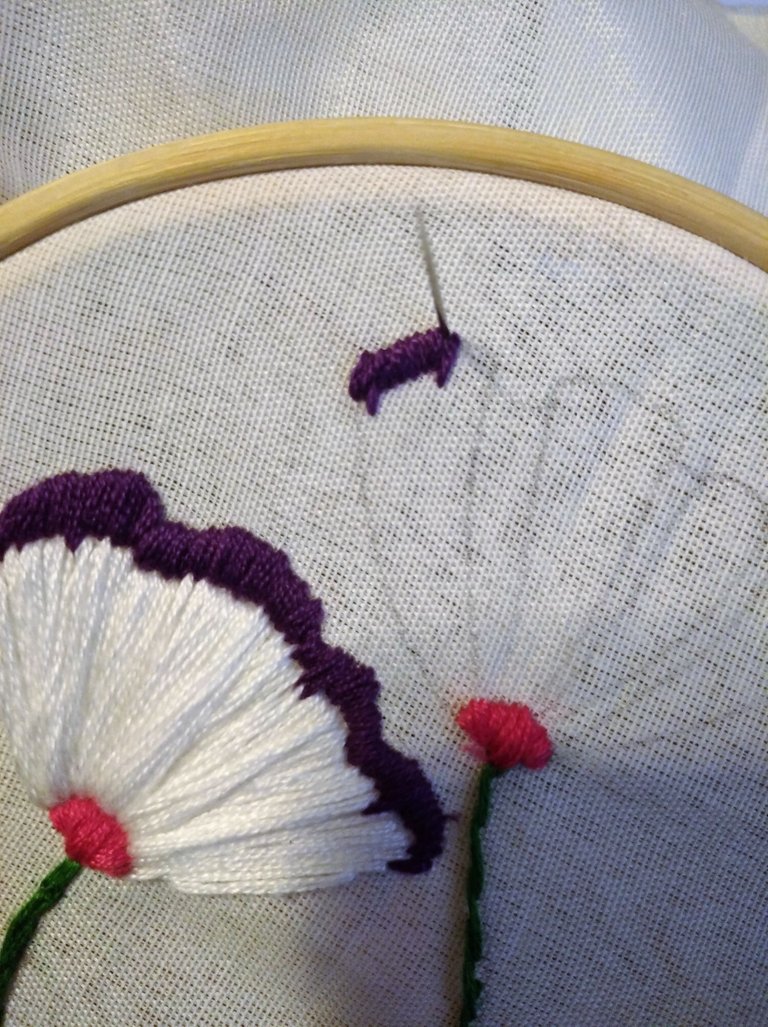
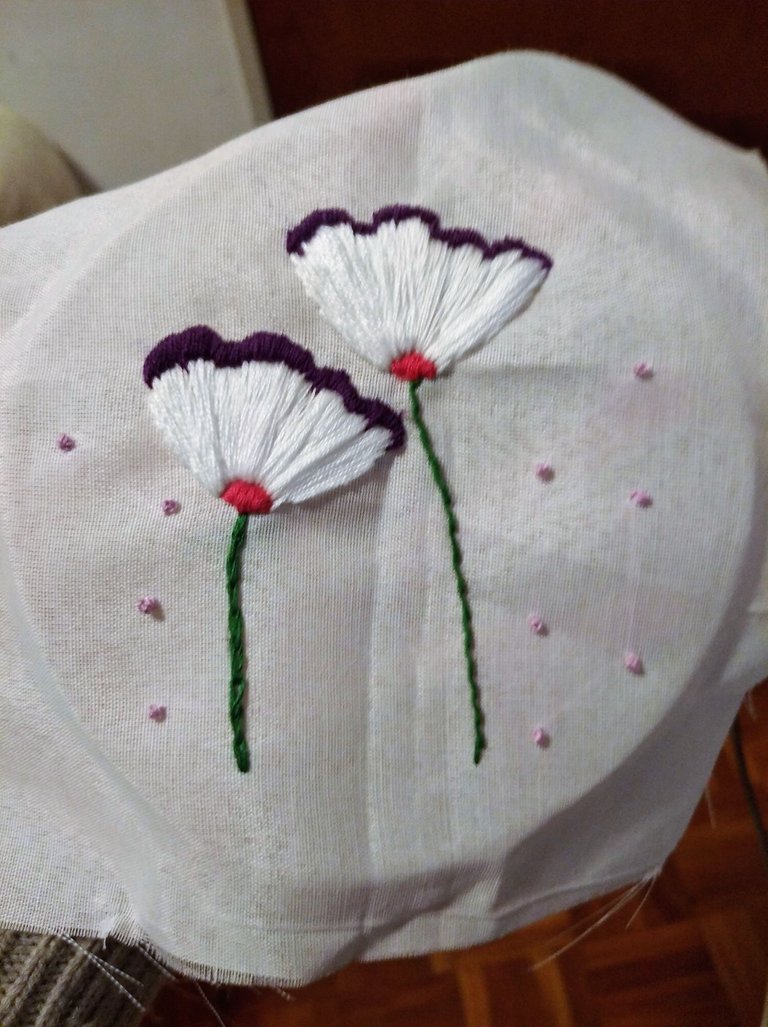
I made the petals with a slightly messy Satin stitch that gives a three-dimensional touch to the petals. I made them white on most of the petal and then used purple on the edges. In one I did the white part first and then the purple and in the other I did it the other way around, first the purple and then the white.
Petalos!
Los petalos los hice con una puntada Saten un poco desordenada que le da un toque tridimensional a los petalos. Los hice blancos en la mayor parte del petalo y luego use purpura en los bordes. En una hicé primero la parte blanca y luego la purpura y en la otra lo hice al reves, primero lo purpura y luego lo blanco.
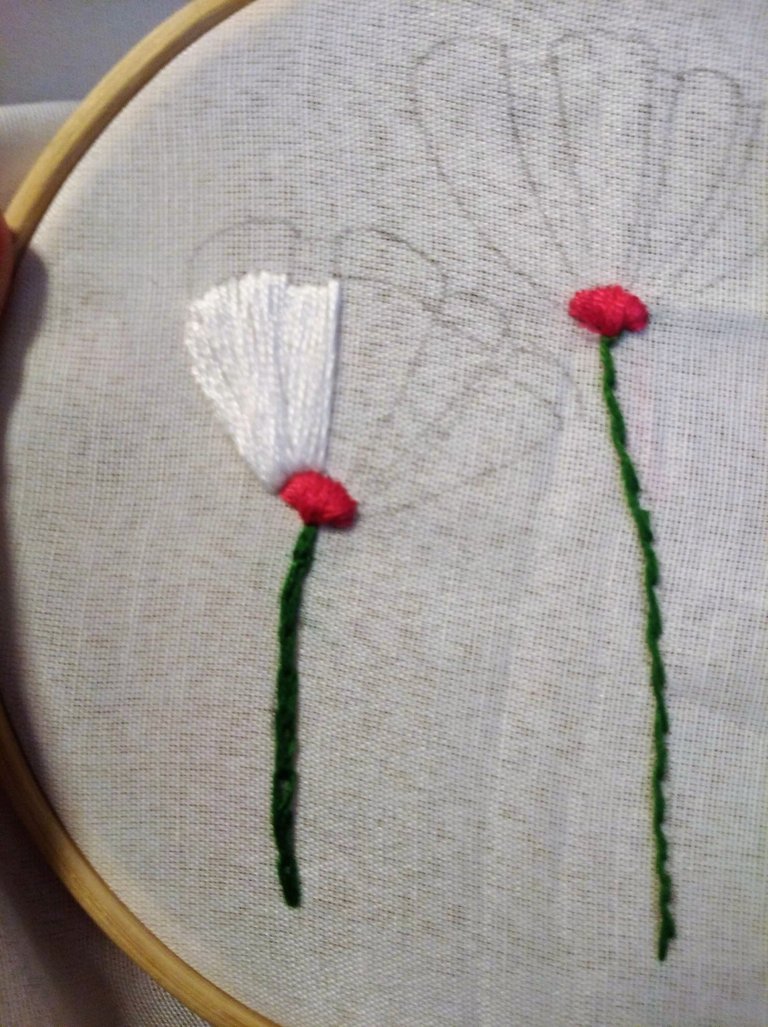
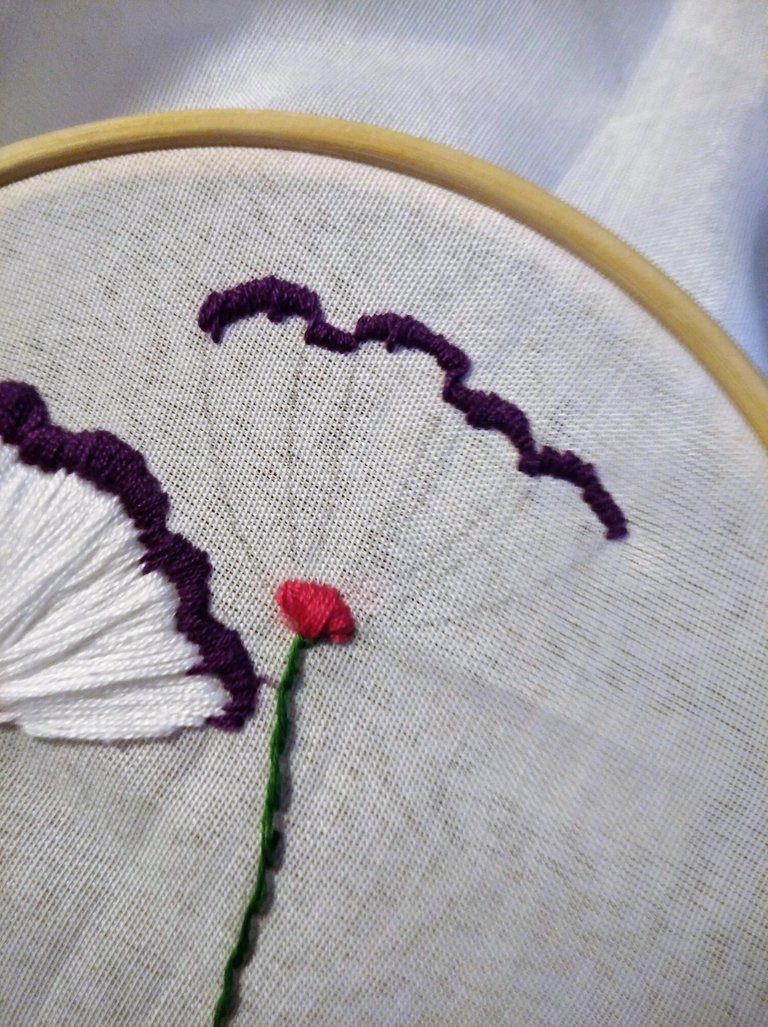
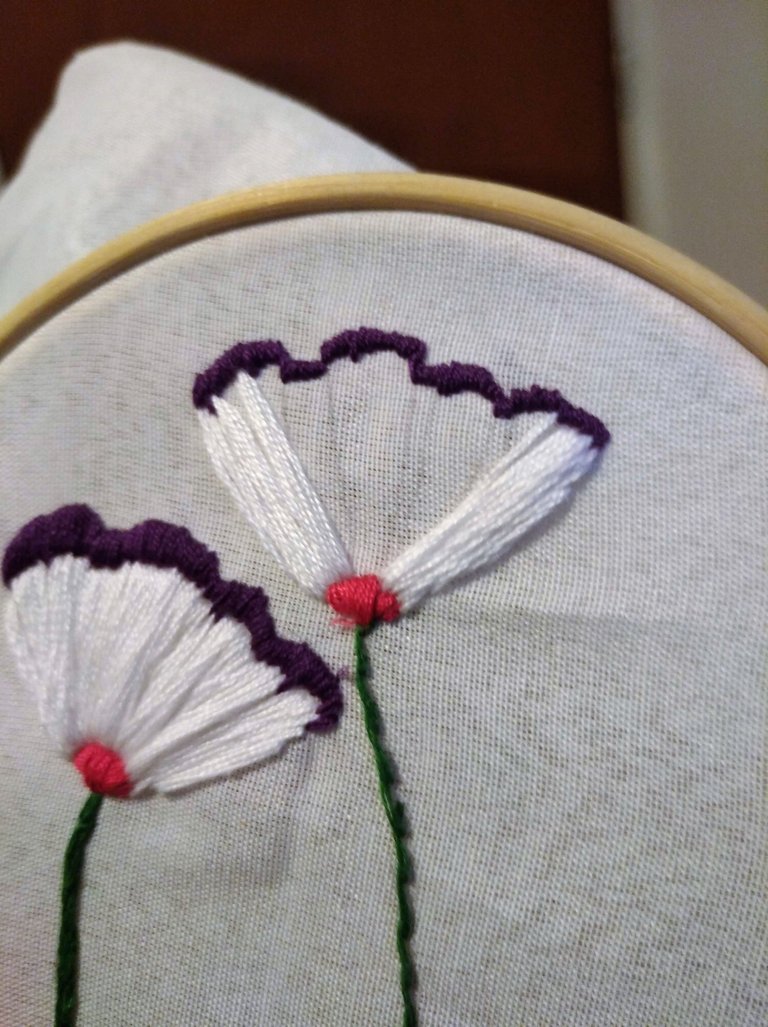
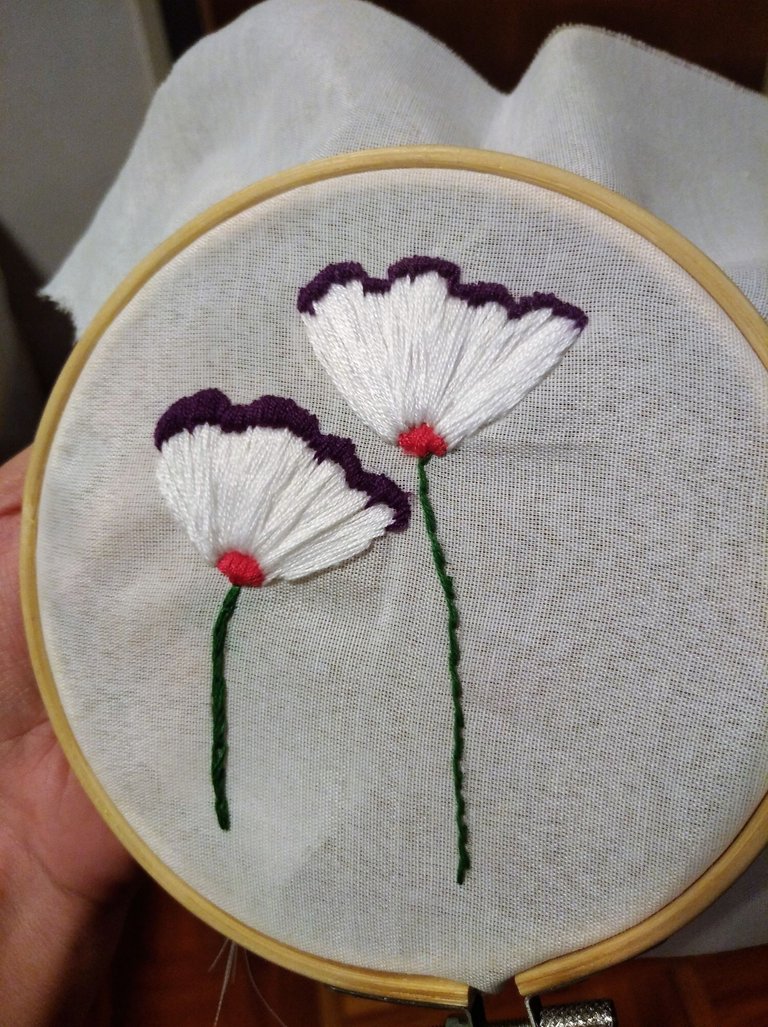
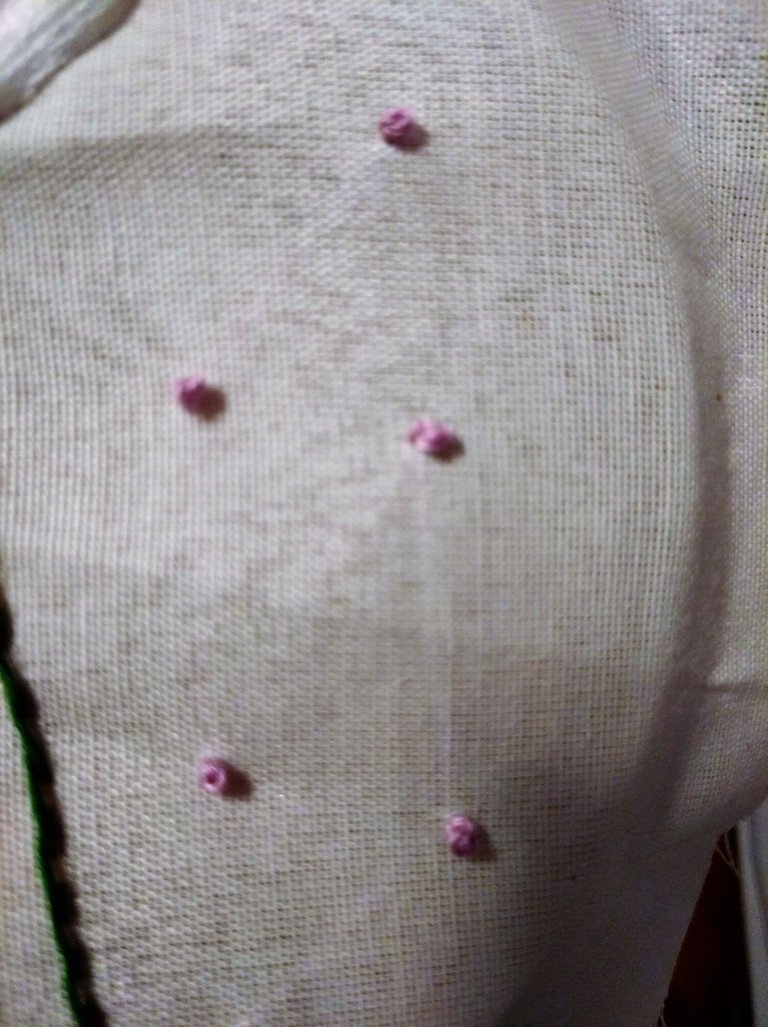
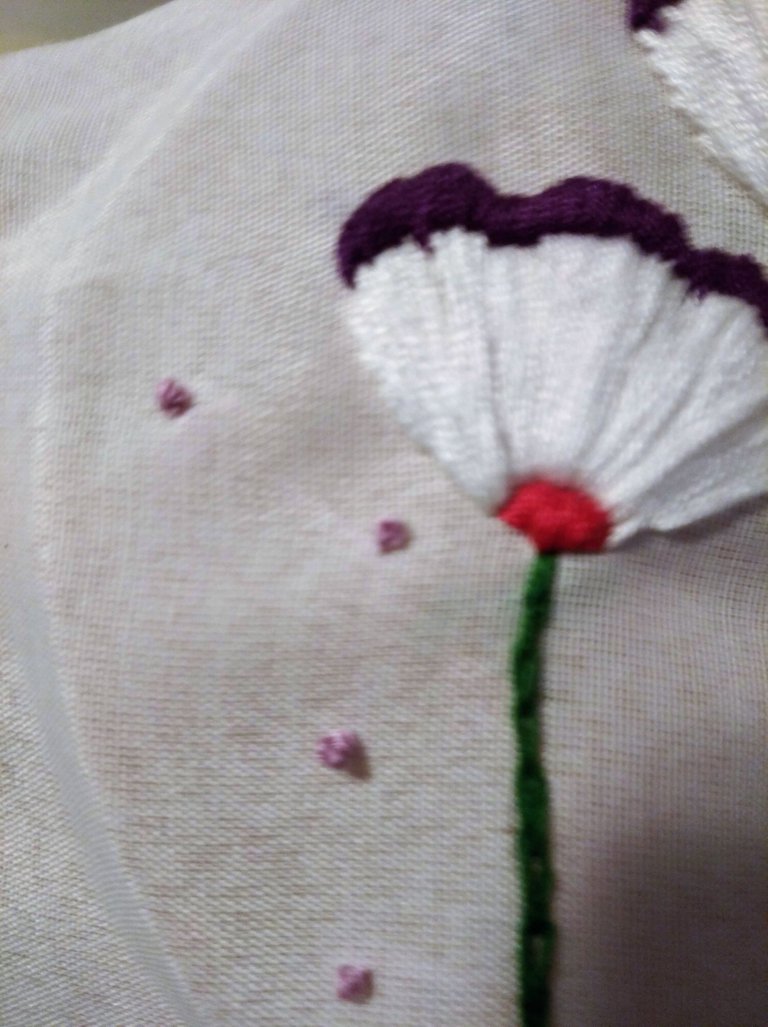
This is the final result. Hope you like. I loved it but in the end I wanted to embroider a little more, so I did this French Knot Stitch in lilac (which she also taught how to do here).
Este es el resultado final. Espero que les guste. A mi me encantó pero al final me quedé con ganas de bordar un poco más, así que hice este Punto Francés en lila (que también enseñó hacer aquí).
Thank you for sharing this amazing post on HIVE!
Your content got selected by our fellow curator @kaerpediem & you just received a little thank you via an upvote from our non-profit curation initiative!
You will be featured in one of our recurring curation compilations and on our pinterest boards! Both are aiming to offer you a stage to widen your audience within and outside of the DIY scene of hive.
Join the official DIYHub community on HIVE and show us more of your amazing work and feel free to connect with us and other DIYers via our discord server: https://discord.gg/mY5uCfQ !
If you want to support our goal to motivate other DIY/art/music/homesteading/... creators just delegate to us and earn 100% of your curation rewards!
Stay creative & hive on!
Thanks!!!
Thats lovey! I really like flower embroidery, its such a beautiful thing to do, requires a lot of patience though.. Did you ever think of making them into a dress?
Thank you!! I will think about it!
Beautiful embroidery I love the way your made the flower to stand normally it's really beautiful that way
Thank you so much for your comment!
Te quedaron muy lindas las amapolas.
El bordado es una excelente terapia de relajación.
Cuando uno tiene suficientes hilos lo disfruta al máximo. Me gustó tu post.
Mil gracias!!
La verdad es que cuando no tengo hilo, uso cualquiera. A veces unos hilos que no se parecen a nada a lo que queria y queda genial!
Excelente. Yo he bordado con todo lo que entre en la aguja. Nunca he comprado la tela para bordar, debe ser un paseo pasar por allí los hilos.
Congratulations @azucenastyle! You have completed the following achievement on the Hive blockchain and have been rewarded with new badge(s):
Your next target is to reach 100 comments.
You can view your badges on your board and compare yourself to others in the Ranking
If you no longer want to receive notifications, reply to this comment with the word
STOPCheck out the last post from @hivebuzz:
Support the HiveBuzz project. Vote for our proposal!
Que lindas que te quedaron las flores :3
Gracias!!
very beautiful embroidery! You're doing fine!!! 😃
Thank you!