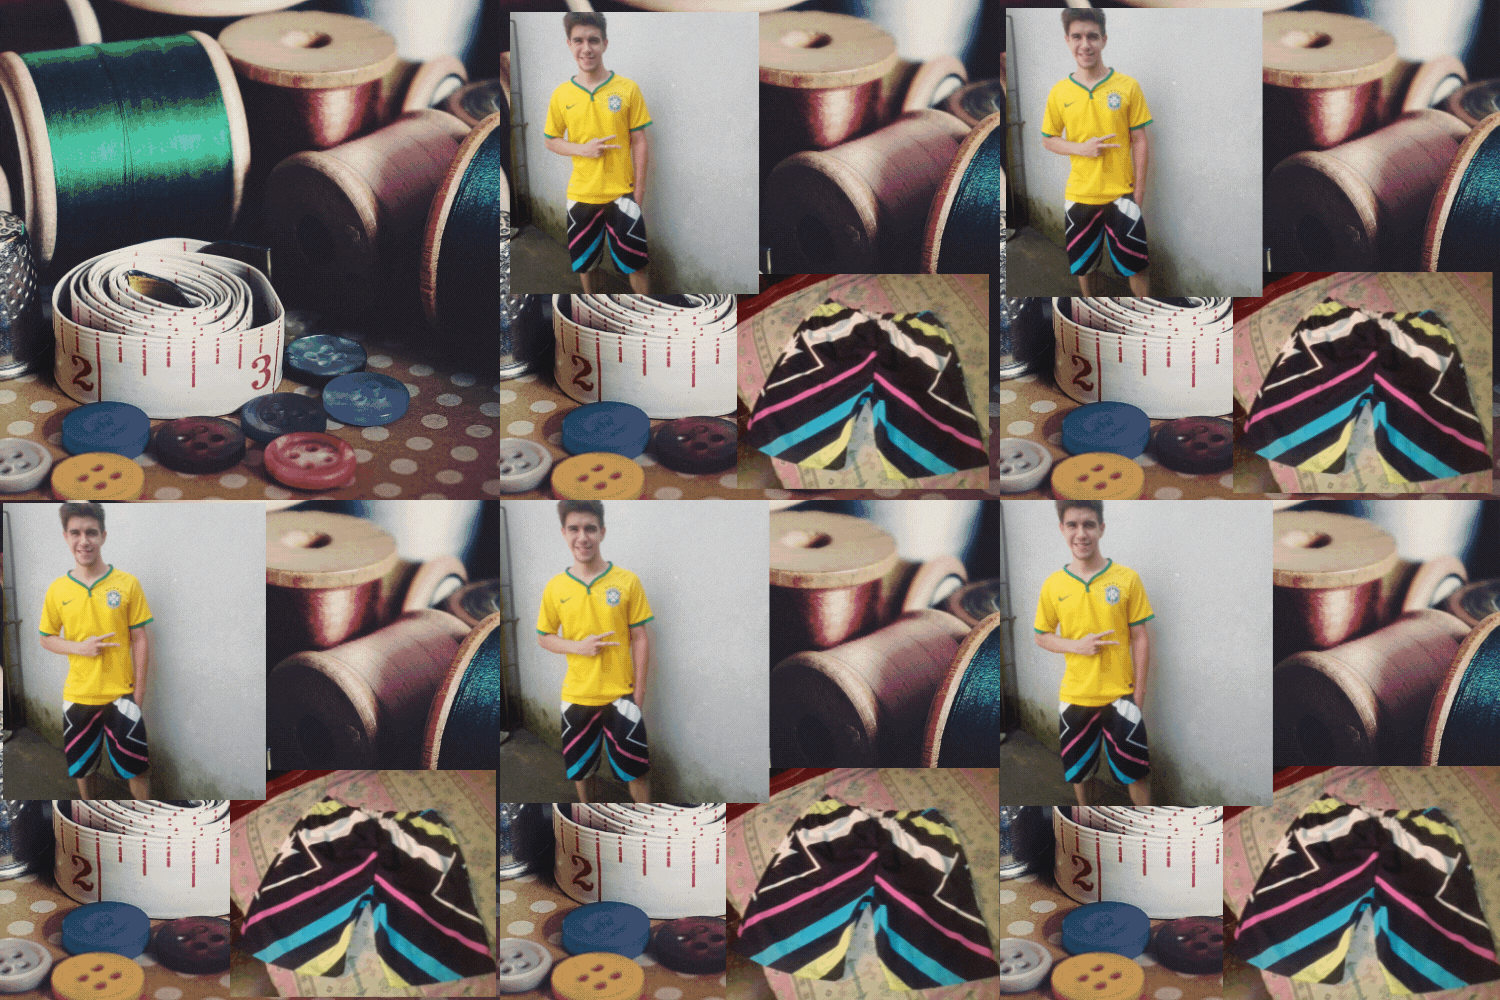
Saludos amigos espero hayan tenido un grandioso día, les saluda su nueva amiga @aurilesmar esta es mi primera publicación en esta grandiosa comunidad. Les quiero compartir esta hermosa bermuda playera de caballero que he realizado aprovechando que estamos en estos tiempos de ir a la playa. Espero te guste este tutorial y puedas realizarlo en casa.
Greetings friends I hope you had a great day, greets you your new friend @aurilesmar this is my first post in this great community. I want to share with you this beautiful men's shorts that I have made taking advantage of the fact that we are in these times of going to the beach. I hope you like this tutorial and you can do it at home.

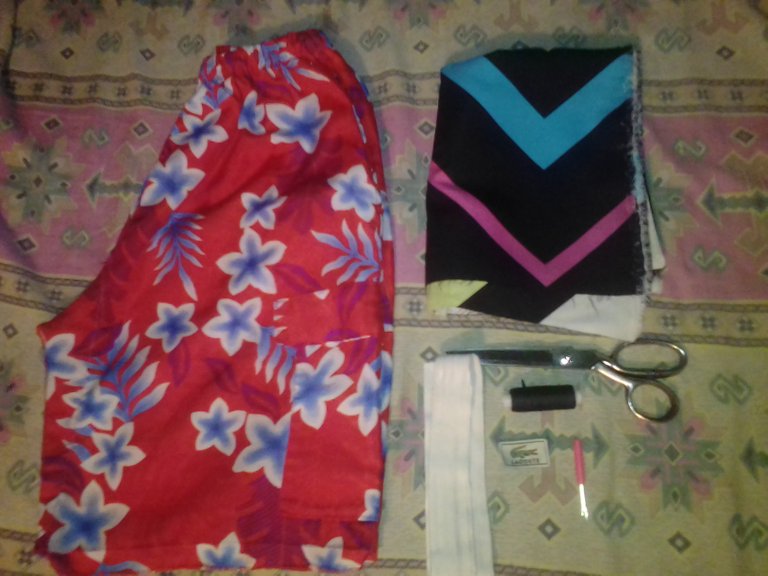
Materiales
- Tela: Tafeta estampada 1 m
- Tijeras
- Hilo de coser negro
- Elástica de 3cm
- Patrón (Short playero)
Materials
- Cloth: Printed taffeta 1 m
- Pair of scissors
- Black sewing thread
- 3cm elastic
- Pattern (Beach shorts)

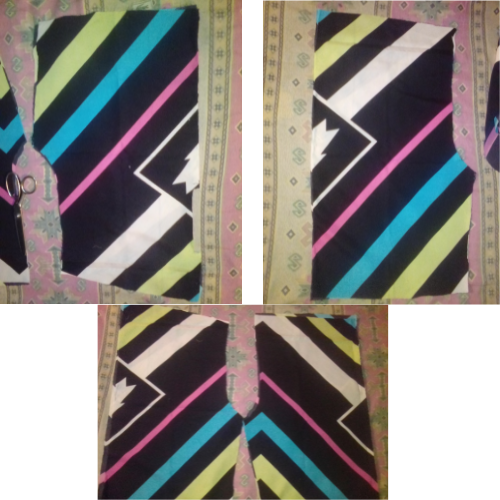
- Paso 1
La tela tafeta la he cortado con la medida de mi bermuda playero (El patrón) coloque el patrón encima y la doblo en 2 para cortarla de esta manera.
- Step 1
I have cut the taffeta fabric to the size of my beach shorts (The pattern), place the pattern on top and fold it in 2 to cut it this way.

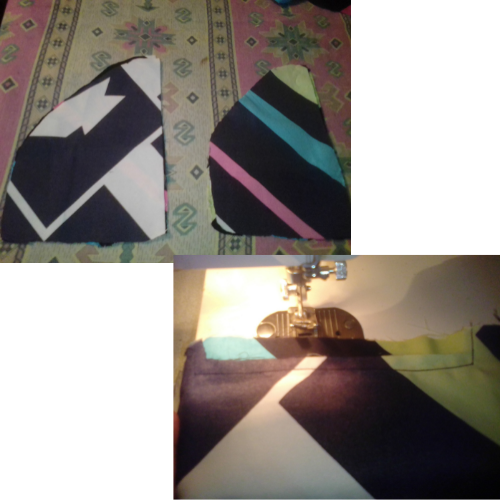
- Paso 2
Al terminar mi primero paso, cortare poco a poco los bolsillos desde la misma medida del patrón y hare el mismo procedimiento para los bolsillos.
- Step 2
At the end of my first step, I will cut the pockets little by little from the same measure of the pattern and I will do the same procedure for the pockets.

- Paso 3
Luego de haber cortado mis bolsillos yo realizare una costura de 3cm desde la cintura hasta el bolsillo para dejarle un espacio entre estas 2.
- Step 3
After having cut my pockets I will make a 3cm seam from the waist to the pocket to leave a space between these 2.
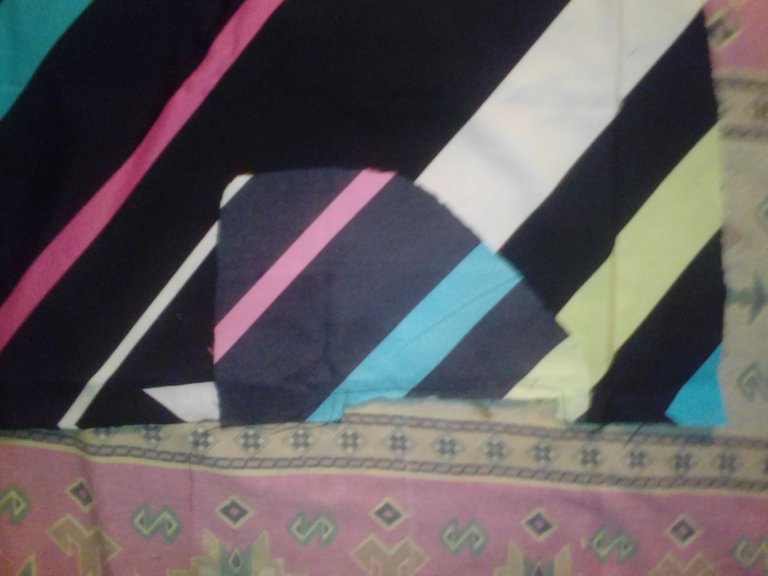

- Paso 4
Para nuestro cuarto paso yo estaré terminando de coser el entre piernas de nuestra prenda de esta manera.
- Step 4
For our fourth step I will be finishing sewing the between legs of our garment in this way.
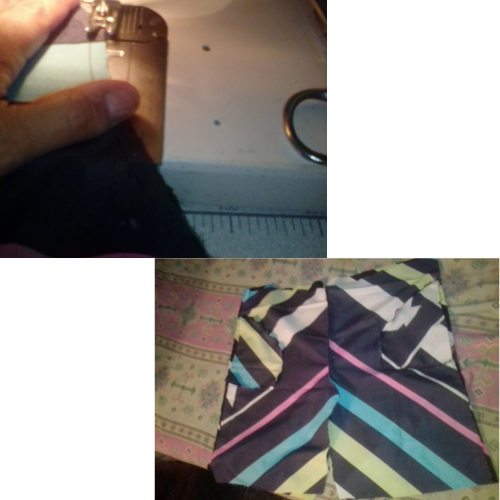

- Paso 5
Ahora terminare de coser en forma de sicsa la parte trasera junto a la parte delantera de nuestra playera.
- Step 5
Now you finish sicsa sewing the back next to the front of our shirt.


- Paso 6
Para culminar con esta hermosa playera, yo estaré cociendo nuevamente en forma de sicsa la elástica de 3cm encima de la parte de la cintura de la playera y lo sostendré con una par de alfileres para que la elástica no se ruede y a la hora de la costura se nos haga mas fácil
- Step 6
To finish with this beautiful shirt, I will be sewing the 3cm elastic again in the shape of a sicsa over the waist part of the shirt and I will hold it with a pair of pins so that the elastic does not roll at the time of sewing make it easier for us


De esta manera luce nuestra playera ya lista, amigos espero a ti también te haya gustado este tutorial, acepto comentarios constructivos que me ayuden a crecer en la comunidad ya que al igual no soy una costurera profesional pero me gusta aprender mucho sobre la costura, espero tengan un excelente día bendiciones para todos.
This is how our shirt looks ready, friends I hope you also liked this tutorial, I accept constructive comments that help me grow in the community since I am not a professional seamstress but I like to learn a lot about sewing, I hope have a great day blessings everyone.
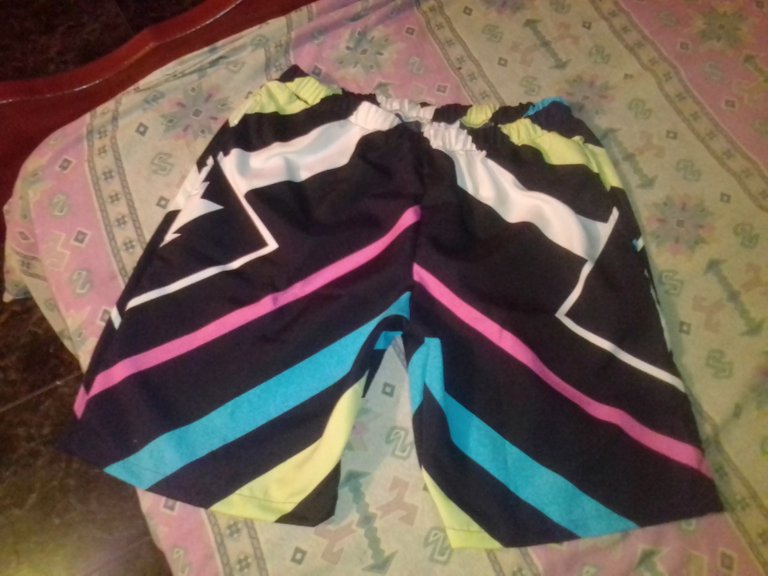

Fotos tomadas desde mi celular ZTE blade L8
Fotos editadas por mi desde Canva
Photos taken from my ZTE blade L8 cell phone
Photos edited by me from Canva
Wow cool thanks for sharing
Gracias a ti por detenerte a leer mi post 😉 espero te haya gustado