
Buenas tardes apreciados amigos amantes de las agujas.🧵✨
Good afternoon, dear needle-loving friends.🧵✨
Have you had the opportunity to sew a dress and have it fit just right? Well, that's something I always want to achieve when making my own dresses. The first thing we should do is have the exact measurements of the patterns or measurements by which we are going to cut our dress. It has been very useful for me to make them in a measurement that fits me just right and with which I am, I feel super comfortable. Who doesn't love a dress that you put on and walk around as if you weren't wearing it? Well, yes, everyone 😁.
.jpg)
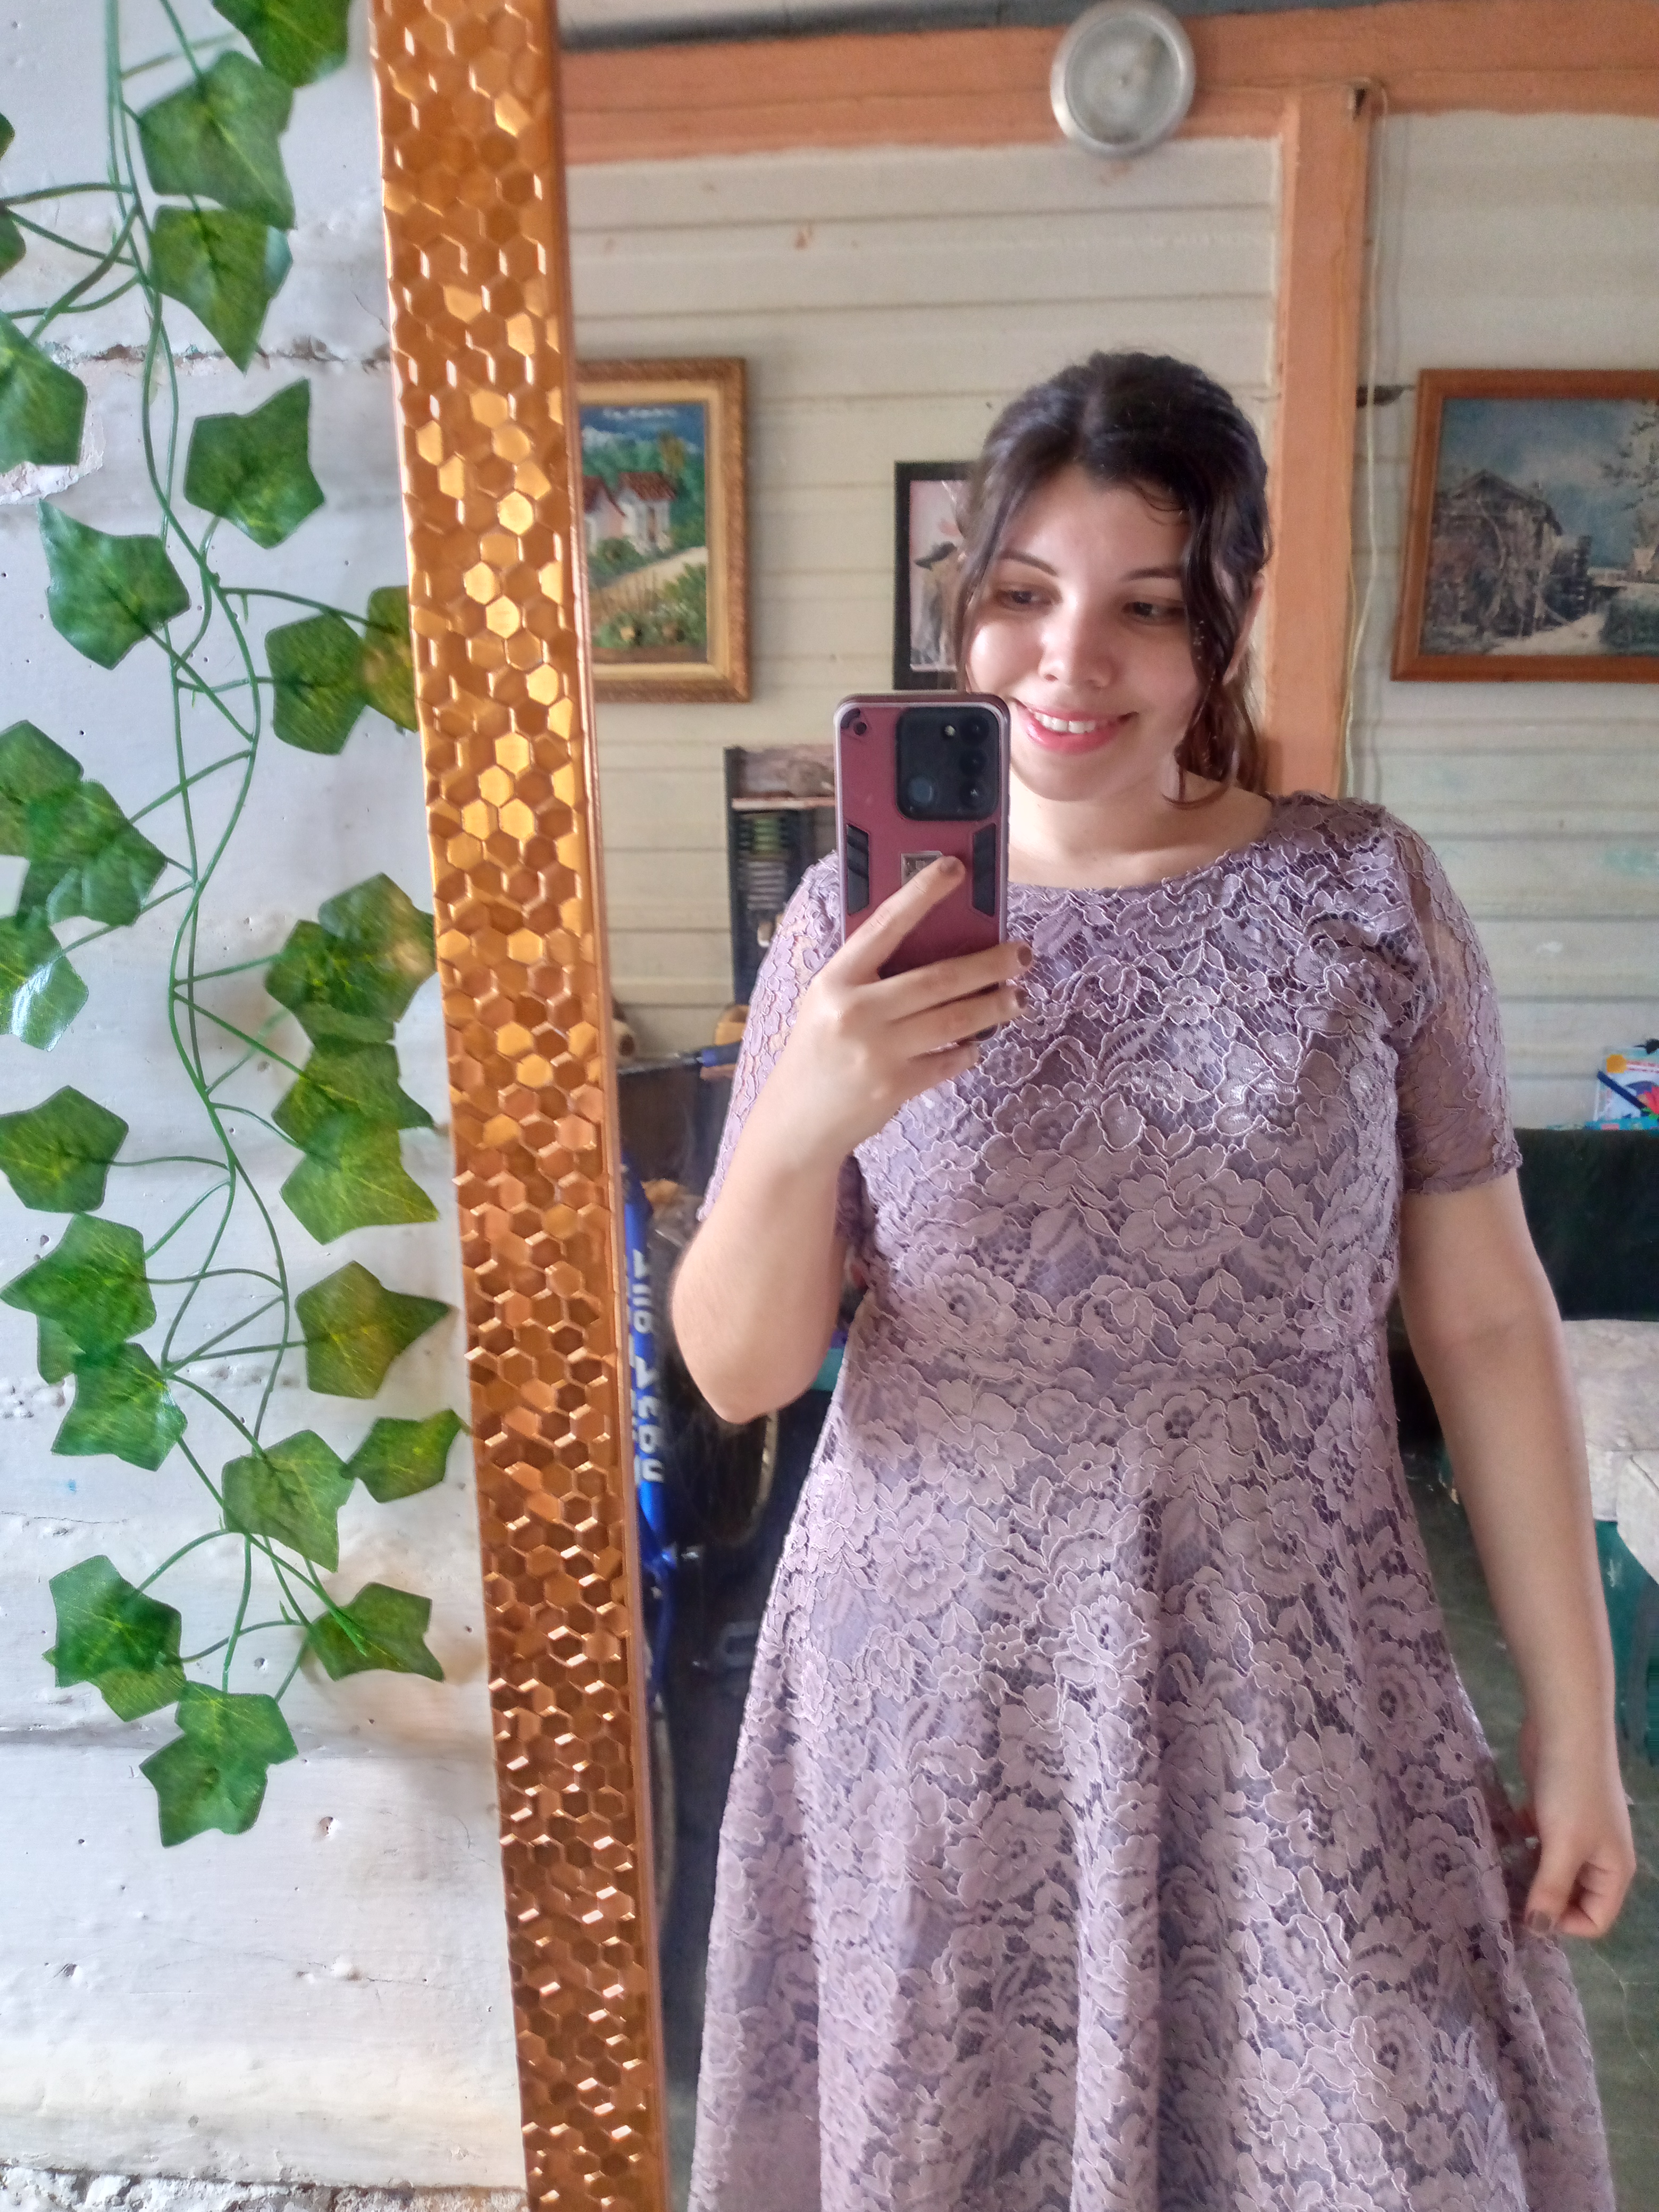
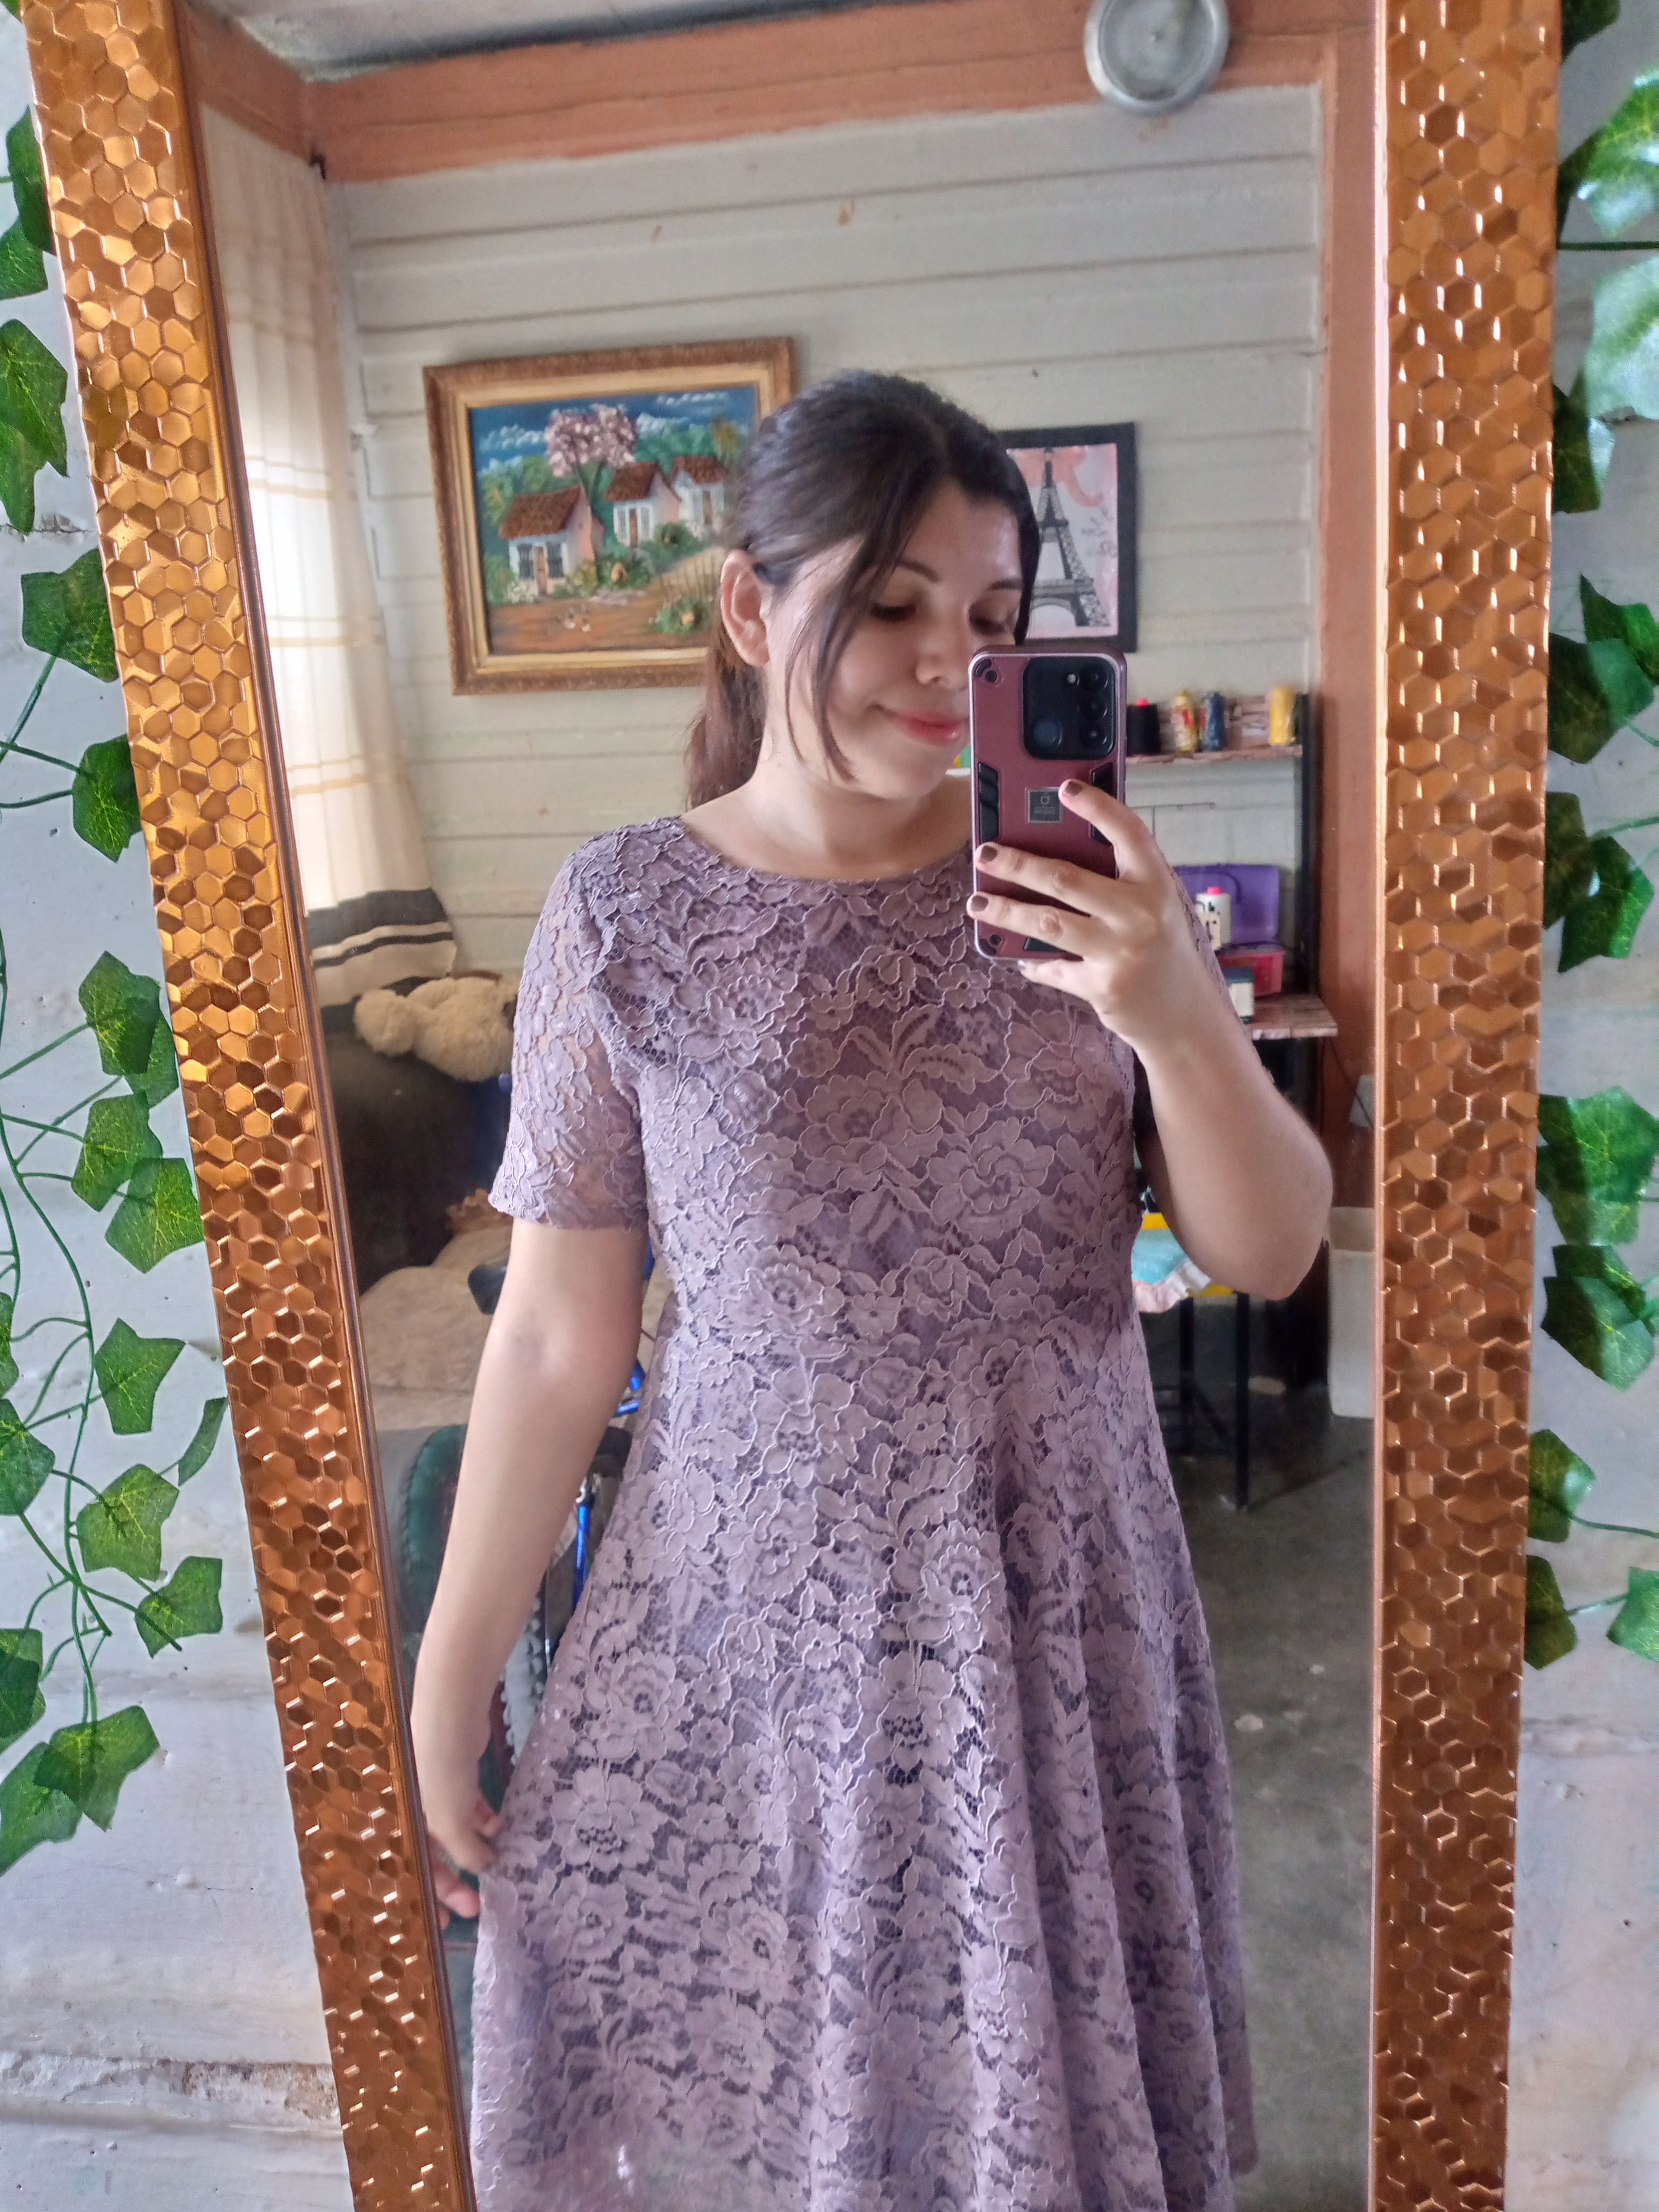
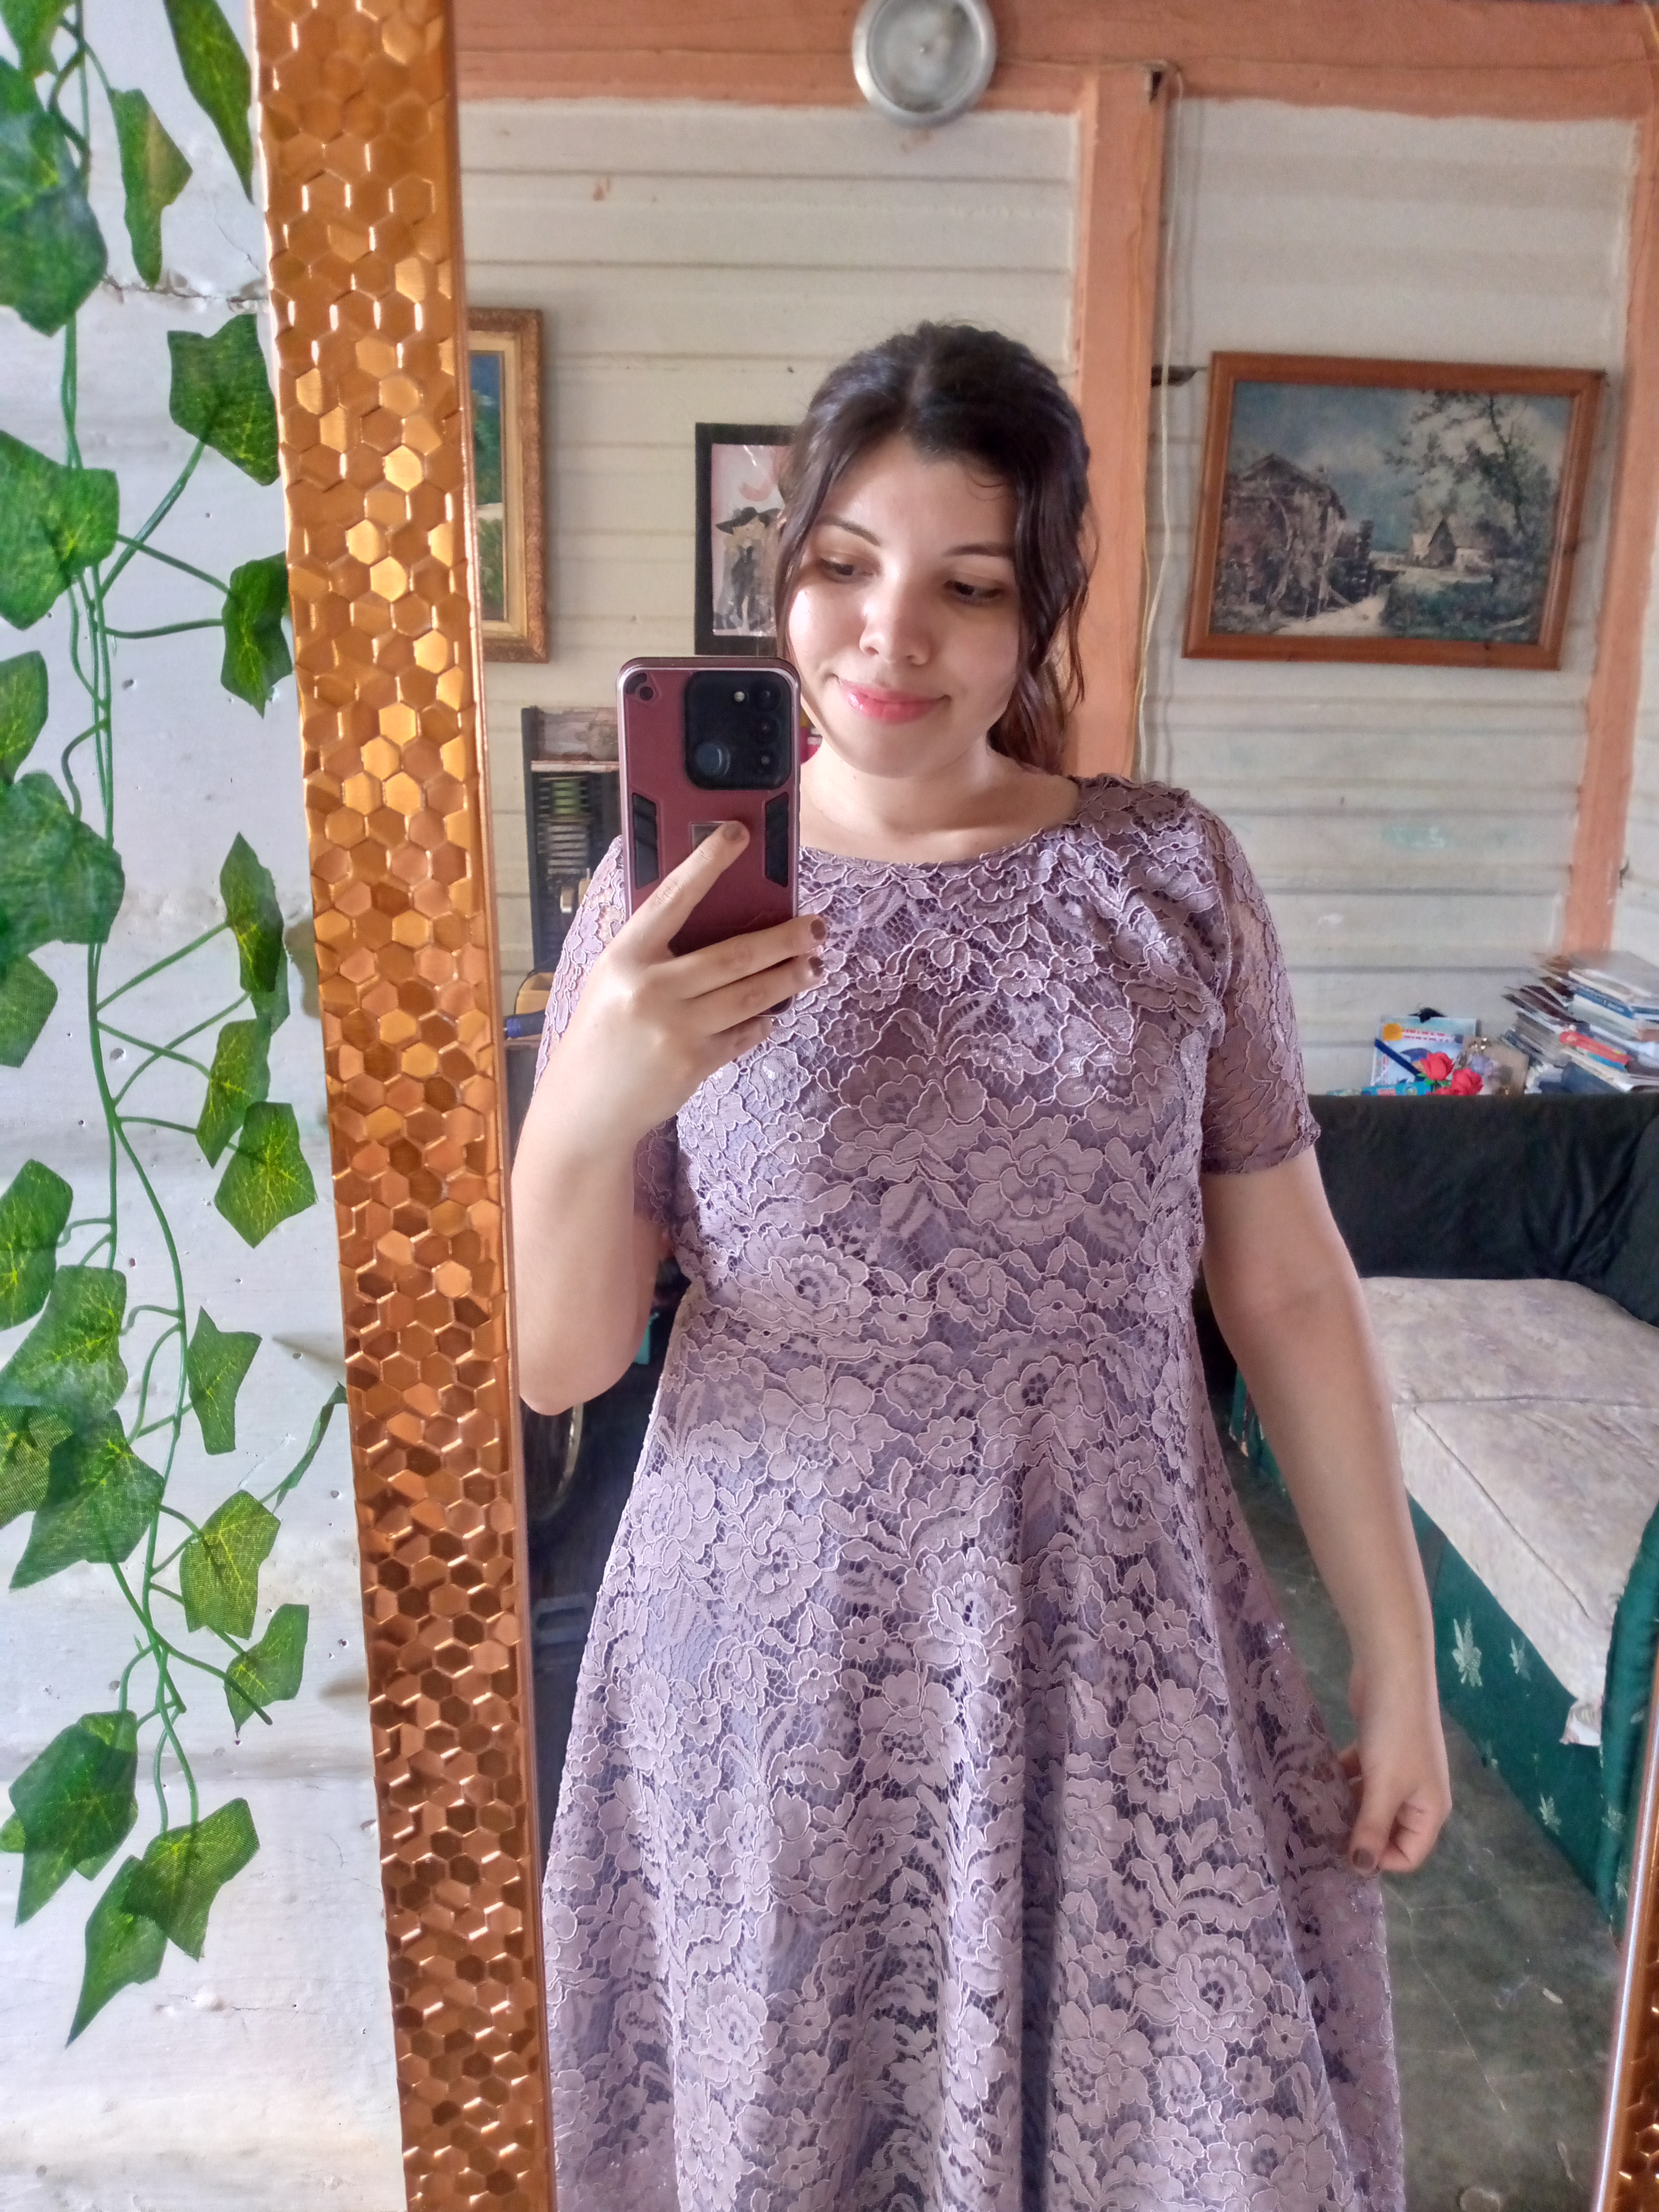
Why this color? I tell you that it was the only color of this type of fabric that I liked and it's not because I loved it simply because I didn't have a dress in this color it was always black or checkered and I said no better let's try to break
the routine I had of using only some colors of my preference but try with other warmer colors and well I like this color now because it's soft the truth is I don't know how to define this color it would be like an old rose or a lilac in a warmer tone but without a doubt I liked it and I did not pass up the opportunity to make this beautiful dress for my Sunday meeting days, so join me in the process.
.jpg)
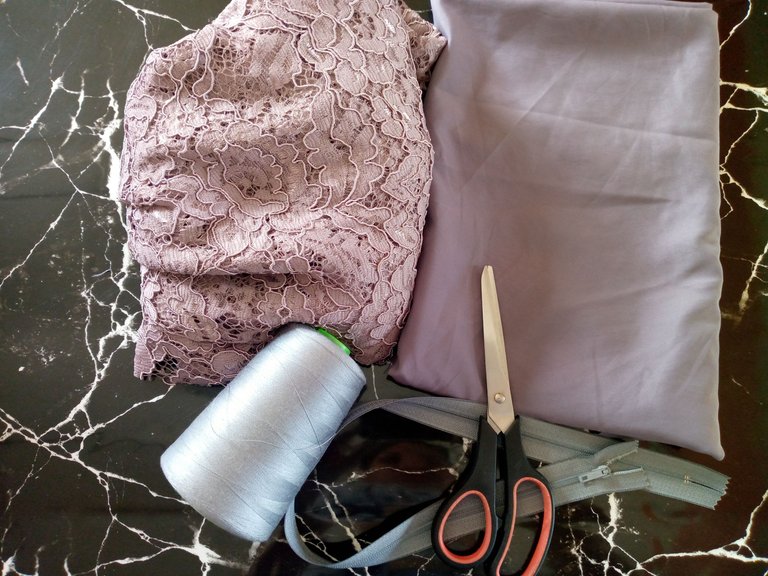
Materiales:// Materials:
- 2 Metros de tela de blonda suave
- 1.70 cm de tela para forro de vestido
- Hilo
- Cierre de 40-60 cm dependiendo del largo que desees (eso si ten en cuenta que para un vestido los cierres deben ser más largos de la cintura del vestido
- Máquina de coser
- Tijeras
- 2 meters of soft lace fabric
- 1.70 cm of fabric for dress lining
- Thread
- Zipper of 40-60 cm depending on the length you want (but keep in mind that for a dress the zippers should be longer than the waist of the dress
- Sewing machine
- Scissors
.jpg)
Pasos a seguir://Steps to follow:
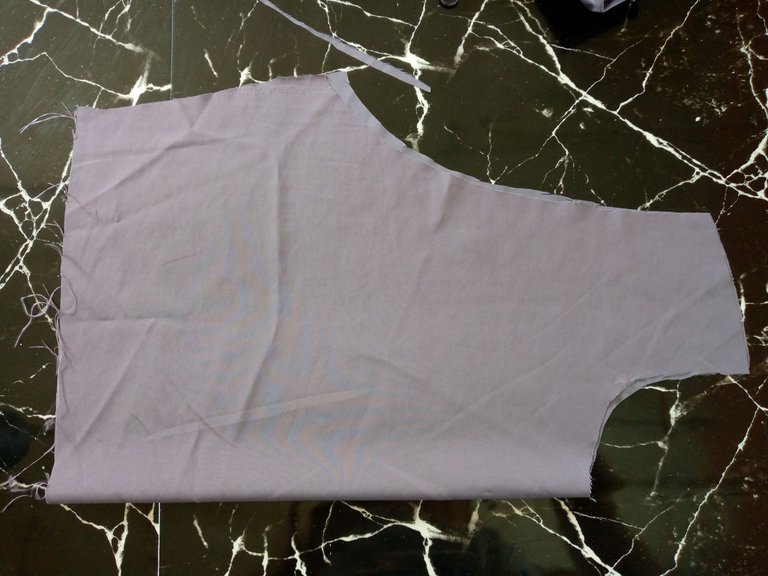
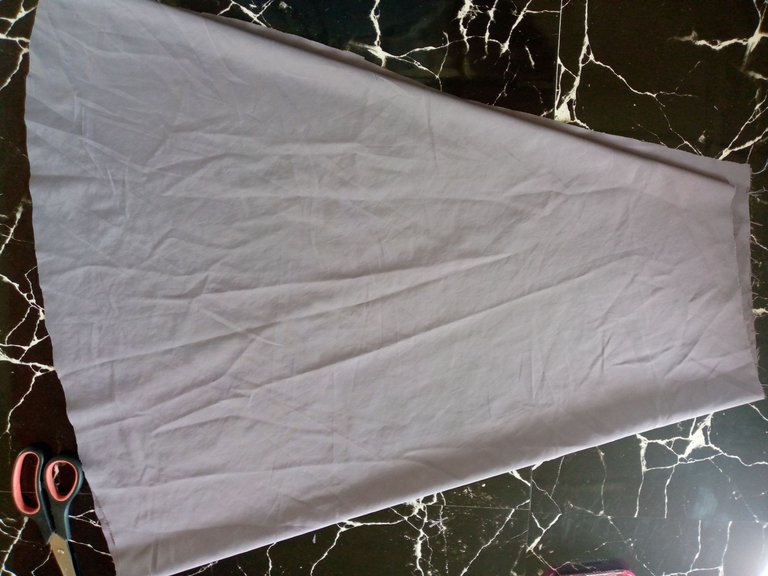
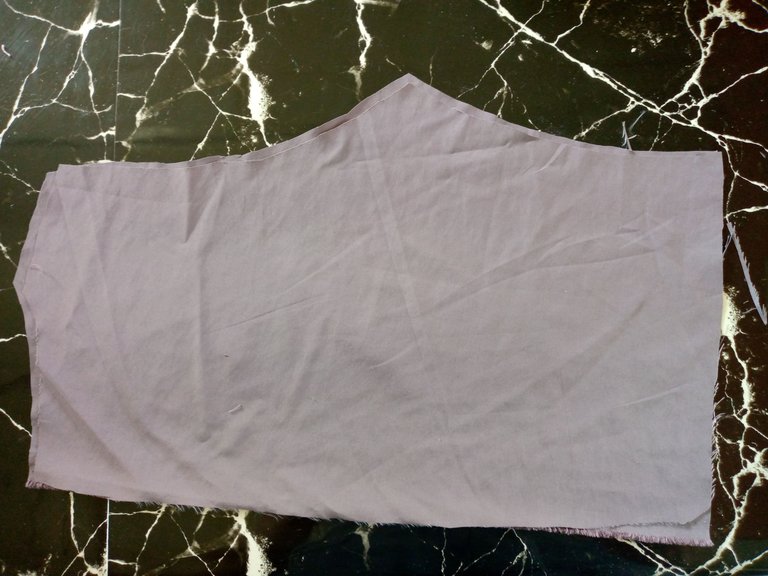
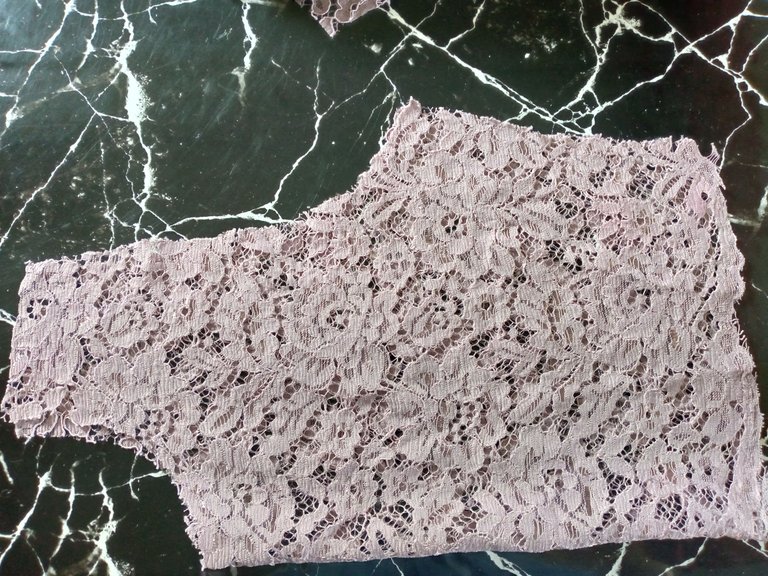
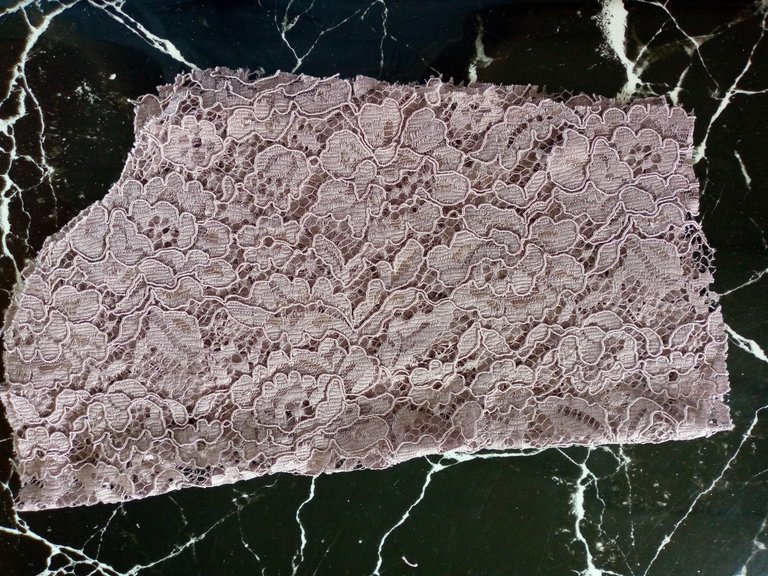
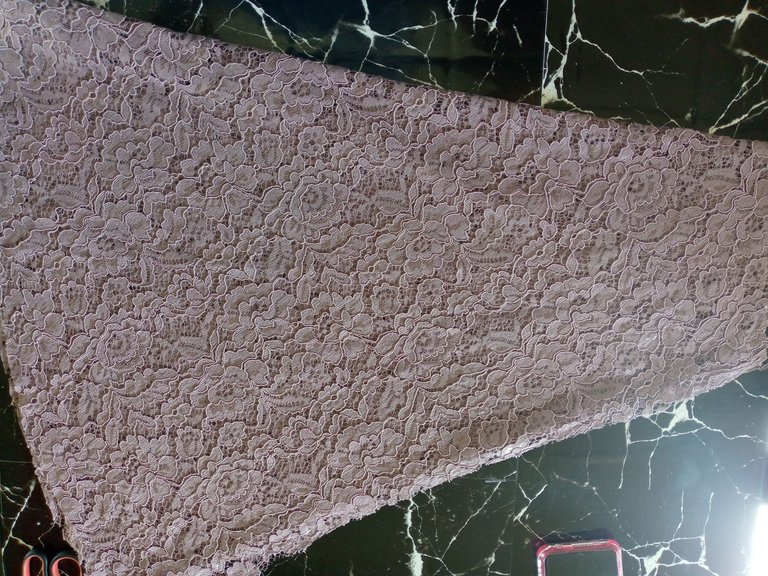
Paso 01
Step 01
To start we will use a measurement of our preference to be able to cut the corresponding pieces then we will cut for each double piece except for the sleeves that we will leave unlined then we cut the bust piece the back piece is double there would be four with a cut in the middle because we will be placing our closure then we will cut the sleeves we will also cut our skirt 80 cm long and the lining 70 cm because the idea is to leave the front piece longer, the lace one.
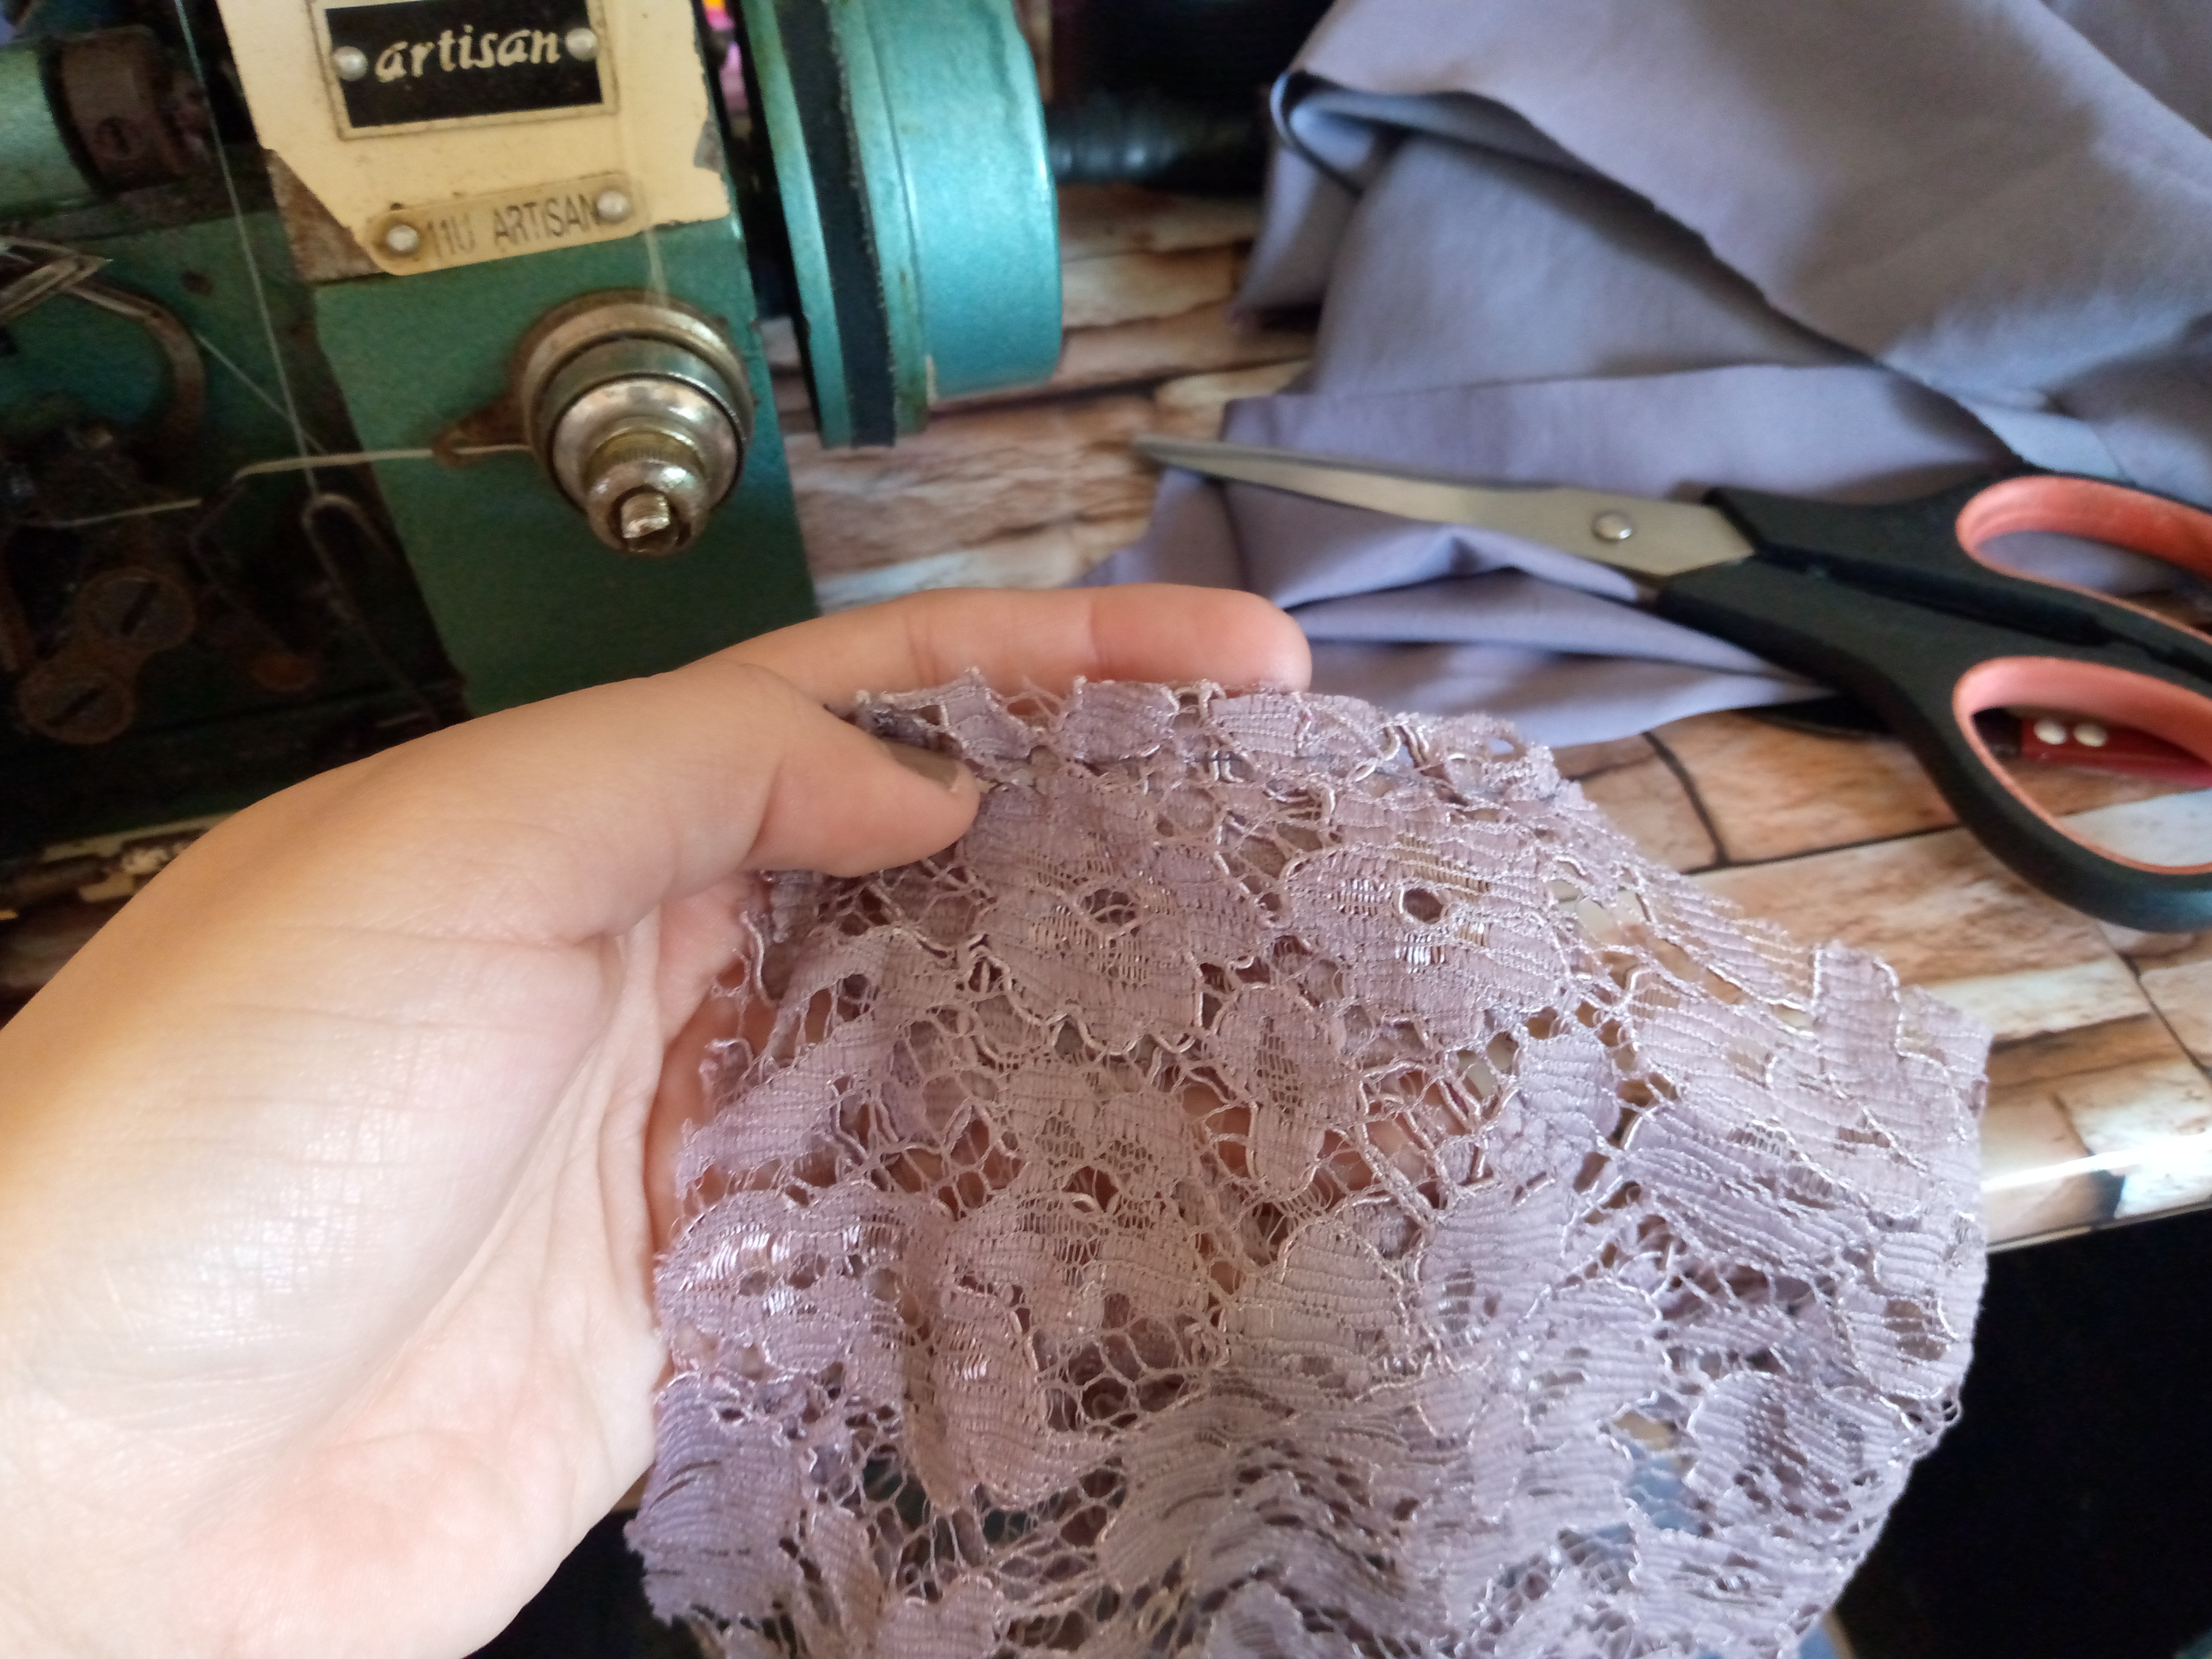
Paso 02
Step 02
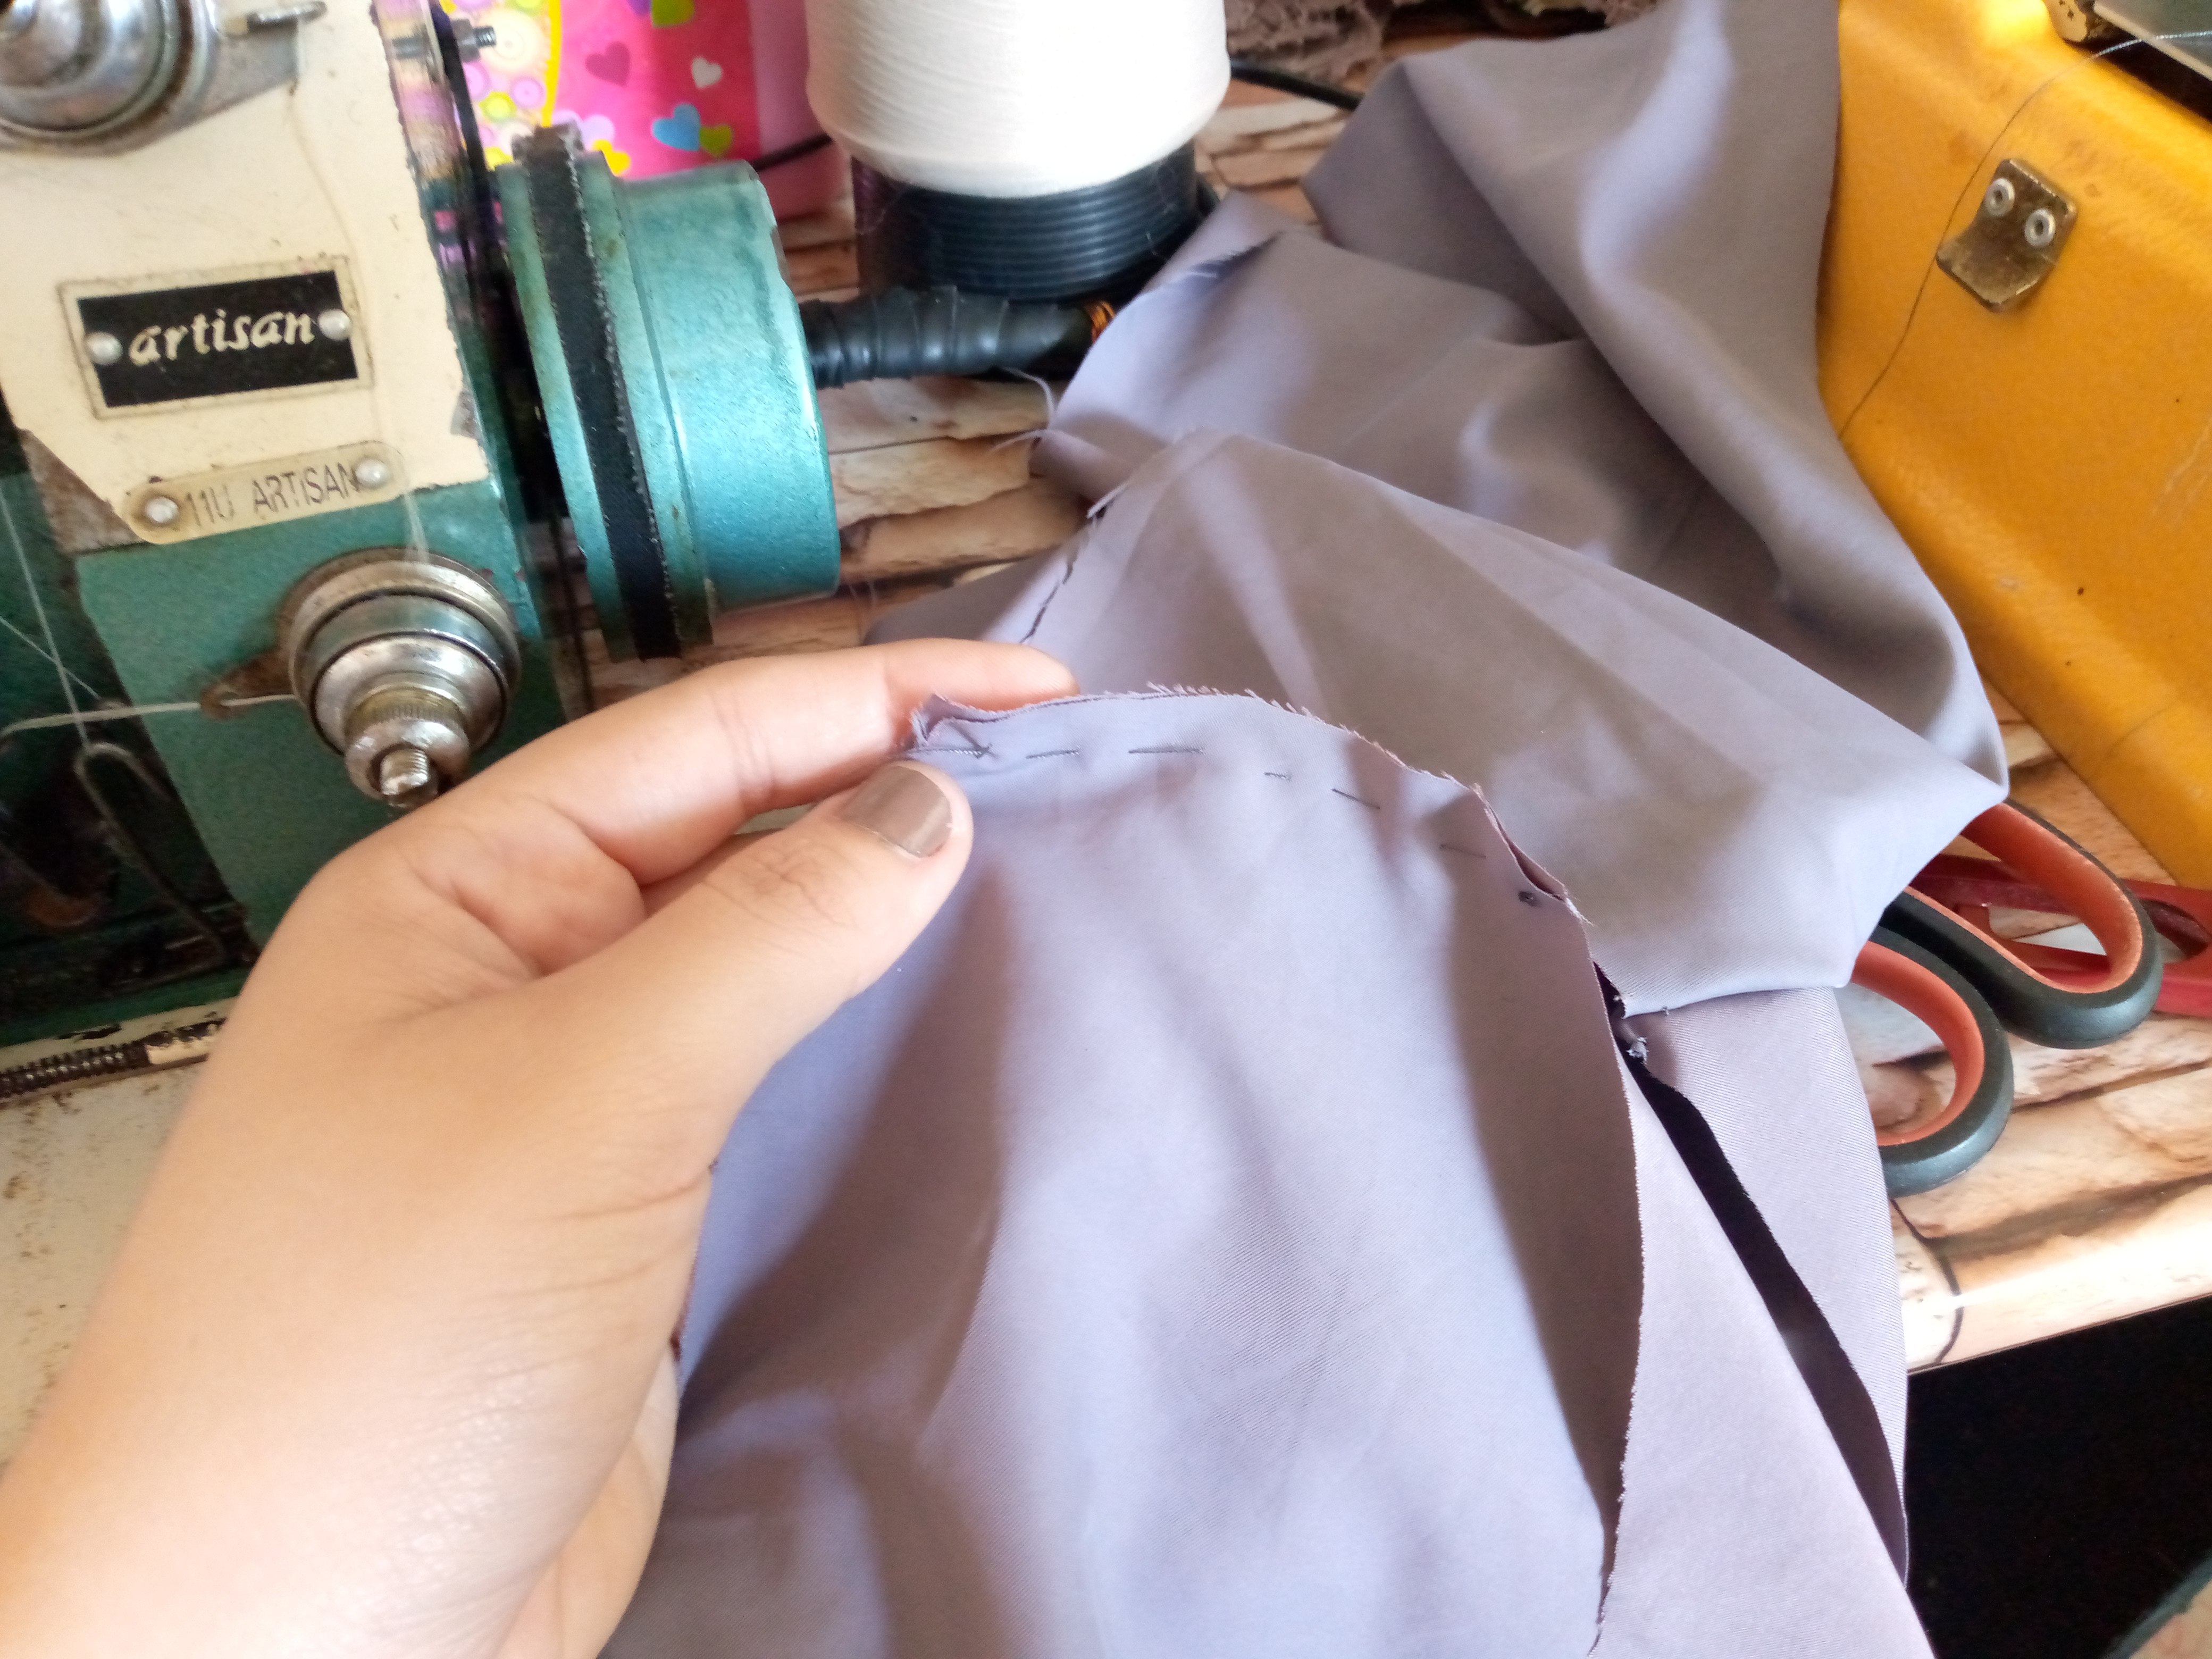
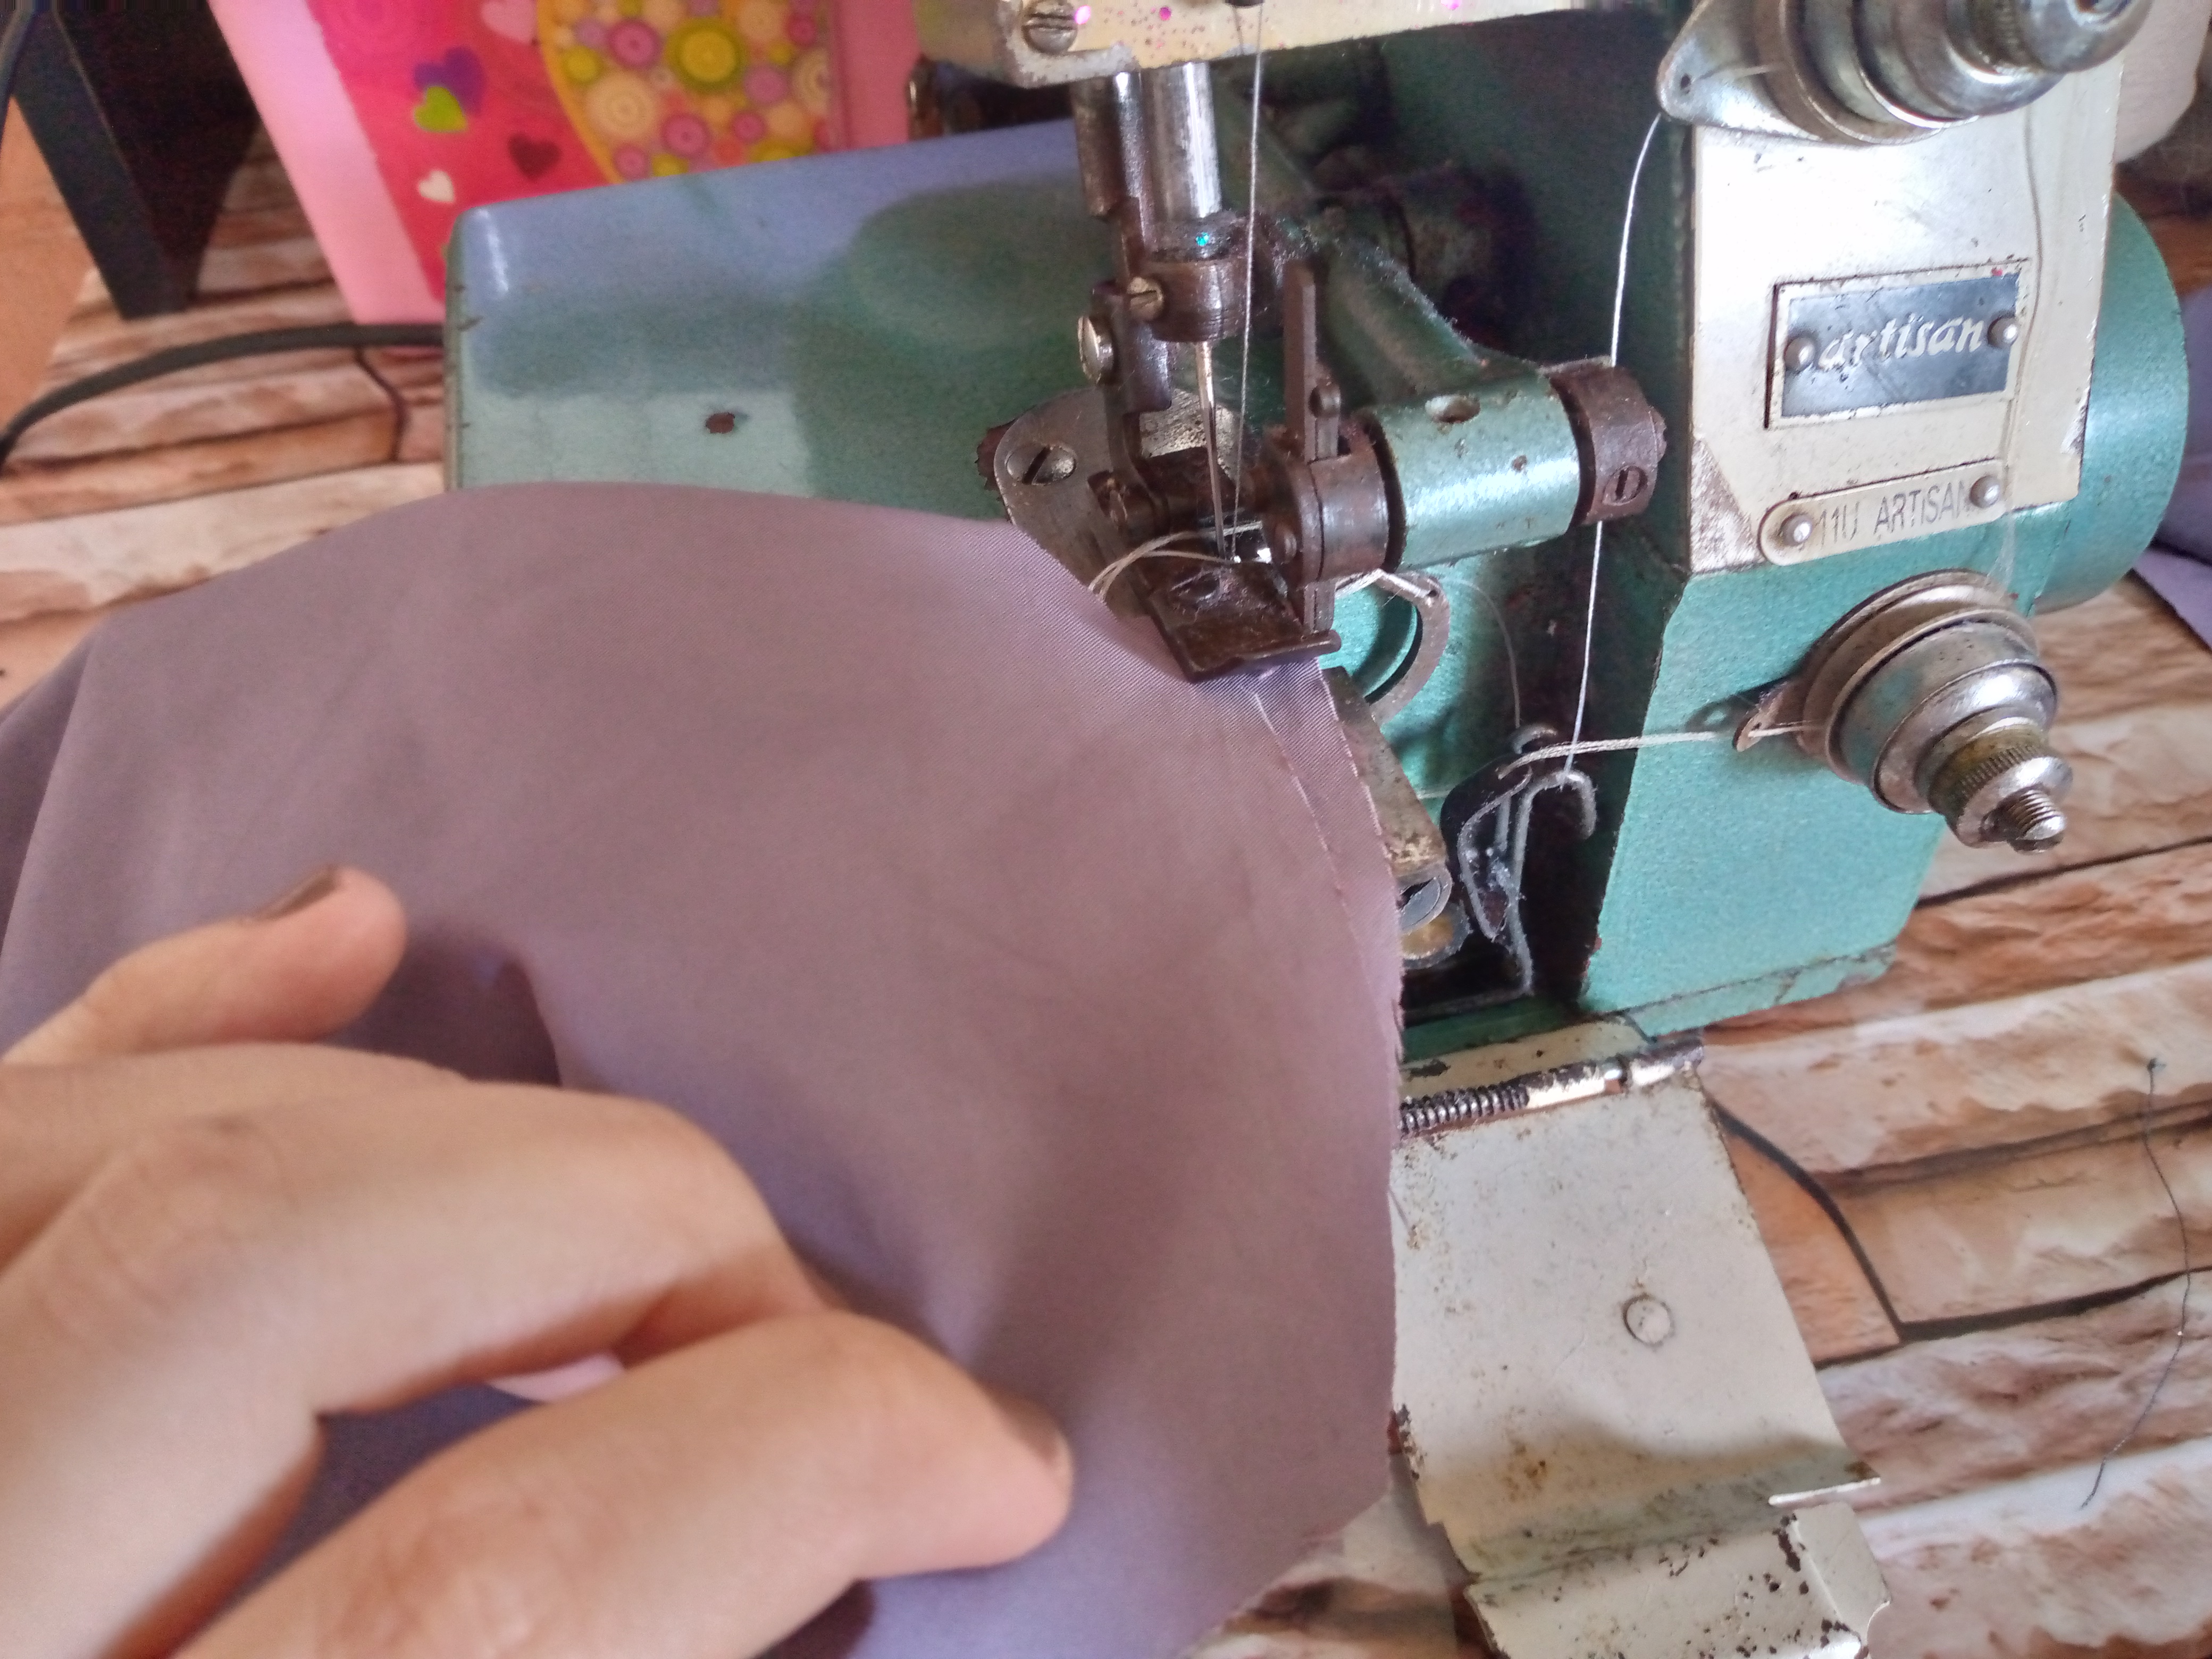
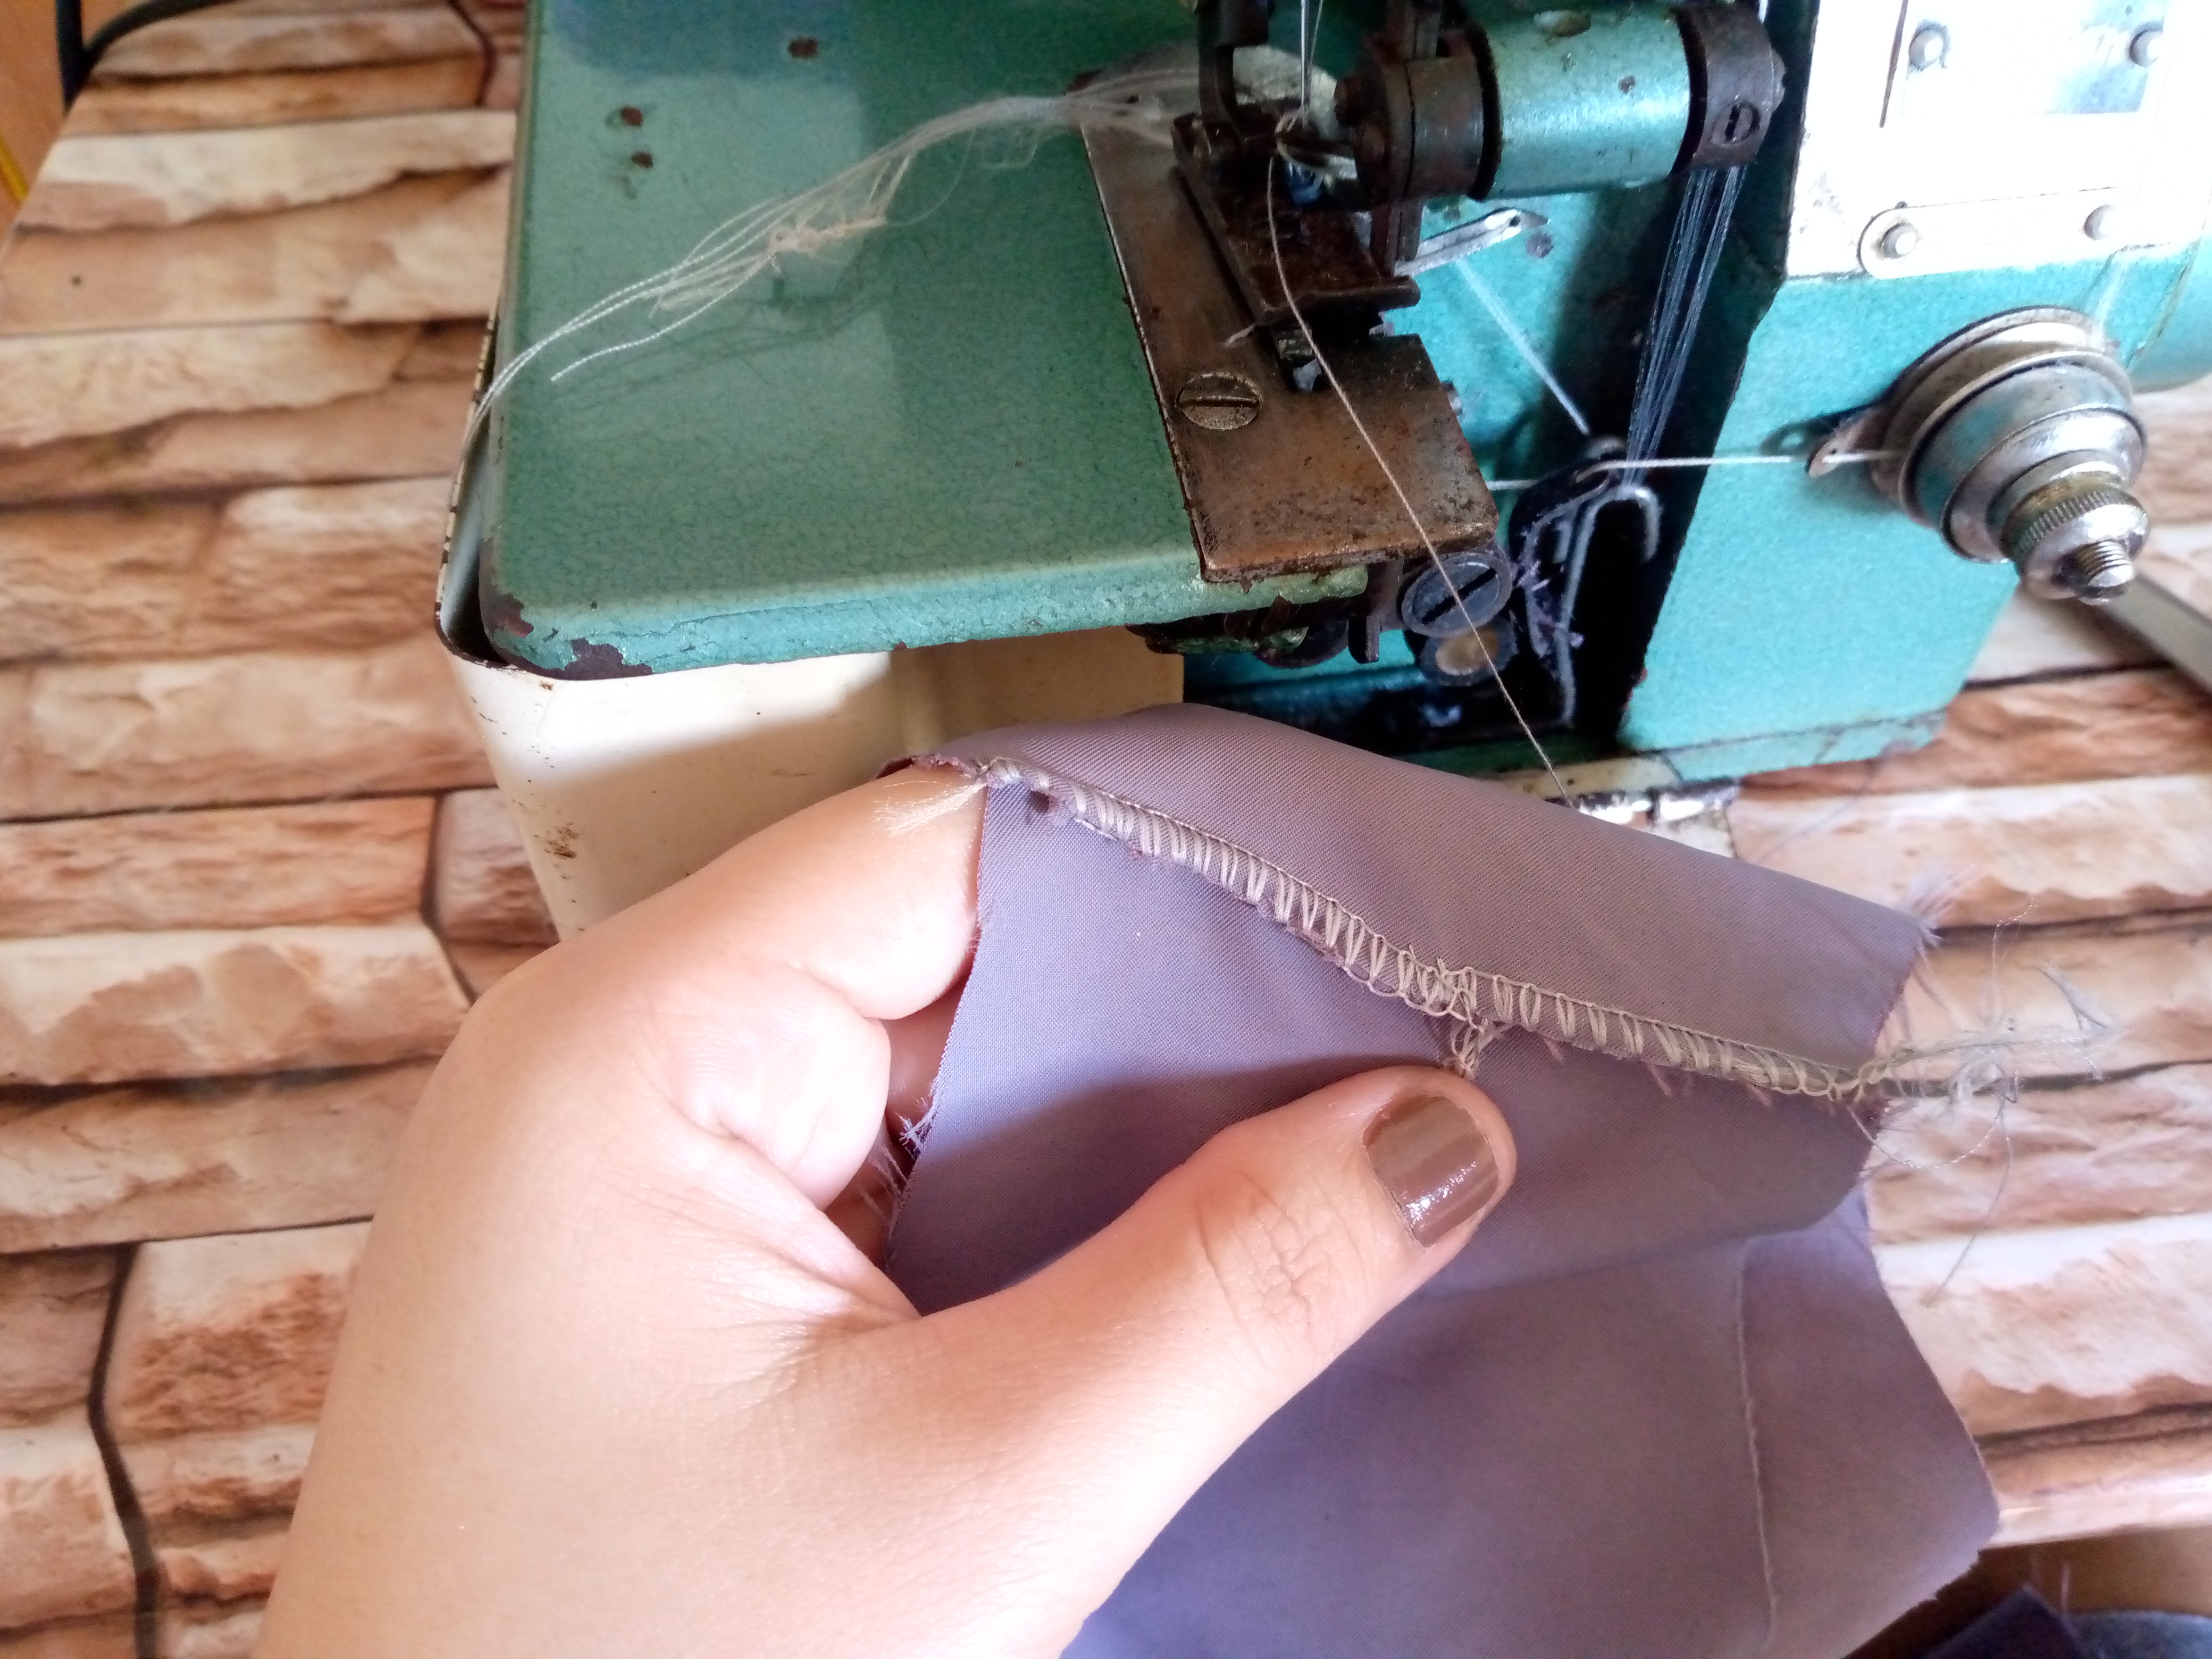
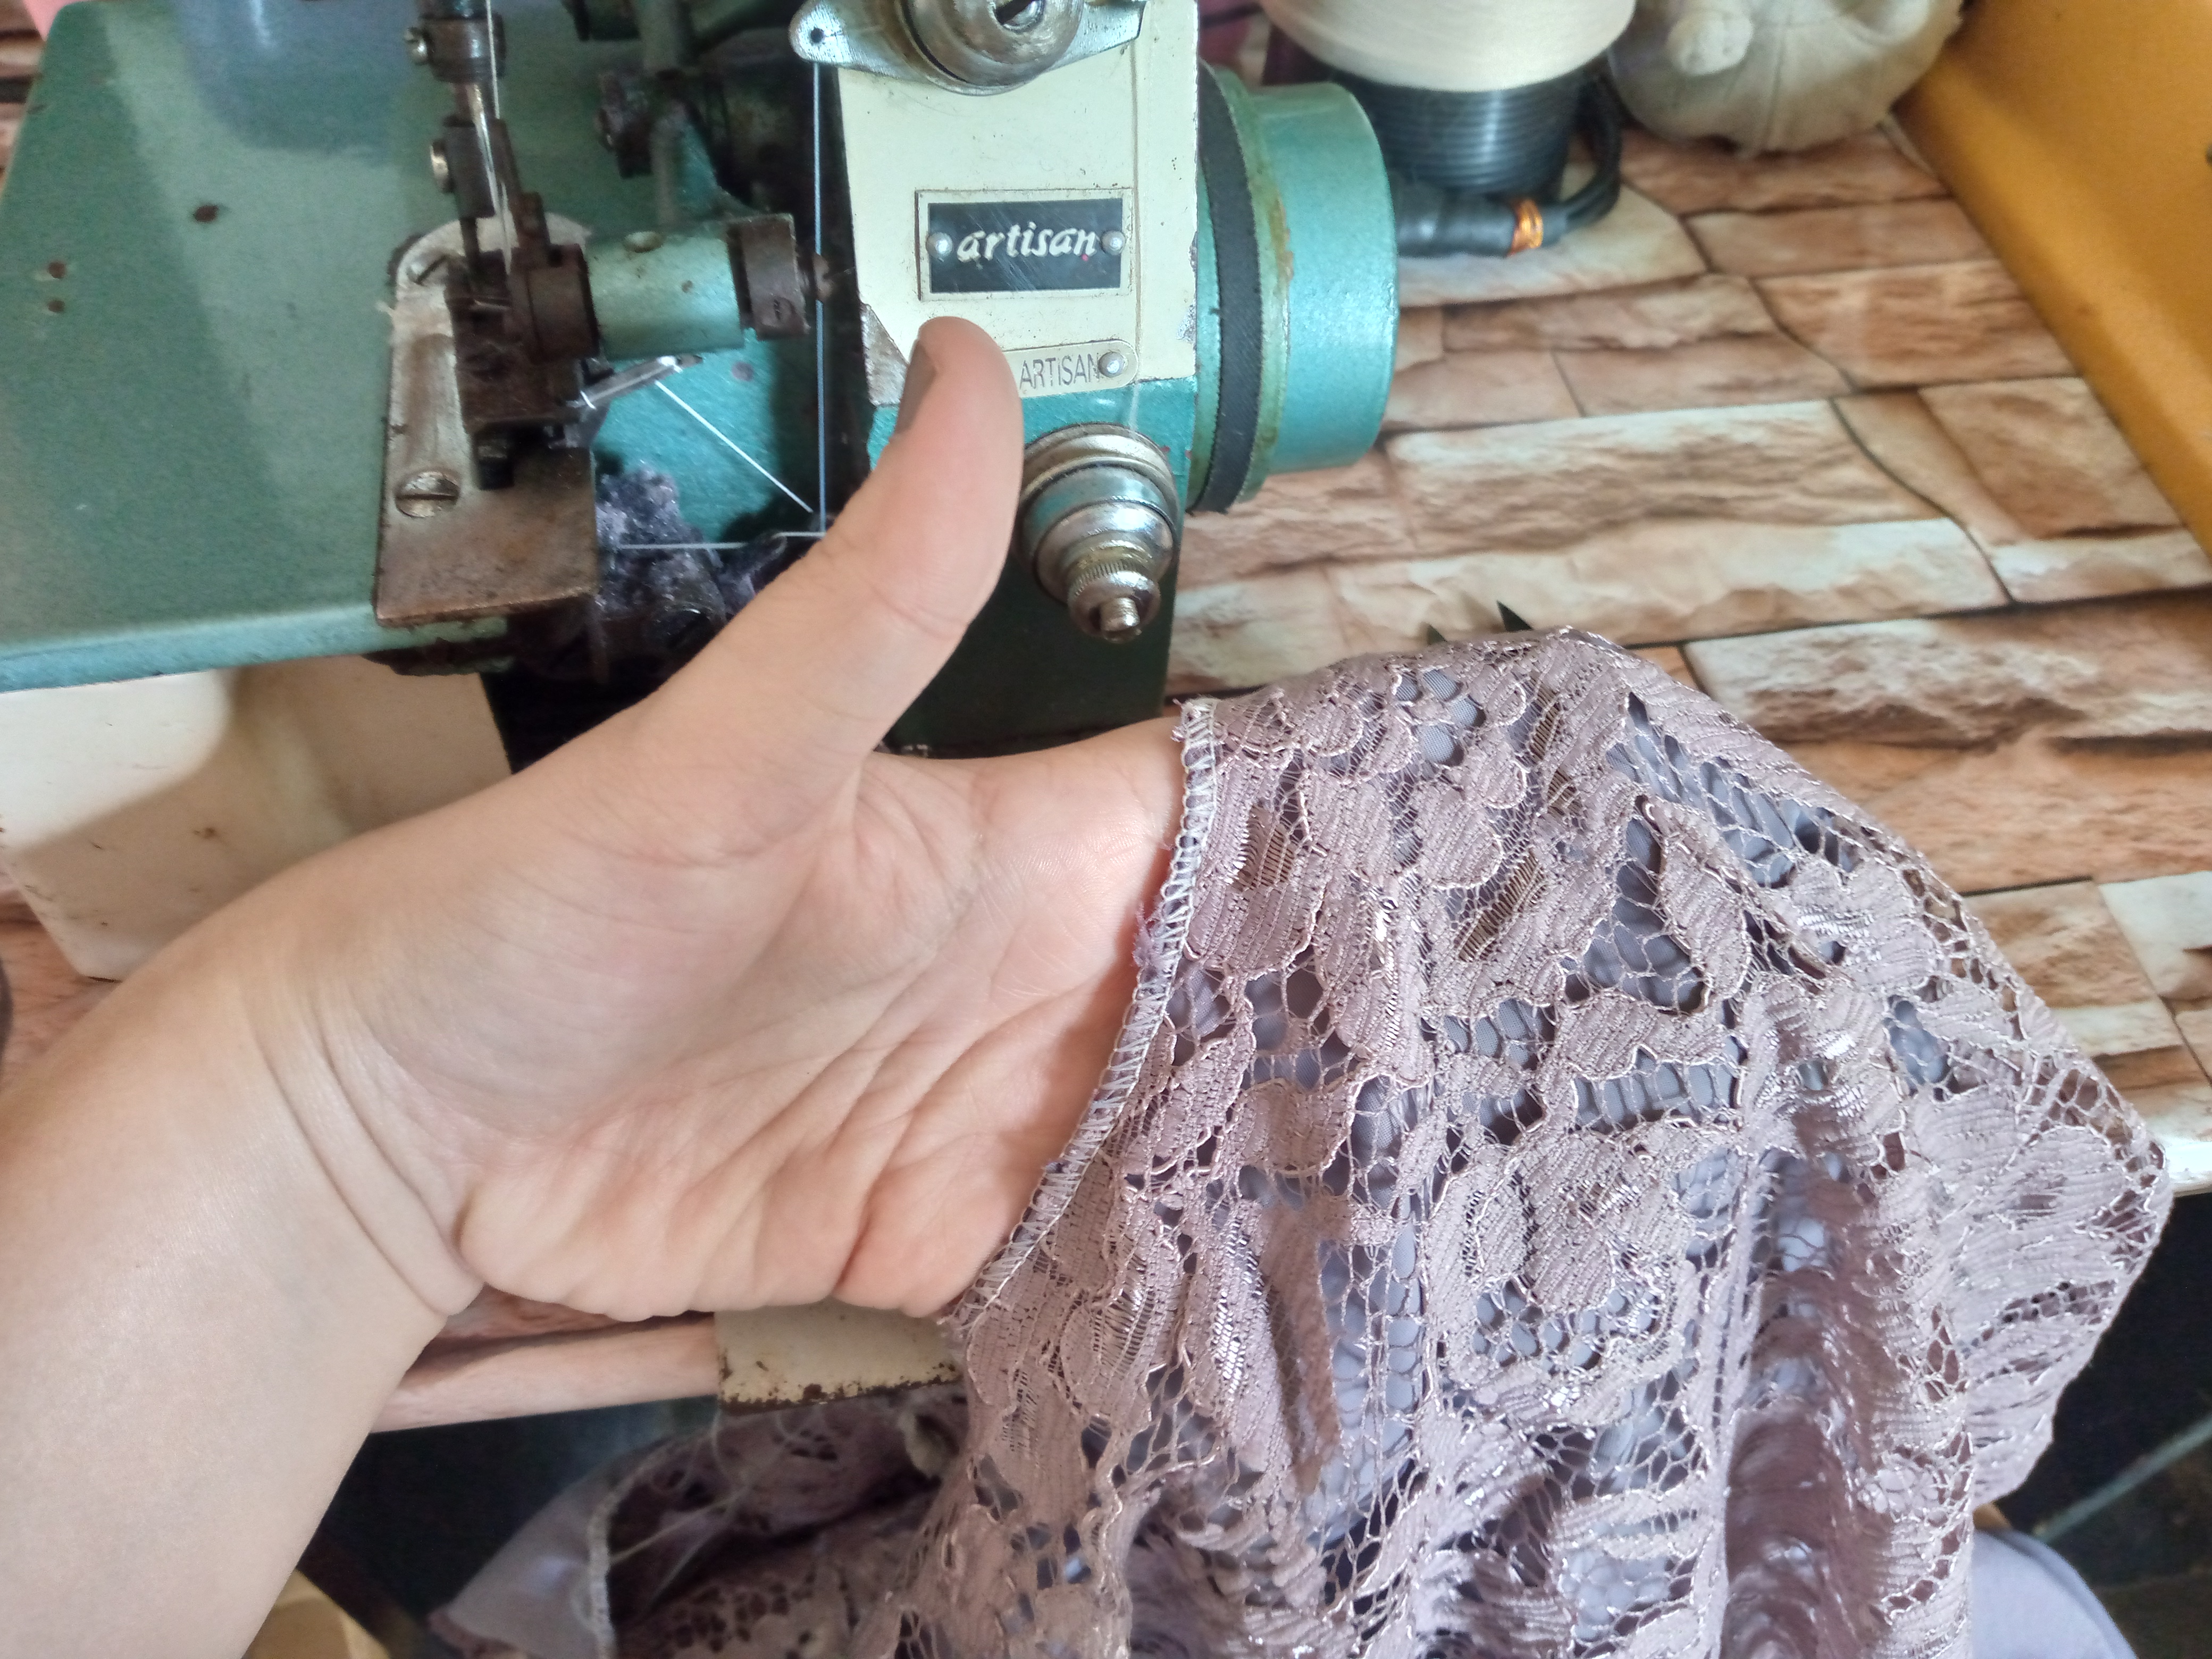
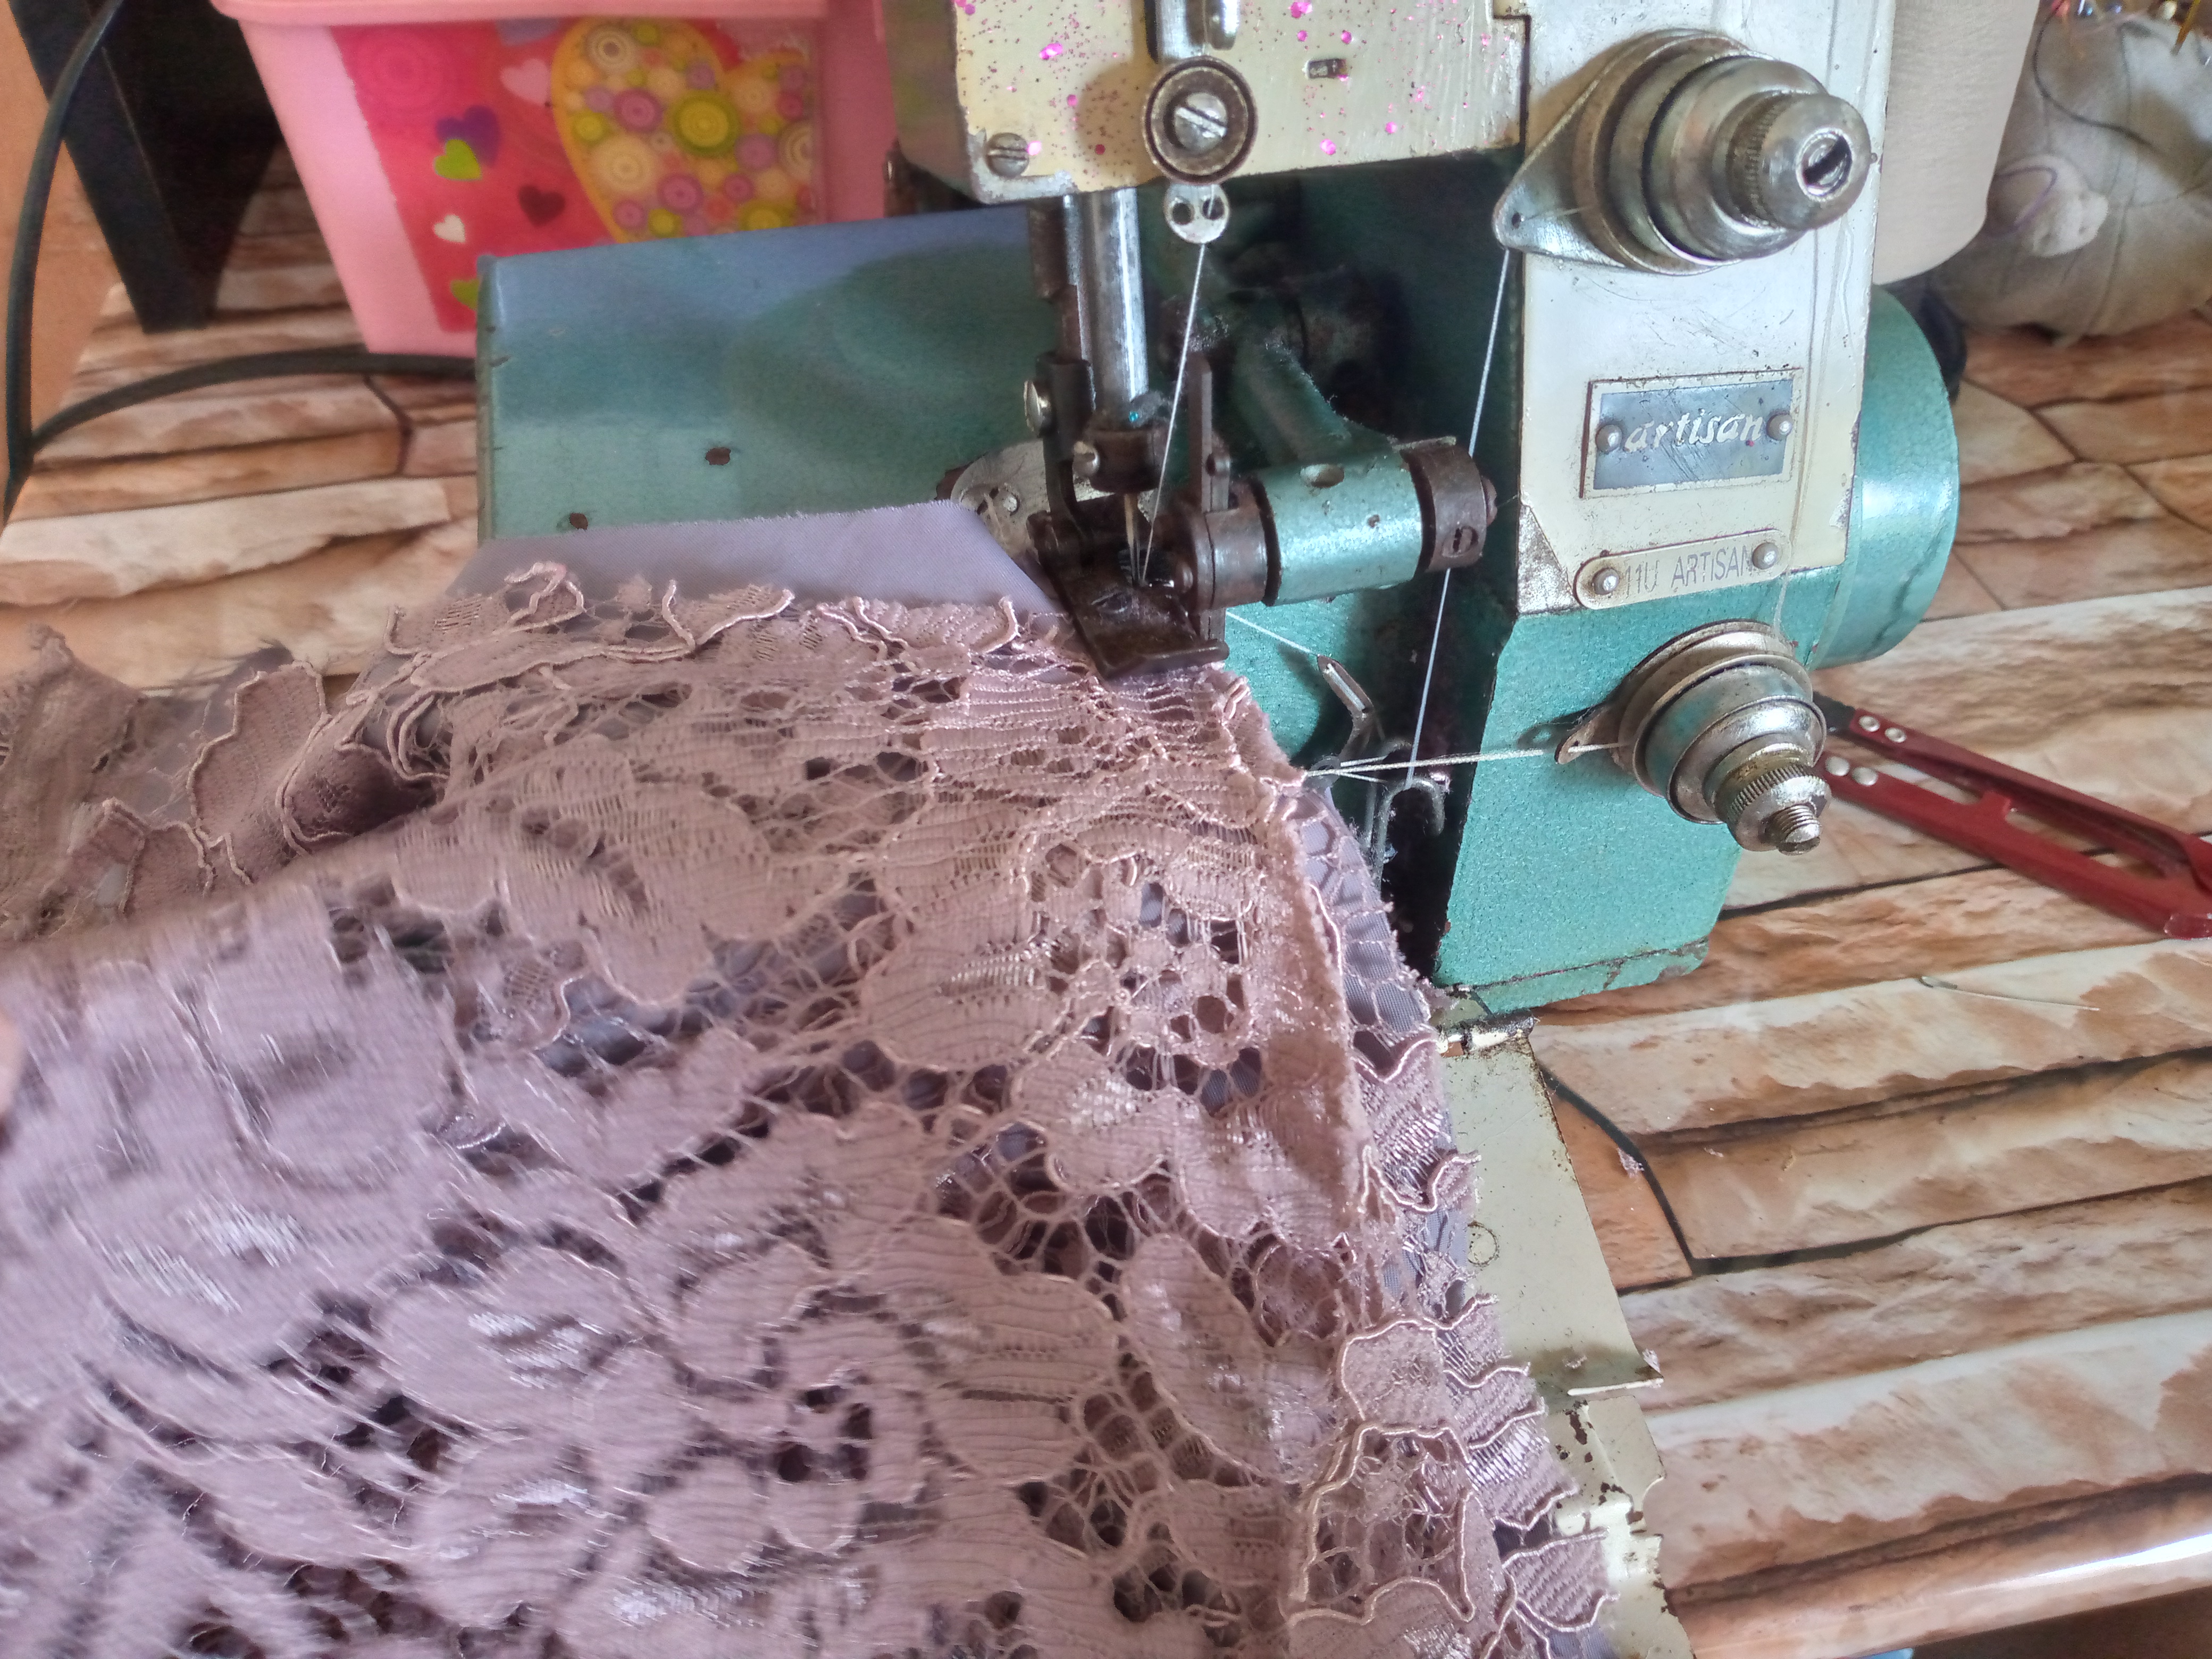
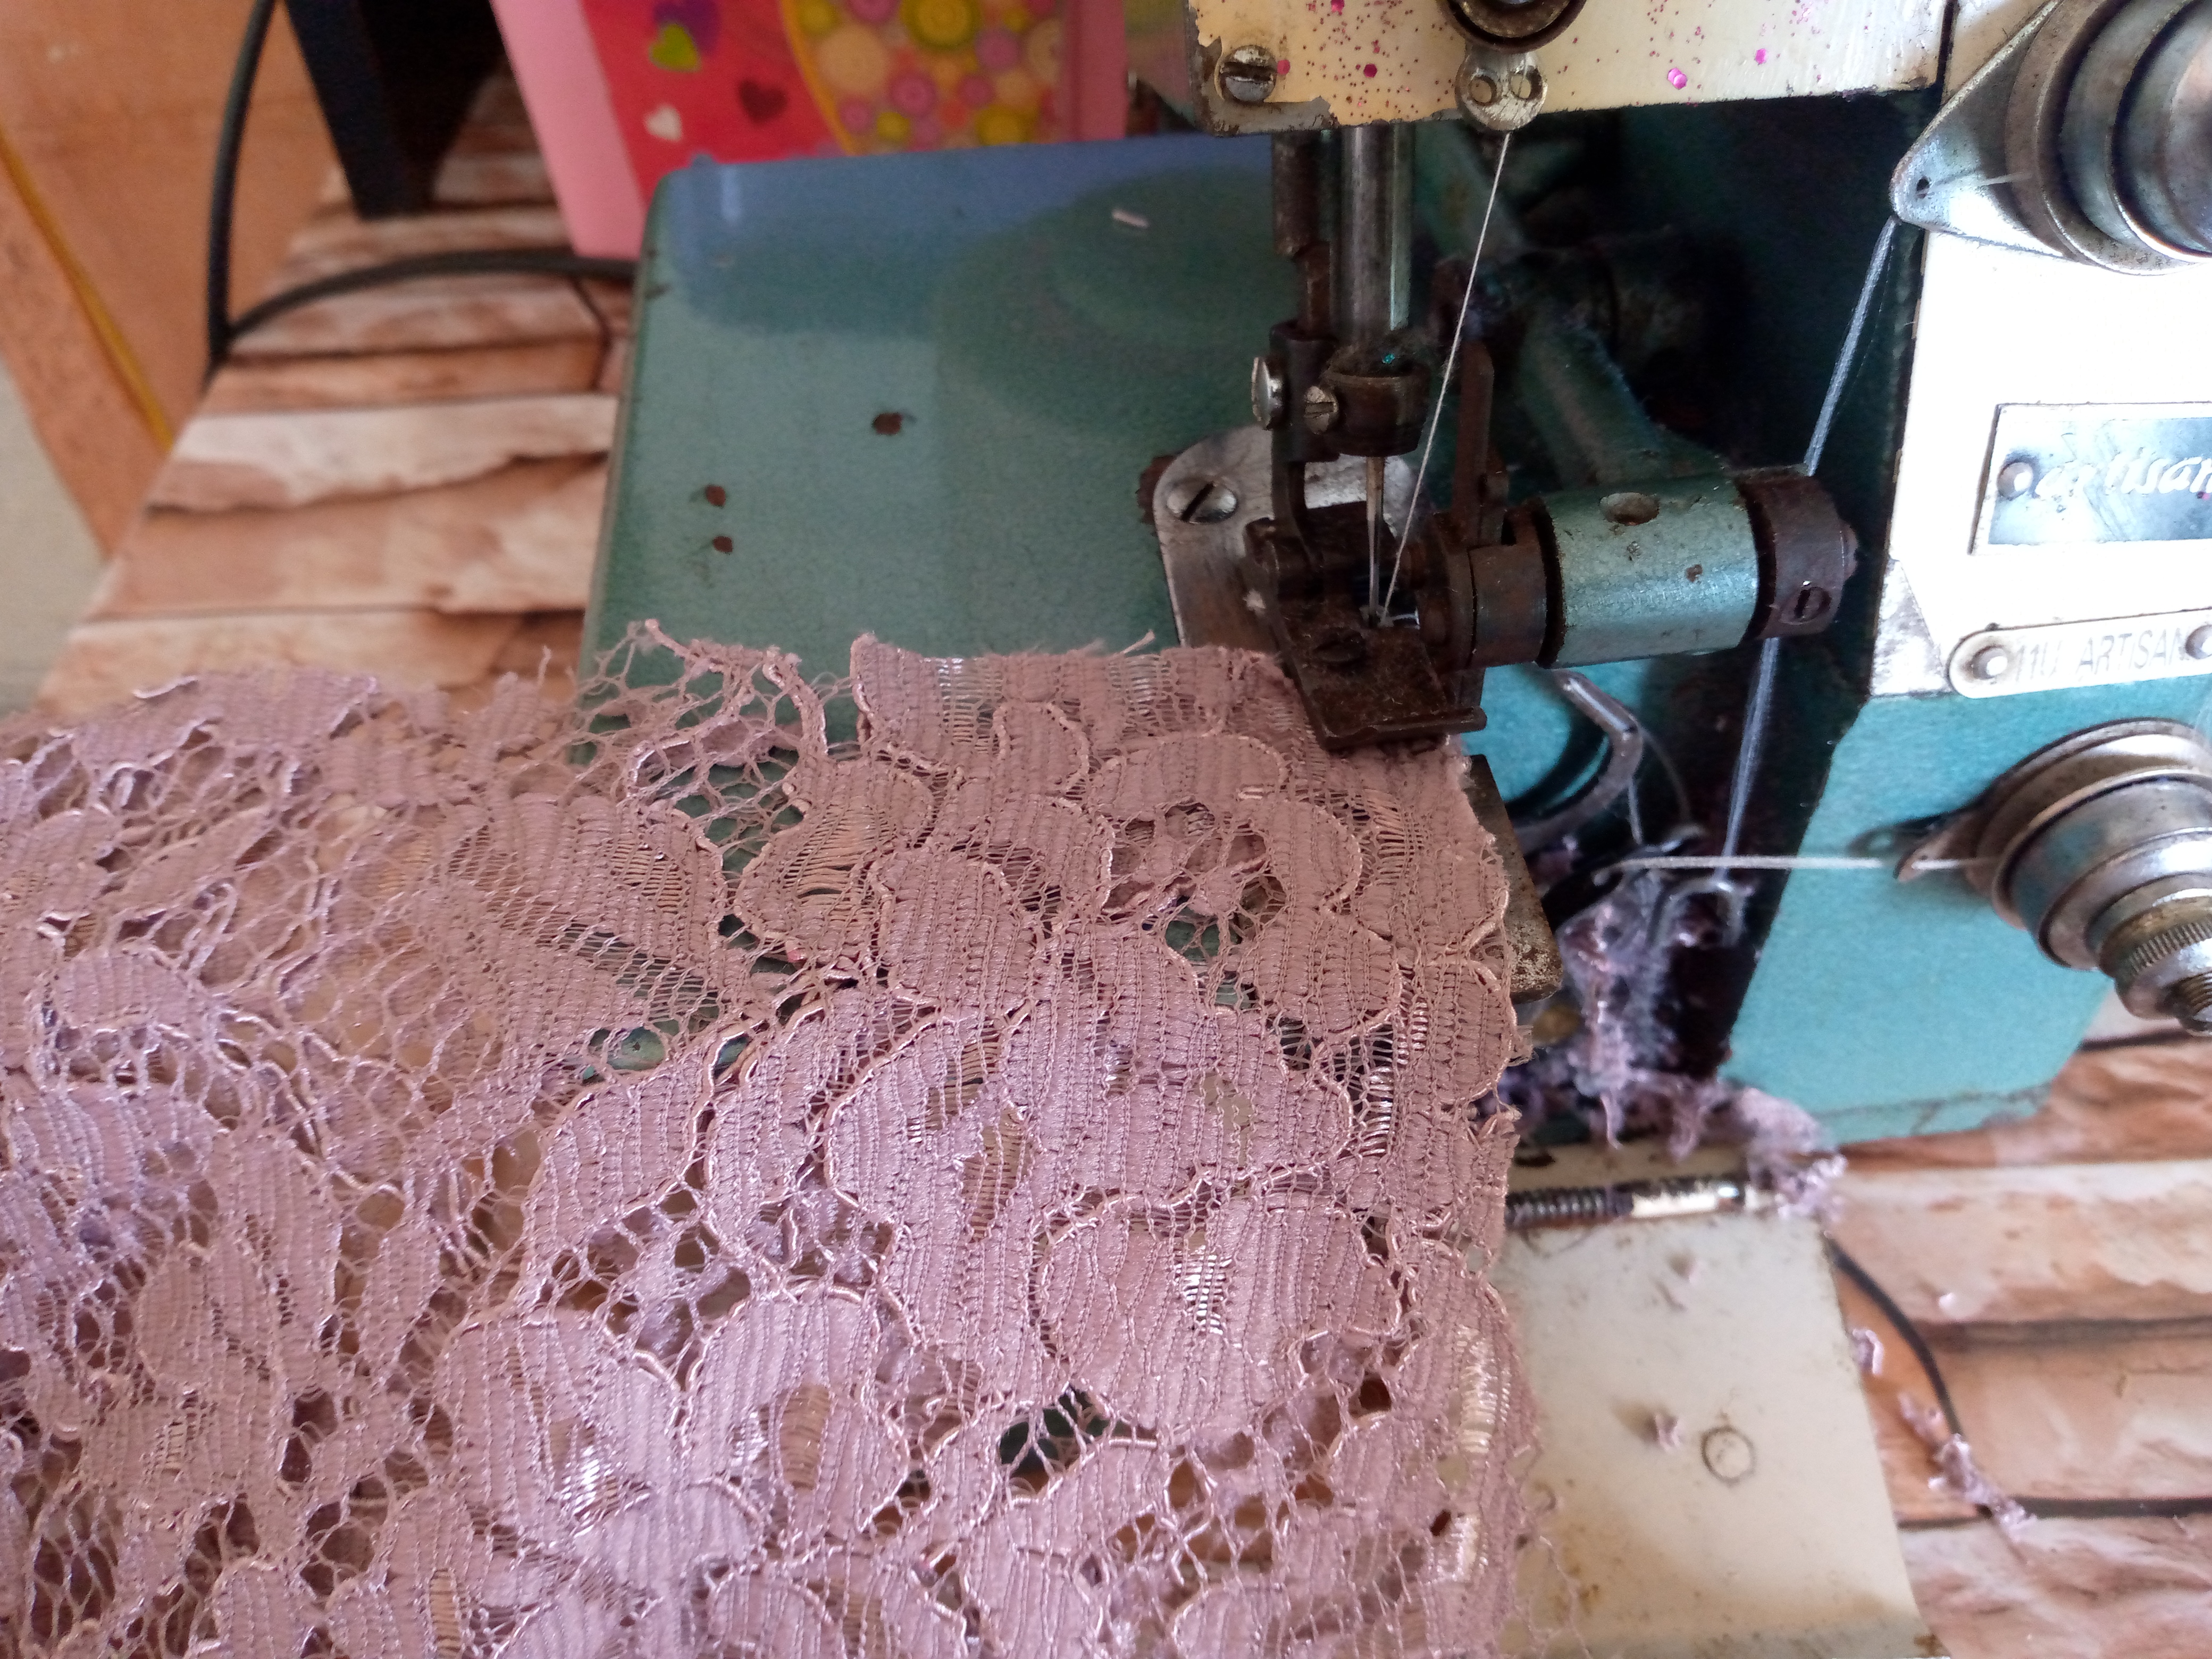
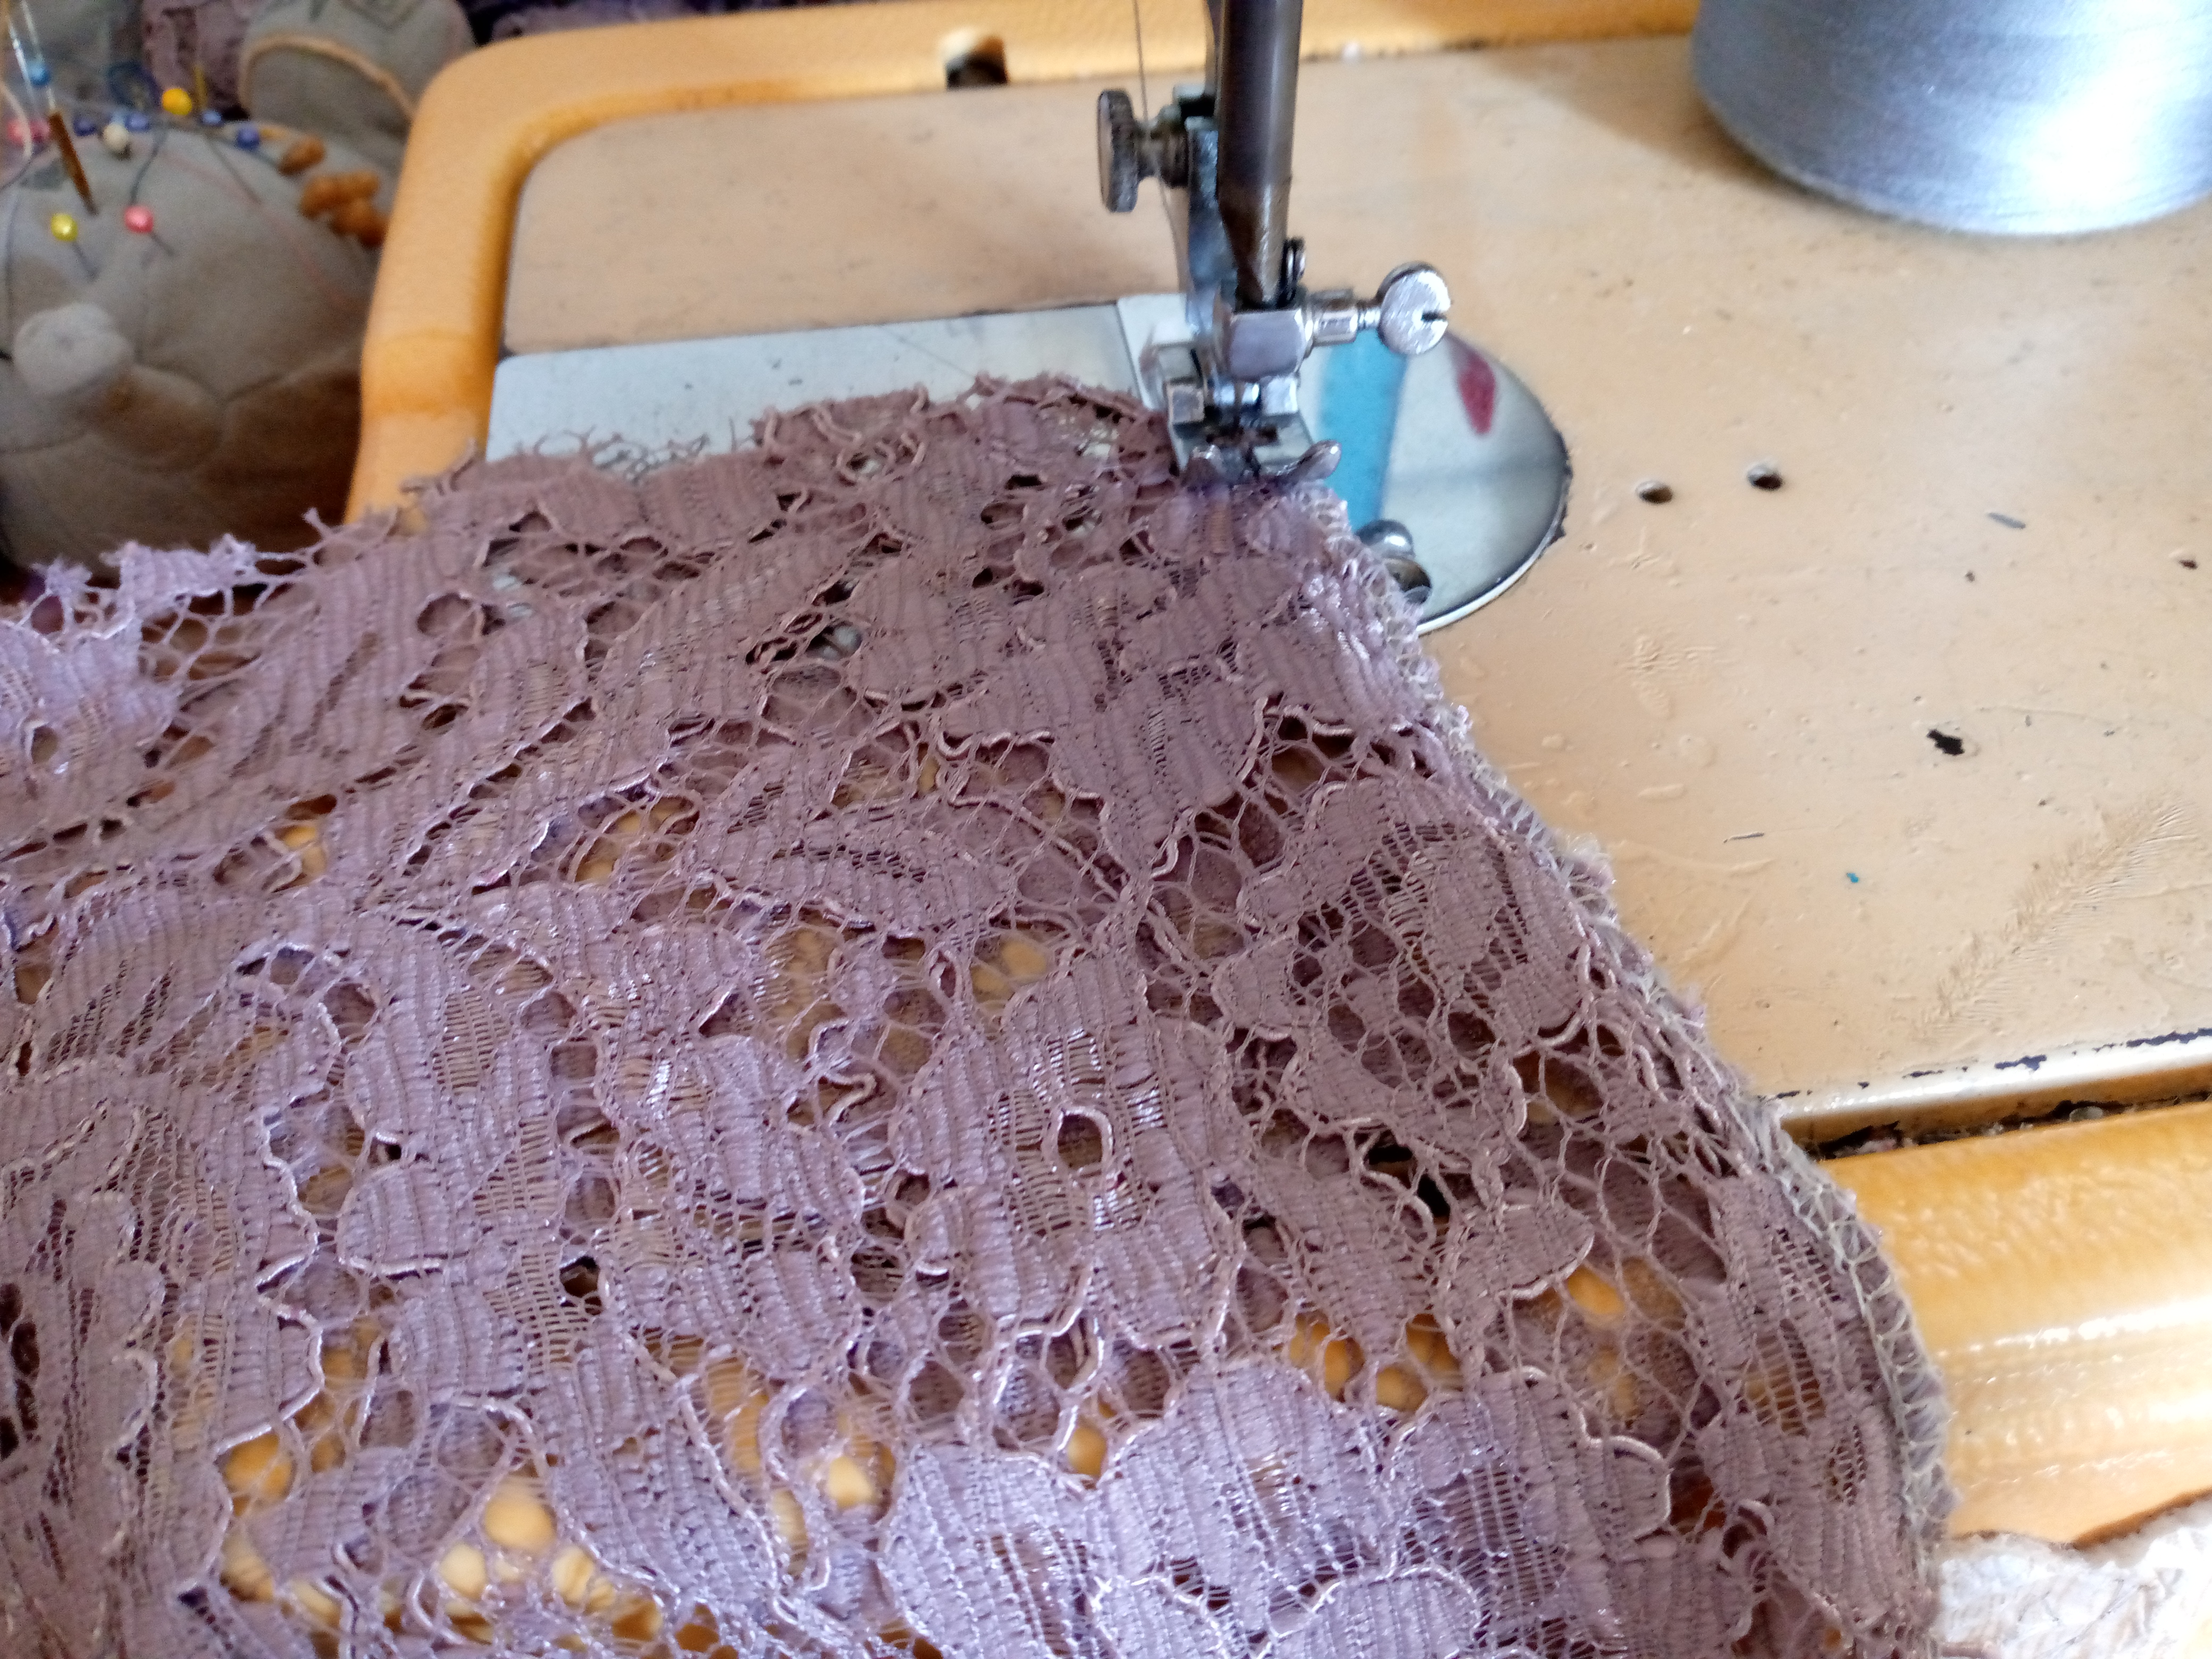
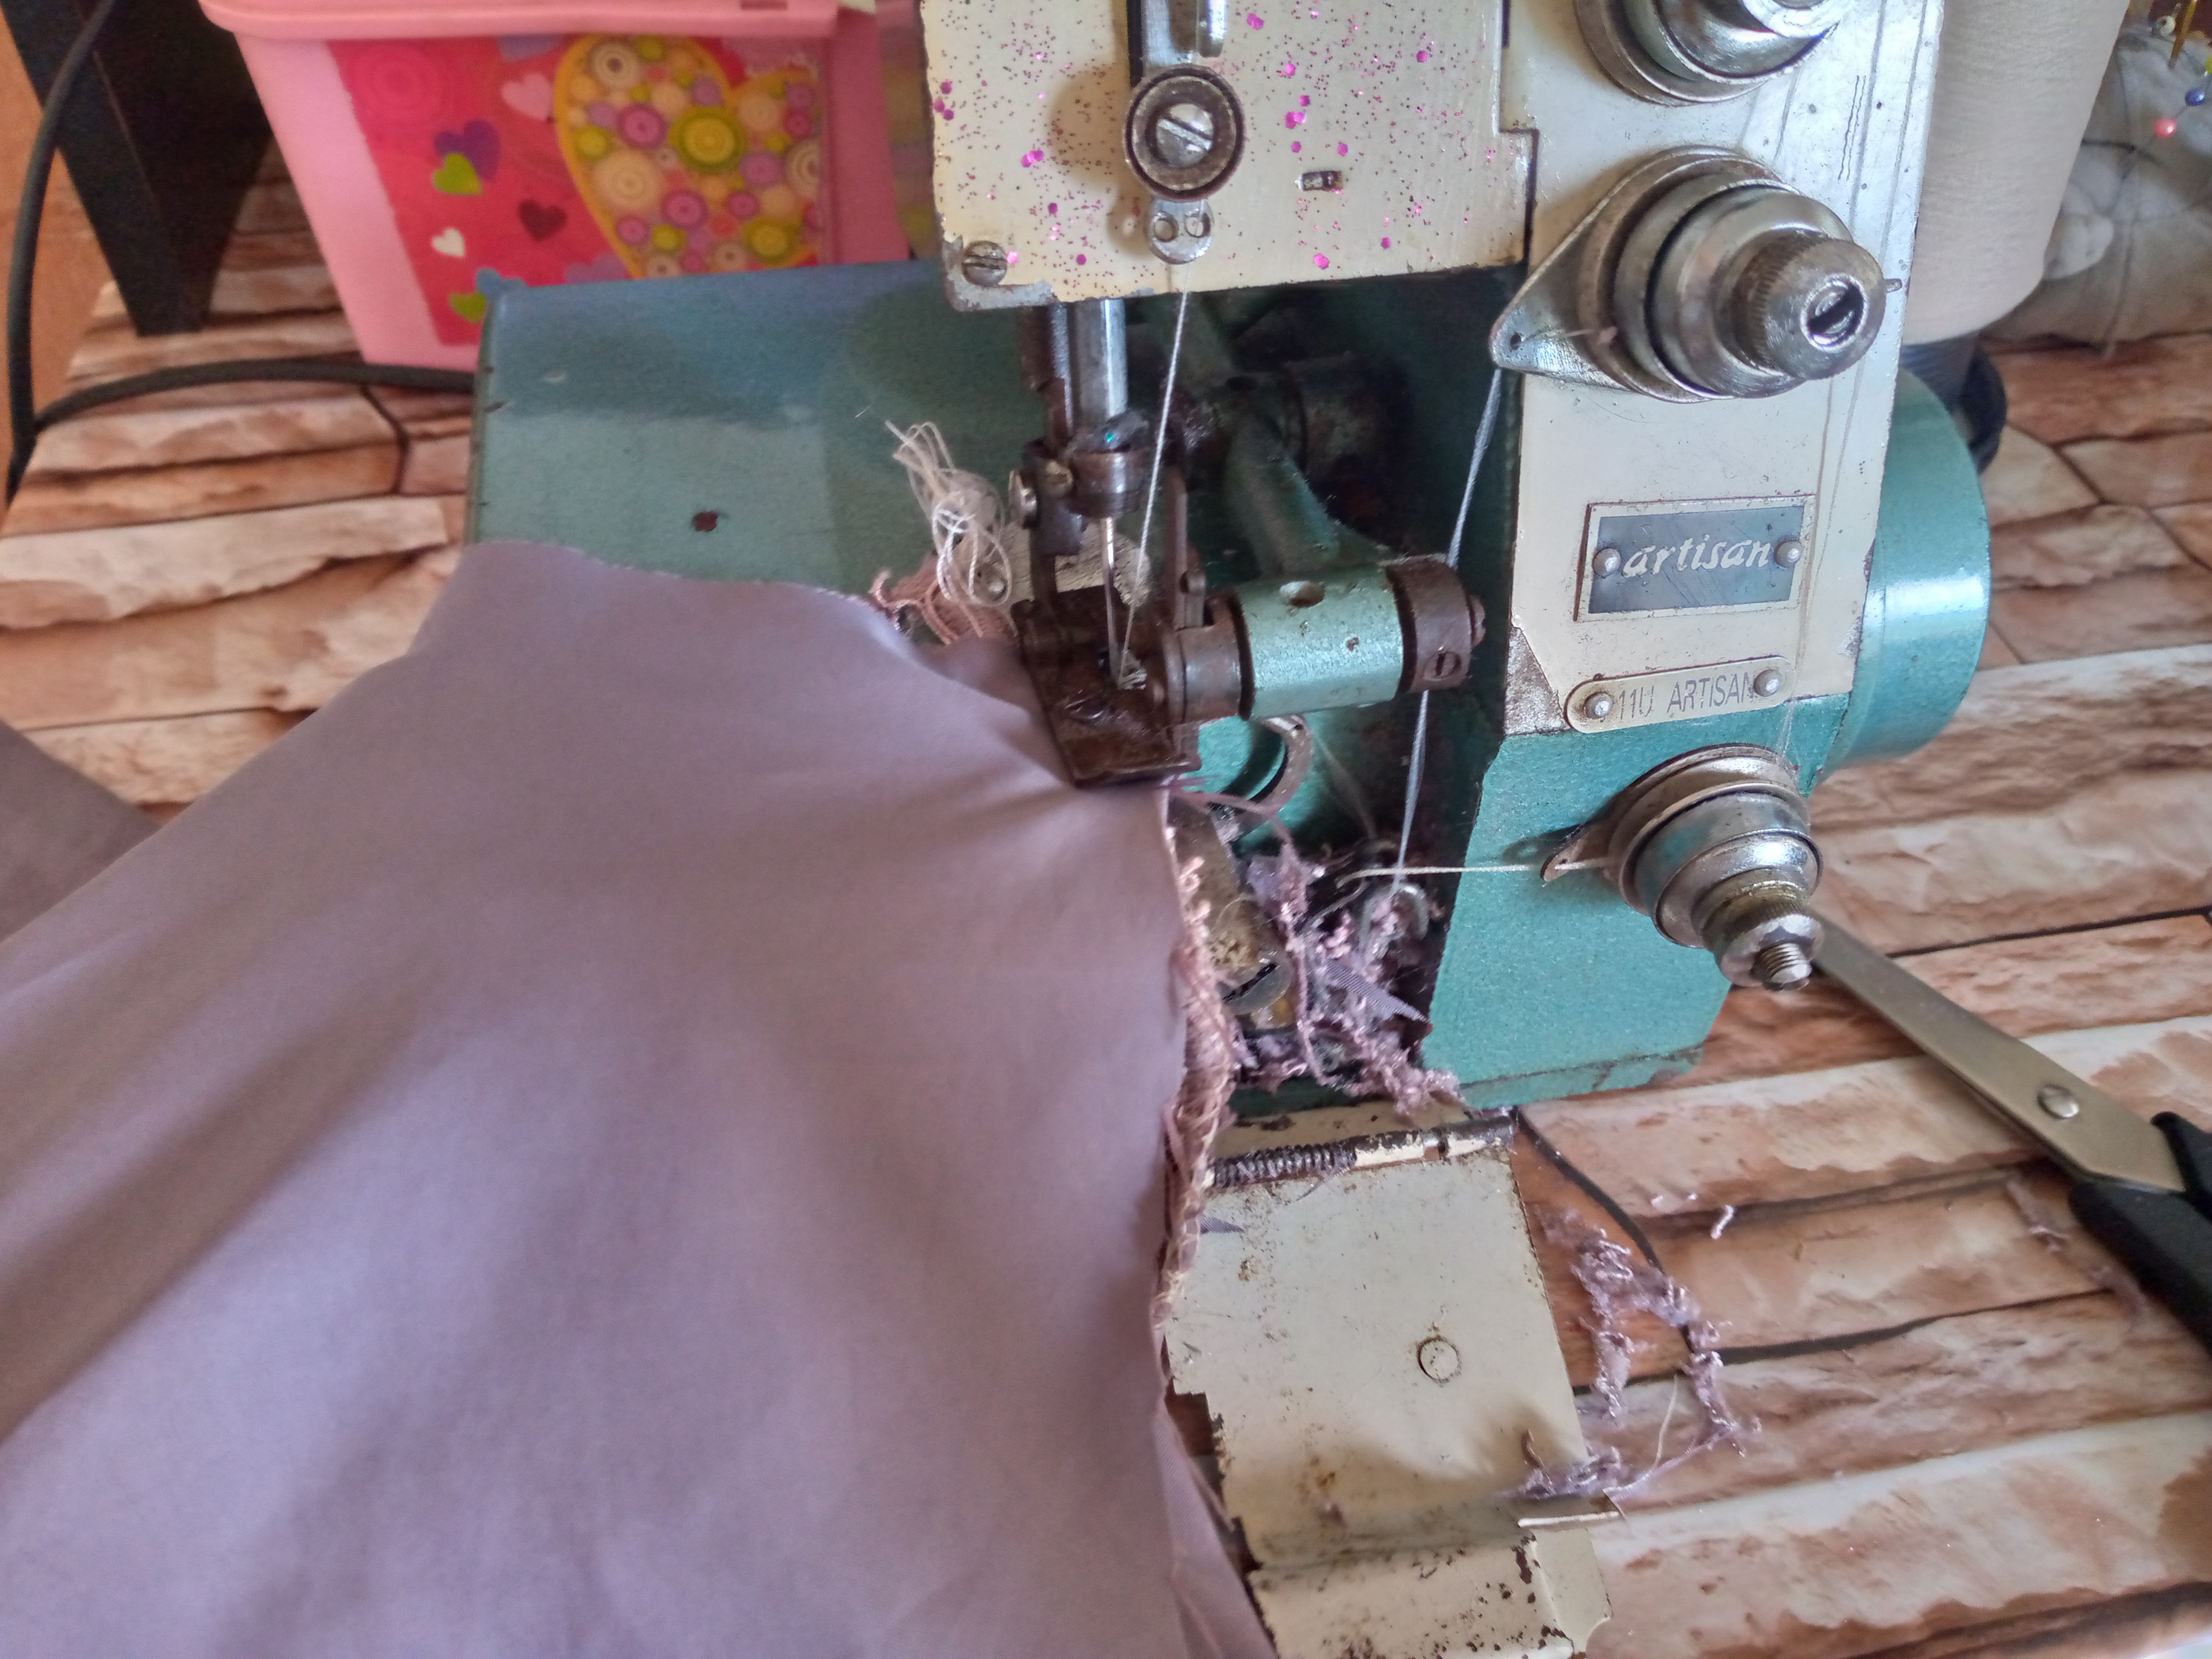
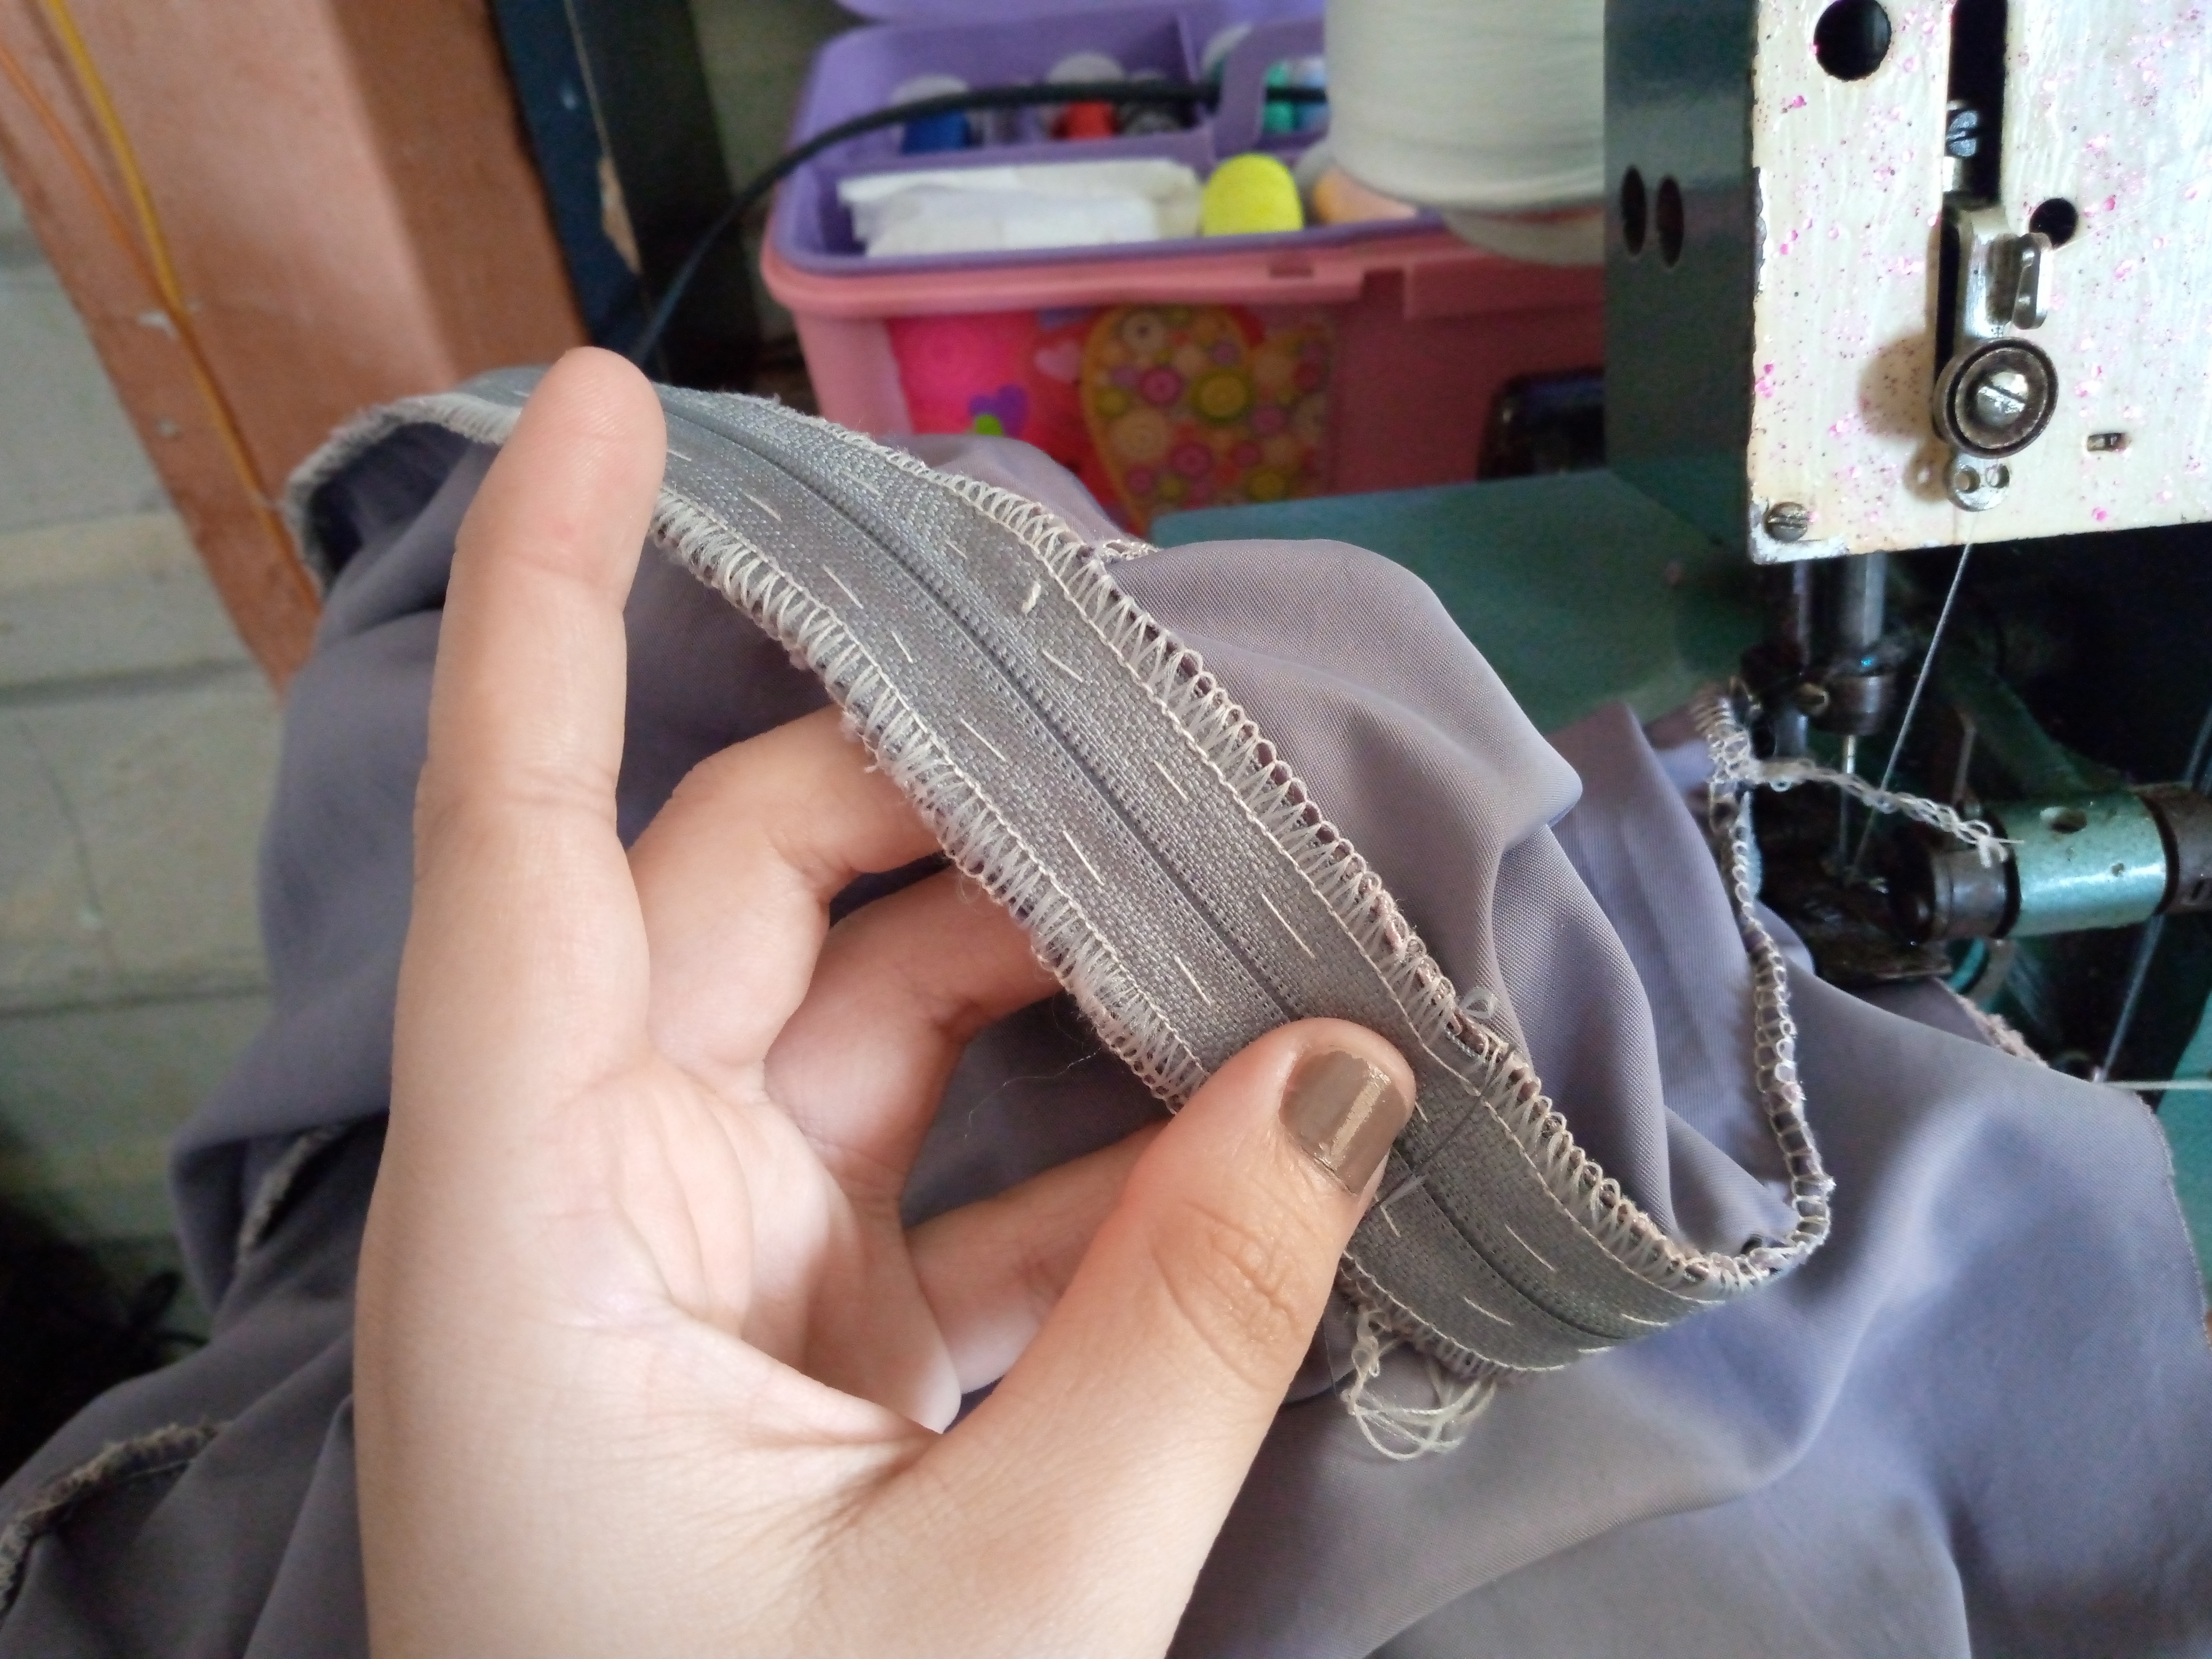
The second step we will do is to hem the shoulder piece by joining the front piece with the back and then sew on the machine to seal the bottom and top parts with an overlock seam.

Paso 03
Step 03
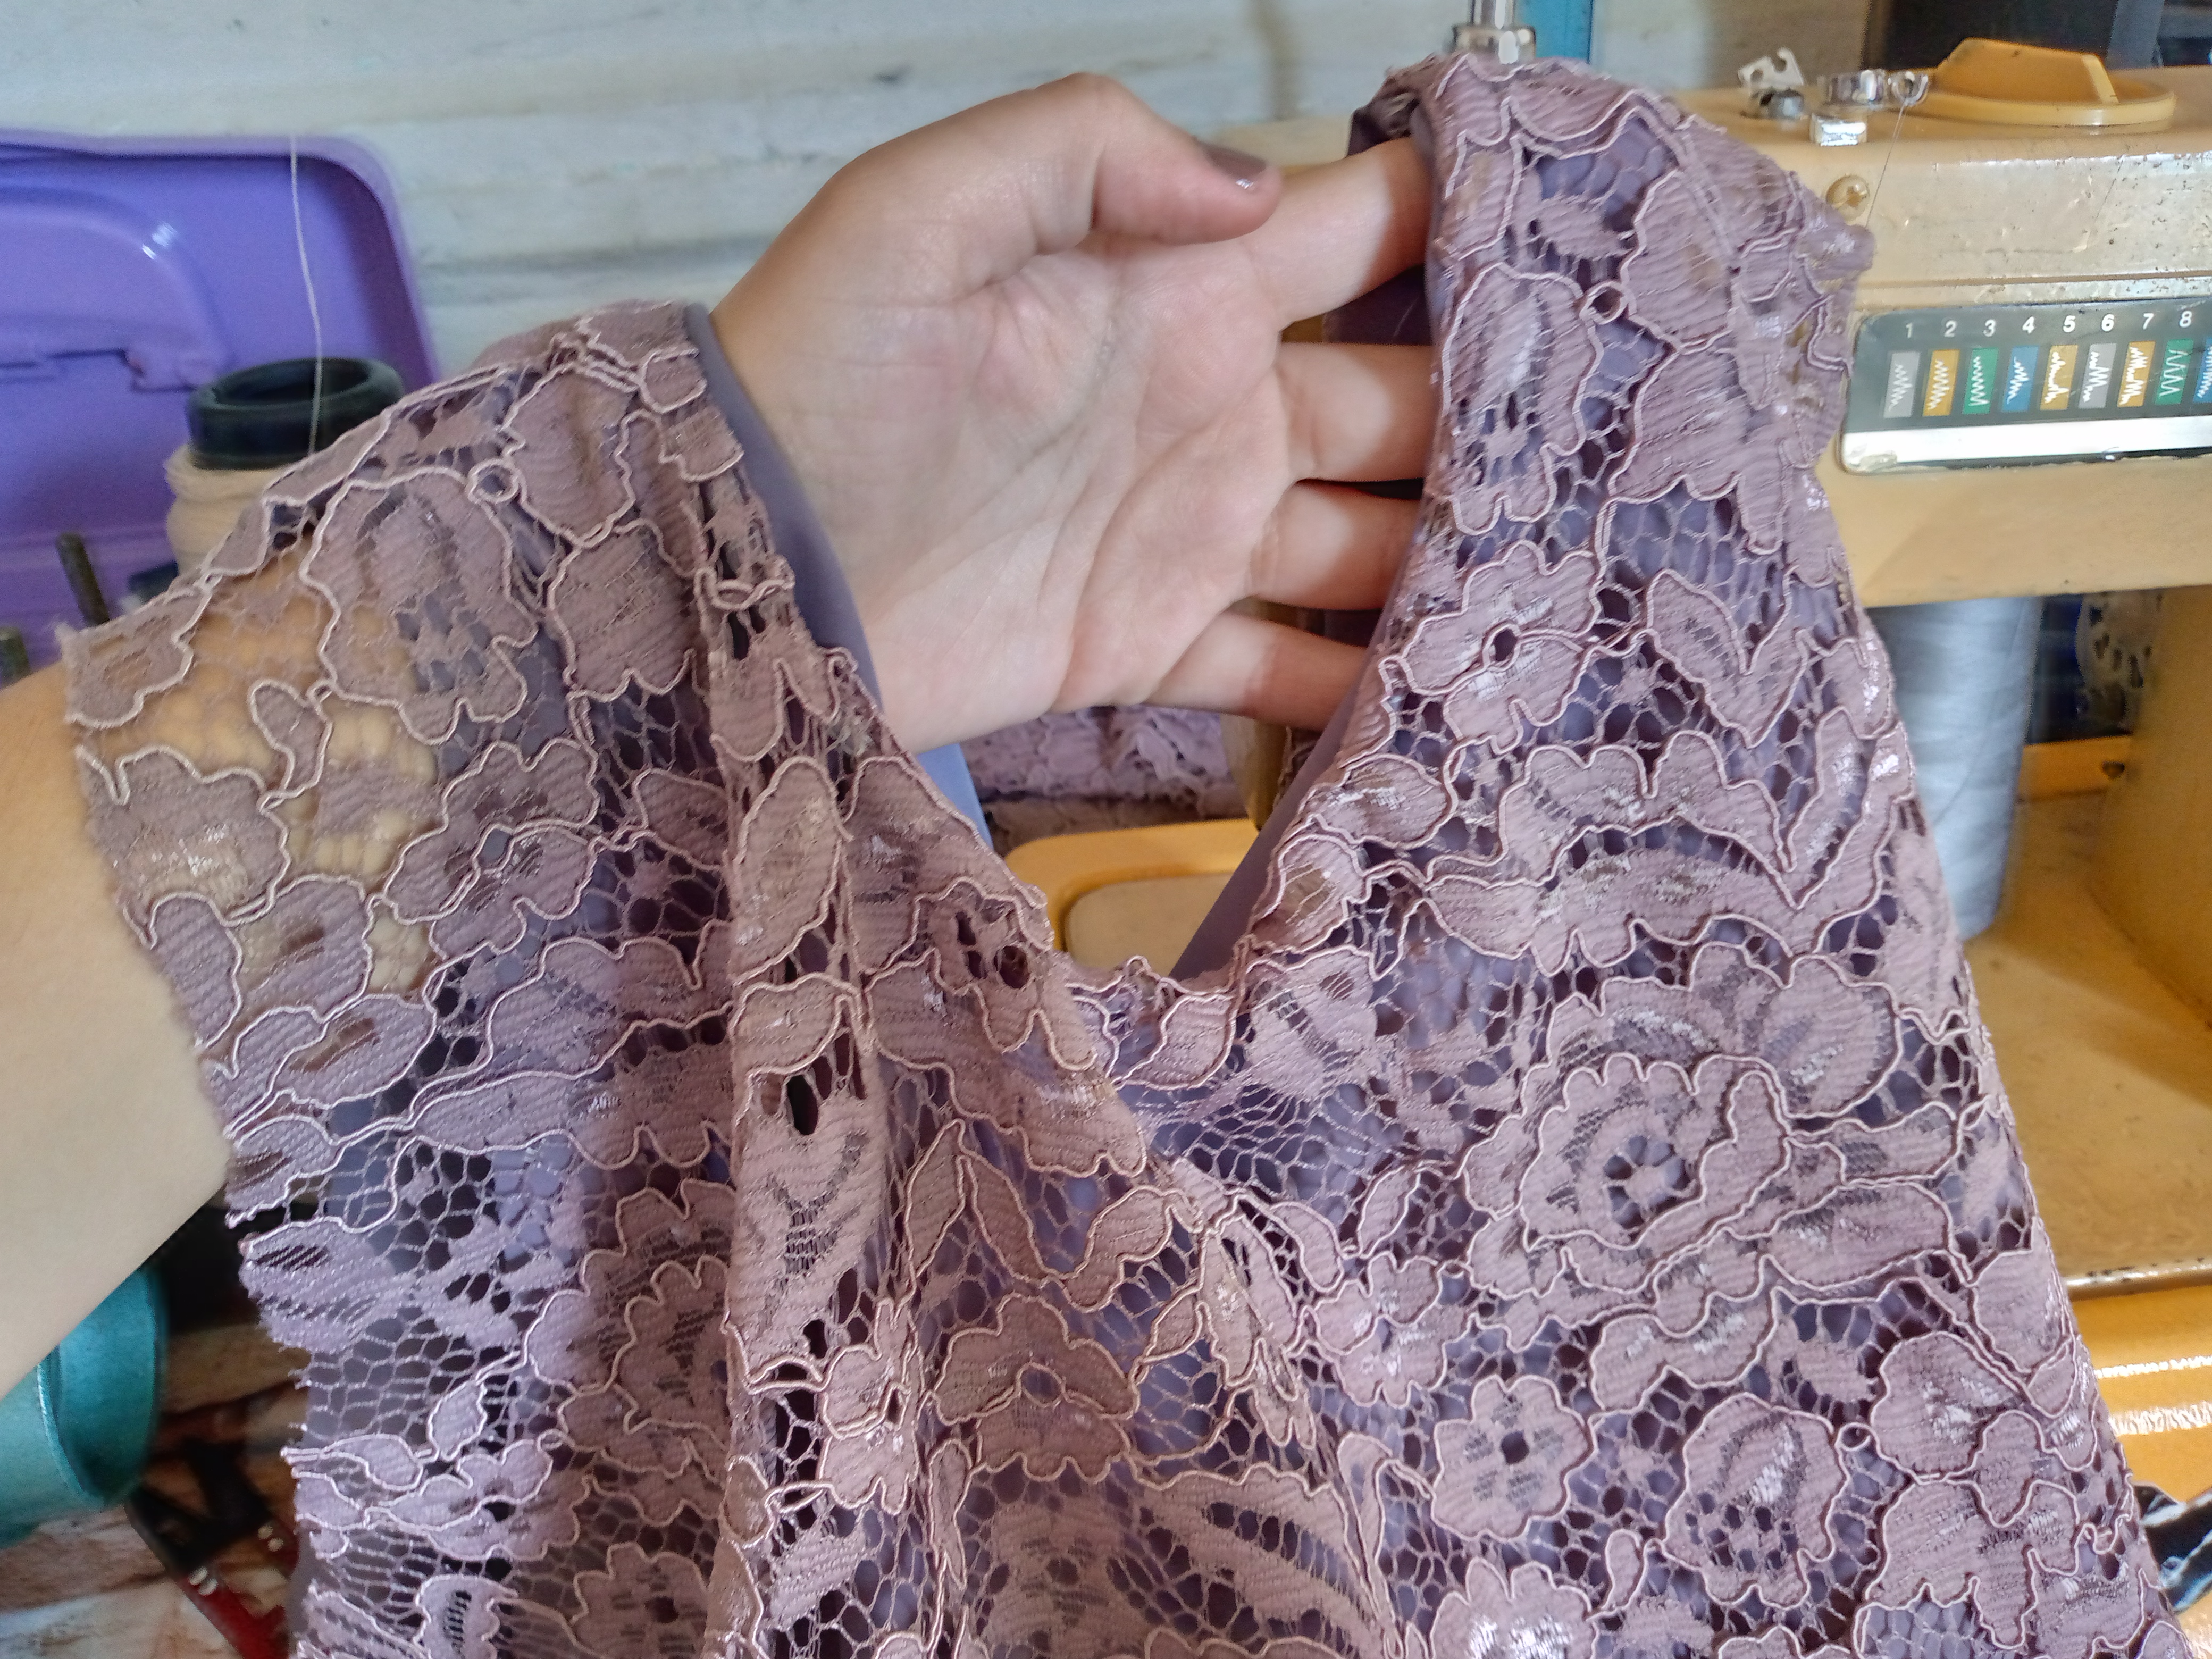
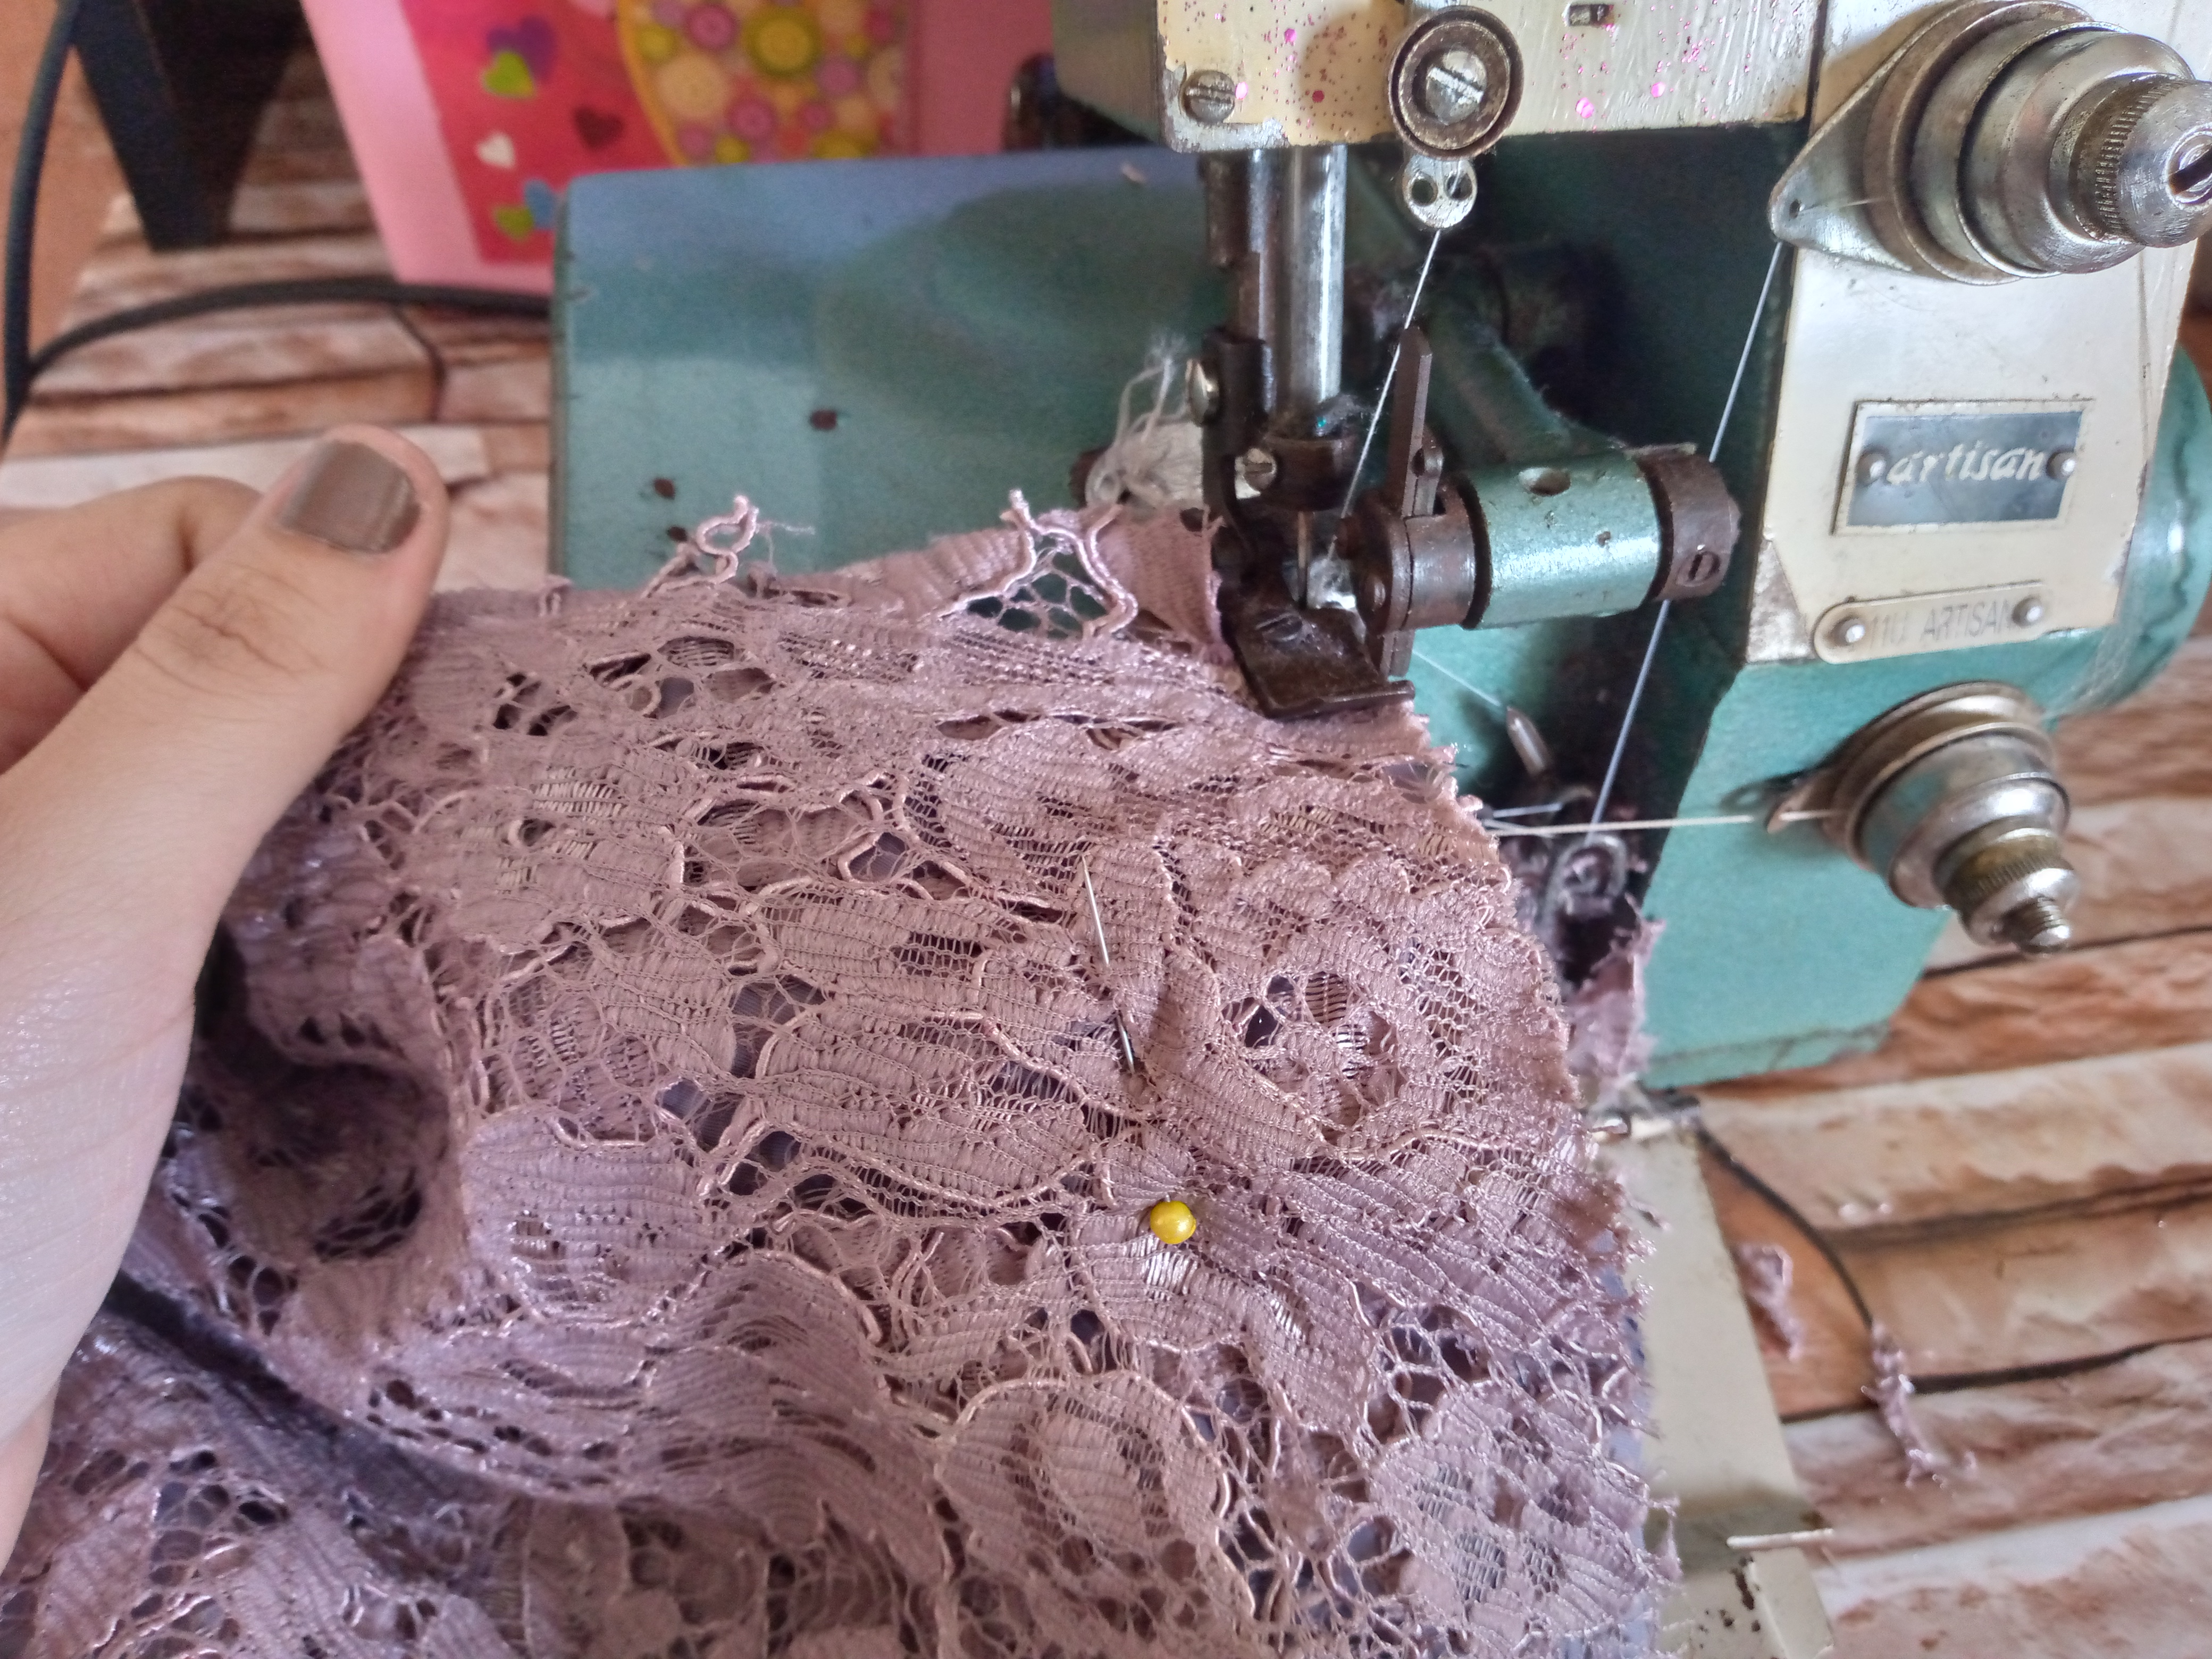
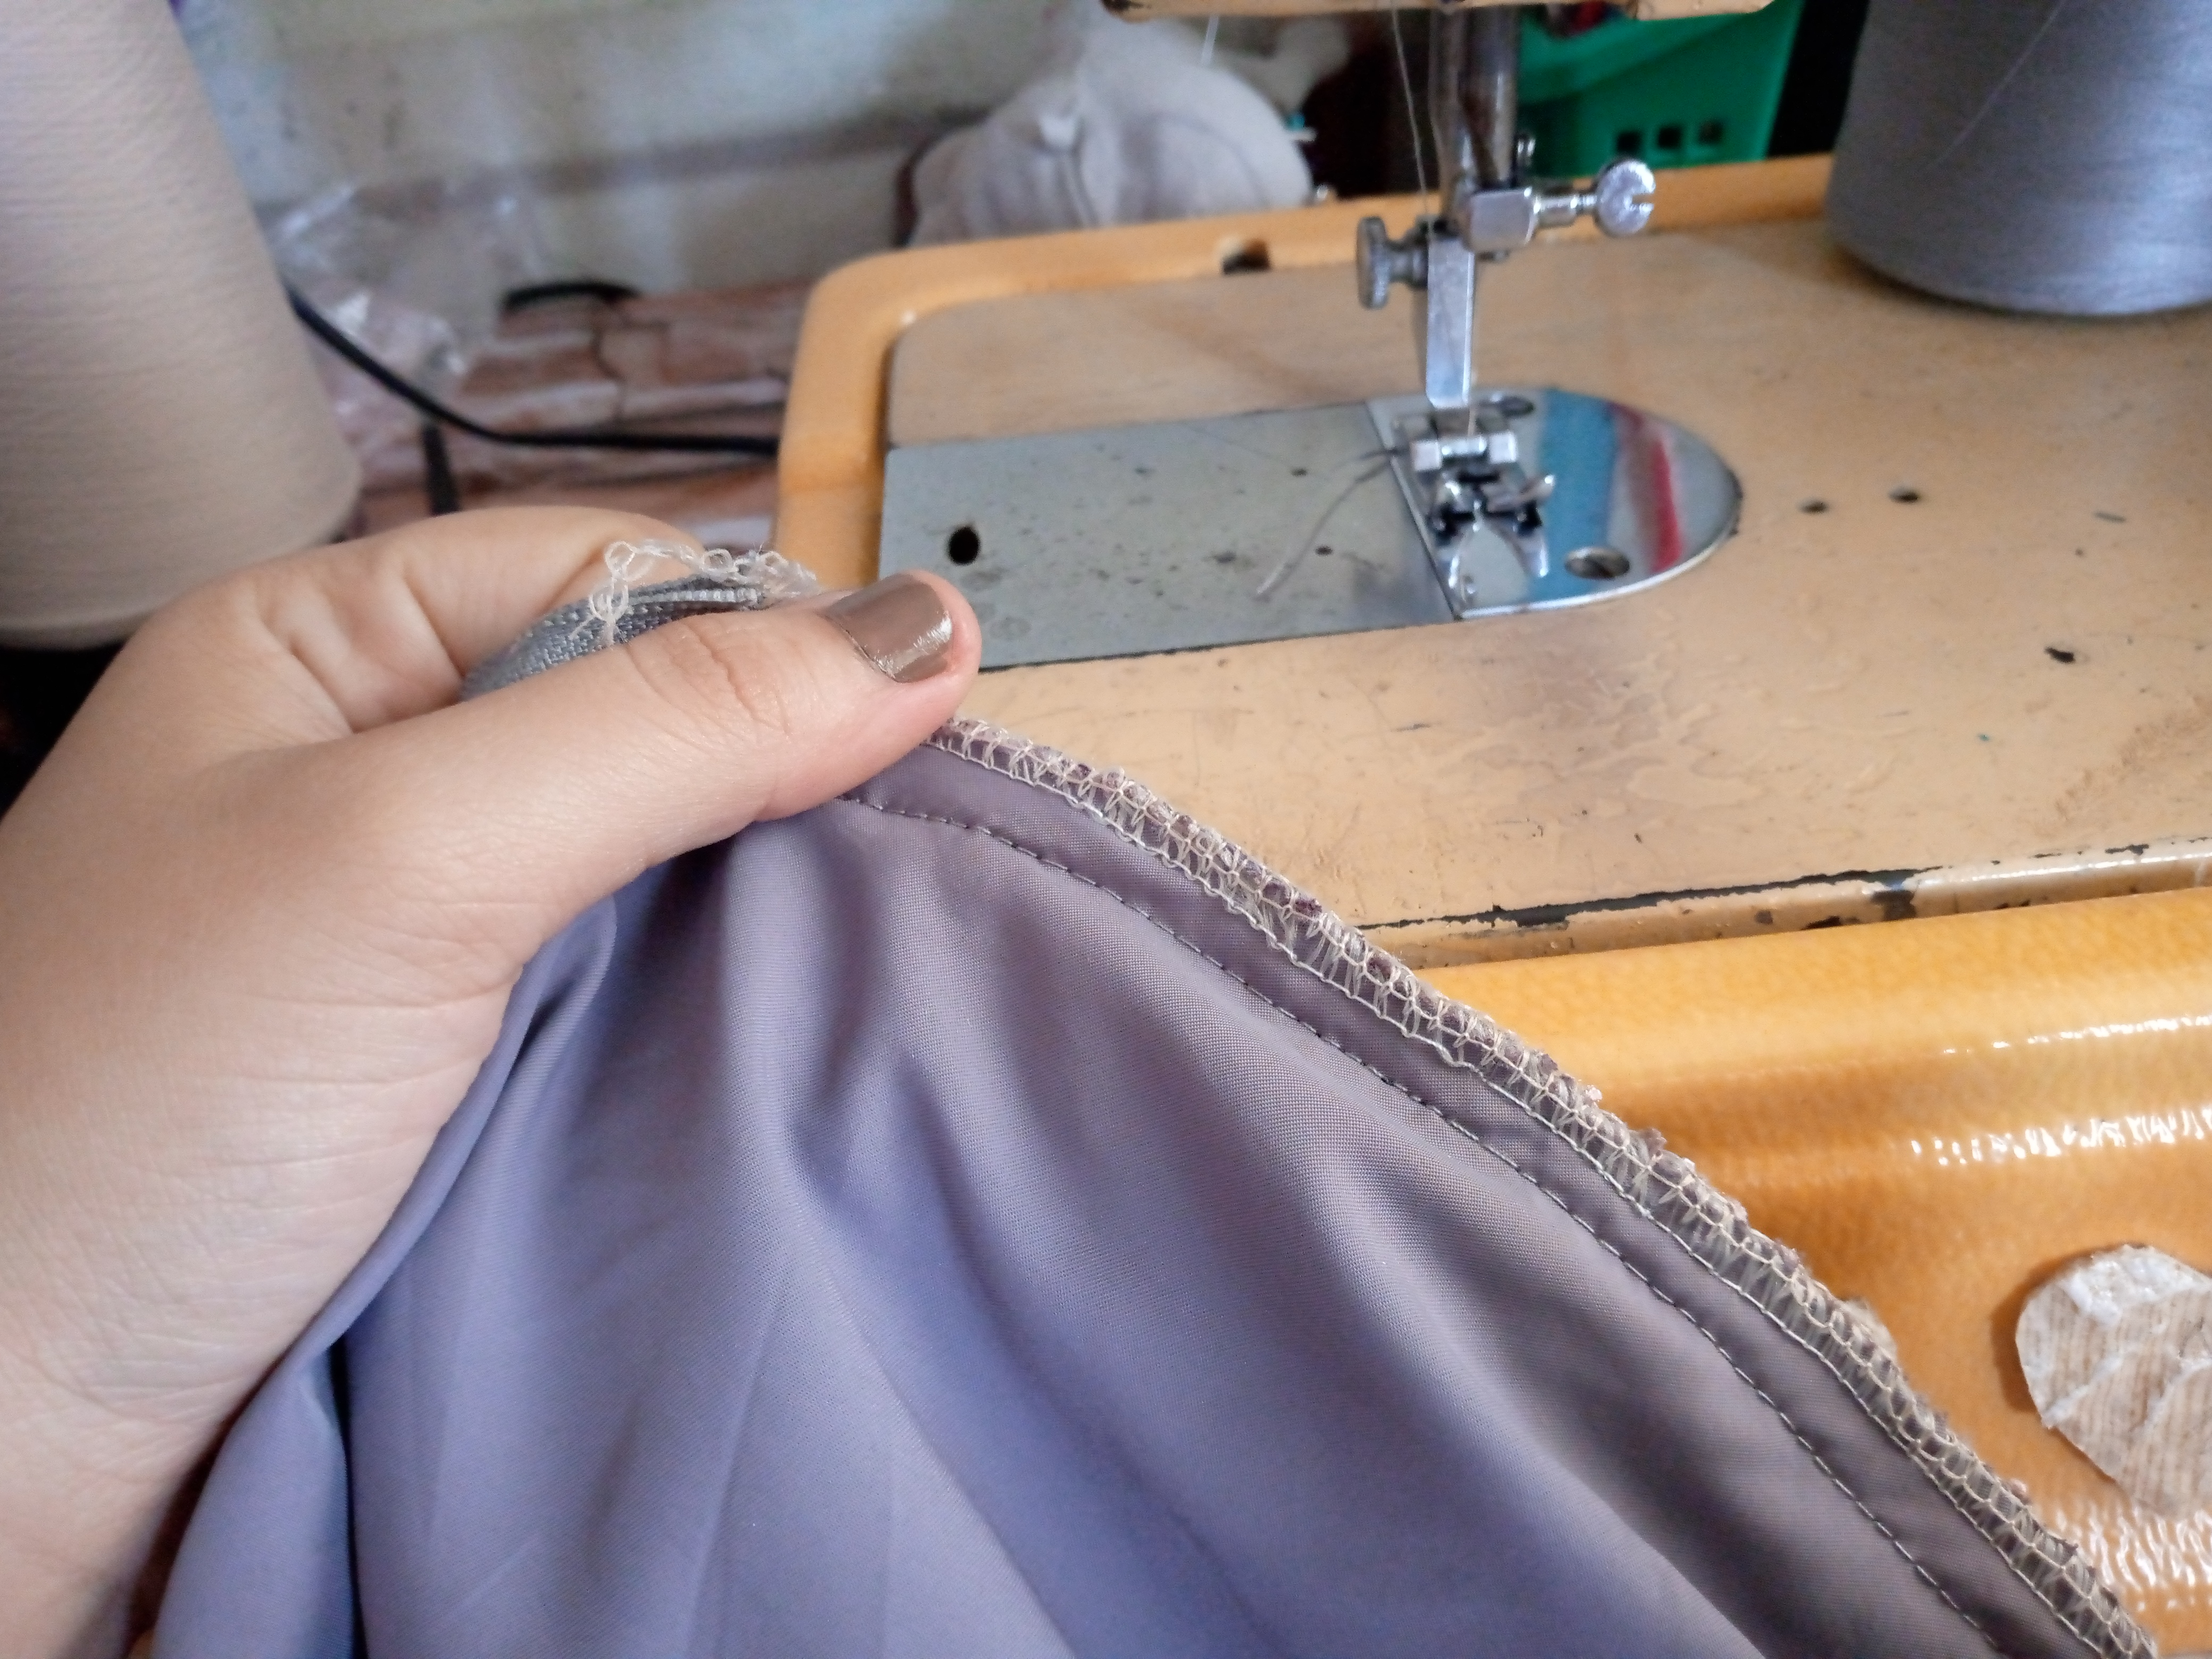
It is time after sewing the neck part without putting a bias for it, we will sew inside and turn both pieces, the lining as well as the front piece, then we sew our sleeves to the armhole and as we sew we will pass straight stitching along the edge of our overlock seam, we sew the other sleeve and then we join both pieces and sew along the edges to seal our blouse of the dress.


Paso 04
Step 04
Now it's time to sew the skirt piece together with the lining. We use pins to help us join the pieces so that they don't come loose. We sew and go straight through joining these pieces. On the back we baste the closure with needle and thread to make it much easier to sew on the machine. Then we sew with the machine and below we will be joining the dress together with the lining piece and we will sew our closure on top.

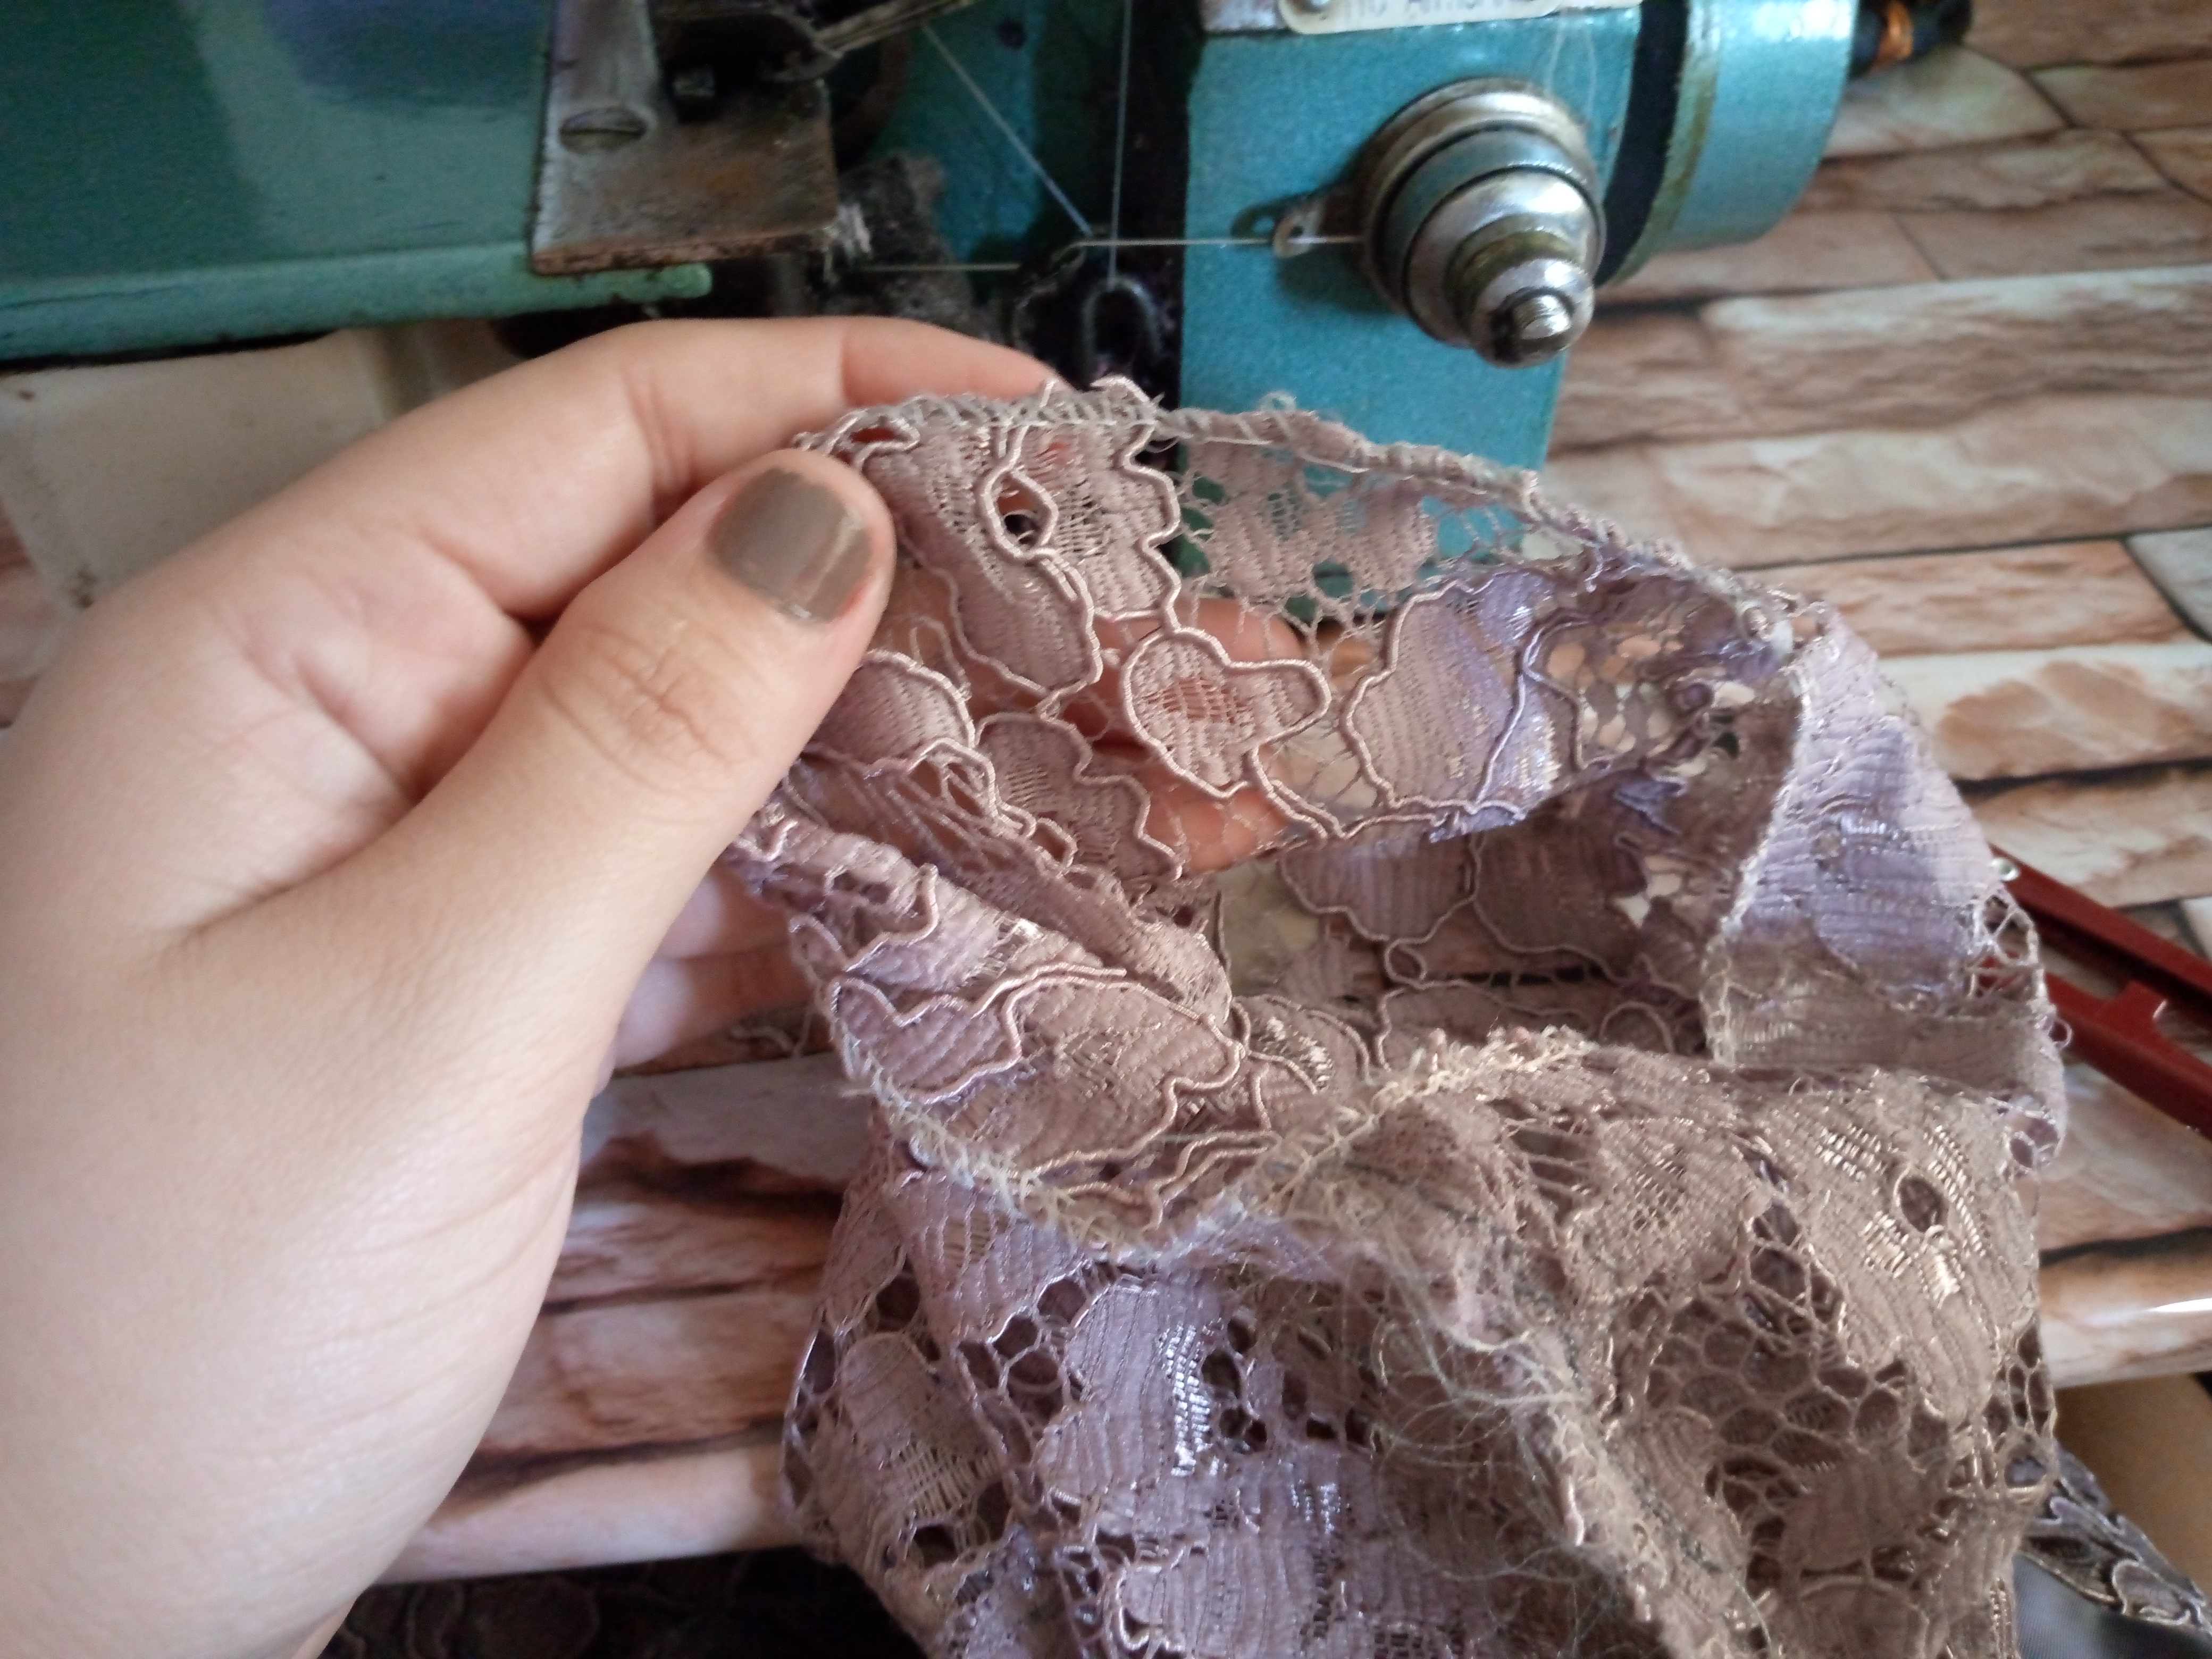
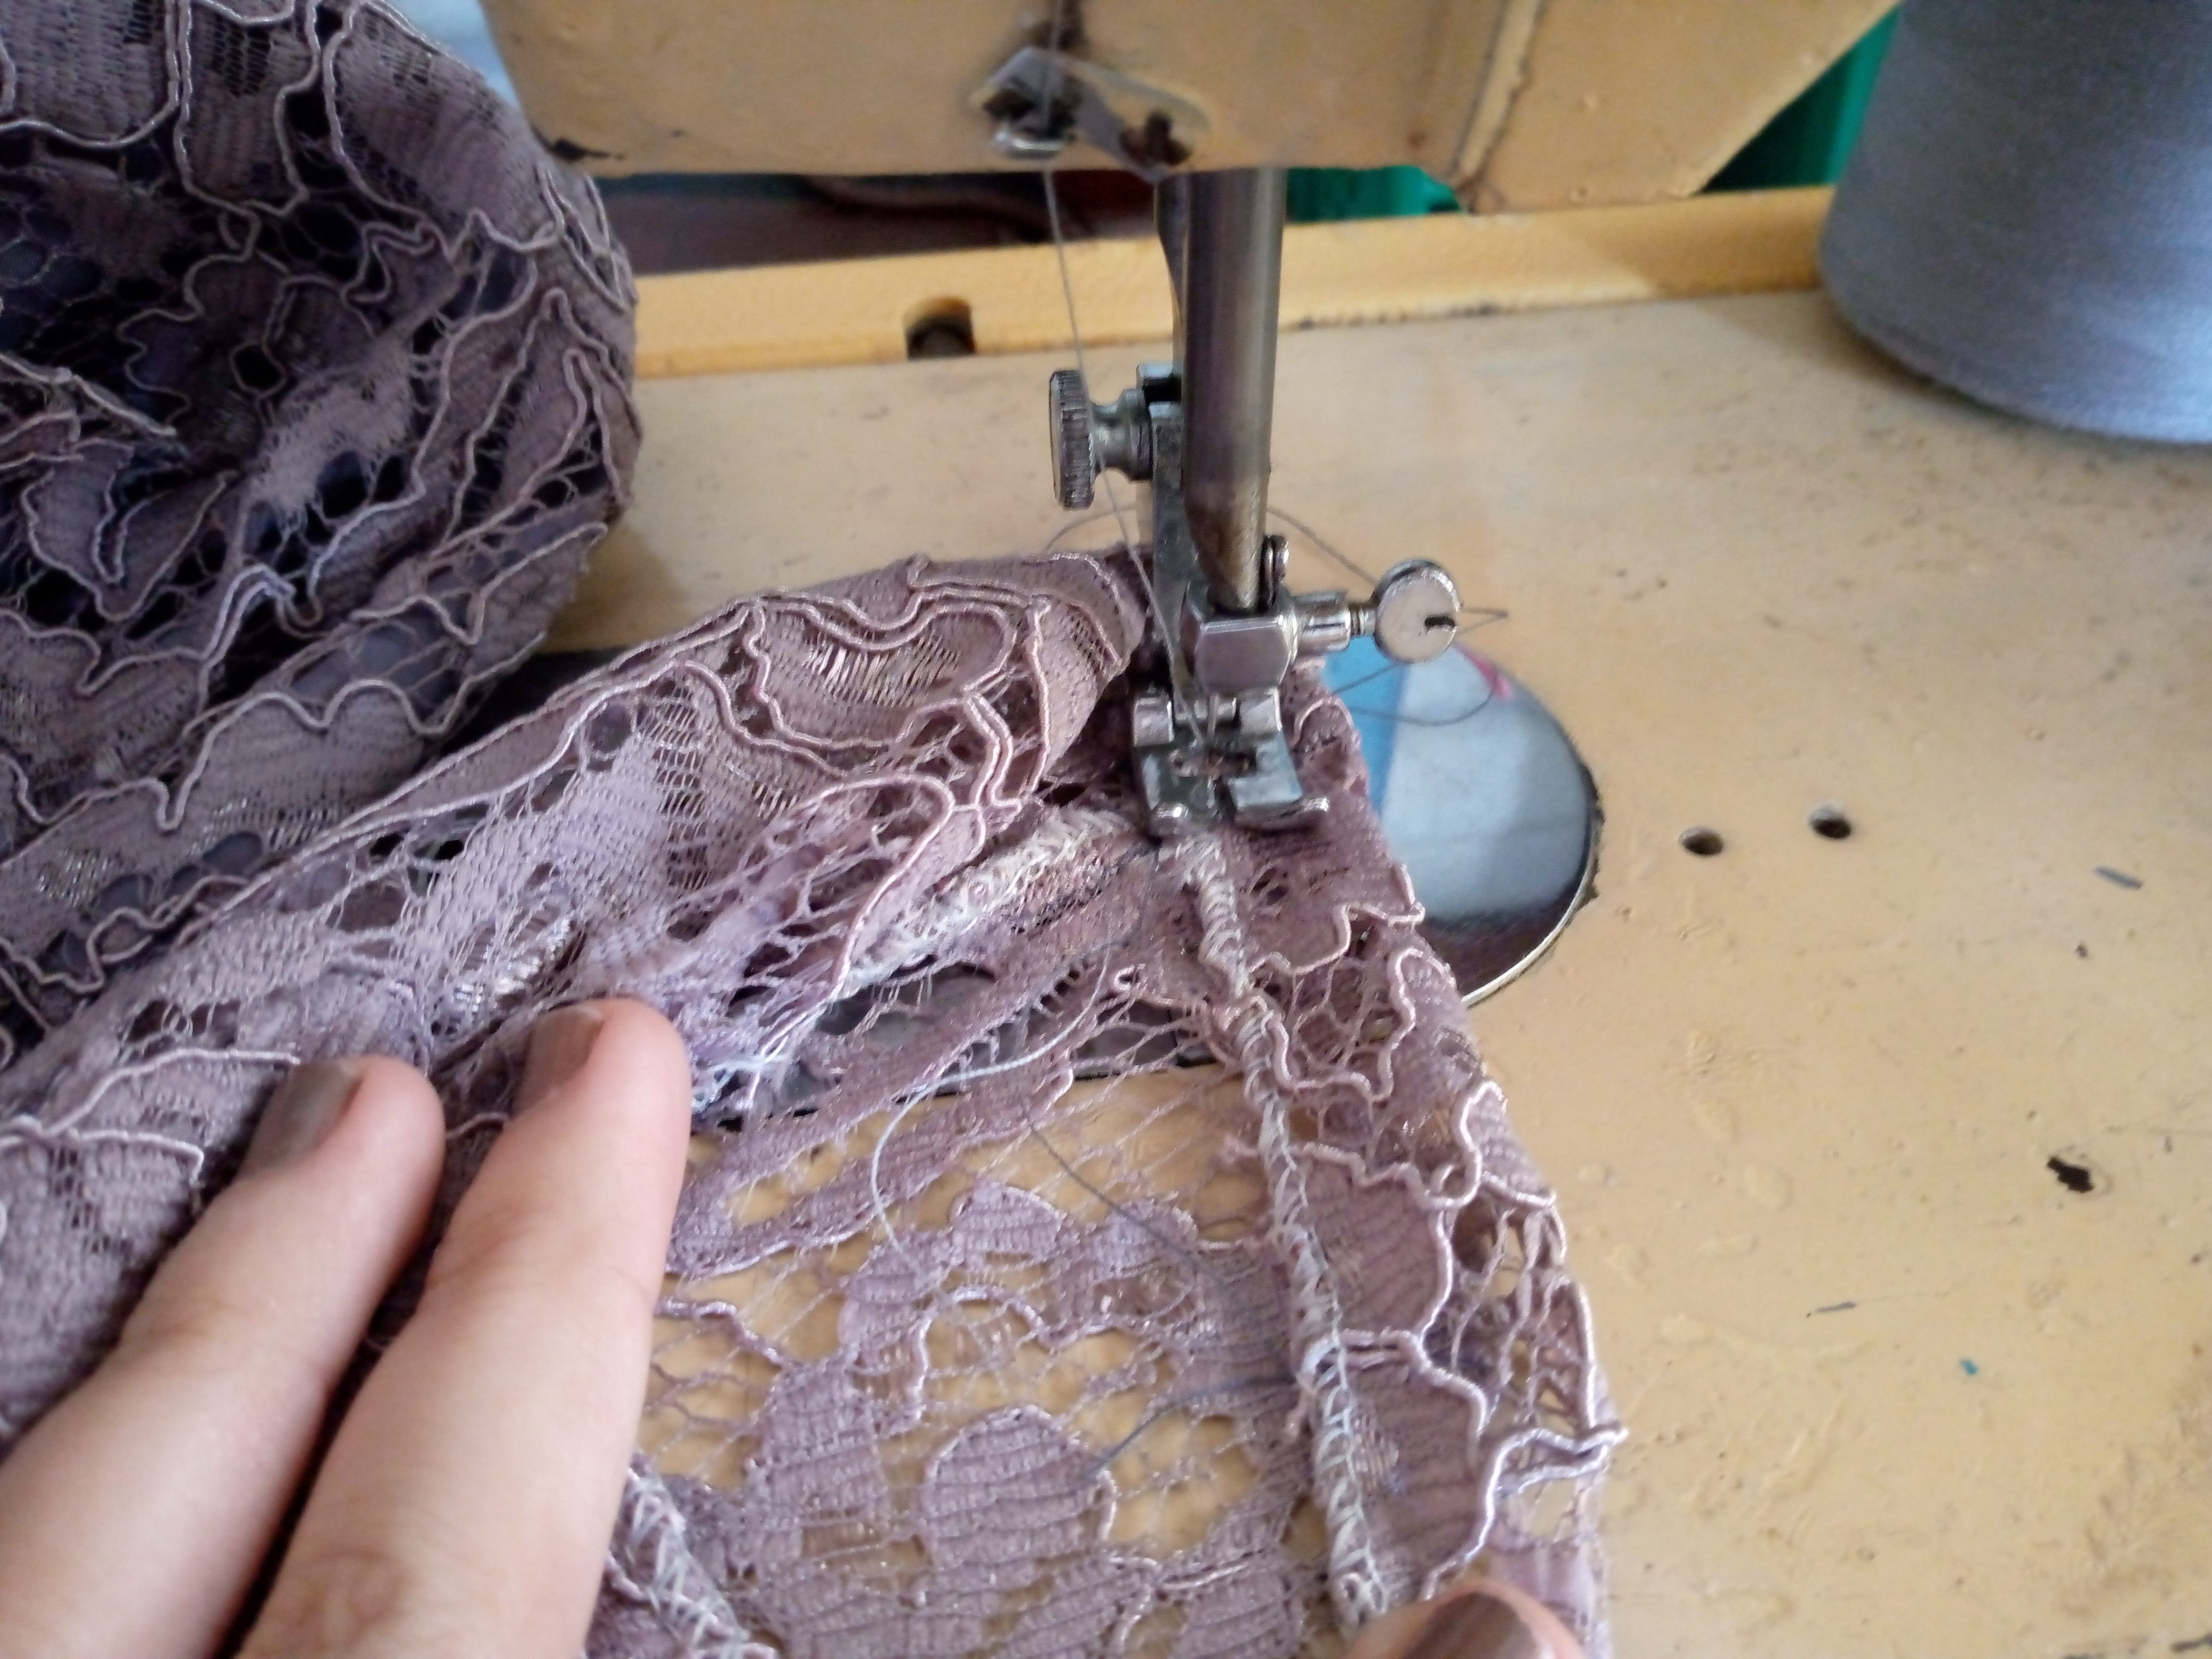
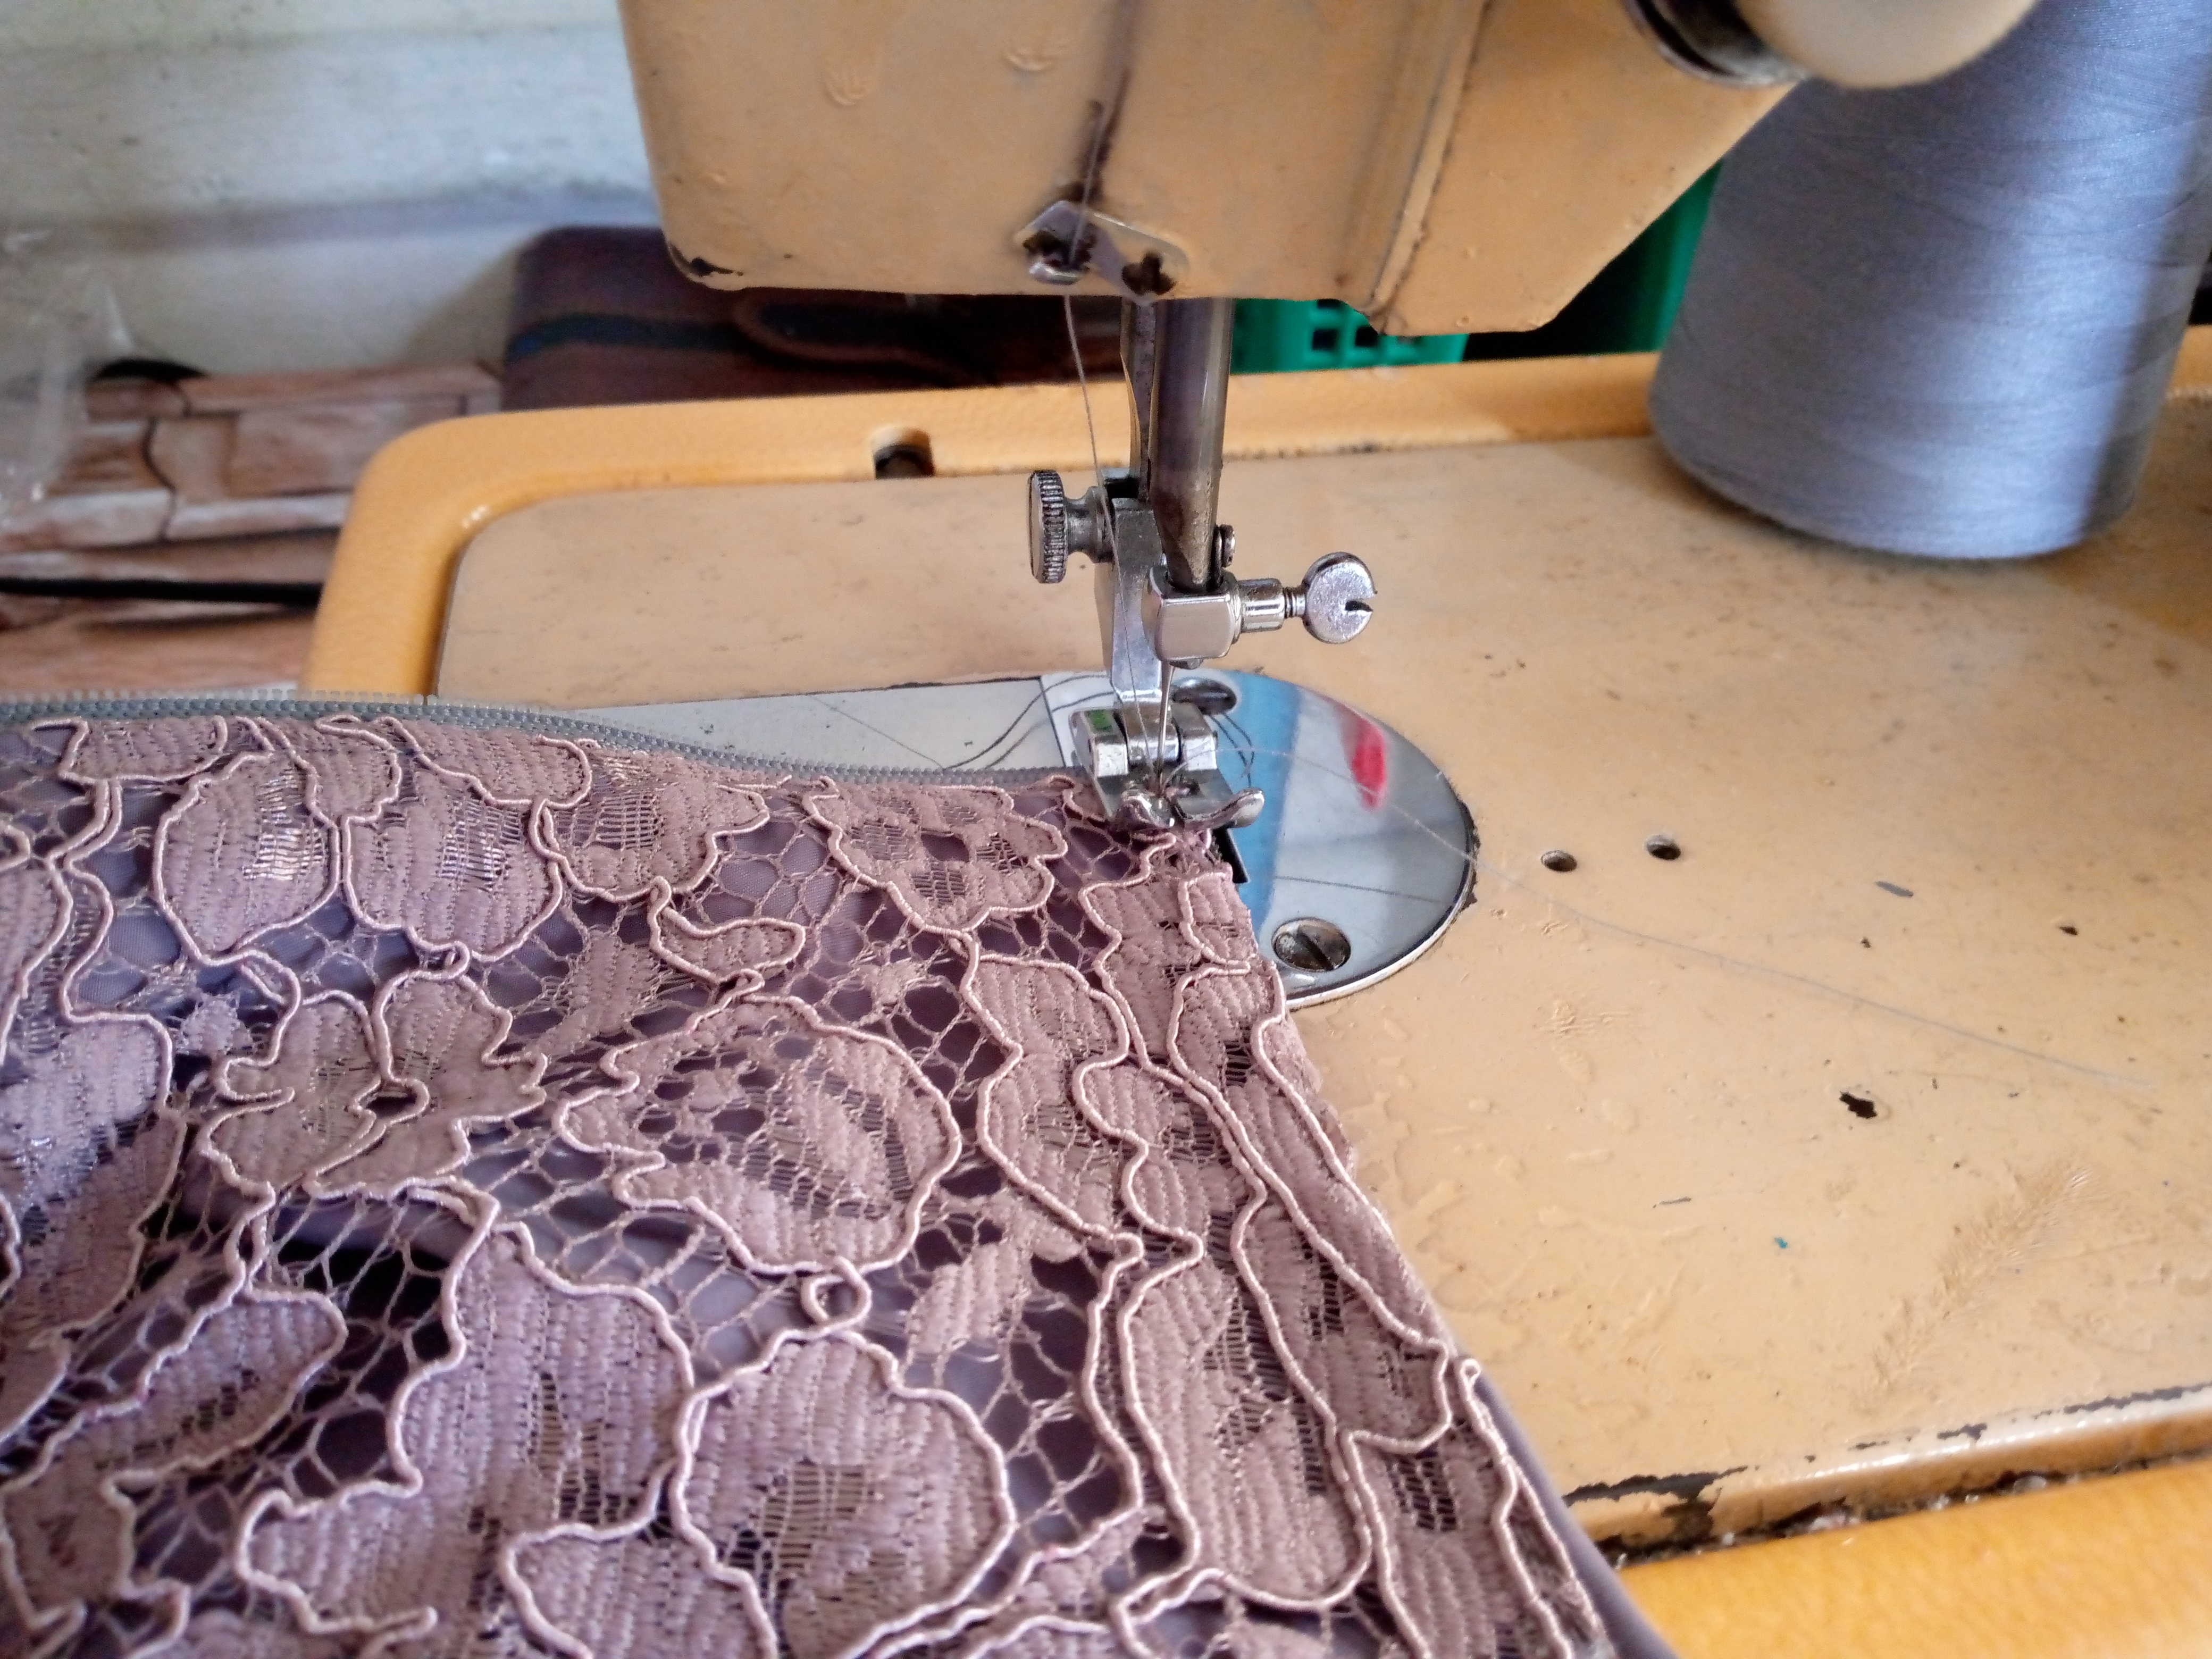
Paso 05
Step 05
As a last step, we proceed to sew a 2 cm hem down our dress, then we sew the outline of our sleeve with overlock and also afterwards we will make a hem, and we will go over the back part of the dress and voila, we are finished.
.jpg)
Resultado:// Result:
In this way I finish this happy confection, I hope you liked the creative process making this dress that I will then be able to wear at ease, friends, thank you once again for being here and I am glad to know that you have taken a few minutes of your time to read my blog. I hope this tutorial is very helpful so that you also have the initiative to make your own clothes in the comfort of your home and thus with practice you become an expert. Thank you again friends for the support you have given me and to this beautiful community for always welcoming me with open arms. I leave here photos of the final result of my dress, and I will see you soon. Greetings. God bless you, take care of yourselves, until another next tutorial. 🥰😍❤️✨
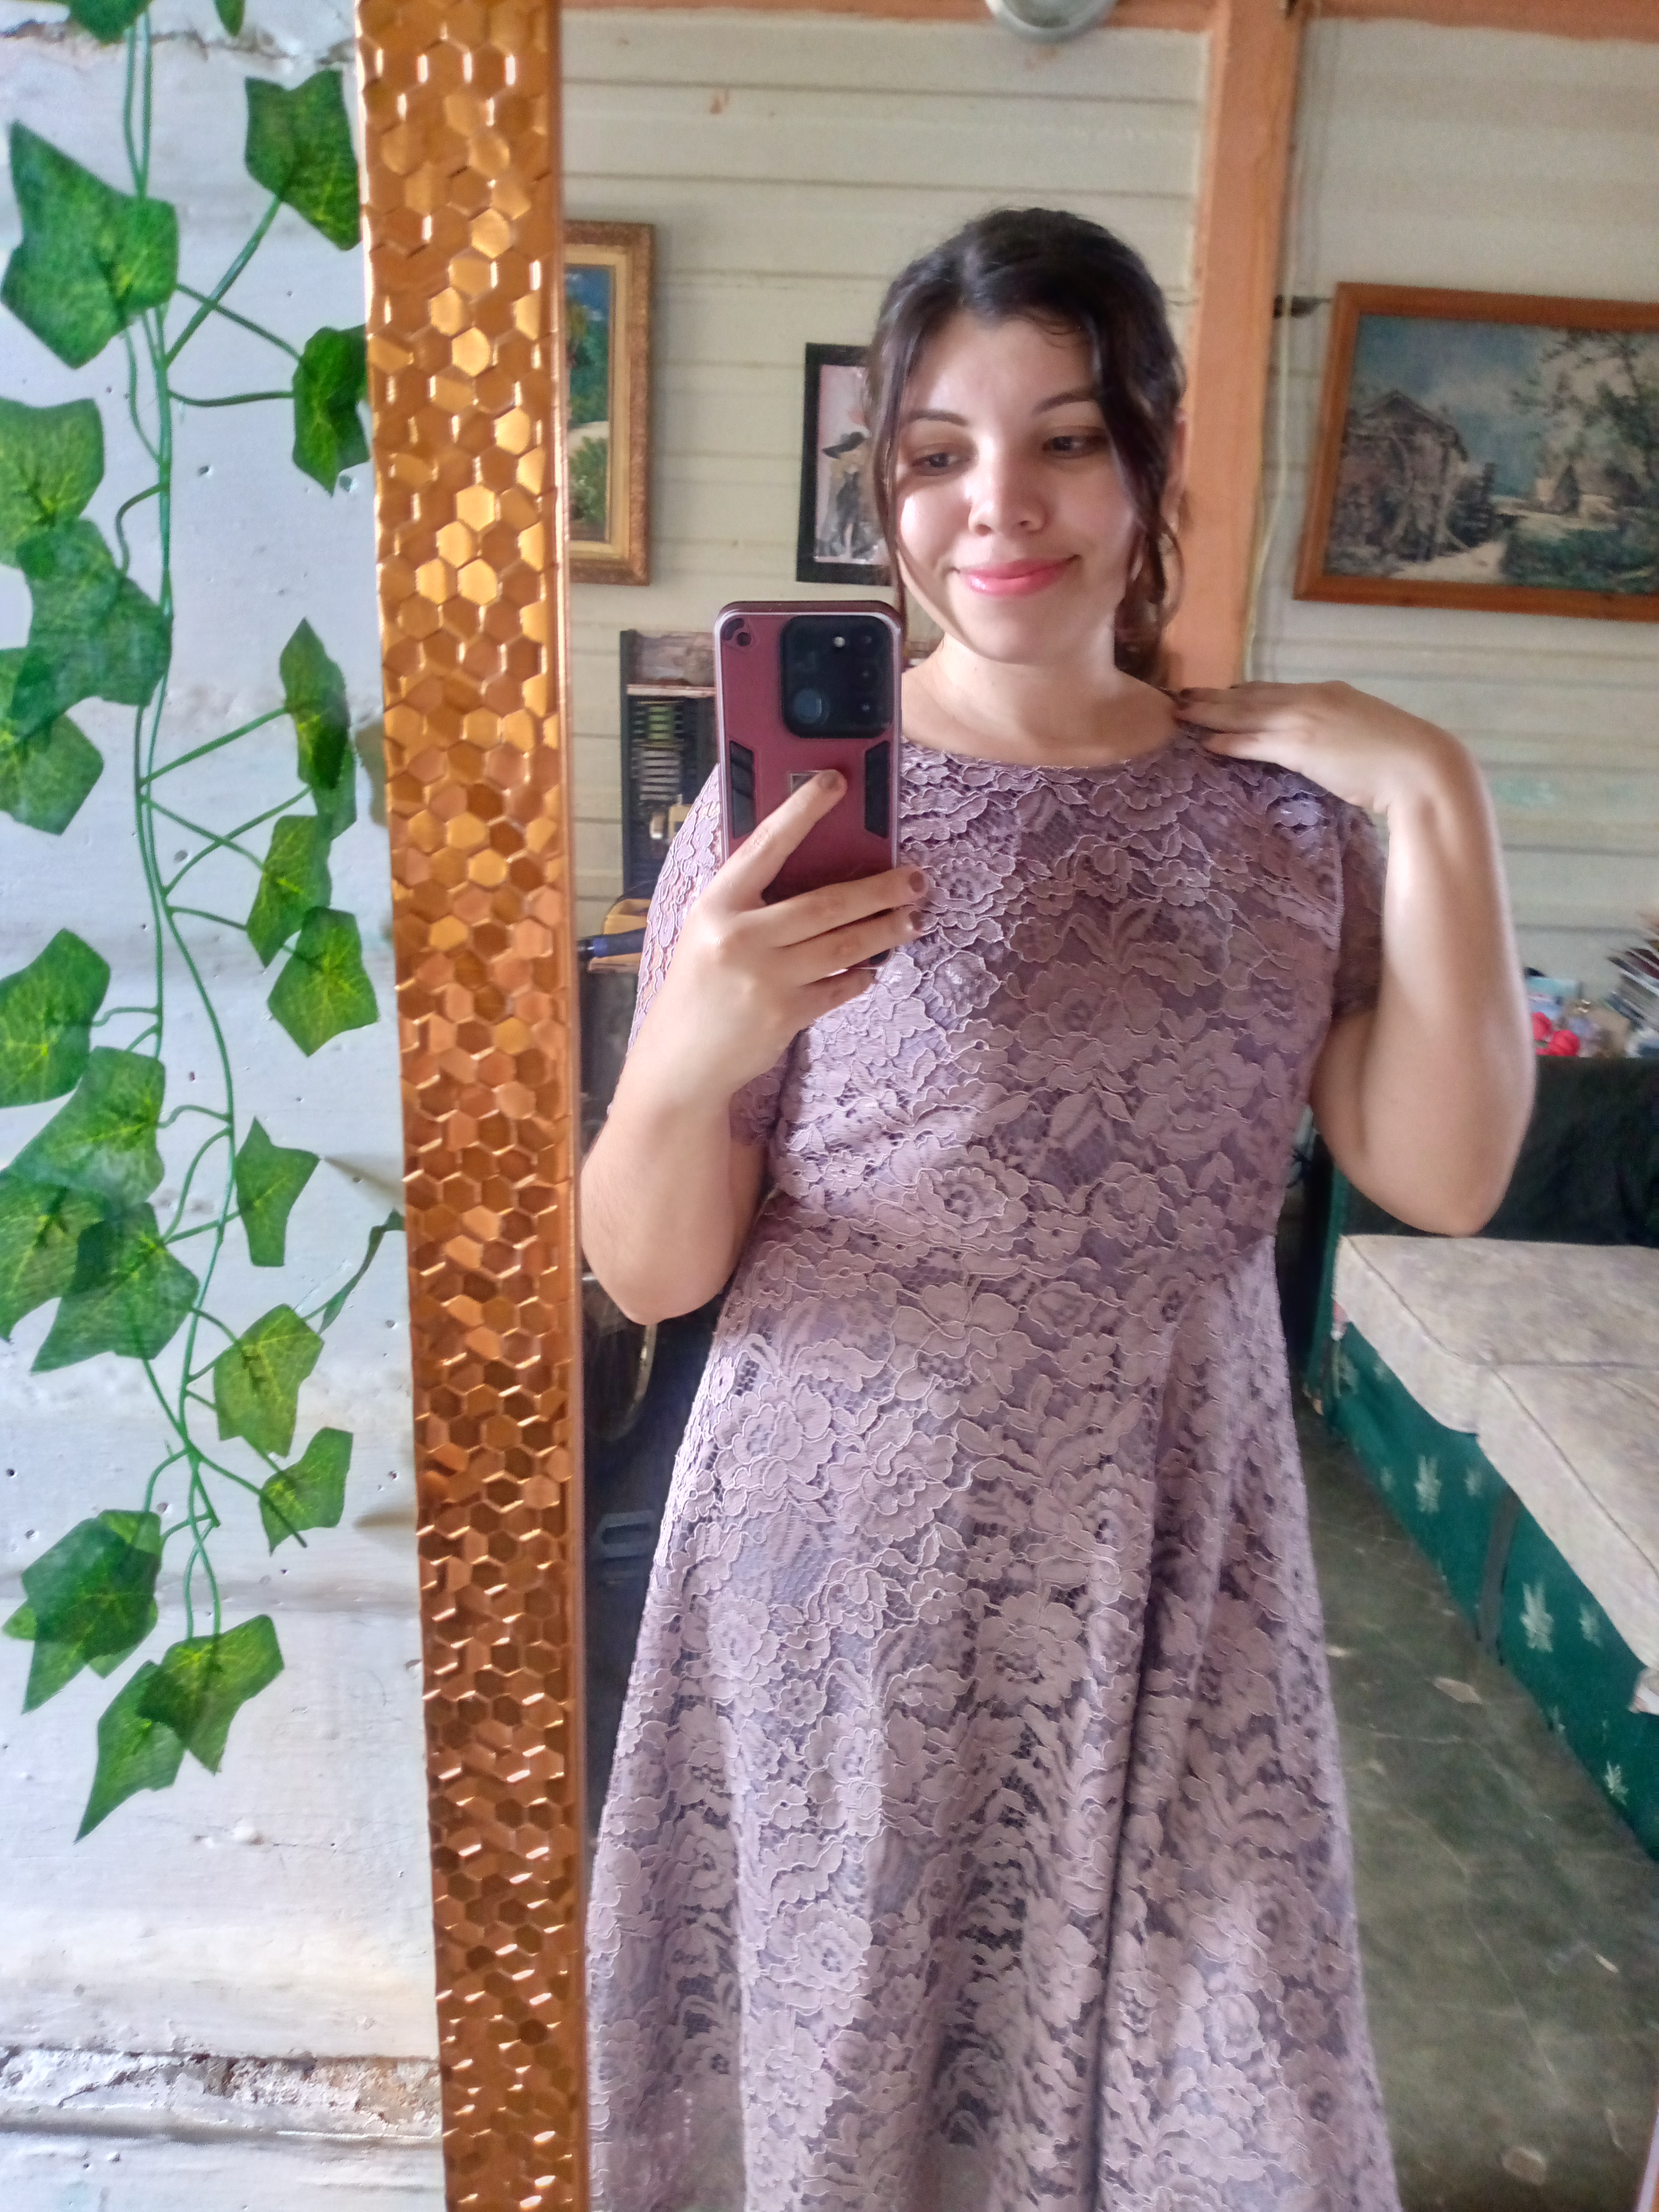
.jpg)
Creating things with love 🌷❤️
🦋✨ All the images in this publication are my author ,📱taken with my TecnoSpark8C cell phone |📸Photos edited in PicsArt and Canva. Text translated in Google Translate.

Your dress looks so beautiful and your choice of fabric and colour is superb. You did an amazing job and we applaud your creativity. Well done and cheers to more creative ideas.
Thanks for the support friend 🥰
It look beautiful 😻
Thanks 😘😘
Coser prendas en telas forradas para mí siempre ha sido un desafío, más tu lo haces ver tan fácil, te felicito por ello, el vestido, el diseño y el color estan espectacular. feliz fin de semana.
Feliz noche amiga así es poco a poco a mi también se me hacía difícil y ahora estoy puliendo el proceso de tantas cosidas y descosidas jajaja,de antemano gracias aprecio tu comentario y que alegría saber que te ha gustado 😍
Saludos feliz noche
Amigaaa muchas felicidades, este vestido es tan bello, hiciste un trabajo de diseño y confección de costura muy inspirador, el color de la tela me gusta mucho, qué buena elección, es reservado, te luce muy bonito, te felicito muchas Bendiciones y abrazos.
Hola hermosa gracias que hermosas palabras me animan mucho ,me alegra te haya gustado este trabajo que aunque demoré un poco valió la pena el esfuerzo 🥰saludos igualmente abrazos a la distancia para ti
Congratulations @anne002! You have completed the following achievement on the Hive blockchain And have been rewarded with New badge(s)
Your next target is to reach 2000 upvotes.
You can view your badges on your board and compare yourself to others in the Ranking
If you no longer want to receive notifications, reply to this comment with the word
STOP