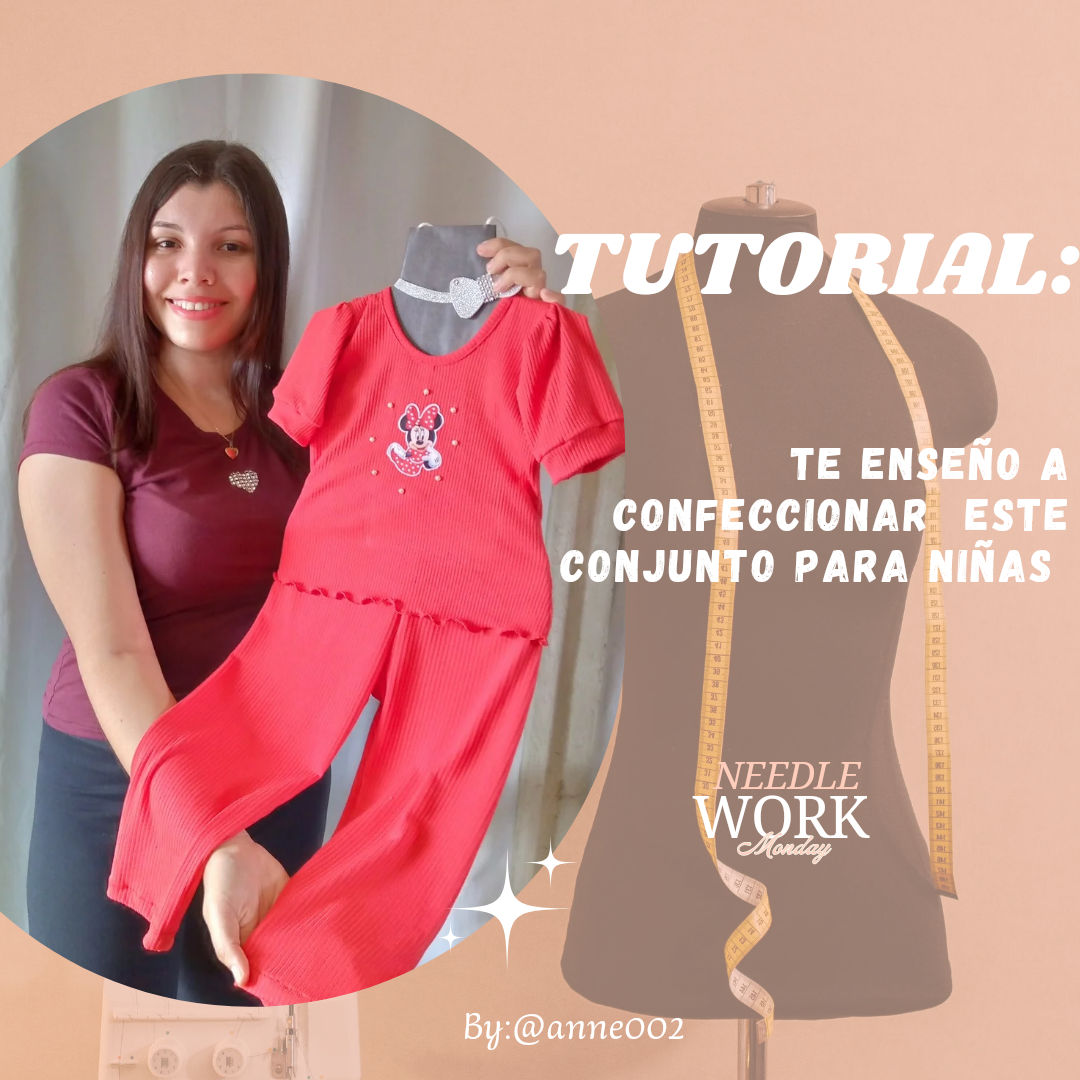
Hello, beautiful day! It's a pleasure to greet you👋🏻☺️. I hope you are all doing very well, dear and appreciated friends. I warmly welcome you to a new blog where I will be sharing with you the creative process of what we will do here step by step. Feel comfortable and thank you for being here reading this blog.✨💗
.jpg)
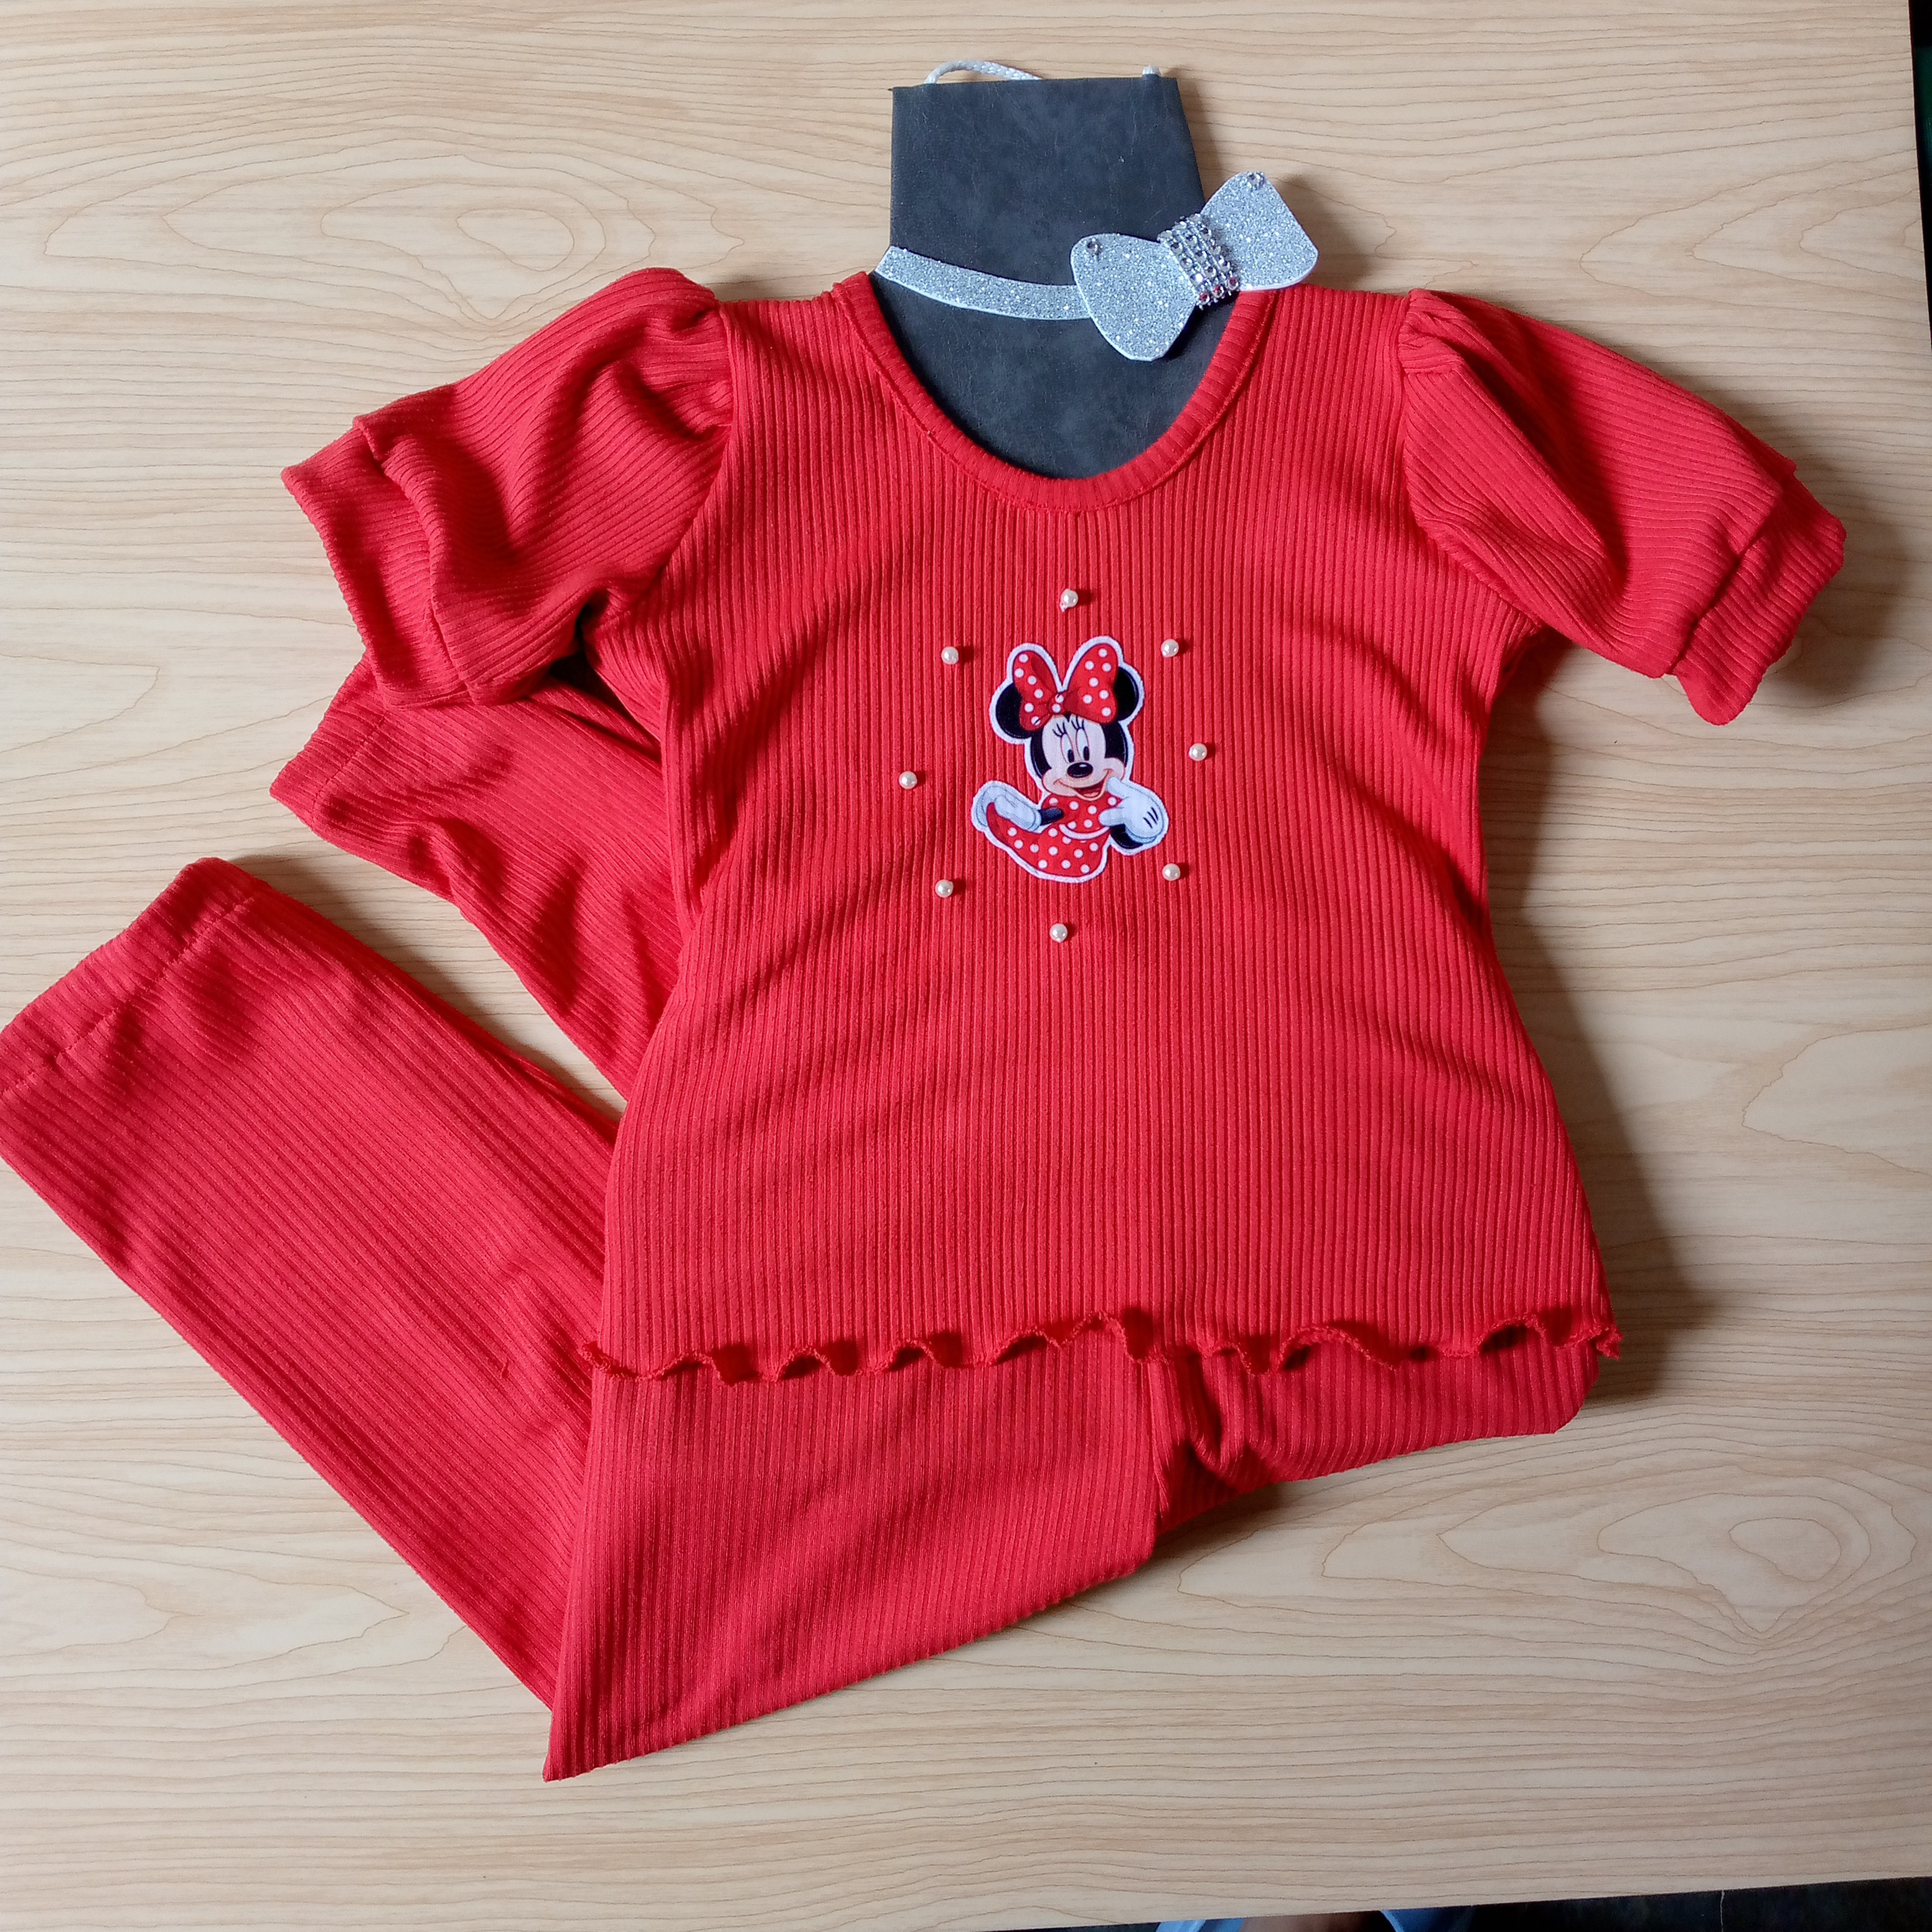
Hello friends, it is my pleasure to greet you, I hope you are enjoying the day as much as I am because I will be resuming sewing projects for the moment, so let's start this creative space, today I will be making this beautiful outfit for the girls in the house, it is super simple and easy to make, this type of fabric that I have used is called ribbed and I really like it for girls' and older adults' clothing because they are super fresh and they are the ones who are most vulnerable in the summer season, the outfit consists of two pieces, a blouse that is almost a top and a very pretty jumpsuit with its respective elastic on top.
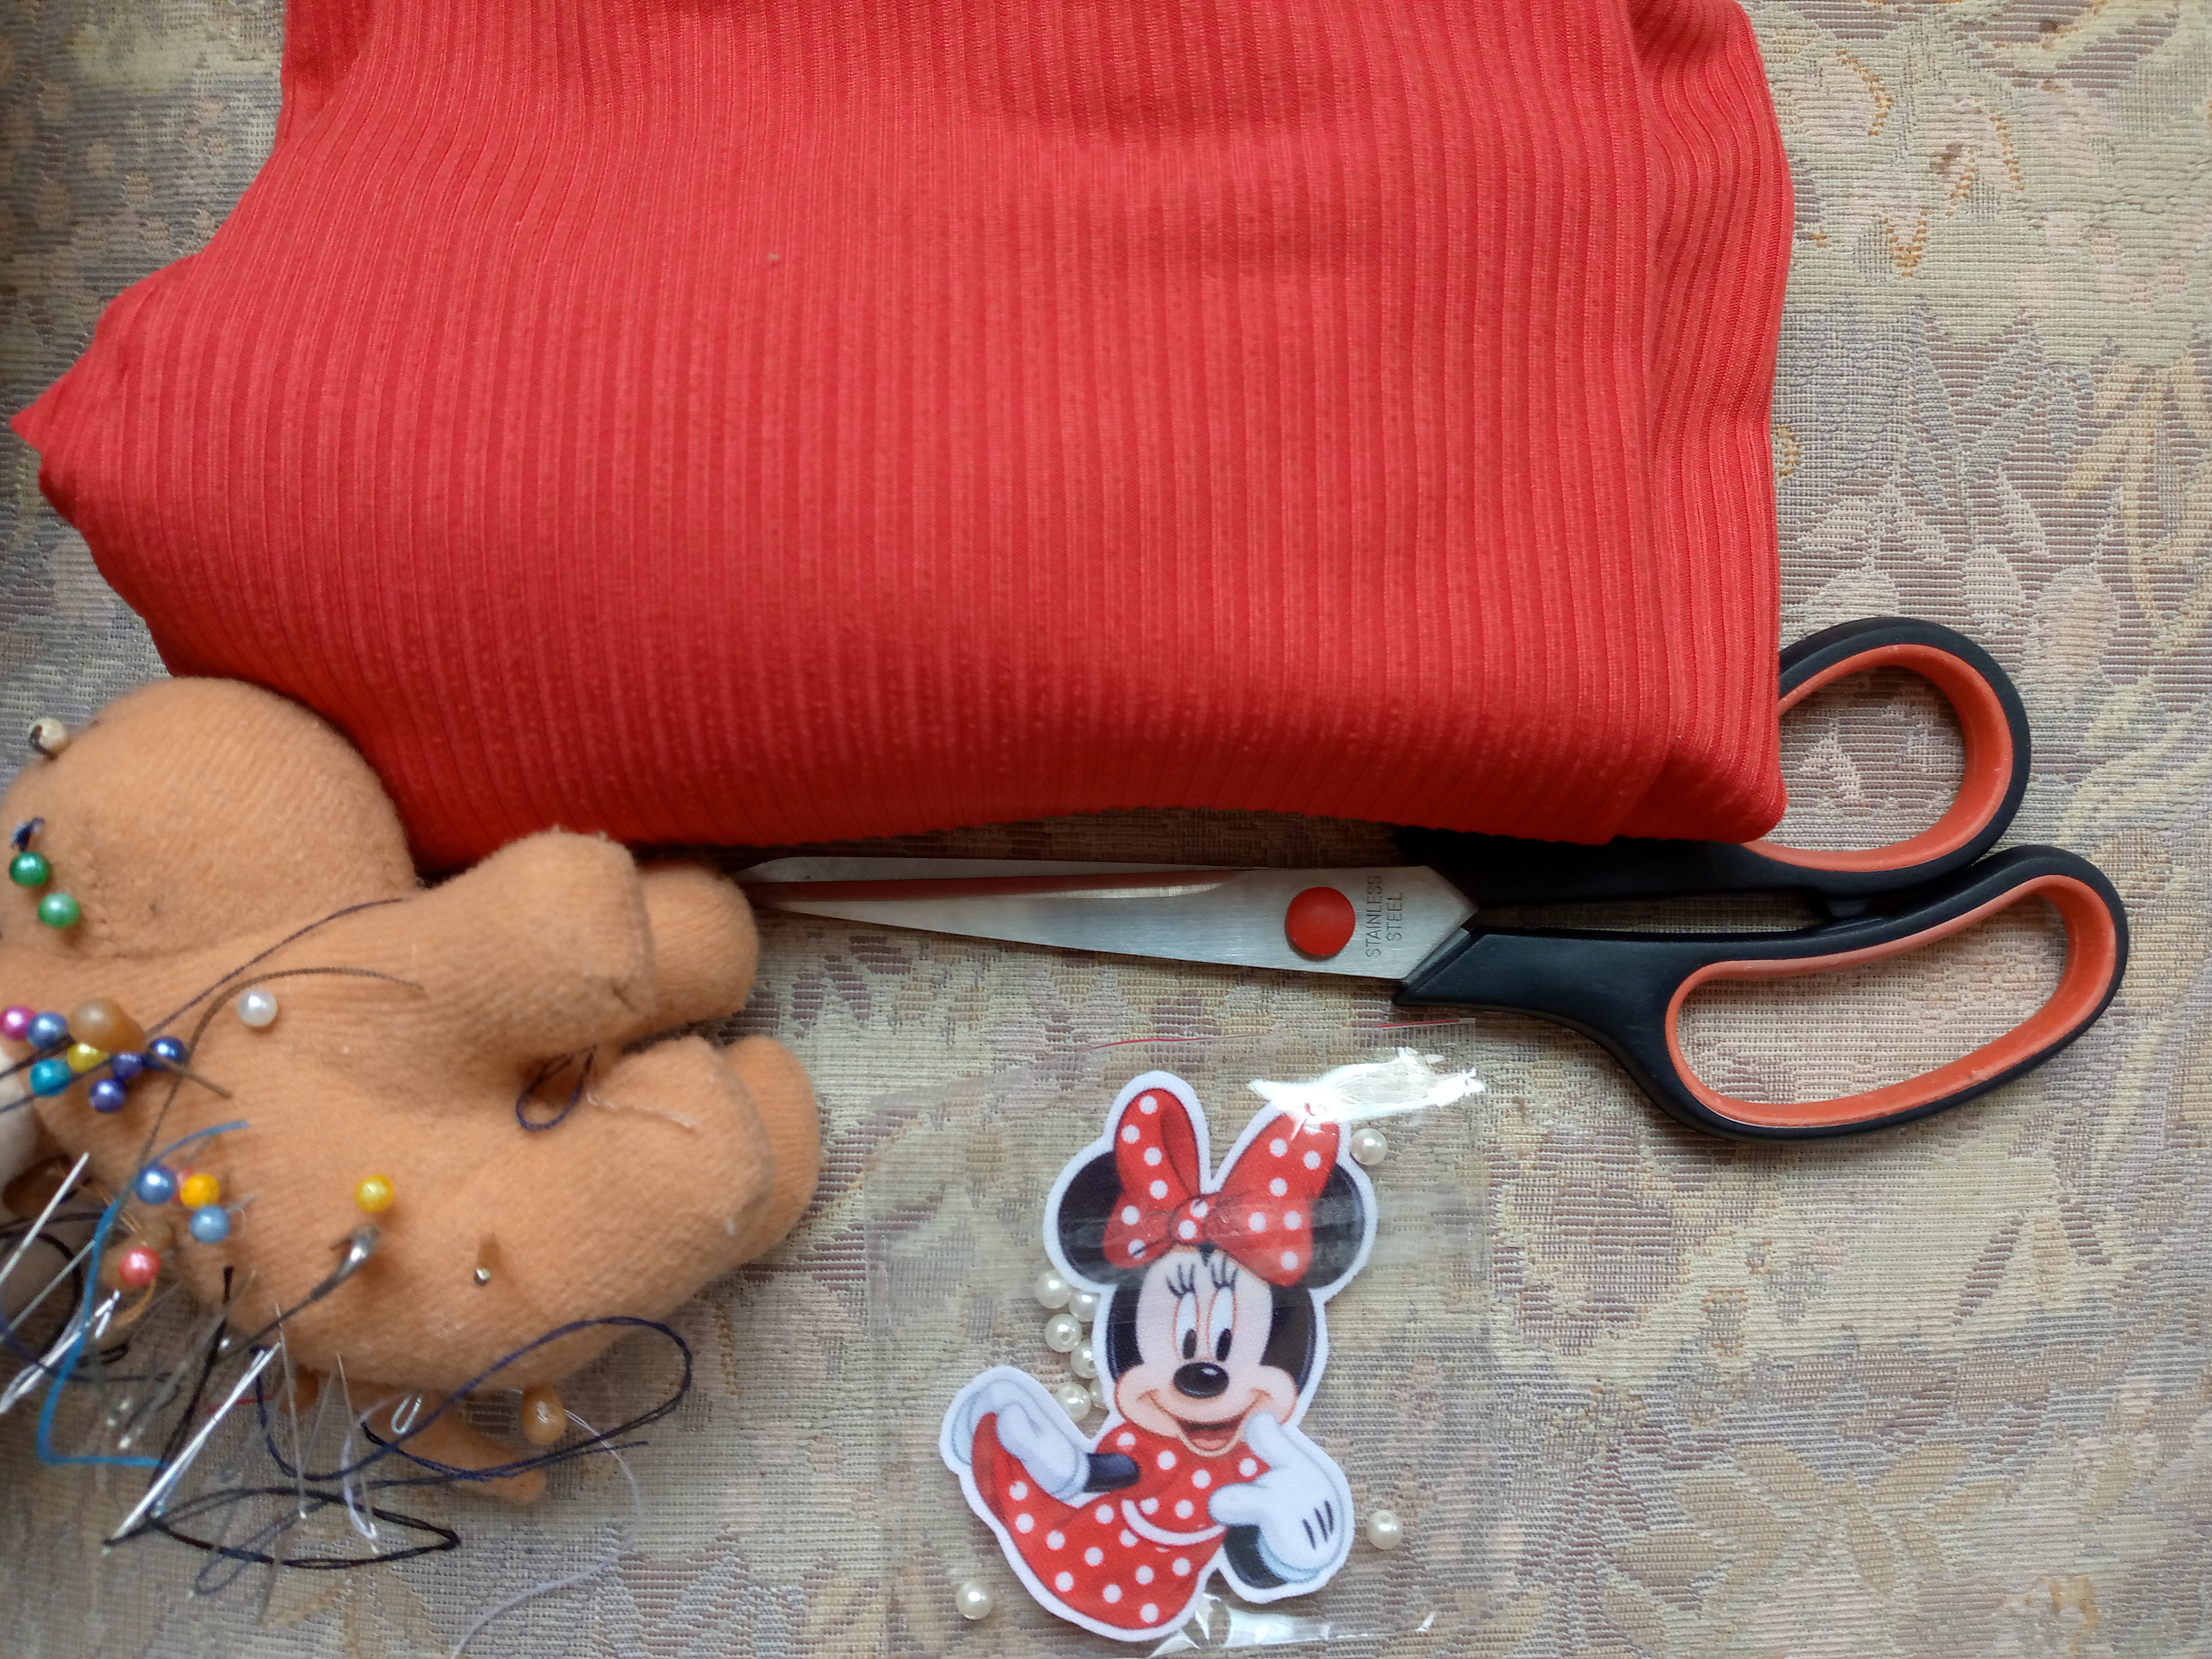
For the blouse I decided to buy this cute design or print that we can stick with the iron at medium level and it holds the glue very well. These designs are sold separately and in different cartoon models that you could buy to show off your children's outfits, very everything to see and very pretty. For this outfit I chose the design of Minnie the mouse with a red pearl dress because I feel that the design will suit it very well due to the color of the fabric. I hope you like it a lot and admire how the results are, super easy and simple to make, so let's get on with the making.
.jpg)
Materiales:// Materials:
- 1 metro de tela acanalada
- Tijera
- Elástico de 3 cm o menos
- Alfileres
- Hilo
- Máquina de coser
- Estampa del diseño de tu preferencia que se pega con plancha
- Perlas decorativas
- Plancha de ropa
- Aguja de coser
- 1 meter of ribbed fabric
- Scissors
- Elastic of 3 cm or less
- Pins
- Thread
- Sewing machine
- Print of the design of your choice that sticks with an iron
- Decorative pearls
- Clothes iron
- Sewing needle
.jpg)
Pasos a seguir://Steps to follow:
Paso 01
Step 01
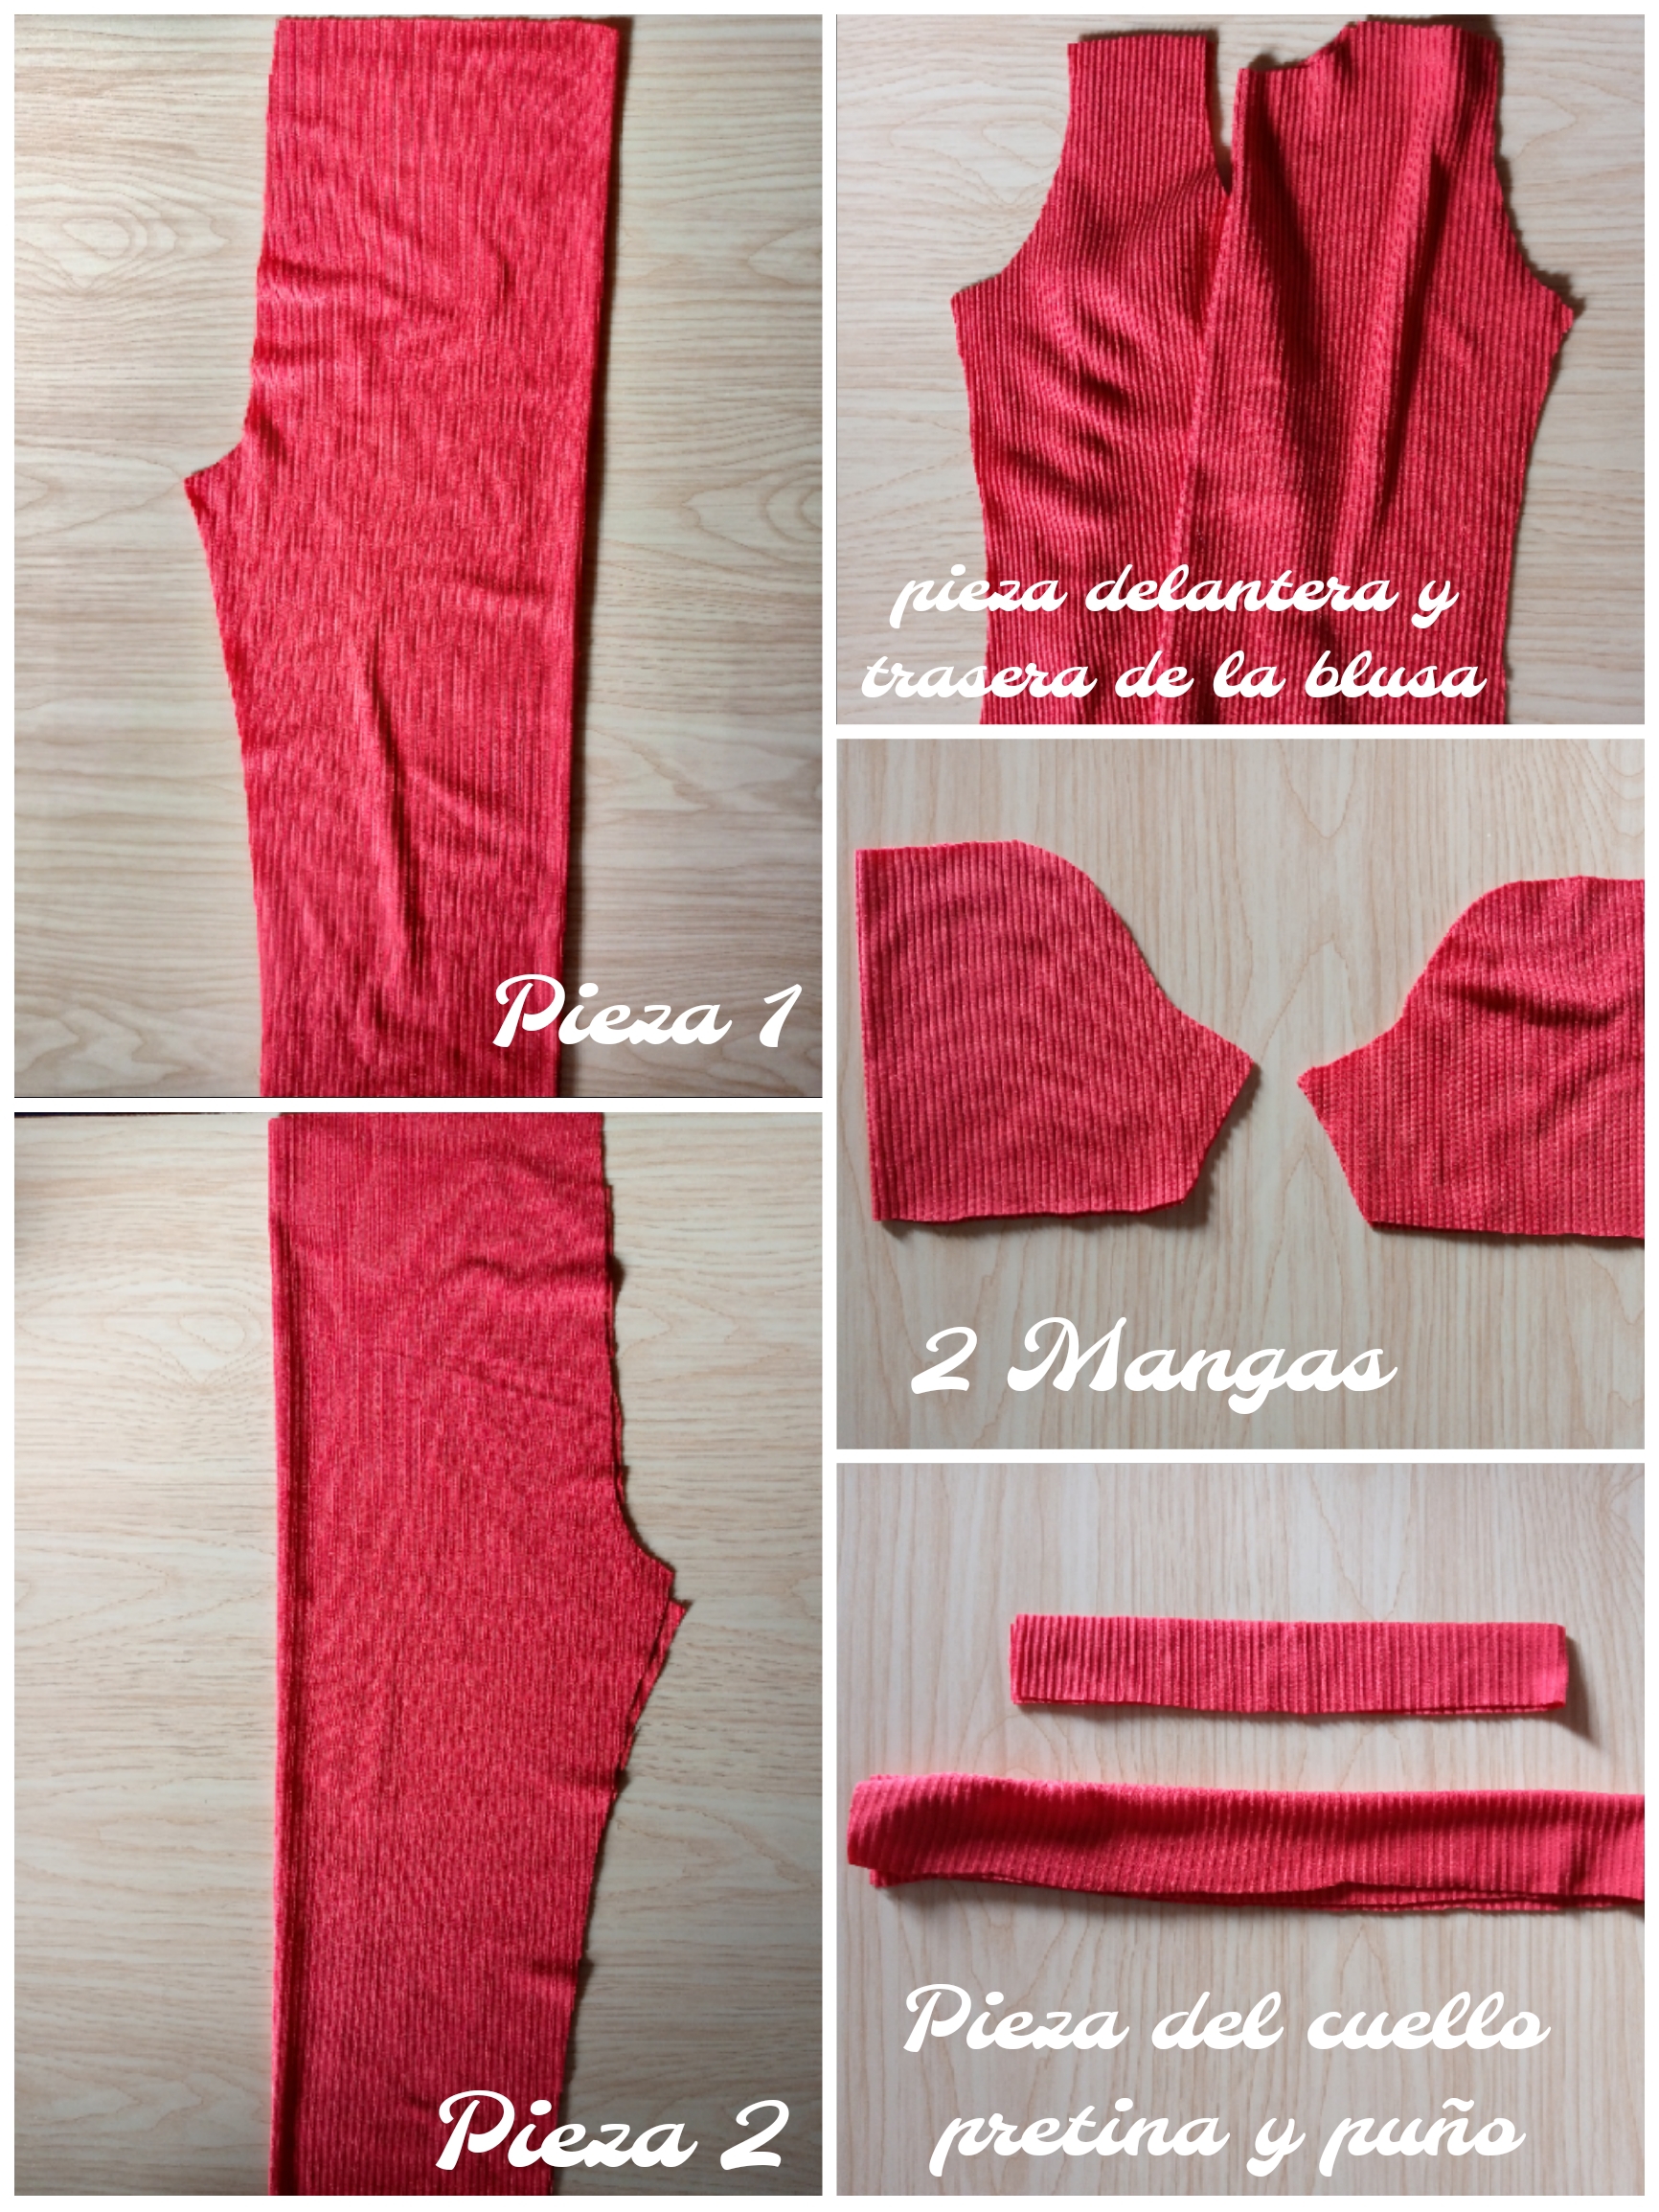
The first step we will do is cut the pieces of the set as you can see there are two pieces, a blouse and a pair of pants or overalls, I will then be cutting the pieces by a measurement, the truth is that it is very easy for me to cut my pieces like this with a measurement of a garment that fits the person well, so it will not be necessary to have to grab again and we save ourselves a lot of that work, it may also fit you just the right size and however you want, then we will cut two pieces of the pants without a seam on the sides no more than the standard front piece I lowered 2 cm, we cut the front and back pieces of the blouse, the two sleeves, the bias of the neck and the cuffs of the sleeve which is short of course and the waistband of the pants that I have folded it is 4 cm wide and is the same measurement as the width of the waist.
Paso 02
Step 02
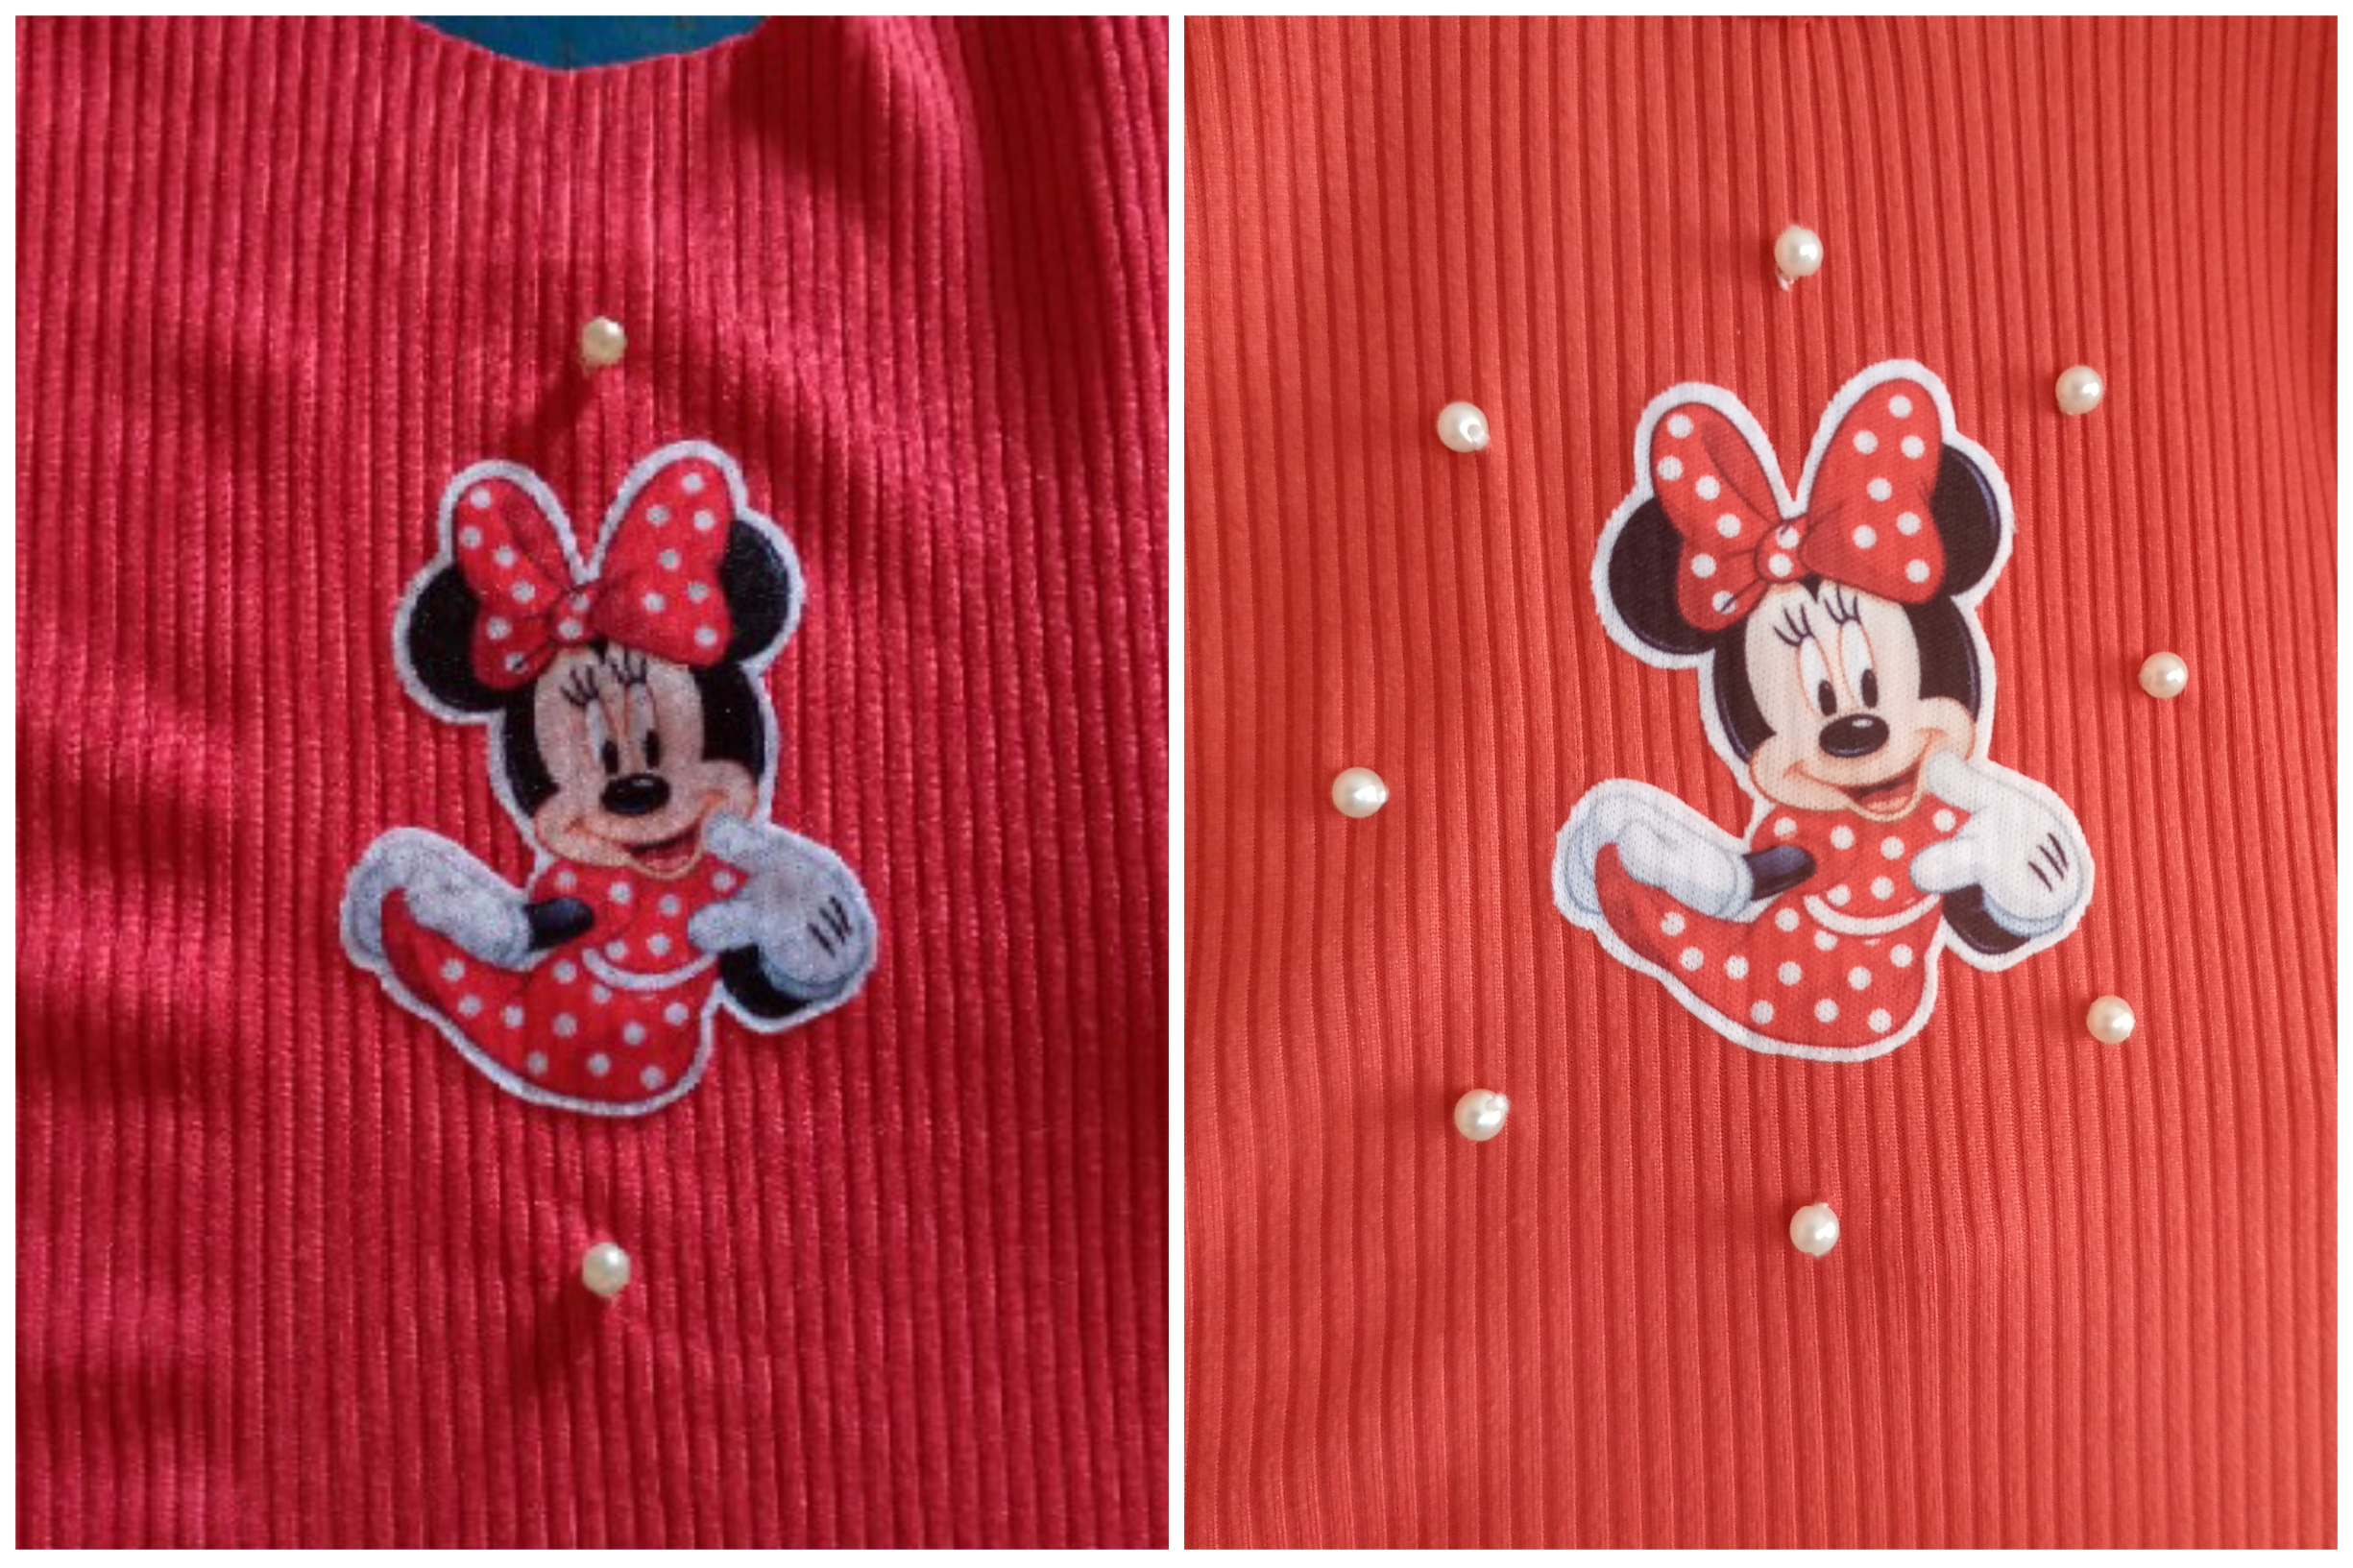
Before sewing the pieces it is necessary to iron the fabric appliqué. We place it in the center and at the middle level of the iron we will place it on top of the appliqué and leave it pressed against the fabric for 10 seconds and after that time we remove it and it remains very stuck, then right there we will sew our decorative pearls with thread and needle thus giving a nicer touch to the blouse.
Paso 03
Step 03
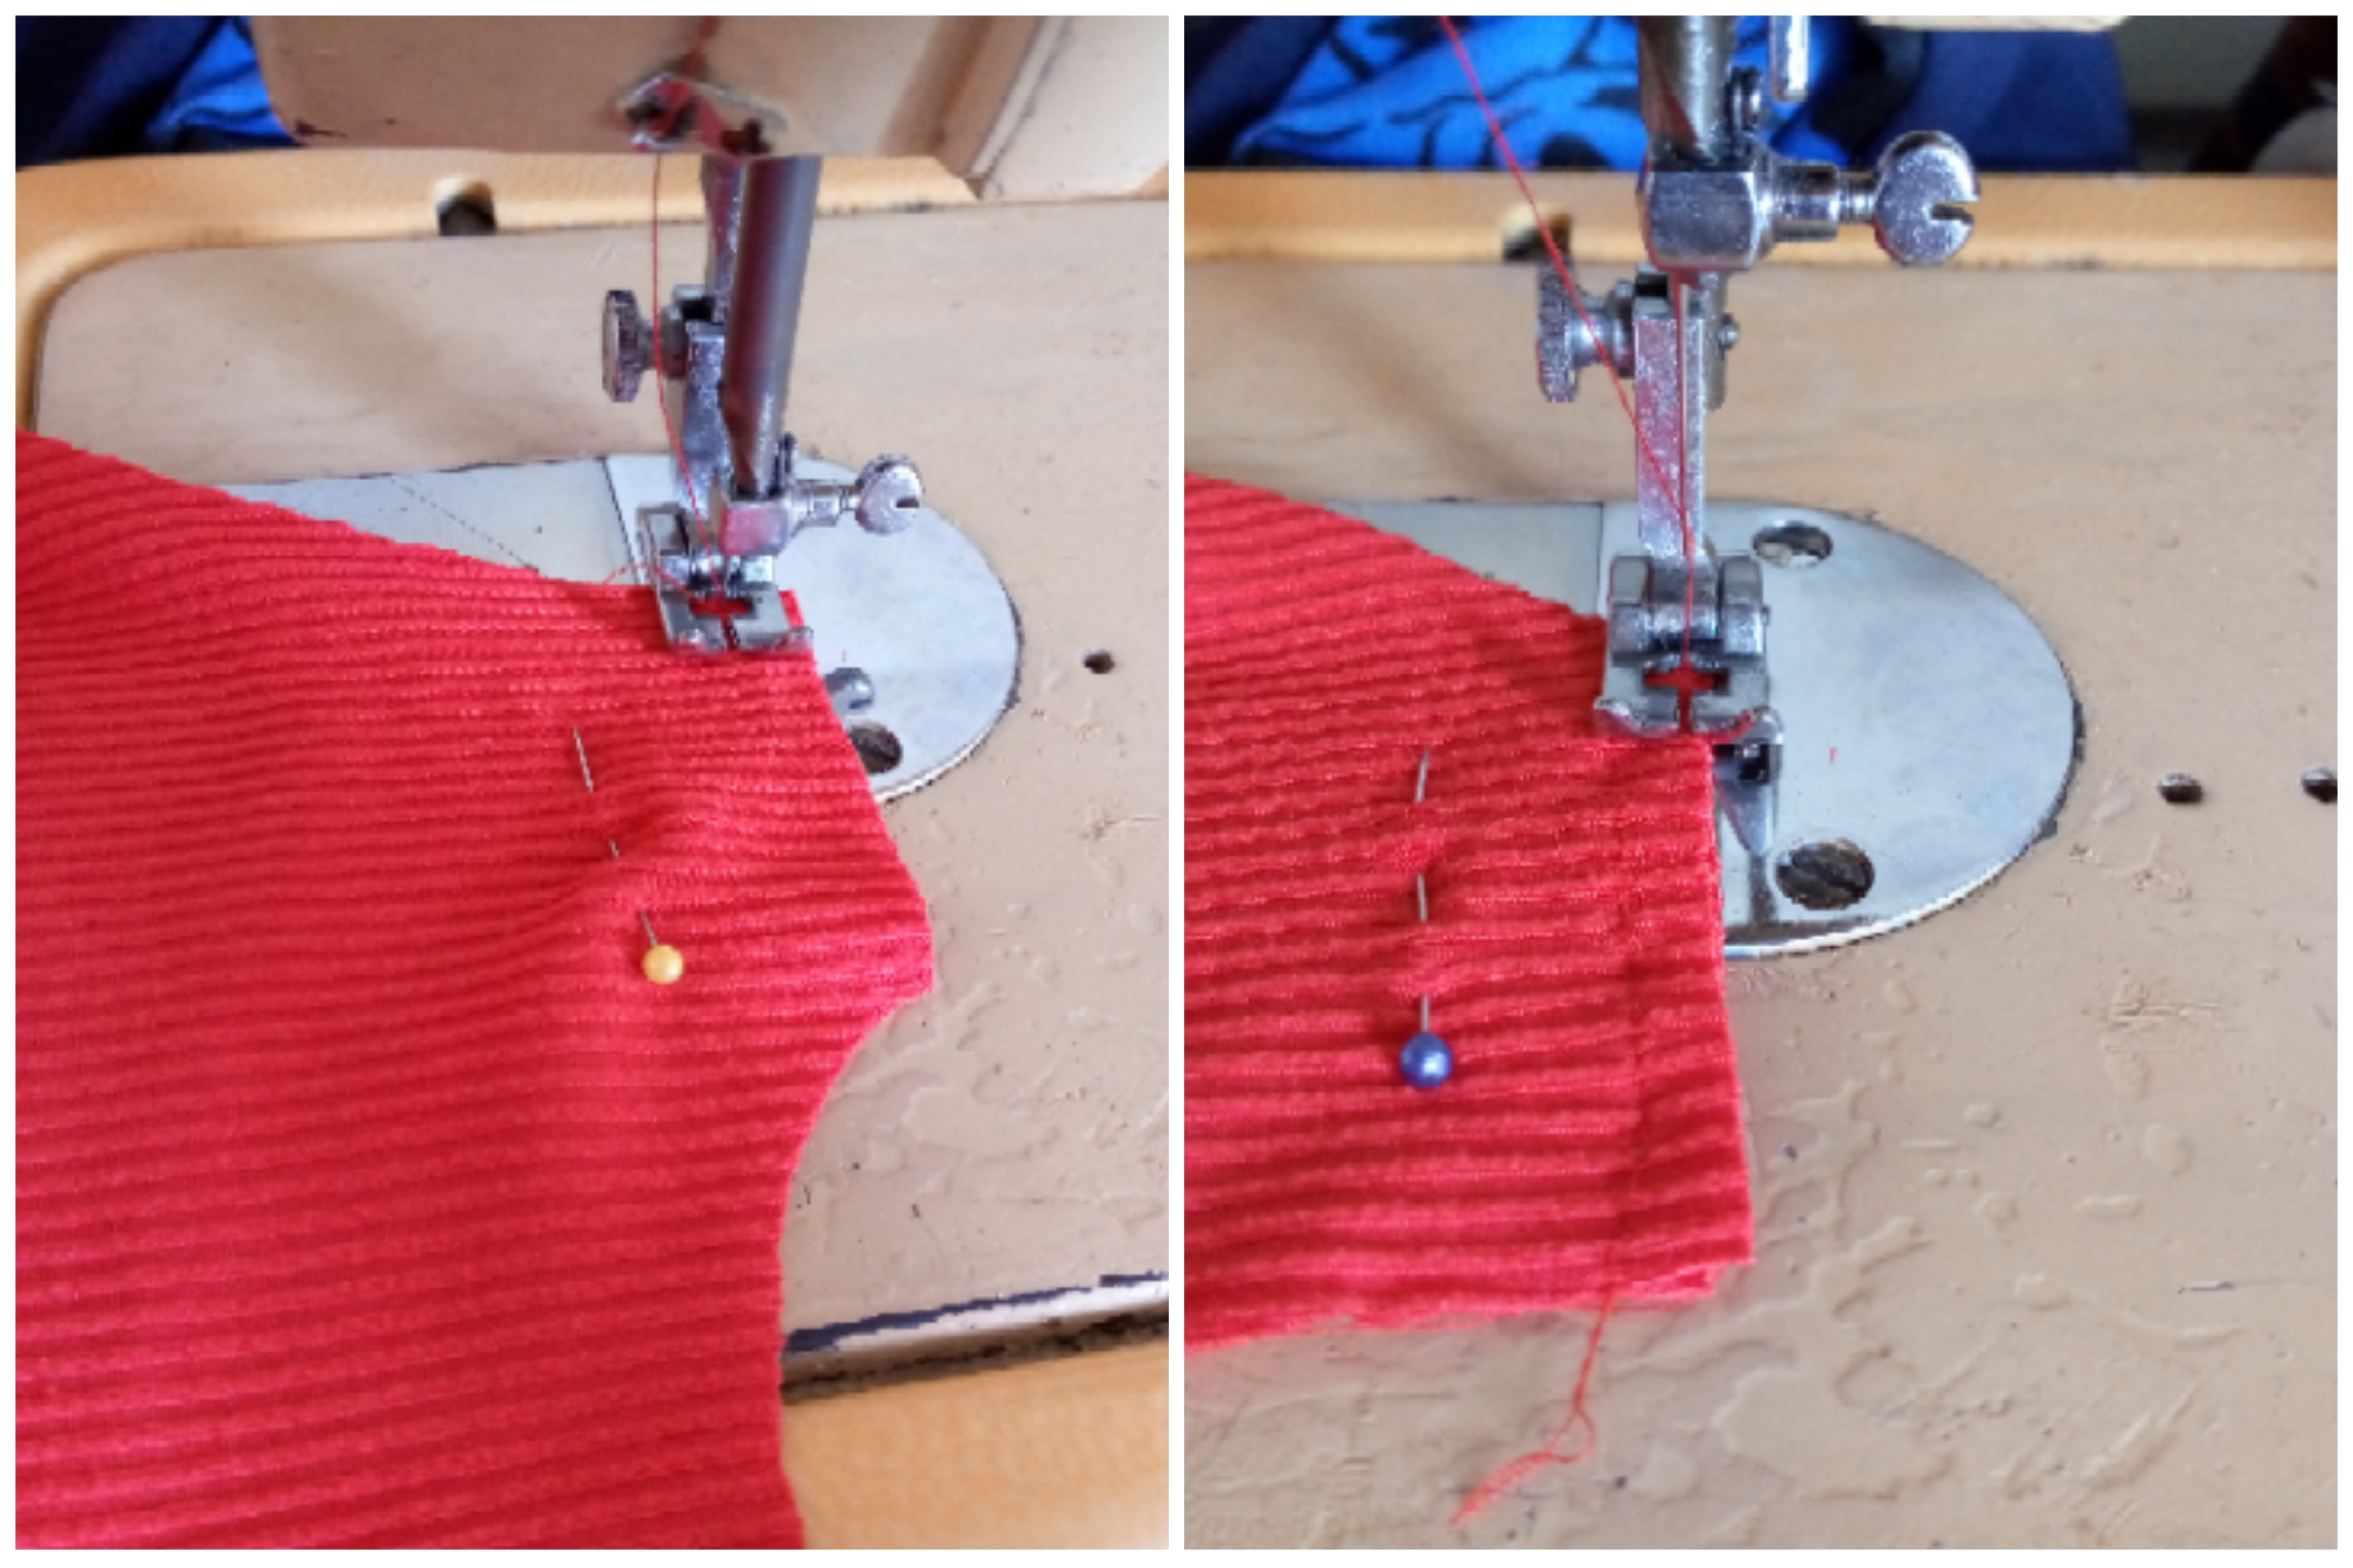
Well, with the help of our pins we will join the shoulder part of the blouse and we will sew the two parts together. Don't forget to finish with a zigzag.
Paso 04
Step 04
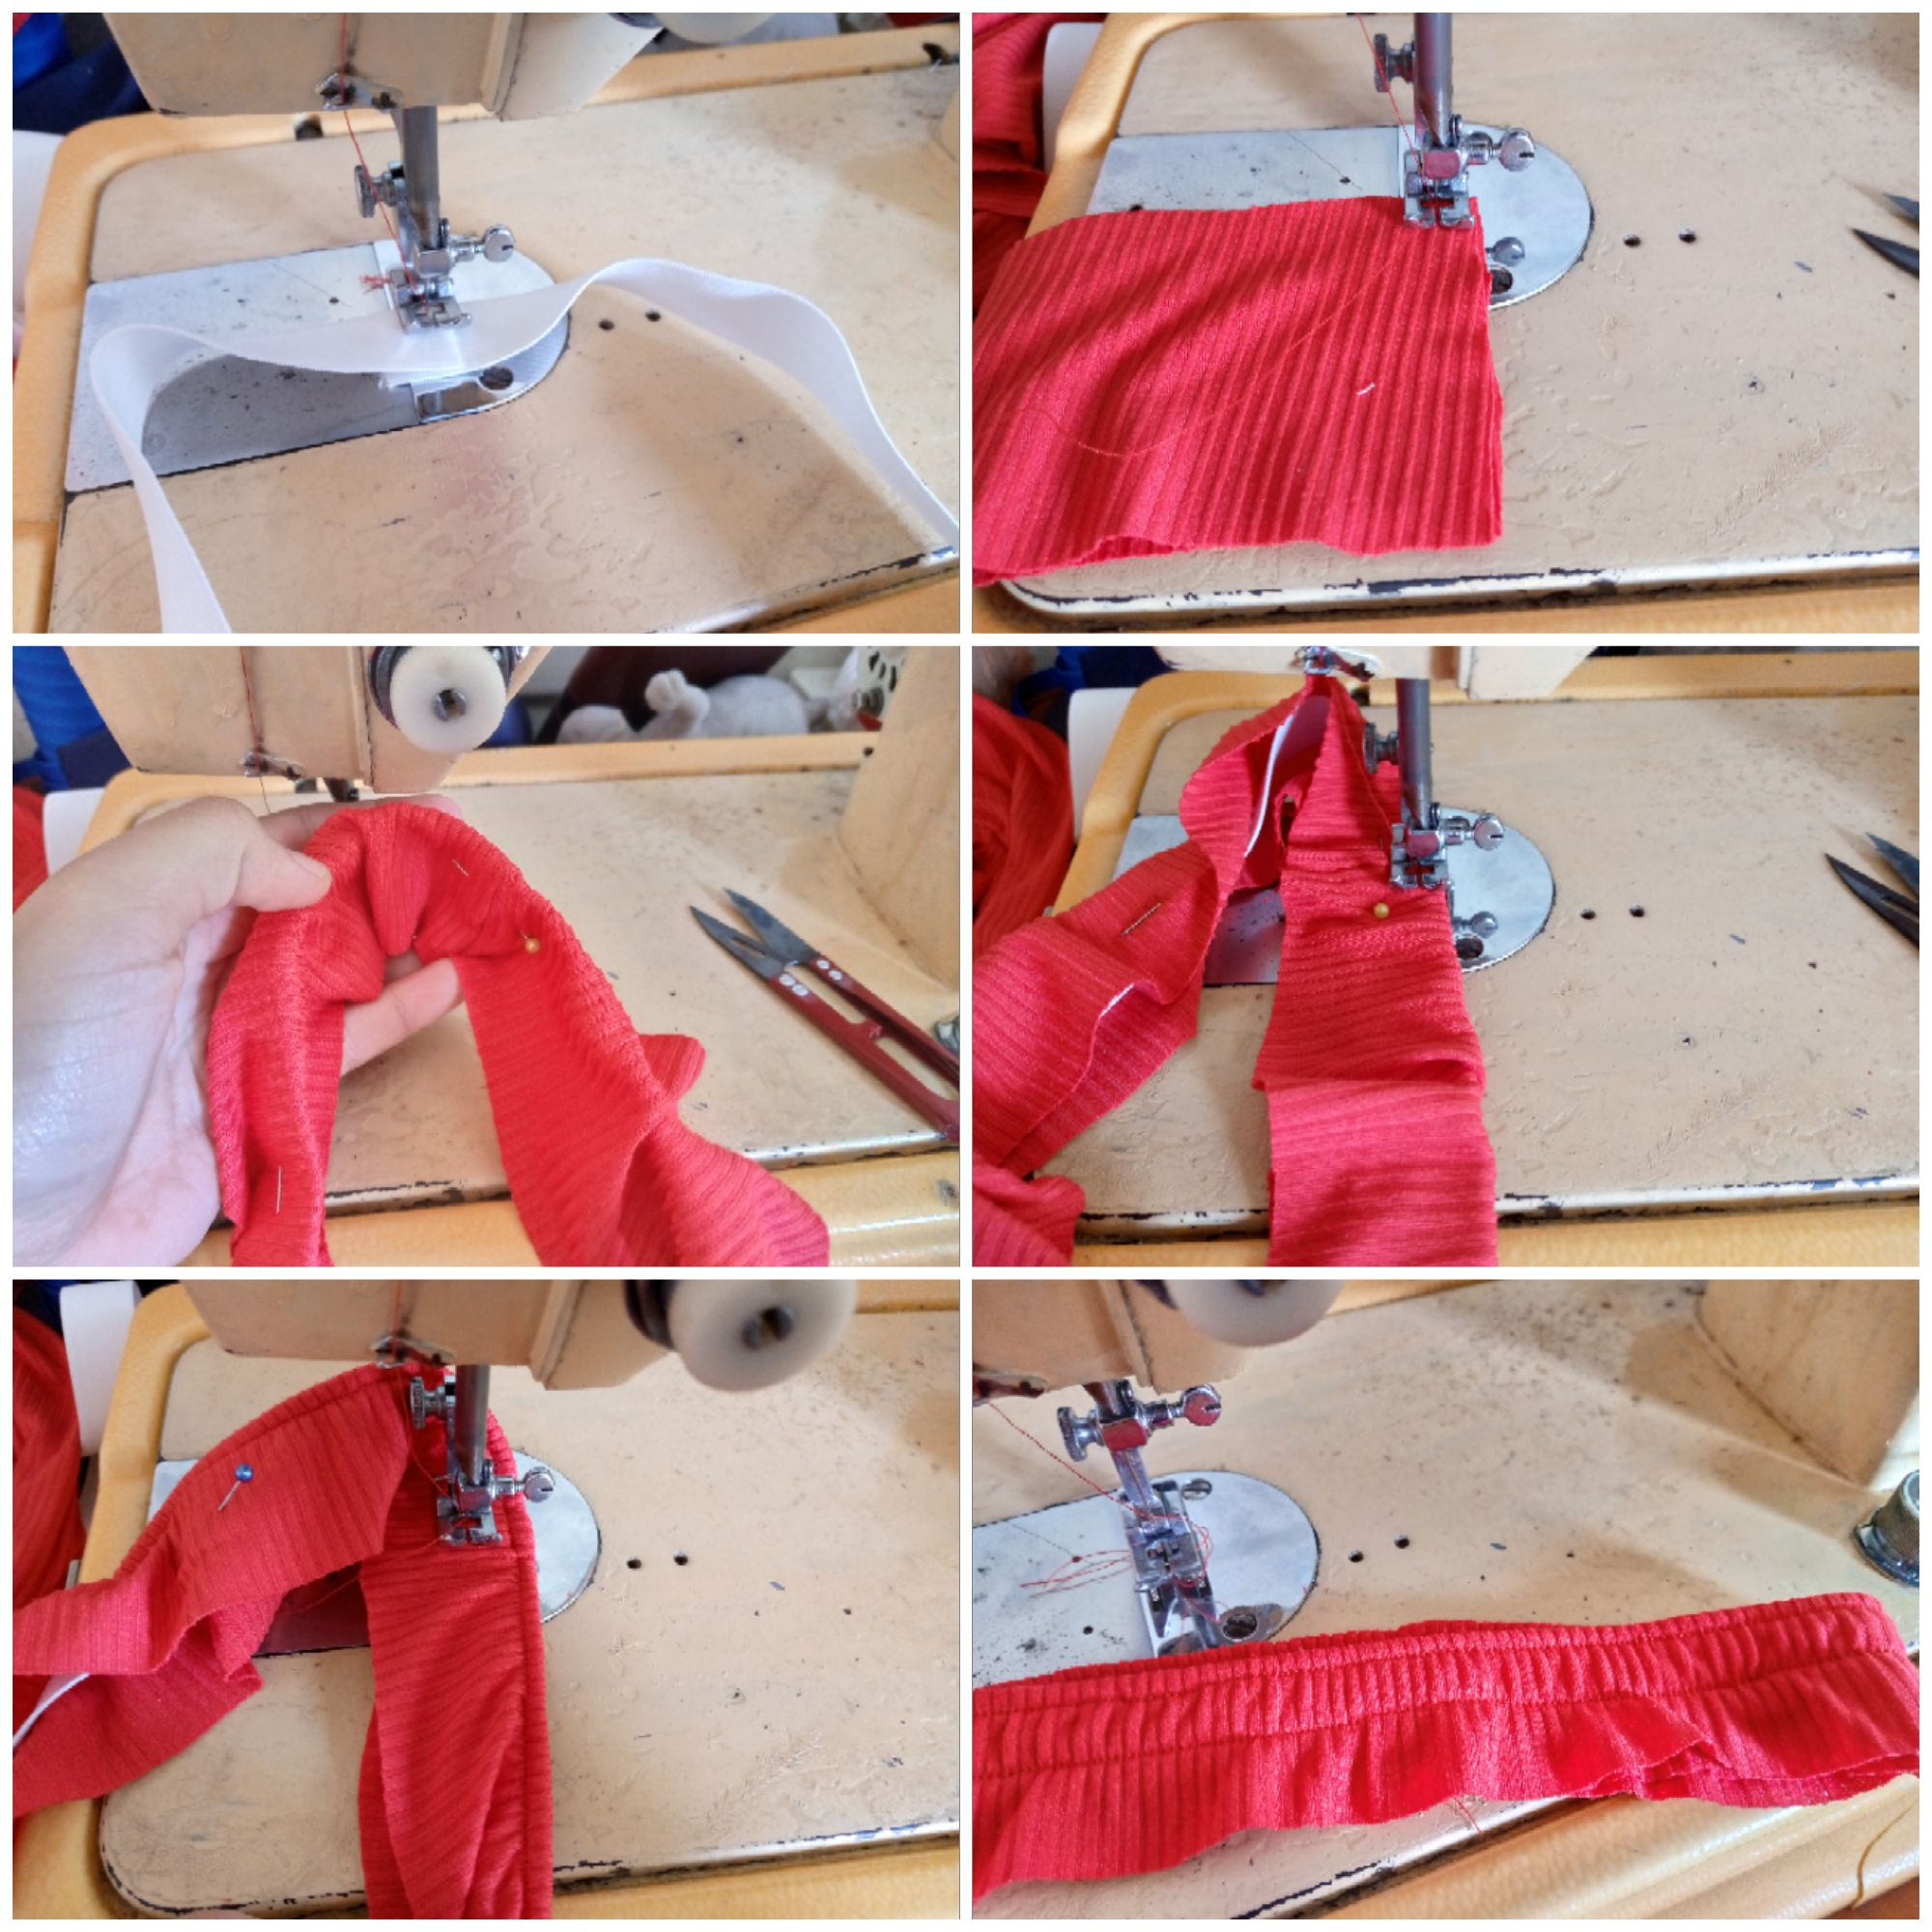
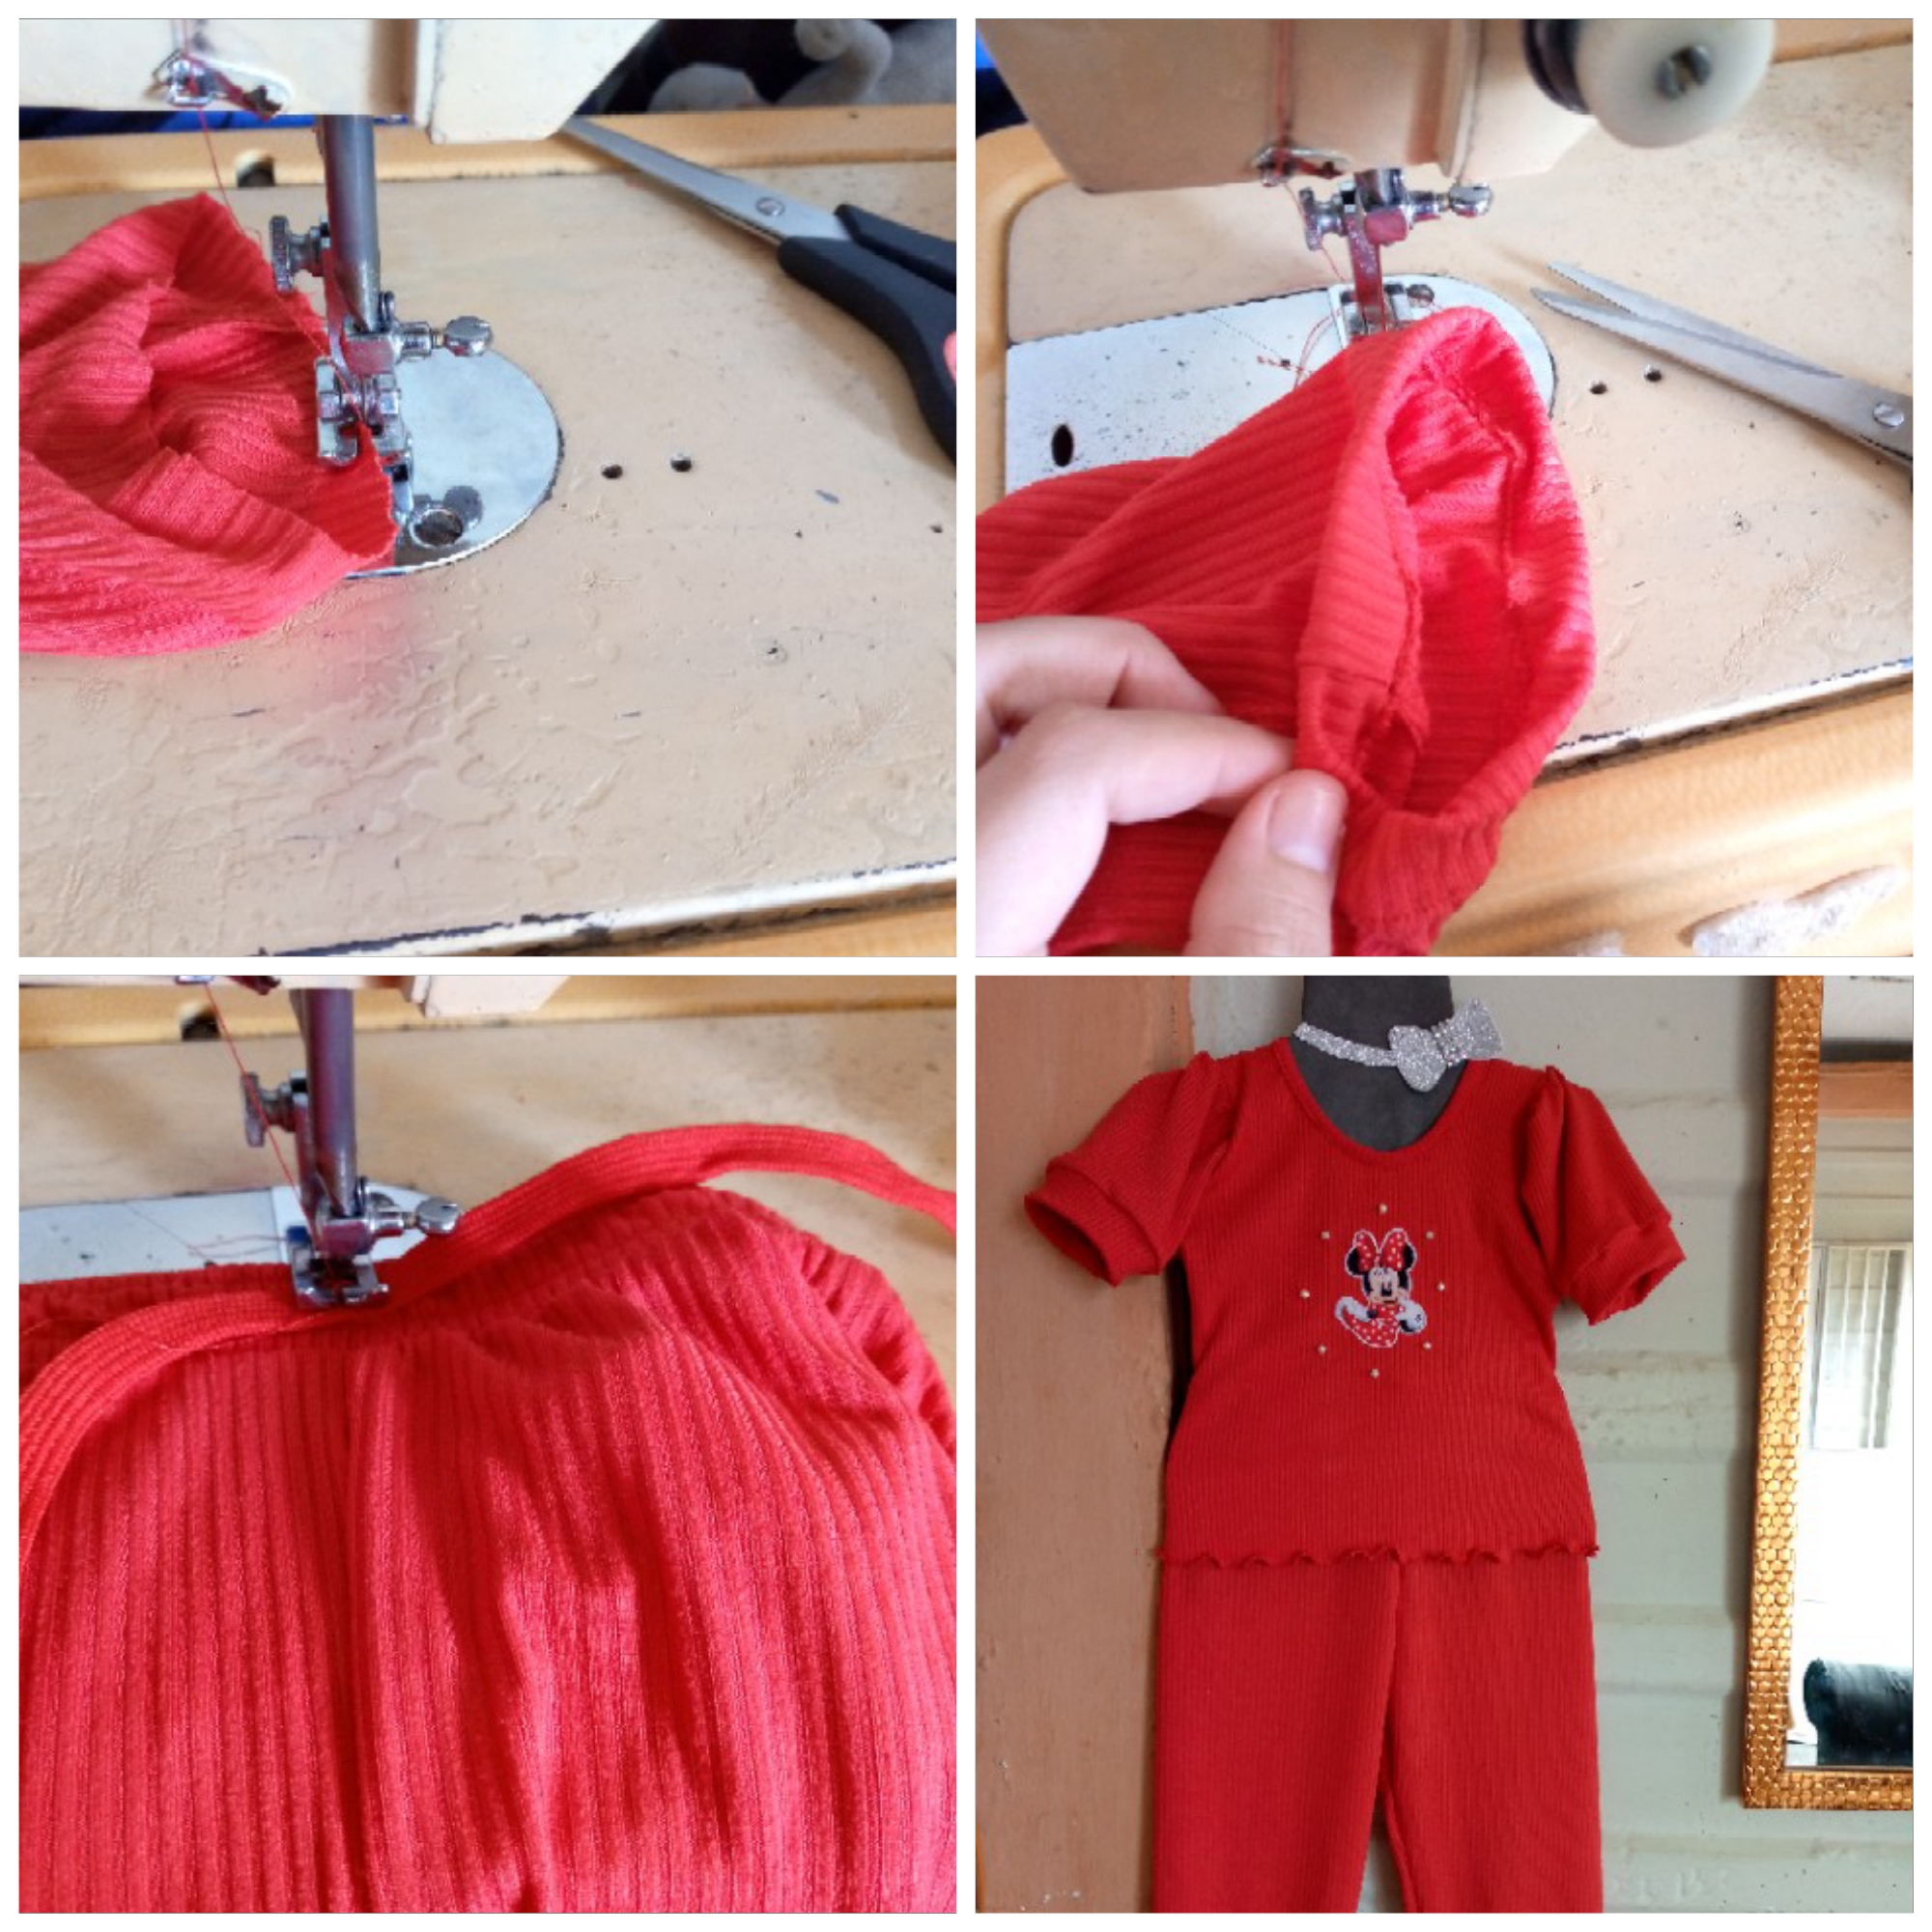
We continue sewing and this time we will sew the elastic, we will join it with a zig zag right in the middle then we will be joining the waistband, we open it and sew along the edge and fold it again and we will be inserting the elastic inside the waistband, we place pins to hold and we will make a seam from top to bottom leaving 1 cm, we make a seam again below leaving 1 cm also from the bottom.
Paso 05
Step 05
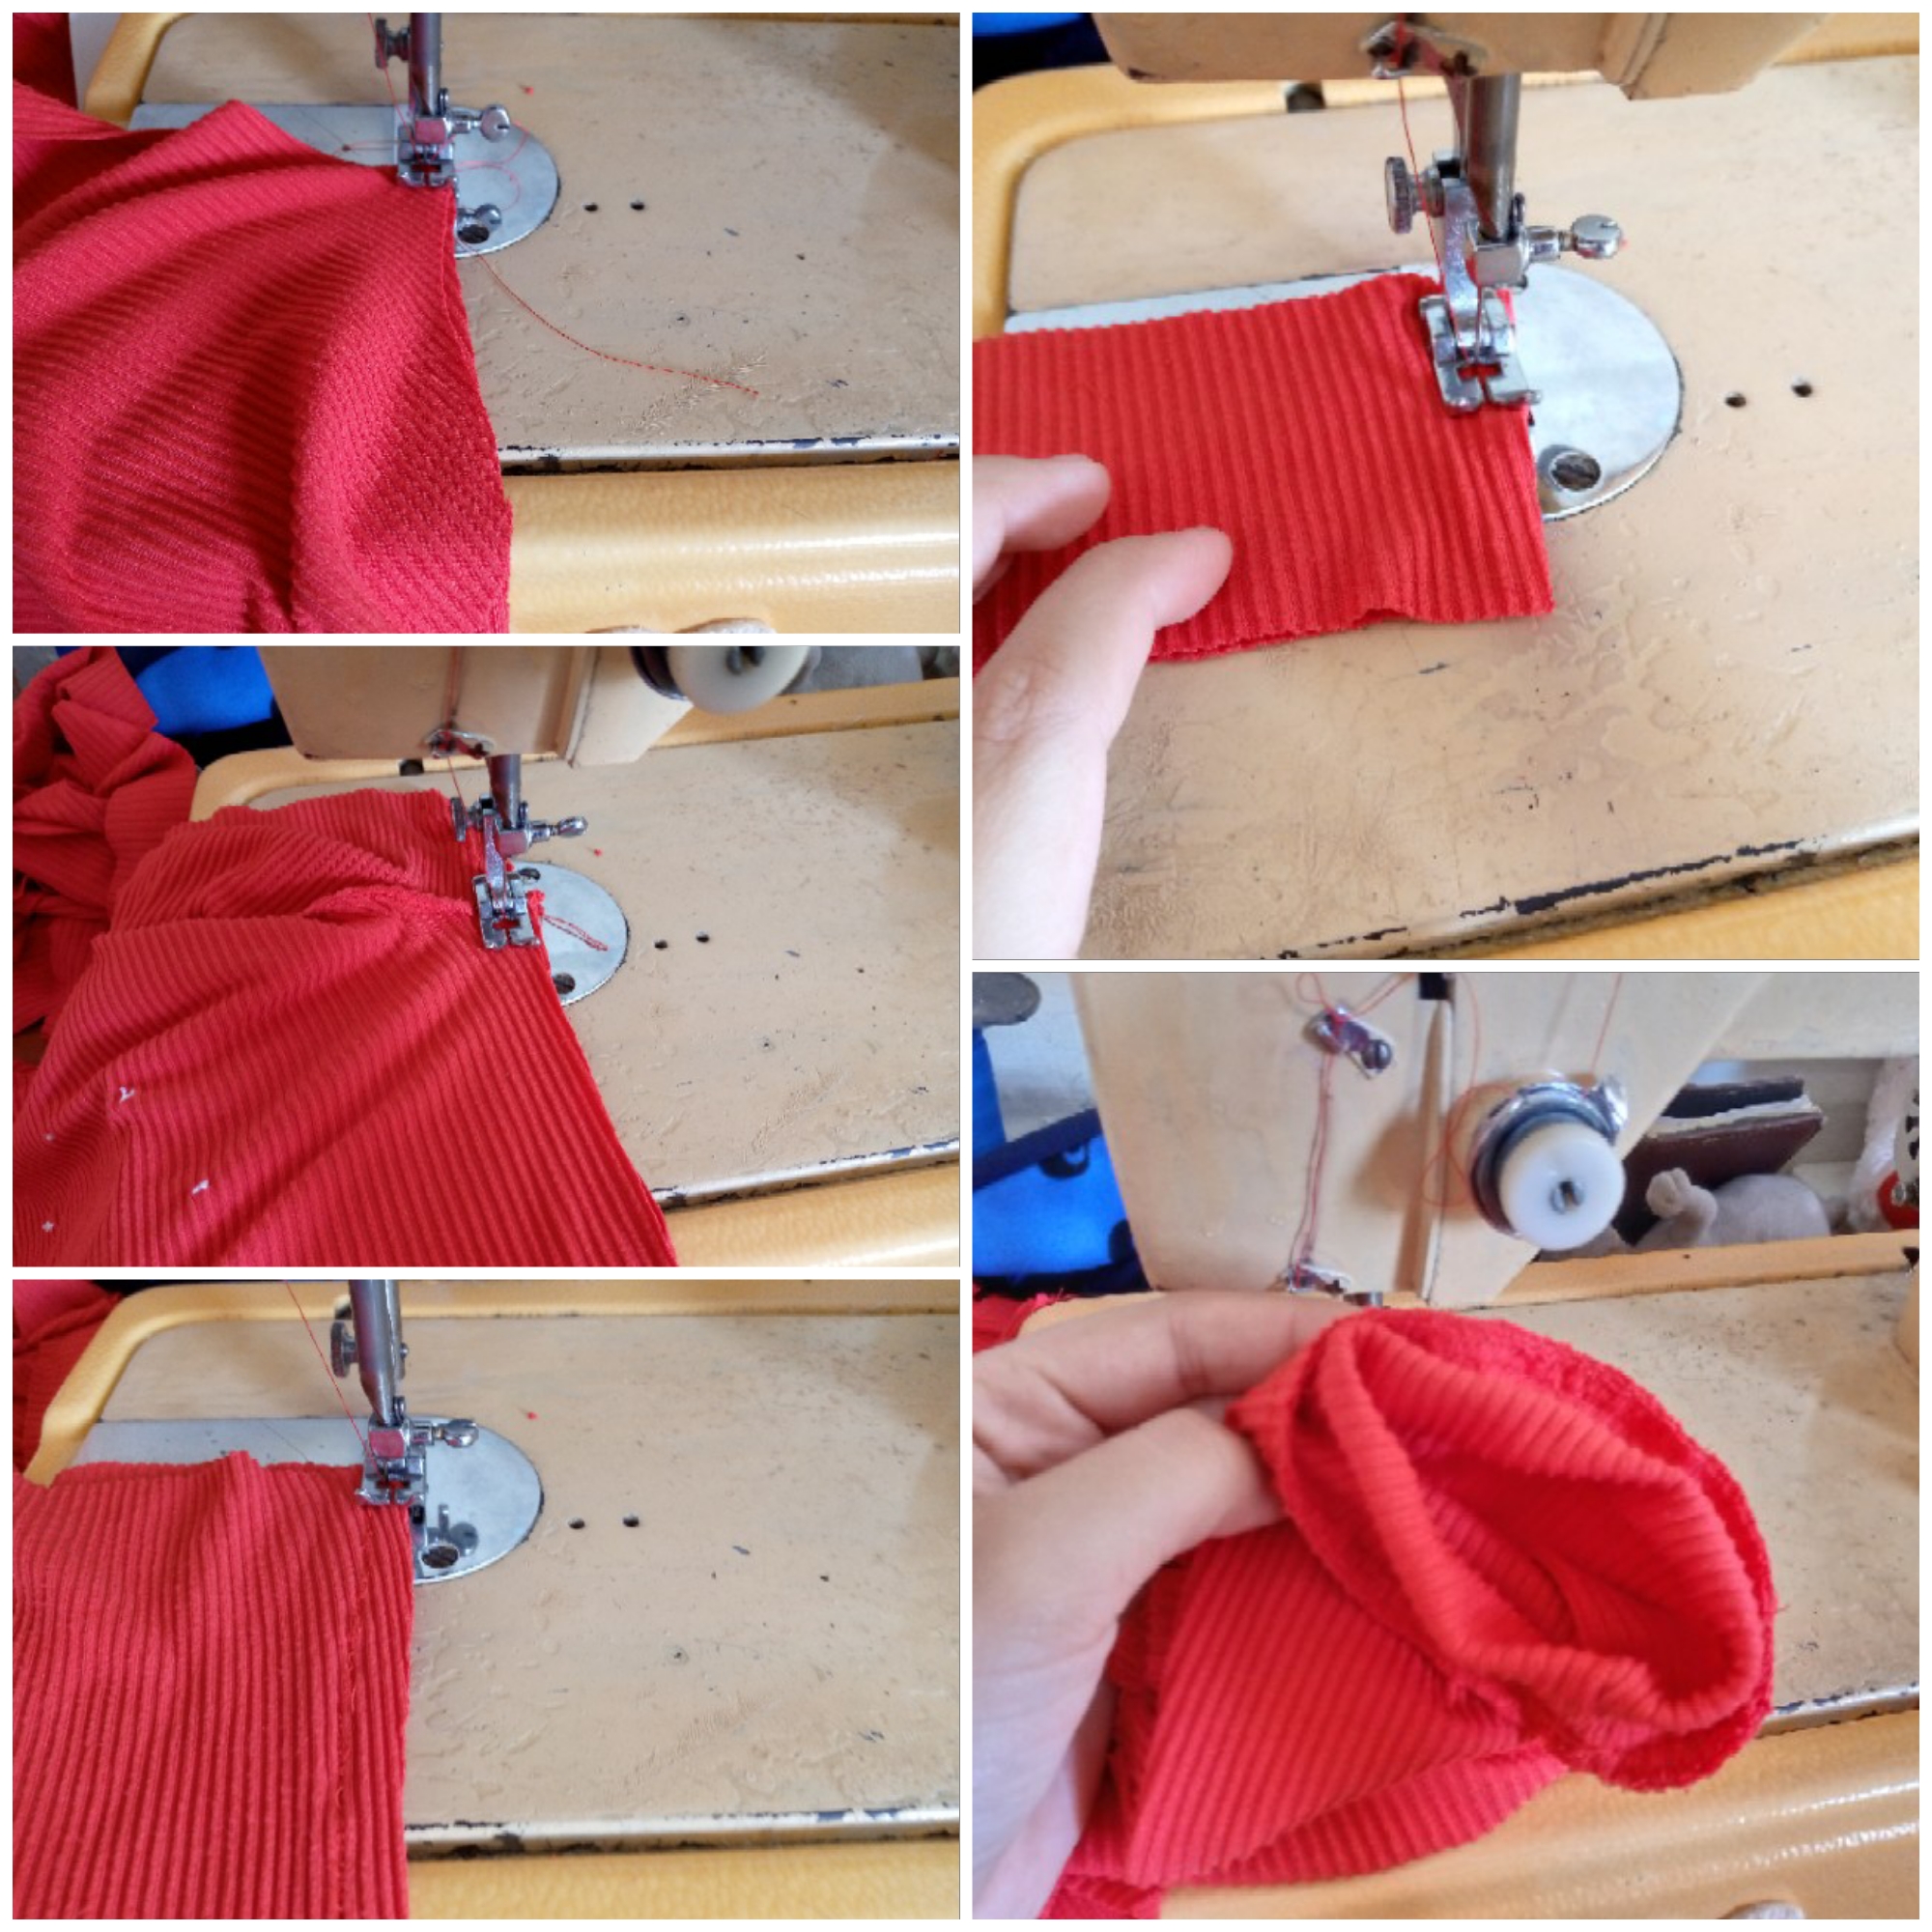
We move on to sew our sleeves, we open the blouse, place a pin that will join the sleeve to the armhole and sew, we will make very small folds to gather the sleeve and make it look baggy, then we will do the same with the other sleeve and seal along the edge of each side of the blouse, we are going to sew the cuffs to our sleeve and to do this we do the same procedure that we did to sew the waistband, we open and sew along the edge then fold and sew along the outline the bias to the sleeve and we will do the same with the other one in the same way.
Paso 06
Step 06
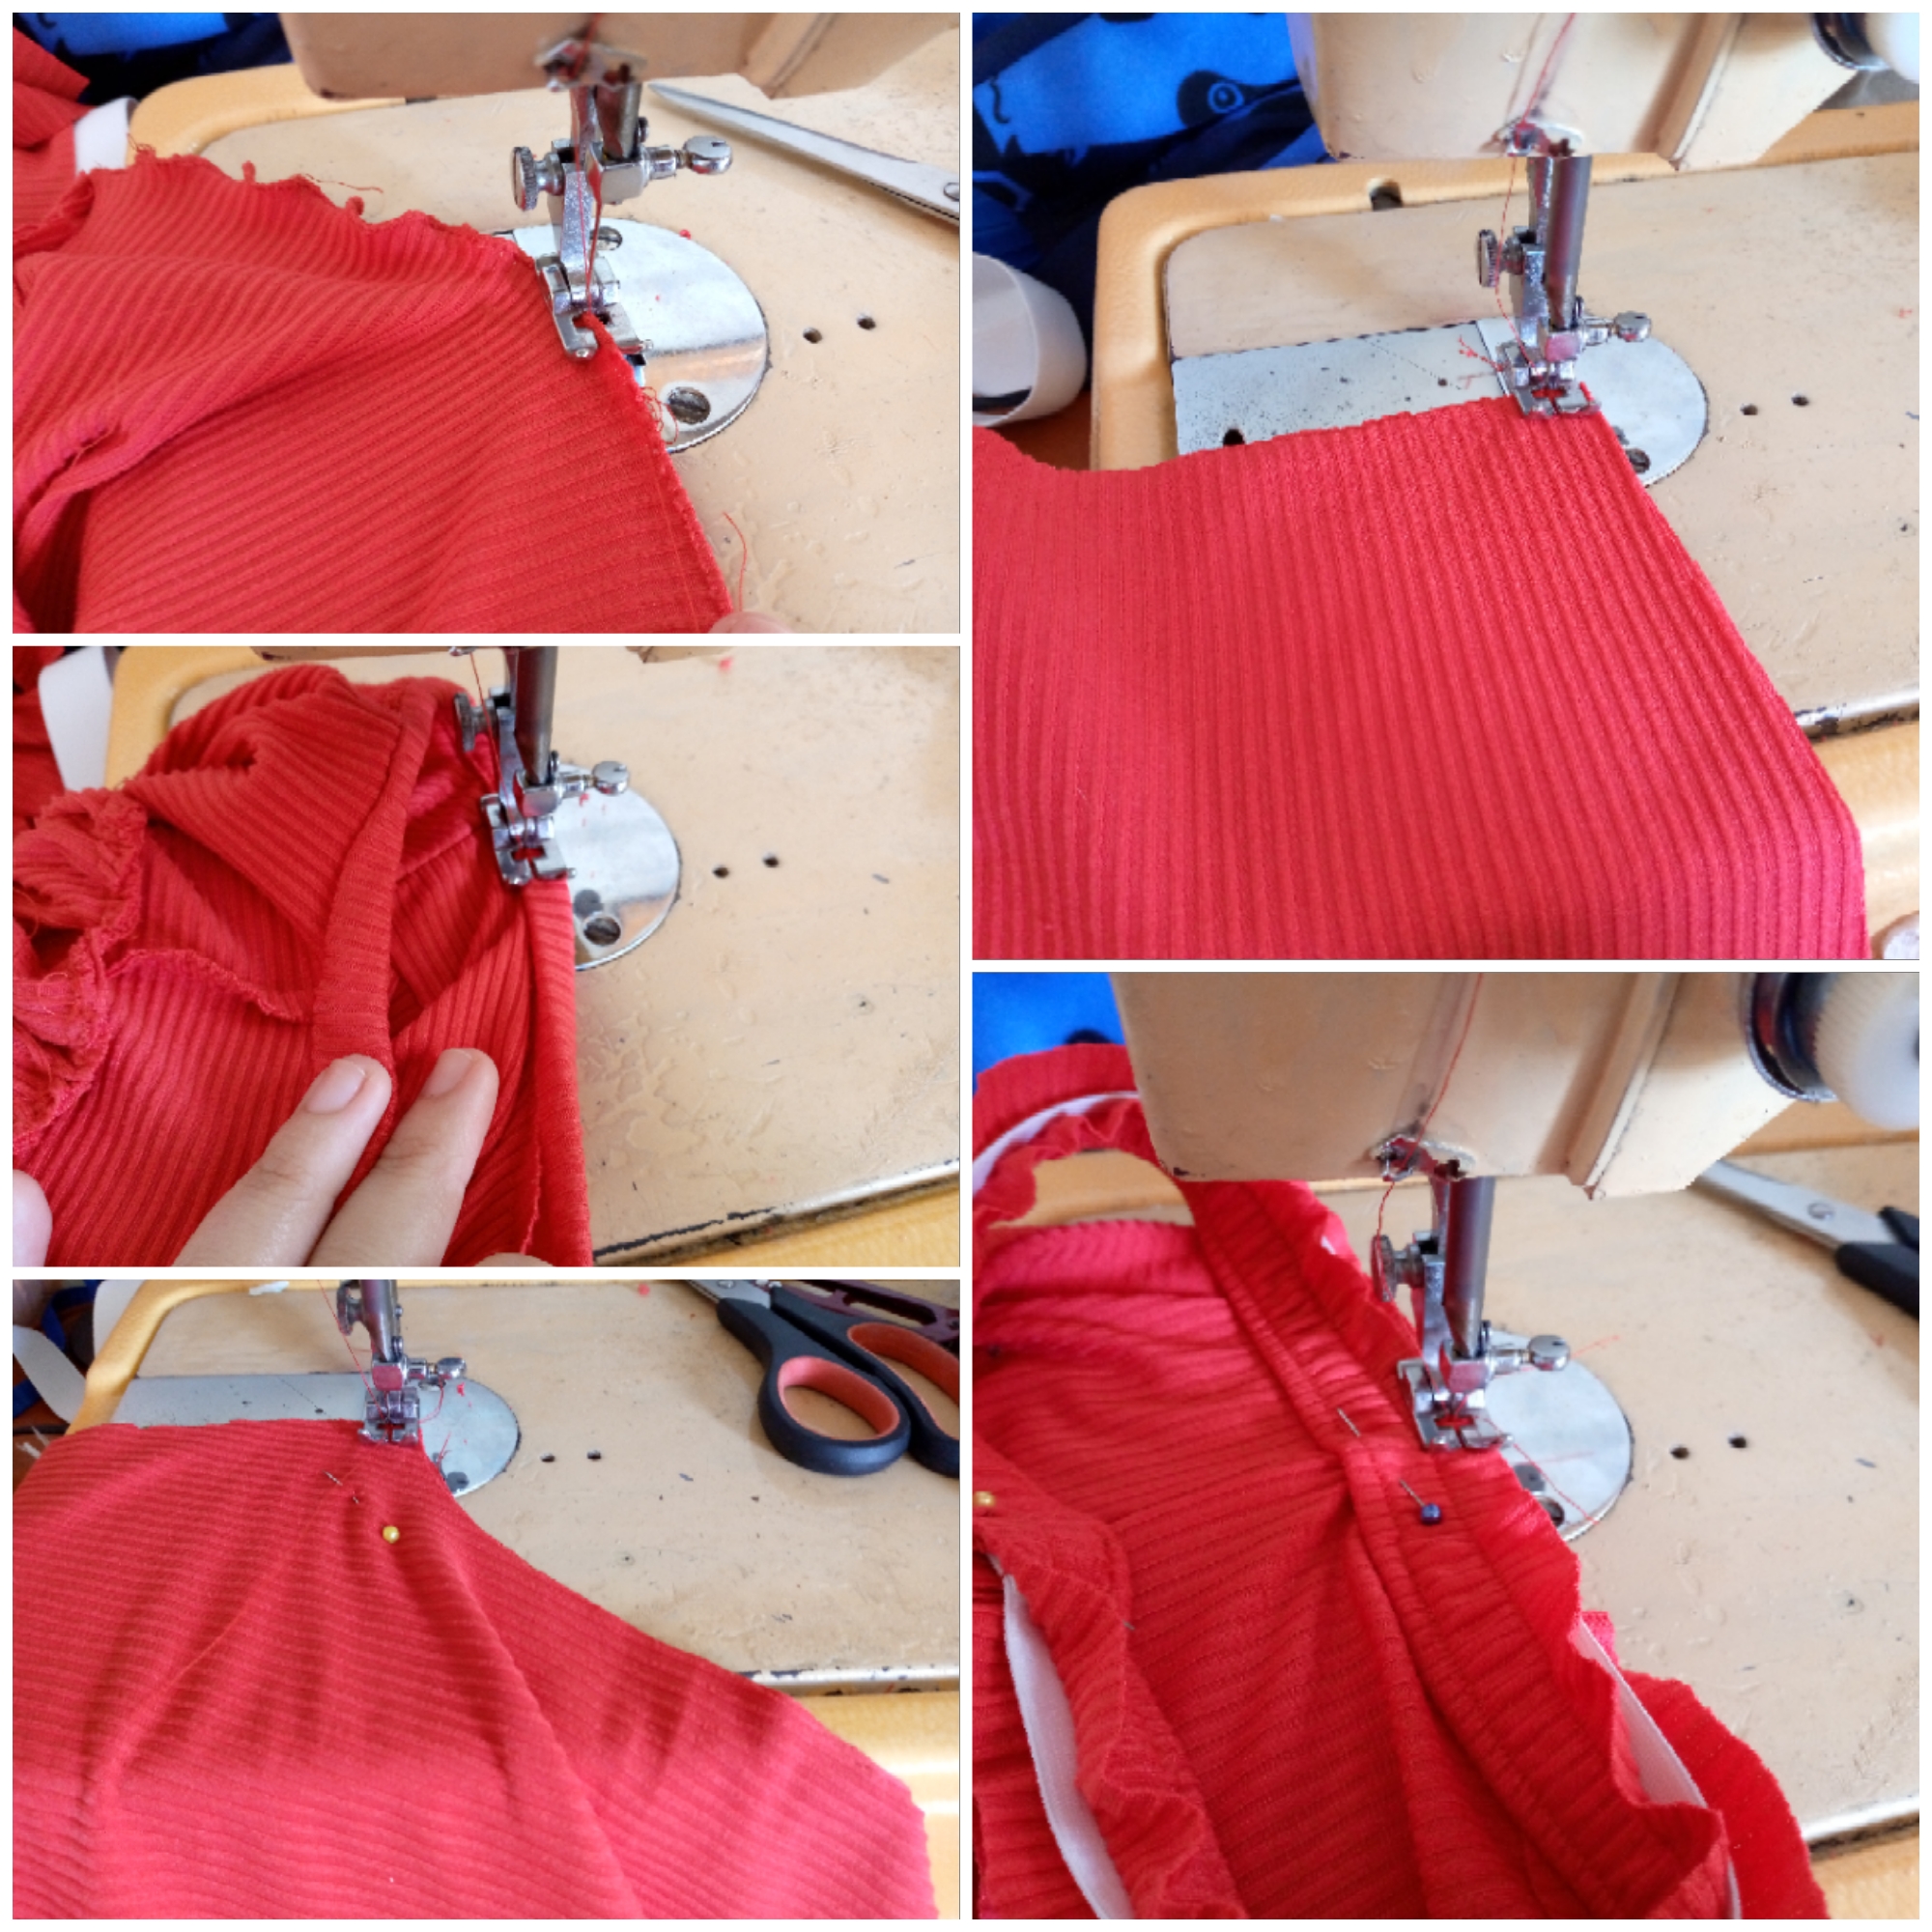
I finish what is the piece of the blouse with a small gather at the bottom in the shape of a lettuce, that is what this seam is called because to do it we must stretch the fabric and sew very close with a zig zag stitch, then it is time to sew and join the pants, we will join the front and back hem and we will move on to place the waistband with our elastic and we will put pins in it so that it does not come loose and thus we will know where to sew, we sew along the edge and seal well with the zig zag seam and we seal our pants on each leg.
Paso 07
Step 07
As a final step, we will sew the hem at the bottom of each leg. To do this, I sewed a zig zag along the edge, folded 1 cm inwards and sewed with a straight stitch. This is another way to sew your hems and not make them so thick. This is a great idea. I finish by sewing a small strip as a guide to know where the front and back are, although it is not necessary due to the fall we gave it when cutting this piece. That's how we finished.
.jpg)
Resultado:// Result:
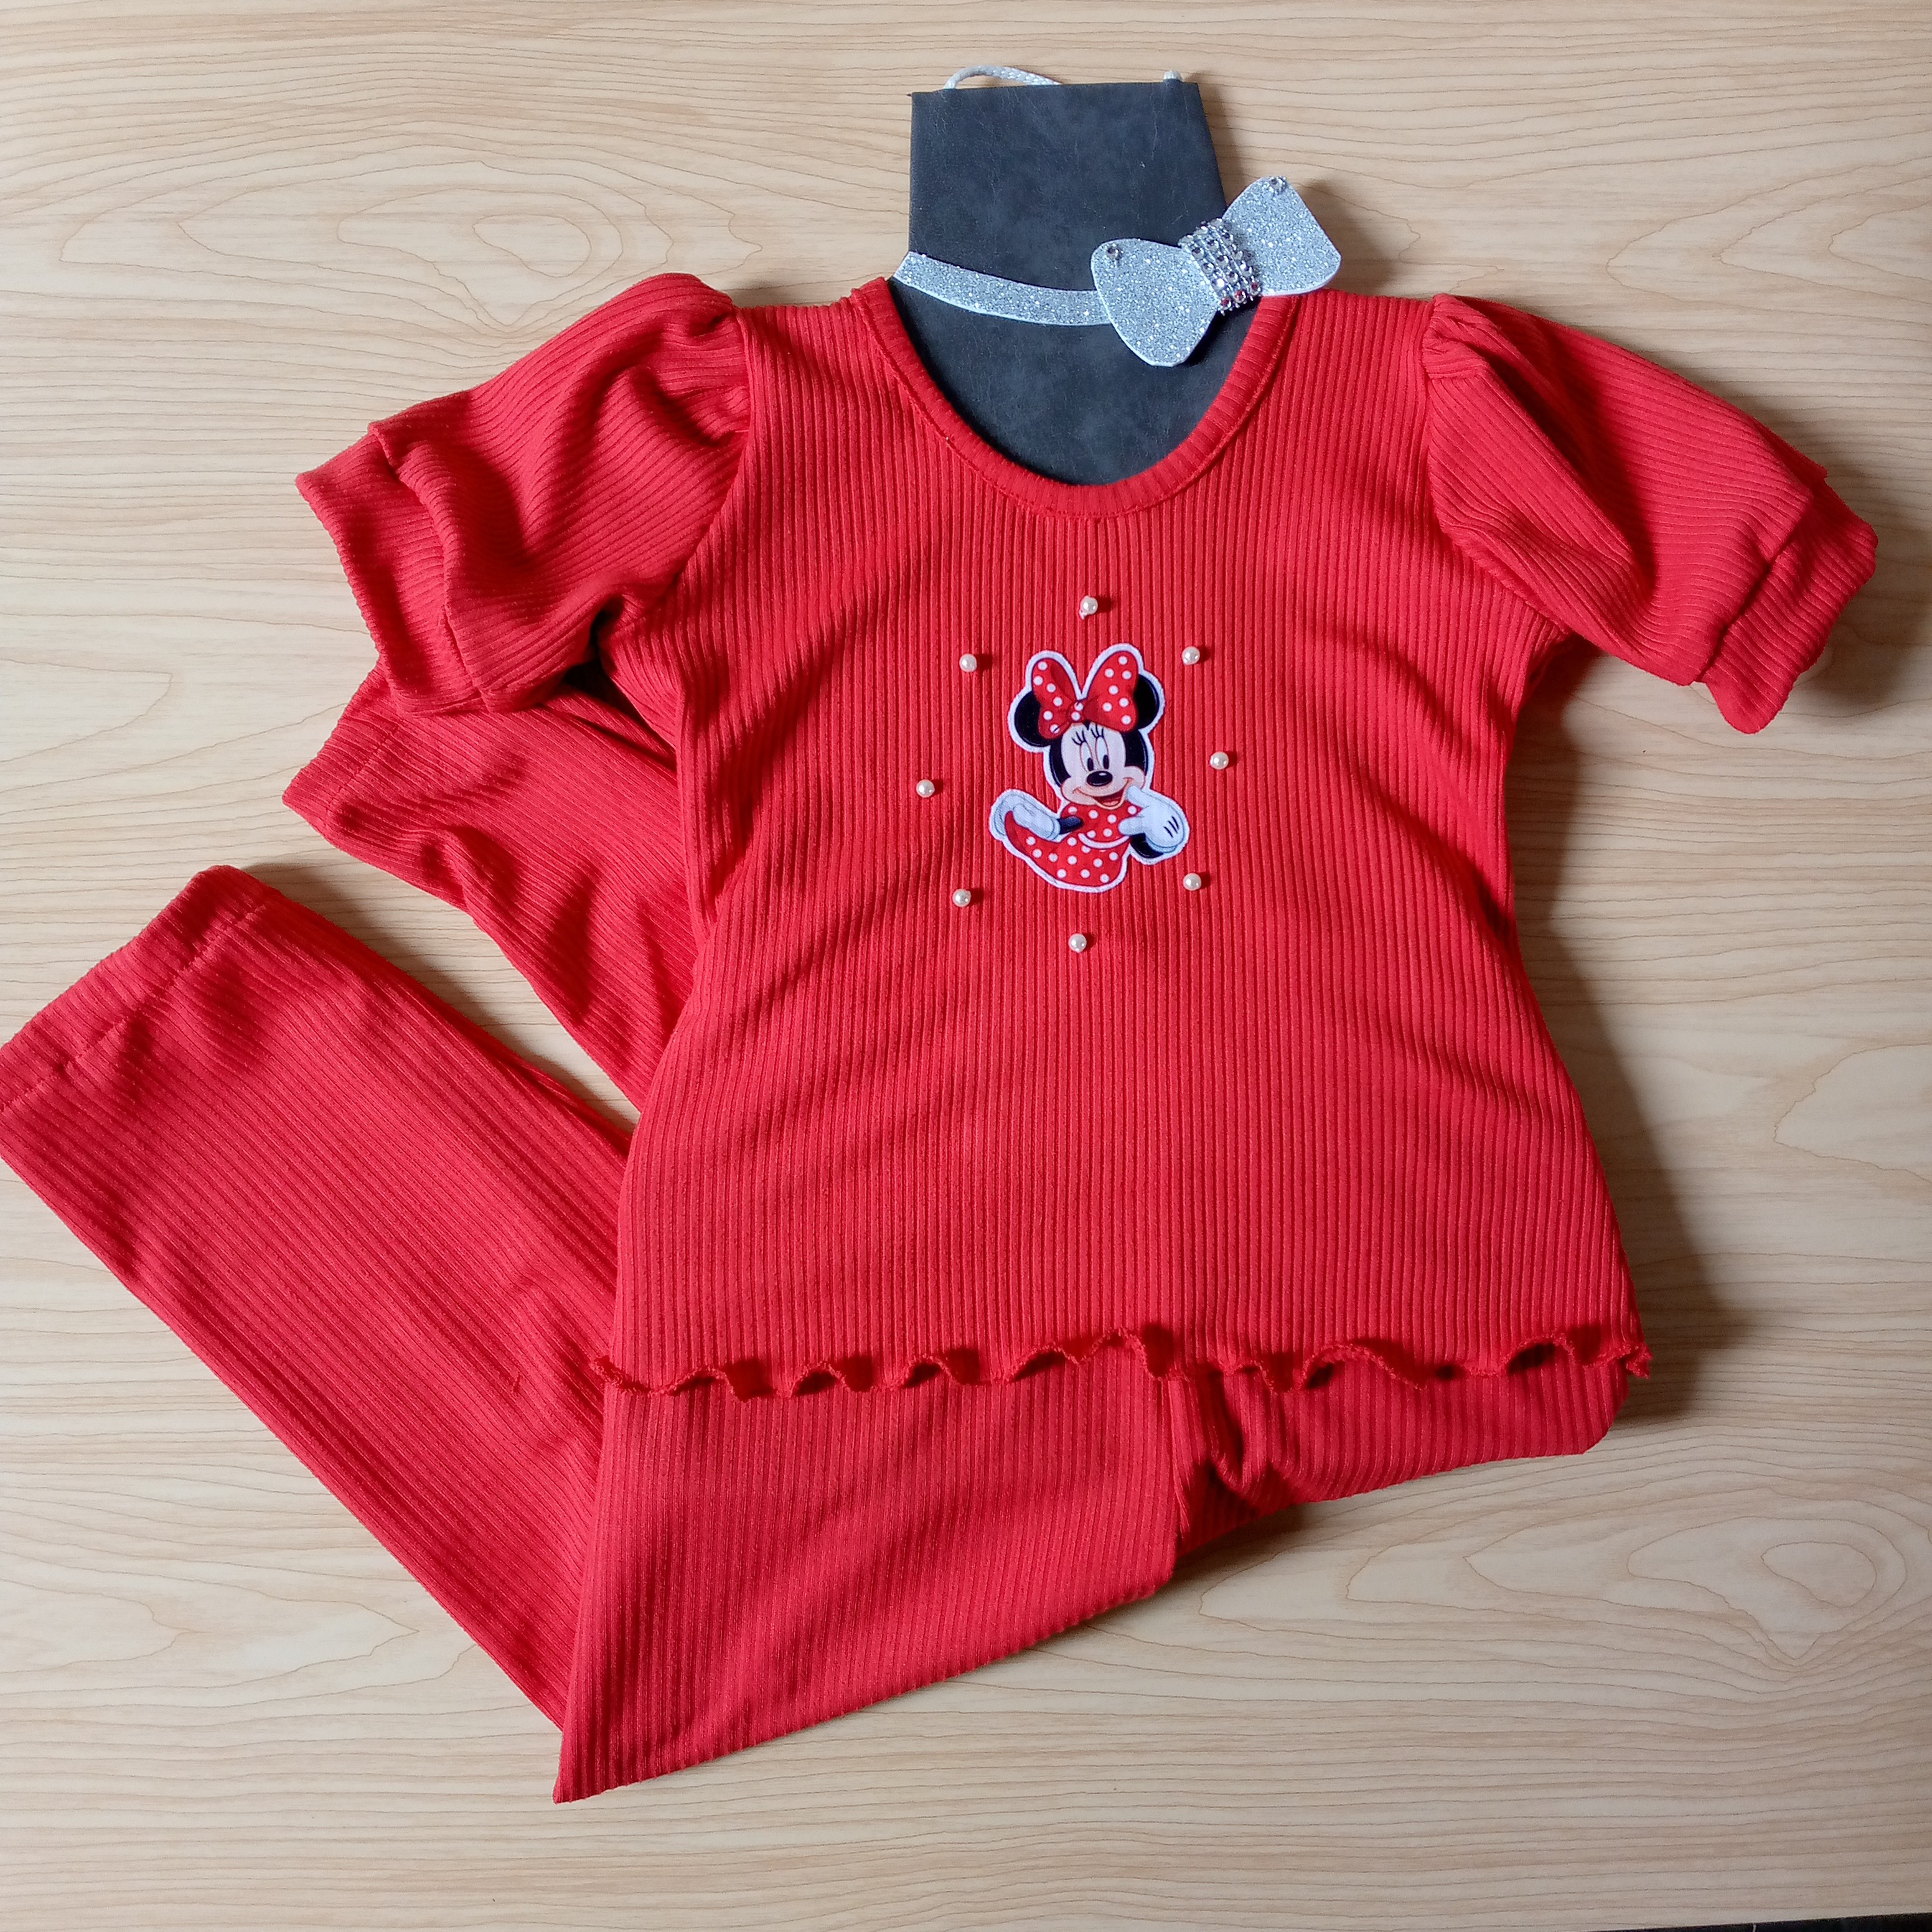
Thank you for having reached the end and these are the results, very elegant, beautiful and everything to see, I like how the design turned out and this type of outfit for girls can be found on the market at a higher price but here we like to make them ourselves and save money, see you in another blog with new designs and I hope you liked it, bye friends.
.jpg)
Creating things with love 🌷❤️
🦋✨ All the images in this publication are my author ,📱taken with my TecnoSpark8C cell phone |📸Photos edited in PicsArt and Canva. Text translated in Google Translate.
Hermoso conjunto, te felicito, me gustó mucho la tela y el color y también los divisores de tu post 😅😉☺️ @anne002
Hola feliz noche me alegra esta prenda te haya gustado y los divisores igual 😊😁hacen de los post más bonitos...Es bueno saberlo,y gracias por tu cordial y apreciado apoyo es valioso para mí , saludos 👋🏻🥰
La tela acanalada es muy bonita y también cómoda. Has hecho un lindo conjunto.
Coincido contigo, este tipo de ropa es muy cómoda, yo solía colocarme las batas de mi abuela, jajajaja.
Por cierto, me gustan mucho los separadores de tu blog-
Hola hermosa muchas gracias saber esto,la verdad yo desde que probé la ropa con este tipo de tela no se diga mas todas las prendas hechas con este tipo de tela especial para verano porque es suavecita y fresca,me alegra te hayan gustado los separadores también le dan un toque bonito a los blogs ,yo lo he editado en PicsArt hay ideas de muchos separadores con imágenes espero te sirva la idea para que edites tus propios separadores allí o en Canva , saludos @karen.art 😊
The final result is very good. It is stylish, beautiful, and elegant. Good to see how you made it. Great work! Thanks!