Bienvenidos | Welcome 💕
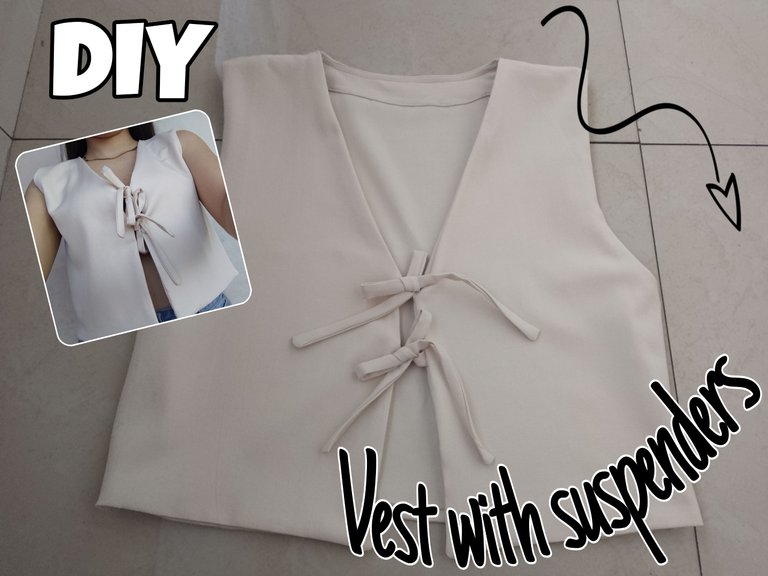
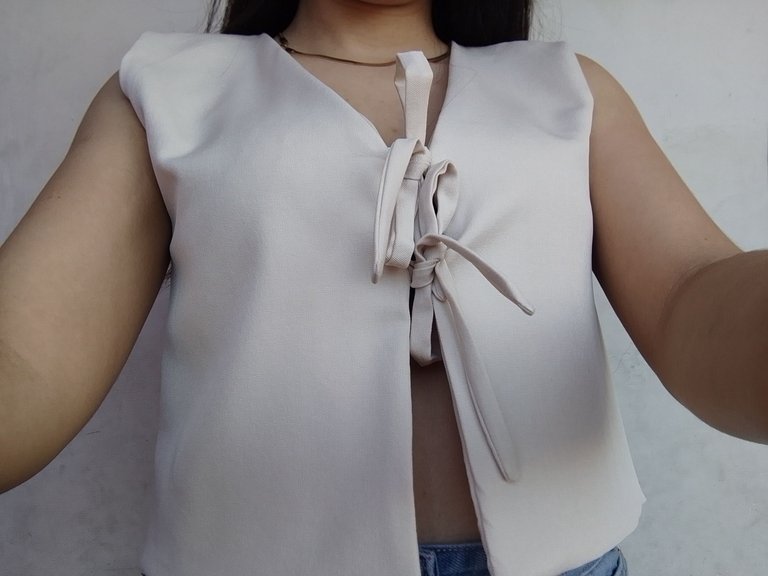
Hola Hivers ❤️, espero que se encuentren bien. Hoy quiero mostrarles un paso a paso muy bonito, se traja de una chaleco con tirantes delanteras, este modelo de chaleco esta muy en tendencia por lo que me emocionaba la idea de elaborar uno para mi uso. Al principio estaba un poco insegura pero poco a poco se fue dando la costura y me quedo como lo esperaba, sin mas que decir pasaremos al paso a paso.
Hello Hivers ❤️, I hope you are well. Today I want to show you a very nice step by step, it's about a vest with front straps, this vest model is very in trend so I was excited about the idea of making one for my use. At first I was a little unsure but little by little the sewing went on and I got it as I expected, without more to say, let's go to the step by step.

Paso a paso • Step by step
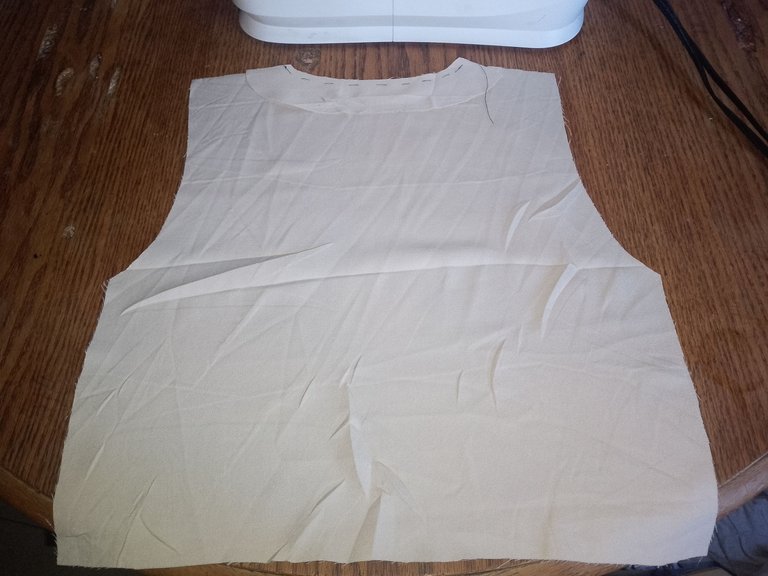
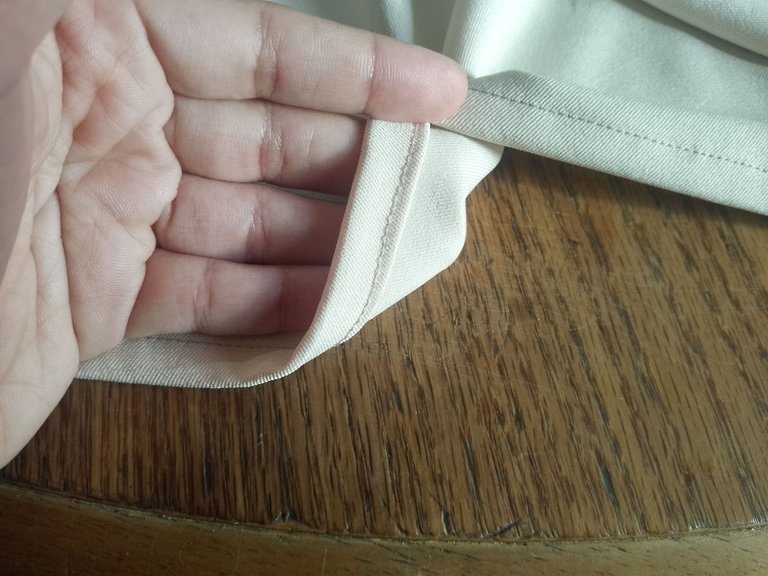
Comencé con la parte trasera del chaleco, para esto tenia parte trasera, la pieza de entretela del cuello y las dos piezas de sesgo de la sisa.
Cosí la entretela del cuello en la pieza trasera y doble hacia adentro luego el sobrante no lo corte, doble su orilla y pase otra costura, con la idea que se viera muy limpia la costura tanto por dentro como por fuera.
I started with the back part of the vest, for this I had the back part, the neck interlining piece and the two armhole bias pieces.
I sewed the neck interlining on the back piece and folded it inwards, then I did not cut the excess, I folded its edge and sewed another seam, with the idea that the seam would look very clean both inside and outside.
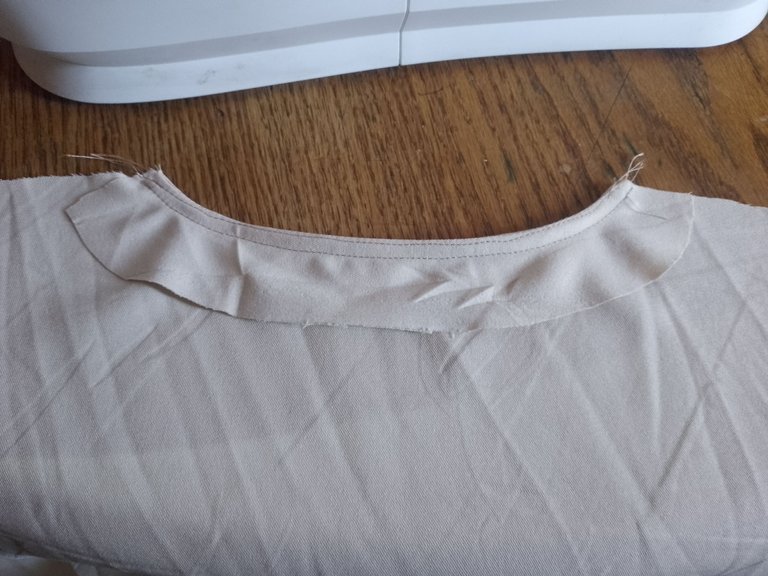
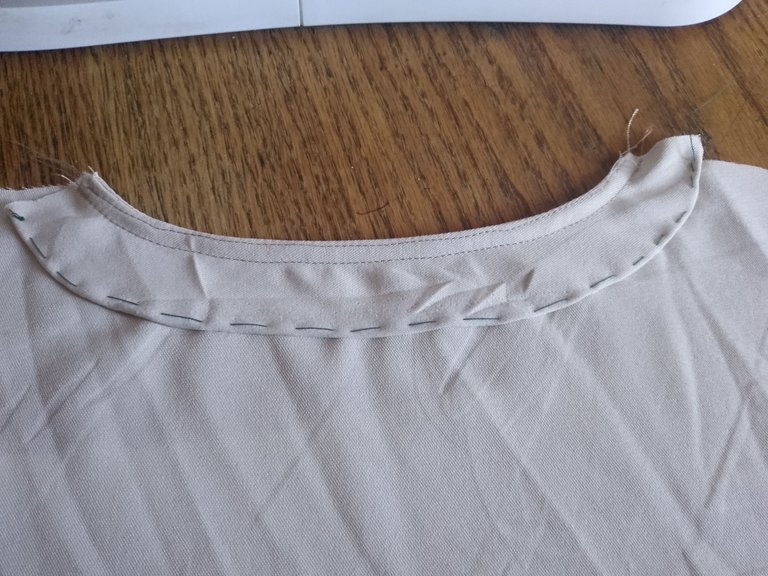
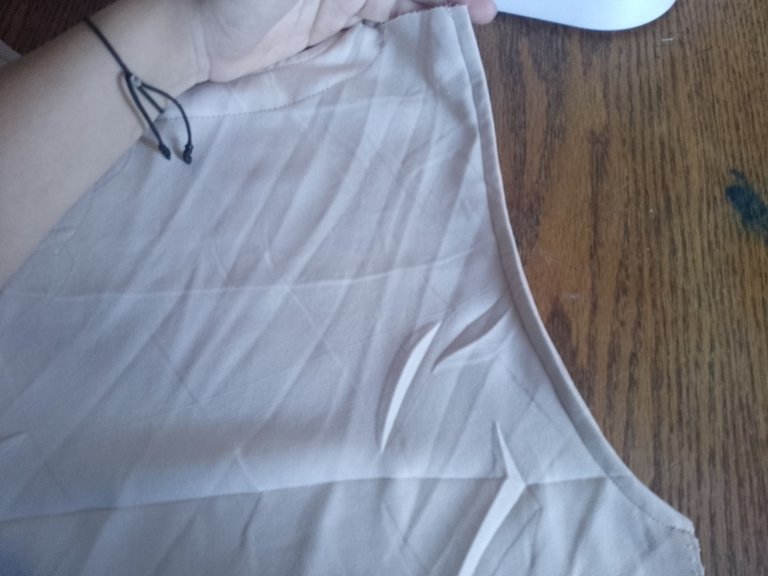
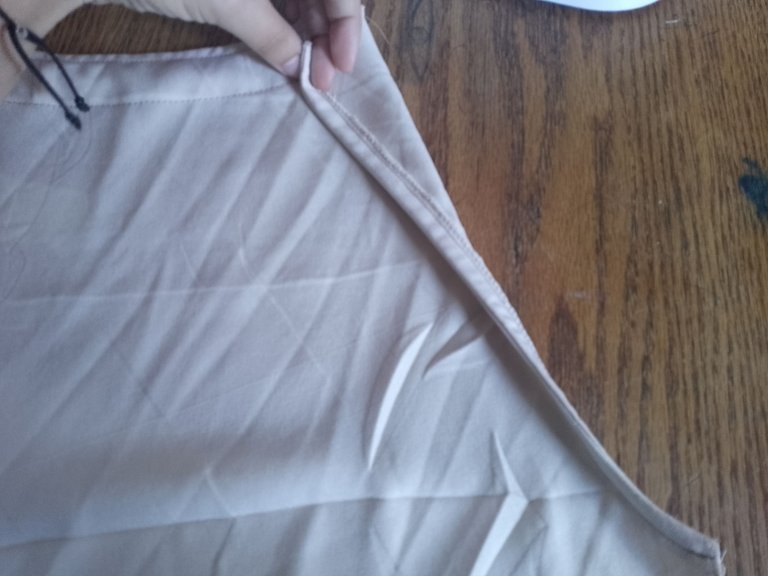
- Para la sisa, agarre dos tiras cortadas al sesgo lo cosí y fije este sesgo volteando hacia adentro y cosiendo, que quede una costura muy limpia en la parte visible de la blusa.
For the armhole, I took two strips cut on the bias, sewed them together and fixed this bias by turning inwards and sewing, leaving a very neat seam on the visible part of the blouse.
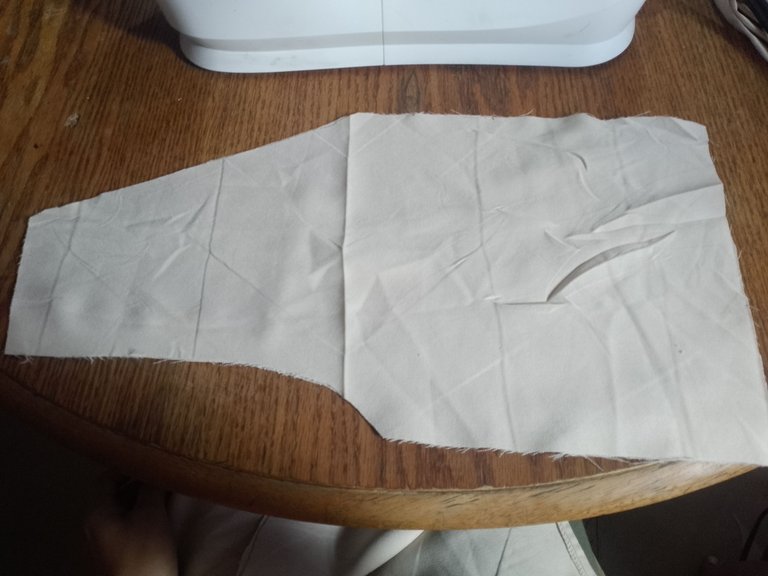
- Para la parte delantera del chaleco corte cuatro piezas ya que lo hice doble y aparte corte lo que serian los tirantes.
For the front part of the vest I cut four pieces since I made it double and I also cut what would be the straps.
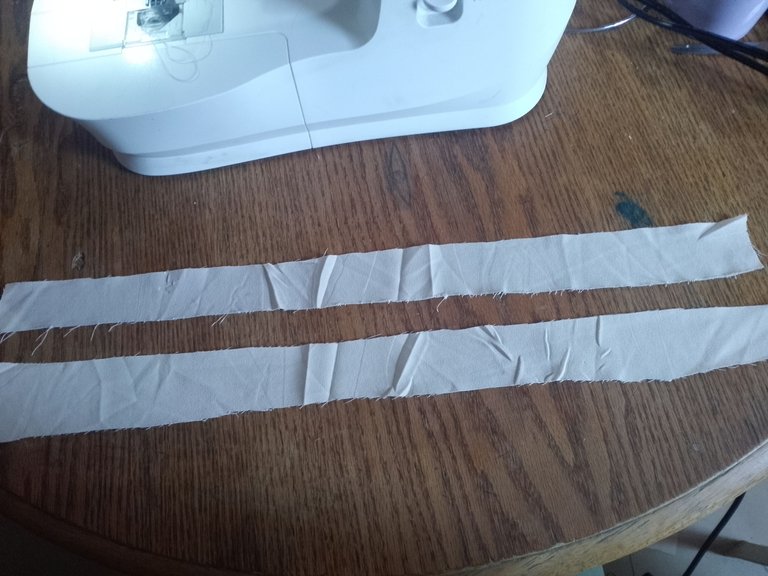
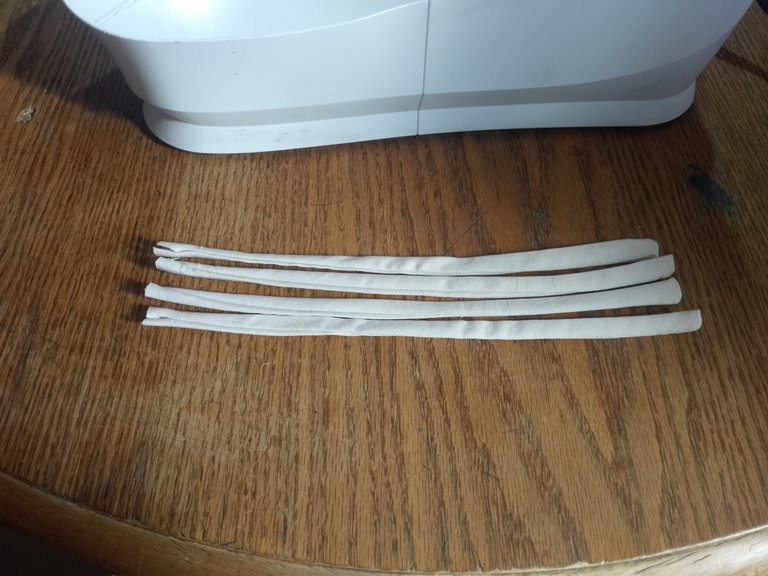
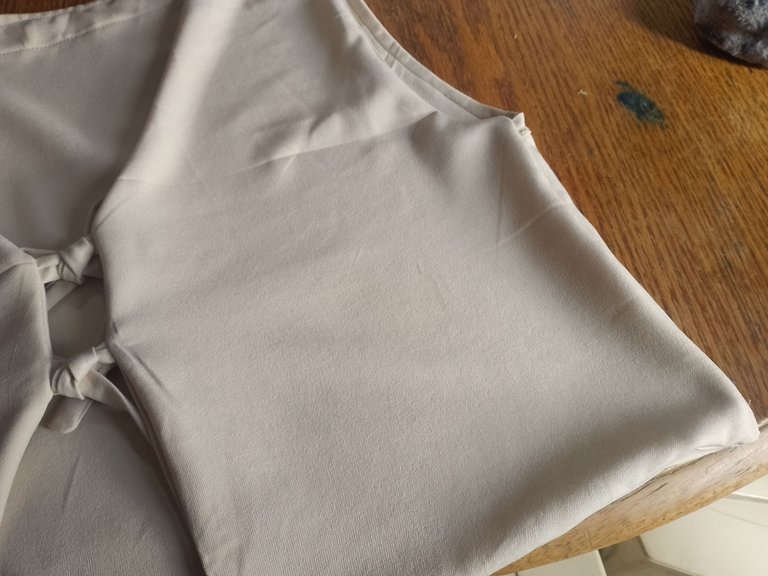
- Ya teniendo los tirantes comenzamos a armar las piezas delanteras de nuestro chaleco, colocamos cada pieza derecho con derecho y le entremetemos los tirantes, unimos partes de sisa, parte de escote hasta abajo junto con los tirantes y parte del ruedo.
After having the straps, we begin to assemble the front pieces of our vest, we place each piece right to right and we insert the straps, we join parts of the armhole, part of the neckline to the bottom together with the straps and part of the hem.
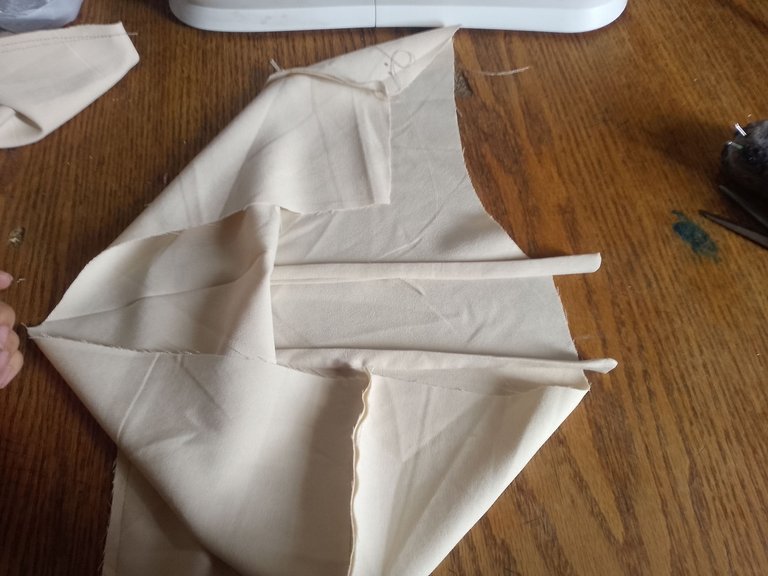
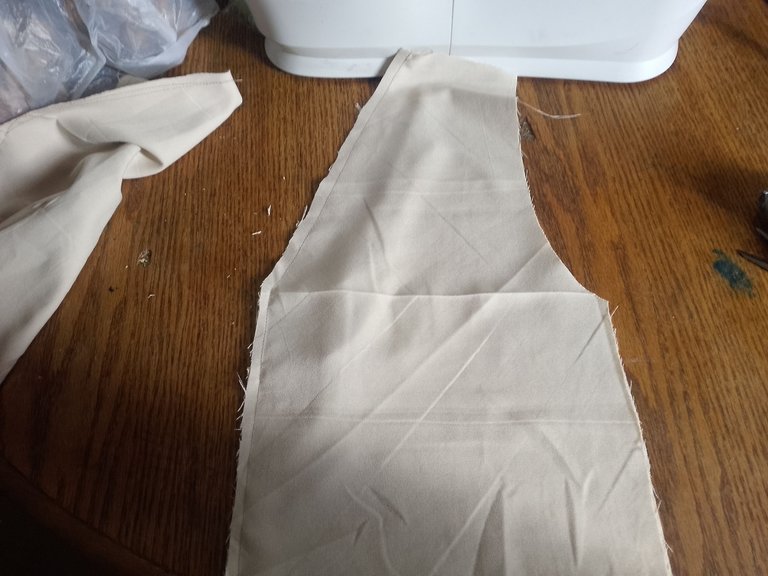
- Volteamos las piezas y revisamos detalles, como que los tirantes estén iguales en cada lado.
We flip the pieces over and check details such as that the straps are equal on each side.
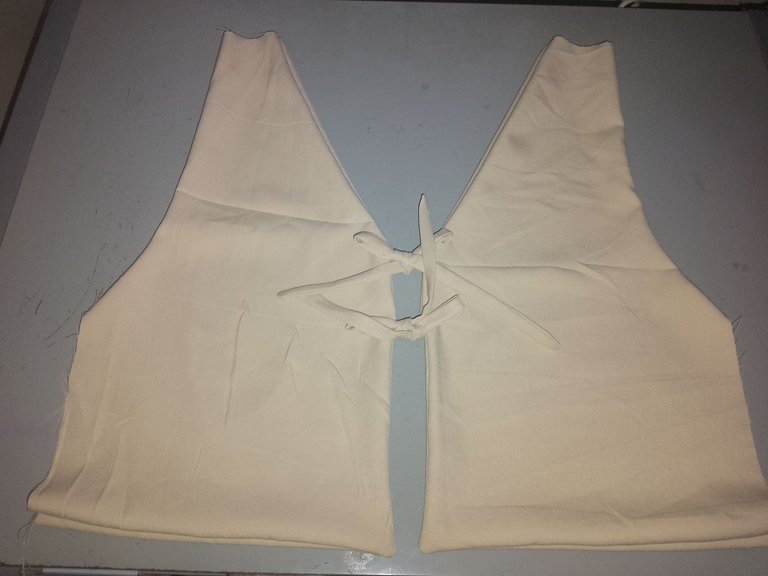
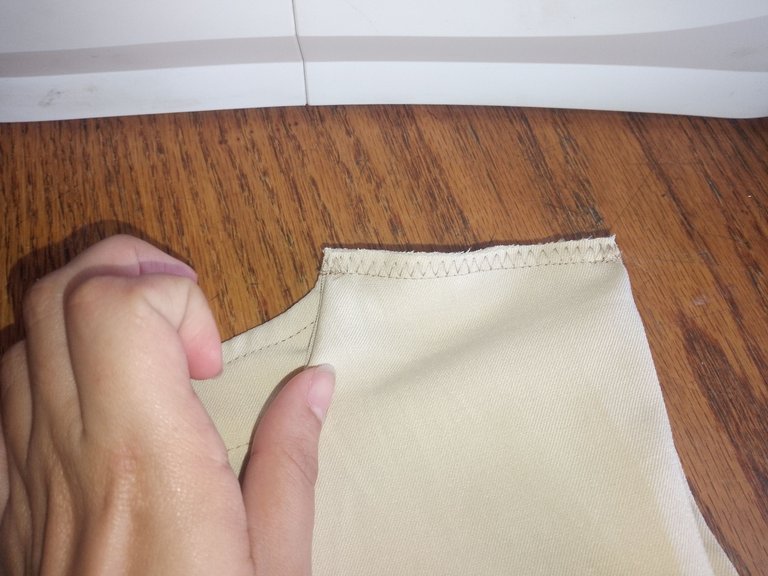
- Le agarre el ruedo a la pieza trasera ya que dejo eso siempre de ultimo, para luego terminar de unir y armar el chaleco. Unimos en hombros, en los extremos y finalizamos.
I grabbed the hem of the back piece since I always leave that last, and then finished joining and assembling the vest. We join at the shoulders, at the ends and finish.
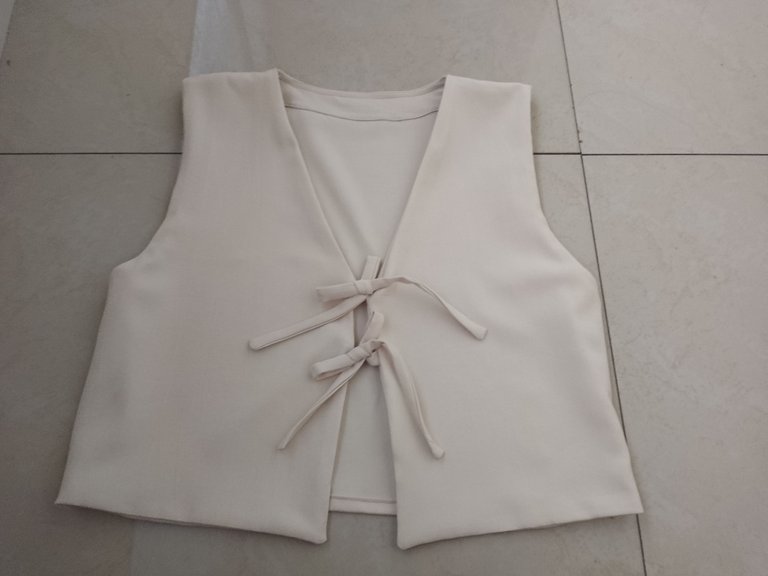
- Y así queda el chaleco, cuando lo finalice me pareció que fue rápido y fácil, creo que me hare otro pero diferente modelo ya le estaré mostrando.
And so is the vest, when I finished it I thought it was quick and easy, I think I'll make another but different model and I'll be showing you.


♡ Imágenes y textos son propiedad del autor
♡ Edición: Canva - Picsart
♡ Traductor: DeepL
♡ Images and texts are property of the author.
♡ Editing: Canva - Picsart
♡ Translator: DeepL
The vest looks cute, I love that you pay attention to neat finishing, excellent work!
Quedo muy lindo tu chaleco.
Gracias 😊
💛🤗
Este chaleco está precioso, el color y la tela lo hacen súper elegante.
Este modelo tiene rato siendo tendencia, no sé por qué no me he atrevido a realizarlo. Es una pieza muy combinable, Te felicito
Good👍