Hola querida comunidad de hive ya que hice mi presentación, aquí les comparto un proceso detallado de cómo realizar unas hermosas pantuflas, espero les guste y les sirva de mucho para todos ustedes.
Hello dear hive community since I made my presentation, here I share a detailed process of how to make beautiful slippers, I hope you like it and it will be of much use to all of you.
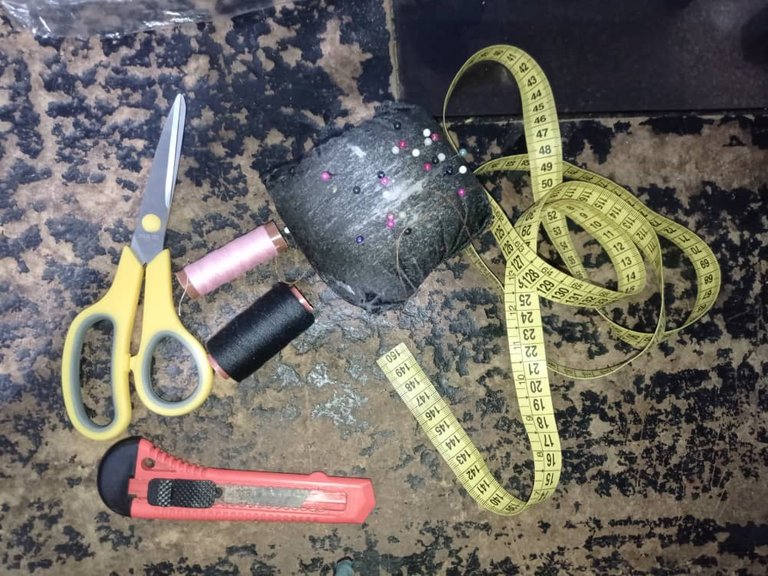
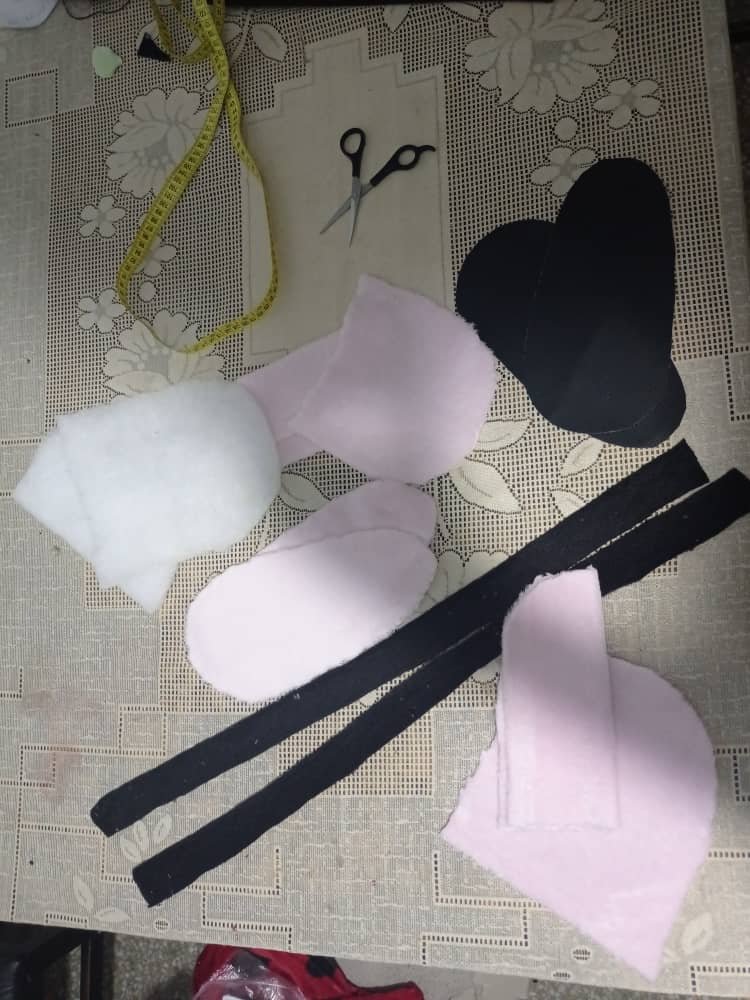
Materiales: / Materials
Materiales a utilizar para realizar una pantufla son tijeras, hilo, alfileres, ajugas, metro o cinta métrica, corta exacto.
Materials to use to make a slipper are scissors, thread, pins, adjusters, meter or tape measure, cut exactly.
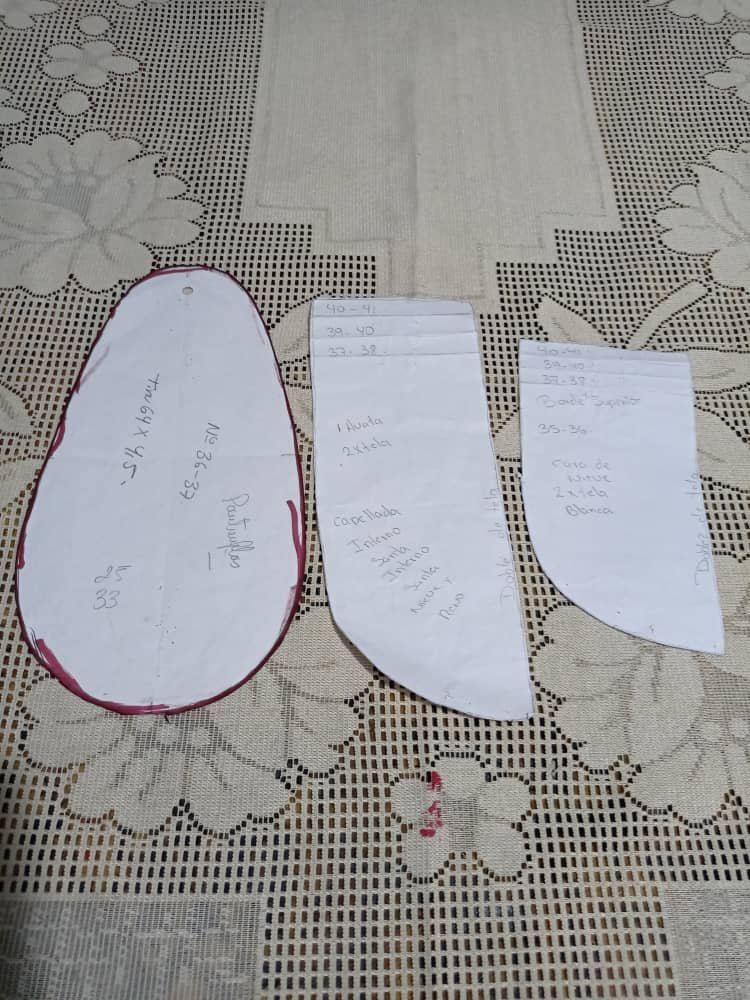
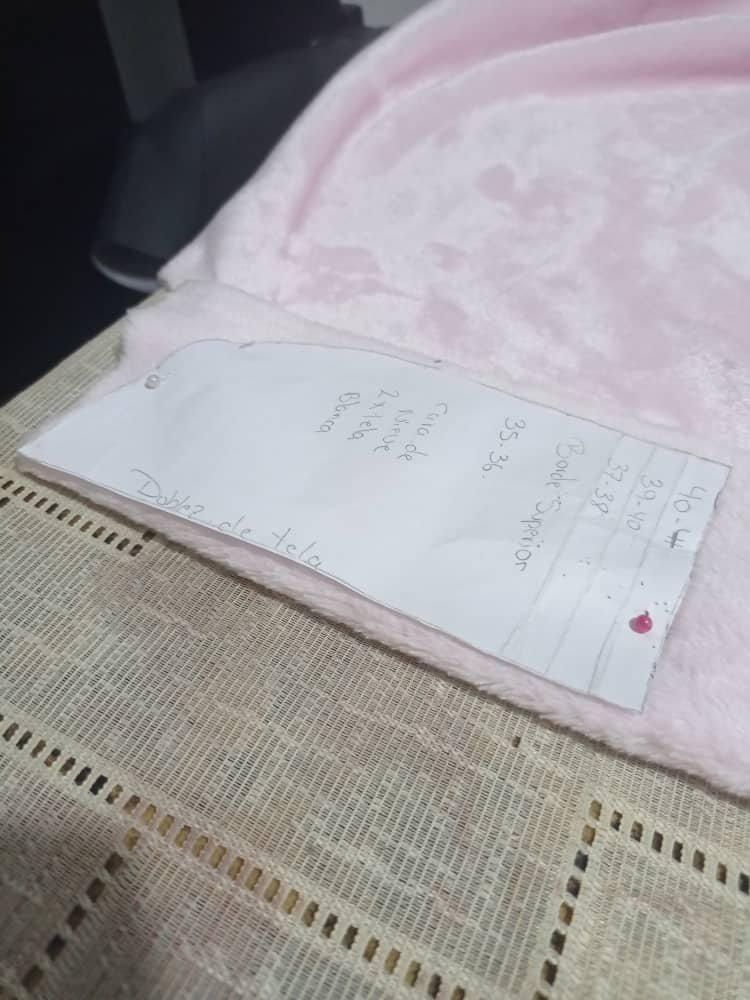
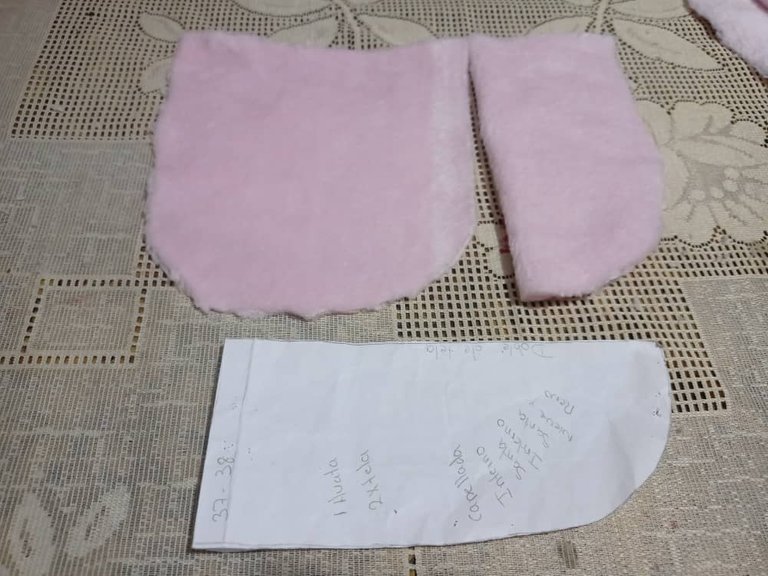
También utilizaremos los patrones, patrones capellada principal, capellada exterior y plantilla de la suela, para tener la medida y la talla de nuestra pantuflas en este caso está las voy hacer 36-37.
We will also use the patterns, main upper, outer upper and insole of the sole, to have the measurement and the size of our slippers in this case I will make them 36-37.
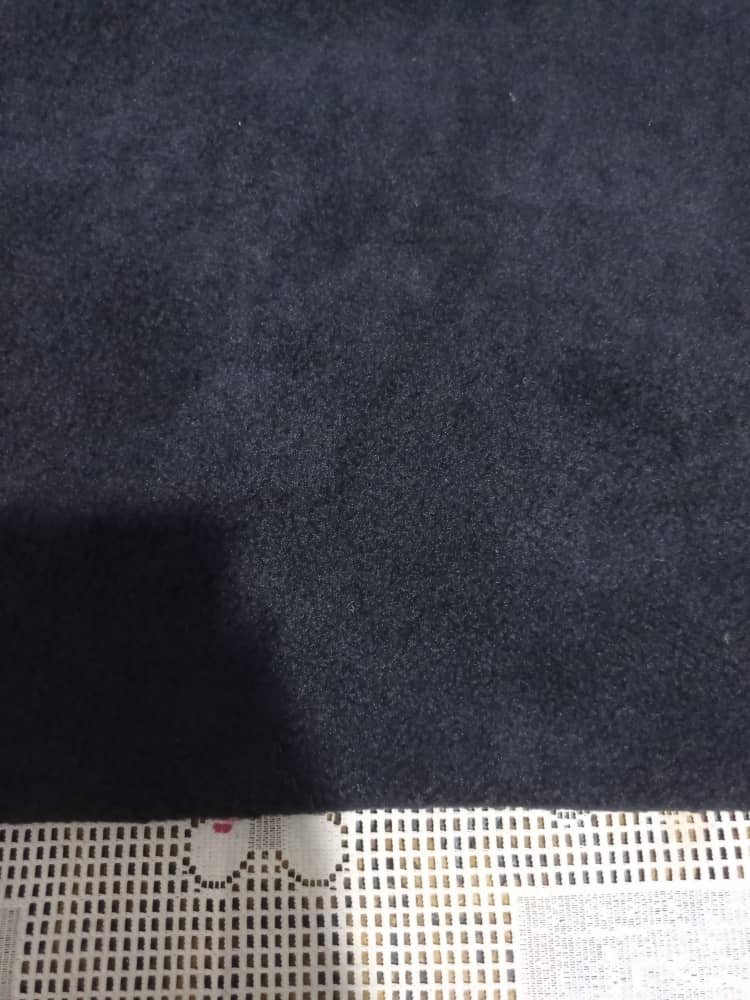
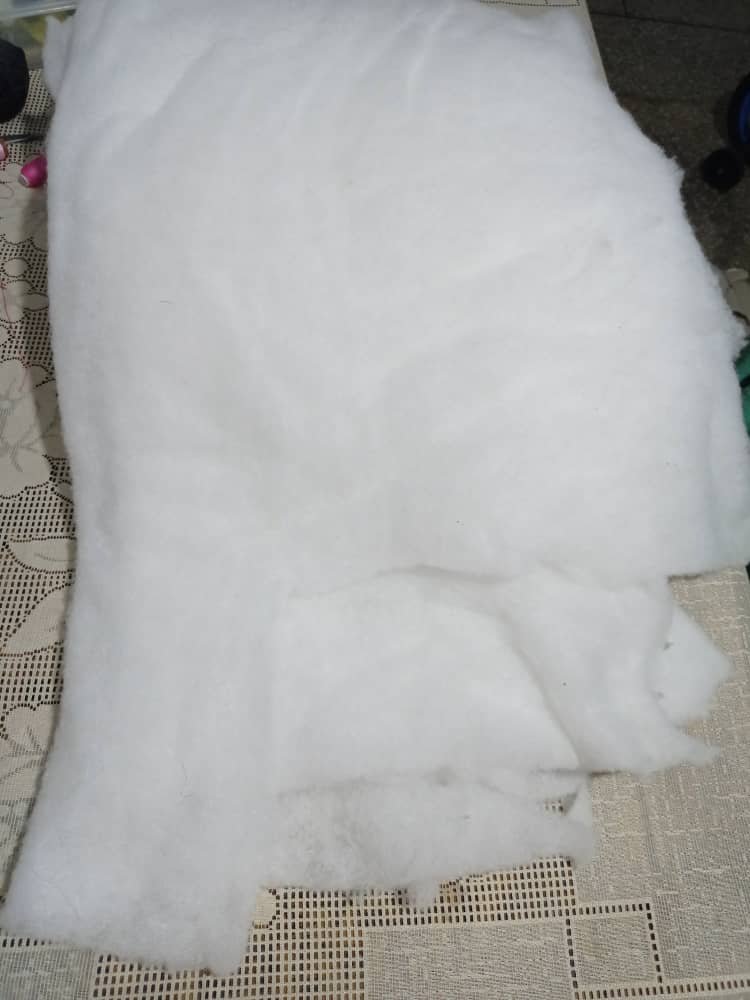
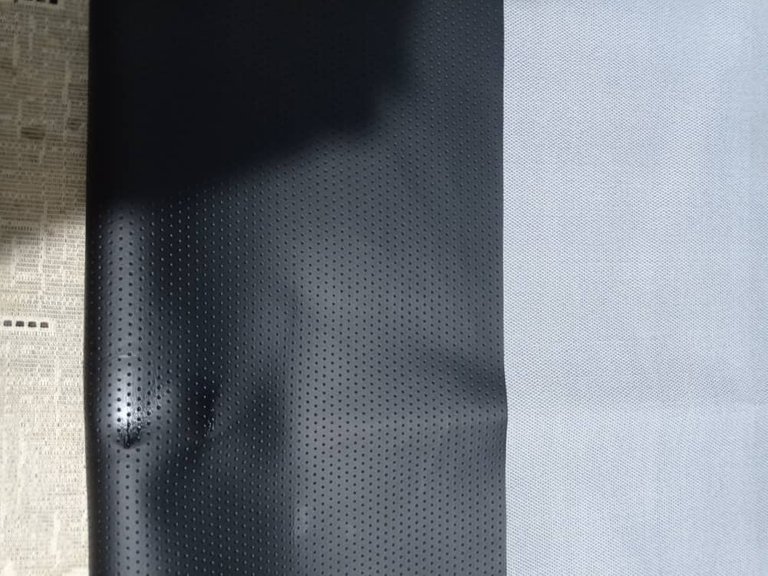
También utilizaremos Tela flex, Manta polar, Guata, Cuerina o tela de tapicería, Goma espuma.
We will also use flex fabric, fleece blanket, wadding, leather or upholstery fabric, foam rubber.

Procedimiento: / Process
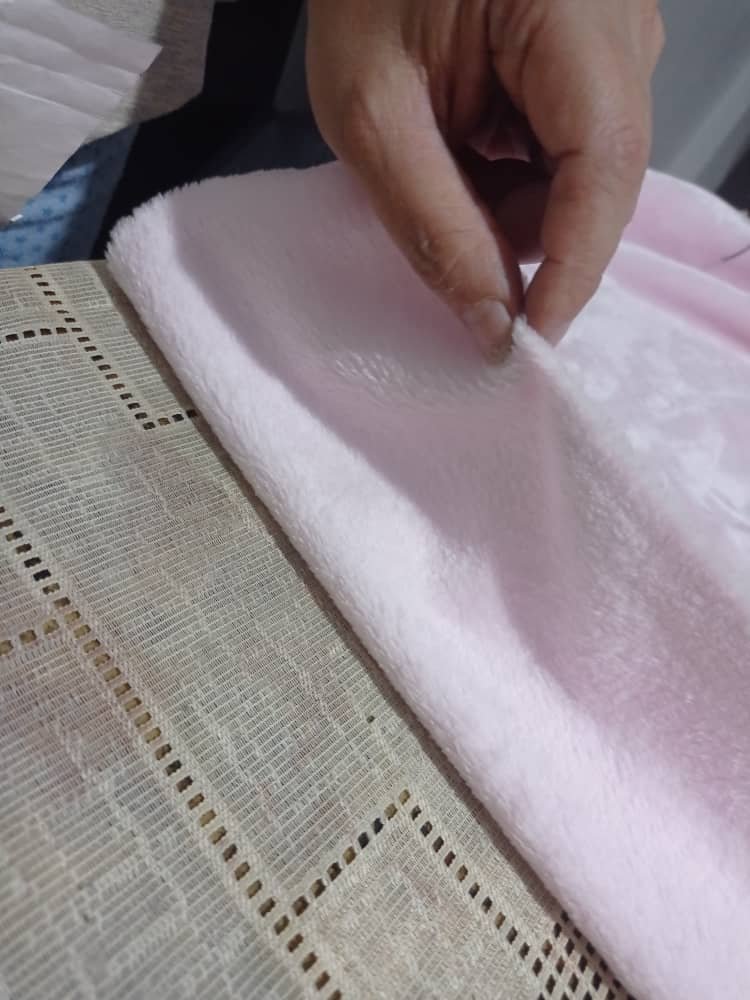
Paso # 1:
Se coloca dobles de tela flex.
Step 1:
Double flex fabric is placed.
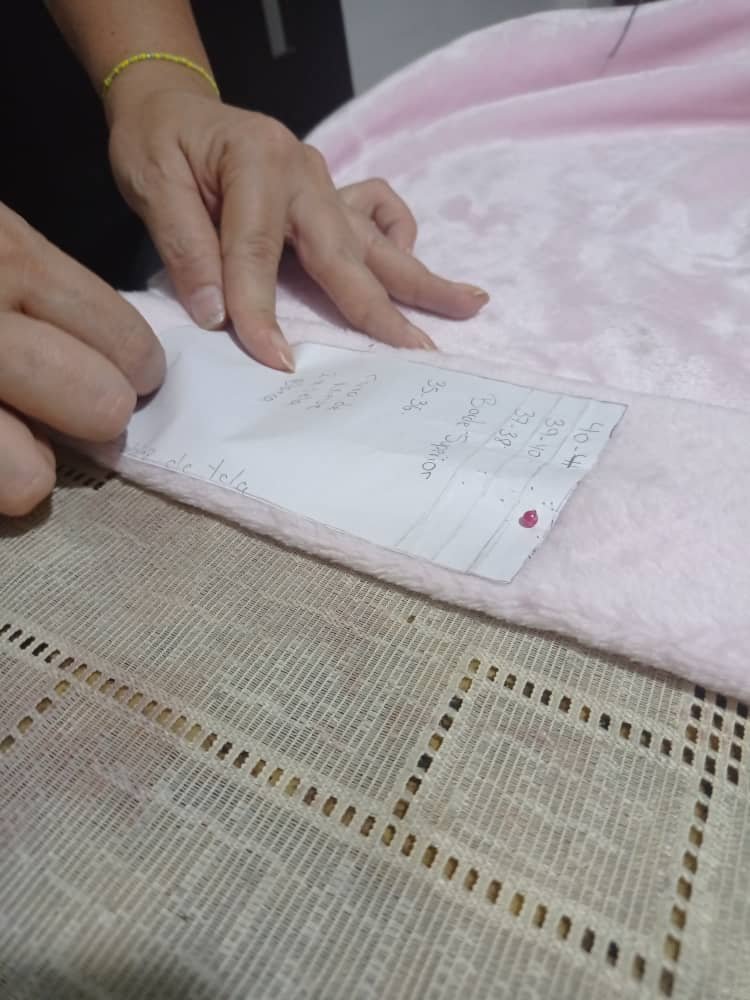
Paso #2:
Se traza el patrón en la tela a la medida que se va a carta.
Step 2:
The pattern is traced on the fabric as it is going to letter.
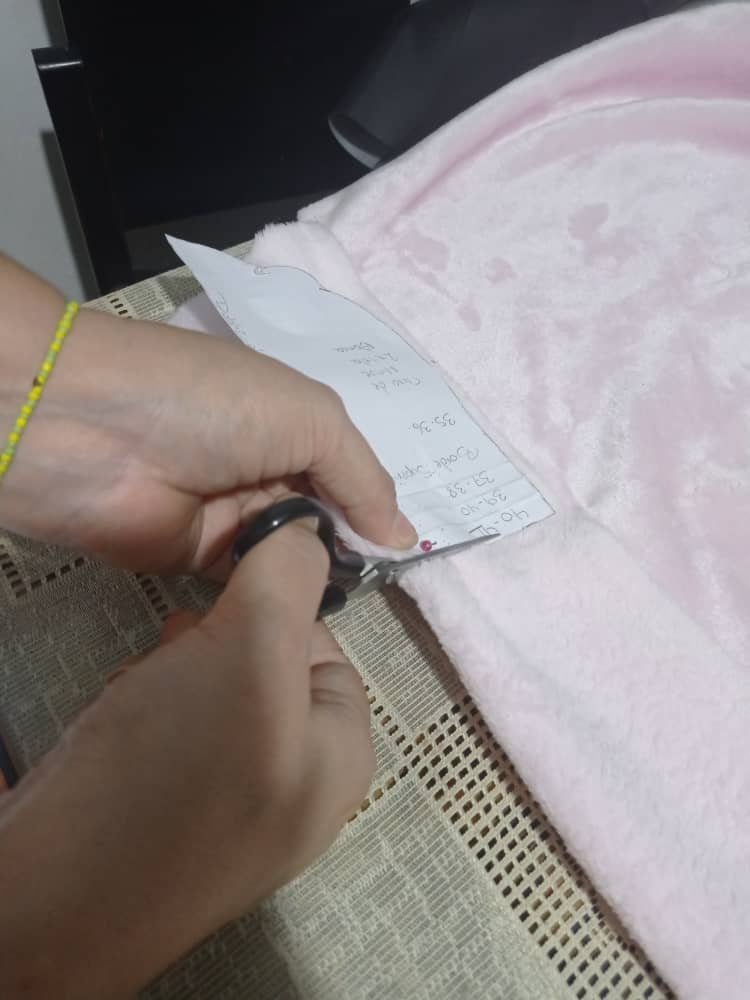
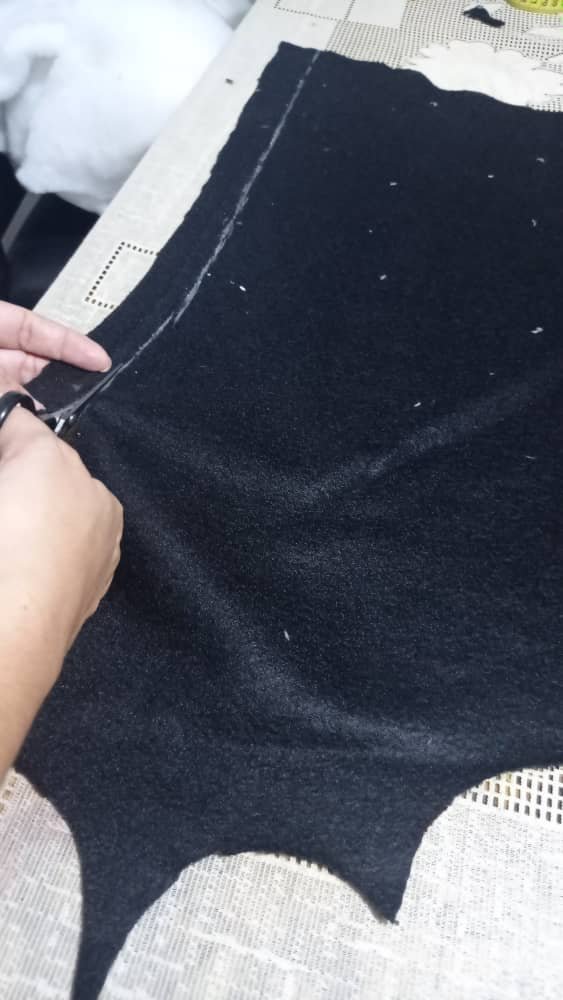
Paso #3:
Se corta la capellada principal.
Step 3:
The main upper is cut.
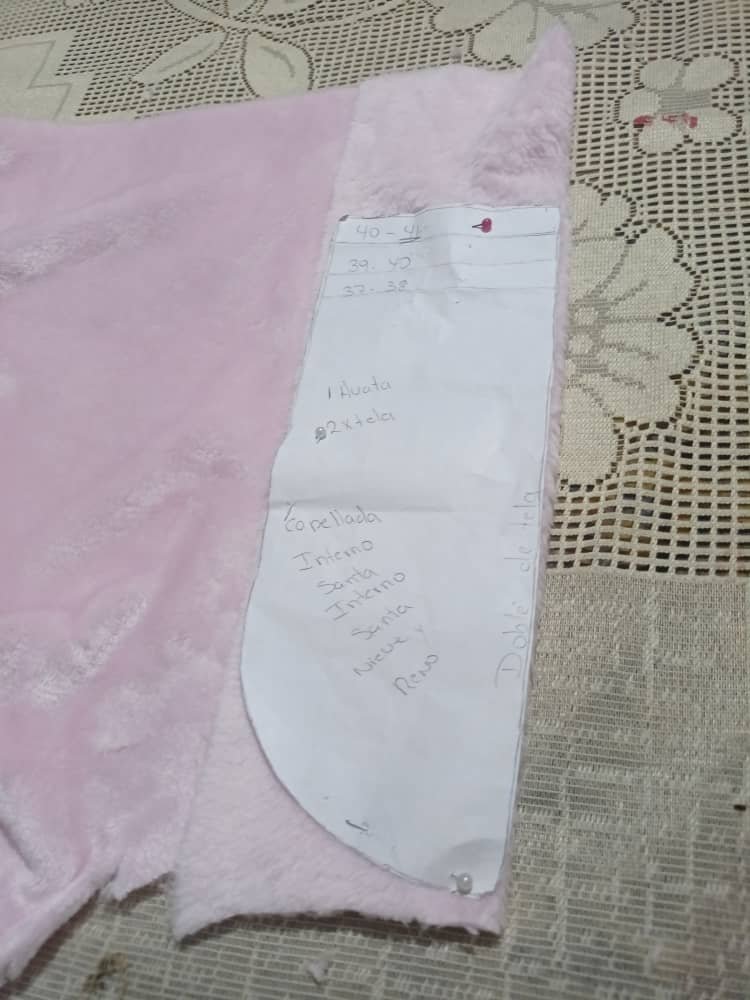
Paso #4:
Se traza la capellada exterior.
Step 4:
The outer upper is traced.
Paso #5:
Se corta la capellada exterior.
Step # 5:
The outer upper is cut.
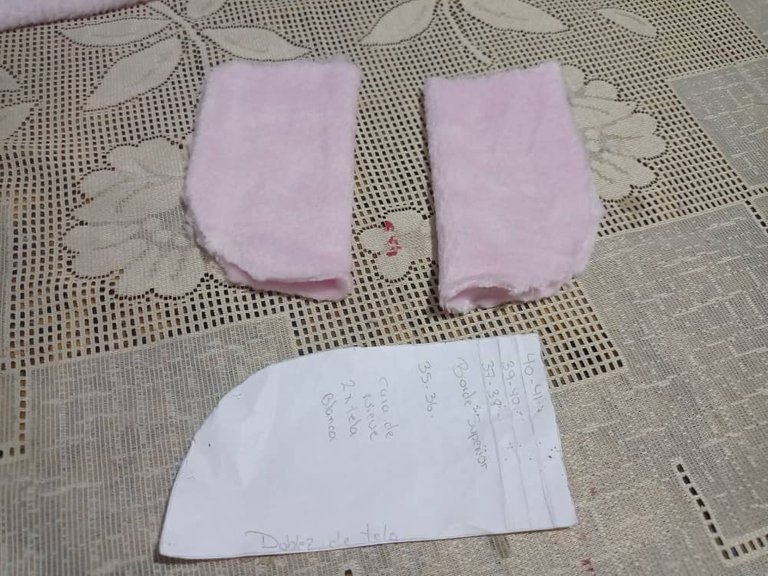
Paso #6:
Ya cortadas las capelladas superior de ambas pantuflas.
Step # 6:
Already cut the upper upper of both slippers.
Paso #7:
Ya cortadas ambas capellada exterior procedemos al siguiente paso.
Step # 7:
Once both outer upper are cut, we proceed to the next step.
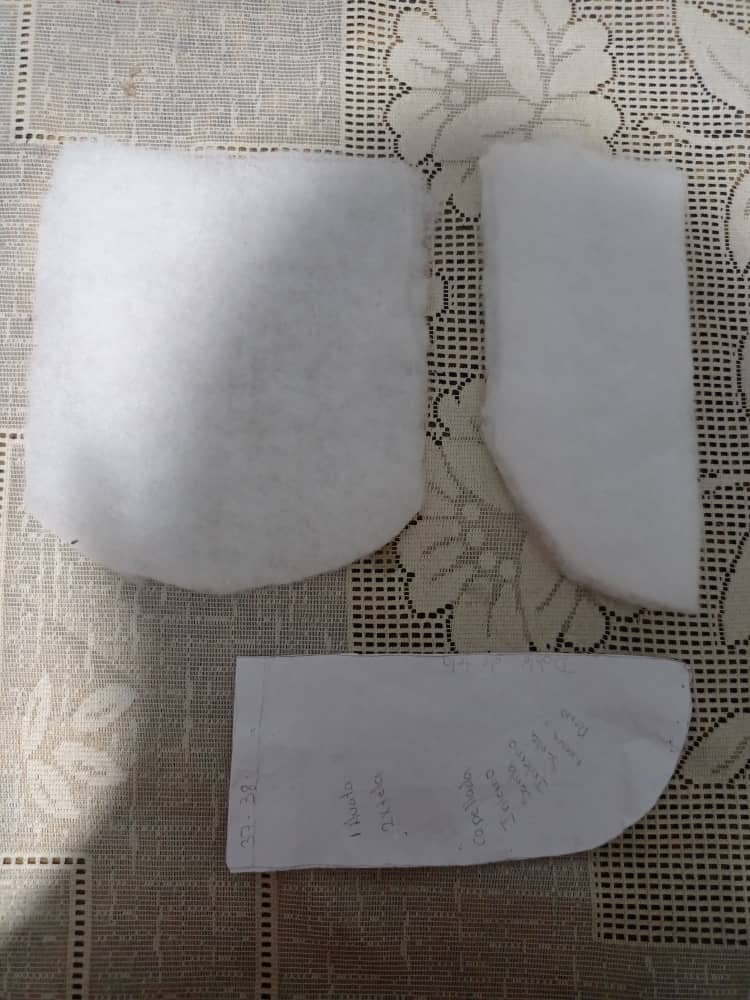
Paso #8:
Se cortan también la guata a medida de la capellada exterior.
Step # 8:
The batting is also cut to size for the outer upper.
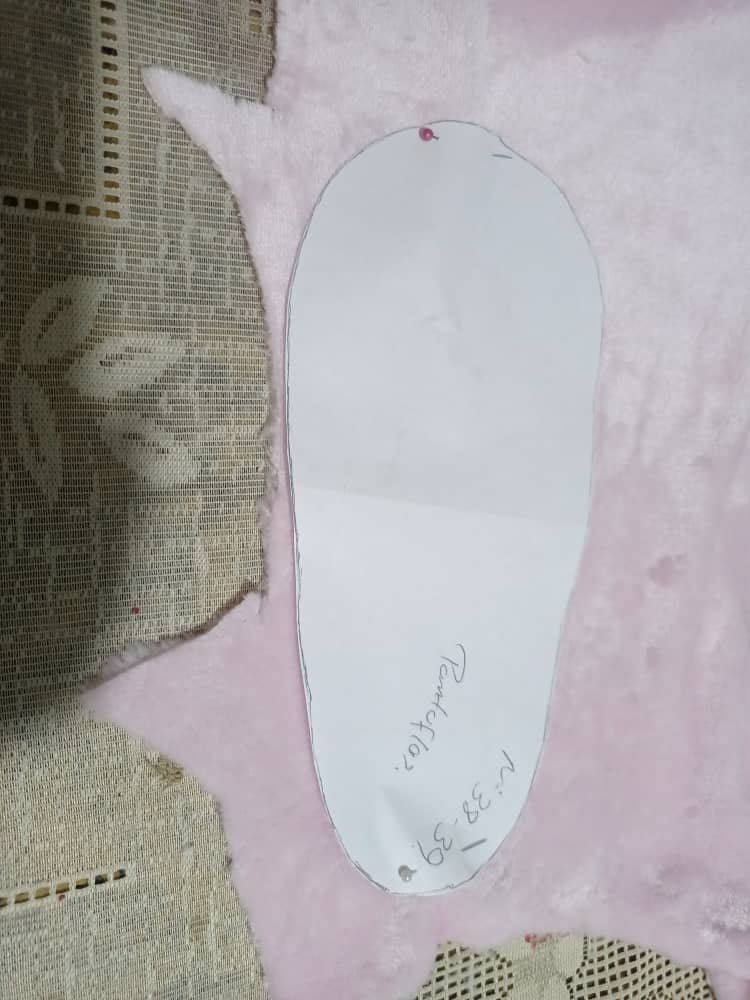
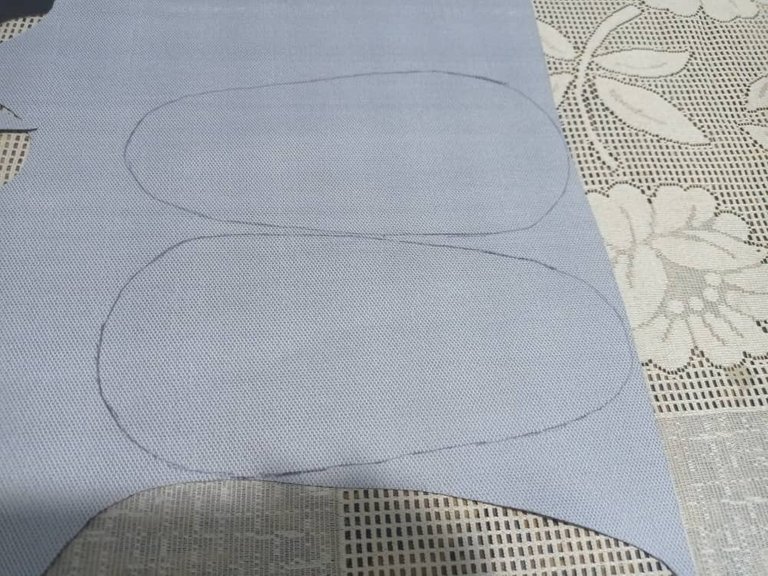
Paso #9:
Se marcan las plantillas.
Step # 9:
The templates are marked.
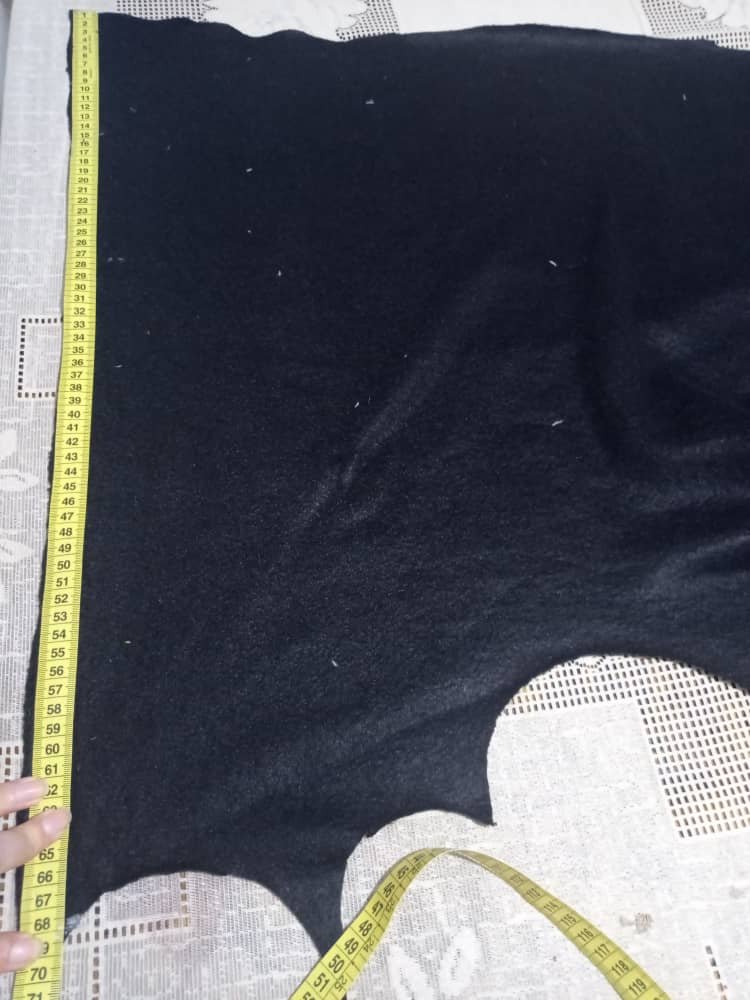
Paso #10:
Se cortan dos tiras o fuelle de manta polar negra de 67cm de largo ×4,5 de ancho.
Step # 10:
Two strips or bellows of black fleece blanket 67cm long × 4.5 wide are cut.
Paso #11:
El corte de las 2 tiras o fuelle.
Step # 11:
The cut of the 2 strips or bellows.
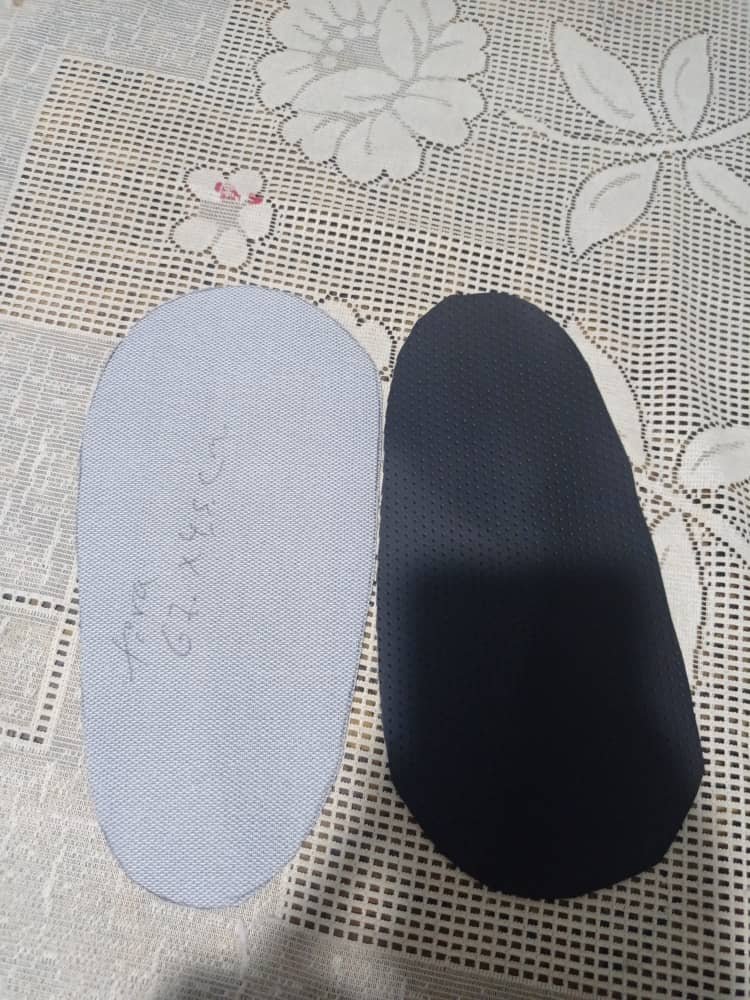
Paso #12:
Se marcan las plantillas en la cuerina o tela de tapicería.
Step # 12:
The insoles are marked on the leather or upholstery fabric.
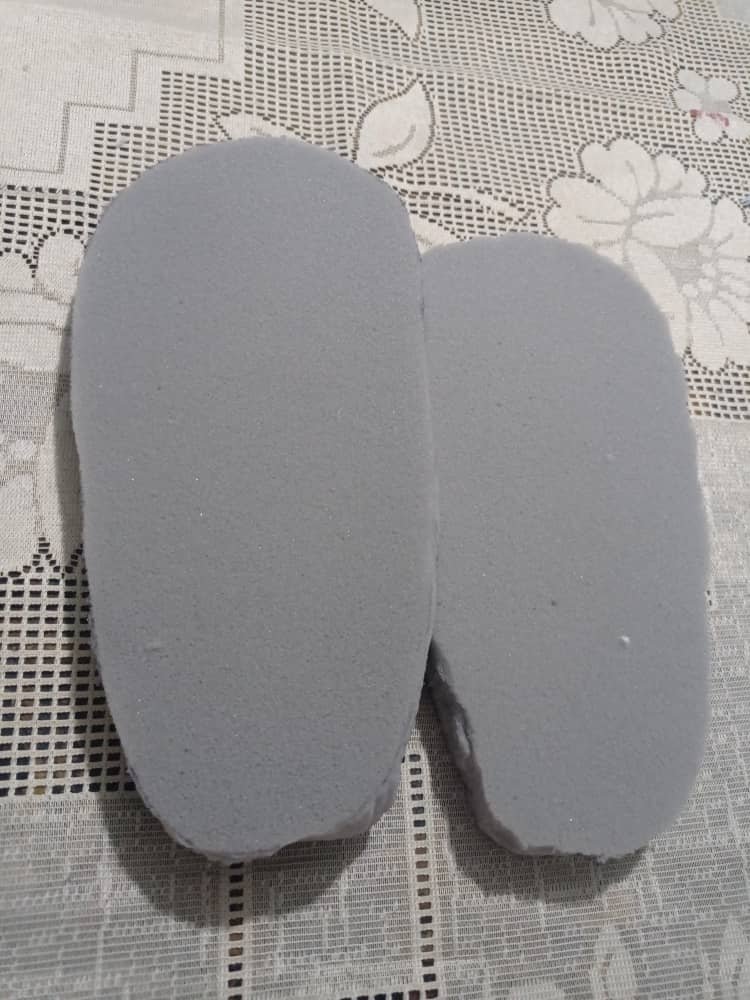
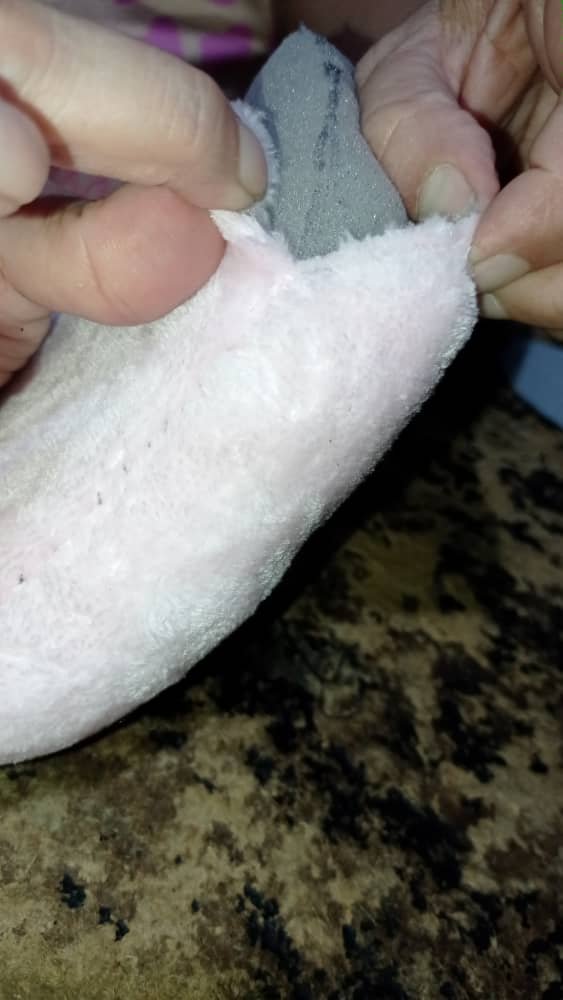
Paso #13:
También cortamos la goma espuma a medida de la plantilla de su preferencia.
Step # 13:
We also cut the foam rubber to size according to the template of your choice.
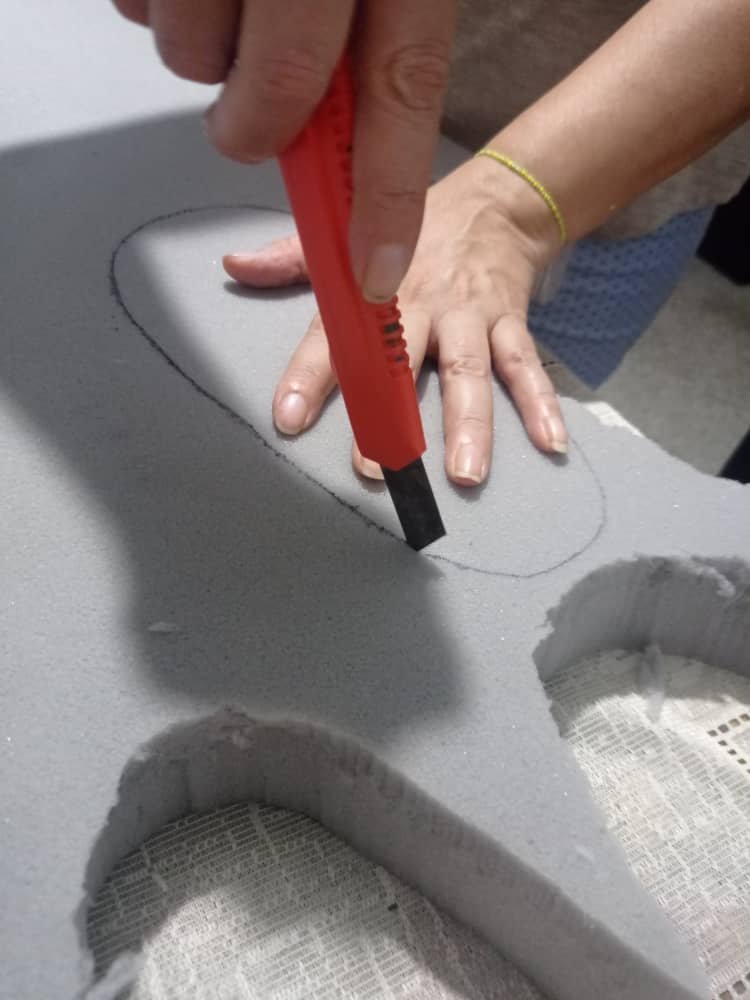
Paso #14:
Cortando la goma espuma.
Step # 14:
Cutting the foam rubber.
Paso #15:
Ya teniendo todo cortado empezamos a armar.
Step # 15:
Having already cut everything, we begin to assemble.
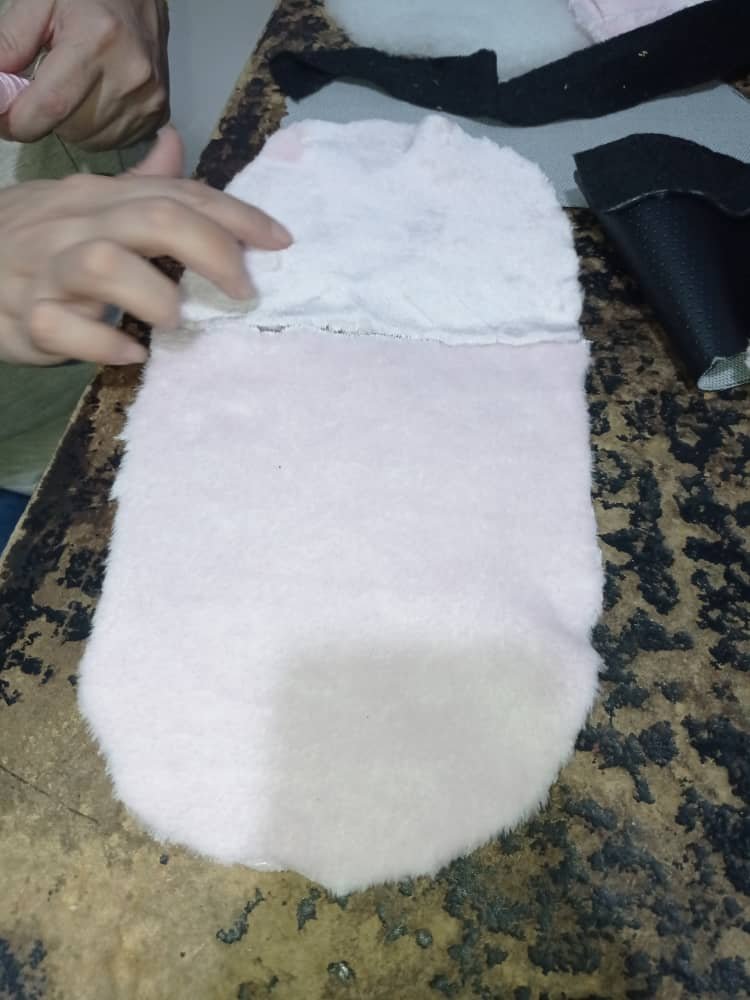
Paso #16:
Unimos capellada superior con la exterior.
Step # 16:
We join upper upper with the outer.
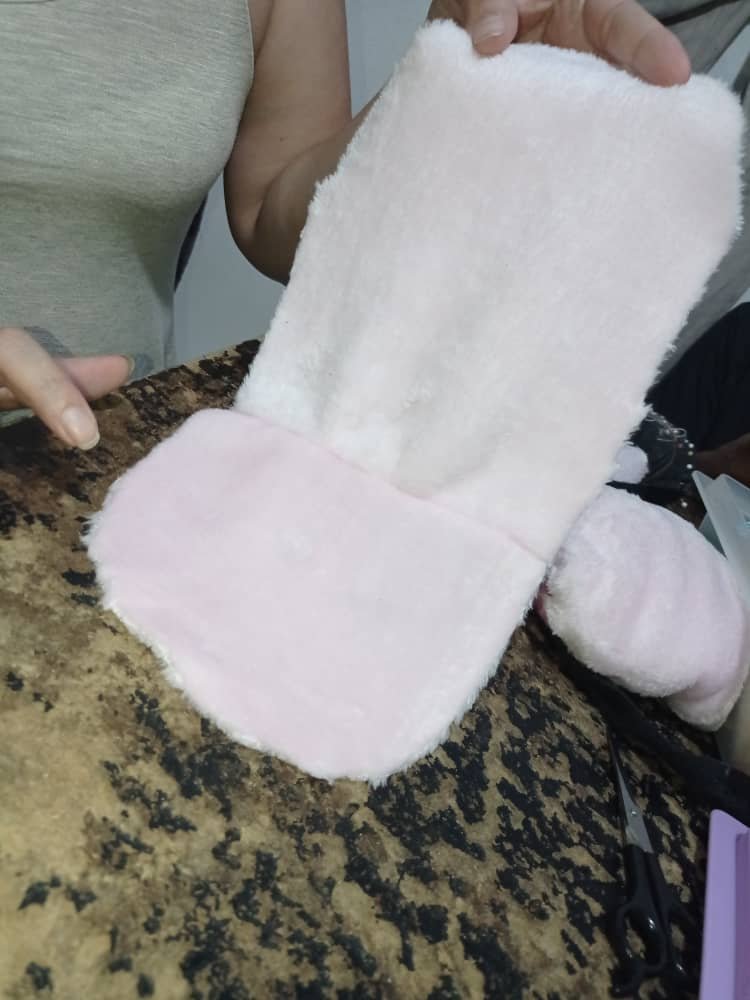
Paso #17:
Ya cocida ambas capellada.
Step # 17:
Both uppers already cooked.
Paso #18:
Procedemos a cocer la guata en la capellada superior.
Step # 18:
We proceed to cook the wadding in the upper upper.
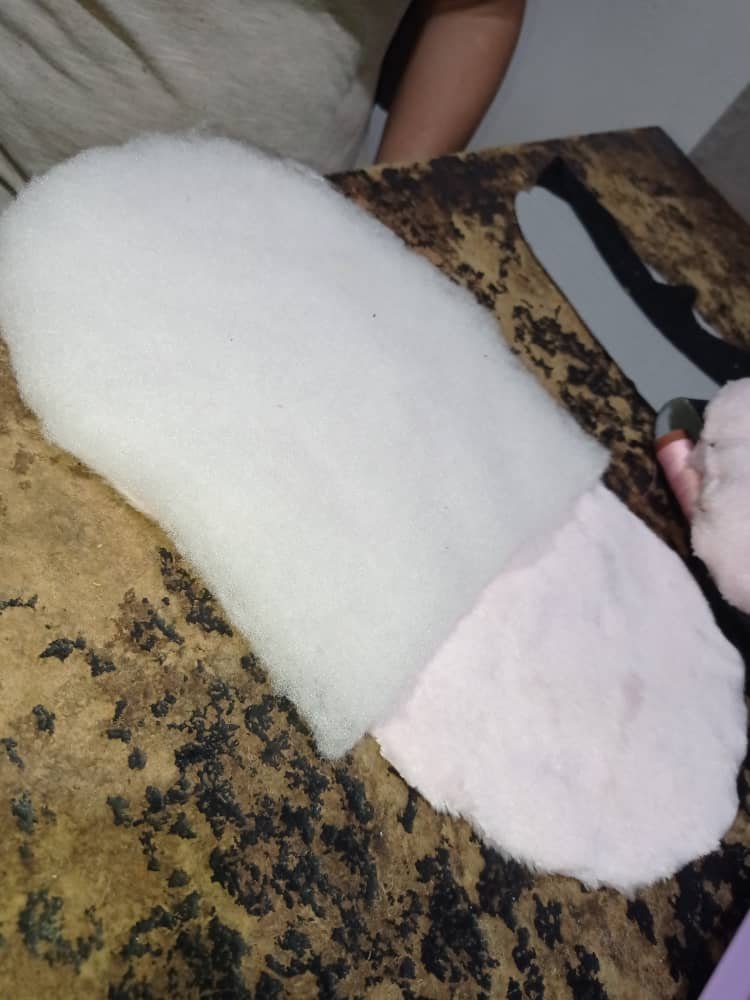
Paso #19:
la guata en la capellada superior.
Step # 19:
the wadding on the upper upper.
Paso #20:
Listo ya la guata cocida en la capellada empezamos a unir anbas capellada.
Step # 20:
Ready and the wadding cooked in the upper we begin to join anbas capellada.
Paso #21:
Unidas ambas capellada
Step # 21:
United both upper
Paso #22:
Ya unidas ambas capelladas procedemos a coser la plantilla.
Step # 22:
Once both uppers are joined, we proceed to sew the template.
Paso #23:
Esta es la plantilla.
Step # 23:
This is the template.
Paso #24:
Pero antes de coser a las capellada ay que proceder a hacerle unos piquetes a mitad.
Step # 24:
But before sewing to the upper, we must proceed to make a few notches in the middle.
Paso #25:
Así y procedemos a coser en la capellada quedando la capellada superior en la parte de arriba.
Step # 25:
Thus and we proceed to sew on the upper leaving the upper upper part on top.
Paso #26:
Así la capellada superior arriba.
Step # 26:
So the upper upper up.
Paso #27:
Se cose por ambos lados dejando una abertura en la parte de adelante.
Step # 27:
It is sewn on both sides leaving an opening in the front.
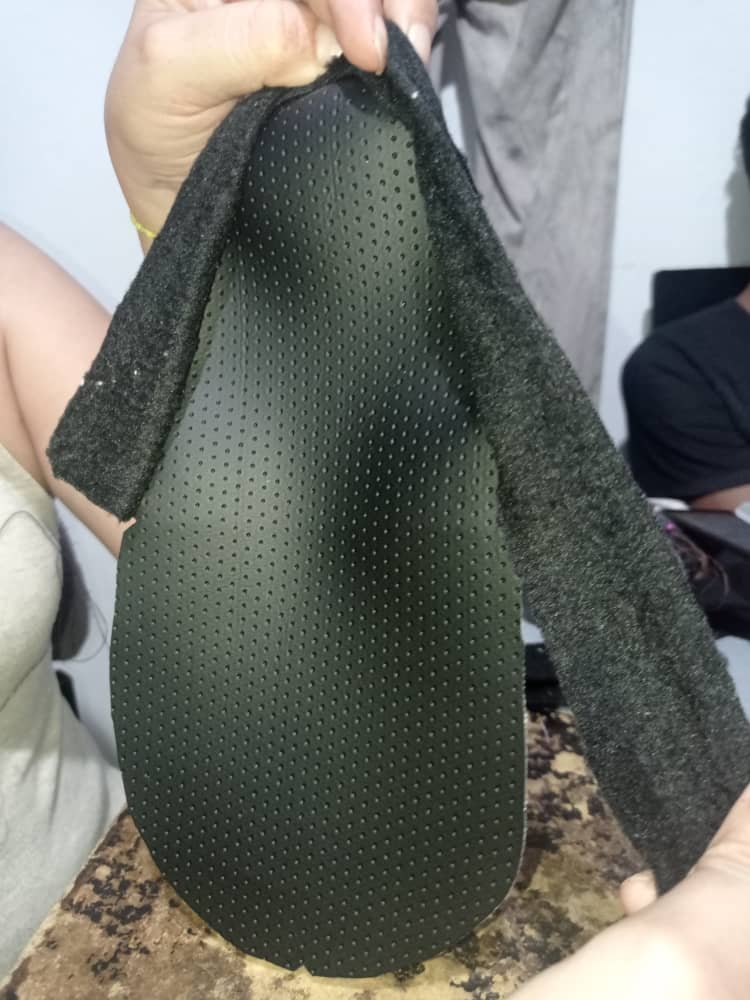
Paso #28:
Luego cosemos la tira o fuelle al contorno de la plantilla que cortamos con la cuerina o tela de tapicería.
Step # 28:
Then we sew the strip or gusset to the contour of the template that we cut with the leather or upholstery fabric.
Paso #29:
Igual a ellos se le hace un piquete en la mitad al dividirlas.
Step # 29:
Just like them, a picket is made in the middle by dividing them.
Paso #30:
Ya cocida la tira o fuelle de la plantilla procedemos en coser las capelladas con las plantillas que ya habíamos armado.
Step # 30:
Once the strip or gusset of the insole is cooked, we proceed to sew the upper with the insoles that we had already assembled.
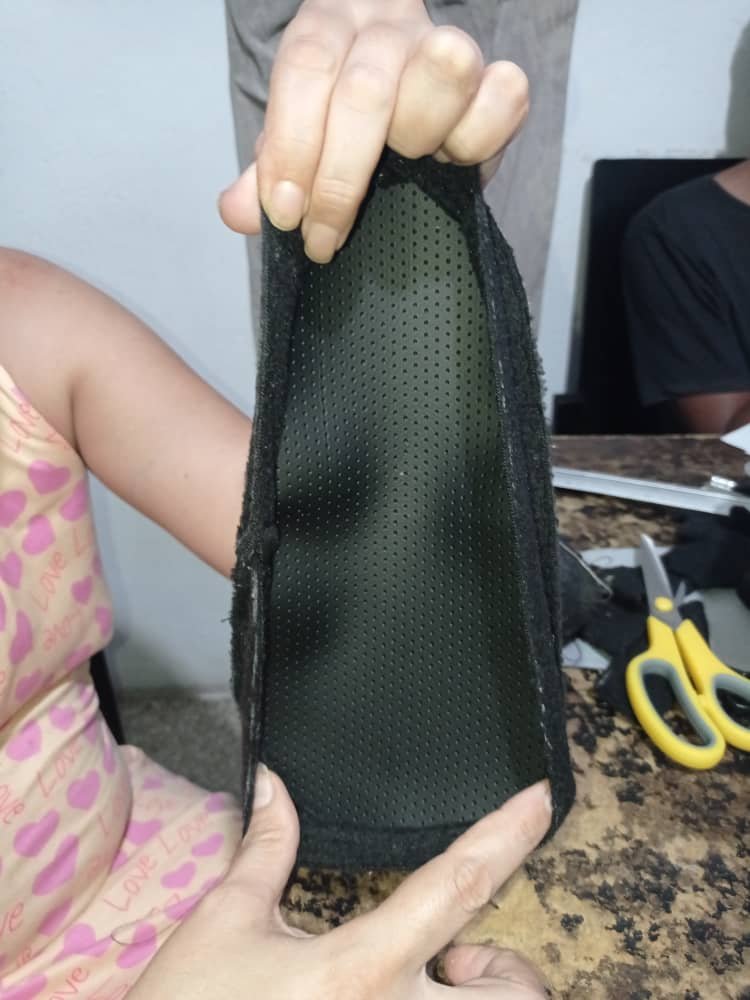
Paso #31:
Aquí ya estamos uniendo.
Step # 31:
Here we are already joining.
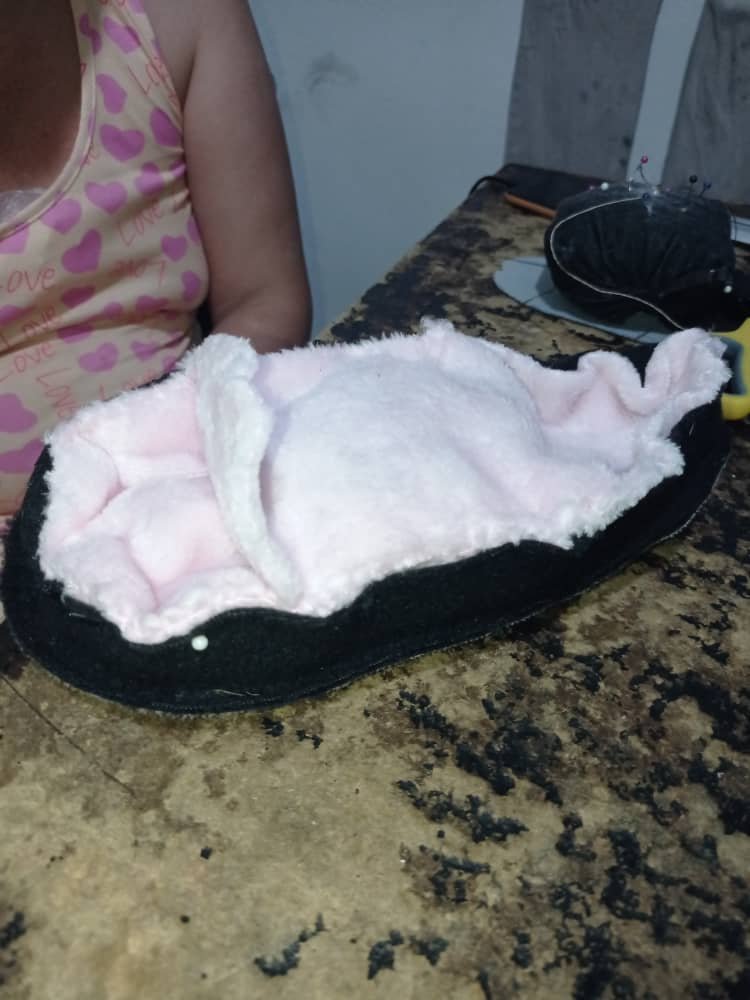
Paso #32:
Armando ya la pantuflas.
Step # 32:
Assembling the slippers now.

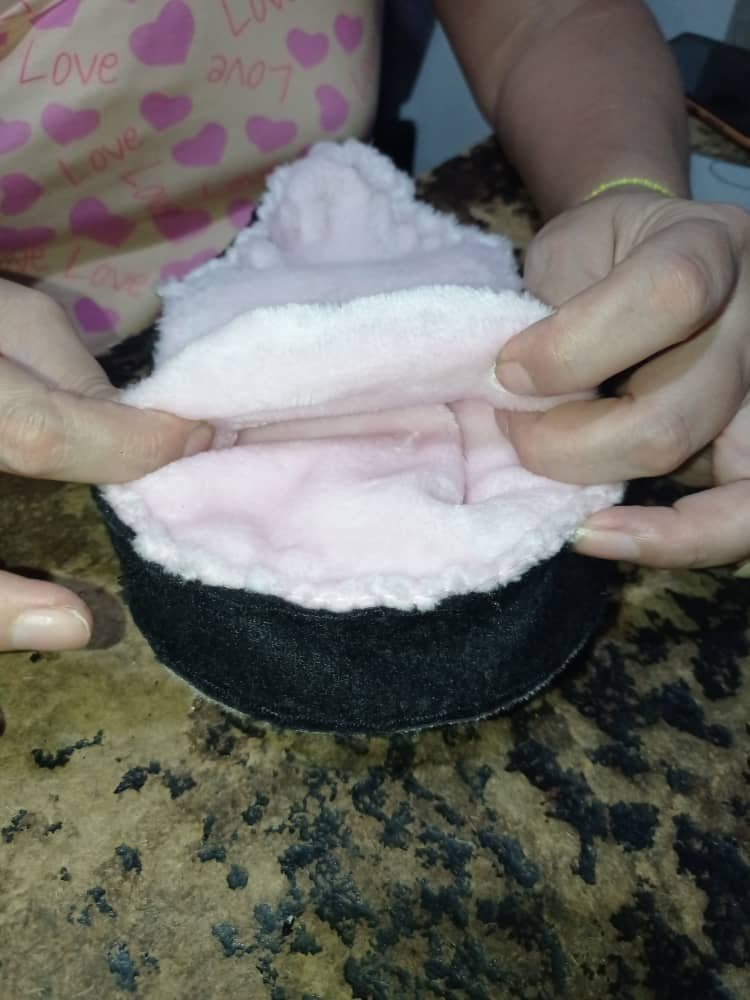
Paso #33:
Ya cocida todo al rededor de se le deja la abertura para meter la goma espuma.
Step # 33:
Once everything is cooked around it, the opening is left to put the foam rubber.
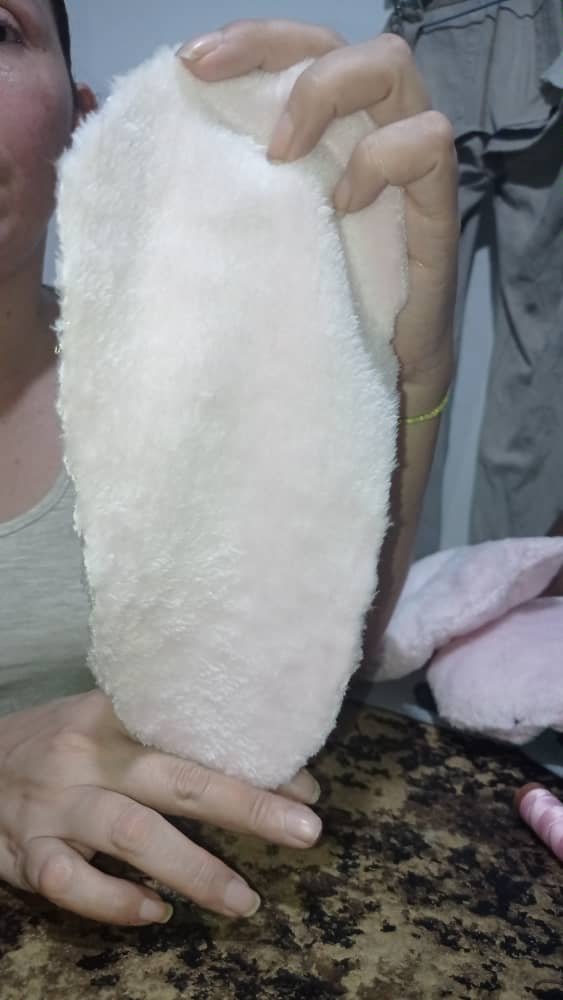
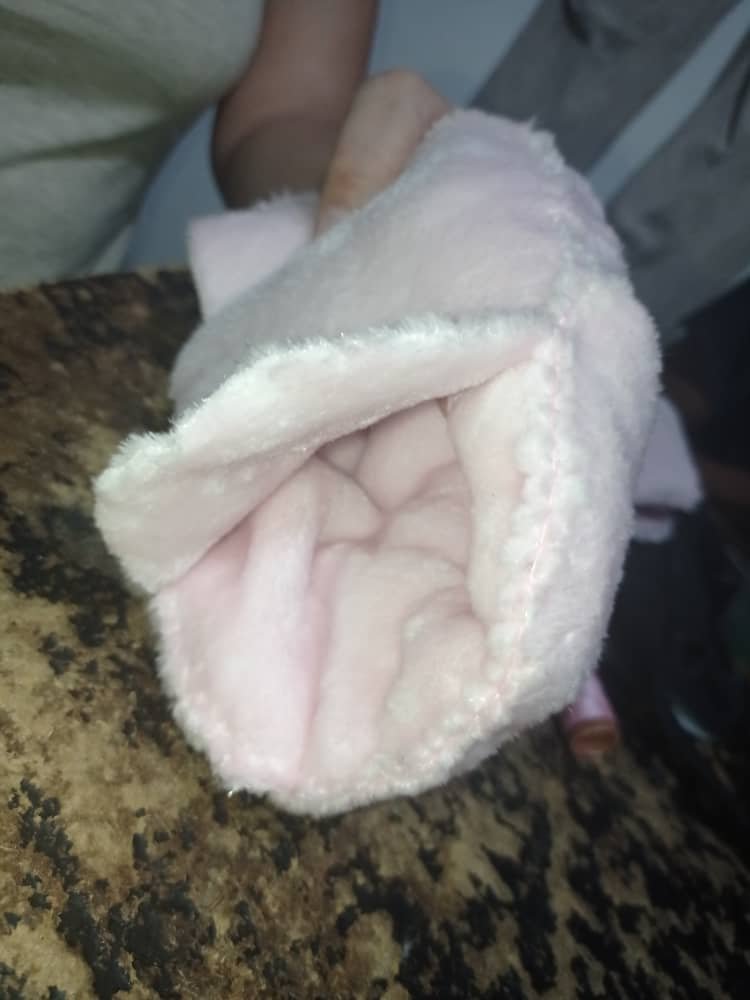
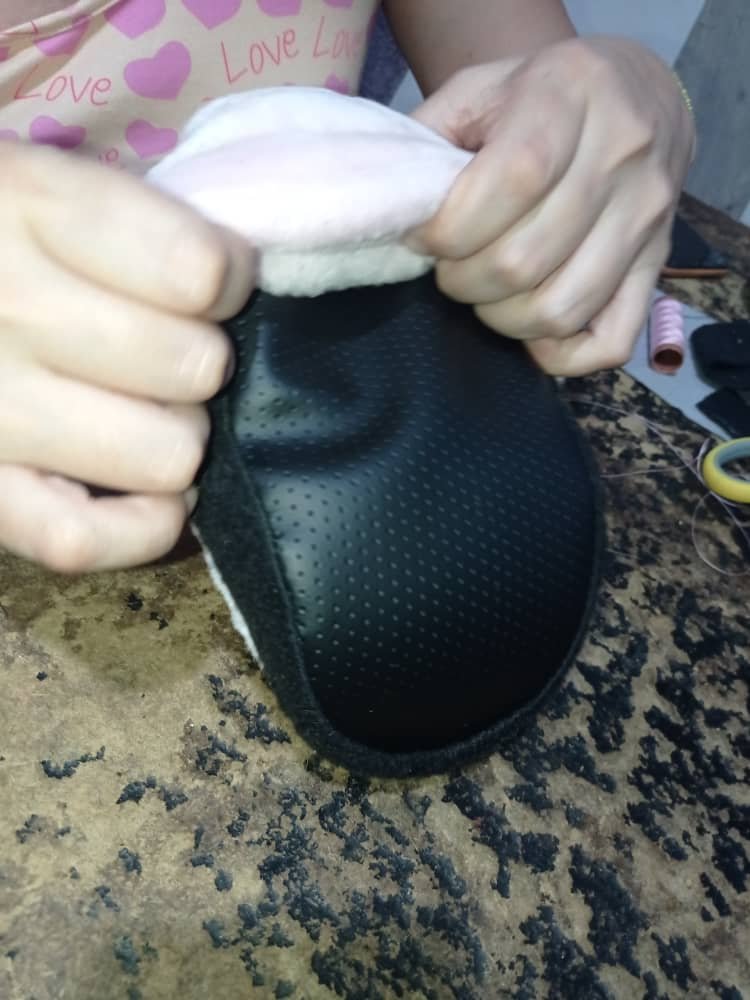
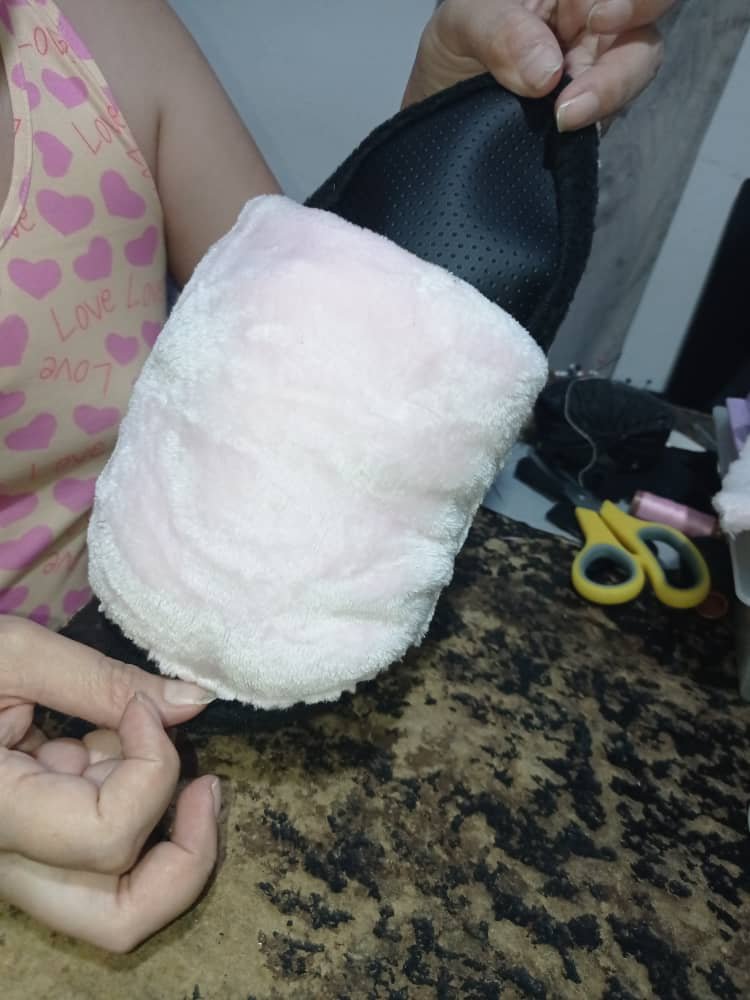
Paso #34:
Se le voltea por la abertura.
Step # 34:
It is flipped through the opening.
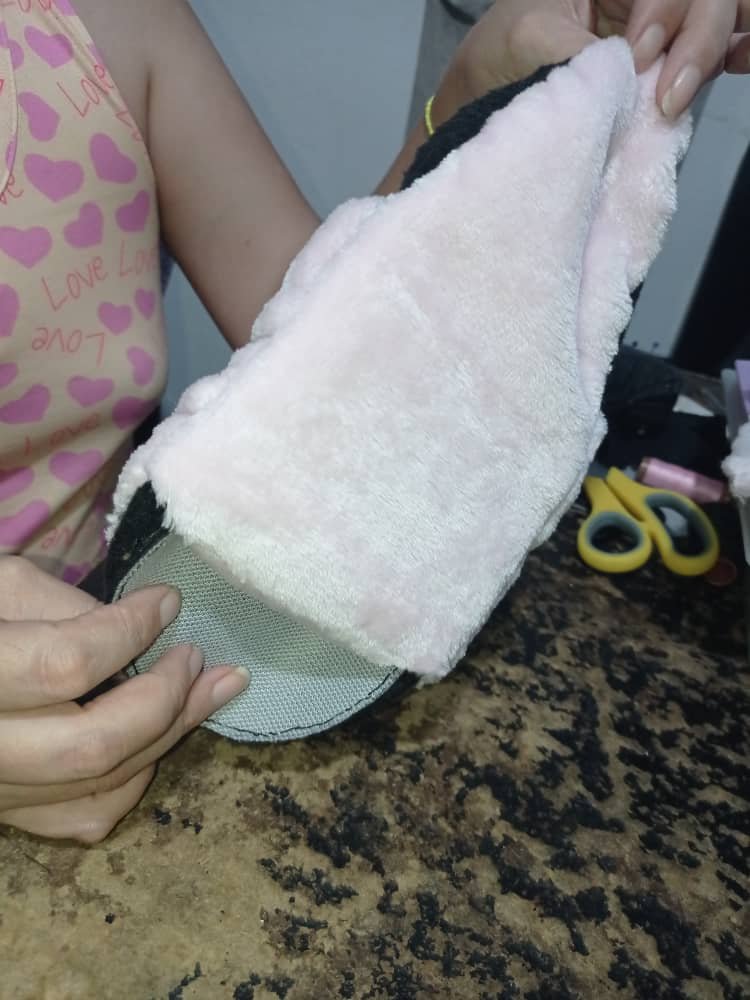
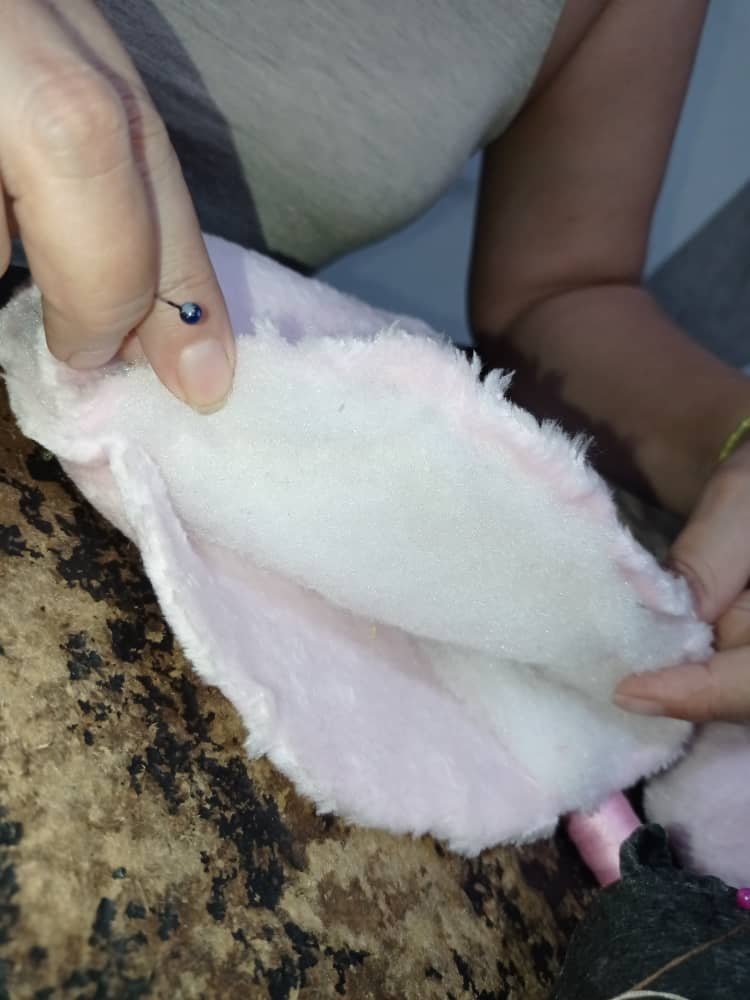
Paso #35:
Se le mete la goma espuma.
Step # 35:
Foam rubber gets in.
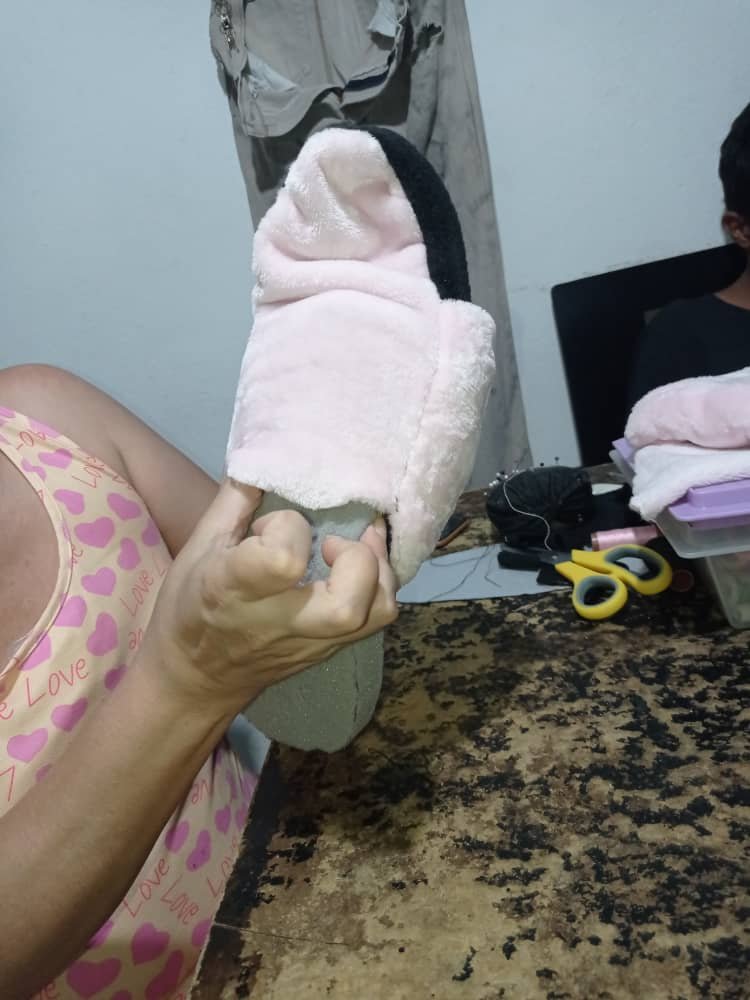
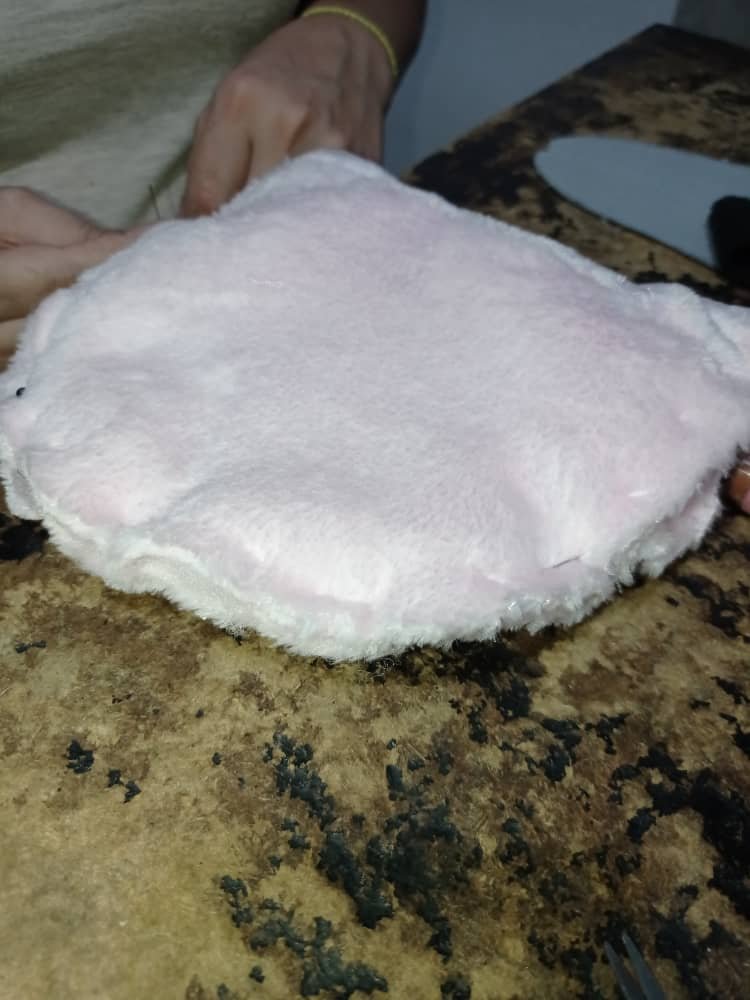
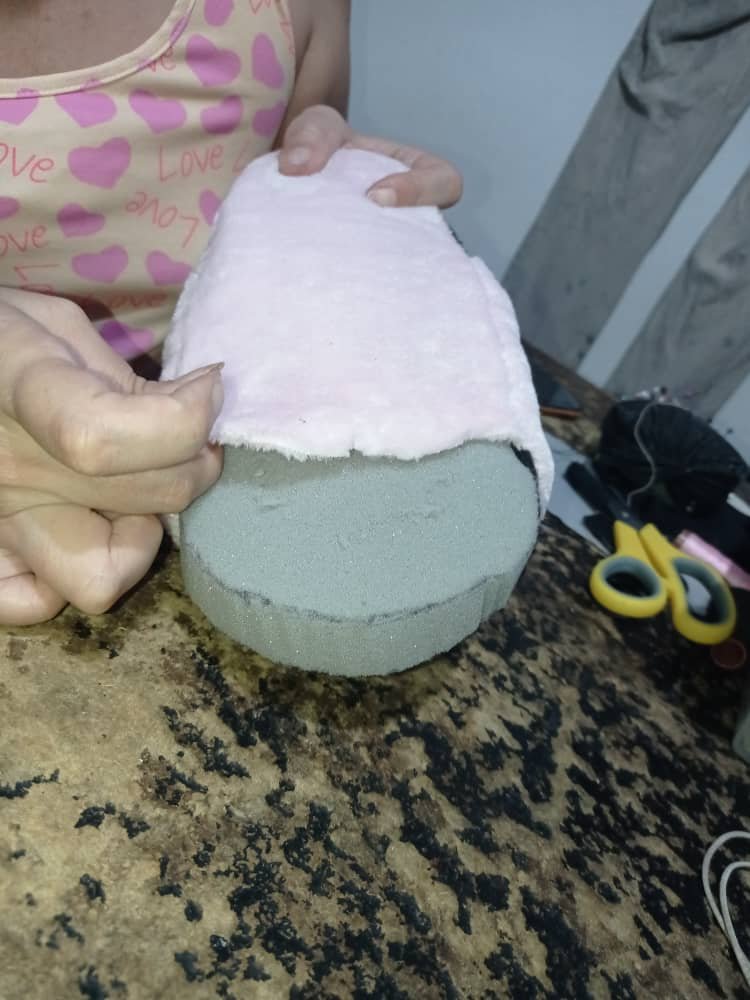
Paso #36:
Se termina de voltear.
Step # 36:
It finishes flipping.
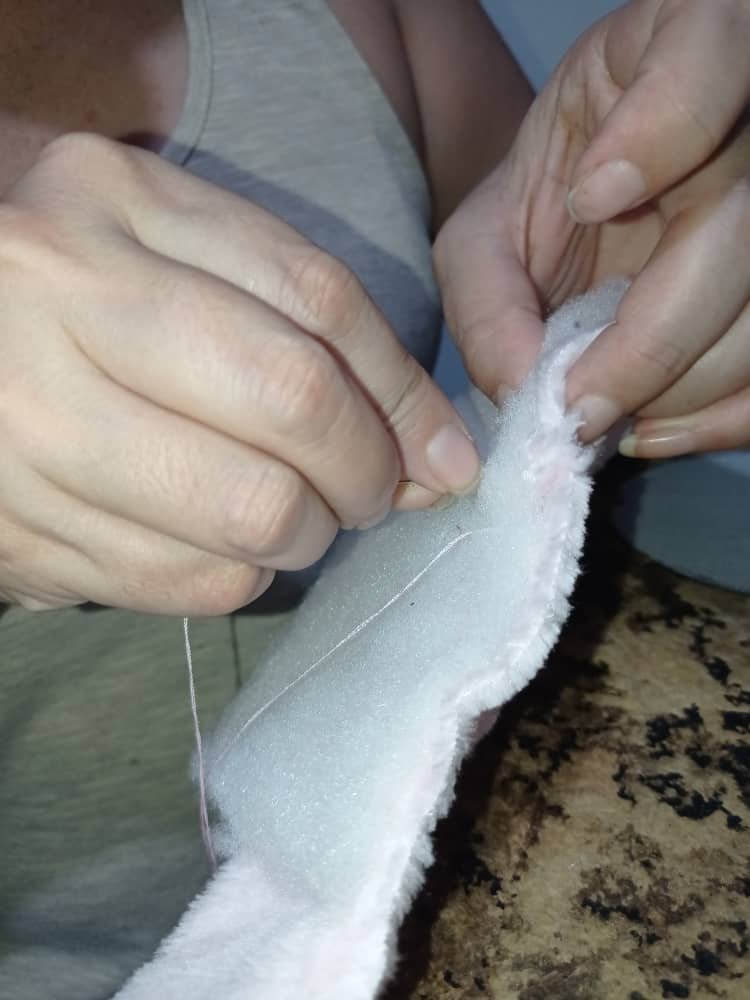
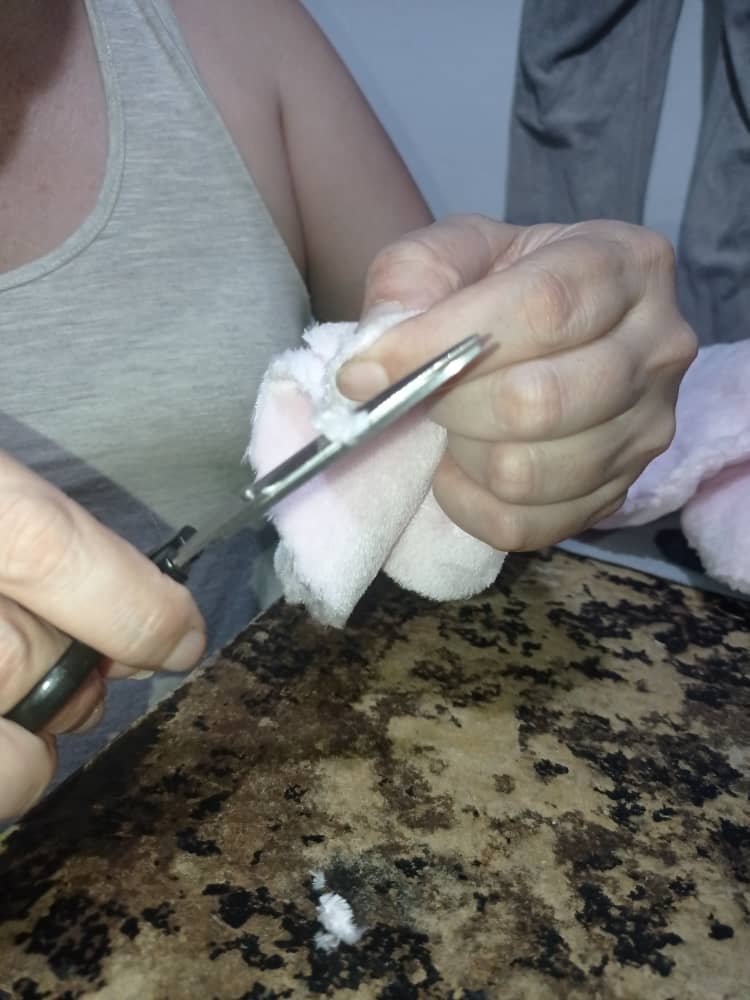
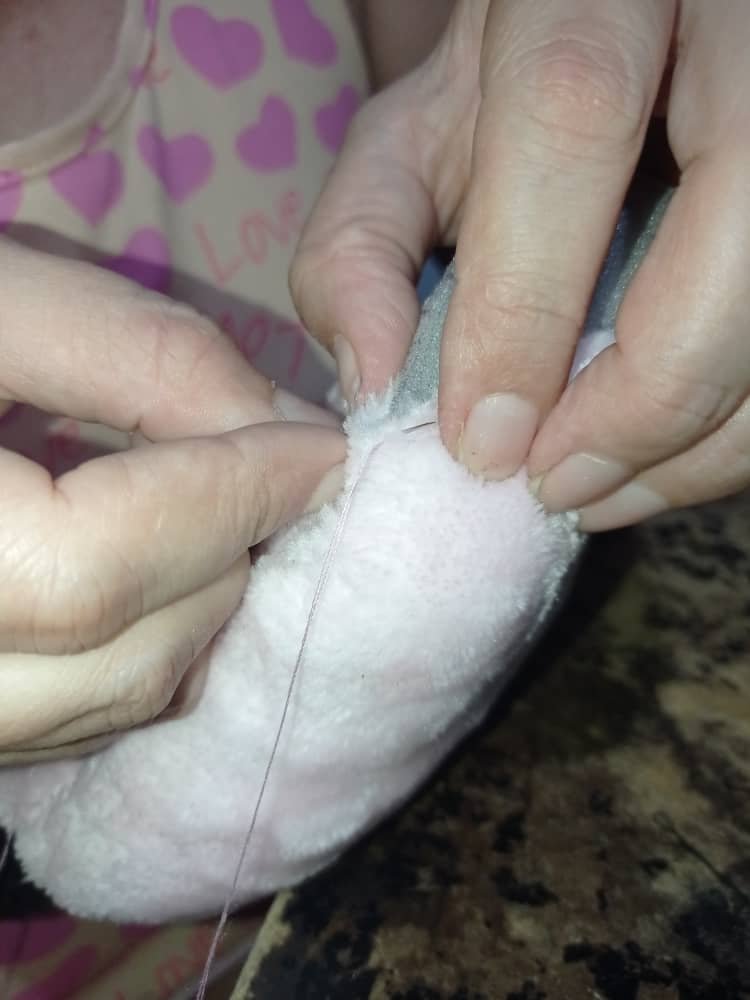
Paso #37:
A hora si se va cocer la abertura.
Step # 37:
At the hour if the opening is going to be cooked.
Paso #38:
Se cose para cerrar la abertura.
Step # 38:
Sewn to close the opening.
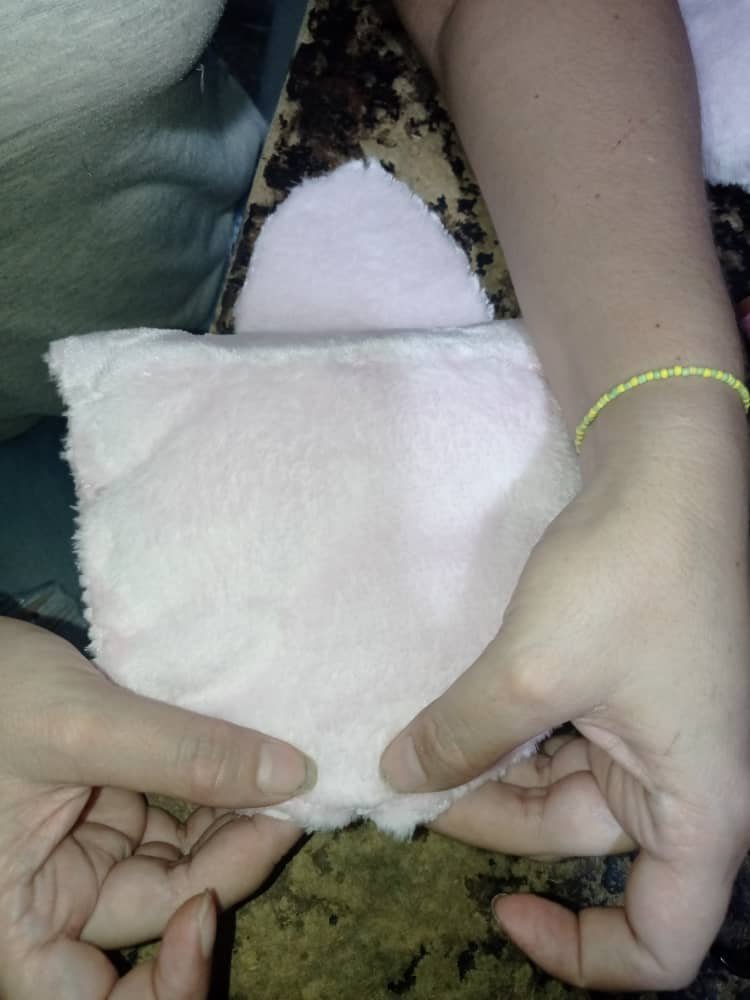
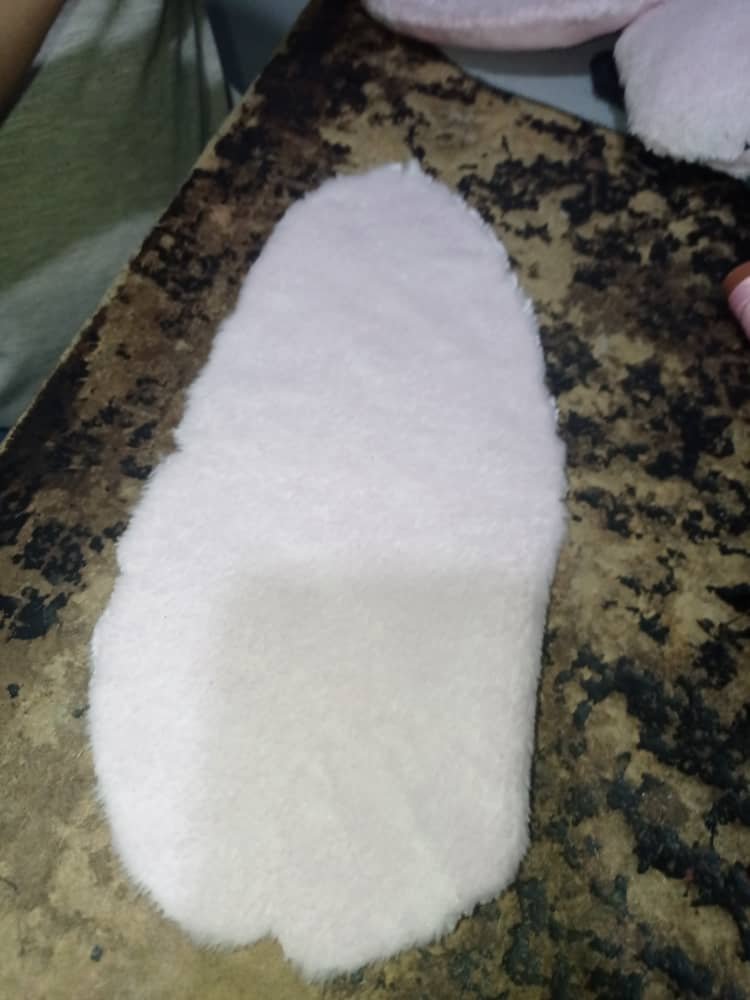
Paso #39:
Ya cerrada la abertura.
Step # 39:
The opening is already closed.
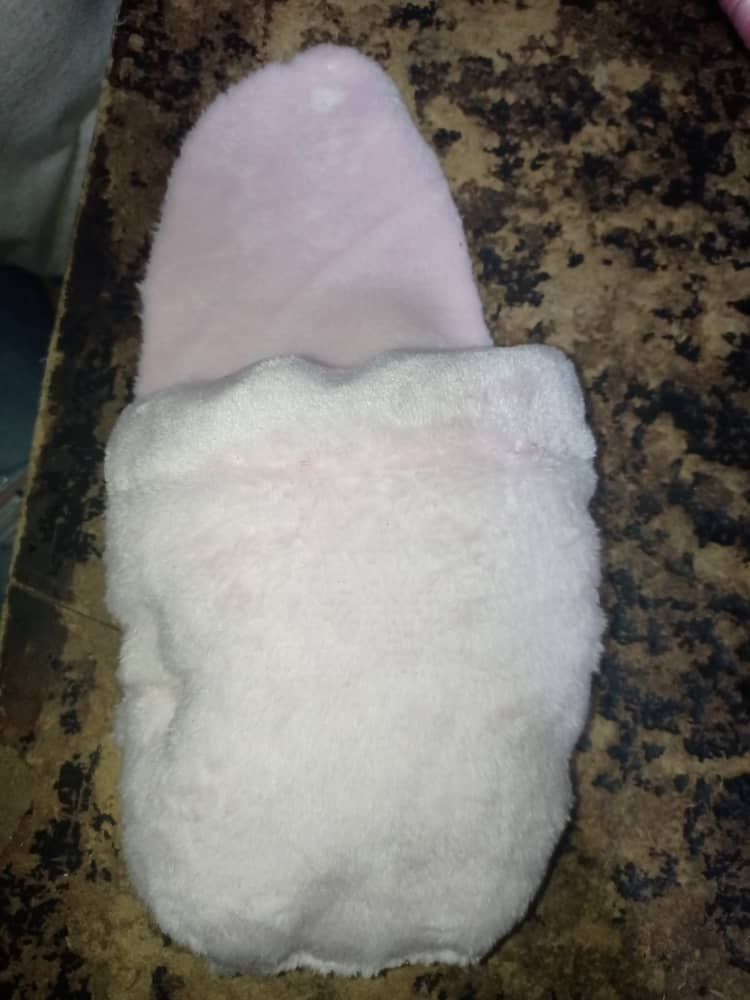
Paso #40:
Se termina de voltear.
Step # 40:
It finishes flipping.
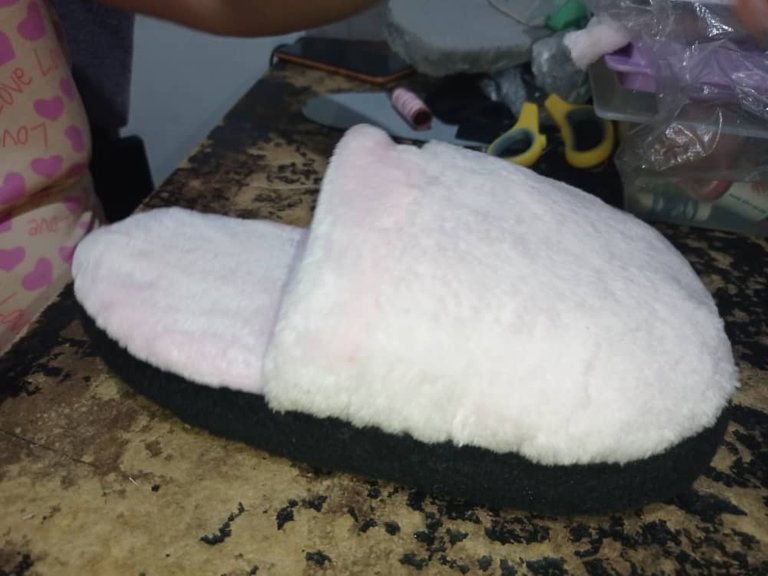
Paso final:
Lista la pantufla.
Final step:
List the slipper.
Ya con todo esto me despido, y espero le allá gustado mucho estos pasos para hacer unas pantuflas, sin más nada que decir gracias por el apoyo, estaré apoyando a todos equitativamente y pronto estaré compartiendo más contenido.🙏🏻♥️🇻🇪
With all this I say goodbye, and I hope you have liked these steps to make slippers a lot, without anything else to say thank you for the support, I will be supporting everyone equally and soon I'll be sharing more content.
Mil bendiciones para todos. 😇🙏🏻
A thousand blessings to all. 😇🙏🏻
Nice pair of shoes, you'll make one and dash me ooo 😂
Gracias por el apoyo amigo 🙏🏻 no son zapatos son pantuflas y con gusto podría hacerte uno,es para dormir o para andar cómodo en su hogar. bendiciones
You're welcome
Congratulations @anacelis14! You have completed the following achievement on the Hive blockchain and have been rewarded with new badge(s) :
Your next target is to reach 50 upvotes.
Your next target is to reach 50 comments.
You can view your badges on your board and compare yourself to others in the Ranking
If you no longer want to receive notifications, reply to this comment with the word
STOPCheck out the last post from @hivebuzz:
Support the HiveBuzz project. Vote for our proposal!
Gracias por el apoyo 🇻🇪☺️🙏🏻
Es un placer nuestro @anacelis14! Que bueno ver tus primeros pasos! Vas bien!
WoW muy detalla tu publicación, paso por paso y considero que te llevo tiempo hacerlo, bendiciones!!!
Gracias también por tus hermosas palabras ☺️
Excelente trabajo dios bendiga tus manos siempre 🙏🏻😊
Gracias hijo ♥️
Hello @anacelis14 ! Your post was selected by our team on behalf of the OCD Community Incubation Program and has received an OCD upvote! Congratulations!!! Please keep sharing these quality posts 😊
The slippers look really comfy and soft. Thank you for sharing with us the process!
I invite you to share anything needlework related directly to the NeedleWorkMonday Community. On Monday’s we use the #needleworkmonday tag and on all other days the #needlework tag.
Written by @marblely for the NeedleWorkMonday Community.
Ok perfecto listo, gracias por el consejo y lo de las etiquetas ♥️🇻🇪🙏🏻 estaré compartiendo muchas cosas más 😊🙏🏻 disculpa una pregunta cómo puedo ser miembro de esta maravillosa comunidad ?
Hello @anacelis14! By posting here and participating weekly you automatically become a member. 😉
I'd like to personally welcome you here to the NeedleWorkMonday Community!
This was such an amazing detailed process post! Your slippers are awesome and look so cozy and comfortable. Thank you for sharing this project with us.
Every week needleworkers from around the globe get together to share our work, patterns, tips, ideas and shortcuts as we support one another. Our goal is to inspire the Hive blockchain to give crafting a try.
On Monday’s we use the #needleworkmonday tag and on all other days we use the #needlework tag without the word Monday attached. We share and post our work directly from the Community page.
We encourage our members to share the process of their work through photos (as you have nicely done here). This not only validates your work but it takes us along the creative journey with you 🙂
For more information about what we do and for our posting guidelines please visit our FAQs.
Thank you ~
Listo 👌🏻 perfecto gracias estaré muy atenta apoyando y compartiendo con todos ustedes
You’re welcome ;)