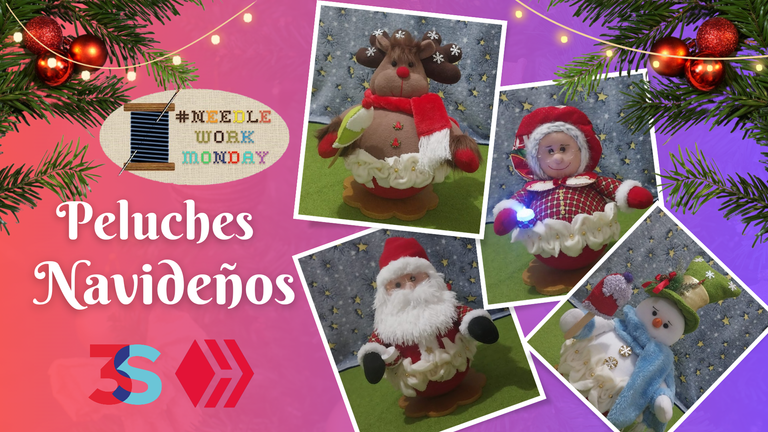
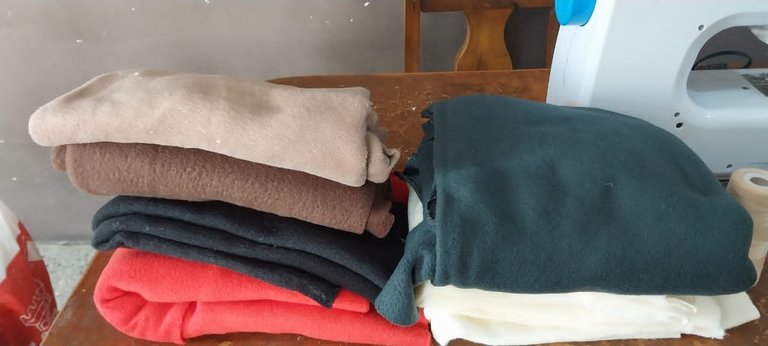
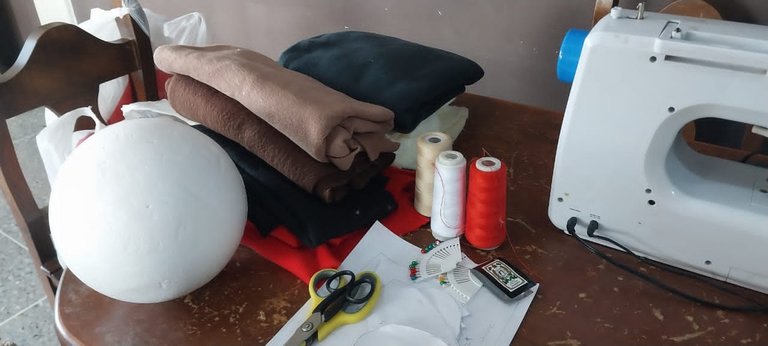
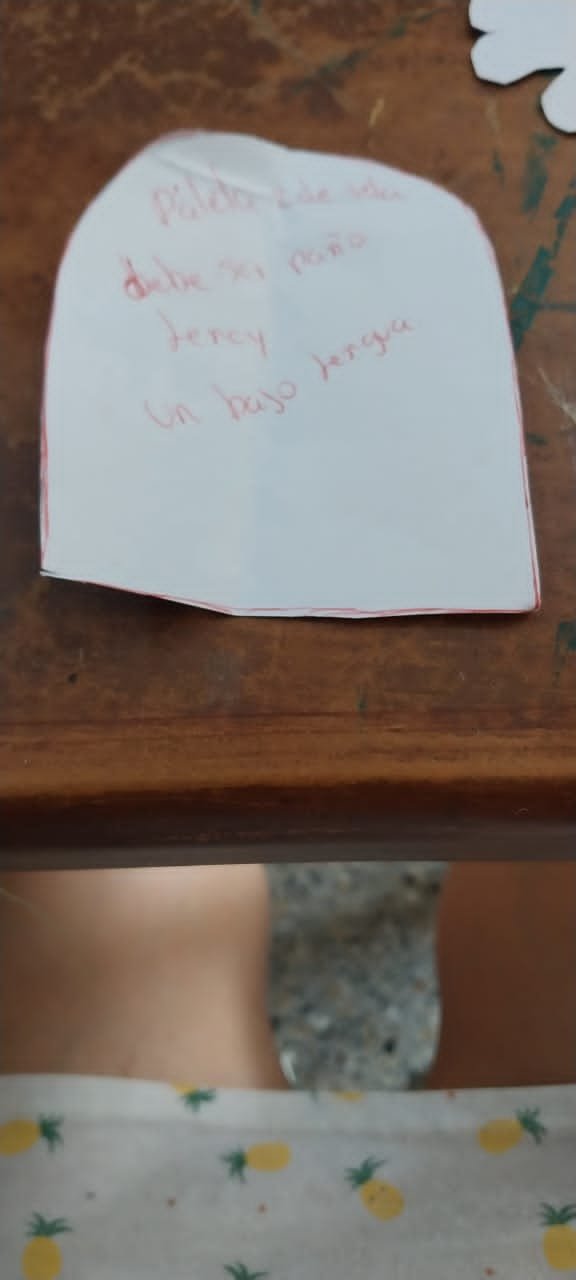
Saludos a la comunidad, estoy aquí nuevamente para compartir con todos ustedes un proceso donde realizo unas tazas navideñas, para la realizarlas necesitaremos hilos, ajugas, tijeras, tijeras de poquito, bolas de anime N° 20 compacta y hueca, telas manta polar y también necesitamos una base de madera donde dejaré patrones y medidas.
Compartiré un vídeo del proceso, para que puedan apreciarlo y también dejaré las fotos del proceso aquí escrito, sera mi primera publicación junto a #Threespeak.
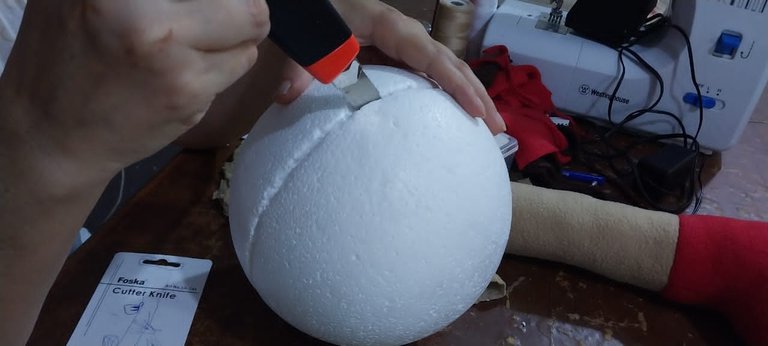
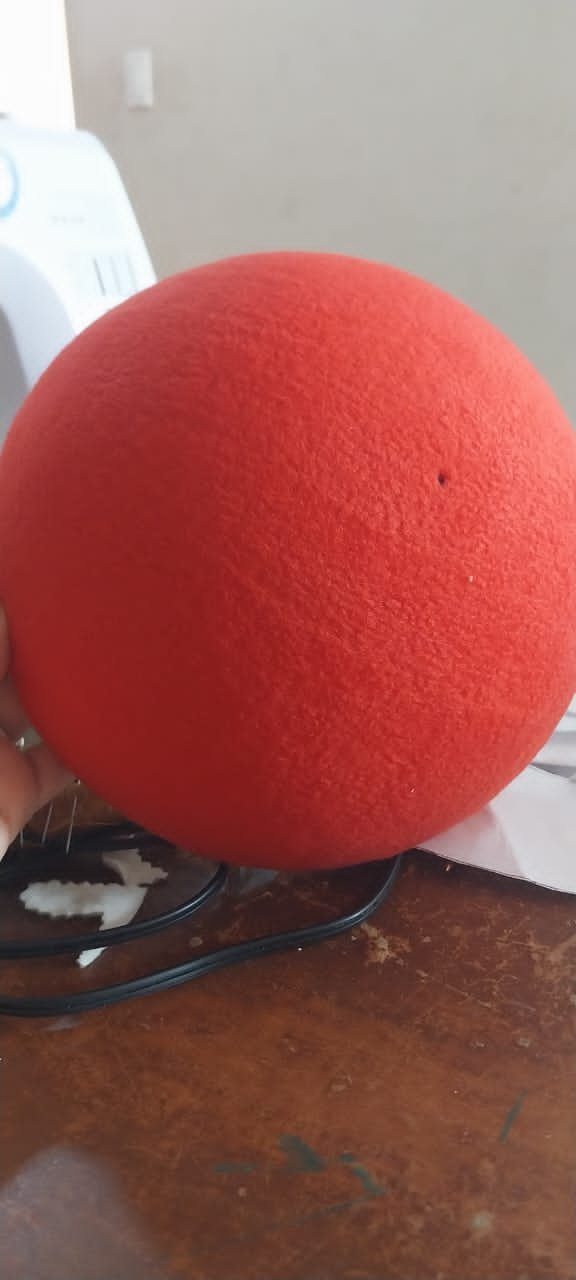
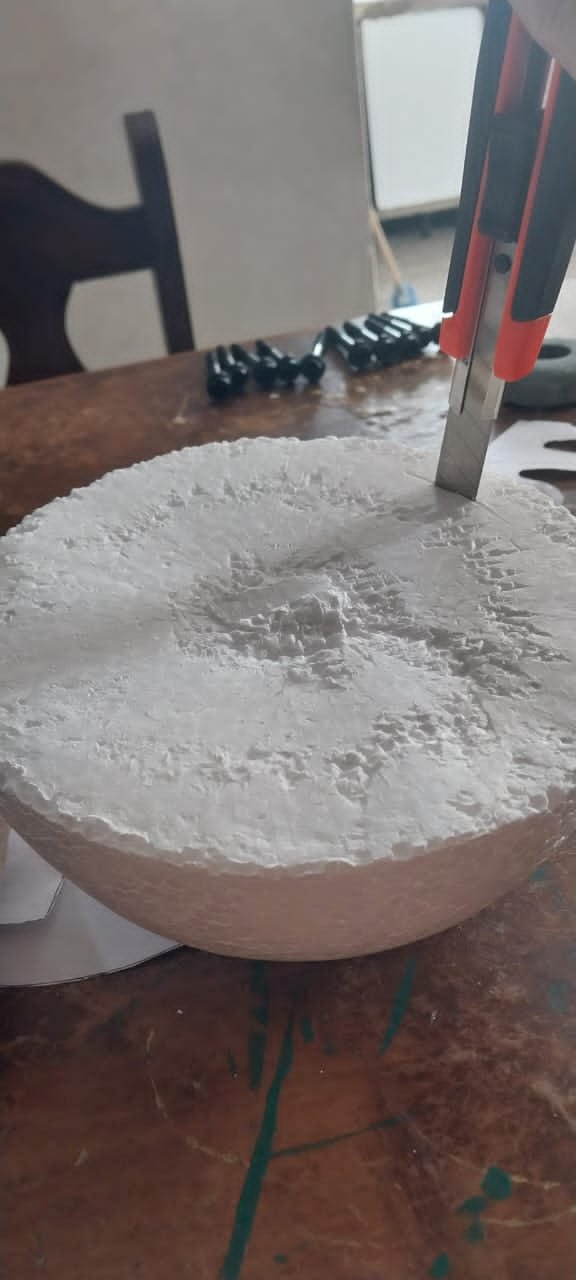
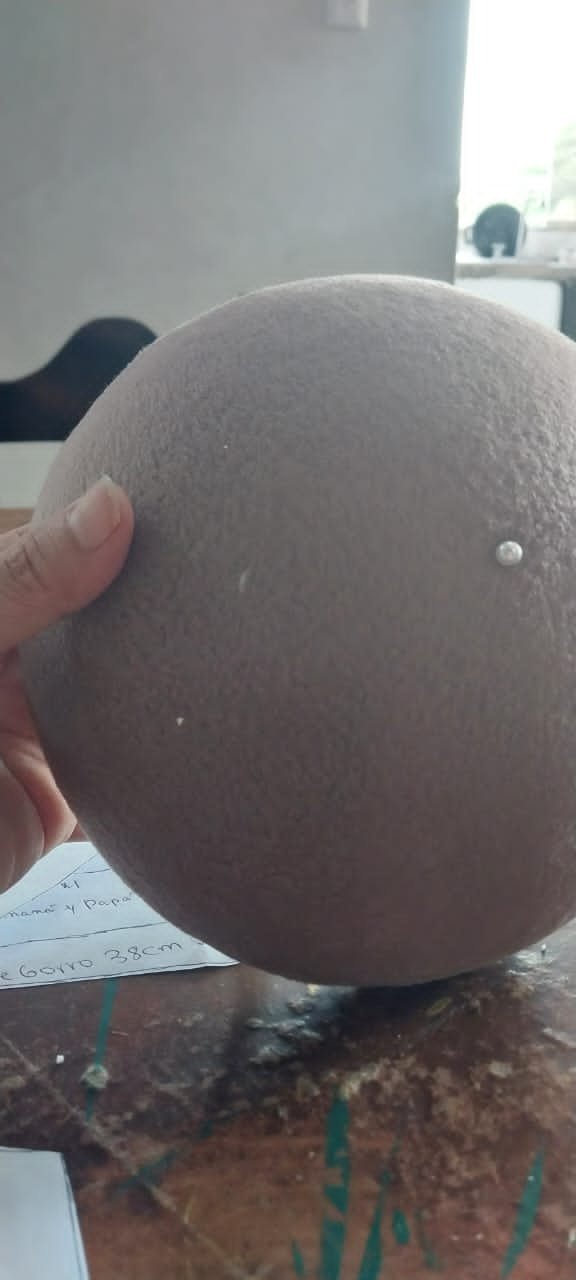
Vamos a utilizar una bola de anime N° 20 compacta, la vamos a picar en 2 con un bisturí en este caso, estoy utilizando un corta exacto
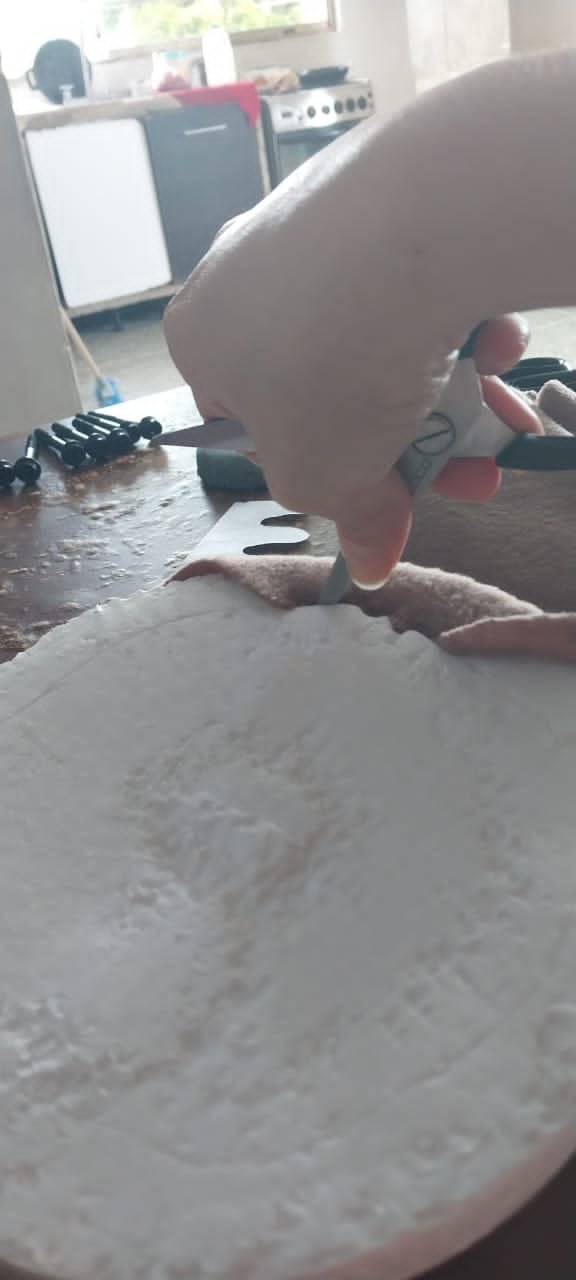
A la hueca la trabajamos de la siguiente manera, la vamos a forrar pero antes de forrarla procedemos a abrirle así de esta manera
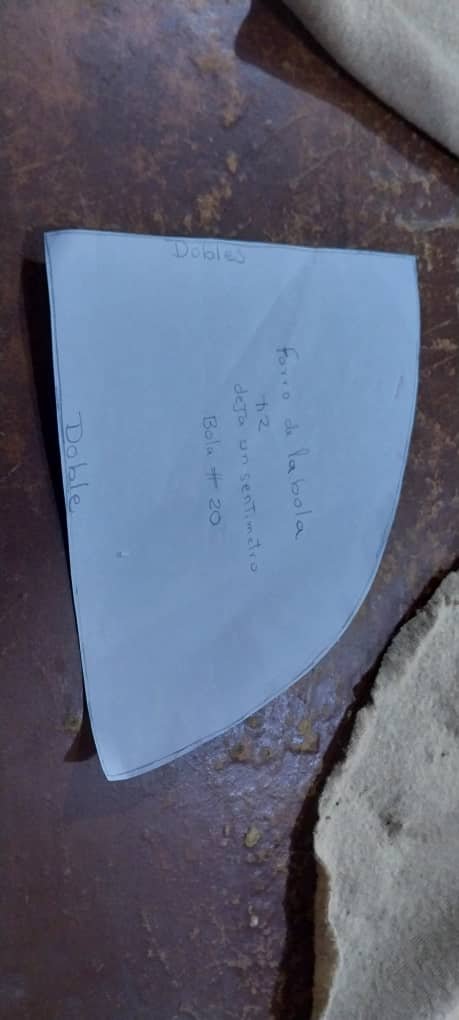
Este es el patrón para cortar la tela con la que vamos a forrar la bola
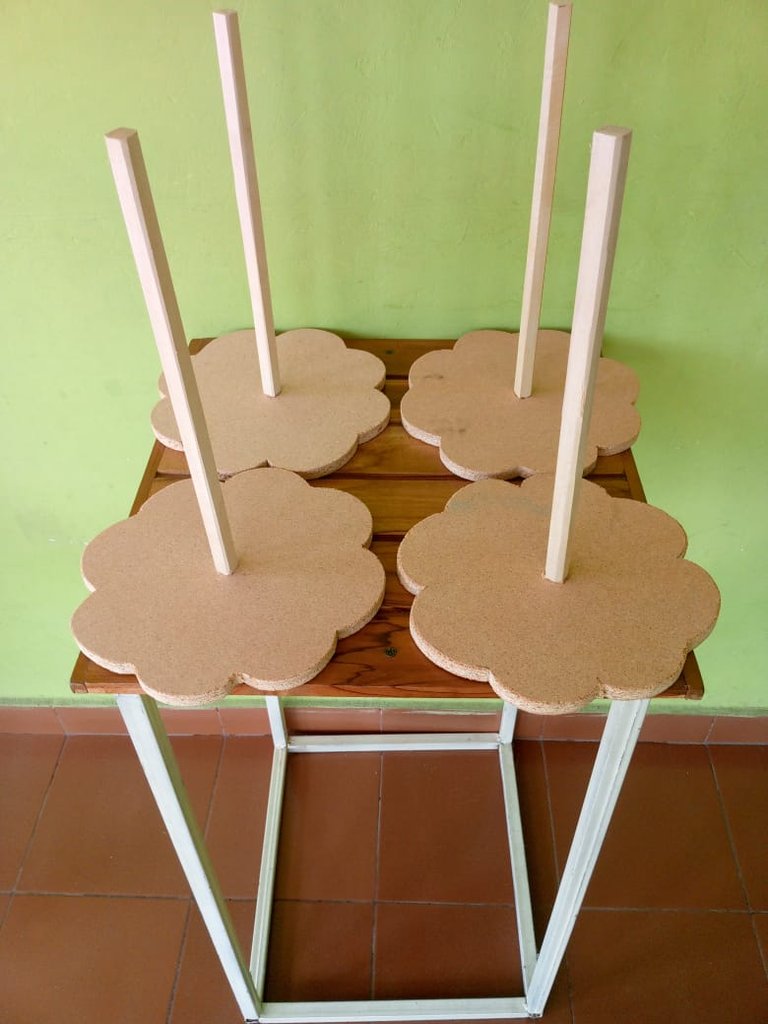
Vamos a necesitar 4 basé
Después con el corta exacto vamos ir cortando pero no en su totalidad es hacer una pequeña superficie sín dañar la bola
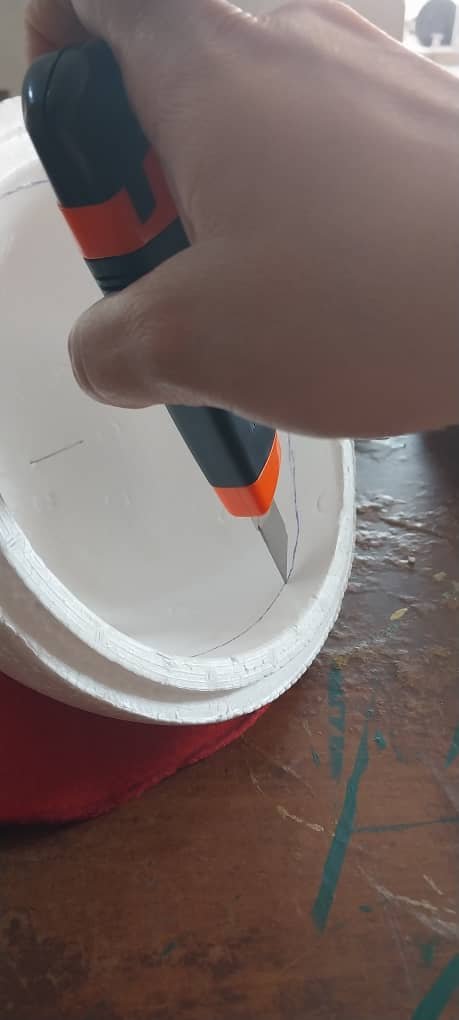
Vamos a pasarle una raya por todo el borde de mas o menos de 1cm
Vamos a marcar los patrones en la tela
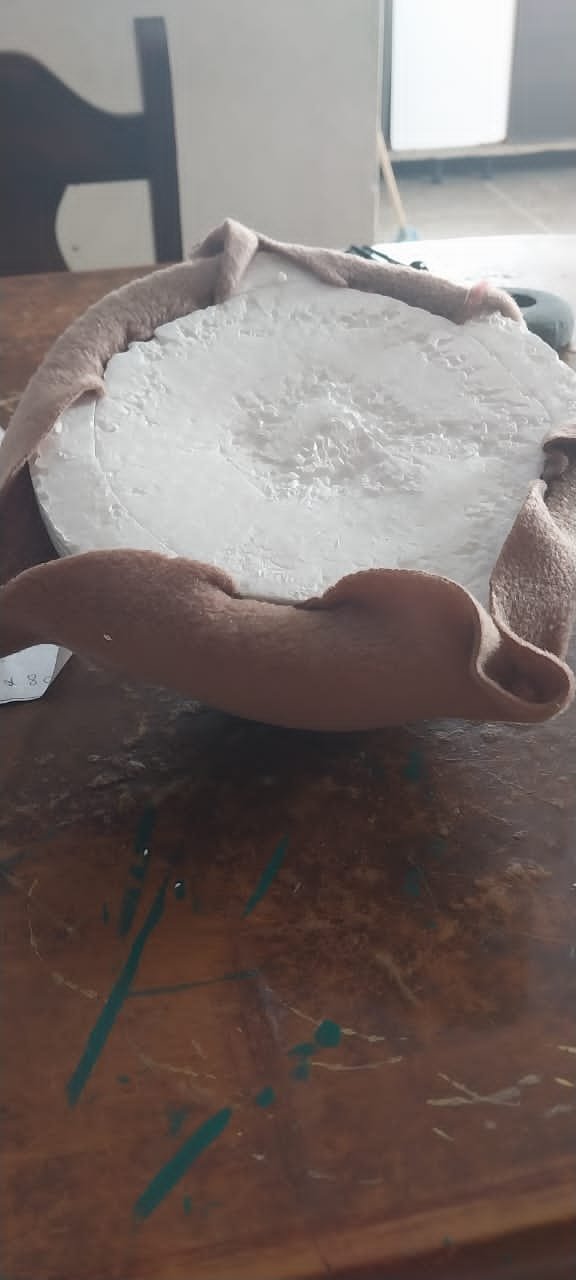
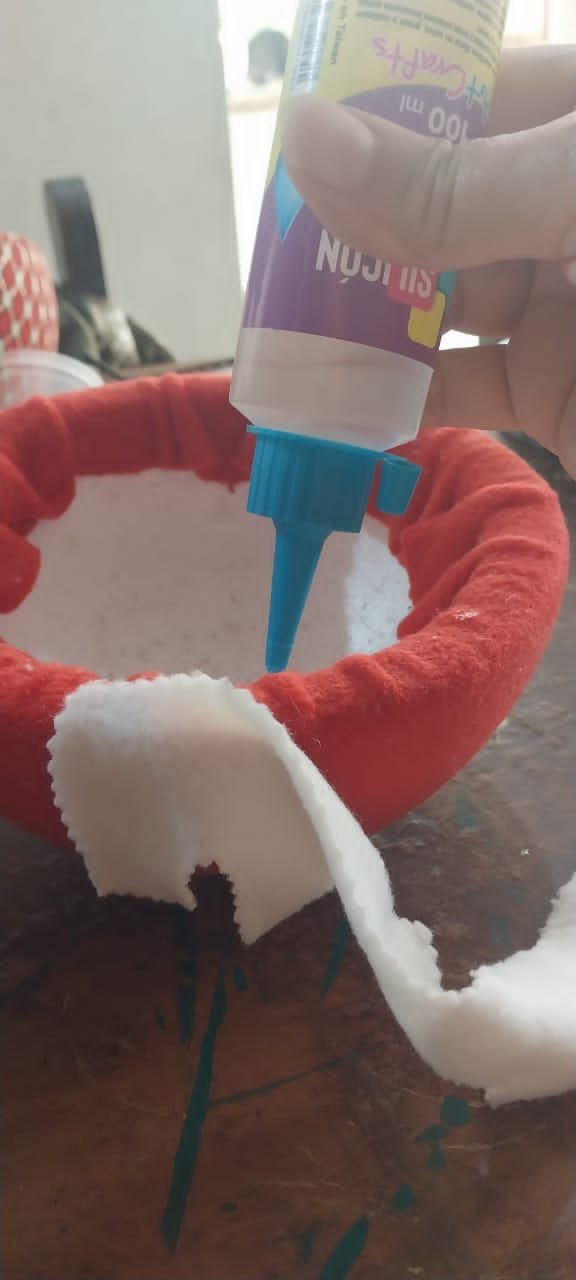
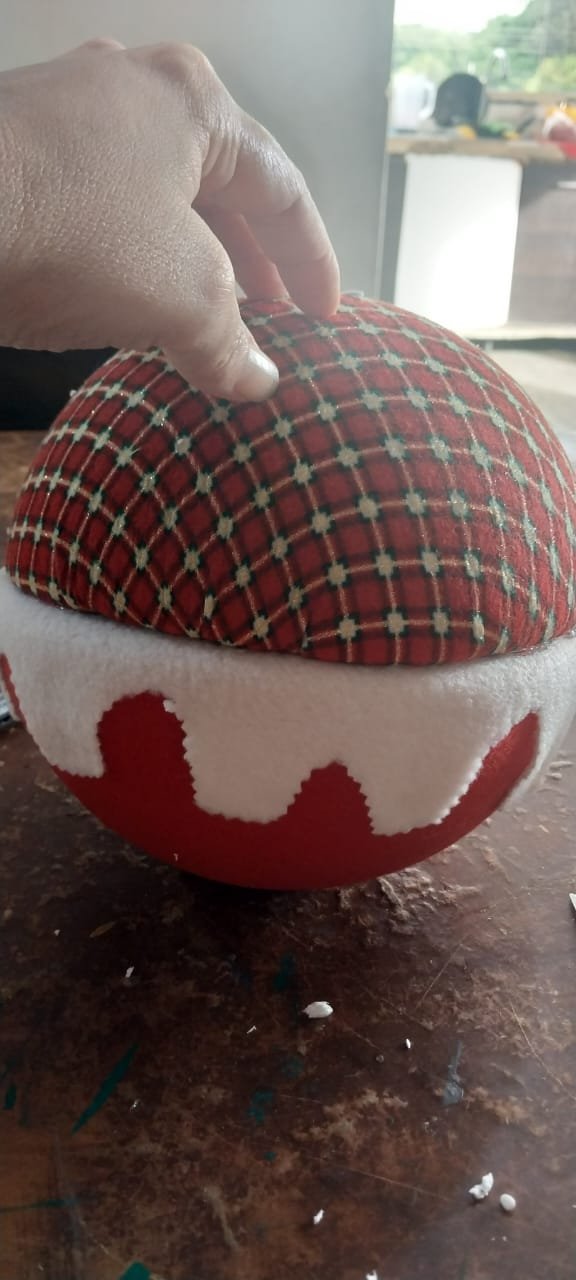
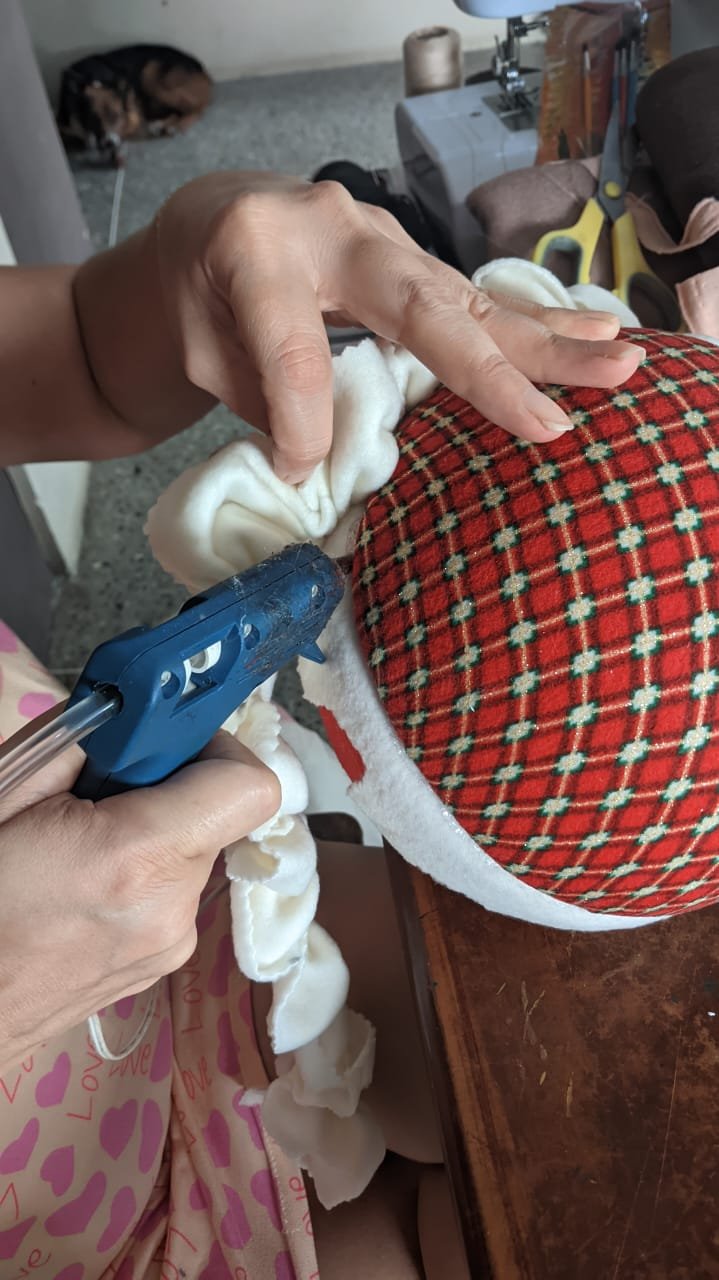
Empezamos forrando las esfera hueca colocando silicon líquido
Tiene q quedar así
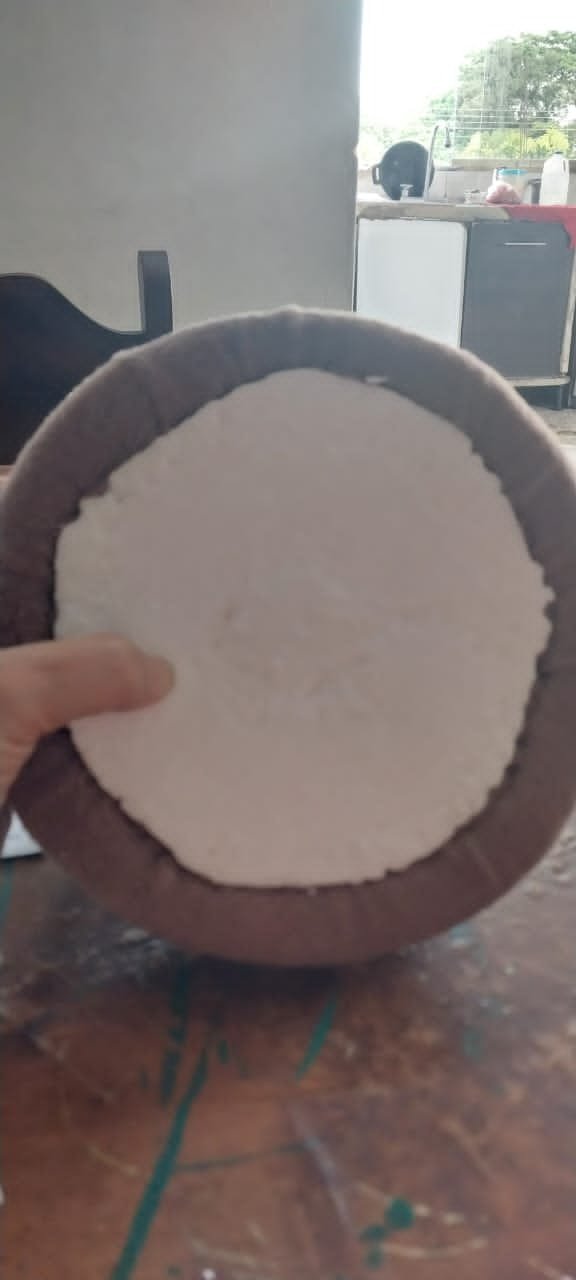
Y así por fuera sin ninguna arruga y marcamos el medió de la esfera
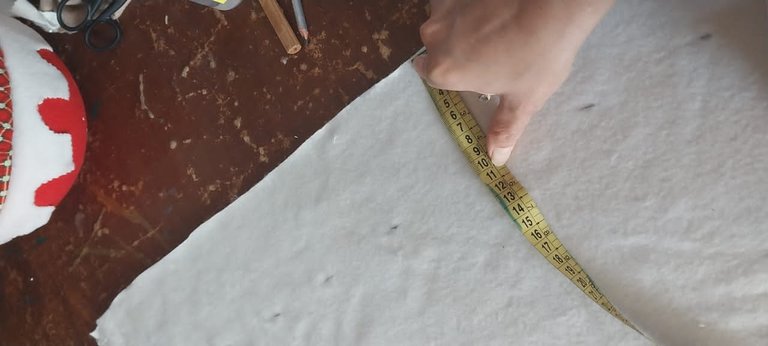
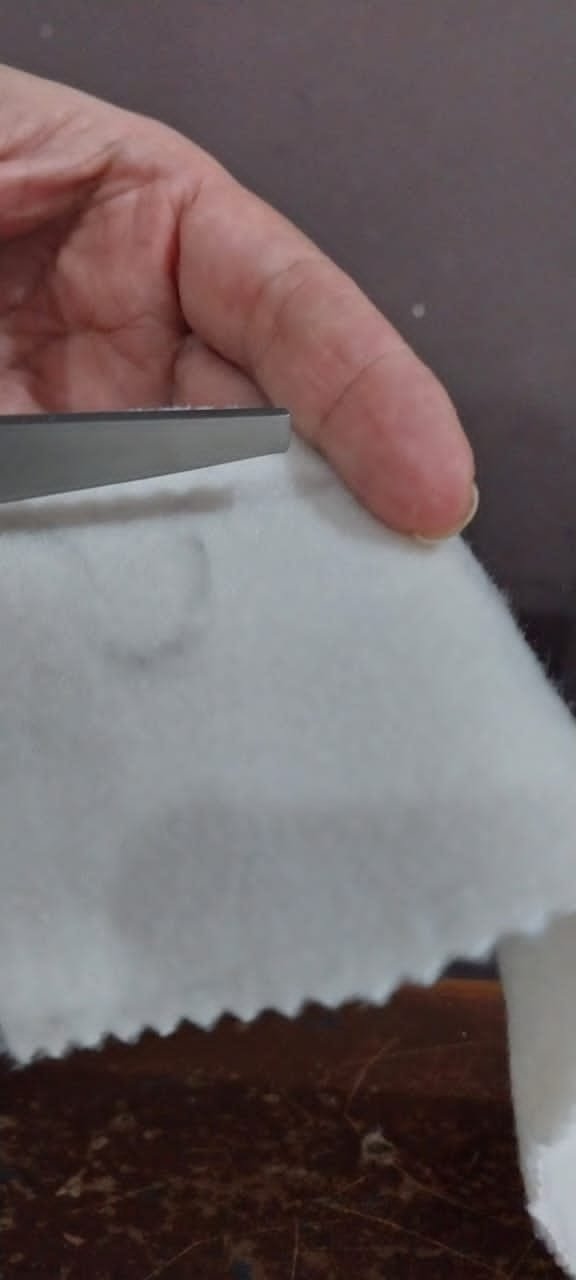
Luego de la tela blanca o de color crema vamos a picar una tira de lo largo de la tela con 10cm de ancho
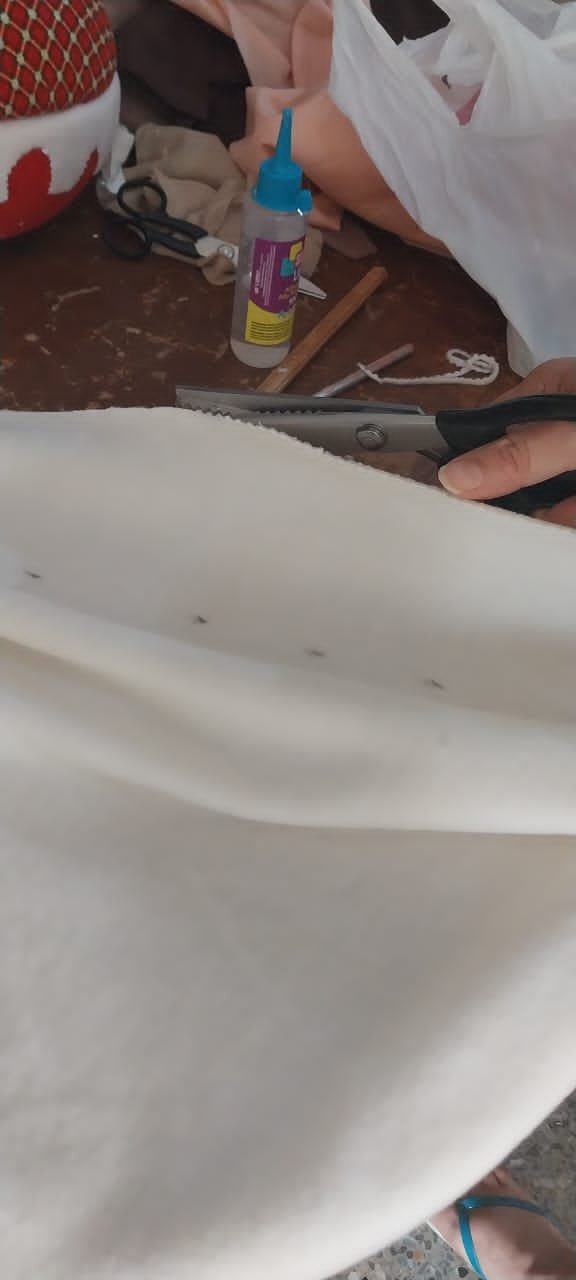
Con la tijera de poquito o zigzag de lo largo de la tela
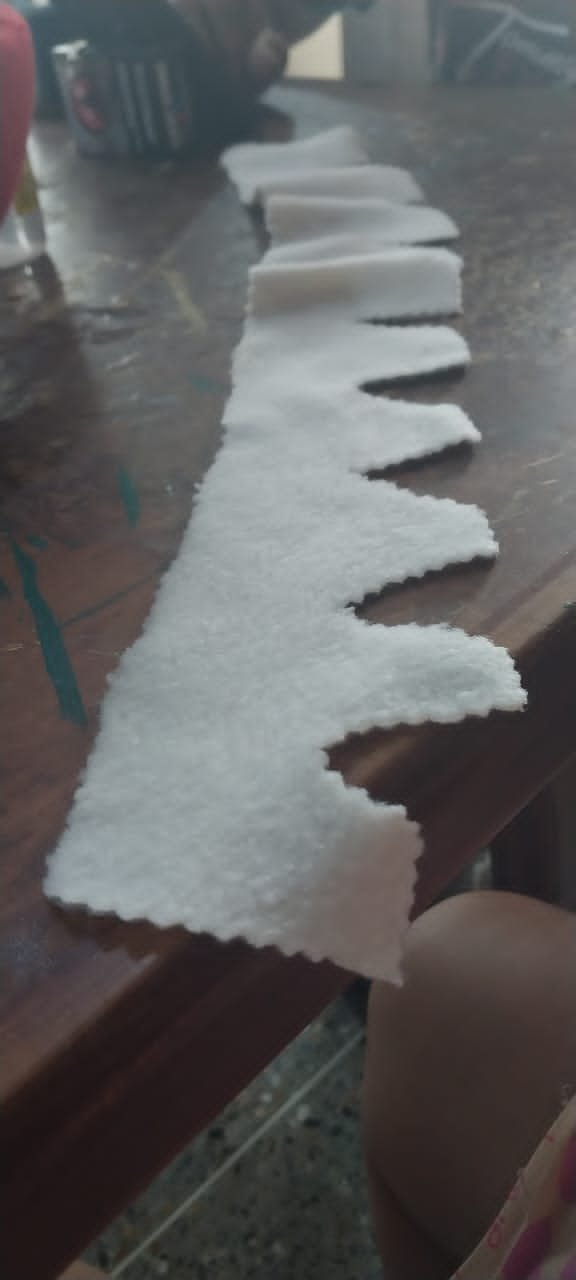
Vamos luego a marcar en la tela como triángulo por todo la tela
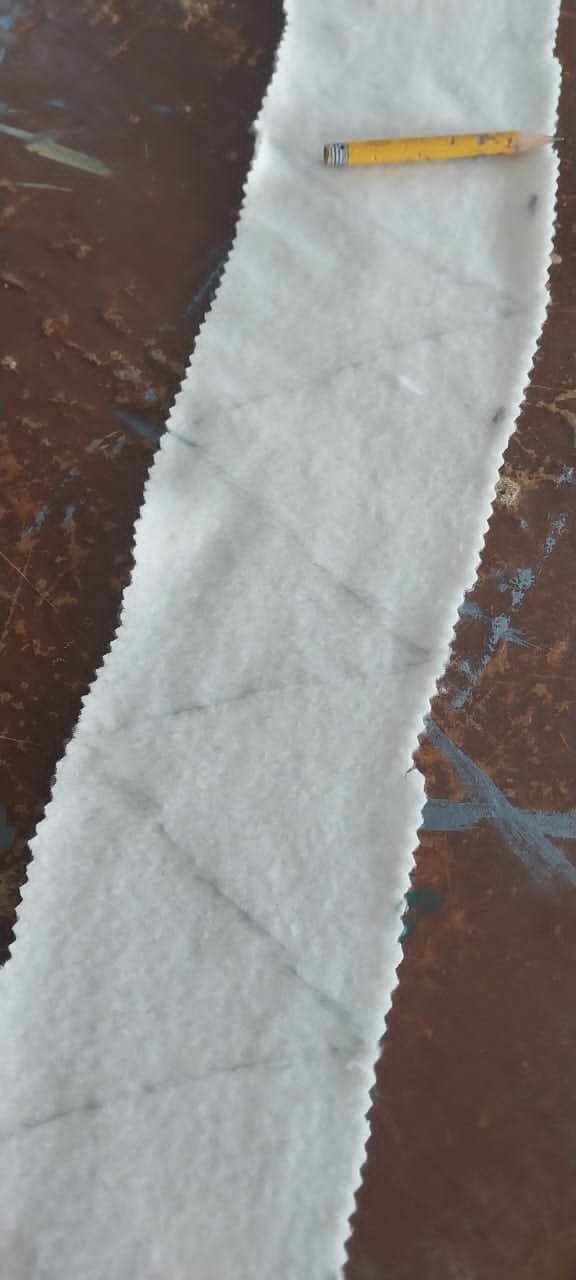
Procedemos a coser por todo los triángulo que marcamos en la tela

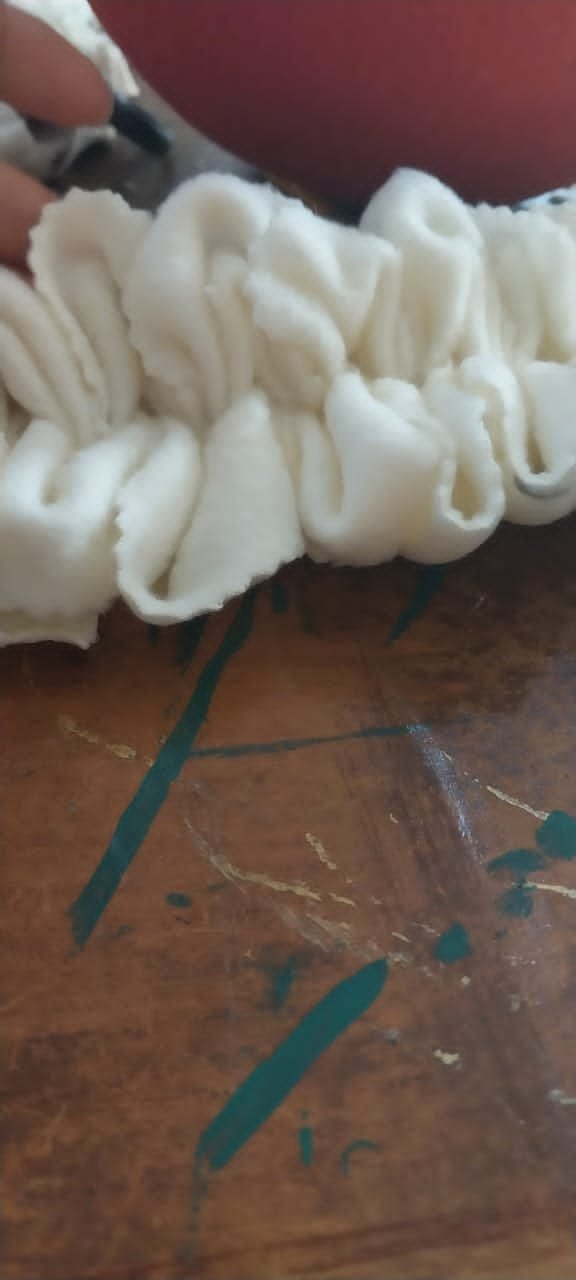
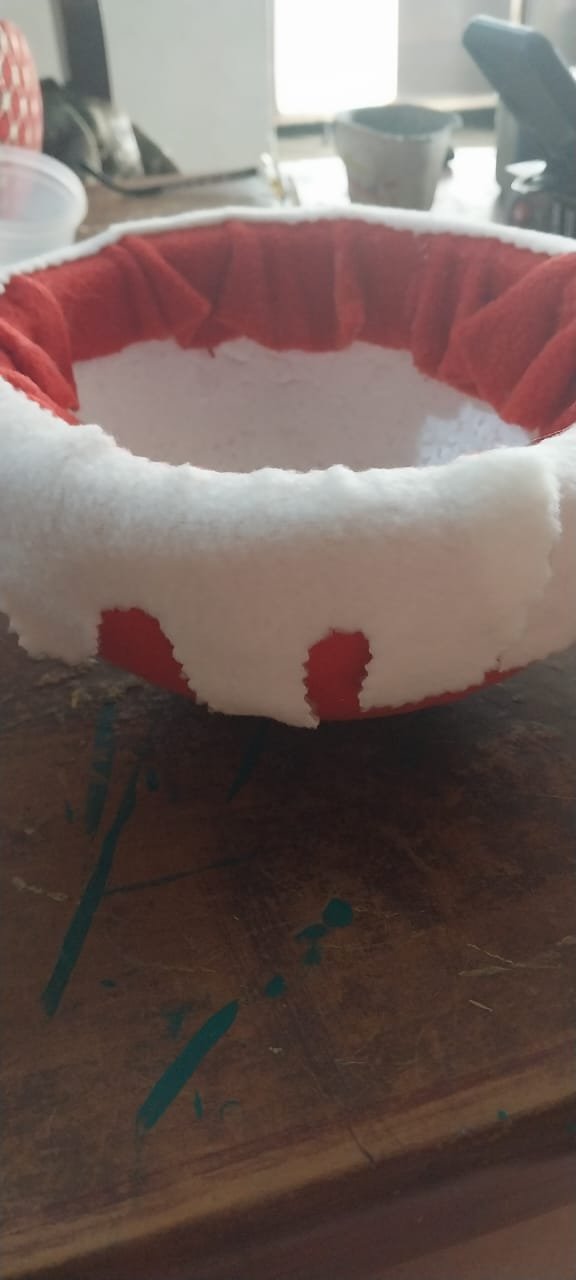
Arruchando, así tiene que quedar
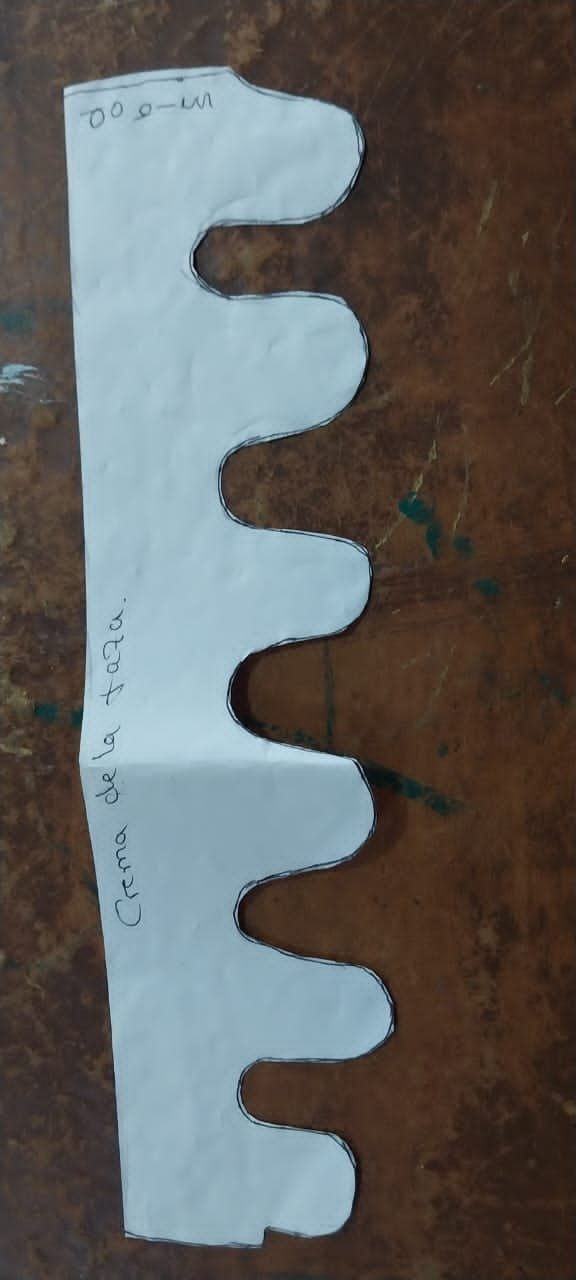
Luego marcamos la crema en la tela
Aquí cortando la crema ya marcada
Tiene que quedar así
Luego con la otra esfera ya cortada en 2
La forramos, viene siendo el cuerpo del reno, la cortamos igual para introducir la tela, de esta manera vamos a introducir la tela en la esfera.
La vamos introduciendo en partes iguales para no dejar arrugas
Tiene que quedar así
Y de igual manera marcamos el medio de la esfera
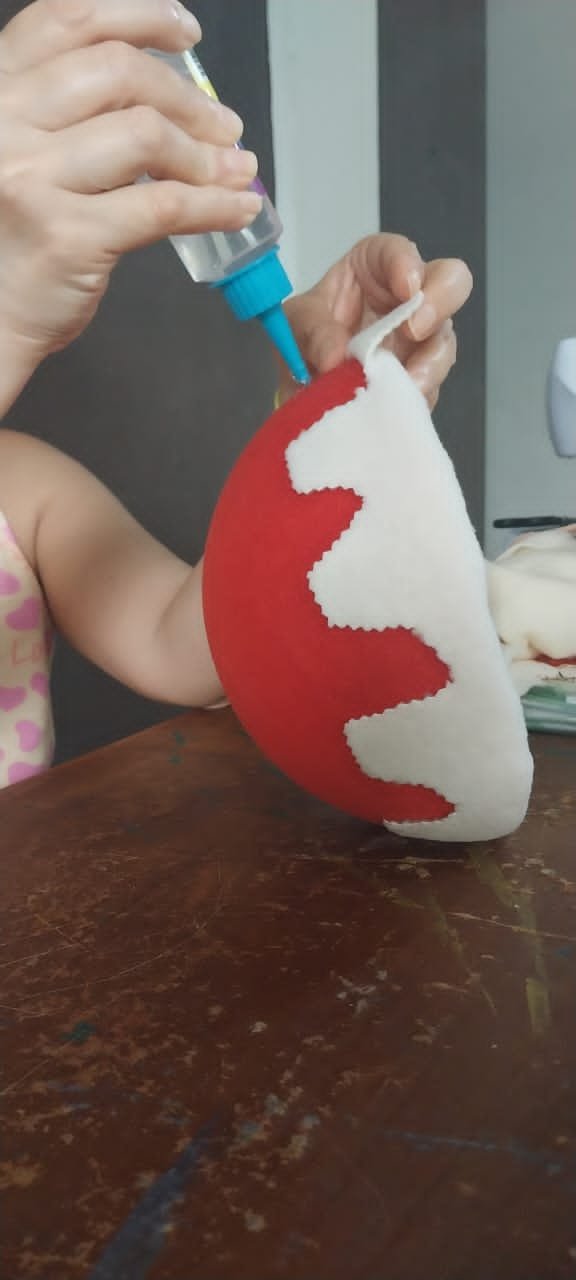
Luego la crema q realizamos la pegamos de la esfera q forramos de la tela roja
Así vamos pegando la crema
Así tiene q quedar
Luego de tener esas dos esfera ya forradas y con la crema ya pegada procedemos a unir las dos esfera
Así se lo voy a mostrar con esta esfera q ya tenia forradas y lista
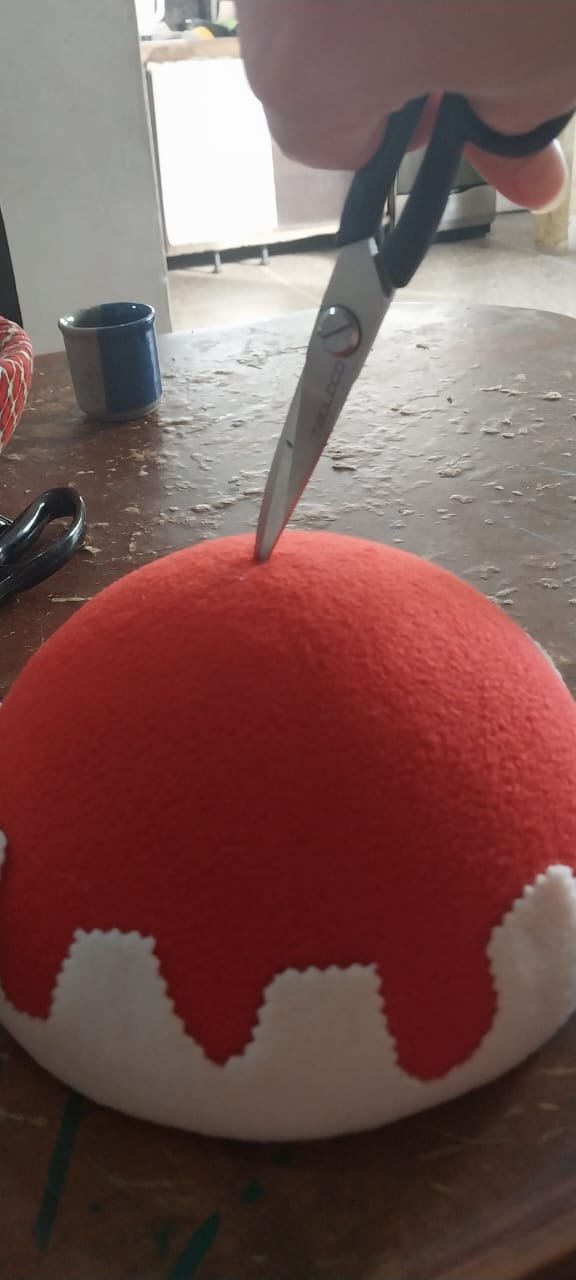
Pero antes de unir las esferas le abrimos por todo el medio para poder introducir la base
Así para introducir las bases
Luego pegamos la otra crema que elaboramos en forma de zigzag
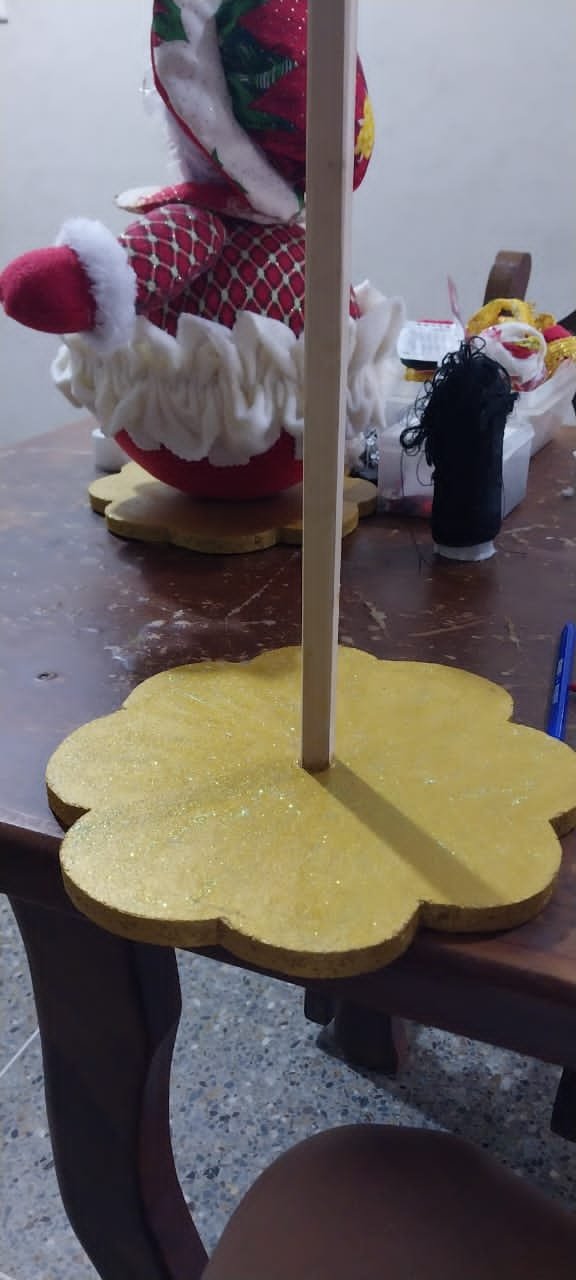
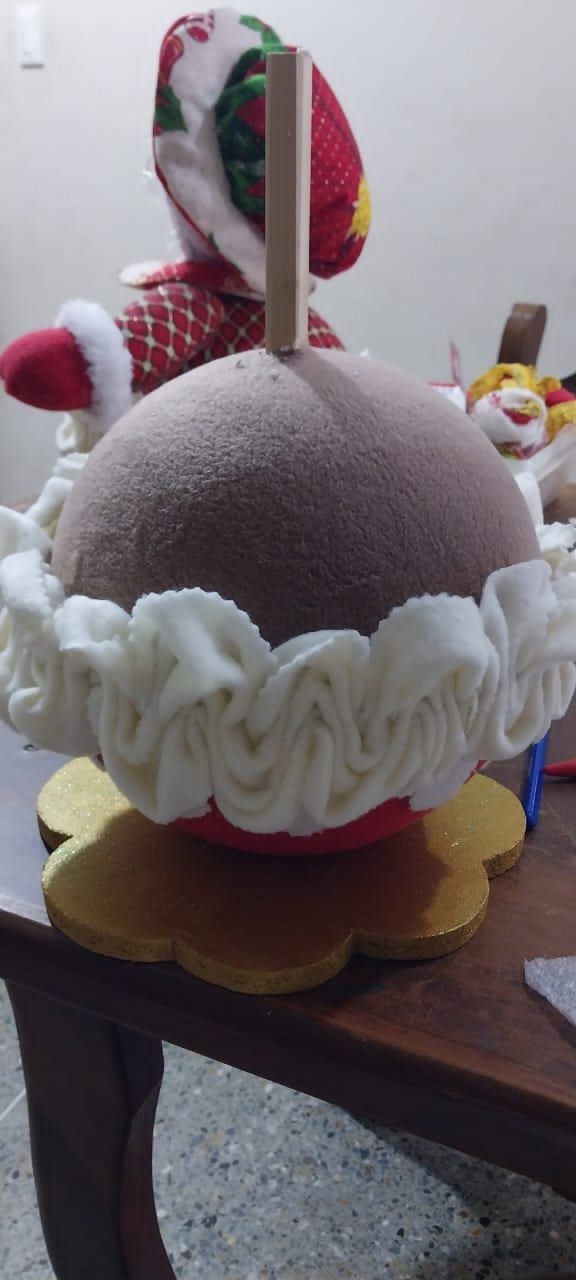
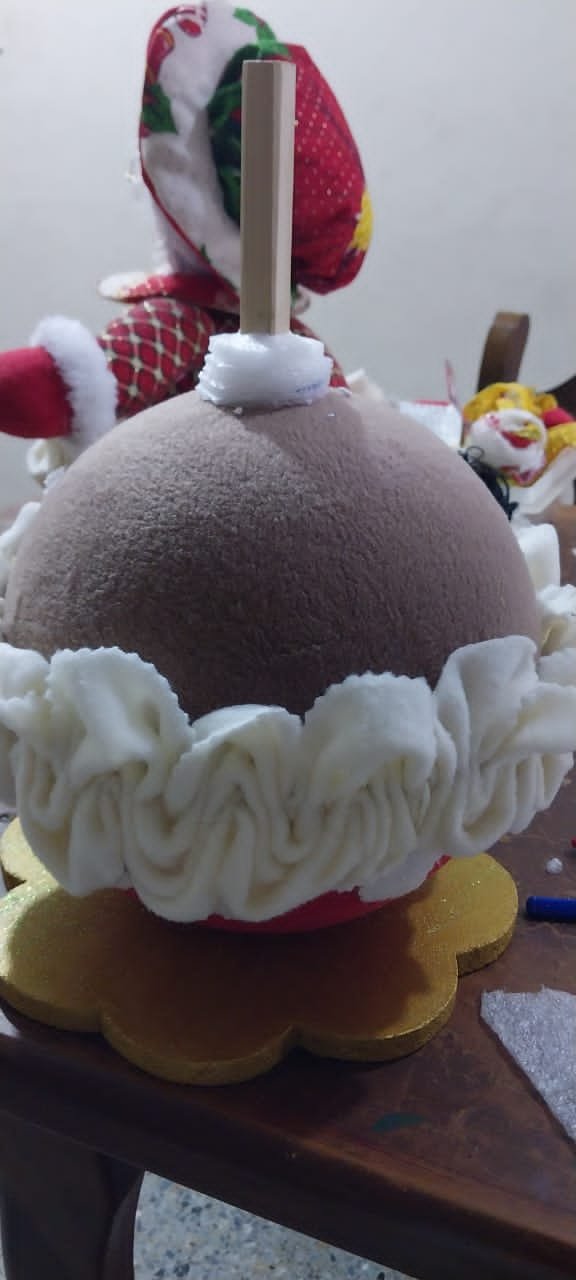
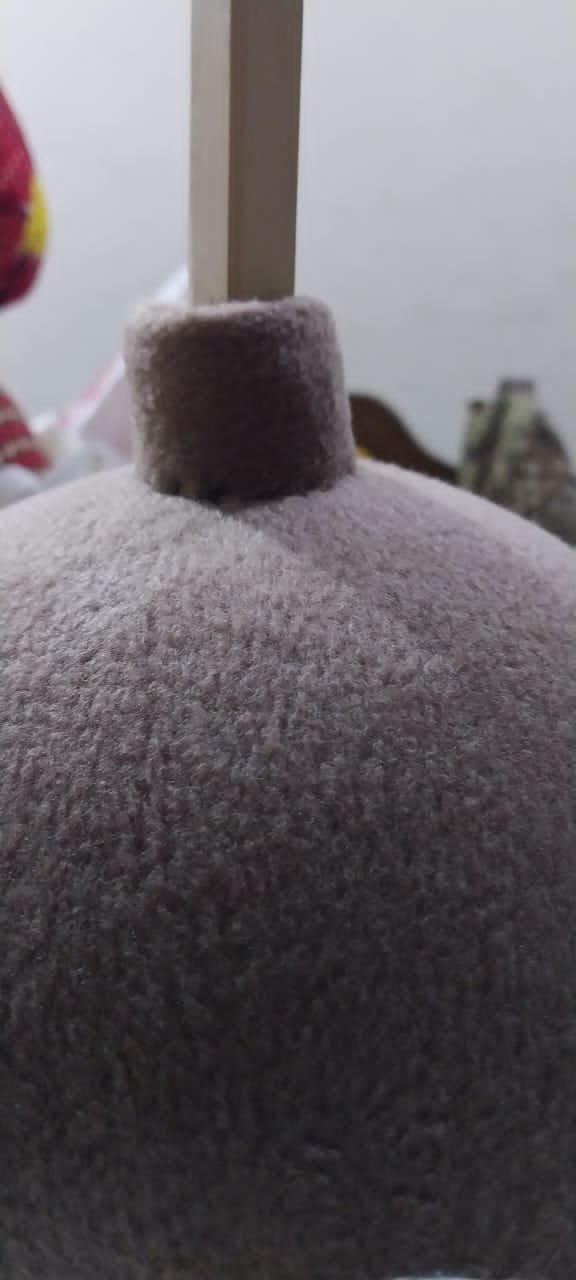
Introducimos ya las esferas pegadas y forradas la Introducimos en la base
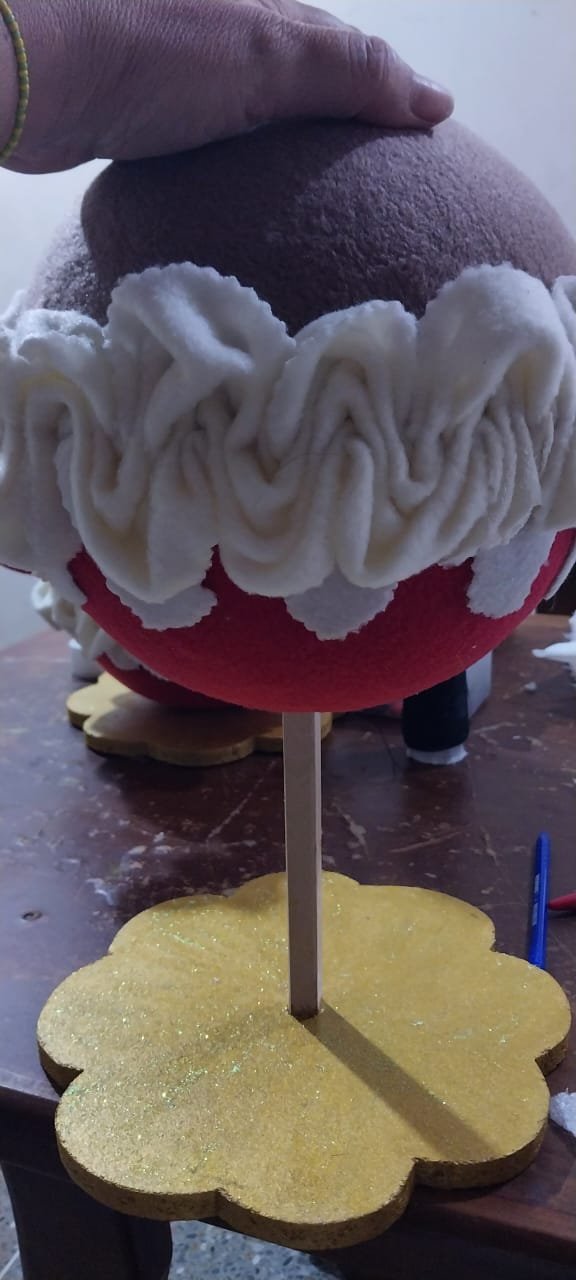
Así tiene que quedar
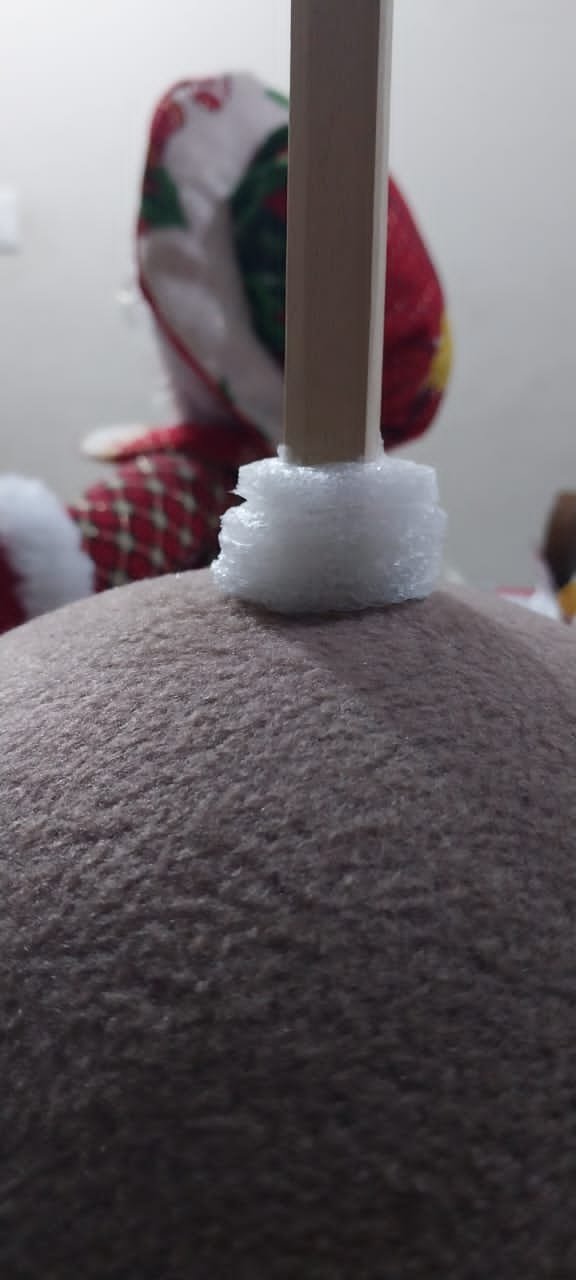
En un pedazo de papel térmico procedemos a marcar un círculo, sacamos 4 círculos.
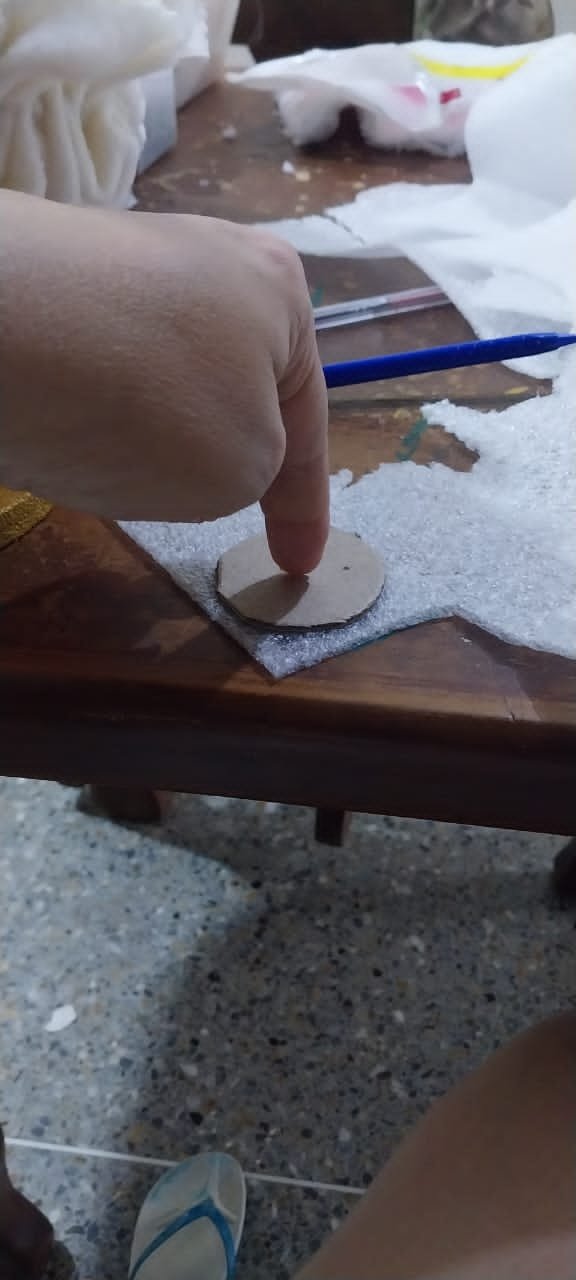
Le abrimos un hueco en medio y vamos introduciendo
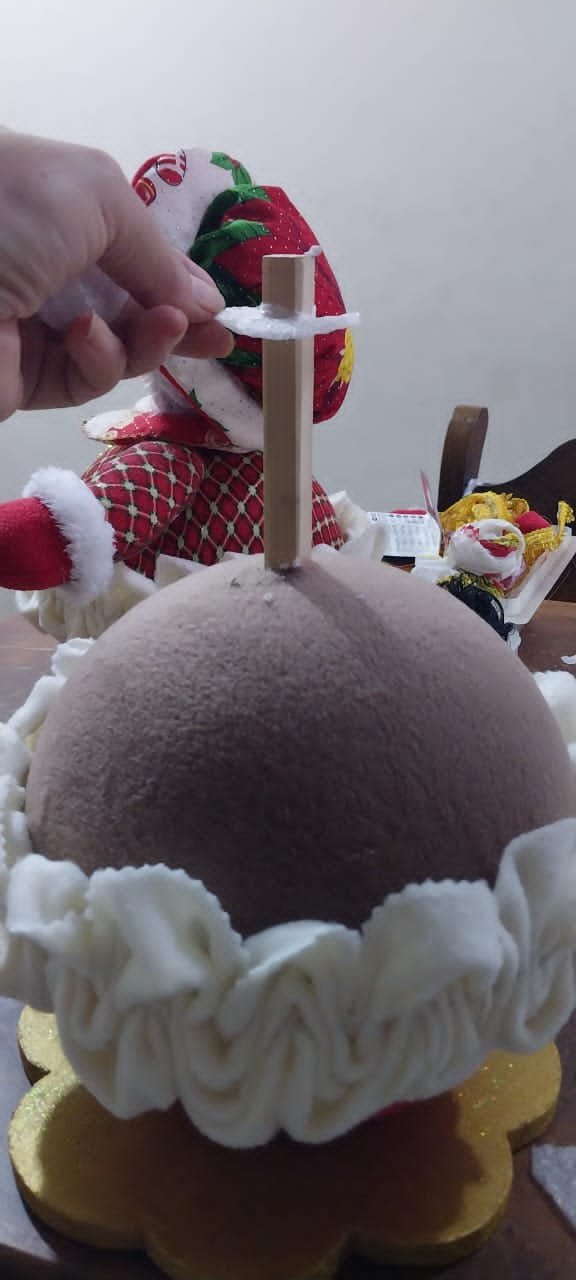
Introducimos todos los círculos que marcamos
Luego cortamos hasta darle una forma igual al palo de la base

Algo así
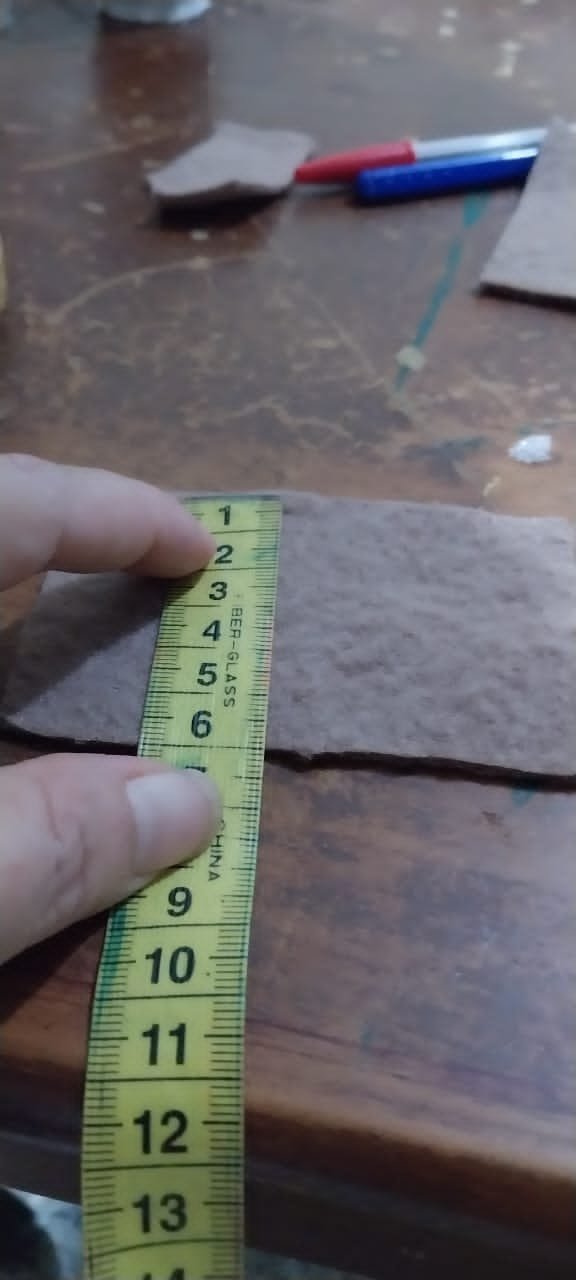
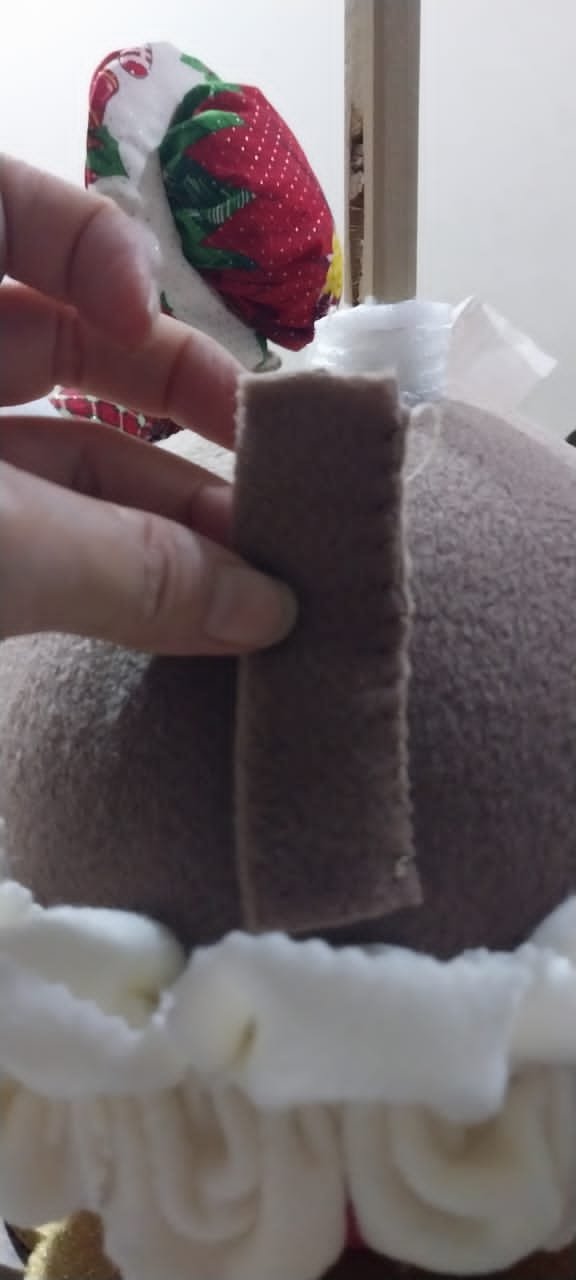
Luego agarros un color de tela igual del mismo color del muñeco 6cm de ancho por 4 cm de largo
La cosemos dobles
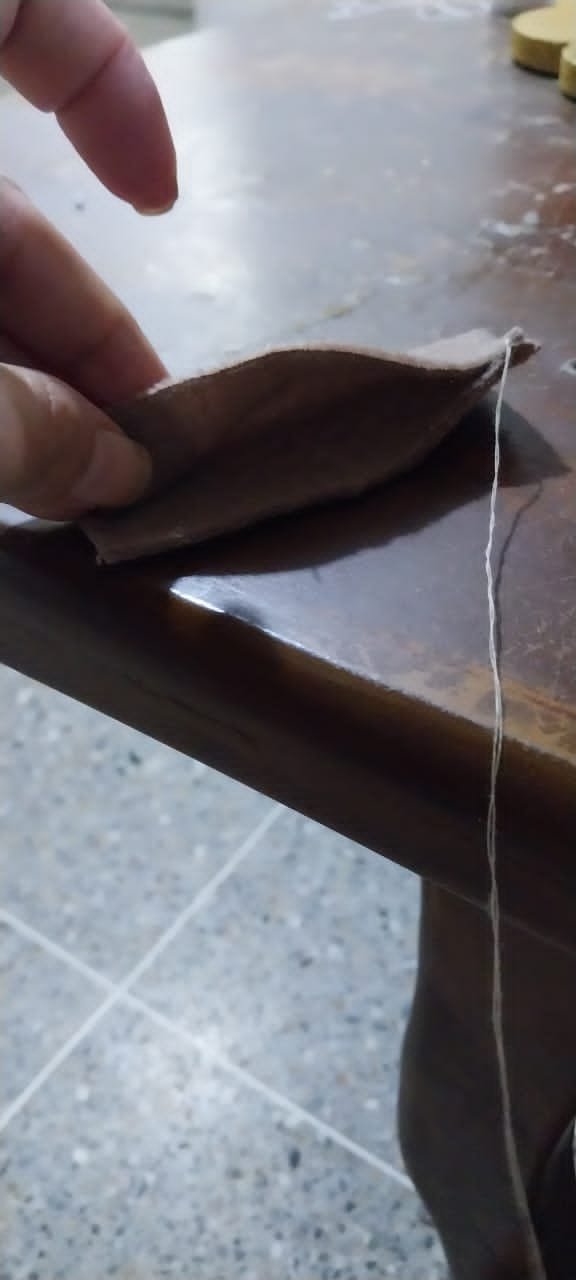
Tiene que quedar así
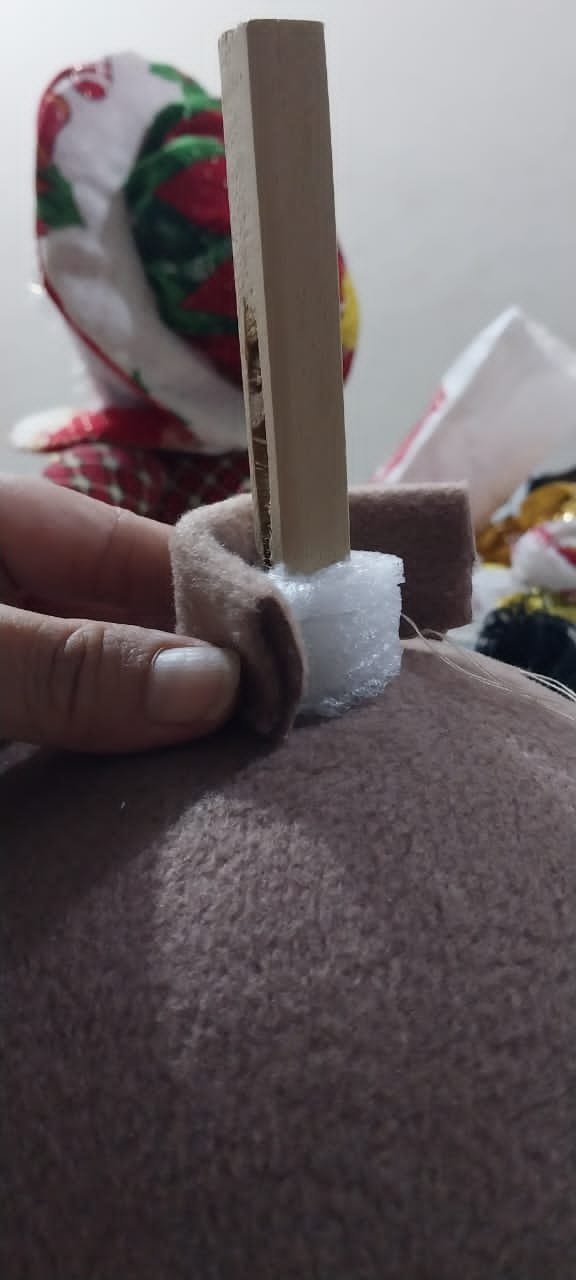
Luego colocamos y unimos
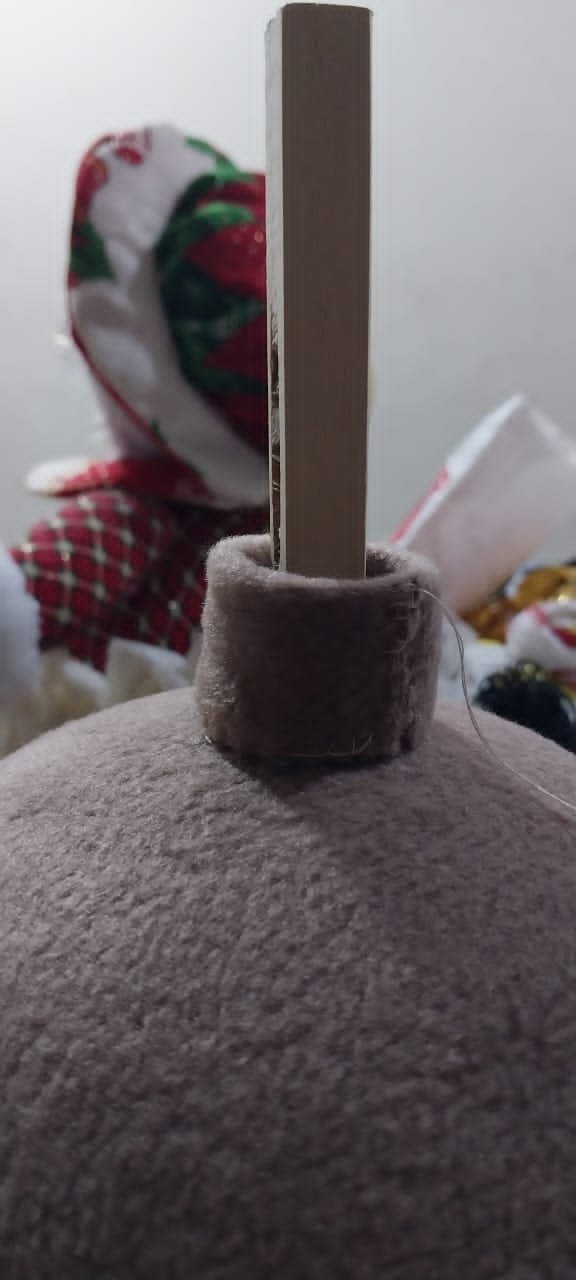
Ya cocido y unido
Luego unimos el cuello con el cuerpo cocemos así
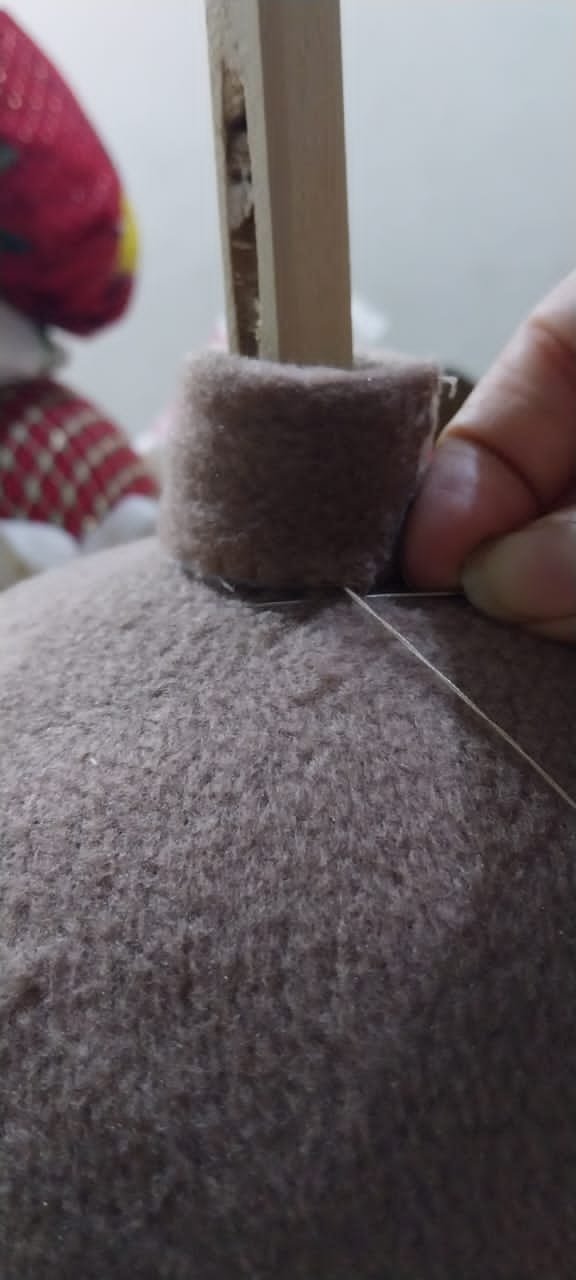
Listo ya cocido
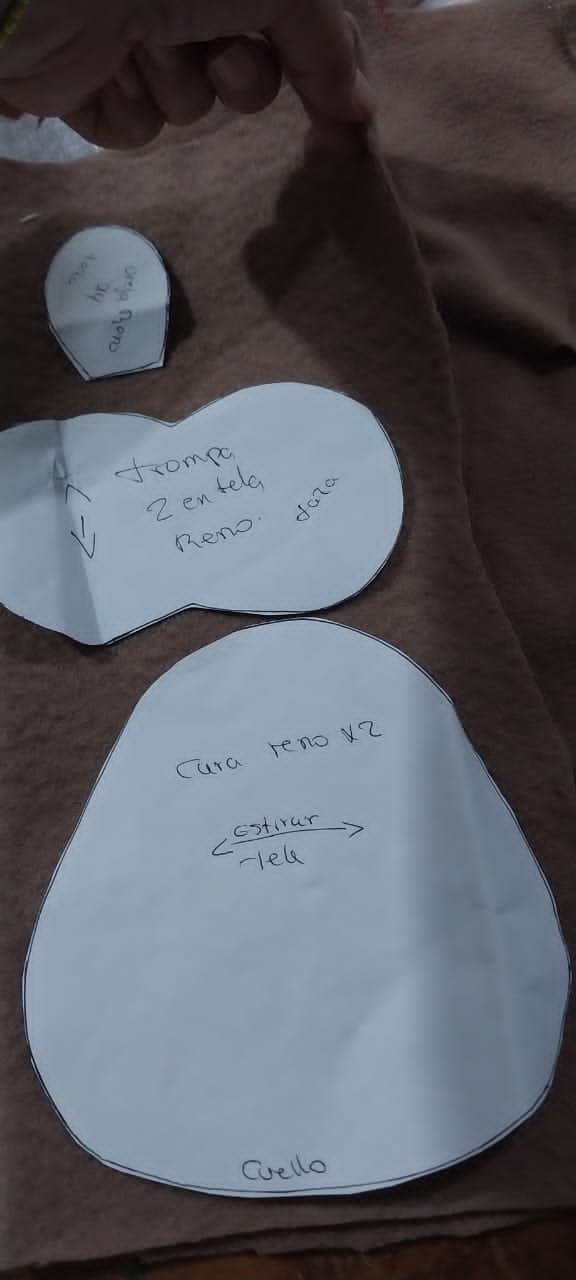
Procedemos a marcar la cara la trompa y orejas del reno
Ya com los brazos ya cocido del reno
Ya lista la cara del reno con su trompa y nariz y orejas pegadas y boca bordada

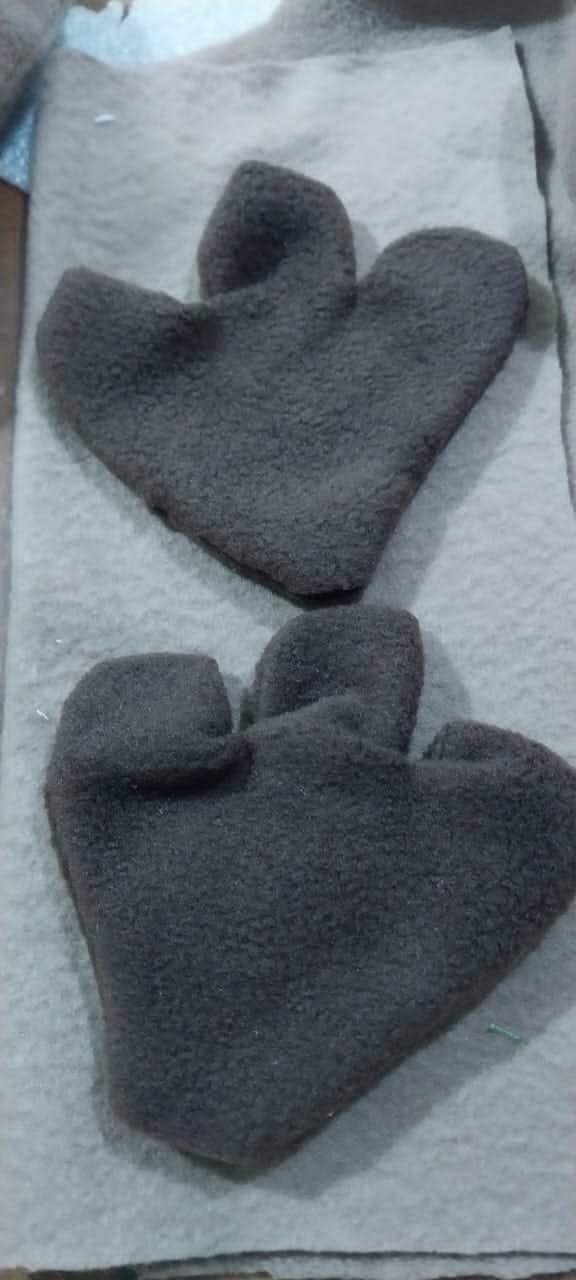
Cachos listo para rellenar todos los patrones se marcan sobre tela dobles y se cosen.
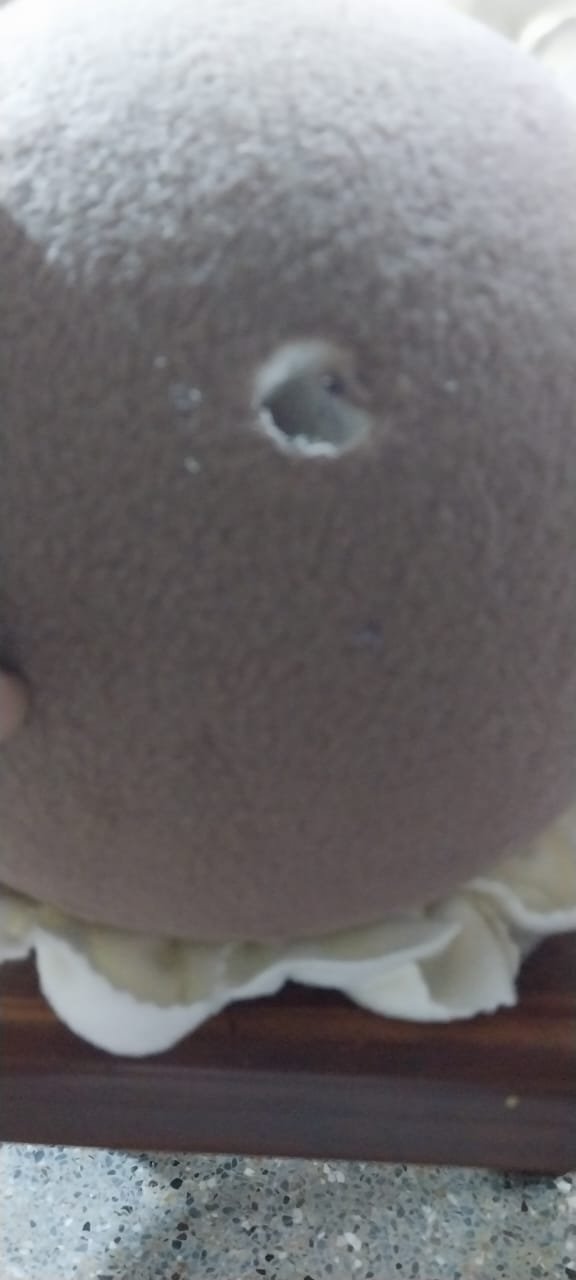
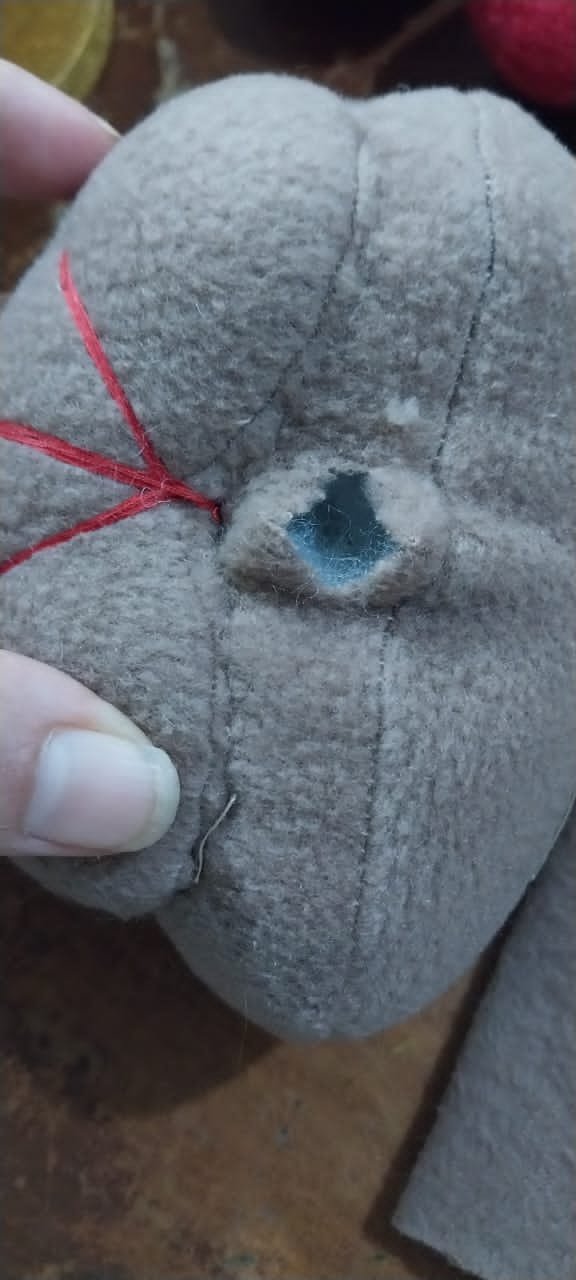
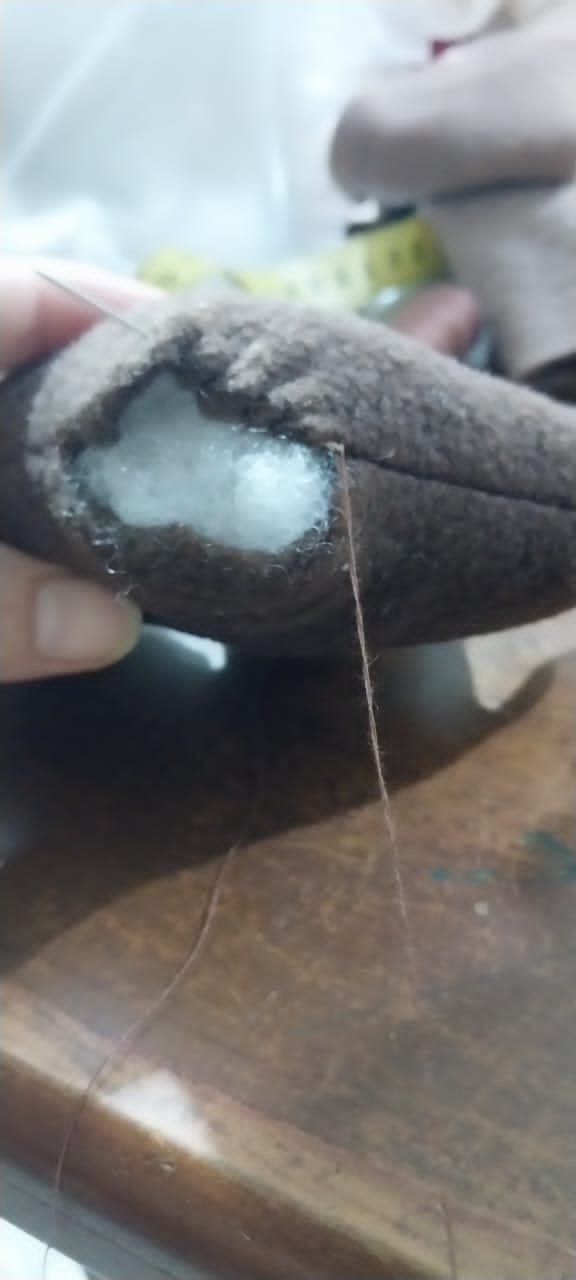
Aquí la cara del reno cocida se le abre un hueco sin tocar costura así, por ahi se introduce el palo de la base.
Se va abriendo para introducir la cabeza ya armada
Ya listo introducida procedemos a coser
Así vamos cociendo
Así va quedando
Los cachos relleno y cocemos en forma envolvente
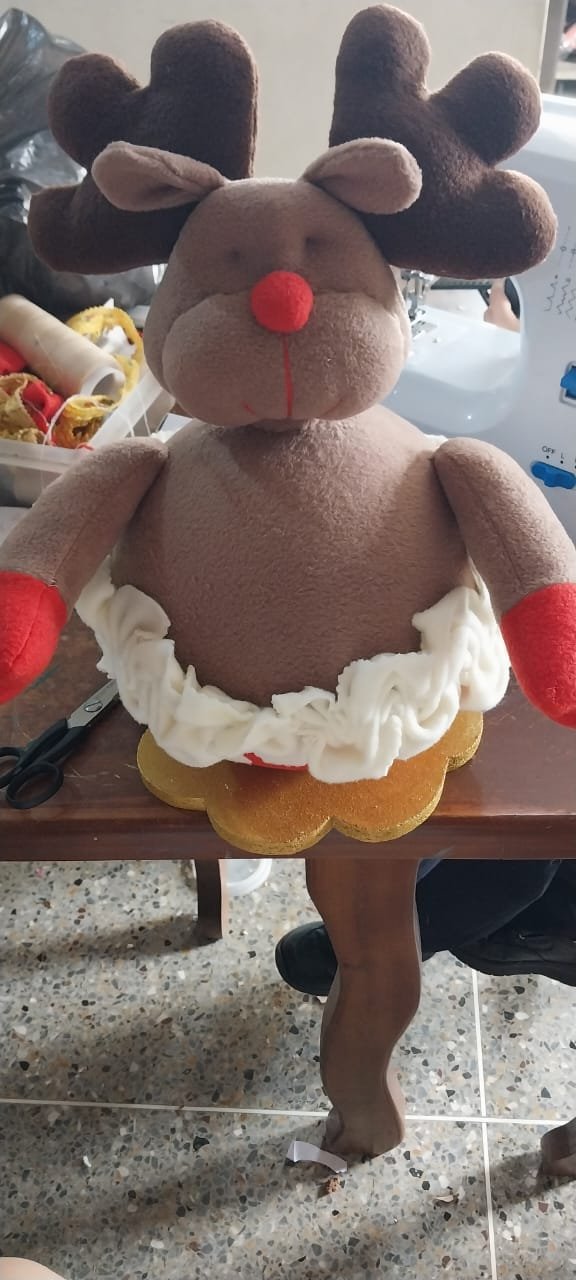
Así ya con su brazo y cabeza y cacho pegado, así va quedando le vamos pegando detalles
Así va quedando
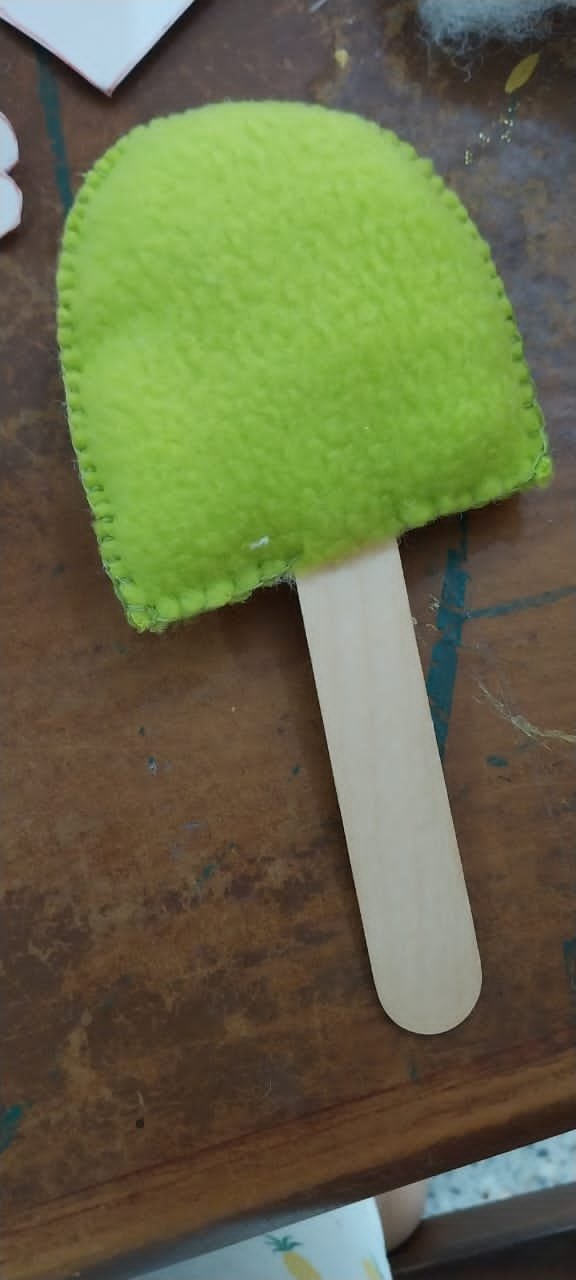
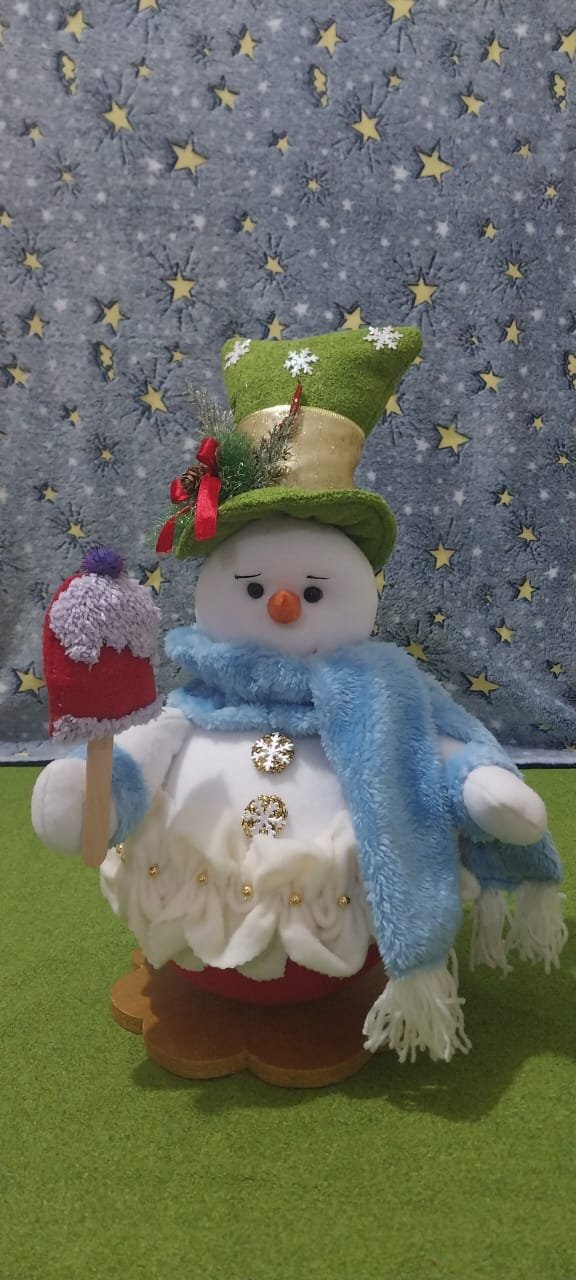
Vamos a realizar una paleta
Marcamos en la tela dos veces sacamos 2,tela, 2 guata
2 de guata
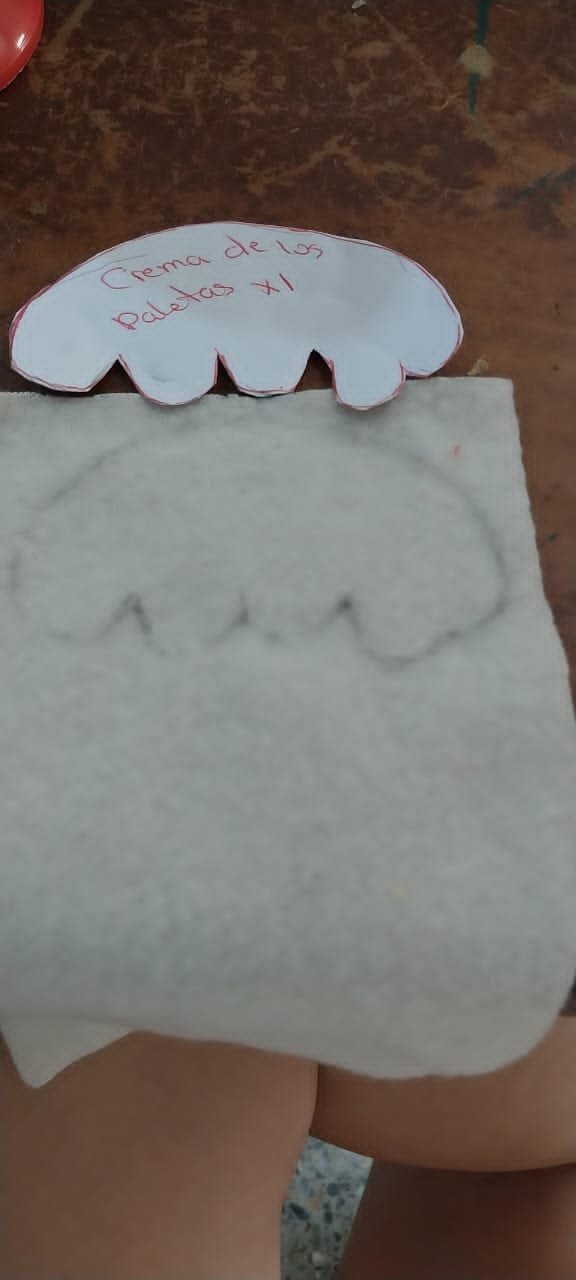
Marcamos la crema de la paleta
Procedemos a coser y colocar la guata y la 2 tela unir
Así con un pisa lengua una le damos la forma de paleta
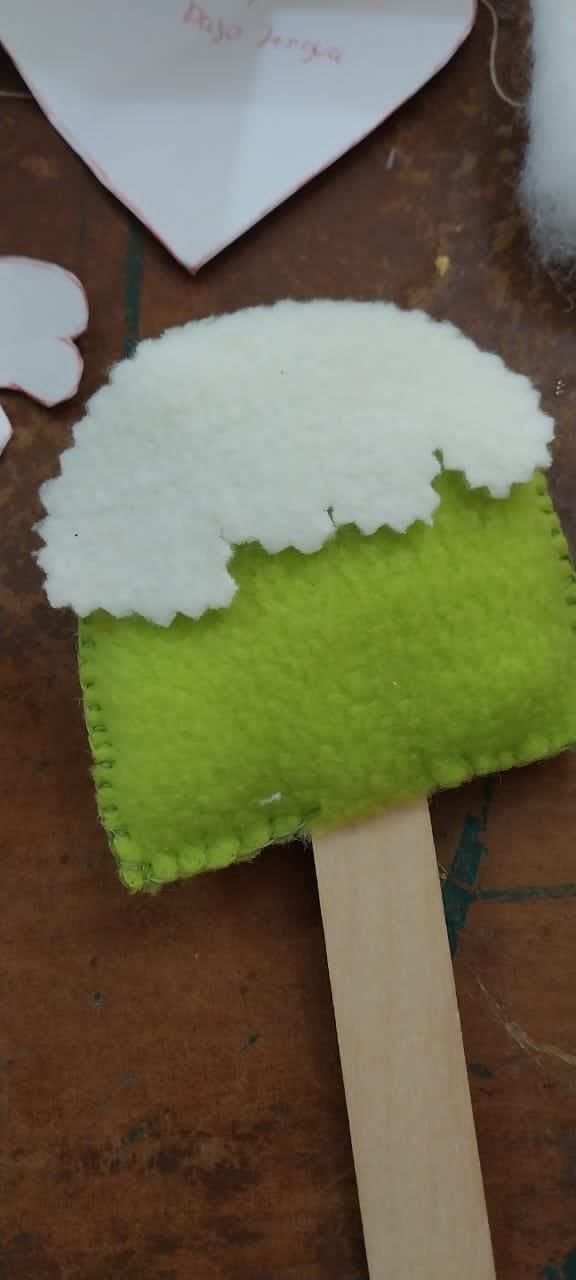
Luego pegamos la crema
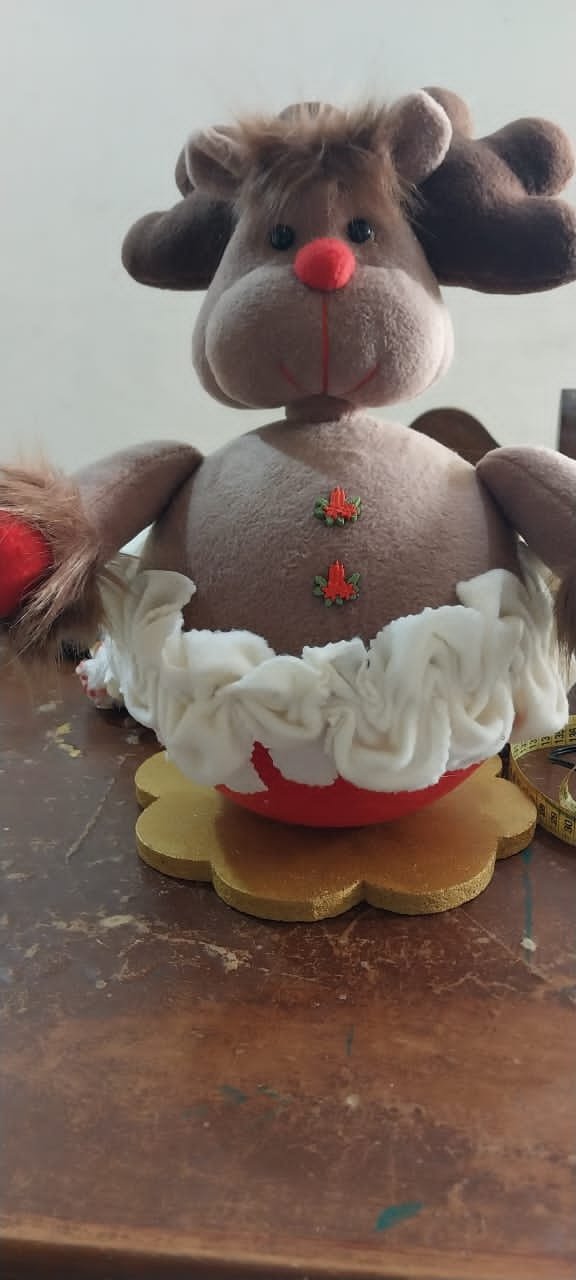
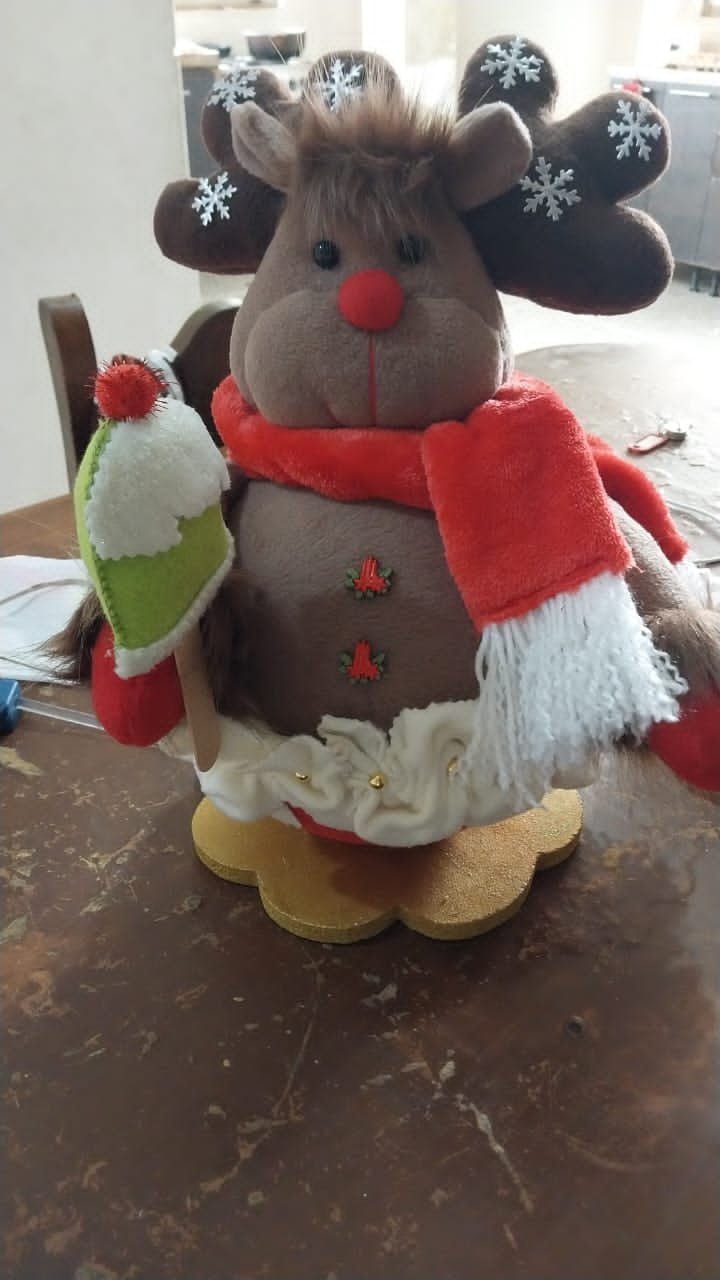
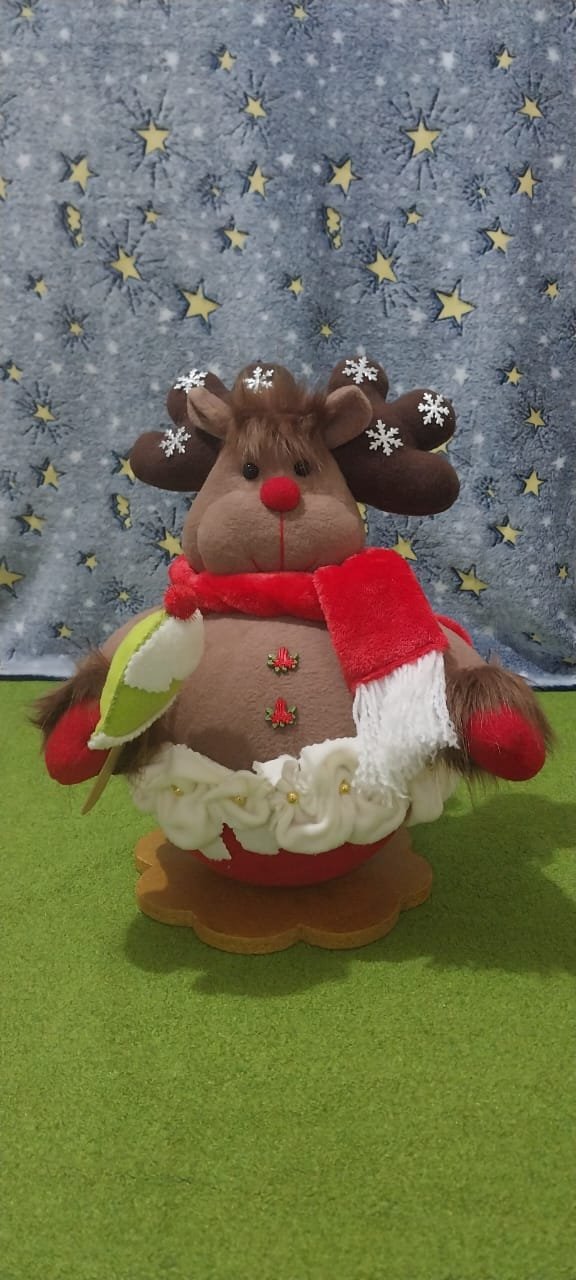
Así va quedando nuestro renito
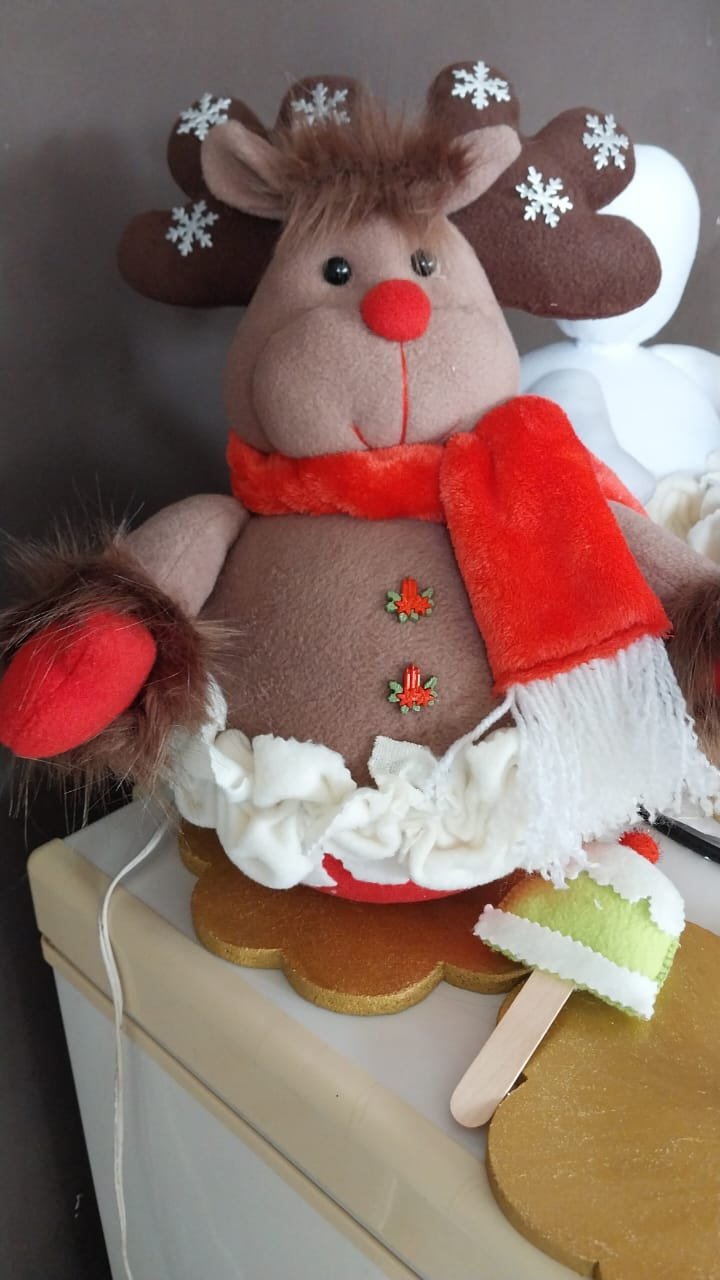
Ya listo nuestro renito su bufanda es un metro de tela roja con 10cm de ancho, y le coloque estambre blanco
Es el mismo procedimiento para todos los muñecos
Así también armamos nuestro nieve
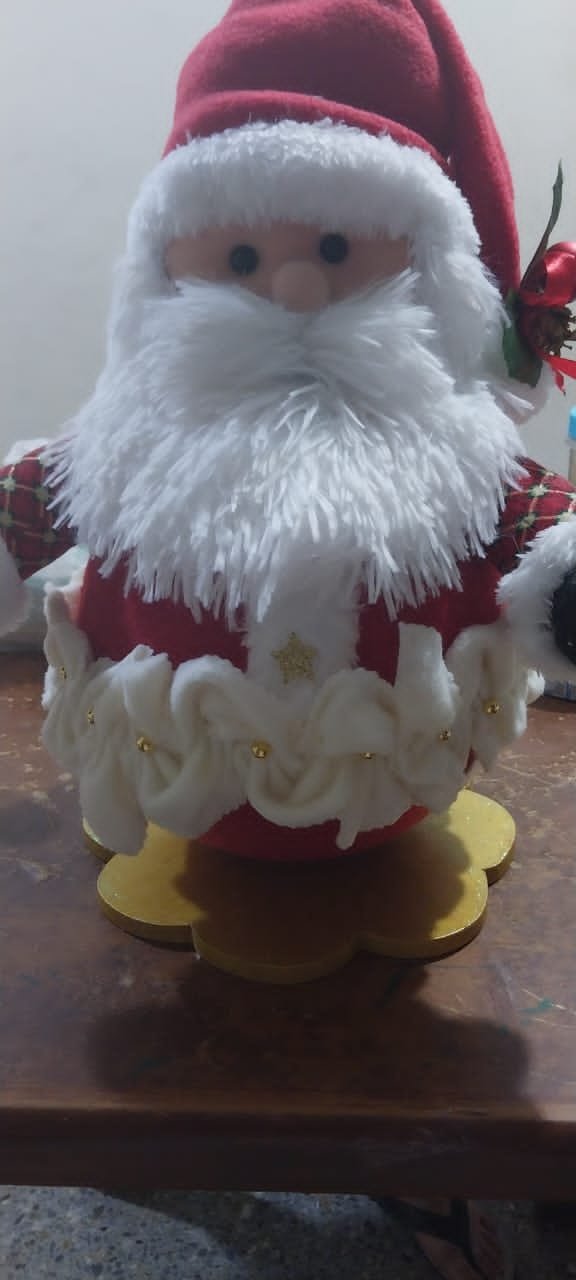
Aquí sacamos nuestra barba del santa con tela de peluche largo y bigote, ahi en la imagen esta pegando la barba de santa.
Ahí ya con la barba y el bigote elaborado y su gorro

pegando el gorro
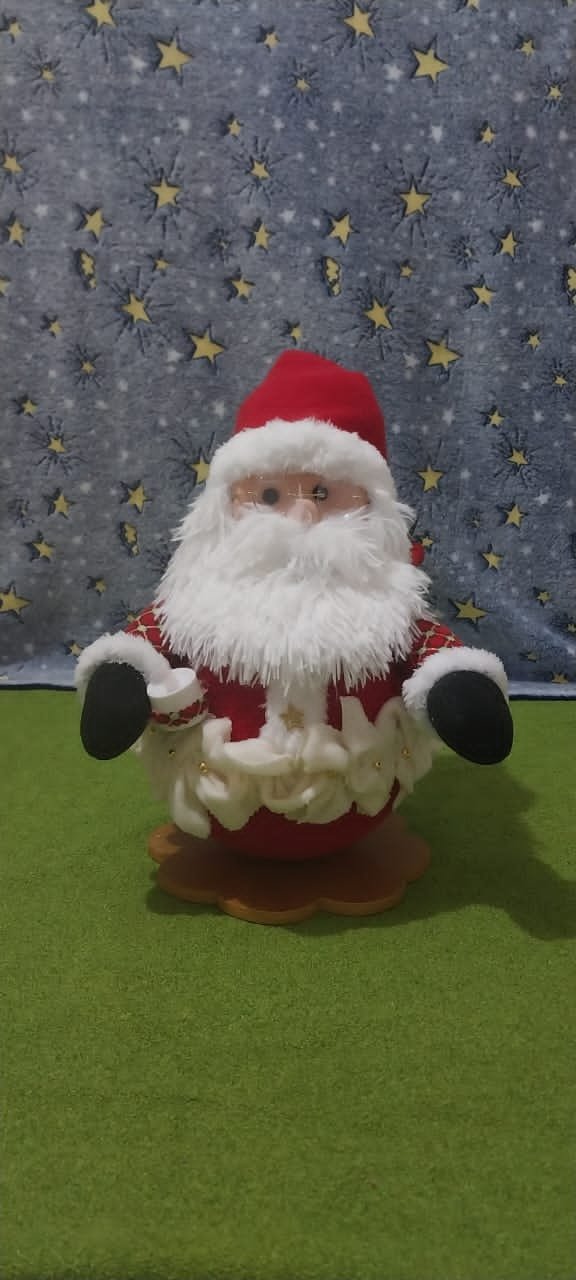
Aquí ya listo el santa los detalles se lo coloca a su preferencia
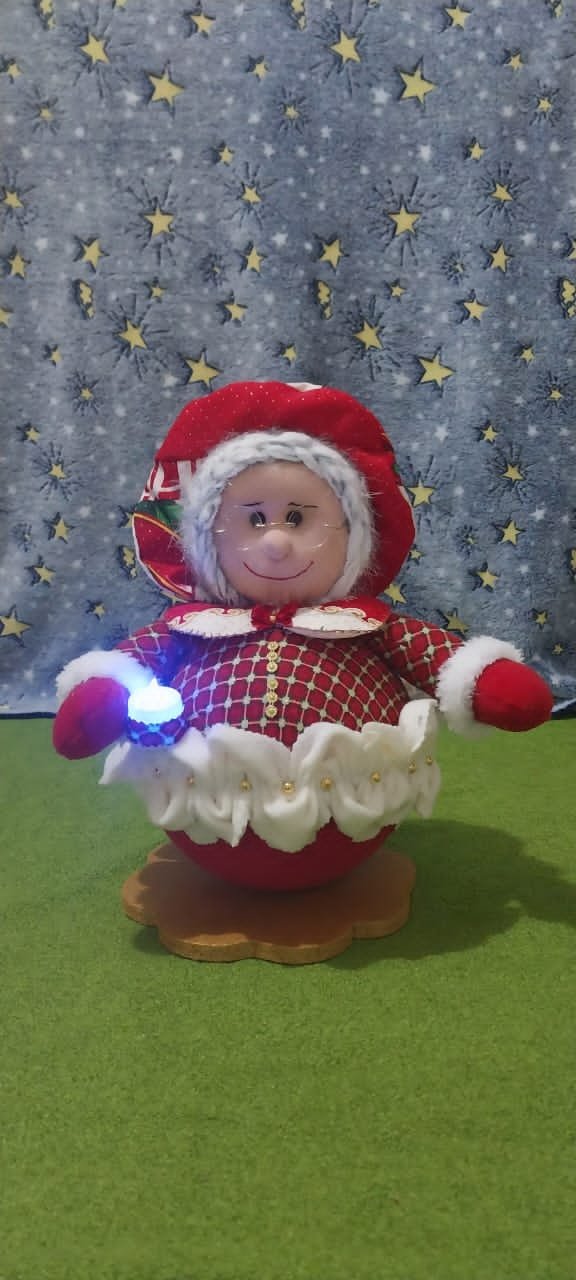
Aquí todos terminados
Bueno sin más nada que decir, gracias por por a todos y estare nuevamente publicando, para aprovechar la época de navidad, espero les haya gustado mucho el resultado.
Todas las fotos son tomadas con mi Samsung galaxy A23 y las ediciones con canvas y capcut.
English
Greetings to the community, I am here again to share with all of you a process where I make some Christmas cups, to make them we will need threads, needles, scissors, small scissors, compact and hollow anime balls No. 20, blanket fabrics polar and we also need a wooden base where I will leave patterns and measurements.
I will share a video of the process, so you can appreciate it and I will also leave the photos of the process written here, it will be my first publication with #Threespeak.
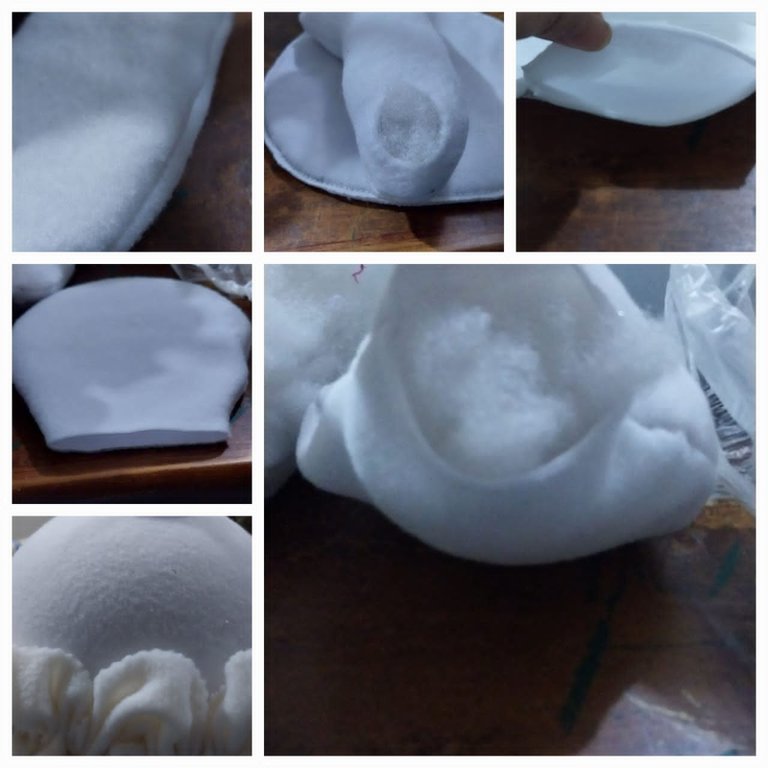
We are going to use a compact anime ball No. 20, we are going to chop it in 2 with a scalpel in this case, I am using an exact cut
We work on the hollow one in the following way, we are going to line it but before lining it we proceed to open it like this
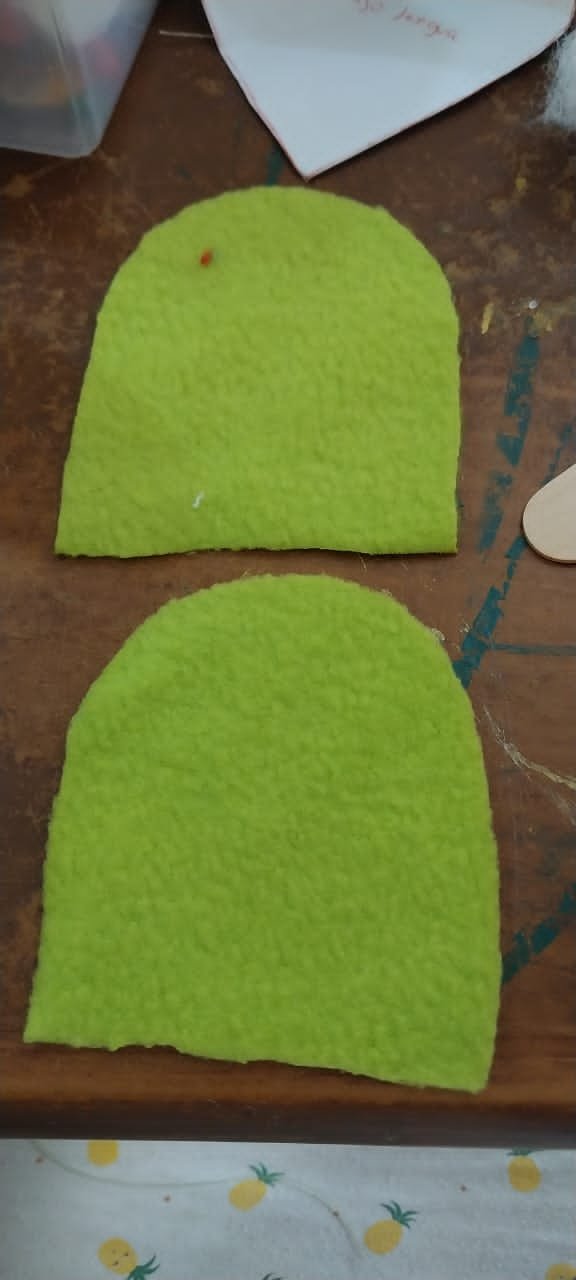
This is the pattern to cut the fabric with which we are going to cover the ball
We are going to need 4 bases
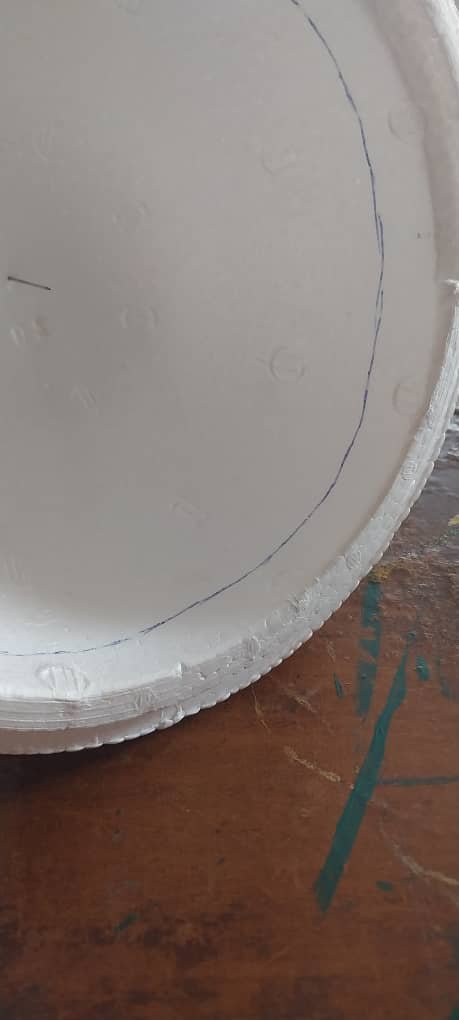
Then with the exact cut we are going to cut but not in its entirety, it is to make a small surface without damaging the ball
We are going to draw a stripe along the entire edge of more or less 1cm
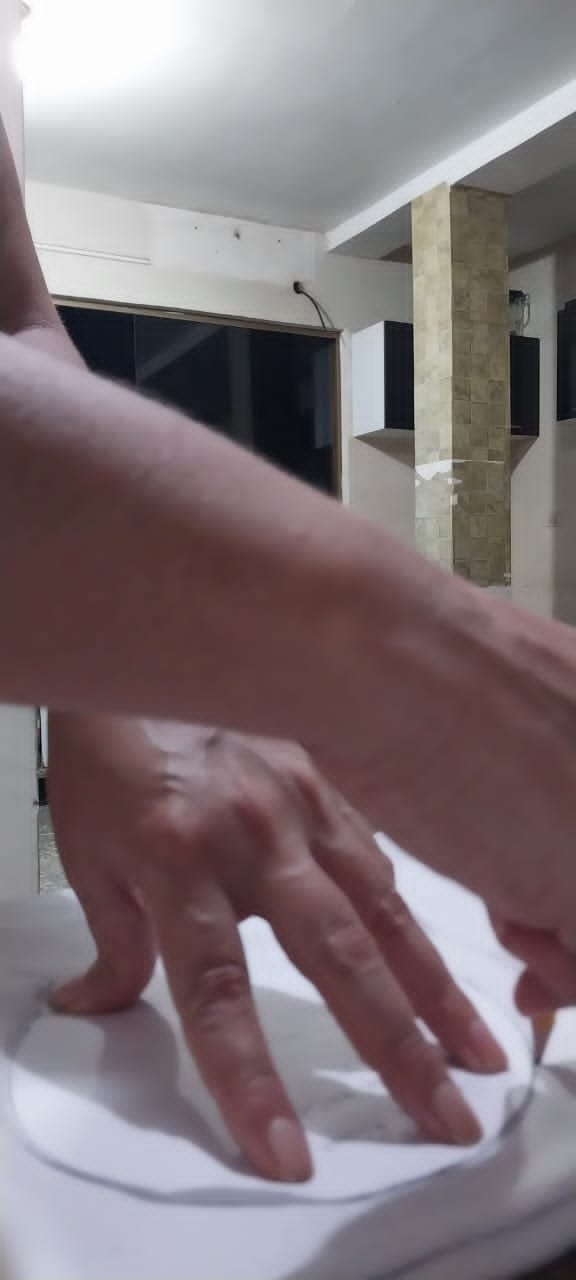
Let's mark the patterns on the fabric
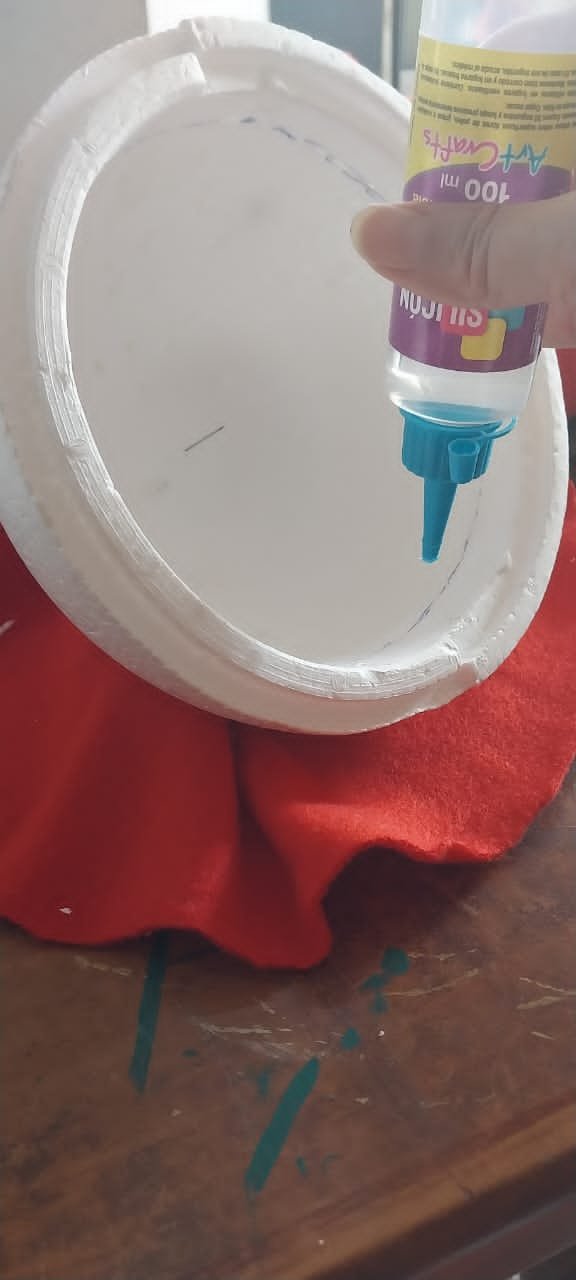
We start by covering the hollow spheres by placing liquid silicone
It has to stay like this
And so on the outside without any wrinkles and we mark the middle of the sphere
After the white or cream-colored fabric we are going to cut a strip along the length of the fabric with a width of 10cm
Use the small or zinc scissors to move along the length of the fabric
We will then mark the fabric as a triangle all over the fabric
We proceed to sew all the triangles that we mark on the fabric
Crunching up, that's how it has to be
Then we mark the cream on the fabric
Here cutting the already marked cream
It has to stay like this
Then with the other sphere already cut in 2
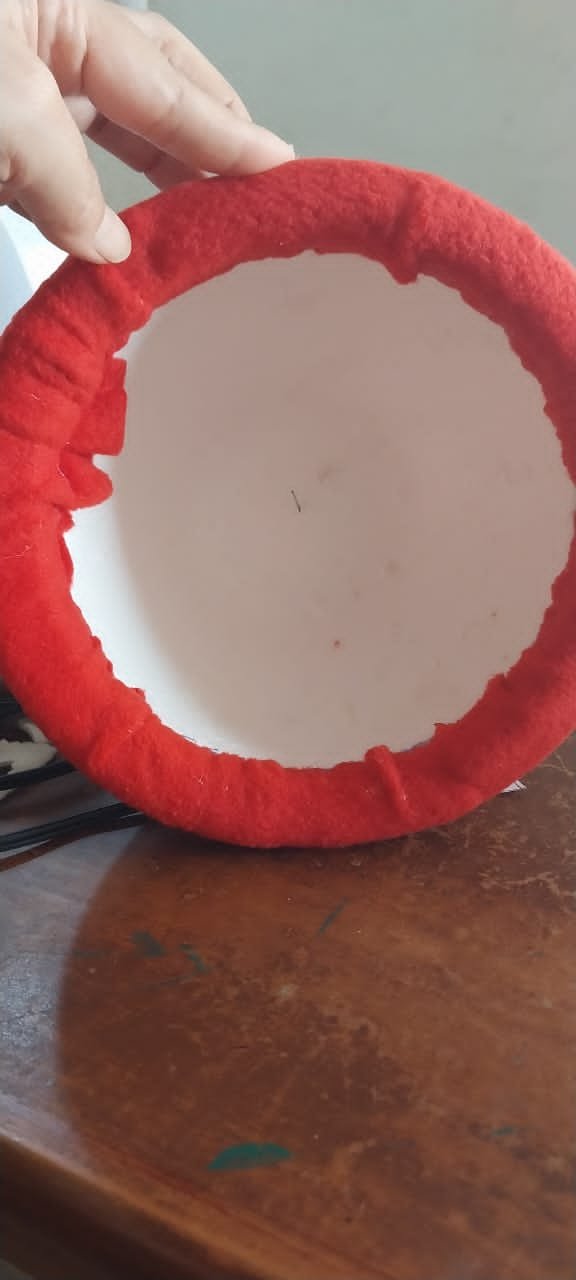
We cover it, it is the body of the reindeer, we cut it the same way to insert the fabric, this way we are going to insert the fabric into the sphere.
We are introducing it in equal parts so as not to leave wrinkles
It has to stay like this
And in the same way we mark the middle of the sphere
Then we glue the cream that we made from the sphere that we covered with the red fabric
This is how we stick the cream
This is how it has to stay
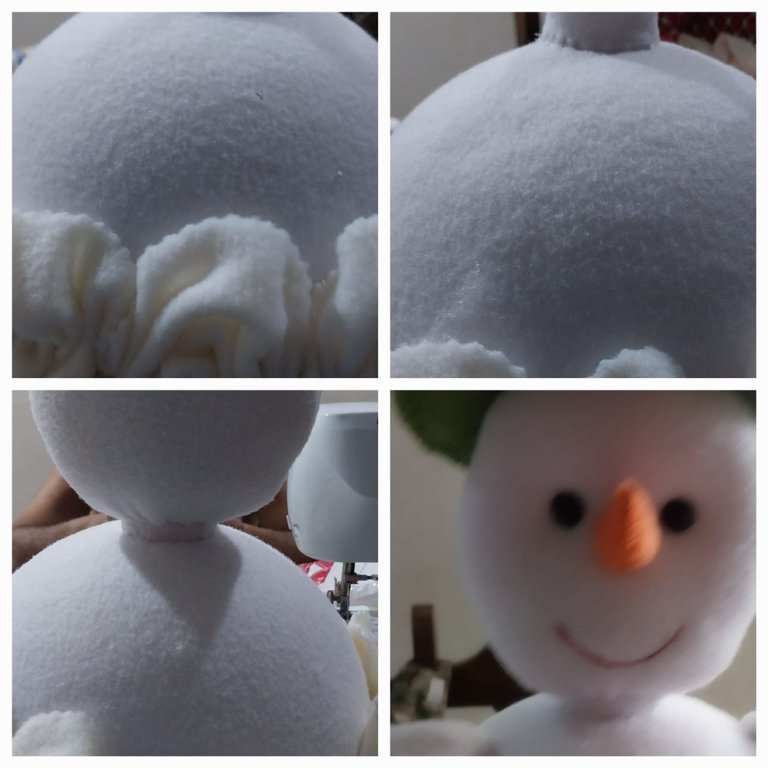
After having those two spheres already lined and with the cream already glued, we proceed to join the two spheres
This is how I'm going to show it to you with this sphere that I already had lined and ready
But before joining the spheres we opened the entire middle to be able to insert the base
This is how to introduce the bases
Then we glue the other cream that we make in a zigzag shape
We now introduce the glued and lined spheres. We introduce them into the base
This is how it has to stay
On a piece of thermal paper we proceed to mark a circle, we take out 4 circles.
We open a hole in the middle and introduce it
We enter all the circles that we mark
Then we cut until we give it a shape equal to the base stick
Something like that
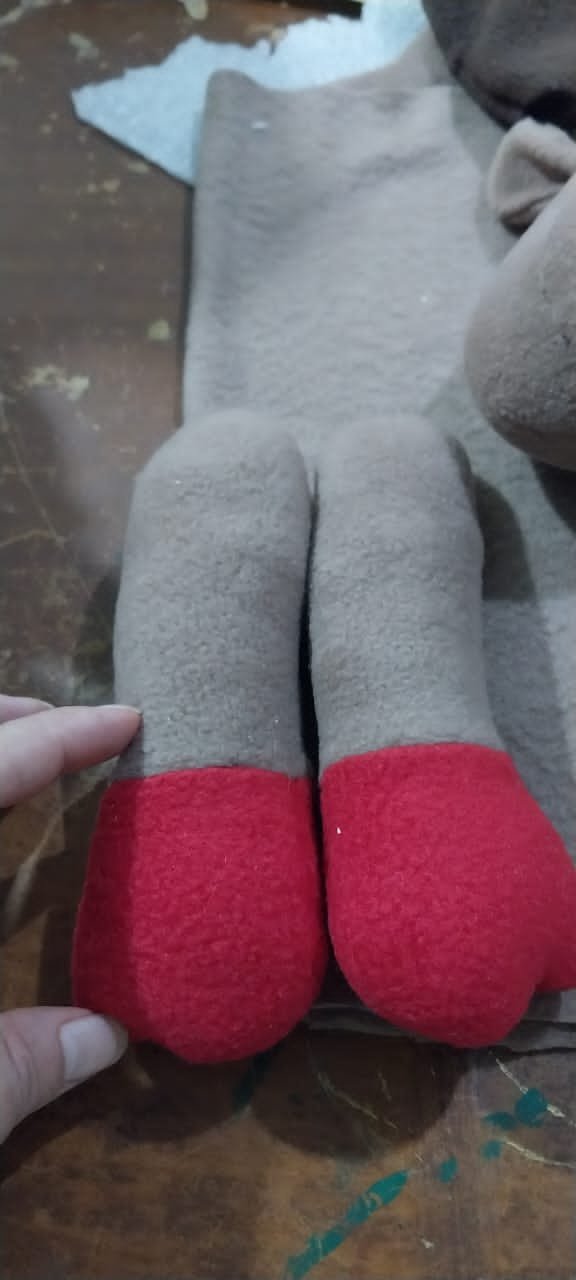
Then you grab an equal color of fabric of the same color as the doll, 6cm wide by 4cm long
We sew it double
It has to stay like this
Then we place and join
Already cooked and united
Then we join the neck to the body and cook like this
Ready and cooked
We proceed to mark the face, trunk and ears of the reindeer
Already with the arms and cooked of the reindeer
The face of the reindeer is ready with its trunk and nose and ears attached and embroidered mouth
Chops ready to fill all patterns are marked on double fabric and sewn.
Here, a hole is opened in the cooked face of the reindeer without touching the seam, this is where the base stick is inserted.
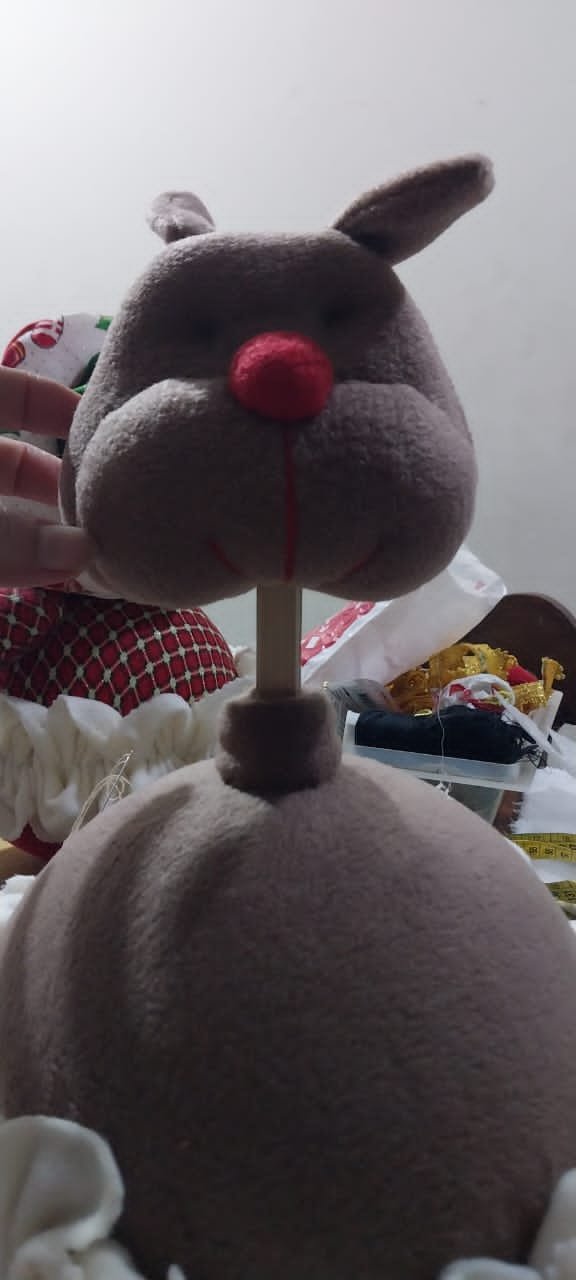
It opens to introduce the already assembled head
Now introduced, we proceed to sew
This is how we cook
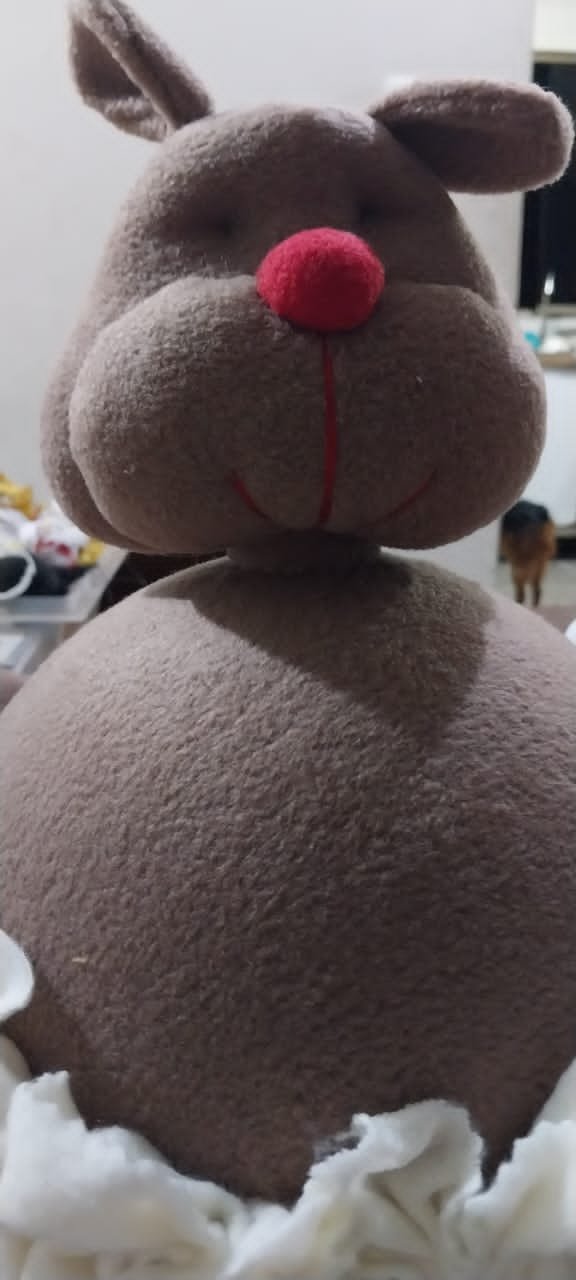
This is how it looks
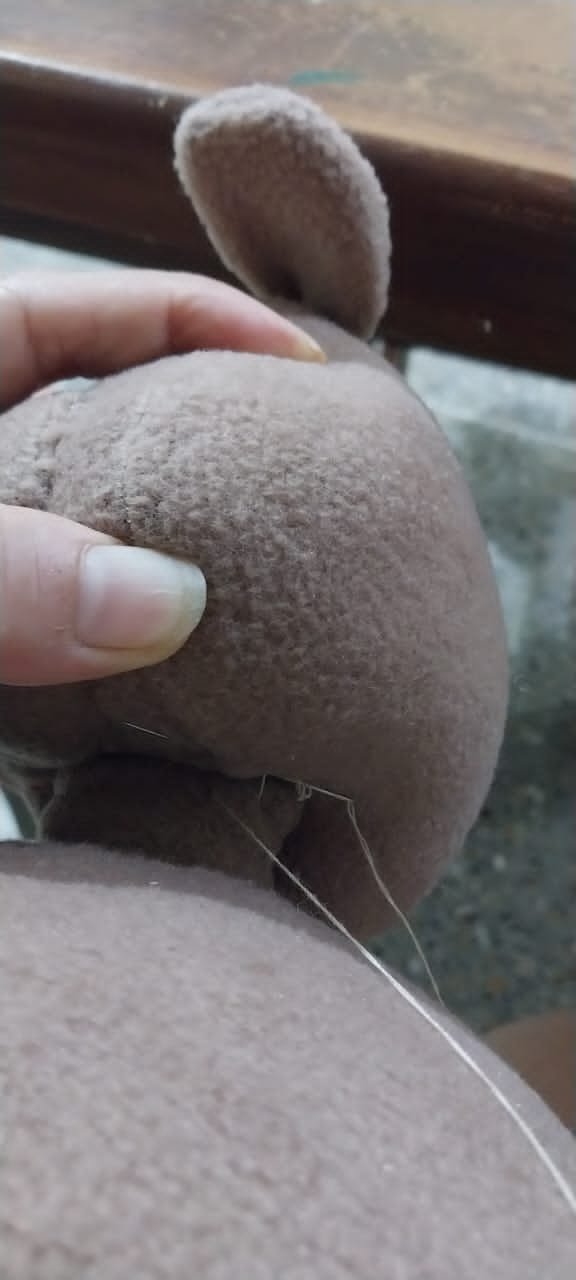
Stuff the chunks and cook in an enveloping form
This way, with his arm and head and butt attached, this is how it looks, we are adding details to it
This is how it looks
Let's make a palette
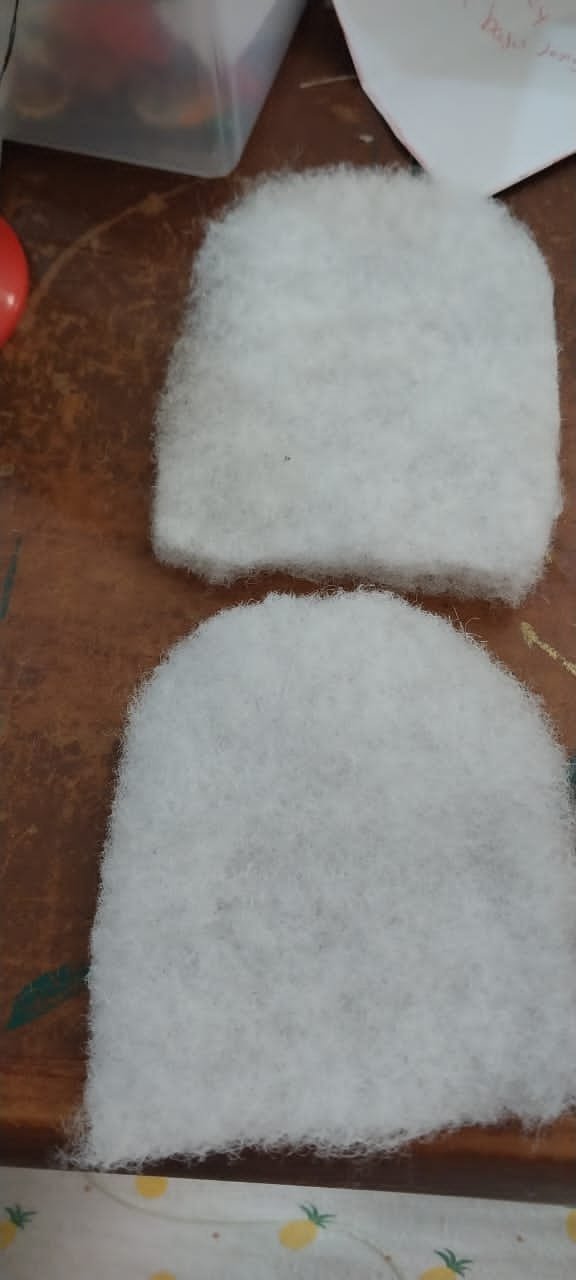
We mark on the fabric twice, we take out 2, fabric, 2 wadding
2 wadding
We mark the cream of the palette
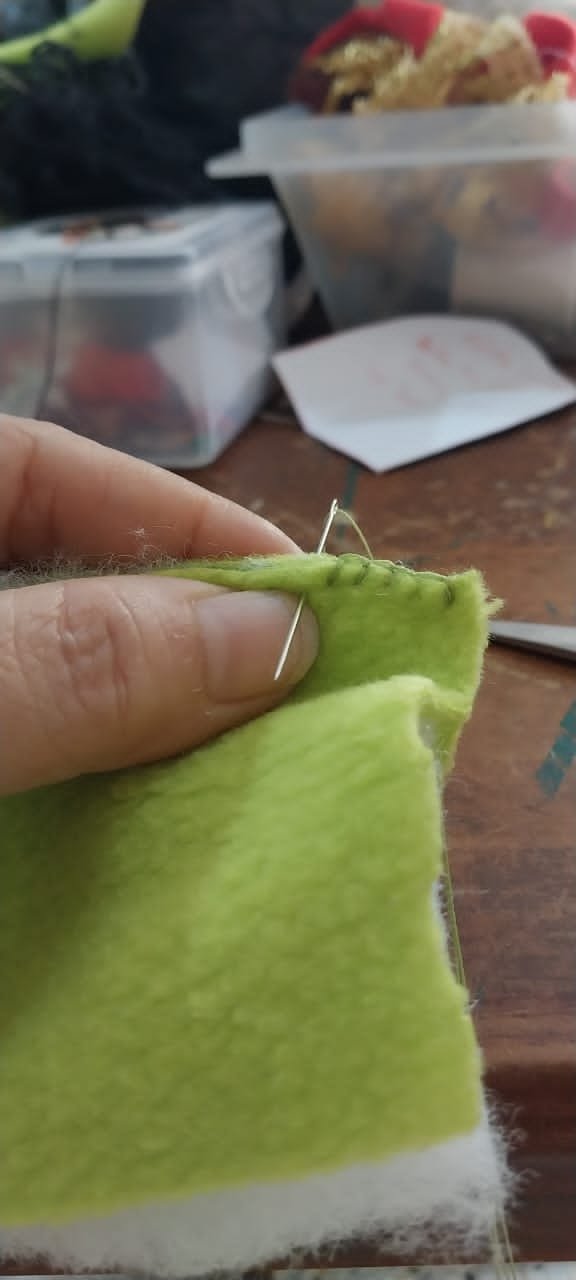
We proceed to sew and place the batting and the 2nd fabric together
So with a tongue press we give it the shape of a lollipop
Then we paste the cream
This is how our little reindeer turns out
Our reindeer is ready, his scarf is a meter of red fabric 10cm wide, and I put white yarn on it
It is the same procedure for all the dolls
This is also how we build our snow
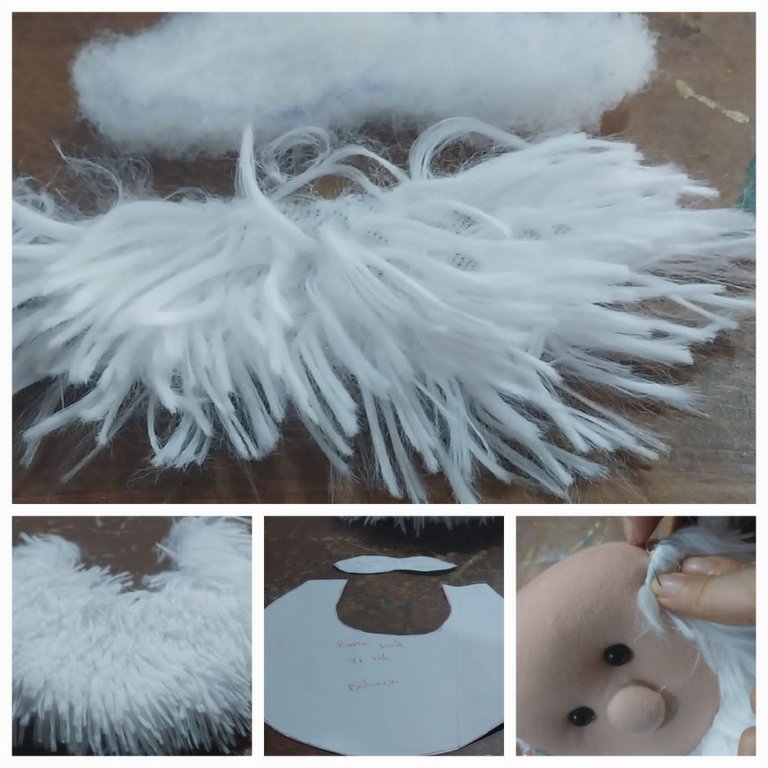
Here we take out our Santa beard with long plush fabric and mustache, there in the image is Santa's beard.
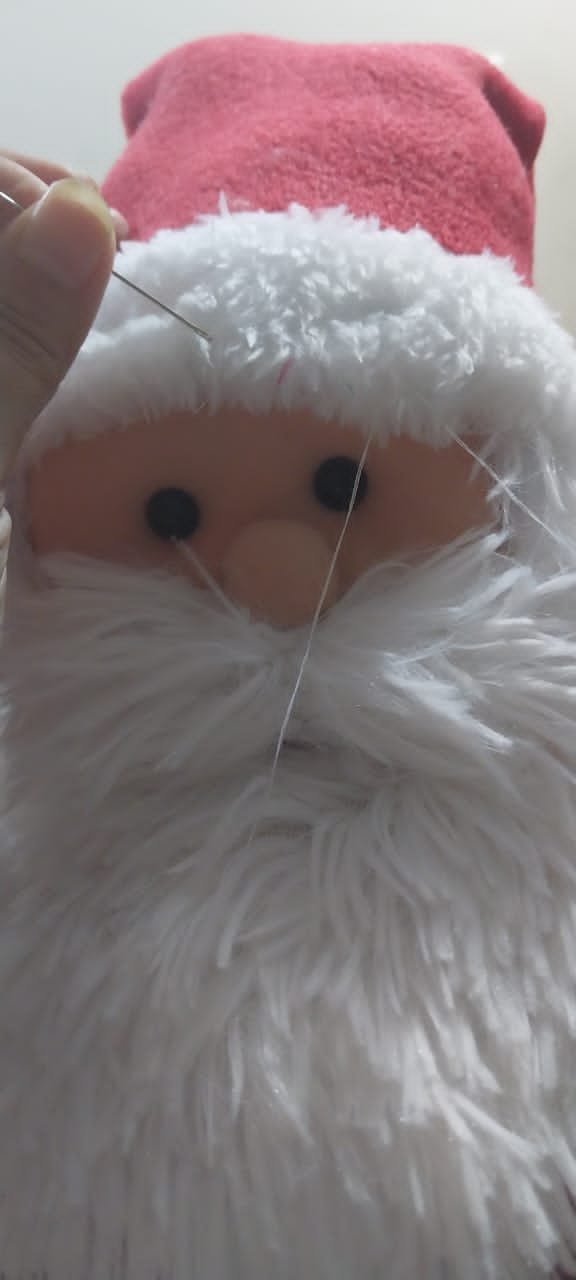
There already with the elaborate beard and mustache and his hat
sticking the hat
*** Here the Santa is ready, the details are placed according to his preference ***
Here all finished
Well, without anything else to say, thank you all and I will be publishing again, to take advantage of the Christmas season, I hope you liked the result very much.
All photos are taken with my Samsung galaxy A23 and the editions with canvas and capcut.
Fuentes musical-mariah carey - all i want for christmas is you
▶️ 3Speak
Congratulations @anacelis14! You have completed the following achievement on the Hive blockchain And have been rewarded with New badge(s)
Your next target is to reach 1250 upvotes.
You can view your badges on your board and compare yourself to others in the Ranking
If you no longer want to receive notifications, reply to this comment with the word
STOPCheck out our last posts:
Gracias por su gran apoyo ❤️
De nada @anacelis14 😊👍 ¡Le deseamos un buen día!
Amiga @anacelis14, das una explicación minuciosa y detallada de un trabajo que vale la pena realizar porque el resultado es espectacular . Gracias por compartir. Éxitos.
Gracias a ti por compartir y apoyar, con mucho amor para todos ✨
Muy linda la manualidad que nos enseñas. Gracias por compartir tus saberes. Suerte.
Gracias a ti por tu gran apoyo y. Abrazo fuerte, bendiciones 🙏🏻
Realmente no hay época que motive más que la dulce Navidad. Y está muy bello este trabajo
Suerte.
Gracias 🫂 por esas palabras muy amable y me agrada saber que el esfuerzo valió la pena
Un post realizado con esmero. Excelente presentación y la música de fondo del video demasiado buena. Muy bella tu manualudad (que ahora es nuestra) Gracias por compartir. Feliz Navidad
🌲🍷🍾
Gracias igualmente feliz navidad, es una época de compartir y disfrutar de los familiares y adornar nuestros hogares con los más mínimos detalles, con humildad y amor.
Qué lindo trabajo y una explicación tan clara que uno puede hacer todo, seguir los pasos, sin enredarse. Gracias por compartir. Bendiciones
Gracias a ti por apoyarme 🙏🏻✨
Excelente publicación 🥳😬 muy bien explicado y completa, felicidades y que bueno que estés de vuelta aquí en la comunidad 🎉
Gracias 🫂 por su gran cariño 💕 aquí estaré compartiendo mis manualidades
Felicidades 🎉 de verdad que hermoso trabajo y más en esta época para decorar nuestro hogar y dar vida a la navidad 🎄🎁 felicidades
Gracias 🫂 si es increíble está época, sin duda alguna es la mejor, saludos y bendiciones.
Me encanta la creatividad de hacer estos peluches hermosos, se ve muy difícil de realizar pero gracias a los patrones y a los pasos a seguirse puede lograr un resultado deseado ❤️✨ felicidades muy hermoso trabajo.
Gracias de verdad que son hermosas palabras de parte de todos 🎉🙏🏻 bendiciones ❤️
Felicitaciones @ana celis14 👏👏👏Muy buena esa creatividad y en estos días de Navidad 🎄🎁 mucho más 👍Te deseo lo mejor 👍Mil Bendiciones 🙏y un abrazo fuerte Amiga 🤗
Nunca imaginé se hiciera asi. Que bueno lo compartiste, muchas gracias. Felicidades por tu talento y buen trabajo.