Hello everyone, hope you're fine and enjoying the holiday.
Today I would show you how I made this sequin dress.
It is very easy and I enjoyed working with the fabrics.
One needs to be very careful while working with sequin fabrics.
Materials used.
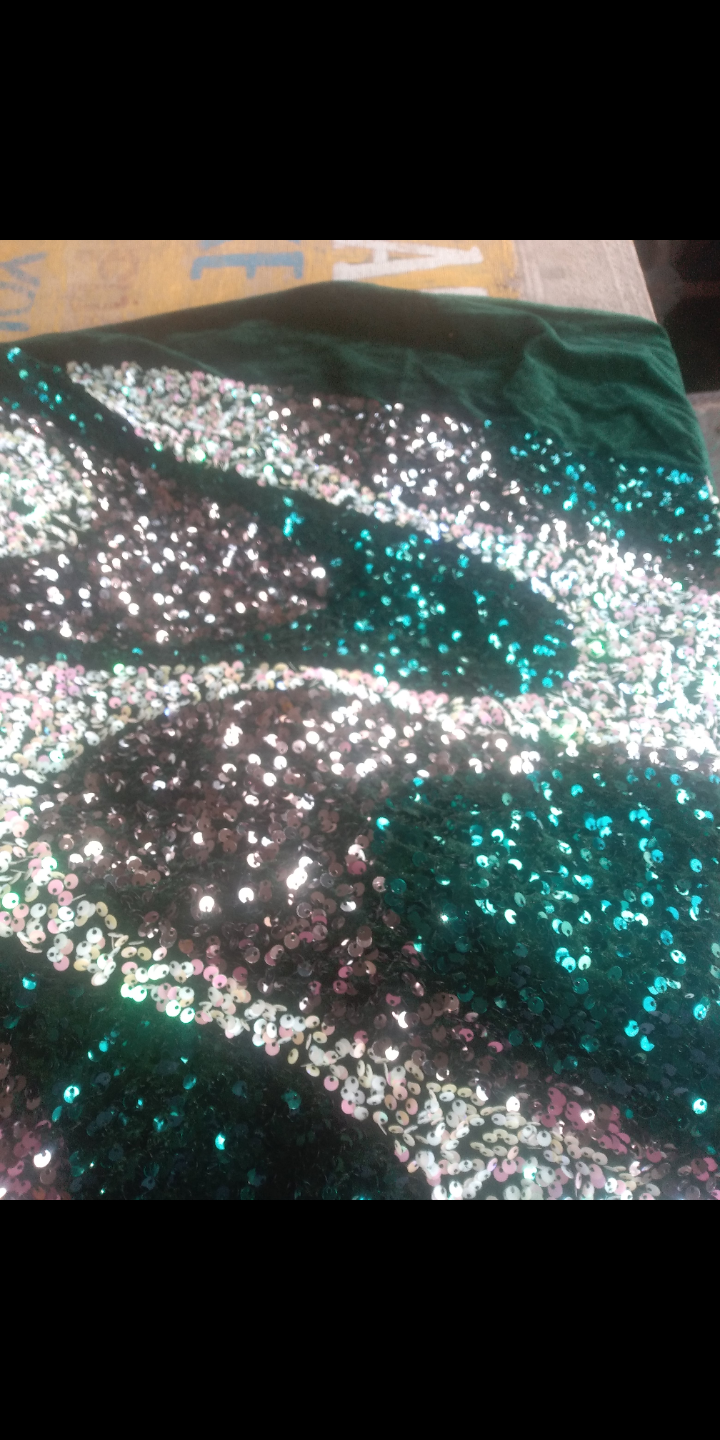
Fabrics (sequin)
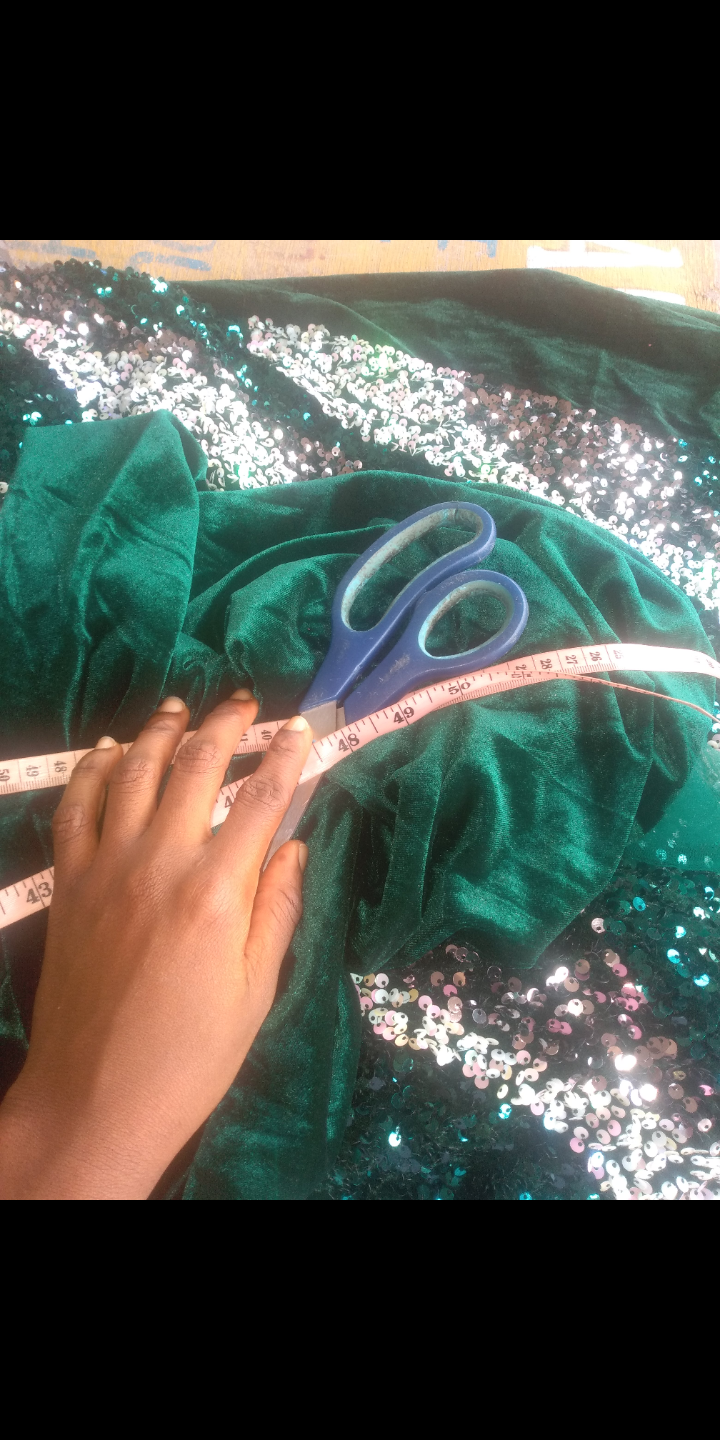
Fabrics (velvet)
Scissors
Tape rule
Measurement of client
Thread
Ribbon
Zipper.
Measurements needed
Bust point (Apex)
Bust span
Underbust circumference
Half-length
Shoulder
Sleeve length
Dress length
Hip circumference
Round sleeve circumference
Waist circumference


So, the first thing I did was fold the fabrics into two to get the upper bodice for the front and back.
My client's bust circumference is 37 inches so I went ahead to divide the bust circumference by 4(37÷4 = 9.25, and then I added 4 inches of sewing allowance because it is a princess dart.
From the shoulder you measure the bust point, hers was 10 inches, I added half an inch for the joining.
I marked the bust point and then I divided the bust span which was 8 inches, 8 inches ÷ 2= 4 inches, I measured 4 inches in width to get the bust span, and then the half-length was 15 inches.
To get the half-length, I measured from the shoulder to 15 inches to get the half-length.
I went ahead to give it a vee neck shape, then I cut it.
I did the same for the back bodice.

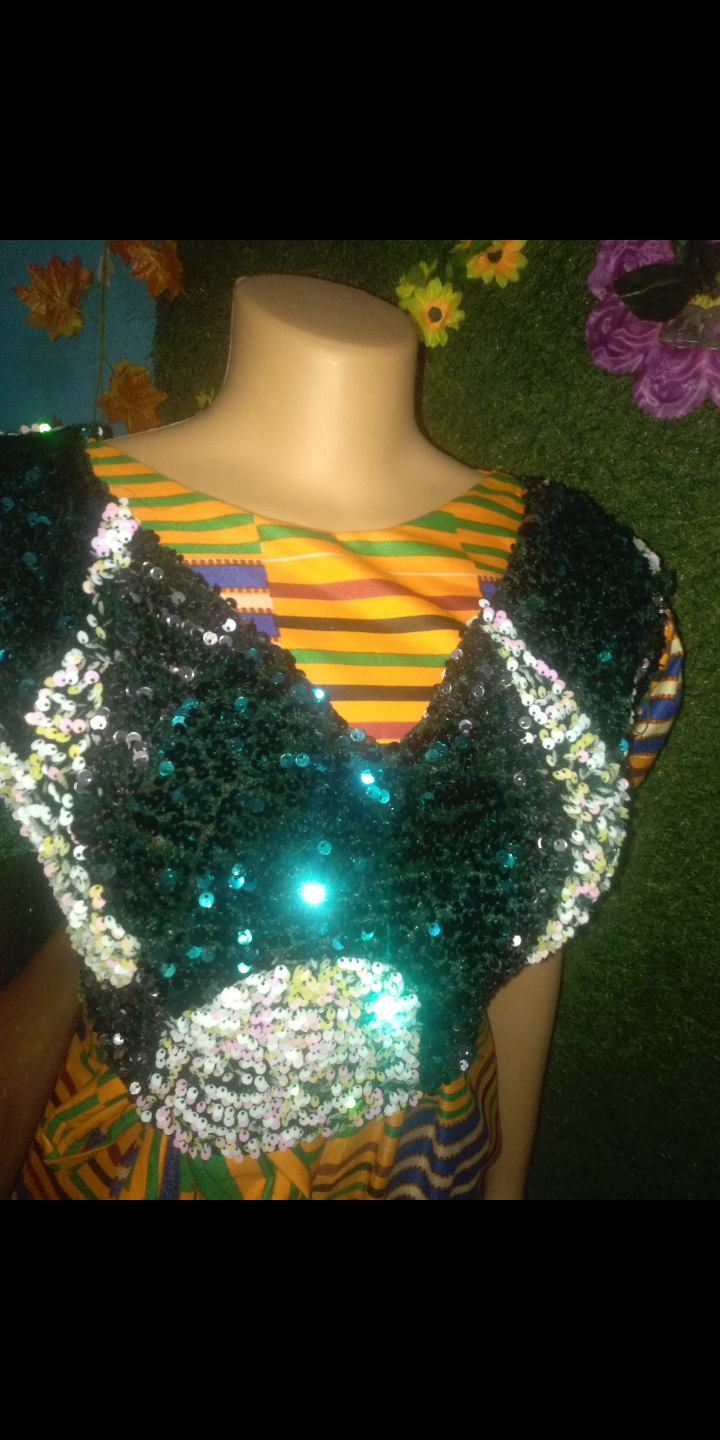
This is me fitting the half-length sewn on my mannequin, the dummies had another outfit on, and I was so in haste that I couldn't take the other outfit out 😅, I just fitted this on it as seen in the picture
I am very sorry I couldn't take pictures of the process, I was in a haste to meet up the deadlines, but I captured some moments
**Cutting and joining the sleeve
I used a velvet fabric for the sleeve, it's an exaggerated puffy like a sleeve.
I cut a fabric of half a yard in length and 18 inches in width to get puffy like a sleeve and I cut about 2 inches for the band around the sleeve.
Cutting the down
I deducted the half-length from the gown length which was 55 - 15 = 40.
I measured 40 inches and added half inches allowance for the joining.
The front had a slit, I measured the depth of the slit which is 18 inches.
Her waist is 28 inches, I folded the fabrics in two and divided 28 by 4 which gave me 7, and then I added 2 inches allowance for dart and seam allowance.
From her waistline to her hipline is 11 inches, from the 11 inches I got the hip, then I used the hip circumference which is 40 inches divided by 4= 10 inches plus 2 inches allowance.
I cut the front and did the same for the back but added 1 inches allowance for the zipper.
I went ahead to join them together like I am making a skirt and then I joined the skirt to the half-length to give me a very beautiful dress.
As seen by my client.

My client rocked the outfit with so much confidence and joy.
I hope you like the outcome?

Thank you for reading my blog today.
I made a video of it, but I don't know how to upload the video. 😪

All images used are mine
Español
Hola a todos, espero que estéis bien y disfrutando de las vacaciones.
Hoy os enseño como hice este vestido de lentejuelas.
Es muy fácil y me gustó mucho trabajar con las telas.
Hay que tener mucho cuidado con las telas de lentejuelas.
Materiales utilizados.
Telas (lentejuelas)
Telas (terciopelo)
Tijeras
Regla de cinta
Medida del cliente
Hilo
Cinta
Cremallera
Medidas necesarias
Punto del busto (Apex)
Envergadura del busto
Circunferencia bajo el pecho
Medio cuerpo
Hombro
Longitud de la manga
Largo del vestido
Circunferencia de la cadera
Circunferencia de la manga redonda
Circunferencia de la cintura


Lo primero que hice fue doblar las telas en dos para obtener el corpiño superior para la parte delantera y trasera.
La circunferencia del busto de mi clienta es de 37 pulgadas, así que dividí la circunferencia del busto por 4 (37÷4 = 9,25, y luego añadí 4 pulgadas de margen de costura porque es un dardo princesa.
Desde el hombro se mide el punto del busto, el suyo era de 10 pulgadas, he añadido media pulgada para la unión.
Marqué el punto del busto y luego dividí el ancho del busto que era de 8 pulgadas, 8 pulgadas ÷ 2= 4 pulgadas, medí 4 pulgadas de ancho para obtener el ancho del busto, y luego el medio largo era de 15 pulgadas.
Para obtener el medio largo, medí desde el hombro hasta 15 pulgadas para obtener el medio largo.
Le di forma de cuello en V y lo corté.
Hice lo mismo con el corpiño de la espalda.

Esta soy yo ajustando el medio largo cosido en mi maniquí, los maniquíes tenían otro traje puesto, y tenía tanta prisa que no pude quitar el otro traje 😅, simplemente le ajusté esto como se ve en la foto
Siento mucho no haber podido hacer fotos del proceso, tenía prisa por cumplir los plazos, pero capturé algunos momentos
**Corte y unión de la manga
Utilicé una tela de terciopelo para la manga, es un abullonado exagerado como una manga.
Corté una tela de media yarda de largo y 18 pulgadas de ancho para conseguir un hinchado como una manga y corté unas 2 pulgadas para la banda alrededor de la manga.
Cortar el bajo
Deduje el medio largo del largo de la bata que era 55 - 15 = 40.
Medí 40 pulgadas y añadí media pulgada de margen para la unión.
La parte delantera tiene una abertura, he medido la profundidad de la abertura que es 18 pulgadas.
Su cintura es de 28 pulgadas, doblé las telas en dos y dividí 28 por 4 lo que me dio 7, y luego añadí 2 pulgadas de margen para la pinza y el margen de costura.
De la cintura a la cadera son 11 pulgadas, de las 11 pulgadas obtuve la cadera, entonces usé la circunferencia de la cadera que es 40 pulgadas dividido por 4= 10 pulgadas más 2 pulgadas de margen.
Corté la parte delantera e hice lo mismo con la trasera, pero añadí 5 cm de margen para la cremallera.
Seguí adelante para unirlos como si estuviera haciendo una falda y luego uní la falda a la media longitud para darme un vestido muy bonito.
Como lo ve mi clienta.

Mi clienta lució el conjunto con mucha confianza y alegría.
Espero que le guste el resultado?

Gracias por leer mi blog hoy.
Le hice un video, pero no se como subir el video. 😪
Todas las imágenes utilizadas son mías
Originally written in English but translated using deepl.com
Well done dear, the dress looks beautiful.
Thank you my dear sister @glorydee
The rewards earned on this comment will go directly to the people( @amiegeoffrey ) sharing the post on Twitter as long as they are registered with @poshtoken. Sign up at https://hiveposh.com.
Season's Greetings 🎄
A beautiful dress!
Thank ya @shanibeer