¡Hola comunidad de Hive! Espero se encuentren muy bien hoy.
El bordado es muy bonito, y un oficio relajante, desde muy temprana edad me llamaba la atención pero en si lo veía difícil, ya con el tiempo poco a poco fui descubriendo que no es complicado, tuve una profesora en la universidad que en su oficio como artista plástico su rama era el bordado y fue que de primera fila vi como era en si una idea plasmada en tela con hilo y aguja.

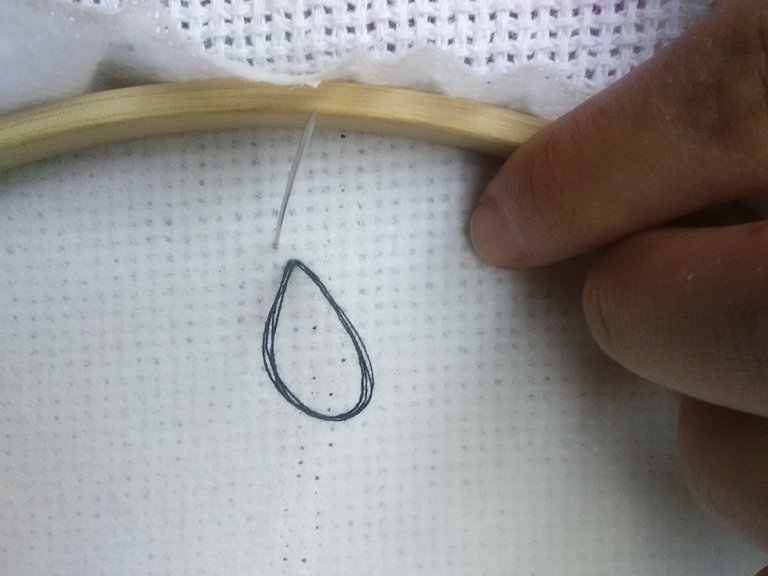
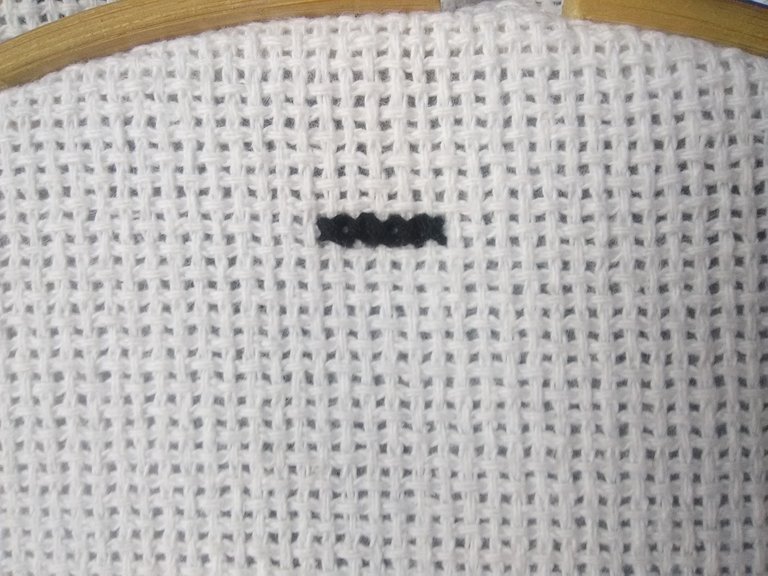
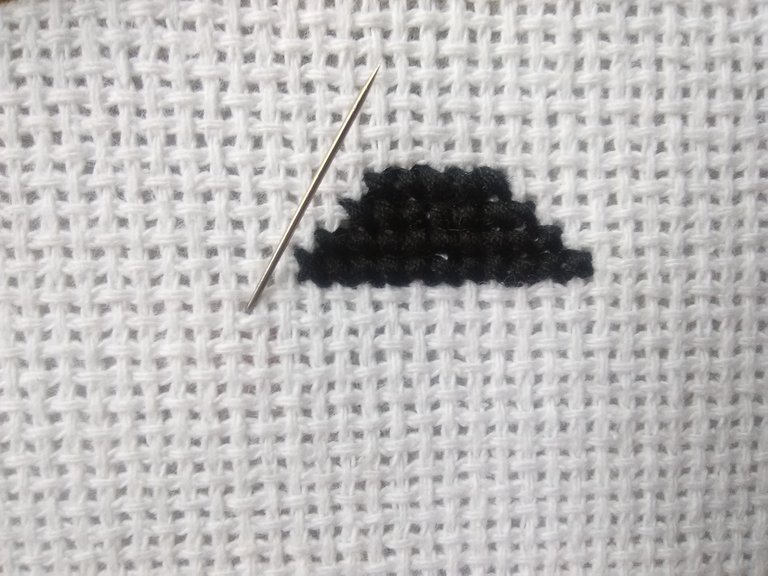
Hoy quiero mostrarles el inicio de un encargo que tengo hace un tiempo que aun no he culminado y se trata de la figura de un vídeo juego, la chica que me lo solicito me dio el nombre The Legend of Zelda, siendo sincera no se mucho de vídeo juegos pero pude ver que se trata de acción y aventura, desarrollado por nintendo.
Explicare como realizo el punto de cruz.
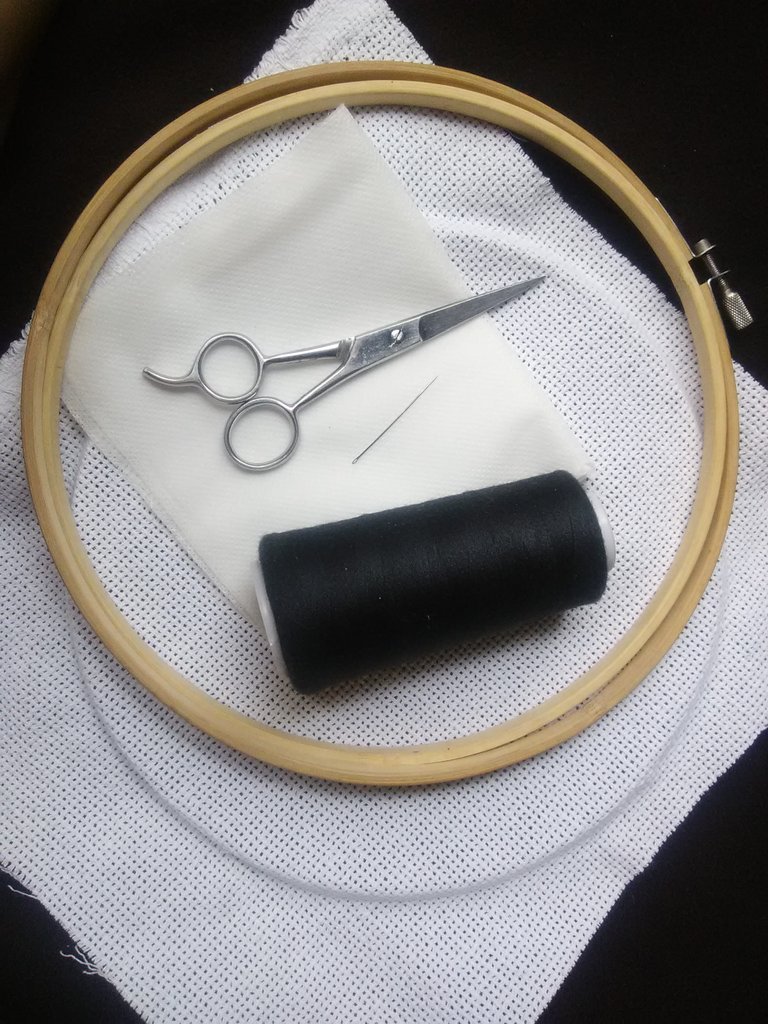
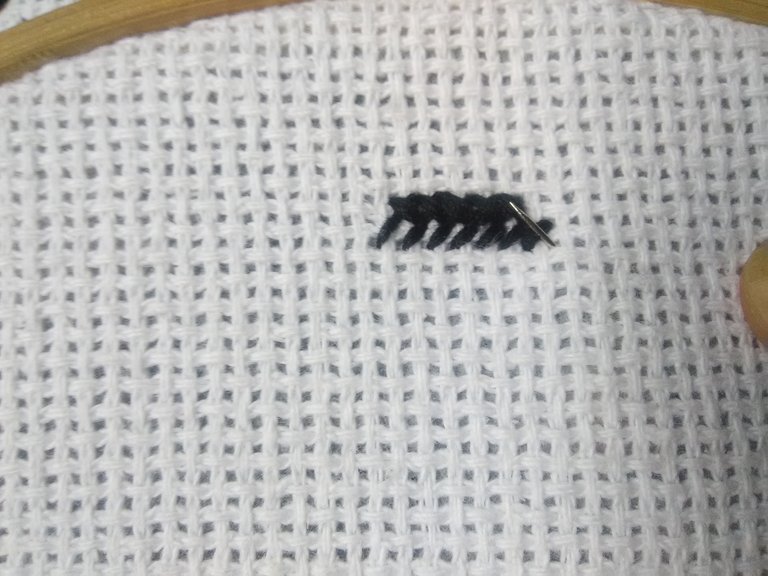
Como ya mencione es el proceso de como he comenzado este encargo, mide aproximadamente 8cmx13cm, utilice tela aida, hilo de coser negro y tela pop (popelina) que coloco detrás de la tela.
El punto de cruz es sencillo de hacer, hay dos maneras de realizarlo, punto de cruz completo o primero una hilera completa de medio punto y luego se completa, este para mi es el mas rápido para el relleno de una pieza de estas medidas.
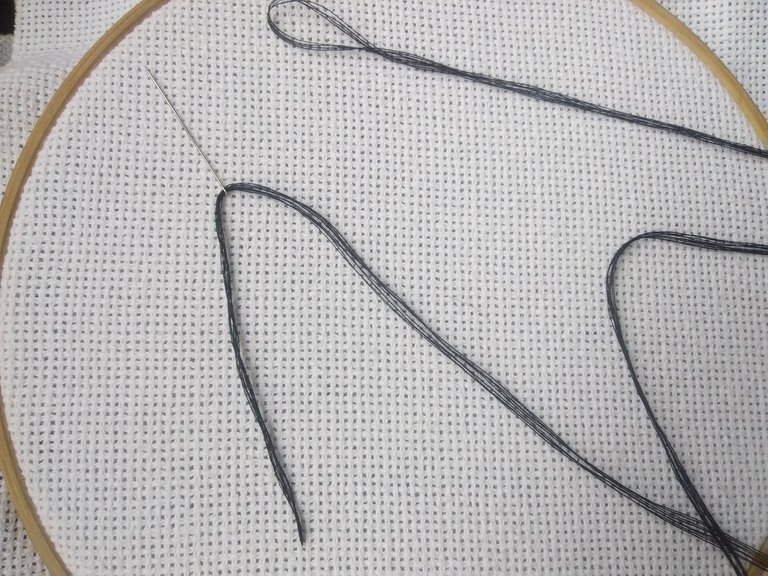
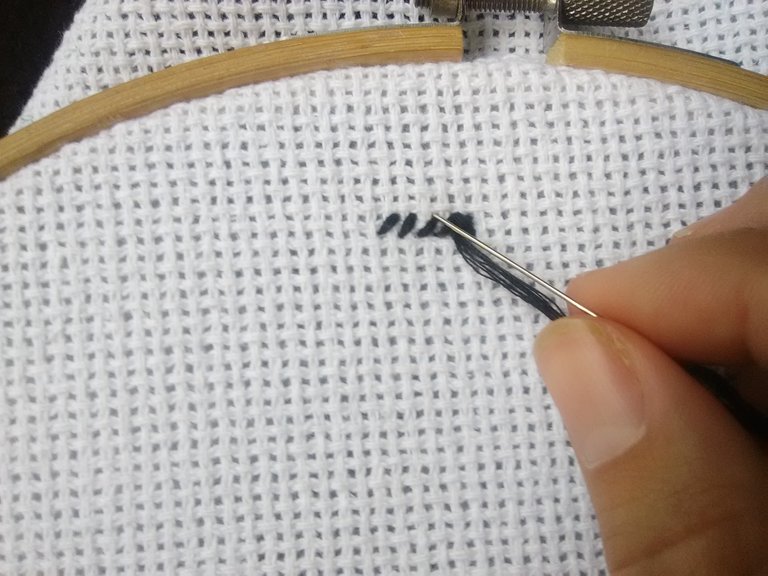
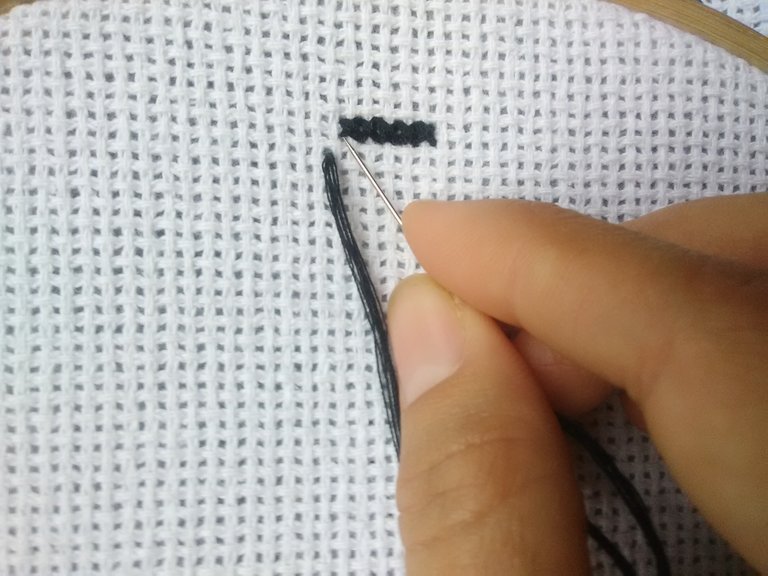
Para comenzar utilice 8 hebras de hilo, es decir 4 hebras que al anudar luego de pasar por la aguja hacen 8, pero estas no las use con nudo, se saca el largo deseado de las hebras de hilo 4 en total se dobla a la mitad para hacer las 8 y se pasa por la aguja las puntas de estas para que quede de esta manera.
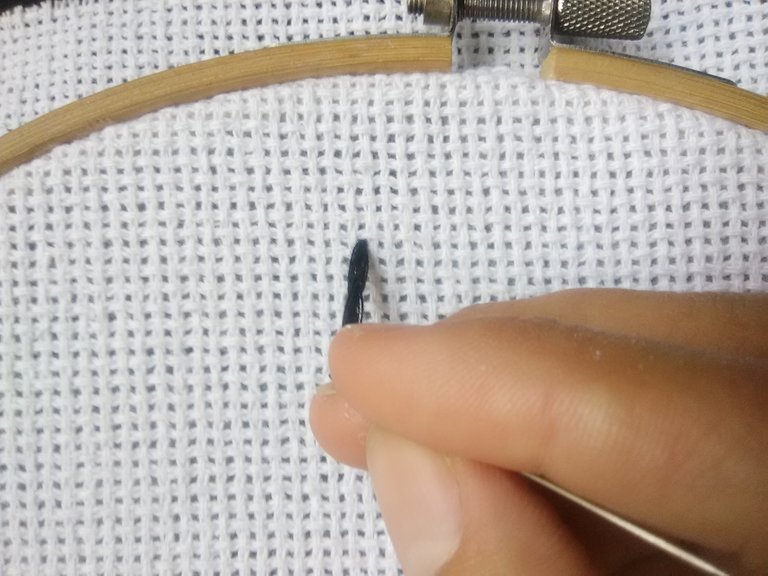
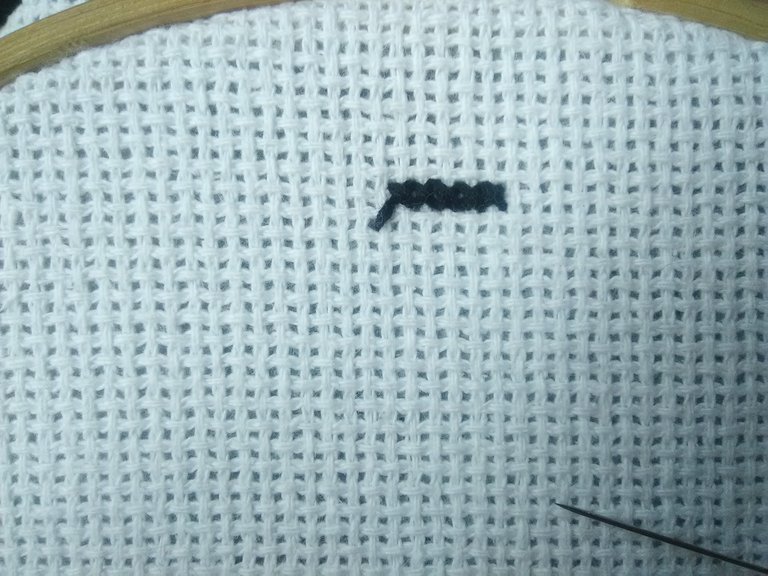
En la tela cada cuadrito es un punto, son 4 puntos por donde pasara la aguja, para el primer punto, la punta de la aguja de el interior al exterior.
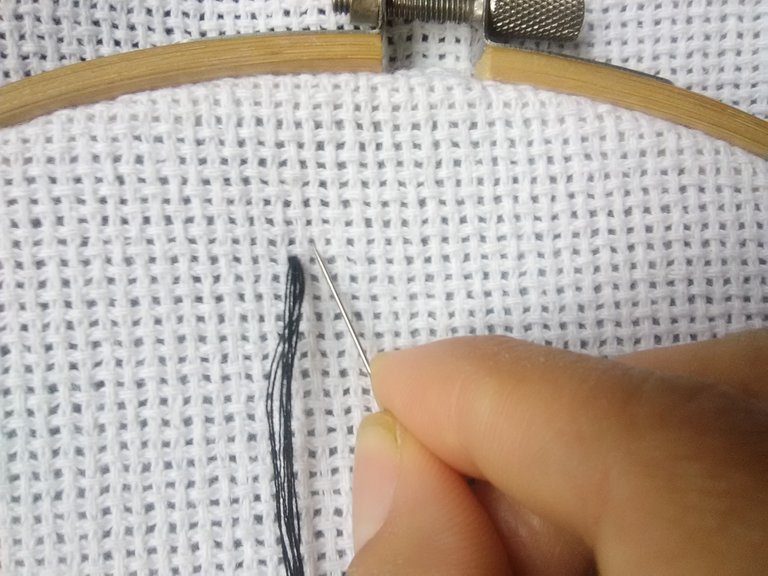
En la parte superior, de donde sacamos la aguja al lateral en la esquina superior pasara la aguja para la parte interior y quedara de esta manera por donde pasaremos la aguja para sellar y que no se salgan las hebras.
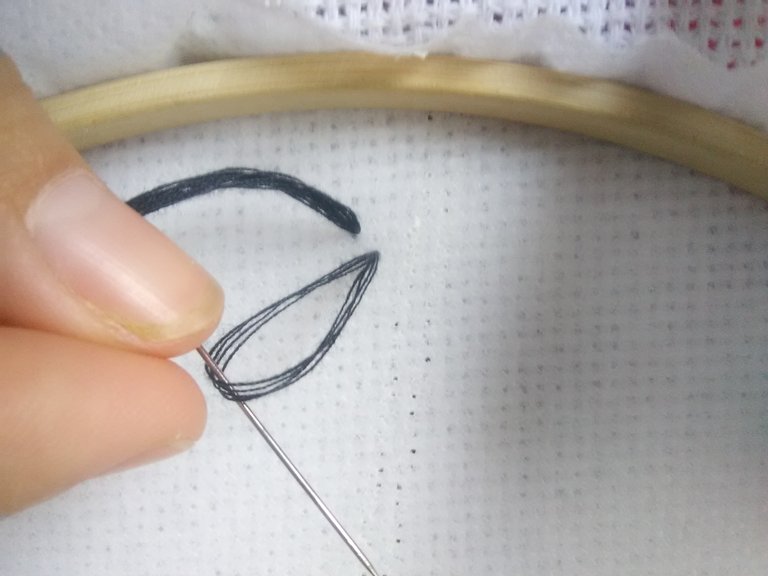
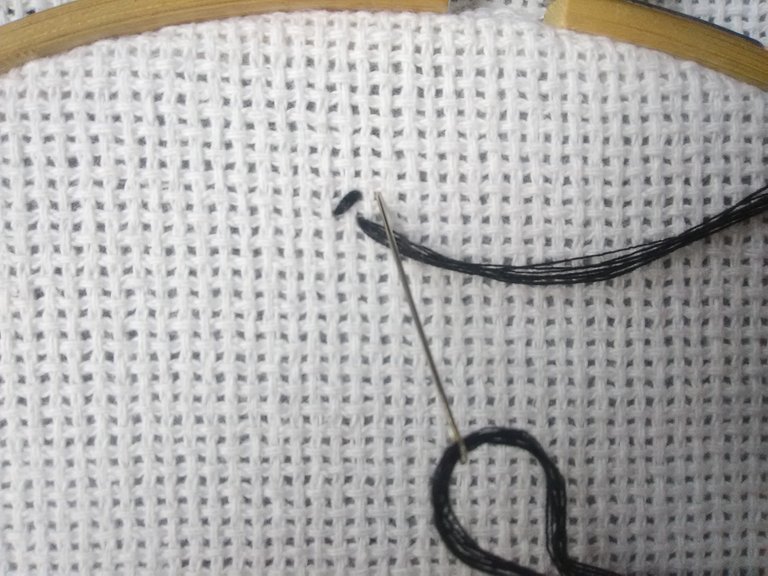
En la parte superior la aguja siempre ira de forma lateral es decir pasara por el punto de arriba pero de la esquina derecha arriba, y así se hará la fila, todos los puntos laterales.
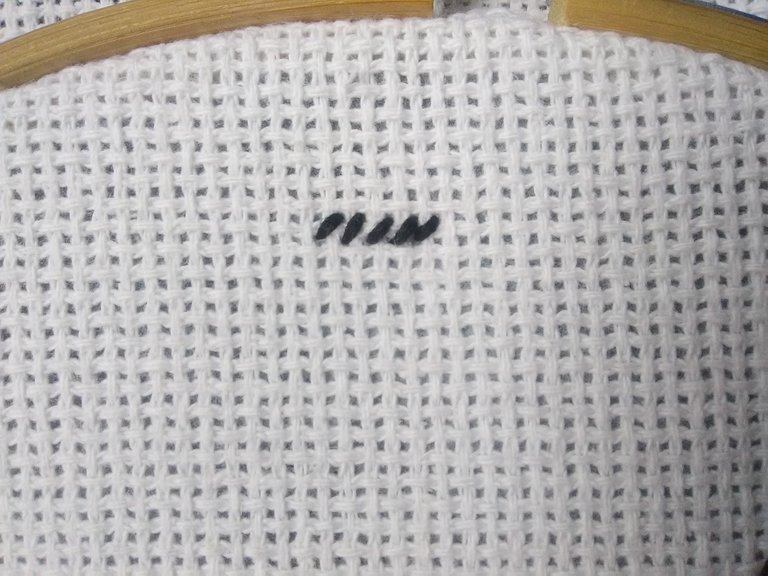
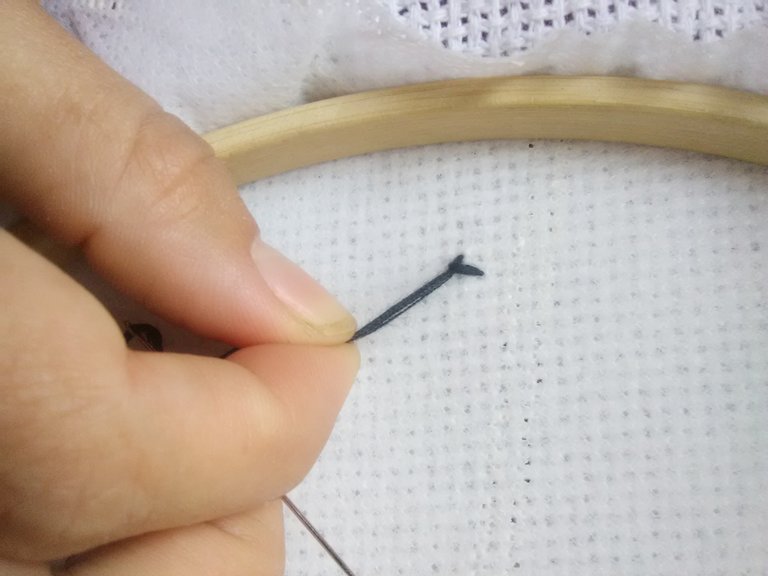
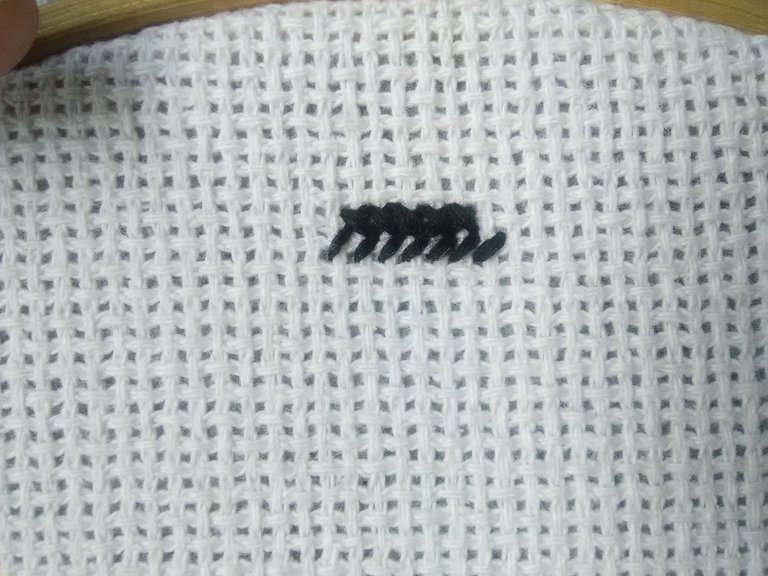
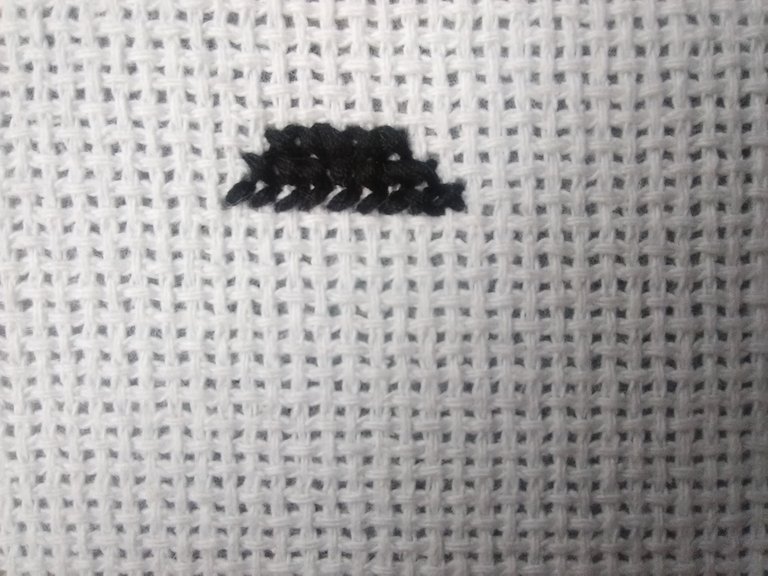
Para completar el punto, sera de la misma manera pero inversa, de atrás hacia adelante, se pasa el hilo en lateral izquierdo sobre el que ya teníamos.

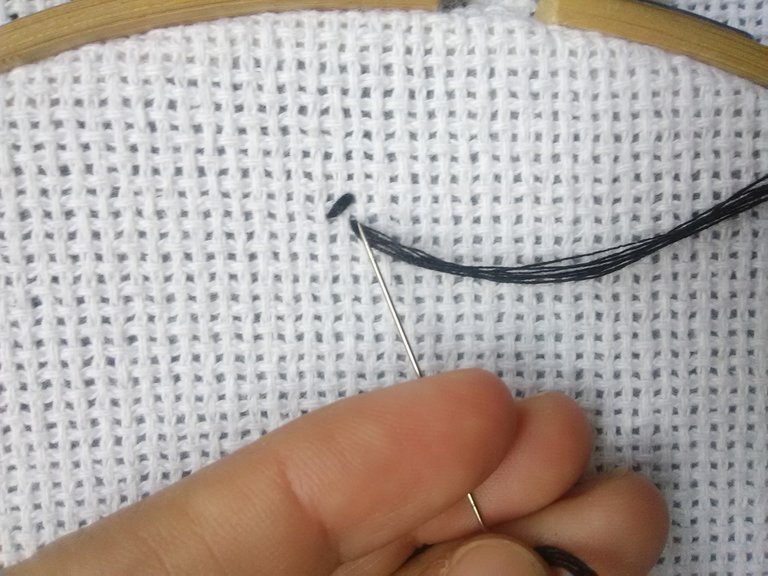
Si es la primera vez que realizas un punto de cruz puedes poner de cabeza el aro y hacer el mismo proceso y practicar con 2 o 4 hebras de hilo, siempre hay que estar pendiente de que los hilos no se enreden y que de tantas veces que se pasa se va dando vuelta el hilo, va quedando como una cuerda, es importante que el hilo lo pongamos de nuevo derecho para que no se nos haga un nudo y se vea limpio el punto.
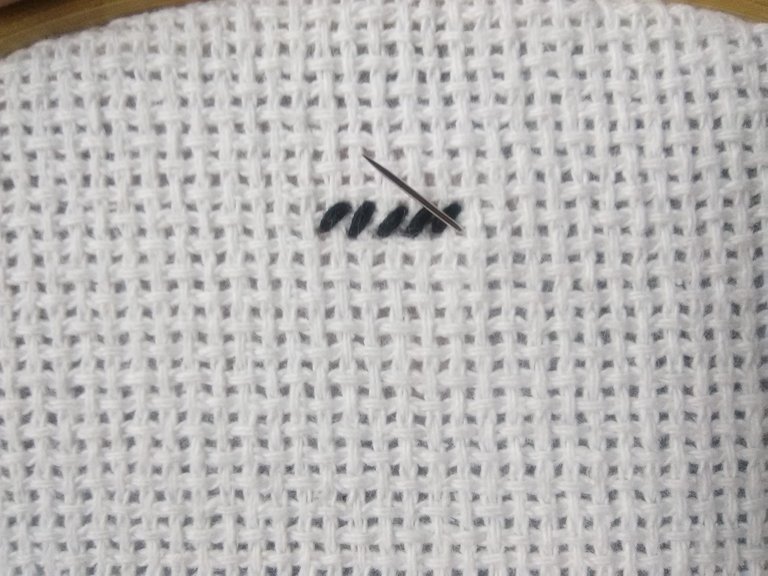
Para la siguiente hilera, si suma un punto mas hacia las esquinas, simplemente contamos un punto hacia afuera y debajo del punto que ya tenemos arriba y sacamos la agua por allí y al finalizar la fila se cuenta un punto mas de esta manera, si en las filas que siguen se suman mas puntos se va contando de igual manera y se saca la aguja desde ese punto y al final de la fila se suman los puntos que siguen y continuamos con el mismo procedimiento.
Esta es la explicación sencilla de como realizar un punto de cruz y el inicio de un parche con este punto, espero les guste pronto viene la segunda parte, hasta un nuevo post!
(ENG)
Hello Hive community! I hope you are very well today.
Embroidery is very beautiful, and a relaxed work, from an early age caught my attention but if I saw it difficult, over time I discovered that it is not complicated, I had a professor at the university who in her profession as an artist, her branch was the embroidery and it was that from the first row I saw how an idea was embroidered on fabric with thread and needle.
Today I want to show you the beginning of an order that I have not completed in a long time and it is a figure from a video game, the girl who requested it told me the name The Legend of Zelda, to be honest I don't know much about video games but I could see that it is about action and adventure, developed by Nintendo.
I will explain to you how I do the cross stitch.
As I already mentioned is the process of how I started this order, it measures approximately 8cmx13cm, I used aida fabric, black sewing thread and pop fabric (poplin) that I put behind the fabric.
The cross stitch is easy to do, there are two ways to do it, complete cross stitch or first a complete row of half a stitch and then it is completed, this for me is the fastest for filling a piece of these measures.
To start, use 8 strands of thread, that is, 4 strands that when knotting after going through the needle make 8, but do not use it with a knot, the desired length is taken out of the strands of thread 4, in total, it is folded in half to make 8 o'clock and the ends of these are passed through the needle so that it is thus.
In the fabric, each square is a point, there are 4 points through which the needle will pass, for the first point, the point of the needle from the inside to the outside.
In the upper part, from where we take the needle out to the side, in the upper corner the needle will pass to the inside and will remain in this way where we will pass the needle to seal.
In the upper part the needle will always go laterally, that is, it will go through the top point but from the right corner up, and this is how the row will be made, all the lateral points.
To complete the stitch, it will be in the same way but in reverse, from back to front, the thread is passed on the left side over the one we already had.
If it is the first time that you make a cross stitch you can turn the hoop upside down and do the same process and practice with 2 or 4 strands of thread, you always have to be aware that the threads do not get tangled and that after so many times that it is passed the thread turns around, it remains like a rope,it is important that we put the thread back straight so that we do not get a knot and the stitch looks clean.
For the next row, one more point is added towards the corners, we simply count one point out and below the point that we already have above and we remove the water there and at the end of the row one more point is counted in this way, if more points are added in the rows that follow, it is counted in the same way and the needle is removed from that point and at the end of the row the points that follow are added and we continue with the same procedure.
This is the simple explanation of how to make a cross stitch and the beginning of a patch with this point, I hope you like it soon, the second part comes, until a new post!
Que lindo queda, super prolijo. Tengo poca experiencia bordando pero sé que hay que estar muy atenta a que el hilo no sé enrrede abajo, me pasó 😅.
@lauramica si, a veces tiene solución, en que se puede regresar la aguja, o simplemente anudar y cortar, pero ya con el tempo ya se le va agarrando los truquitos 💕
Congratulations @ada.embroidery! You have completed the following achievement on the Hive blockchain and have been rewarded with new badge(s):
Your next target is to reach 1250 upvotes.
You can view your badges on your board and compare yourself to others in the Ranking
If you no longer want to receive notifications, reply to this comment with the word
STOPSupport the HiveBuzz project. Vote for our proposal!
Beautiful work weldon
@smilestitches thank you! 💕