Saludos amigos de Hive espero que estén muy bien
El día de hoy deseo compartir con ustedes una deliciosa receta que acá en Latinoamérica se llama Choco Flan o pastel imposible 😱🤩. Se trata de una preparación que lleva torta húmeda de chocolate y flan de vainilla, además de un espectacular caramelo.
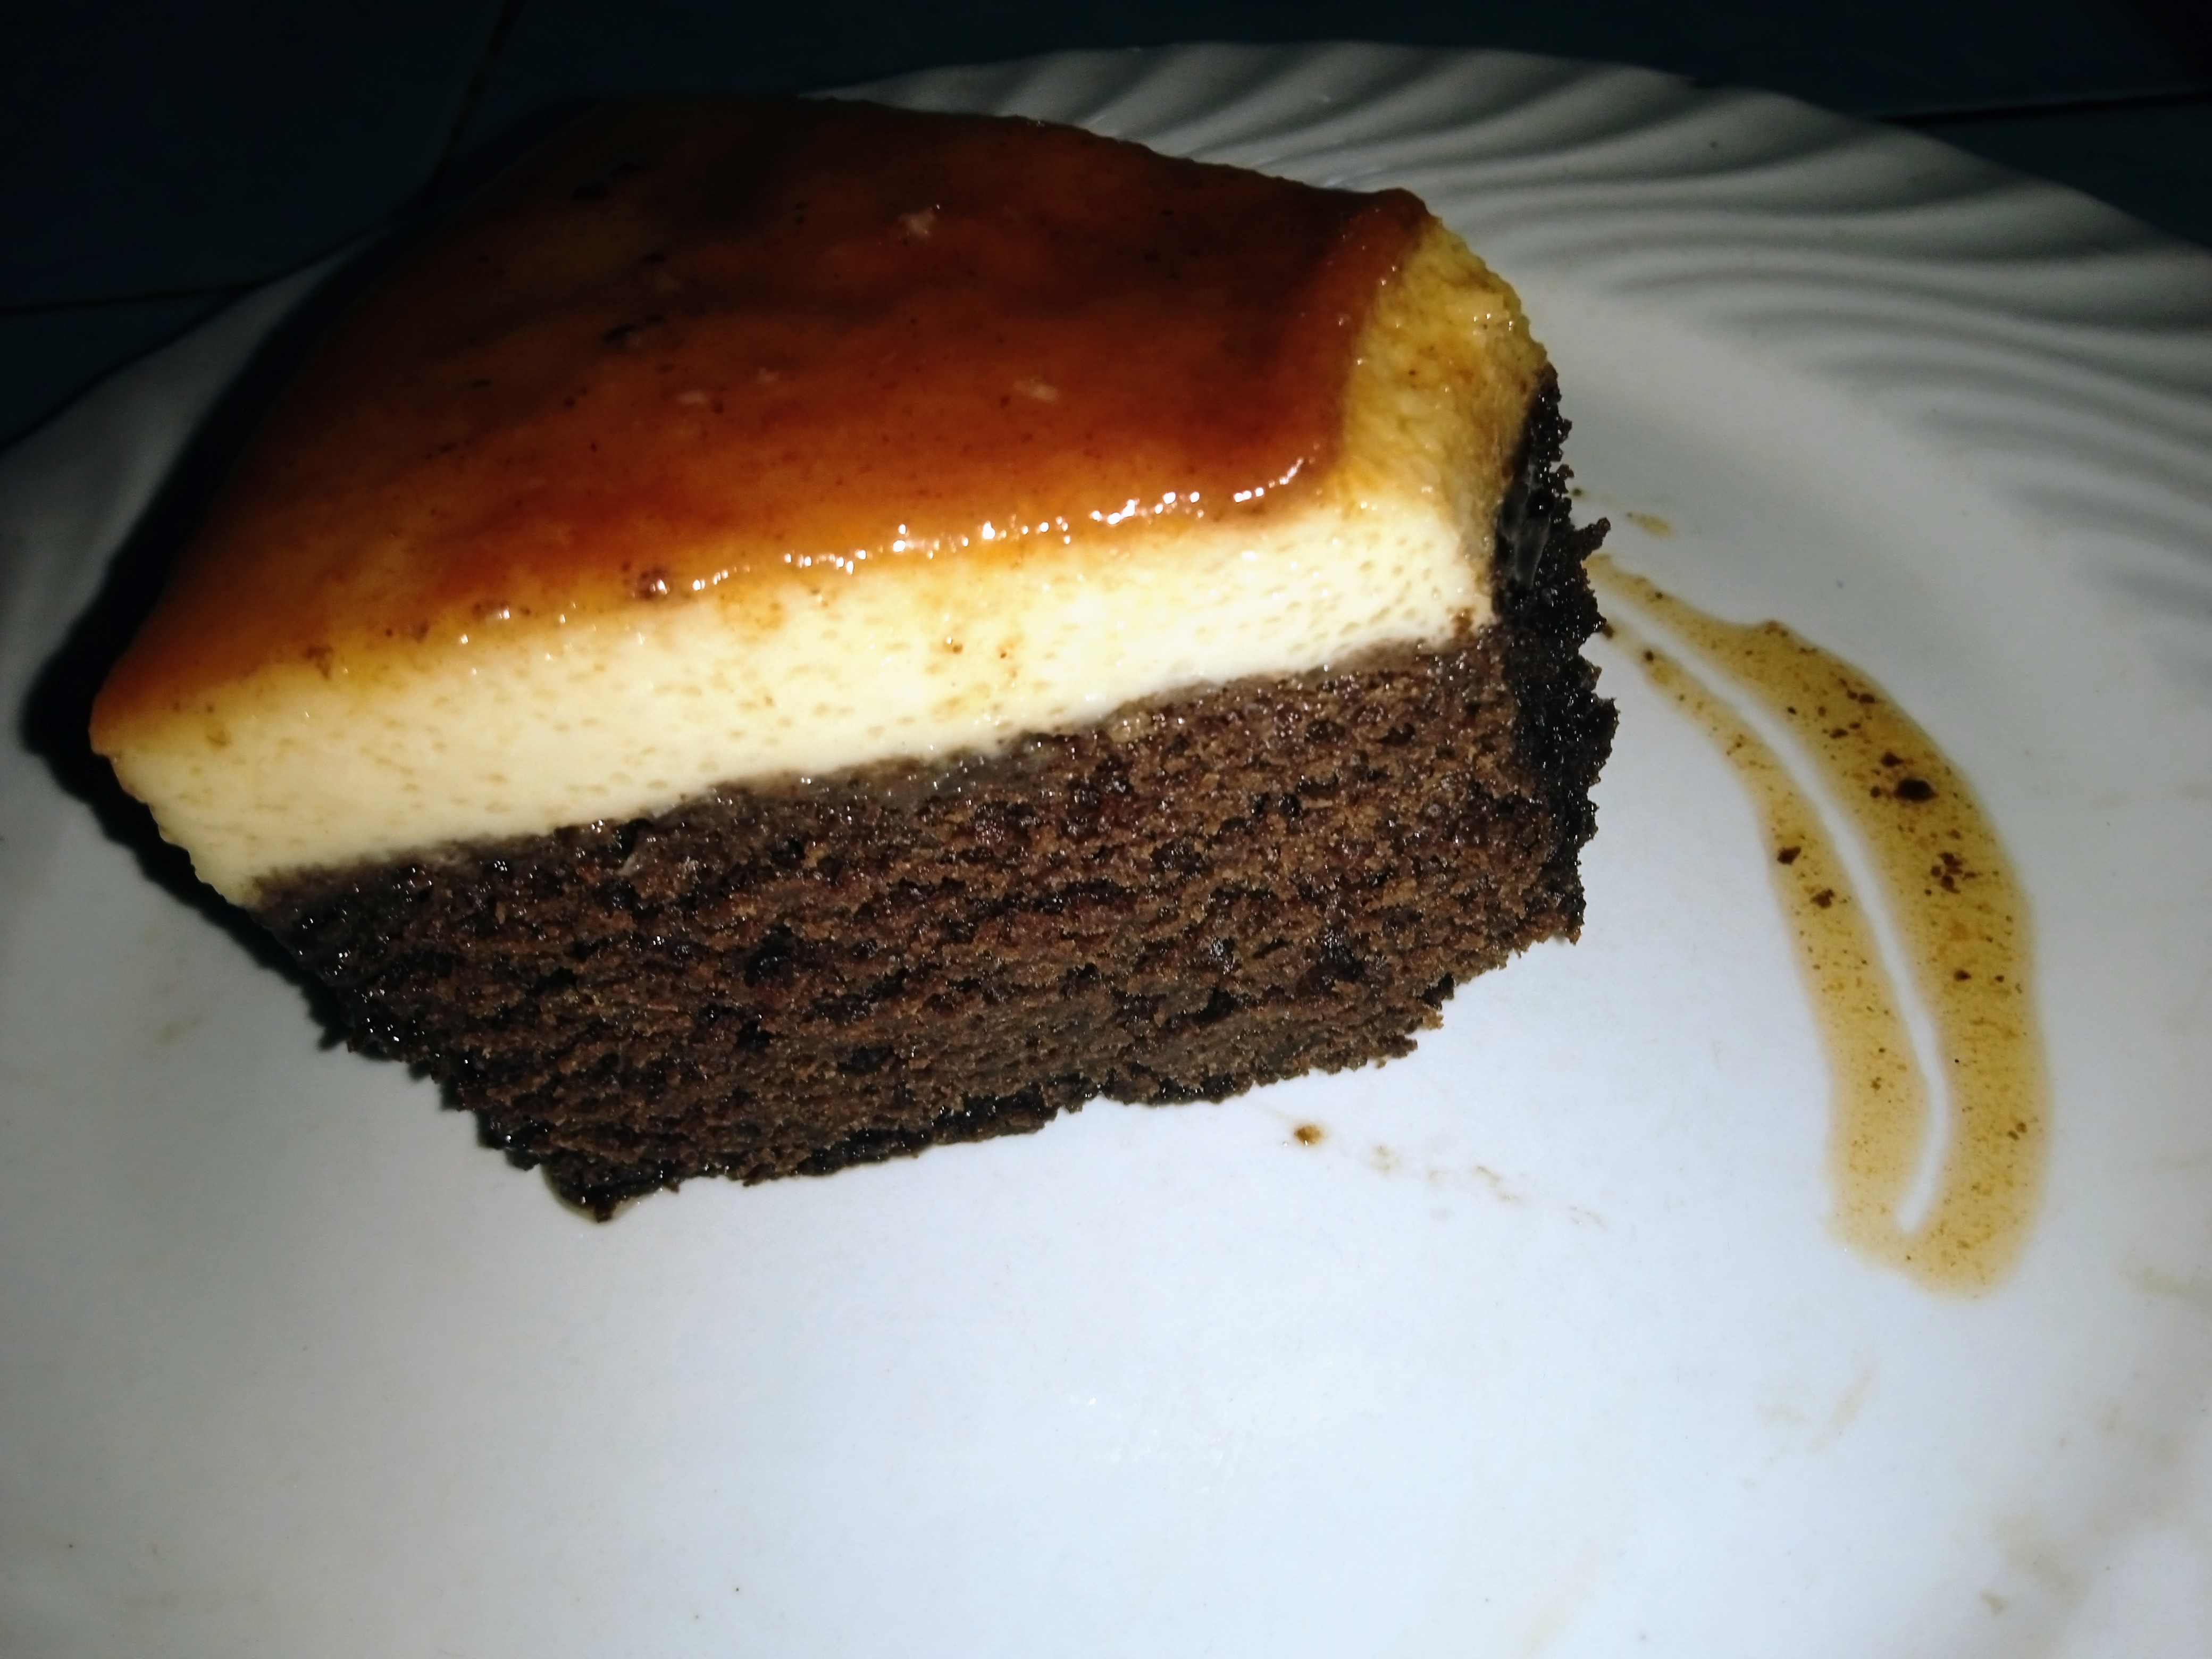
Para esta publicación les enseñaré a elaborar un caramelo líquido, el flan casero (en Venezuela se le llama quesillo) y una torta húmeda de chocolate. Espero les guste mi publicación 🥰😉
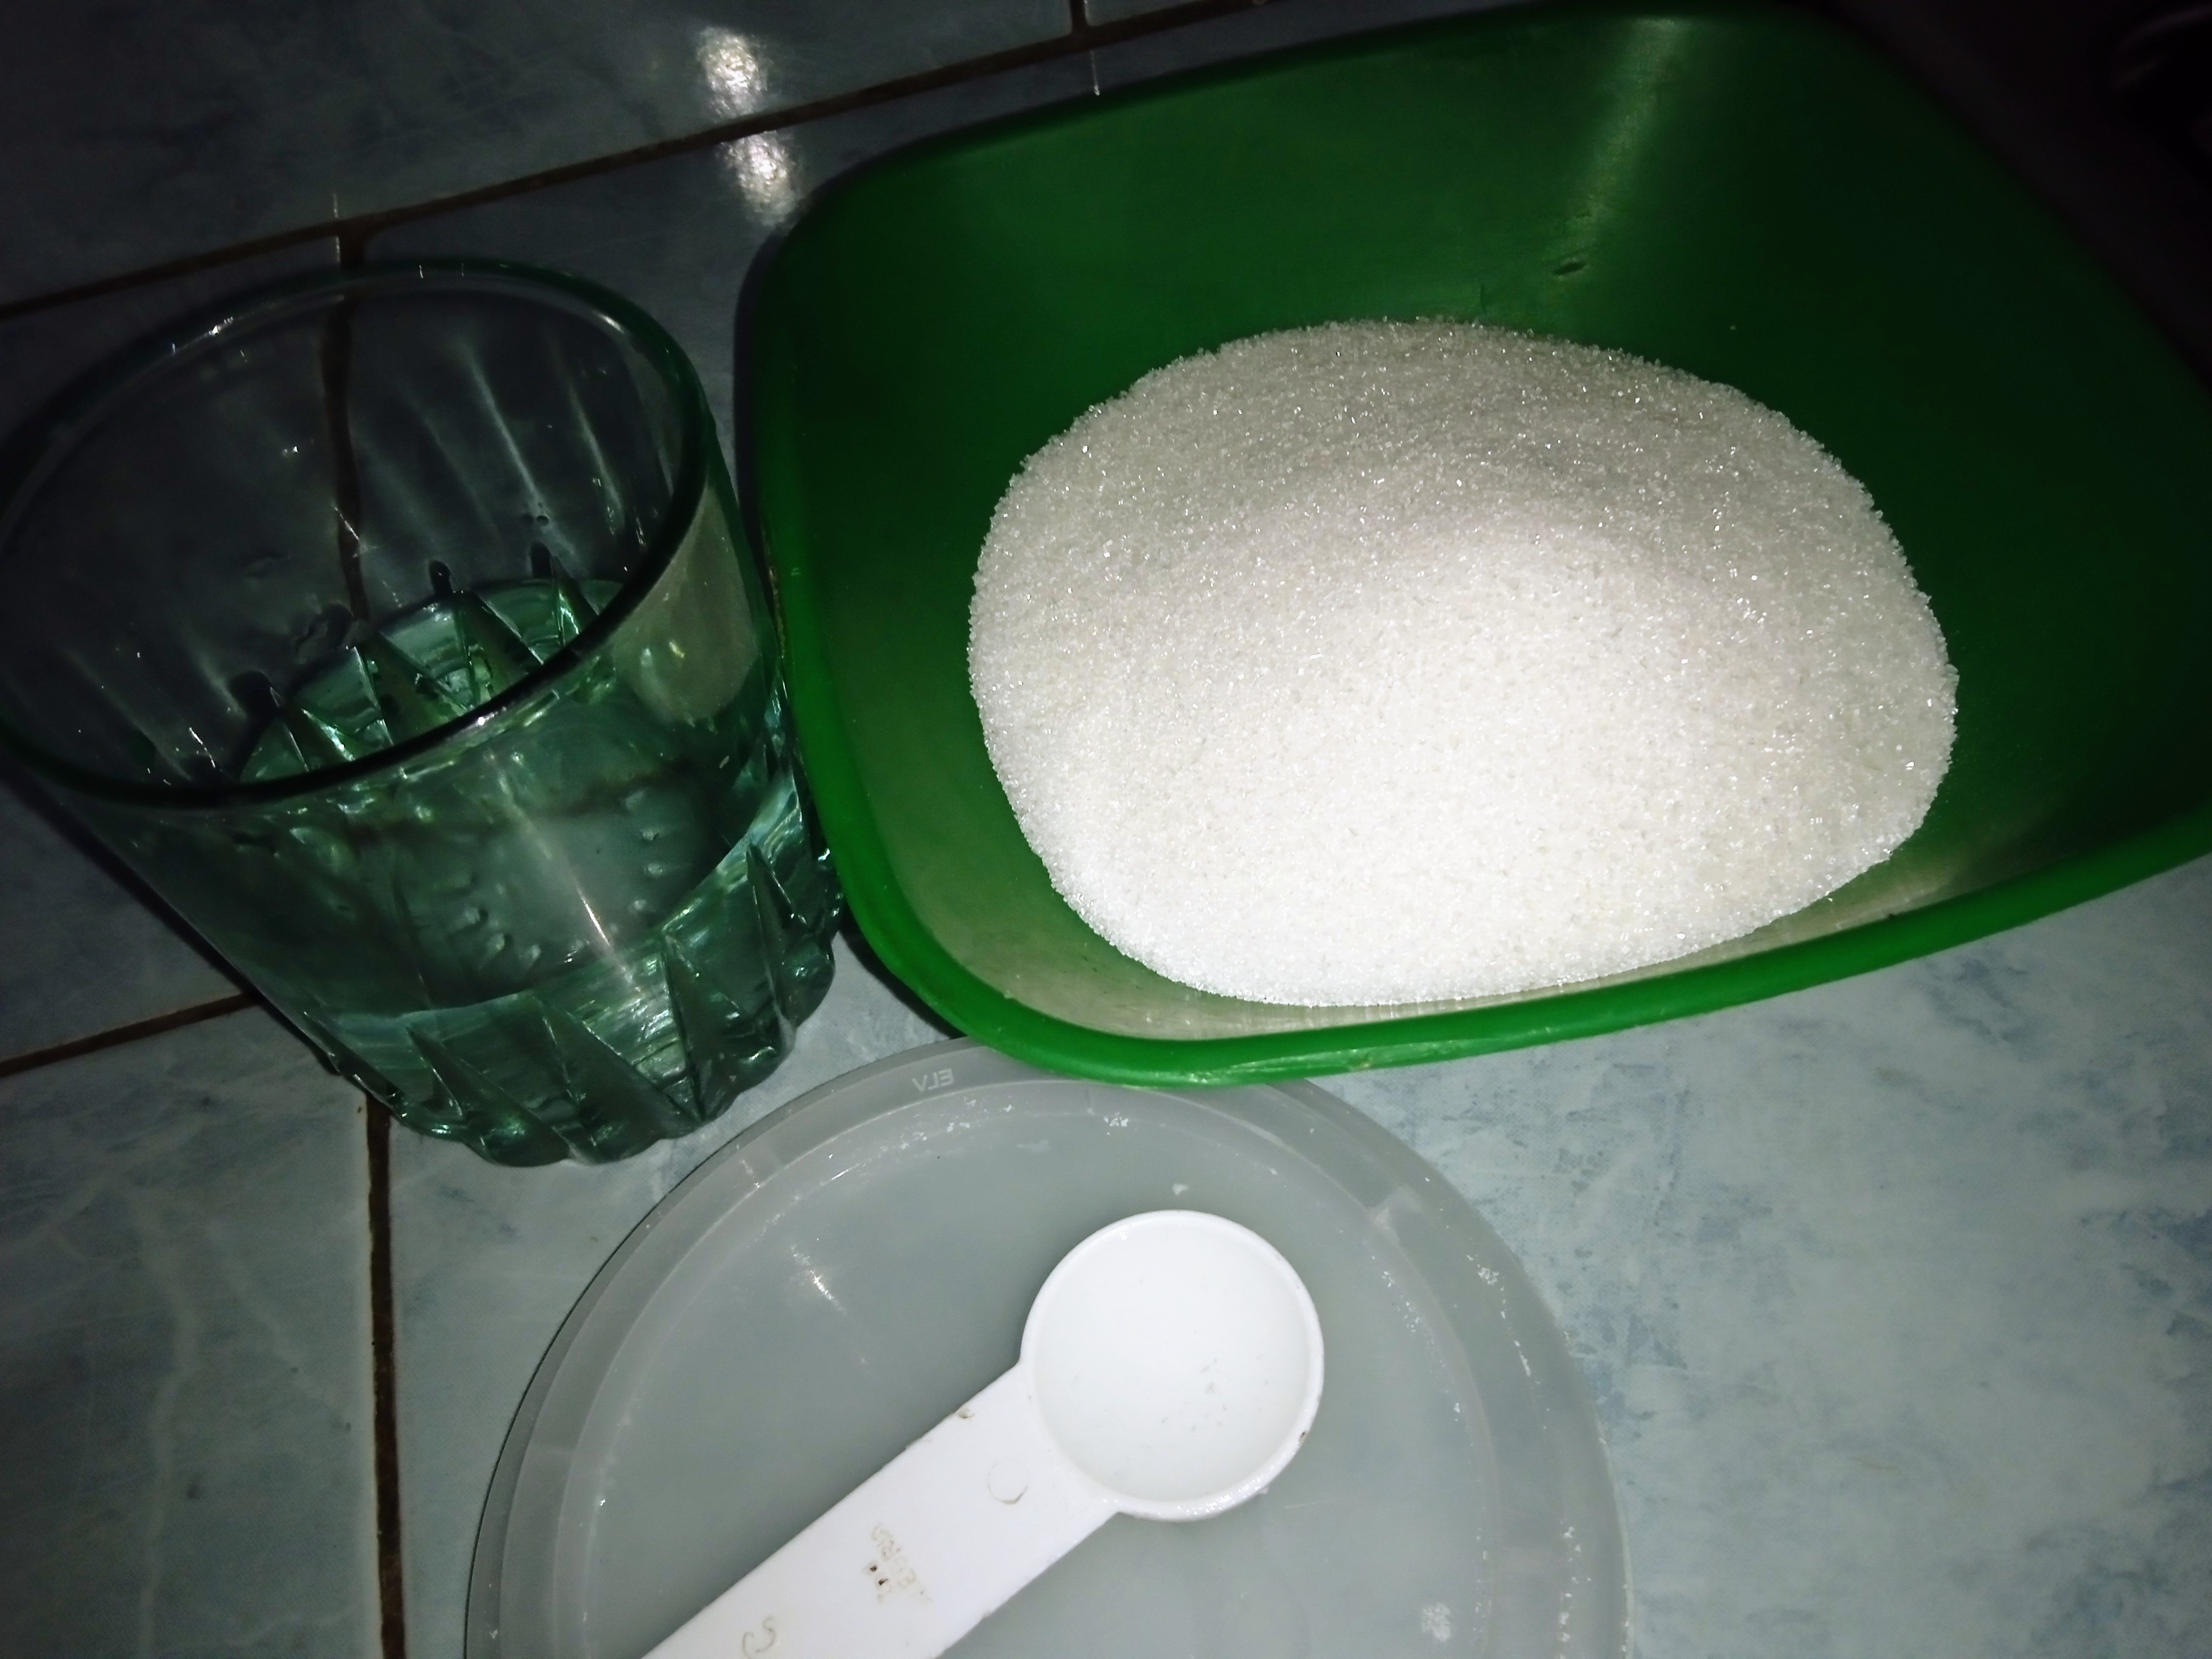
Para el Caramelo
Necesitamos
- 250gm de azúcar
- 150gm de agua
- 1/2 cucharadita de vinagre o limón (esto hará que se mantenga más líquido)
Preparación
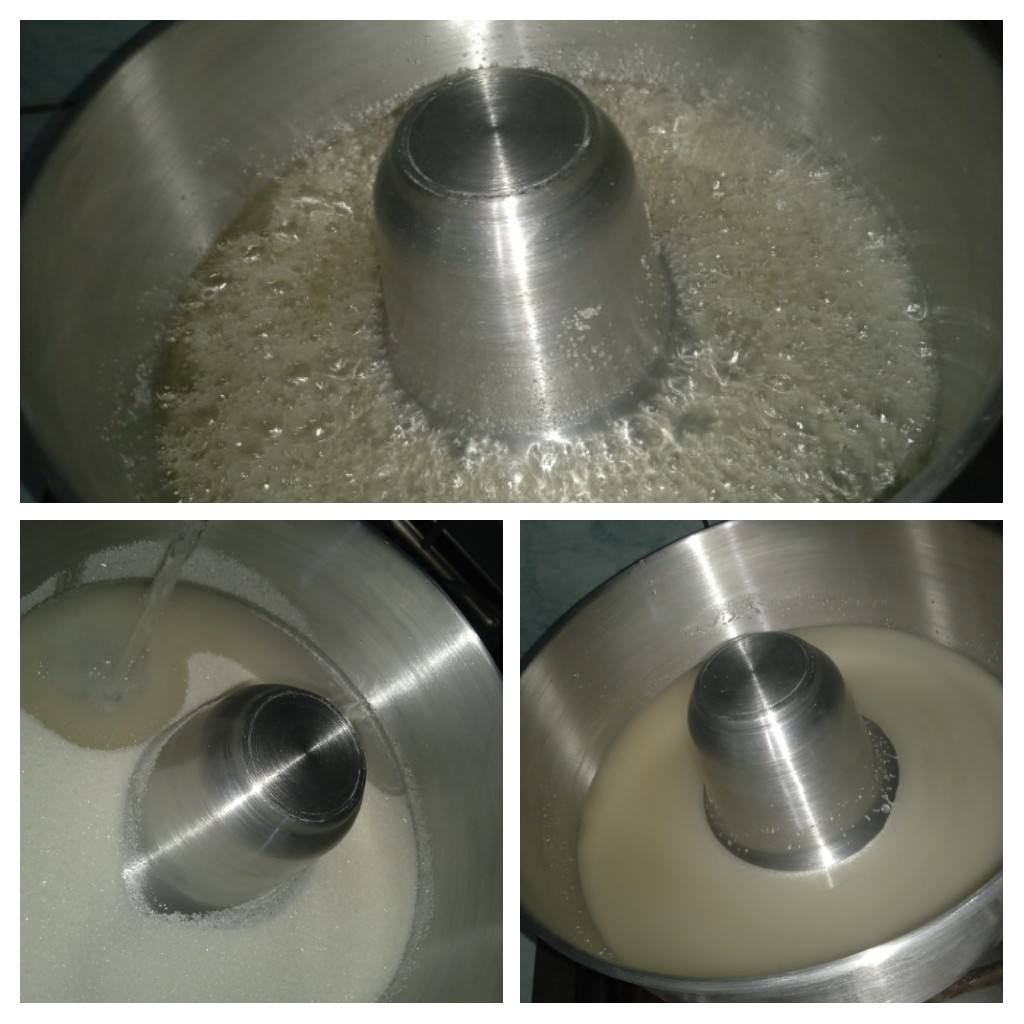
Elaboraremos el caramelo directamente desde el molde dónde planeamos cocinar nuestro Chocoflan. En mi caso yo utilicé un molde llamado "sabarina" o molde de volcán
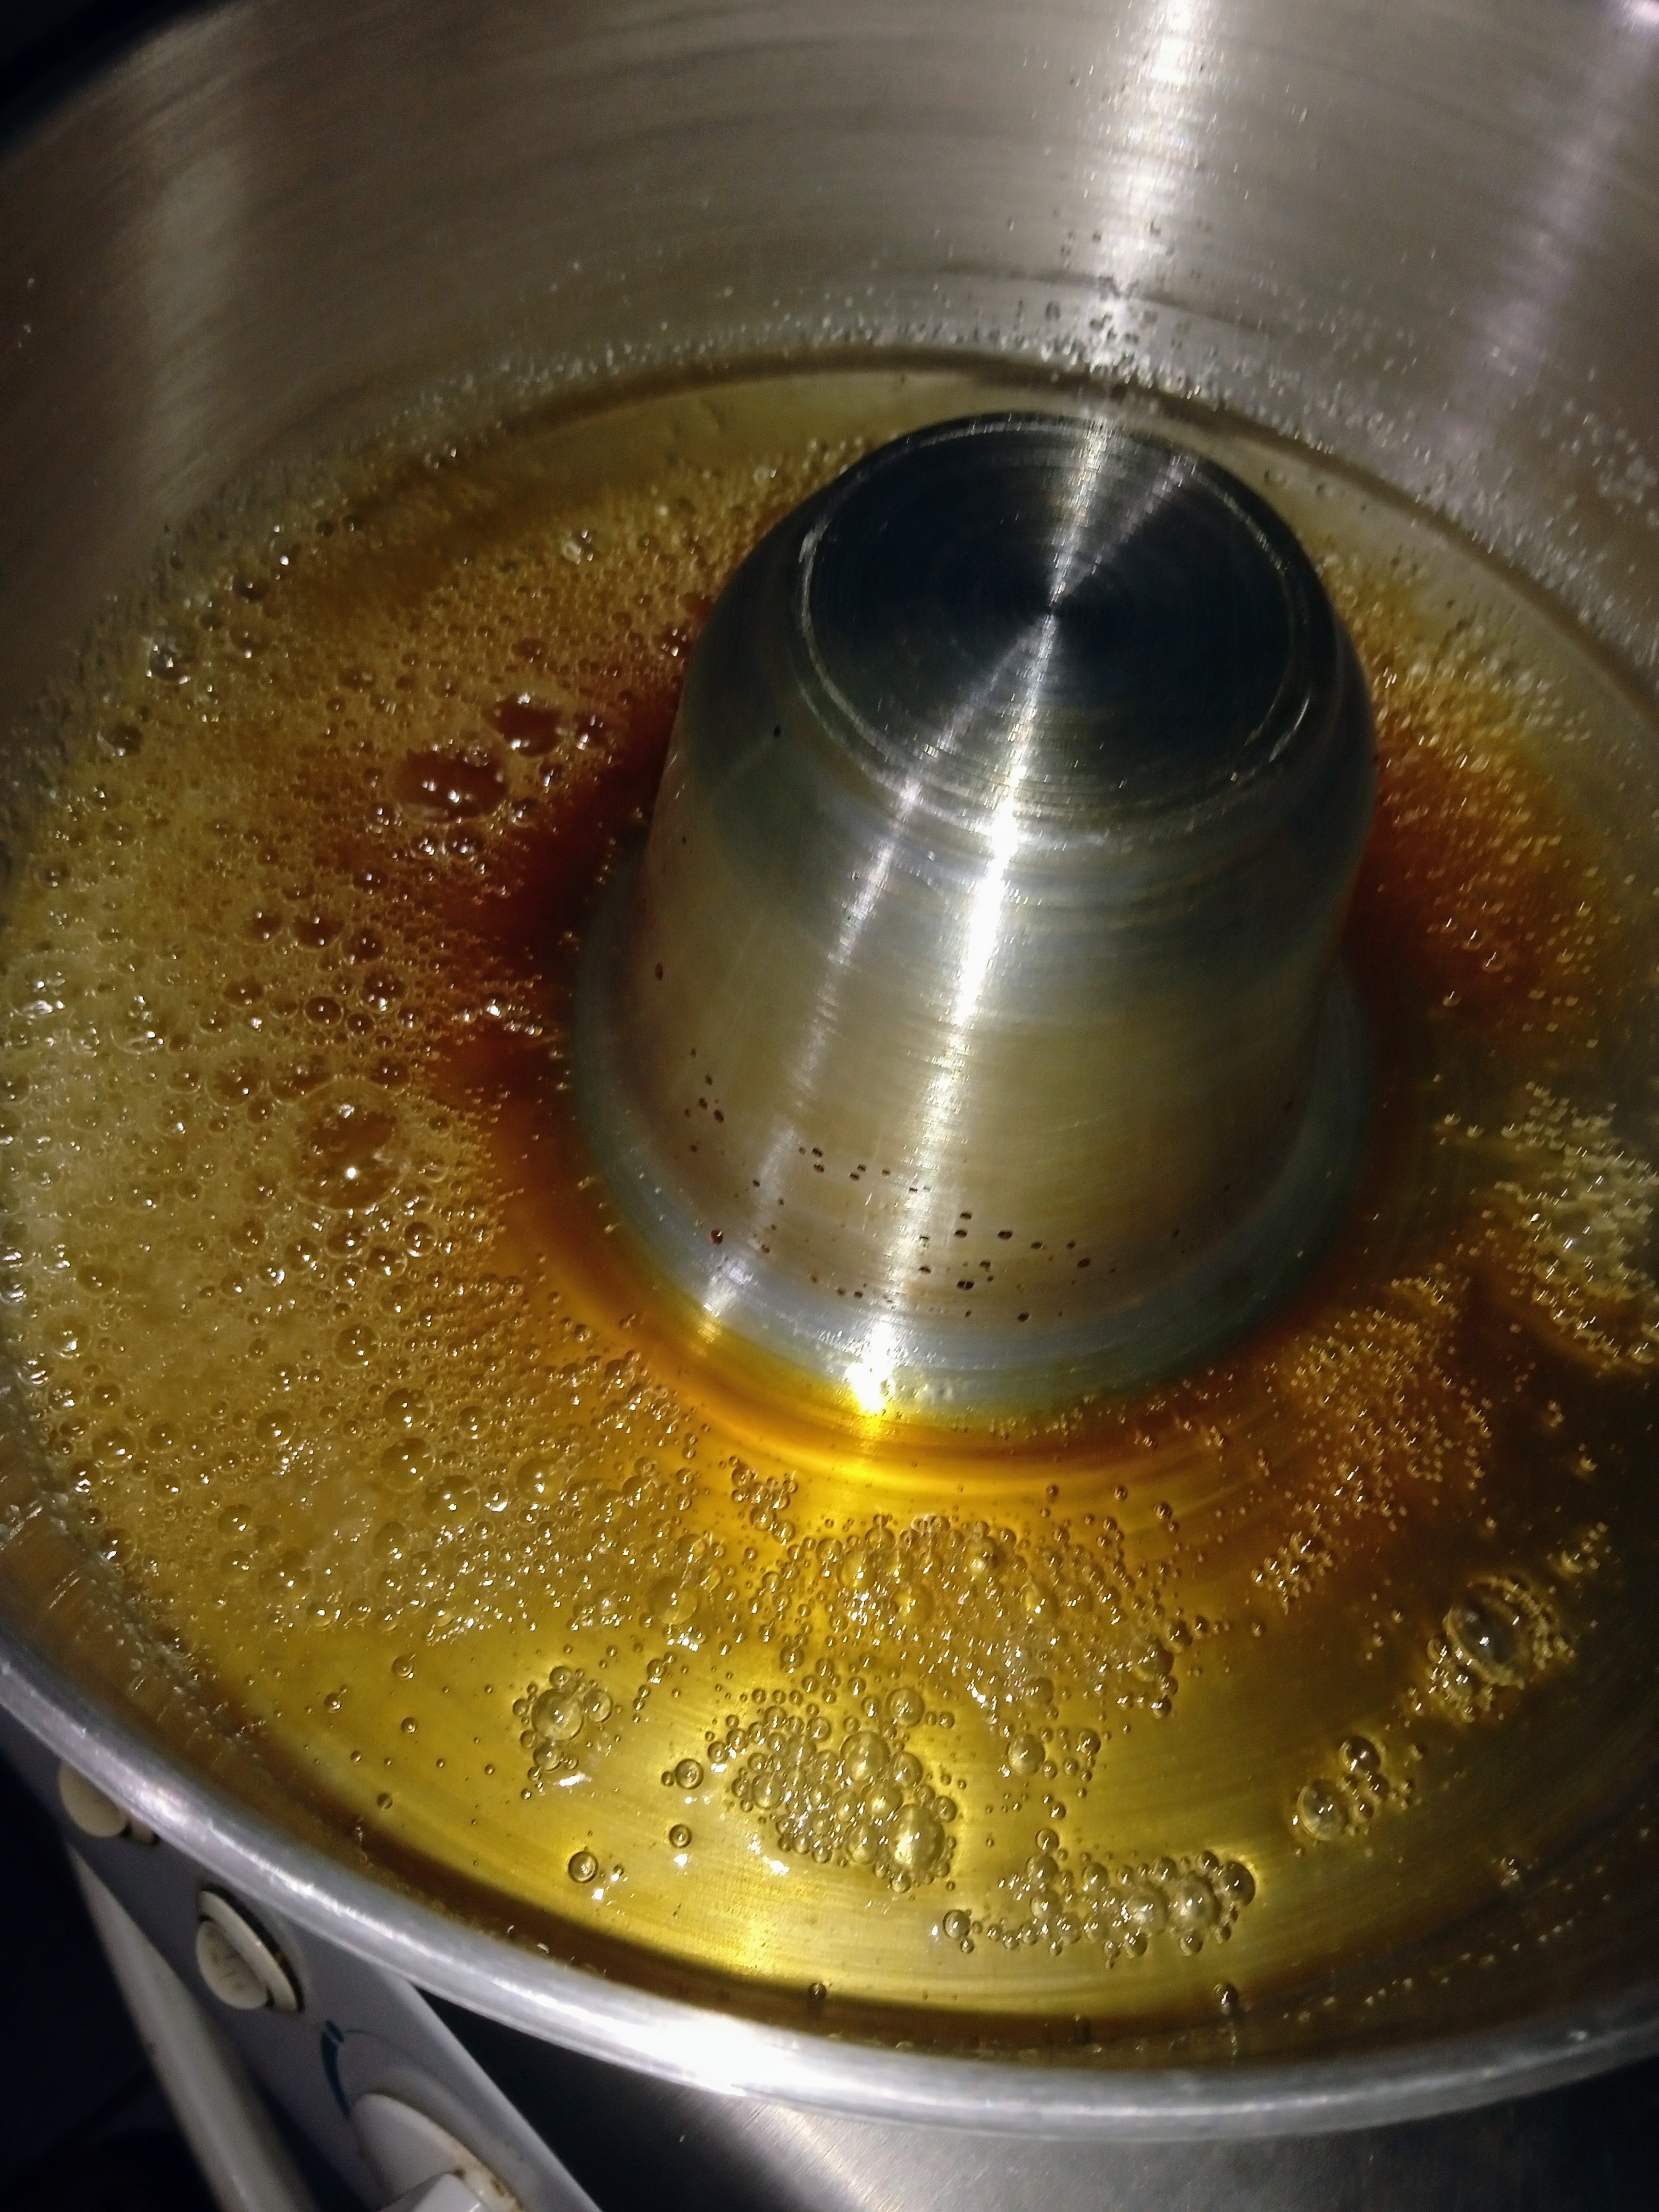
En nuestro molde colocaremos todos nuestros ingredientes y llevamos a la cocina a baja llama hasta obtener un color marrón claro o color Caramelo (importante, no mover con objetos metálicos, preferiblemente solo mover con el mismo molde)
Una vez nuestro caramelo obtenga el color deseado retiramos del fuego y listo. (Debemos dejar a un lado para que se enfríe)
Para el Flan
Ingredientes
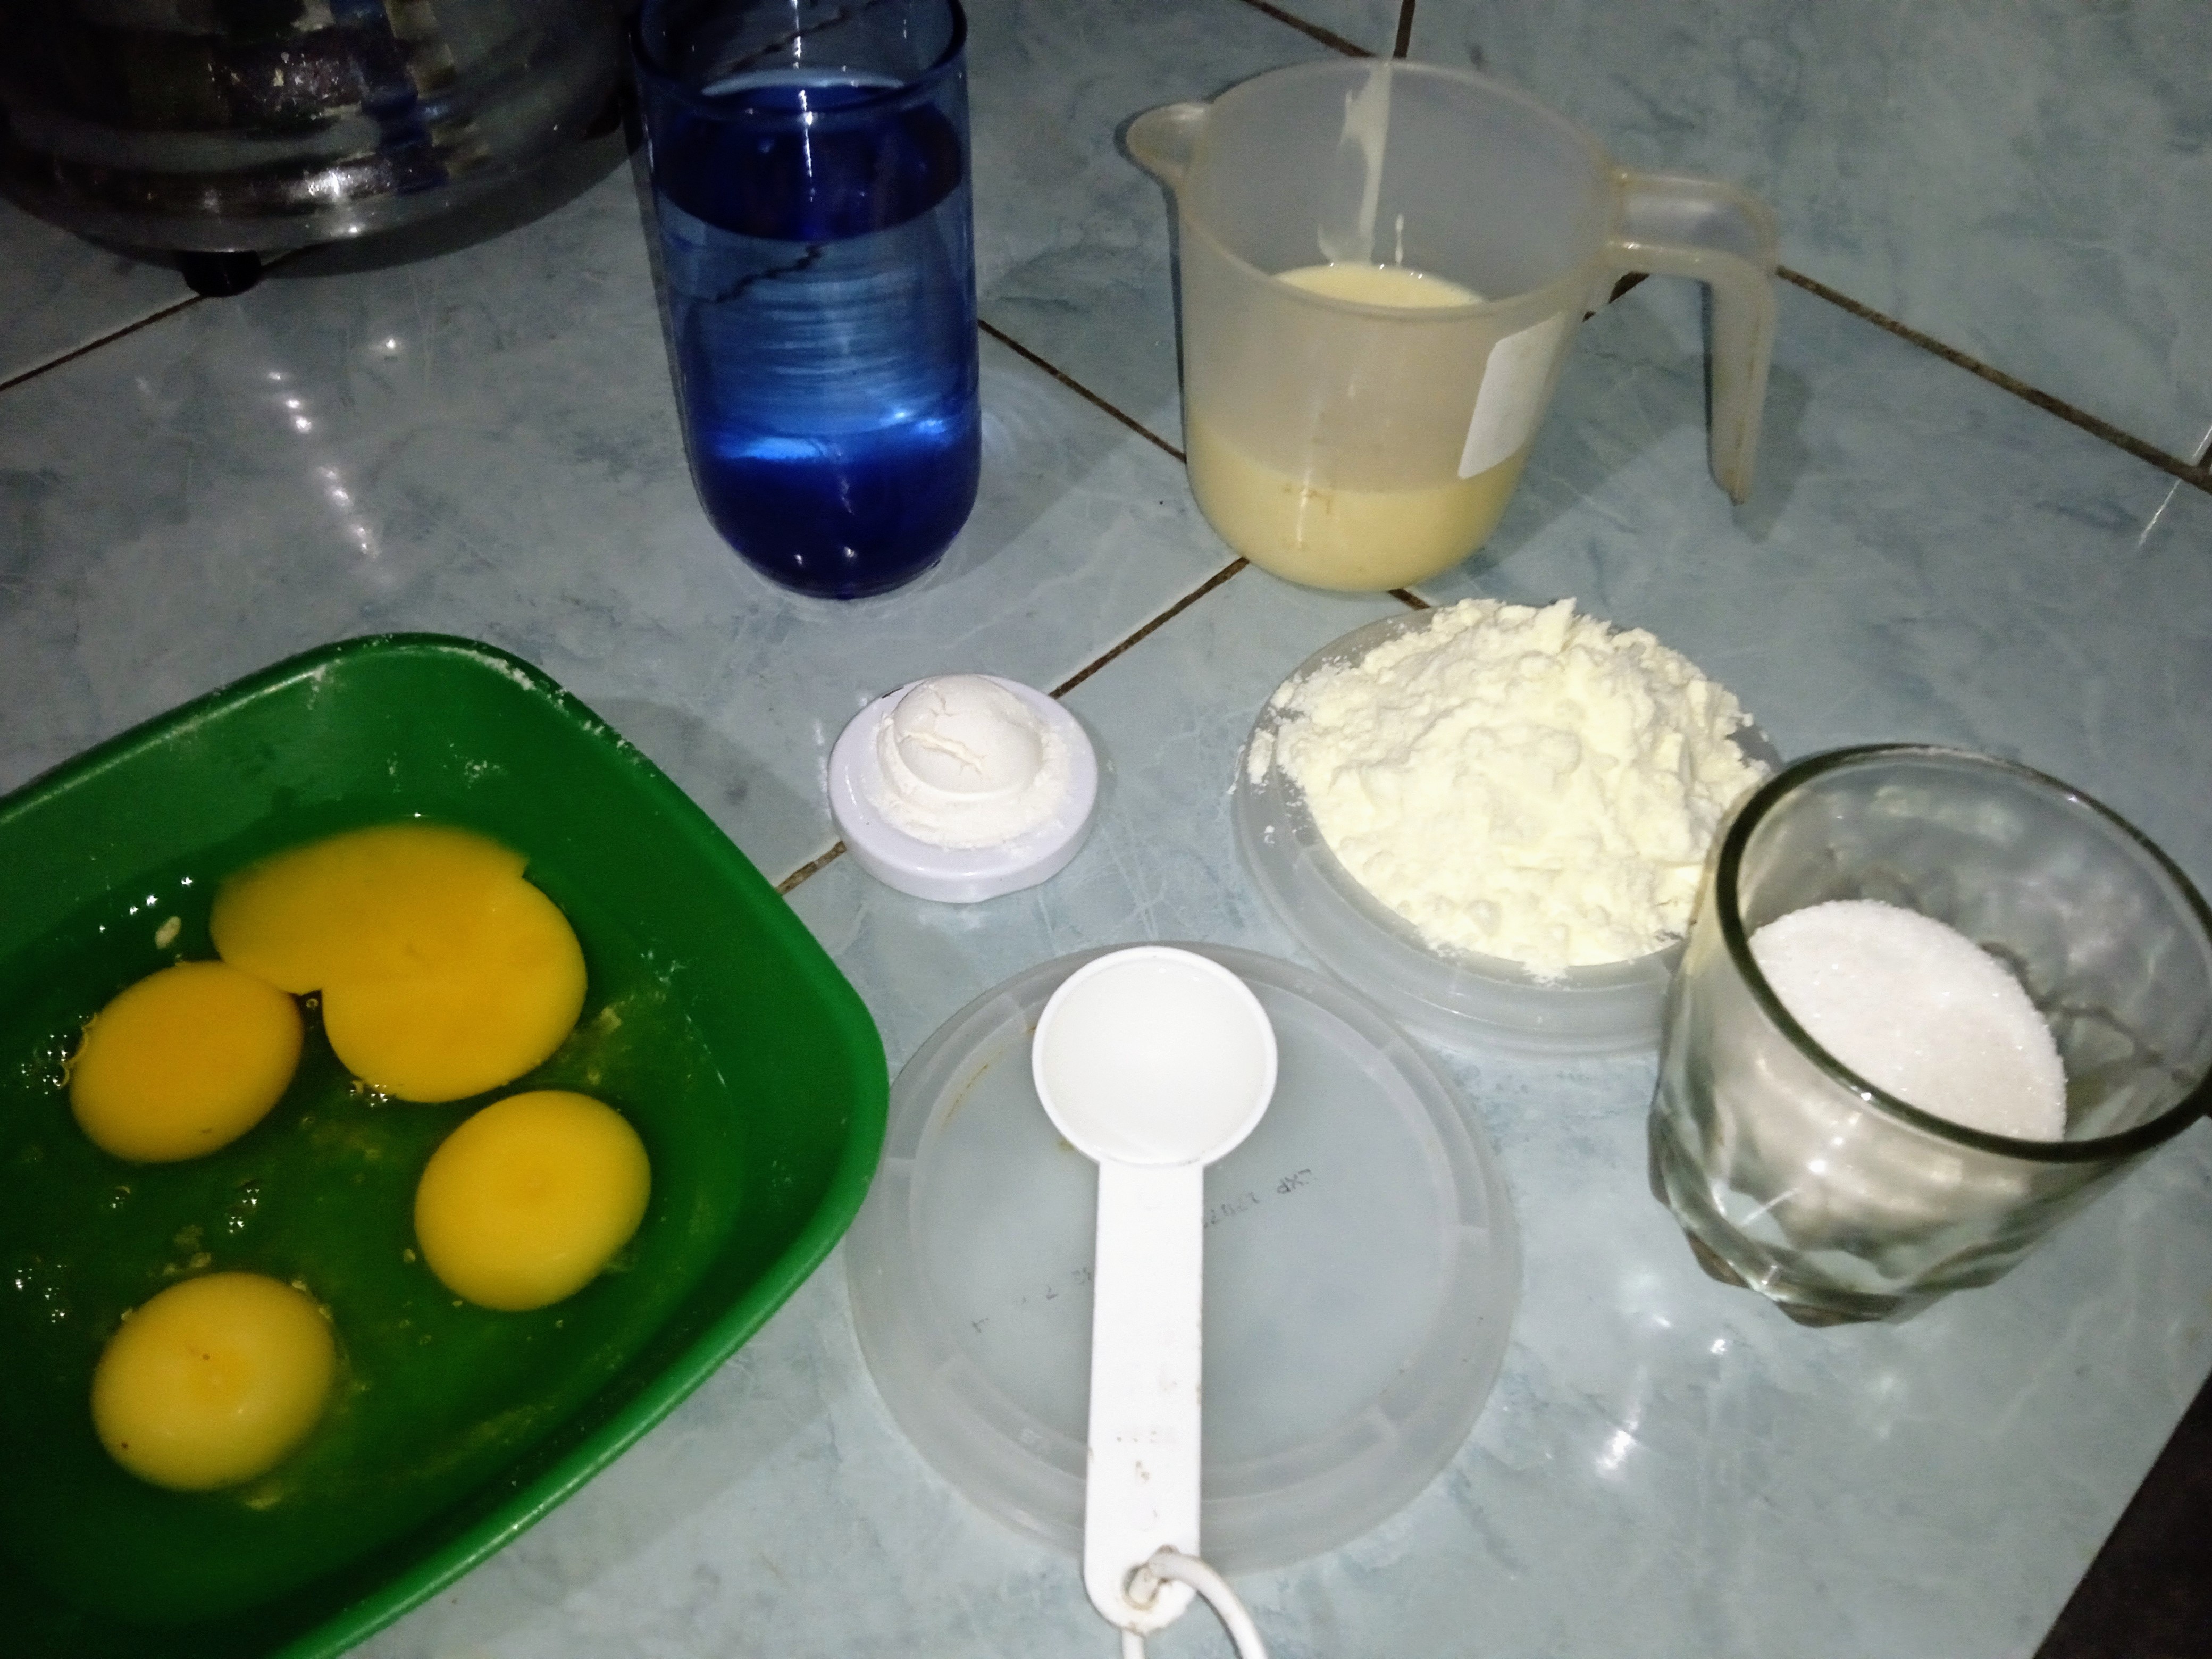
- 200gm de leche condensada
- 4 huevos
- 235ml de agua
- 80gm de leche en polvo
- 50 gm de azúcar
- 1 cucharada de vainilla
- 1/2 cucharada de fecula de maíz
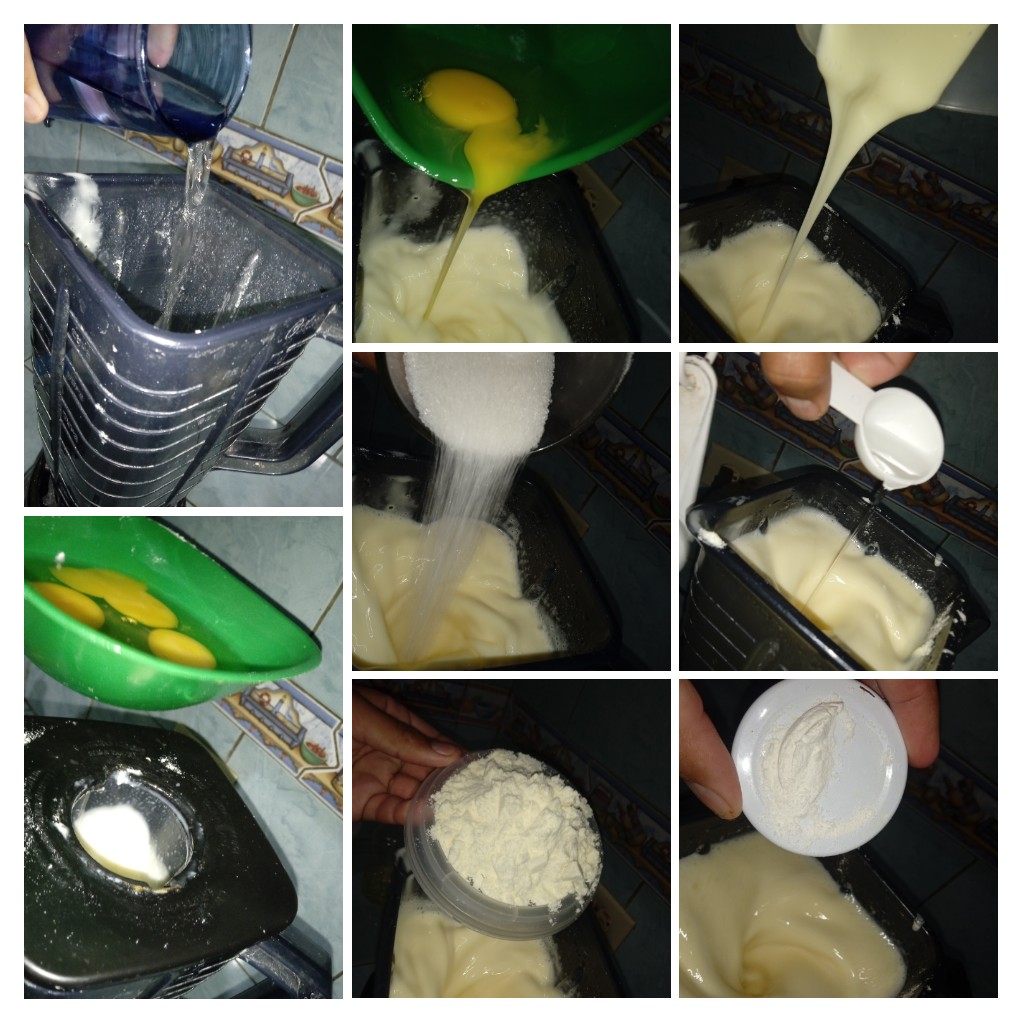
En una licuadora colocaremos todos nuestros ingredientes y dejamos batir por dos minutos
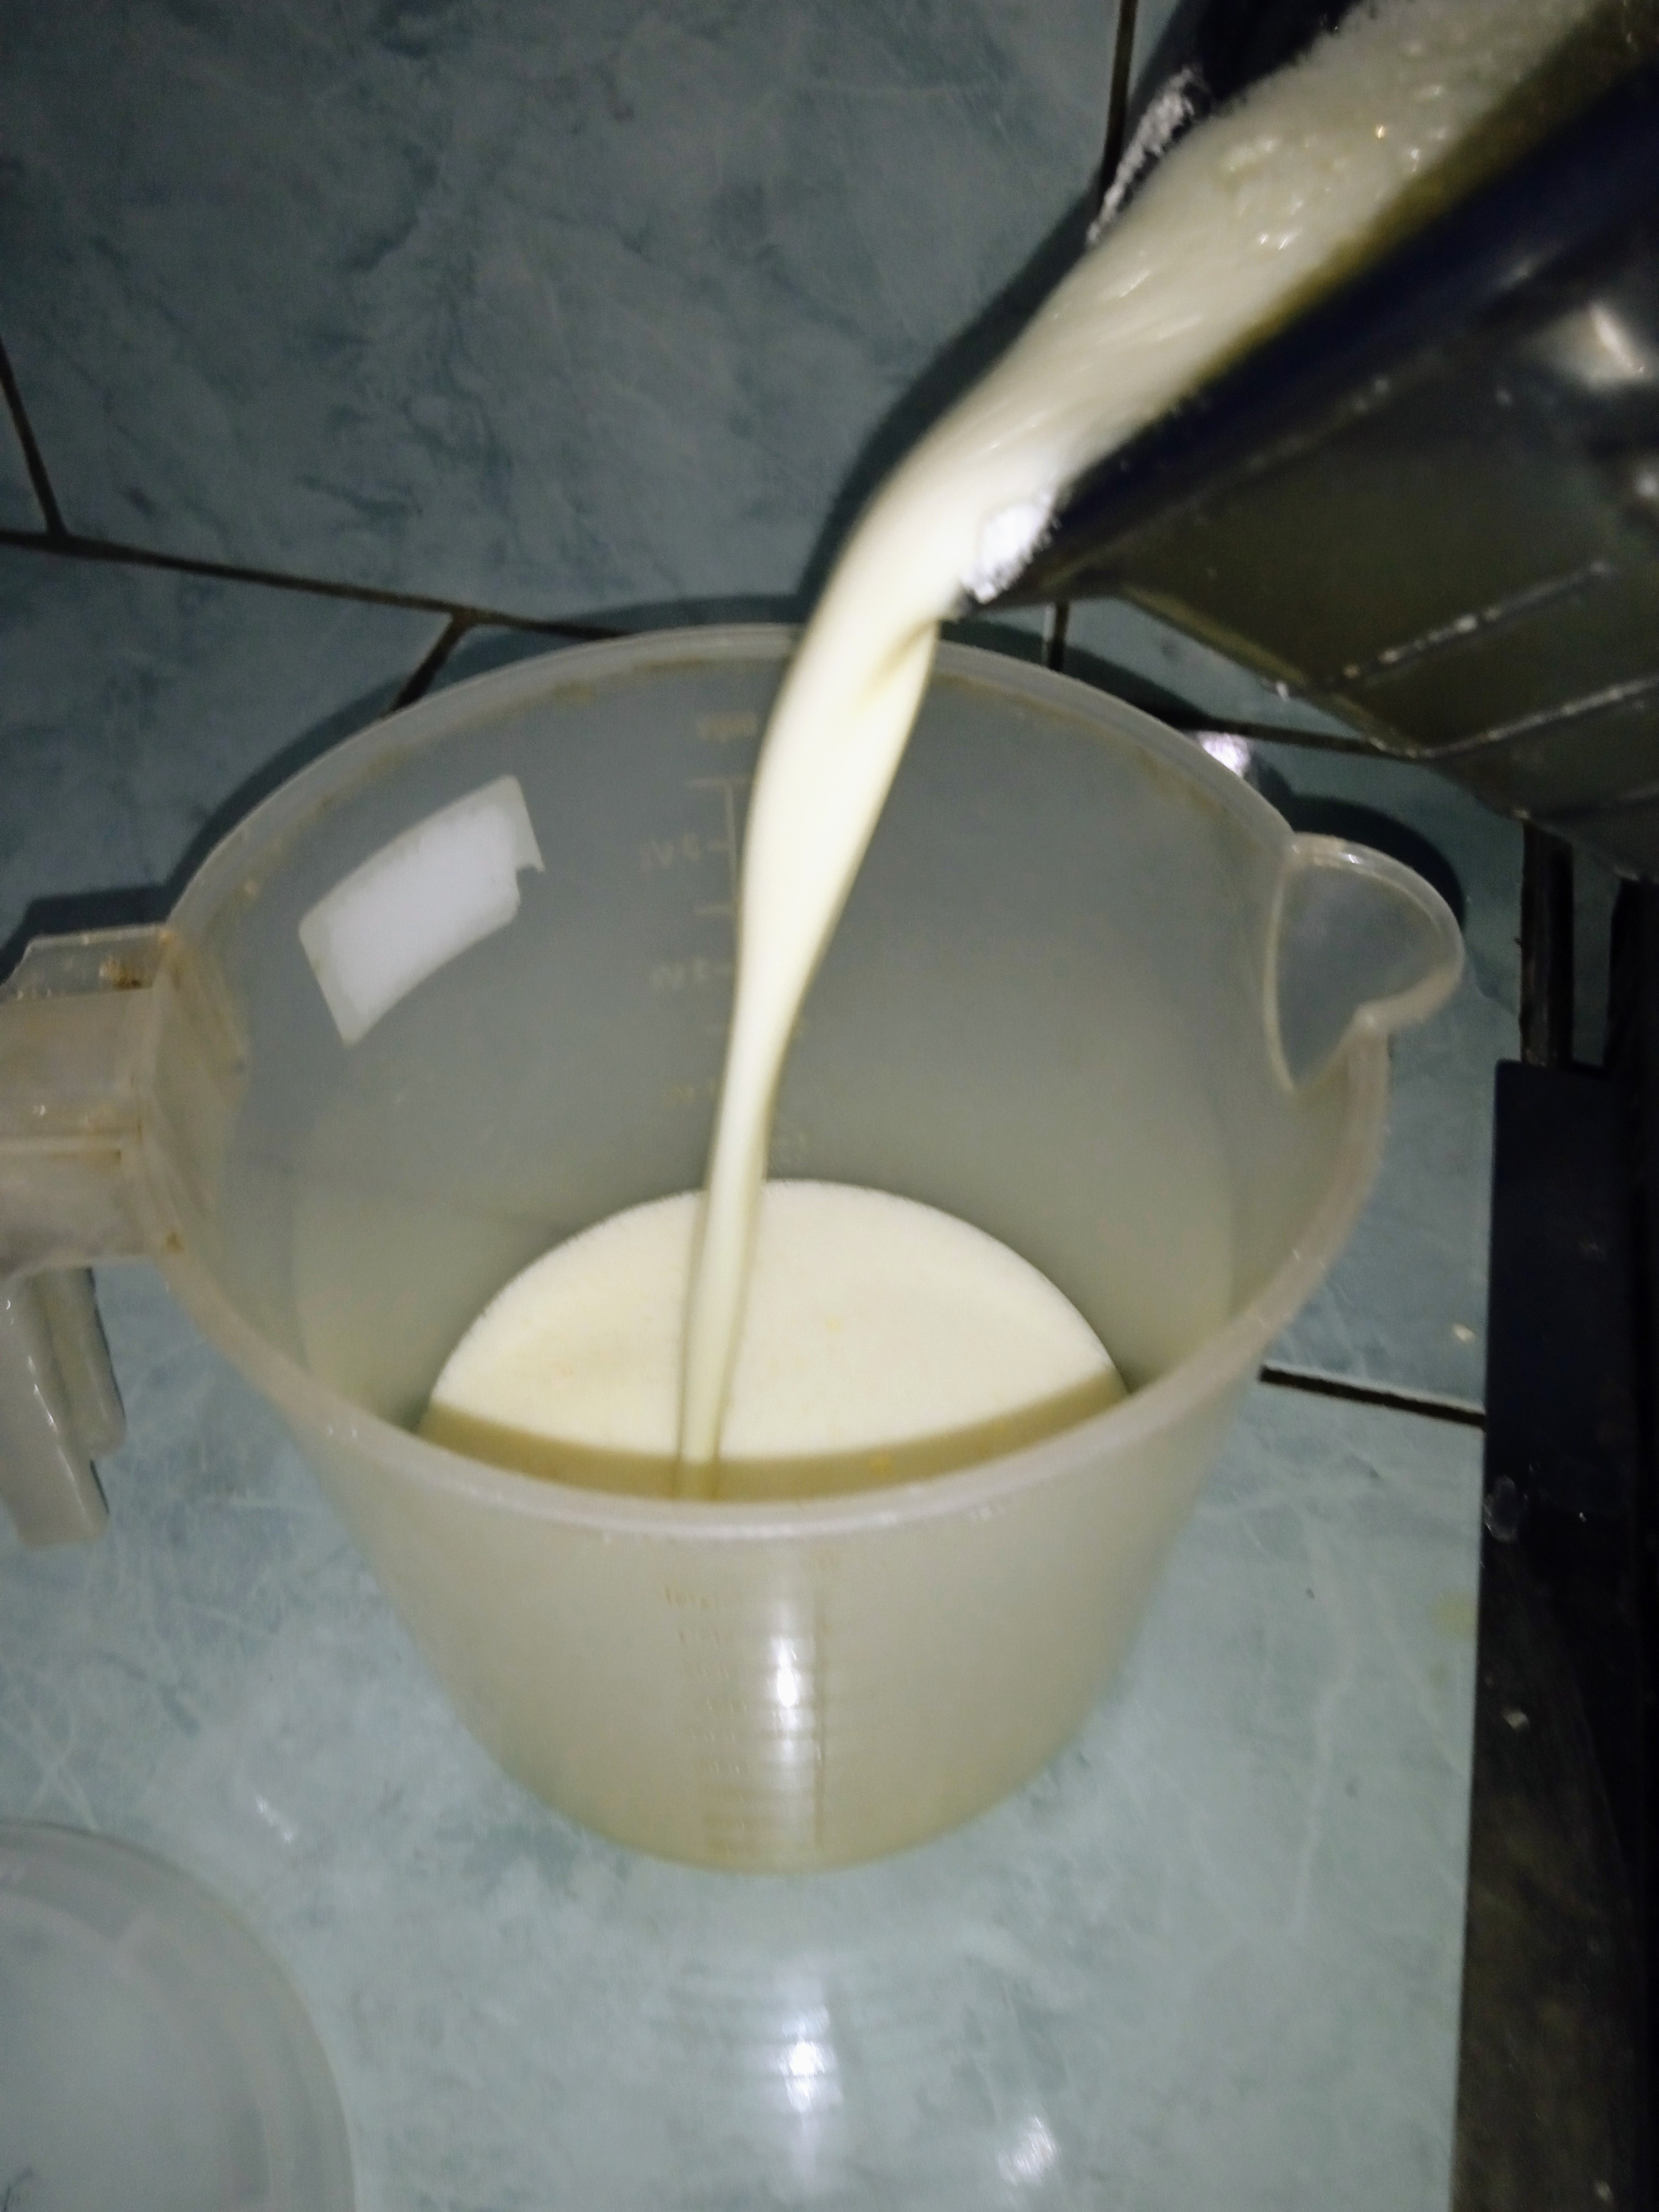
Luego simplemente colocamos nuestro flan sobre una jarra mientras proseguimos con la siguiente parte de la receta
Para la torta húmeda de Chocolate
Necesitamos
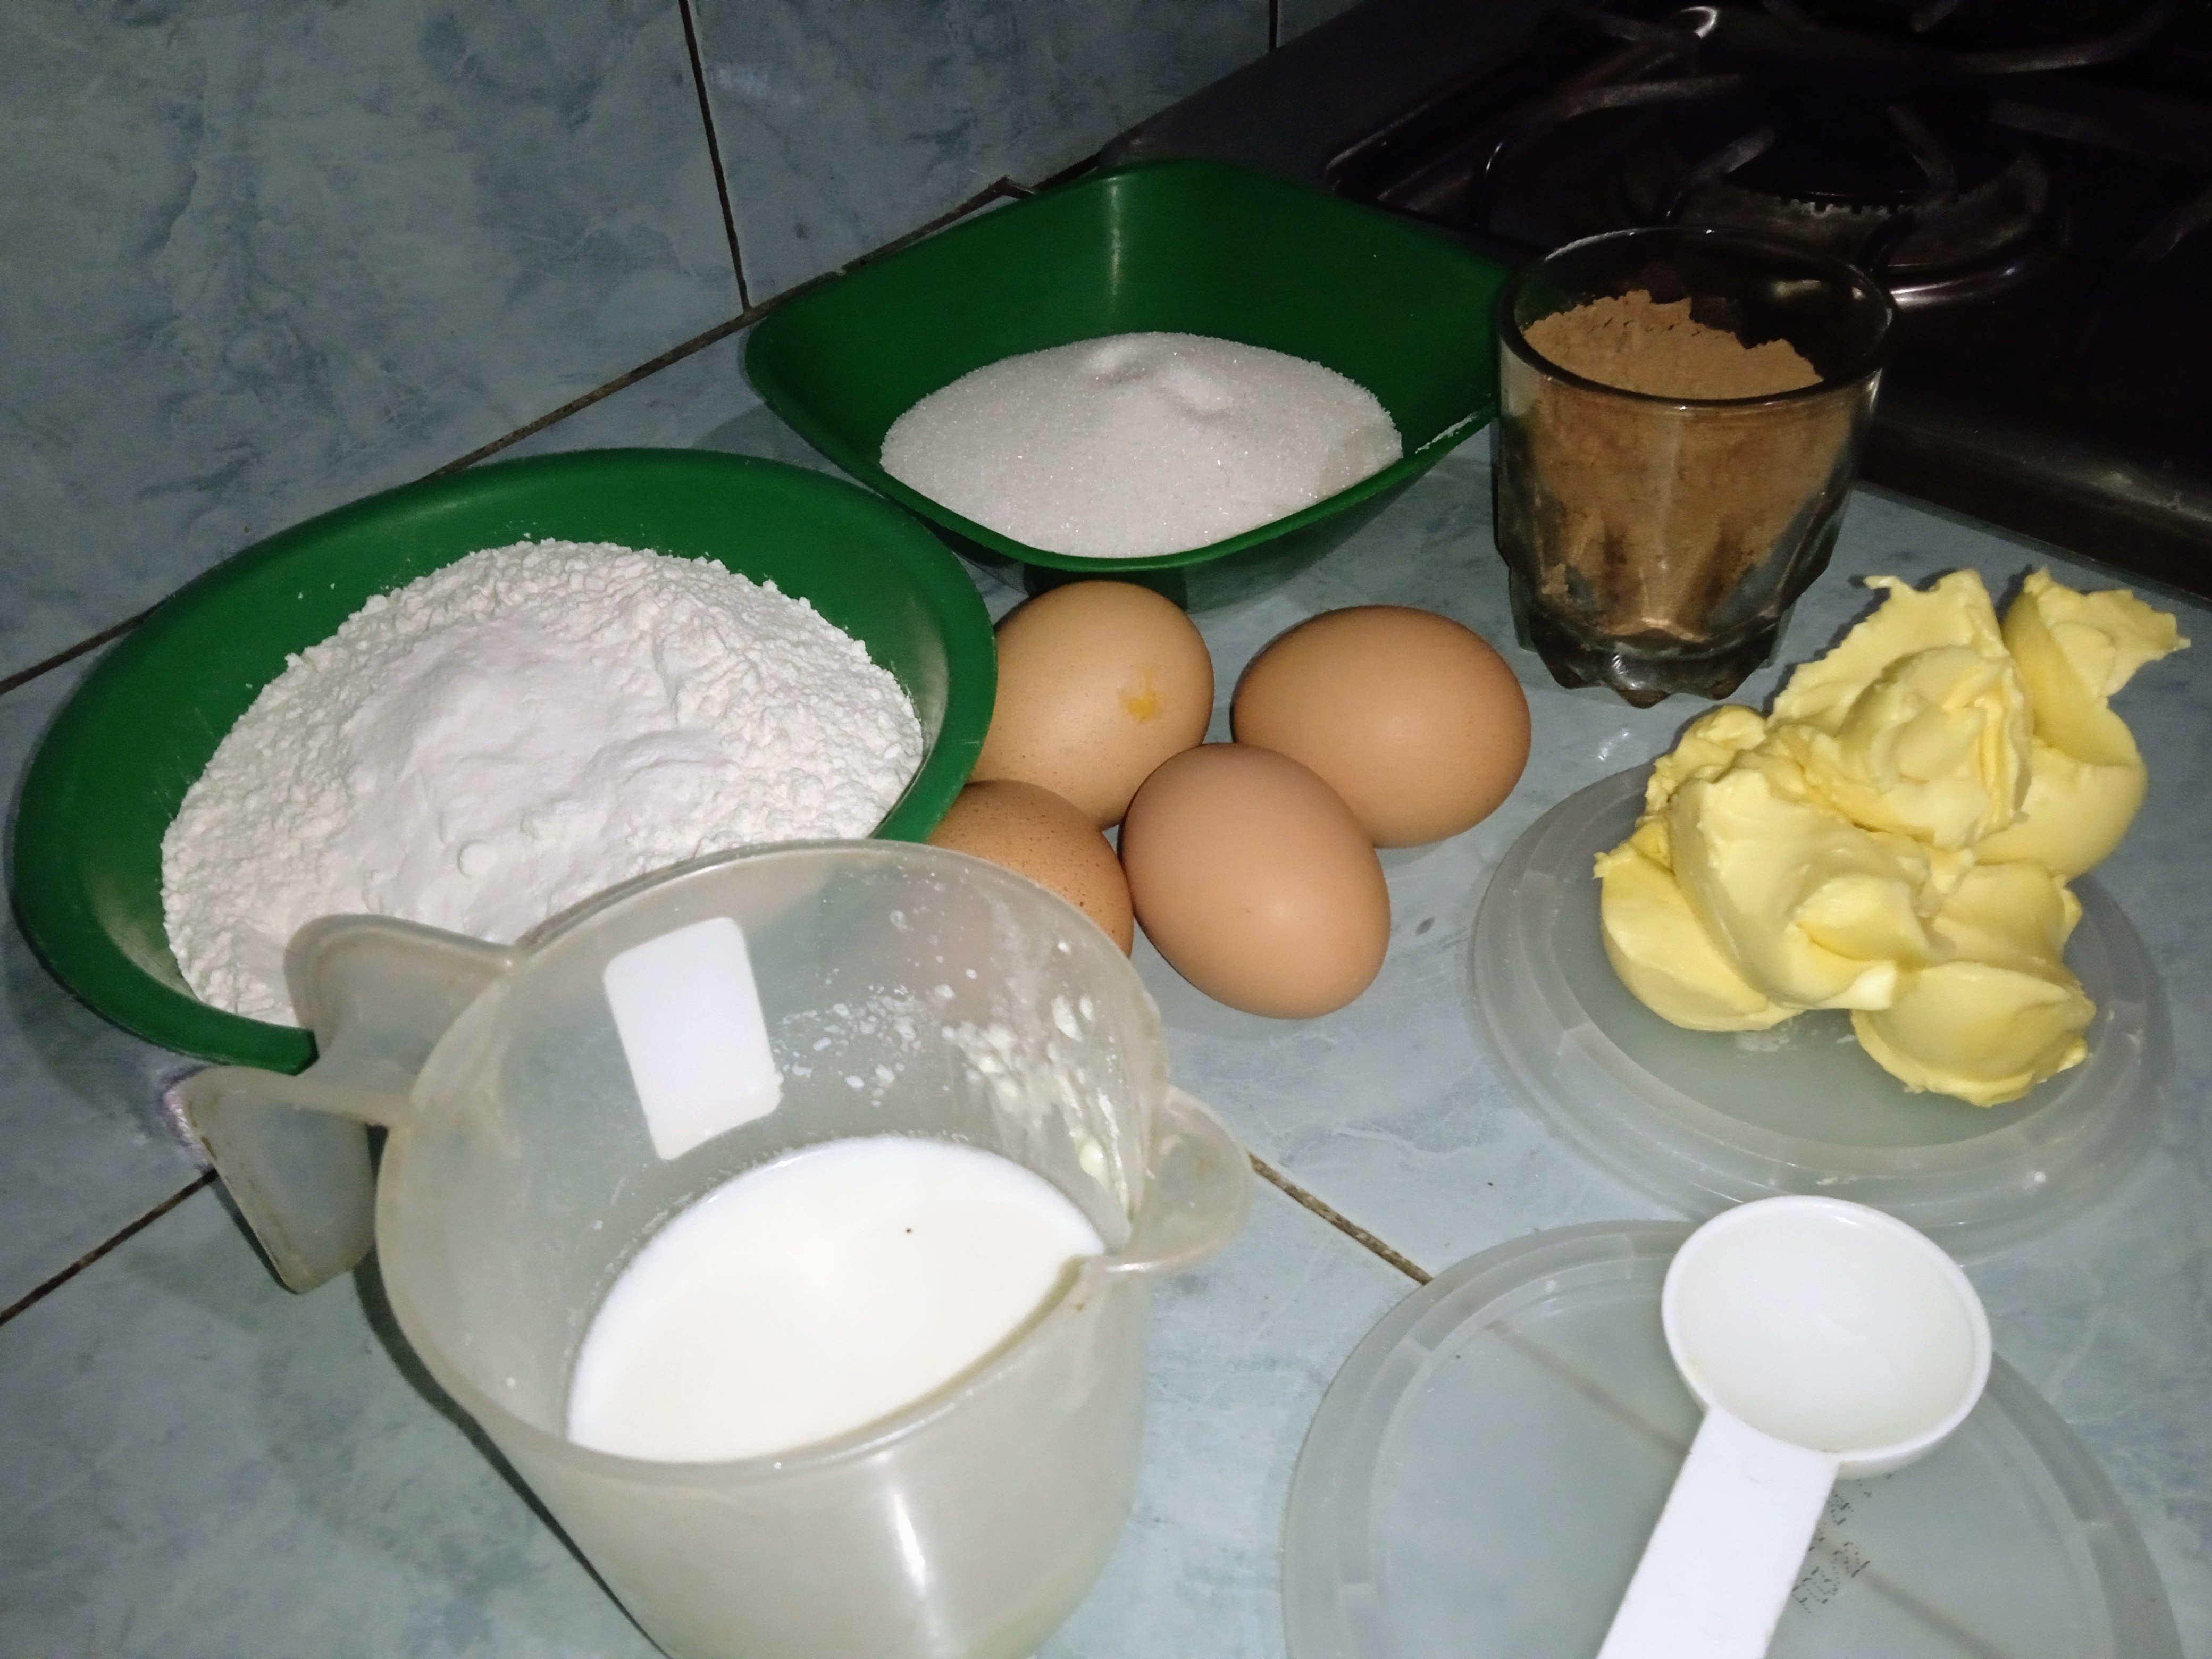
- 180gm de harina de trigo leudante
- 50gm de Cacao en polvo
- 200gm de azúcar
- 120ml de buttermilk (pueden utilizar leche cortada)
- 150gm de margarina con sal
- 4 huevos
- 1 cucharada de vainilla
Preparación
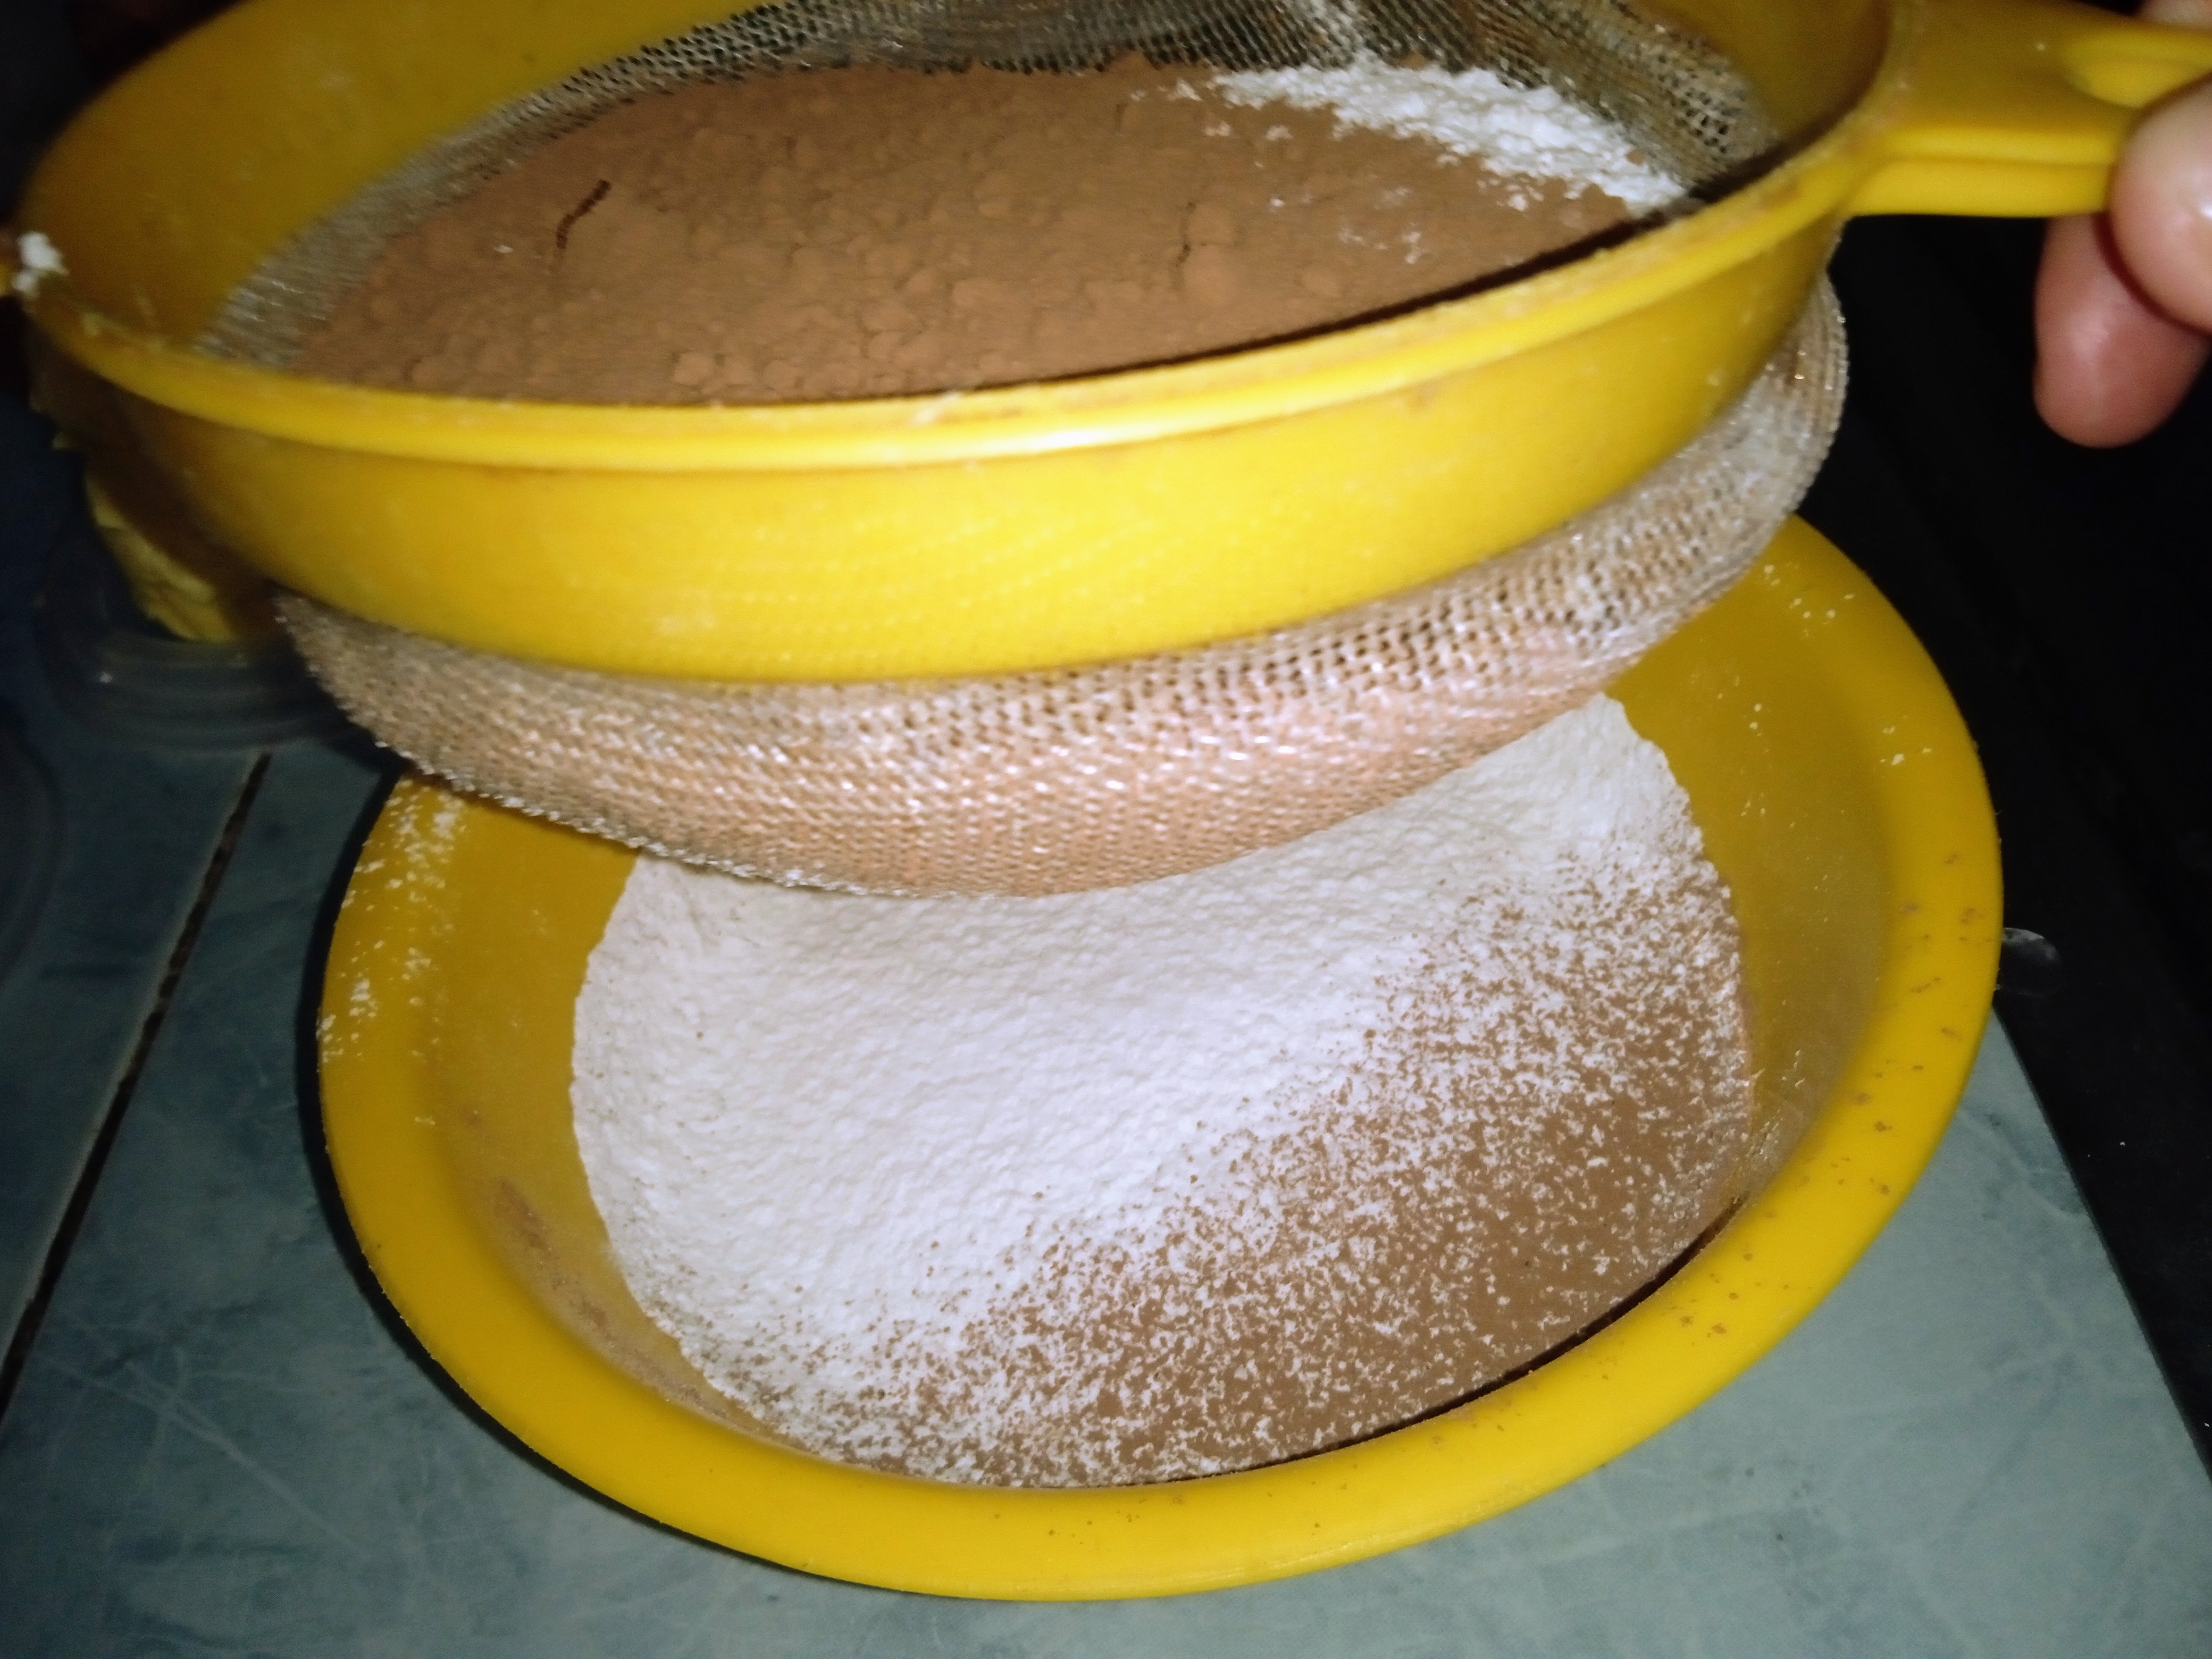
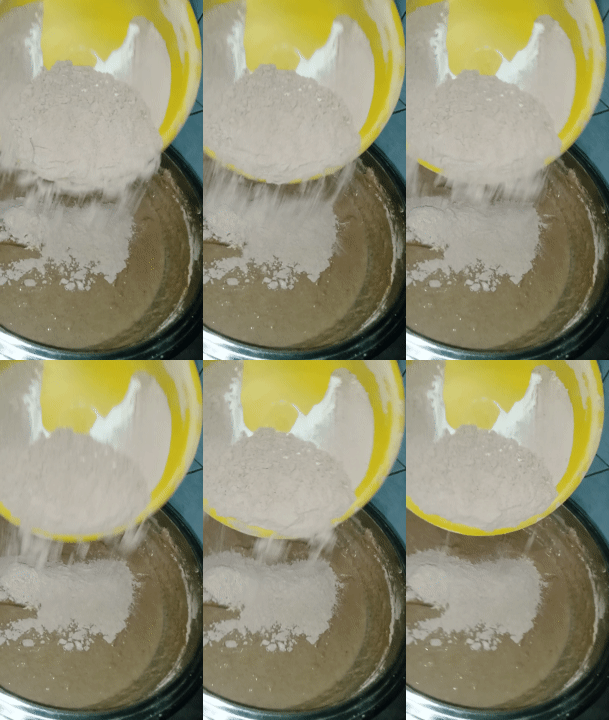
Antes que nada debemos unir los ingredientes secos y tamizar los para así evitar grumos. Esto lo haremos con ayuda de un colador
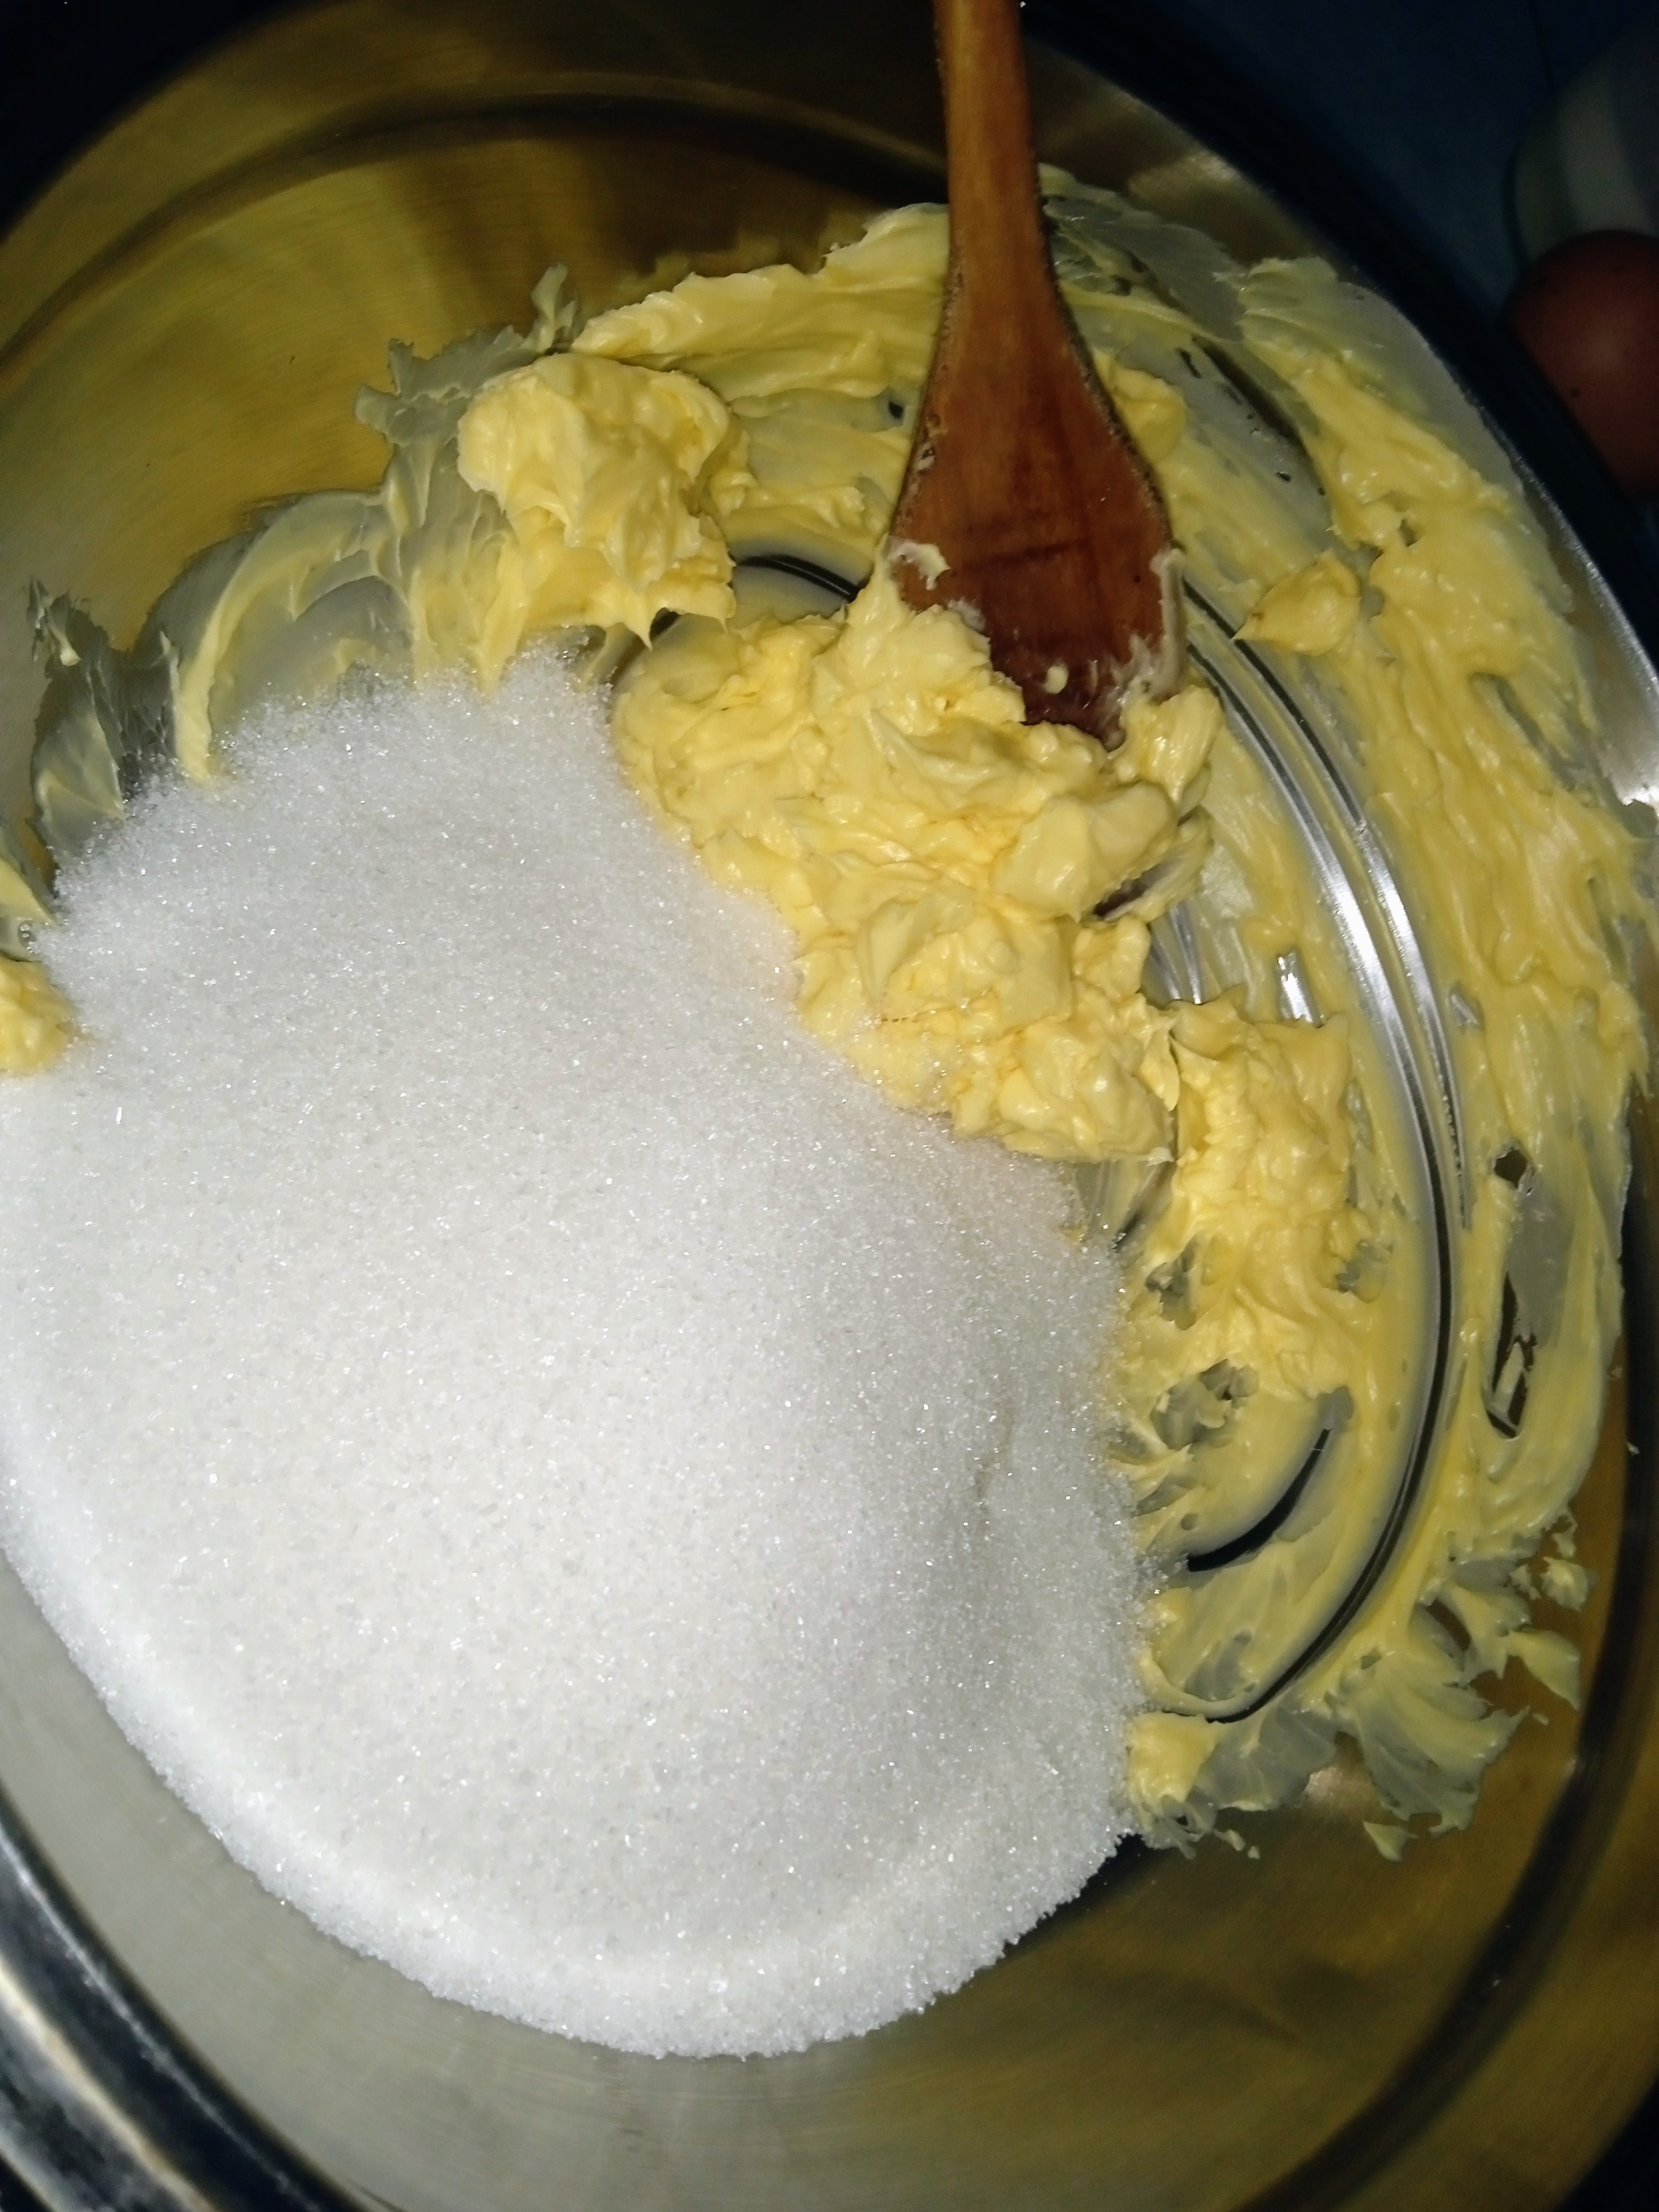
Por otra parte sobre un bold colocamos la Margarina y el azúcar y la batimos bien hasta obtener una mezcla suave y más blanca (esto lo pueden hacer con ayuda de un batidor o una paleta)
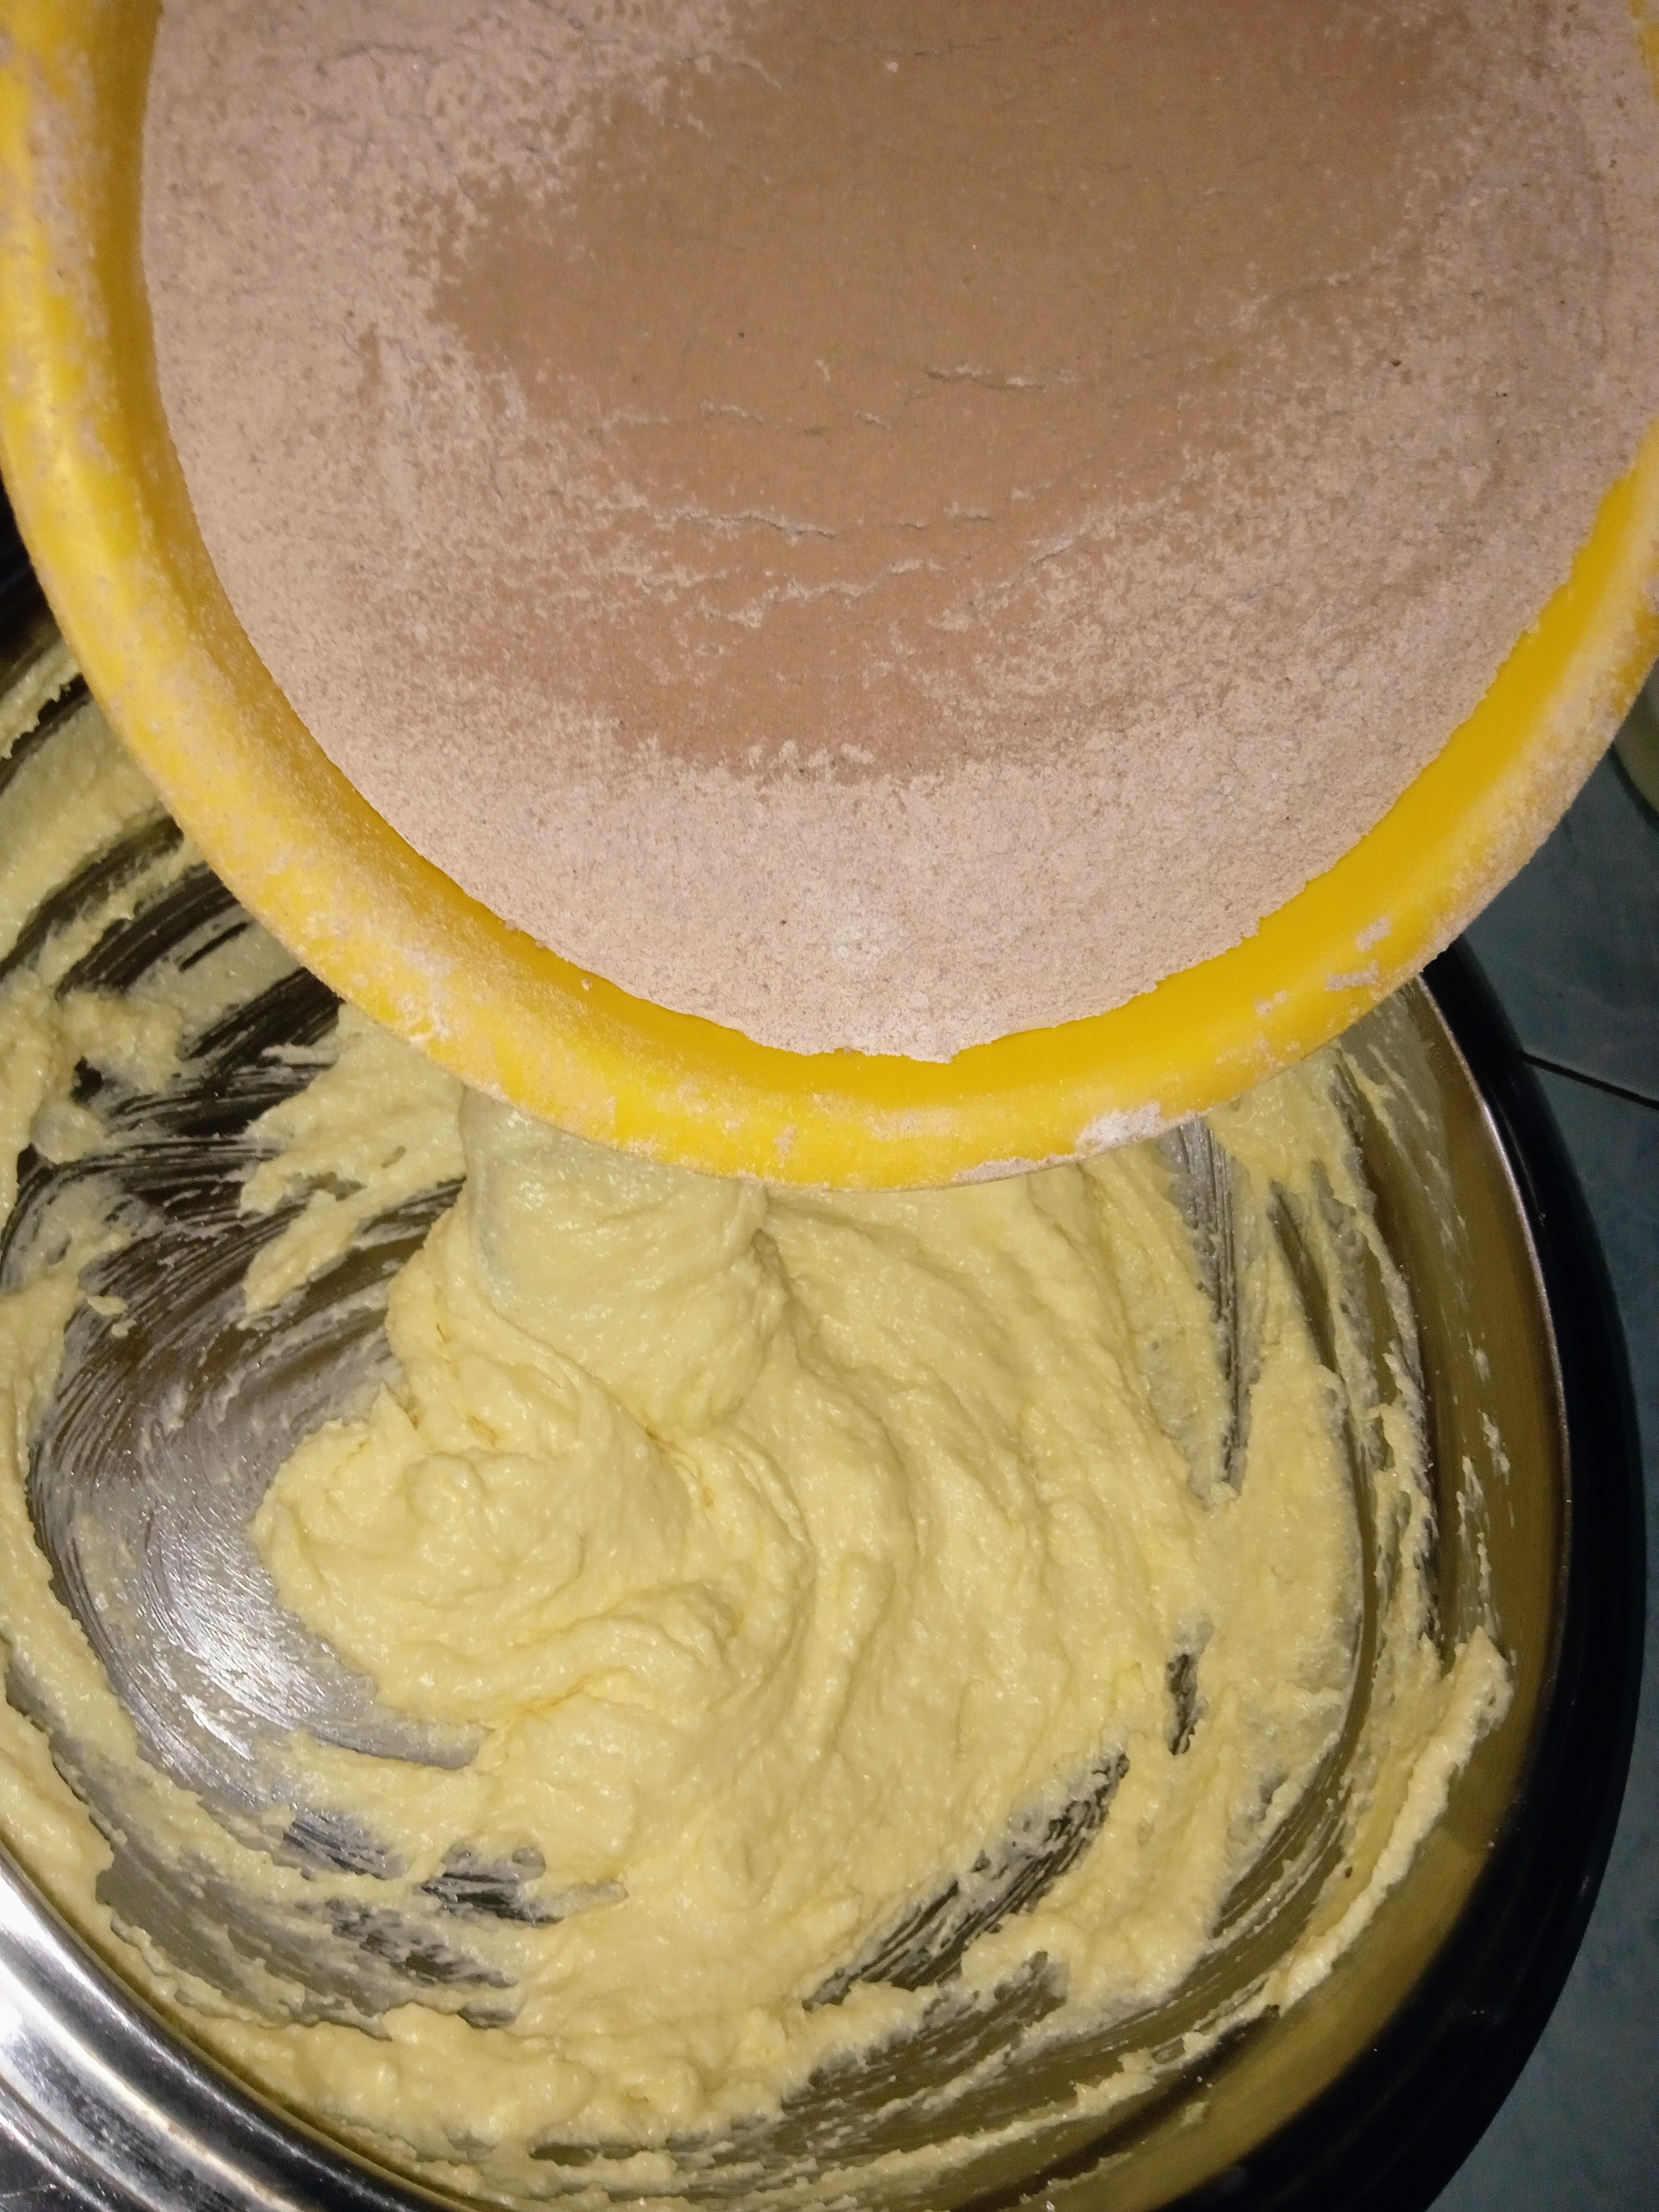
Luego de mezclar bien, agregamos la mitad de nuestra harina y mezclamos con ayuda de un paleta suavemente
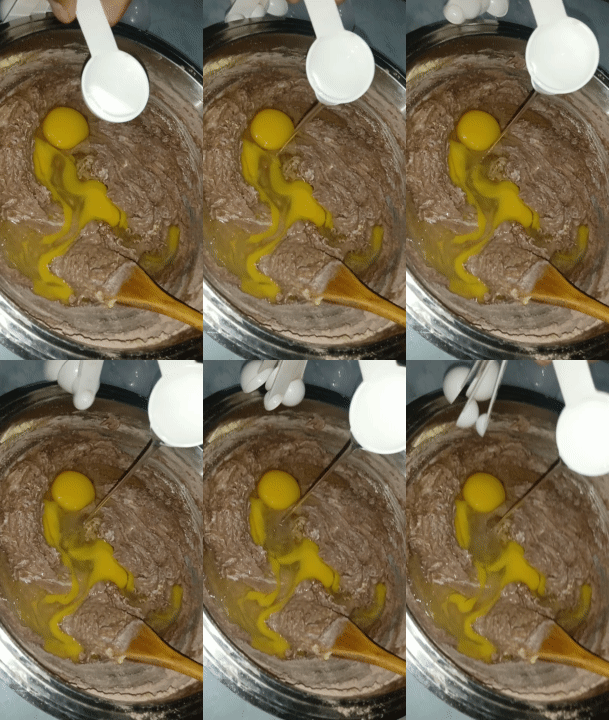
Luego vertimos los huevos y la esencia de vainilla y mezclamos suavemente
Después agregamos la buttermilk y seguimos mezclando con movimientos envolventes
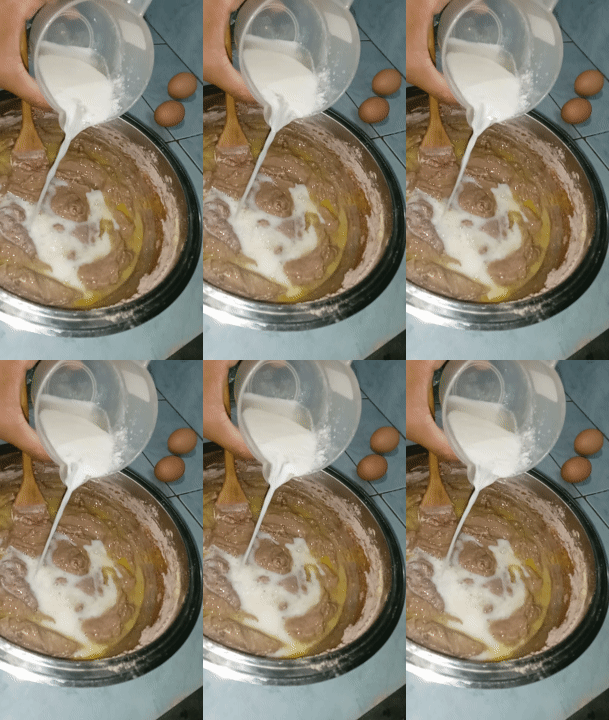
Y por último agregamos el resto de.la harina y seguimos mezclando sin dejar grumos
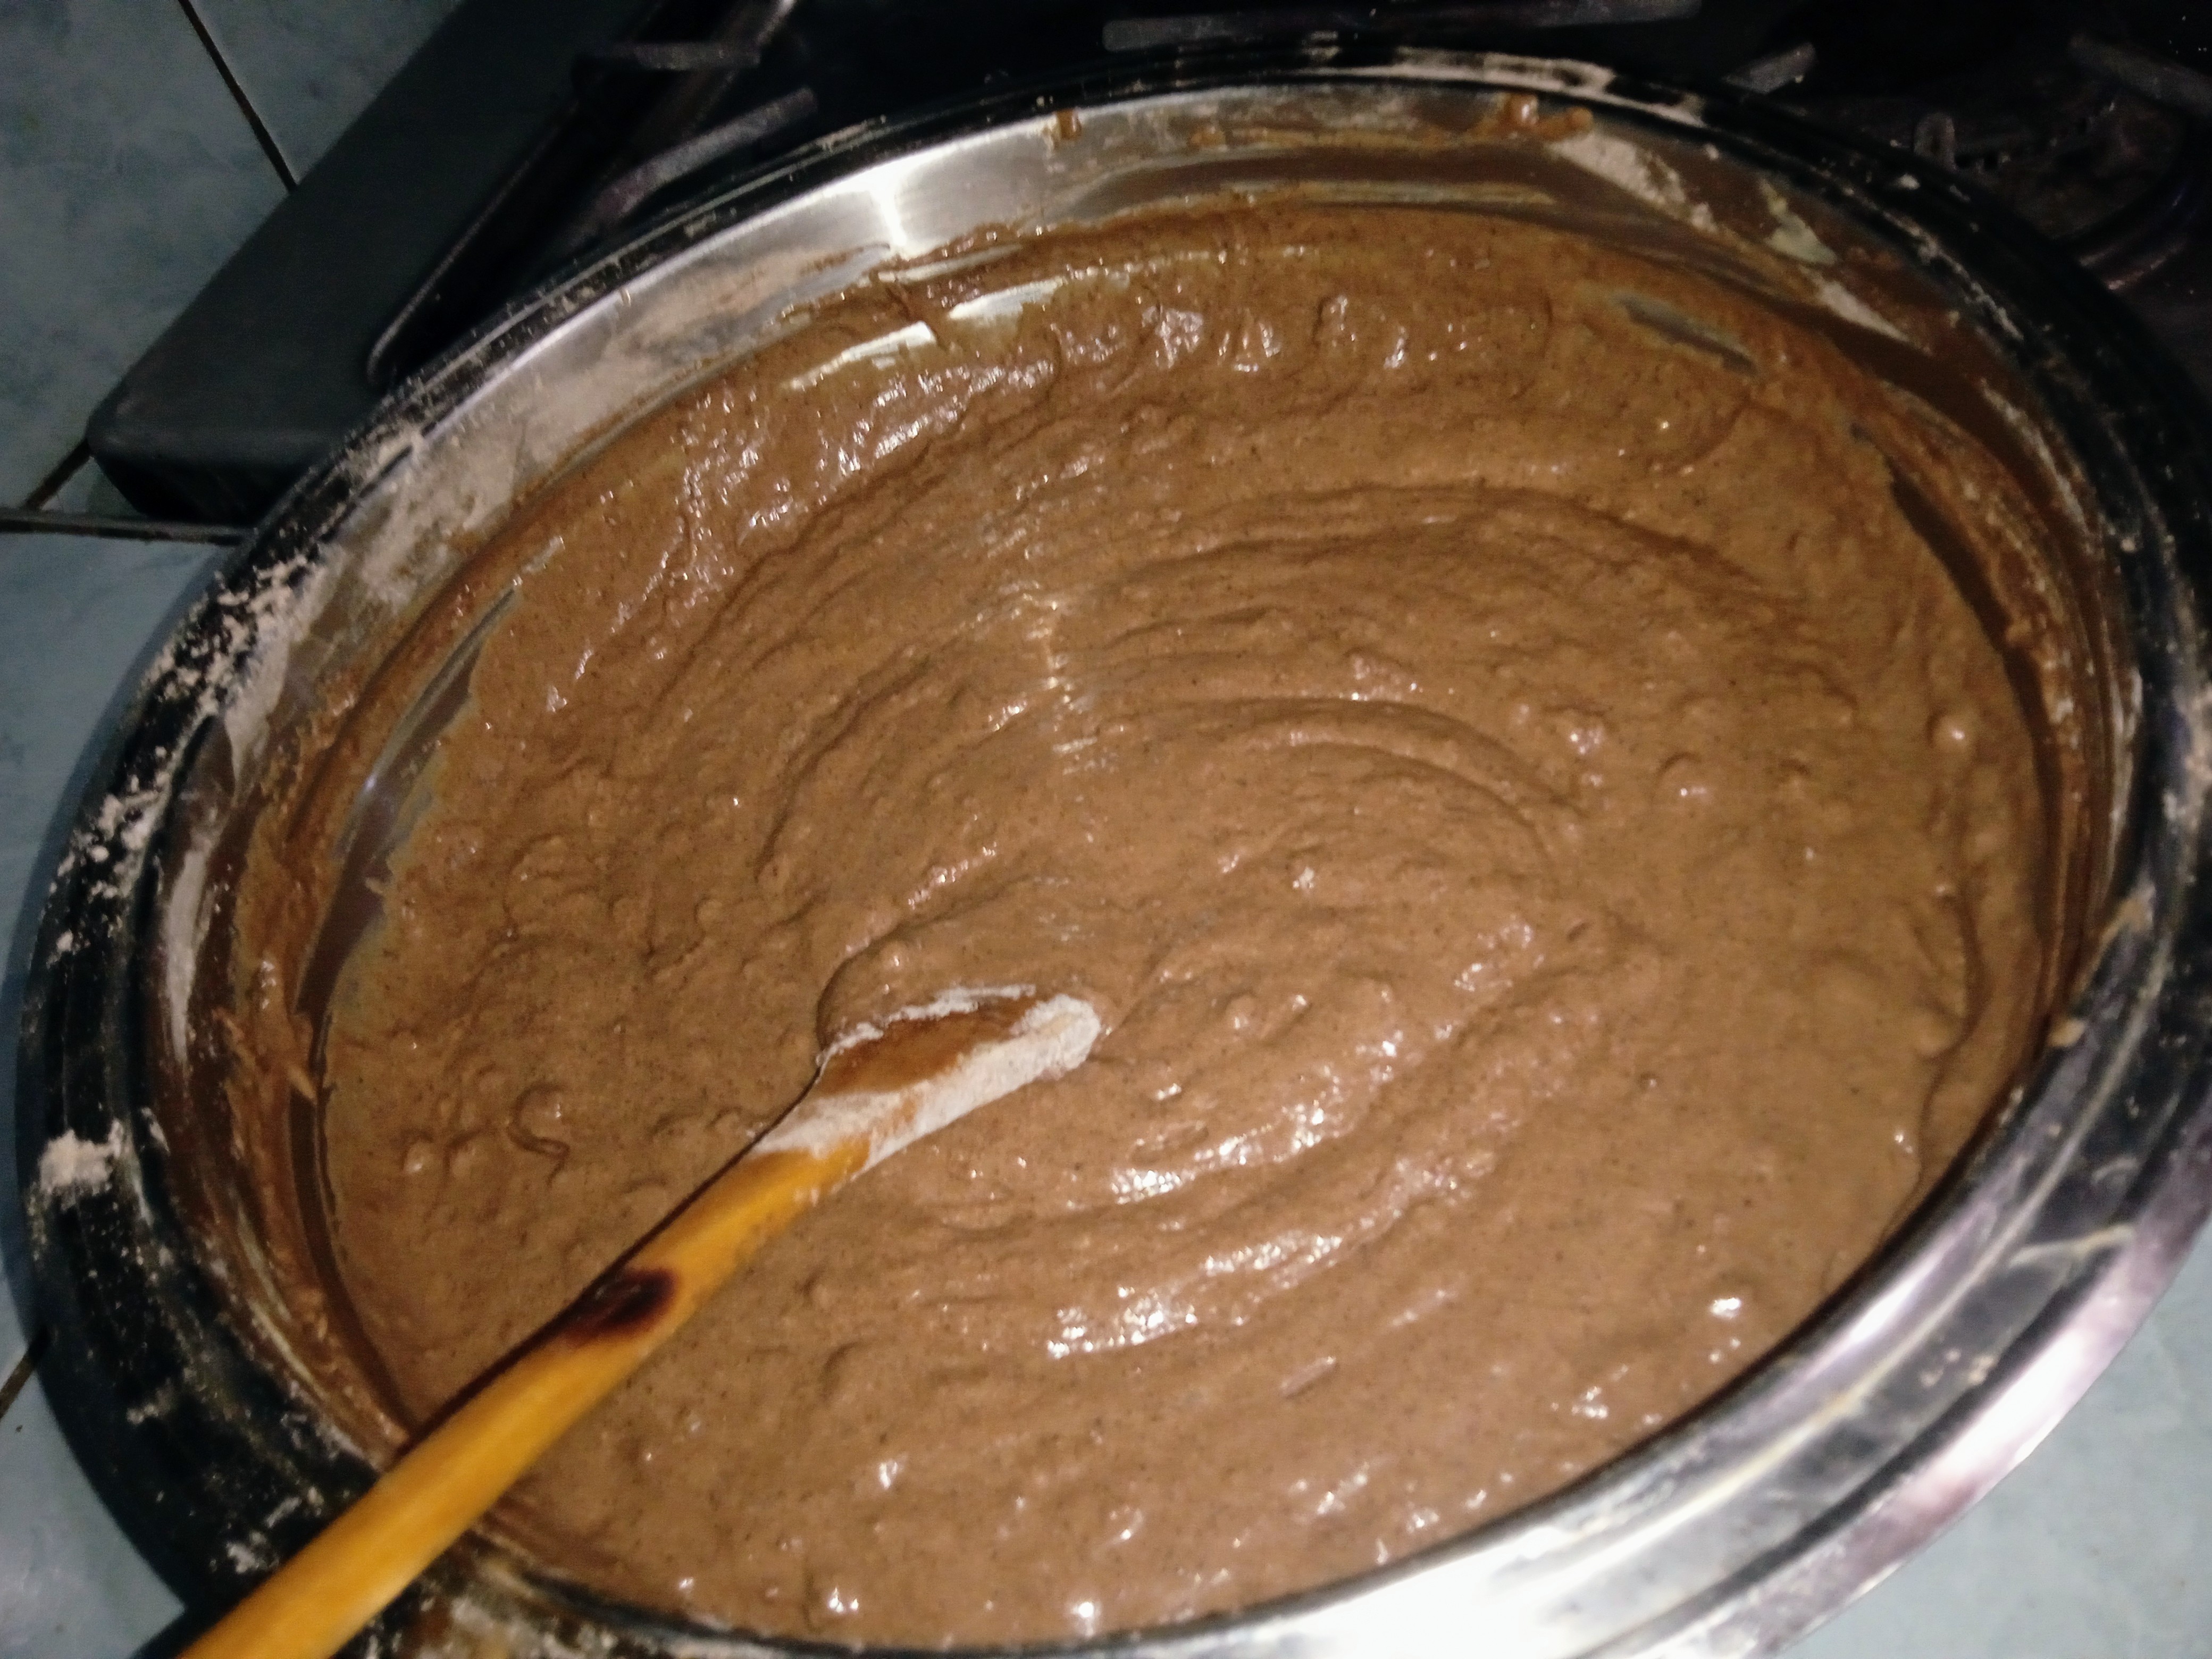
Mezclamos bien y así lucirá nuestra mezcla de chocolate
Una vez la mezcla esté lista podemos armar nuestro pastel
Proceso de armado del pastel
Sobre nuestro molde con caramelo previamente engrasado vertimos primero la mezcla de torta de chocolate. Luego con ayuda de nuestra paleta de madera de manera suave vertimos la mezcla de flan
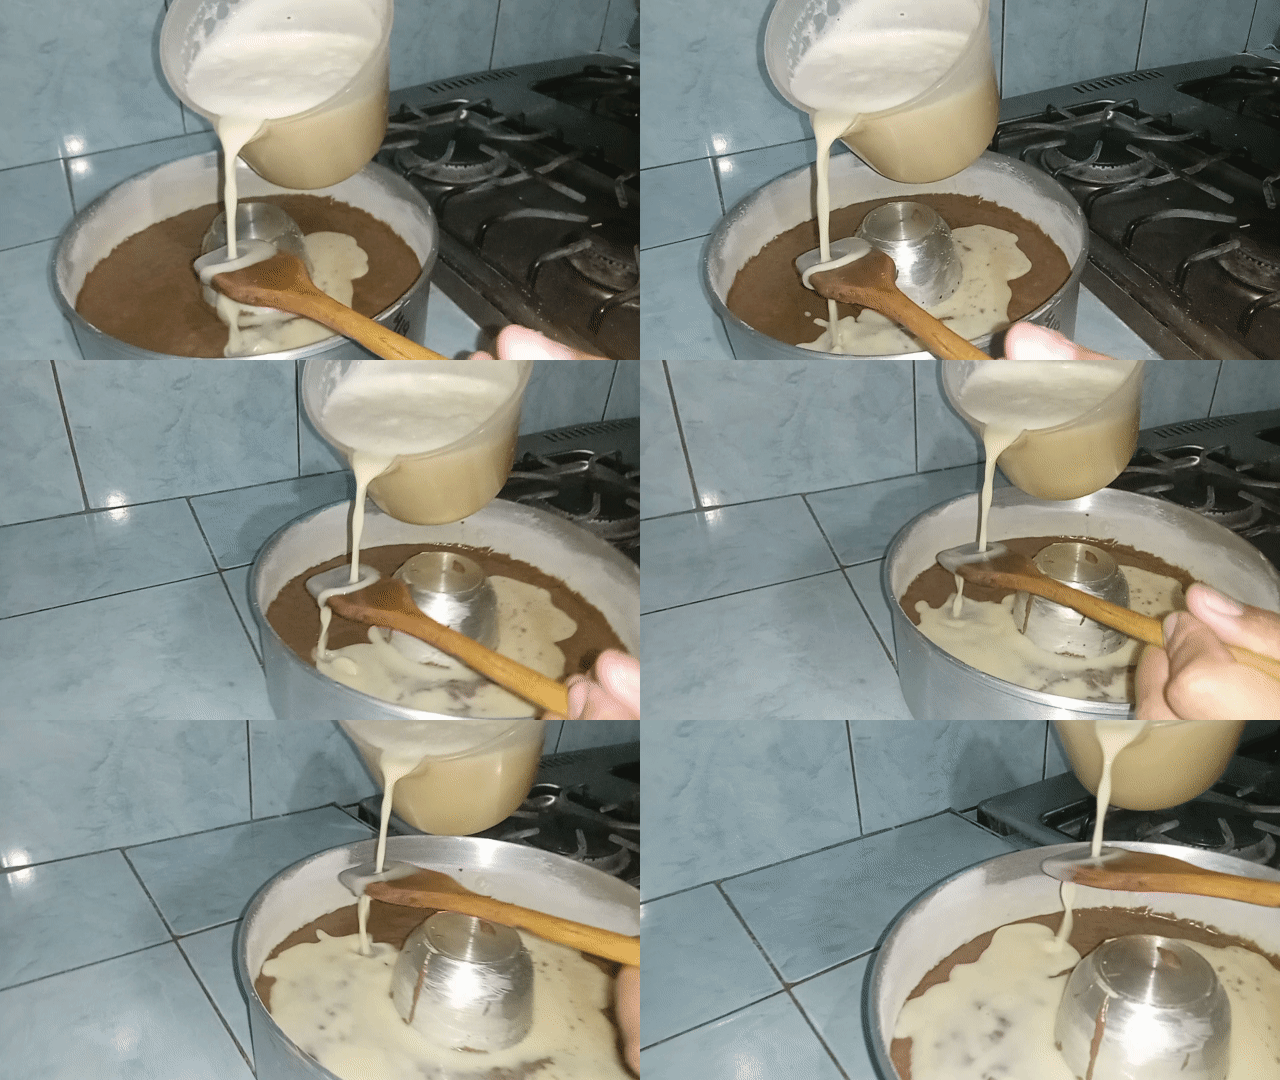
Una vez colocamos nuestra mezcla de Flan poco a poco ella irá bajando hasta el fondo del molde dentro del horno.
Colocamos nuestro molde sobre uno más grande con agua caliente y lo llevamos al horno por 1 hora. Se debe cocinar a 180°.
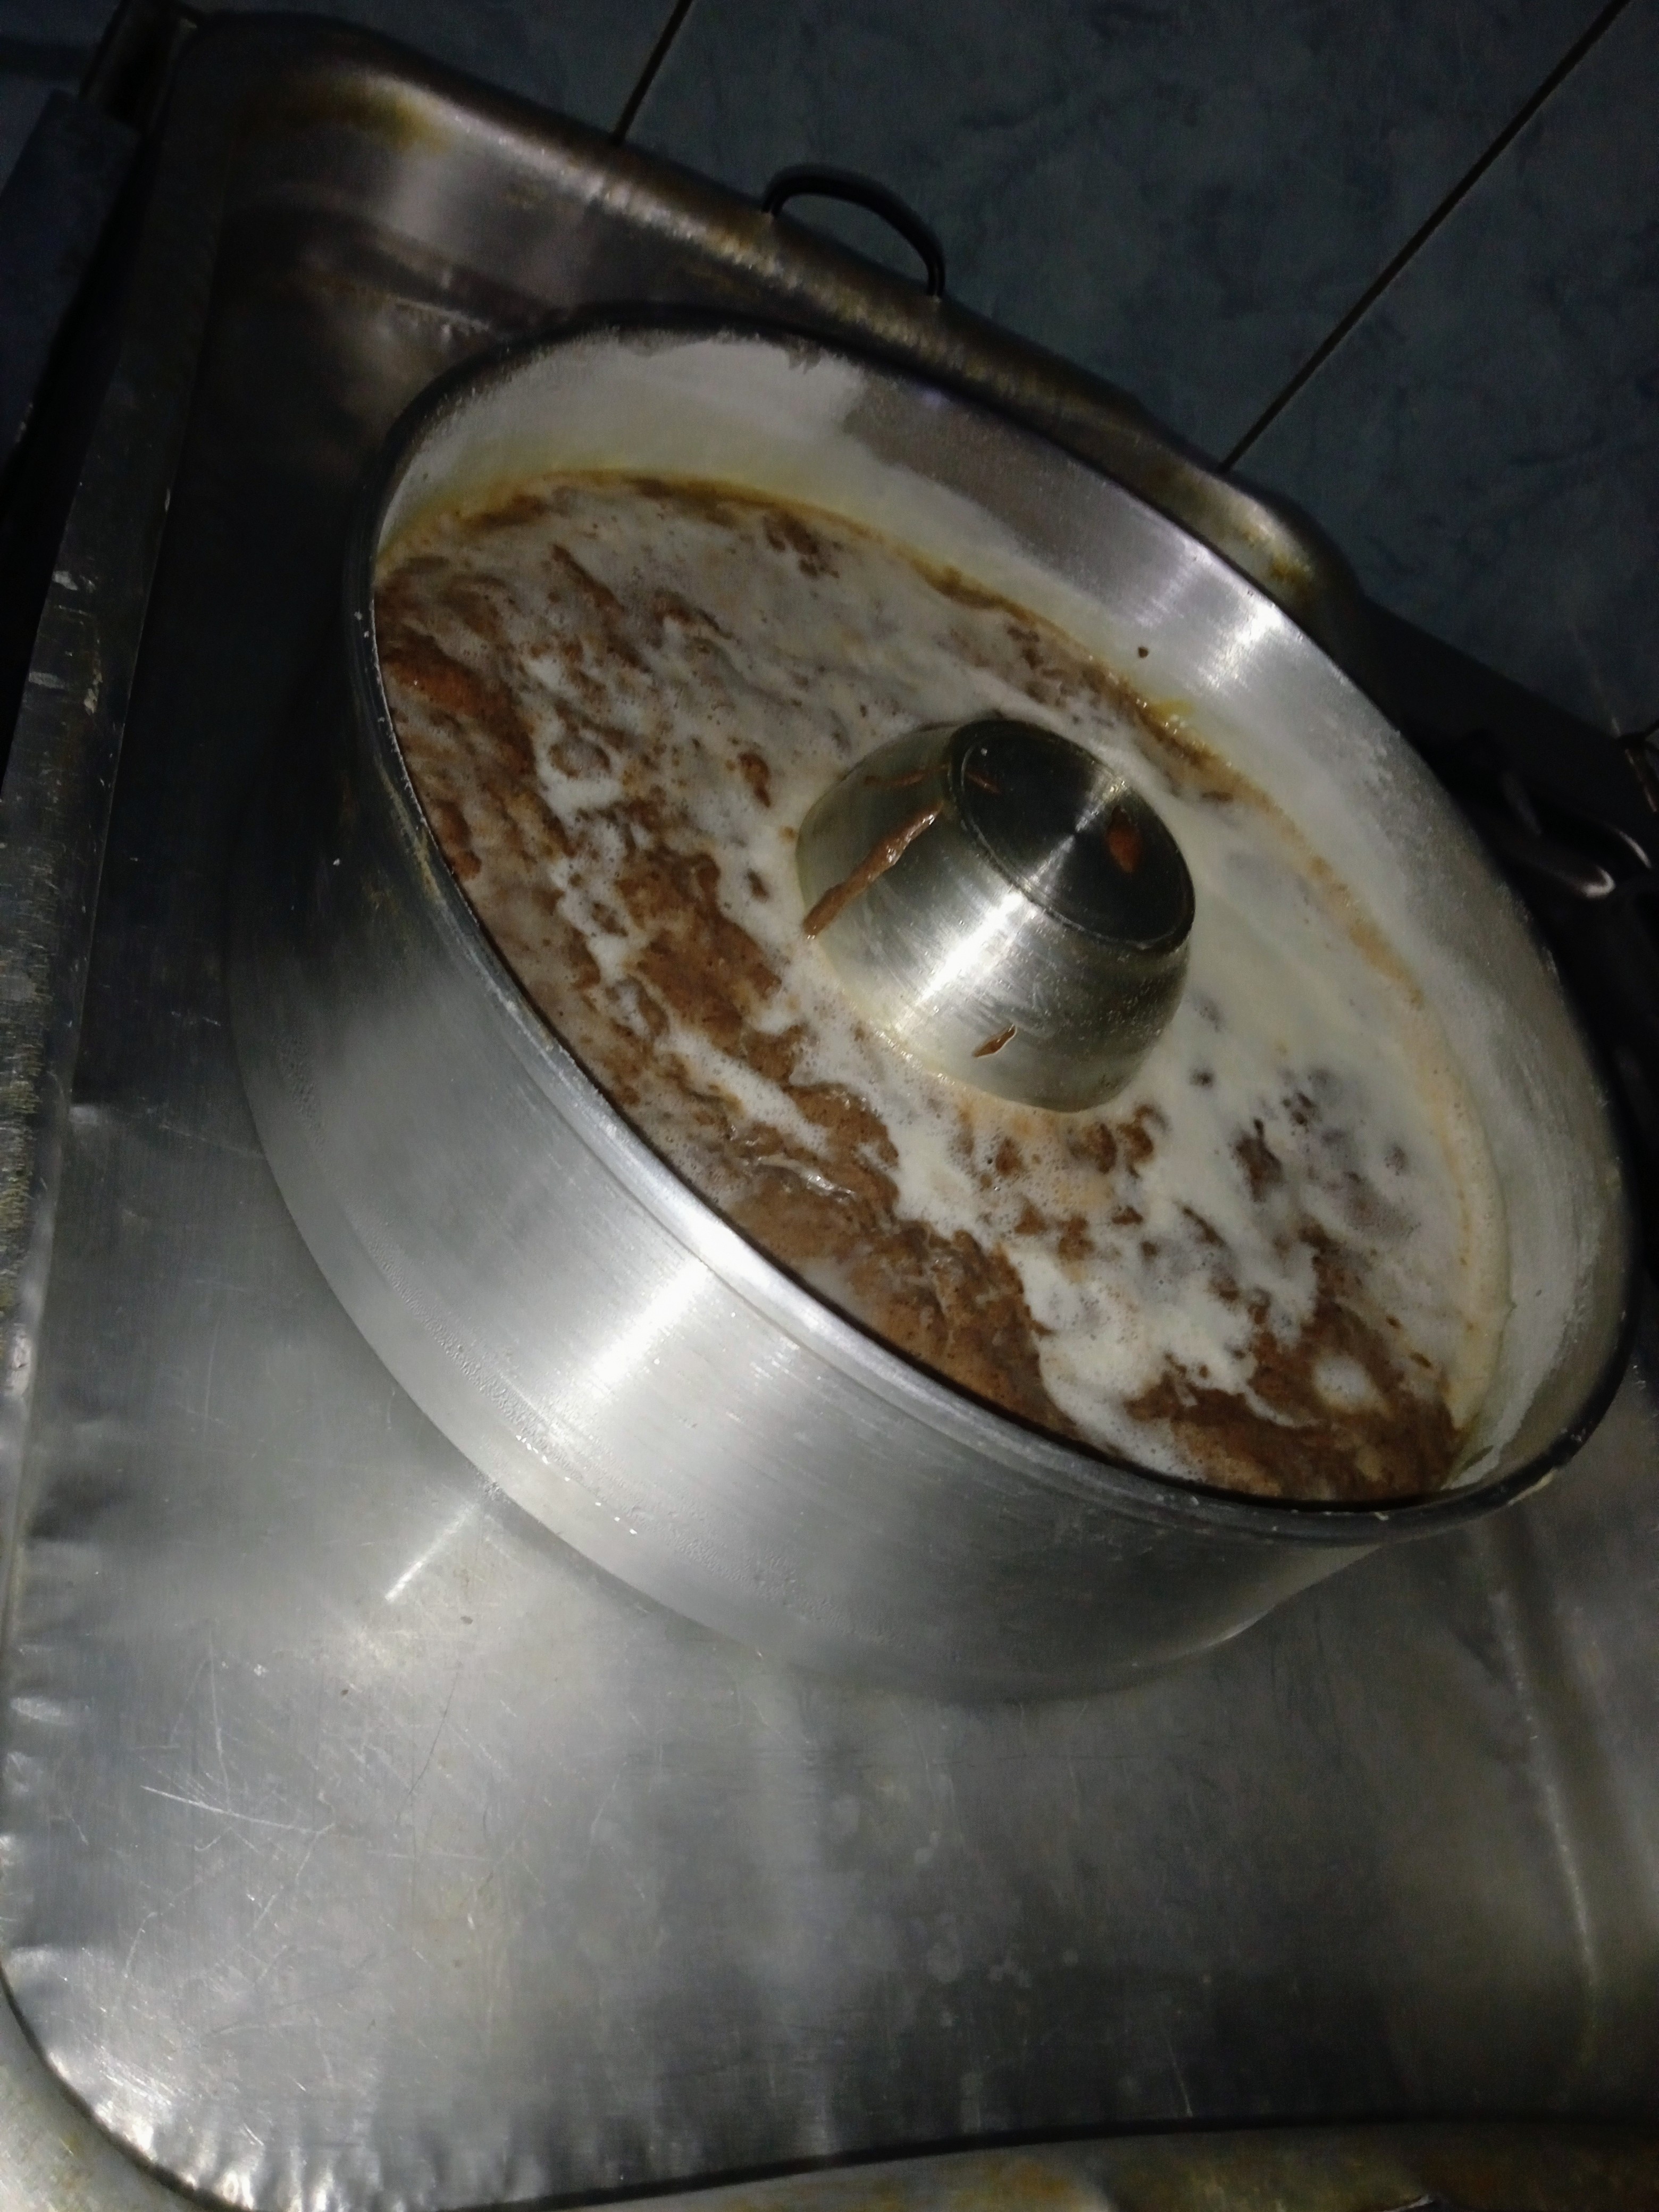
El pastel está listo cuando lo pinchas con un palillo en la parte del chocolate y que salga un poquito con mezcla. Ese es el punto exacto para una torta de chocolate
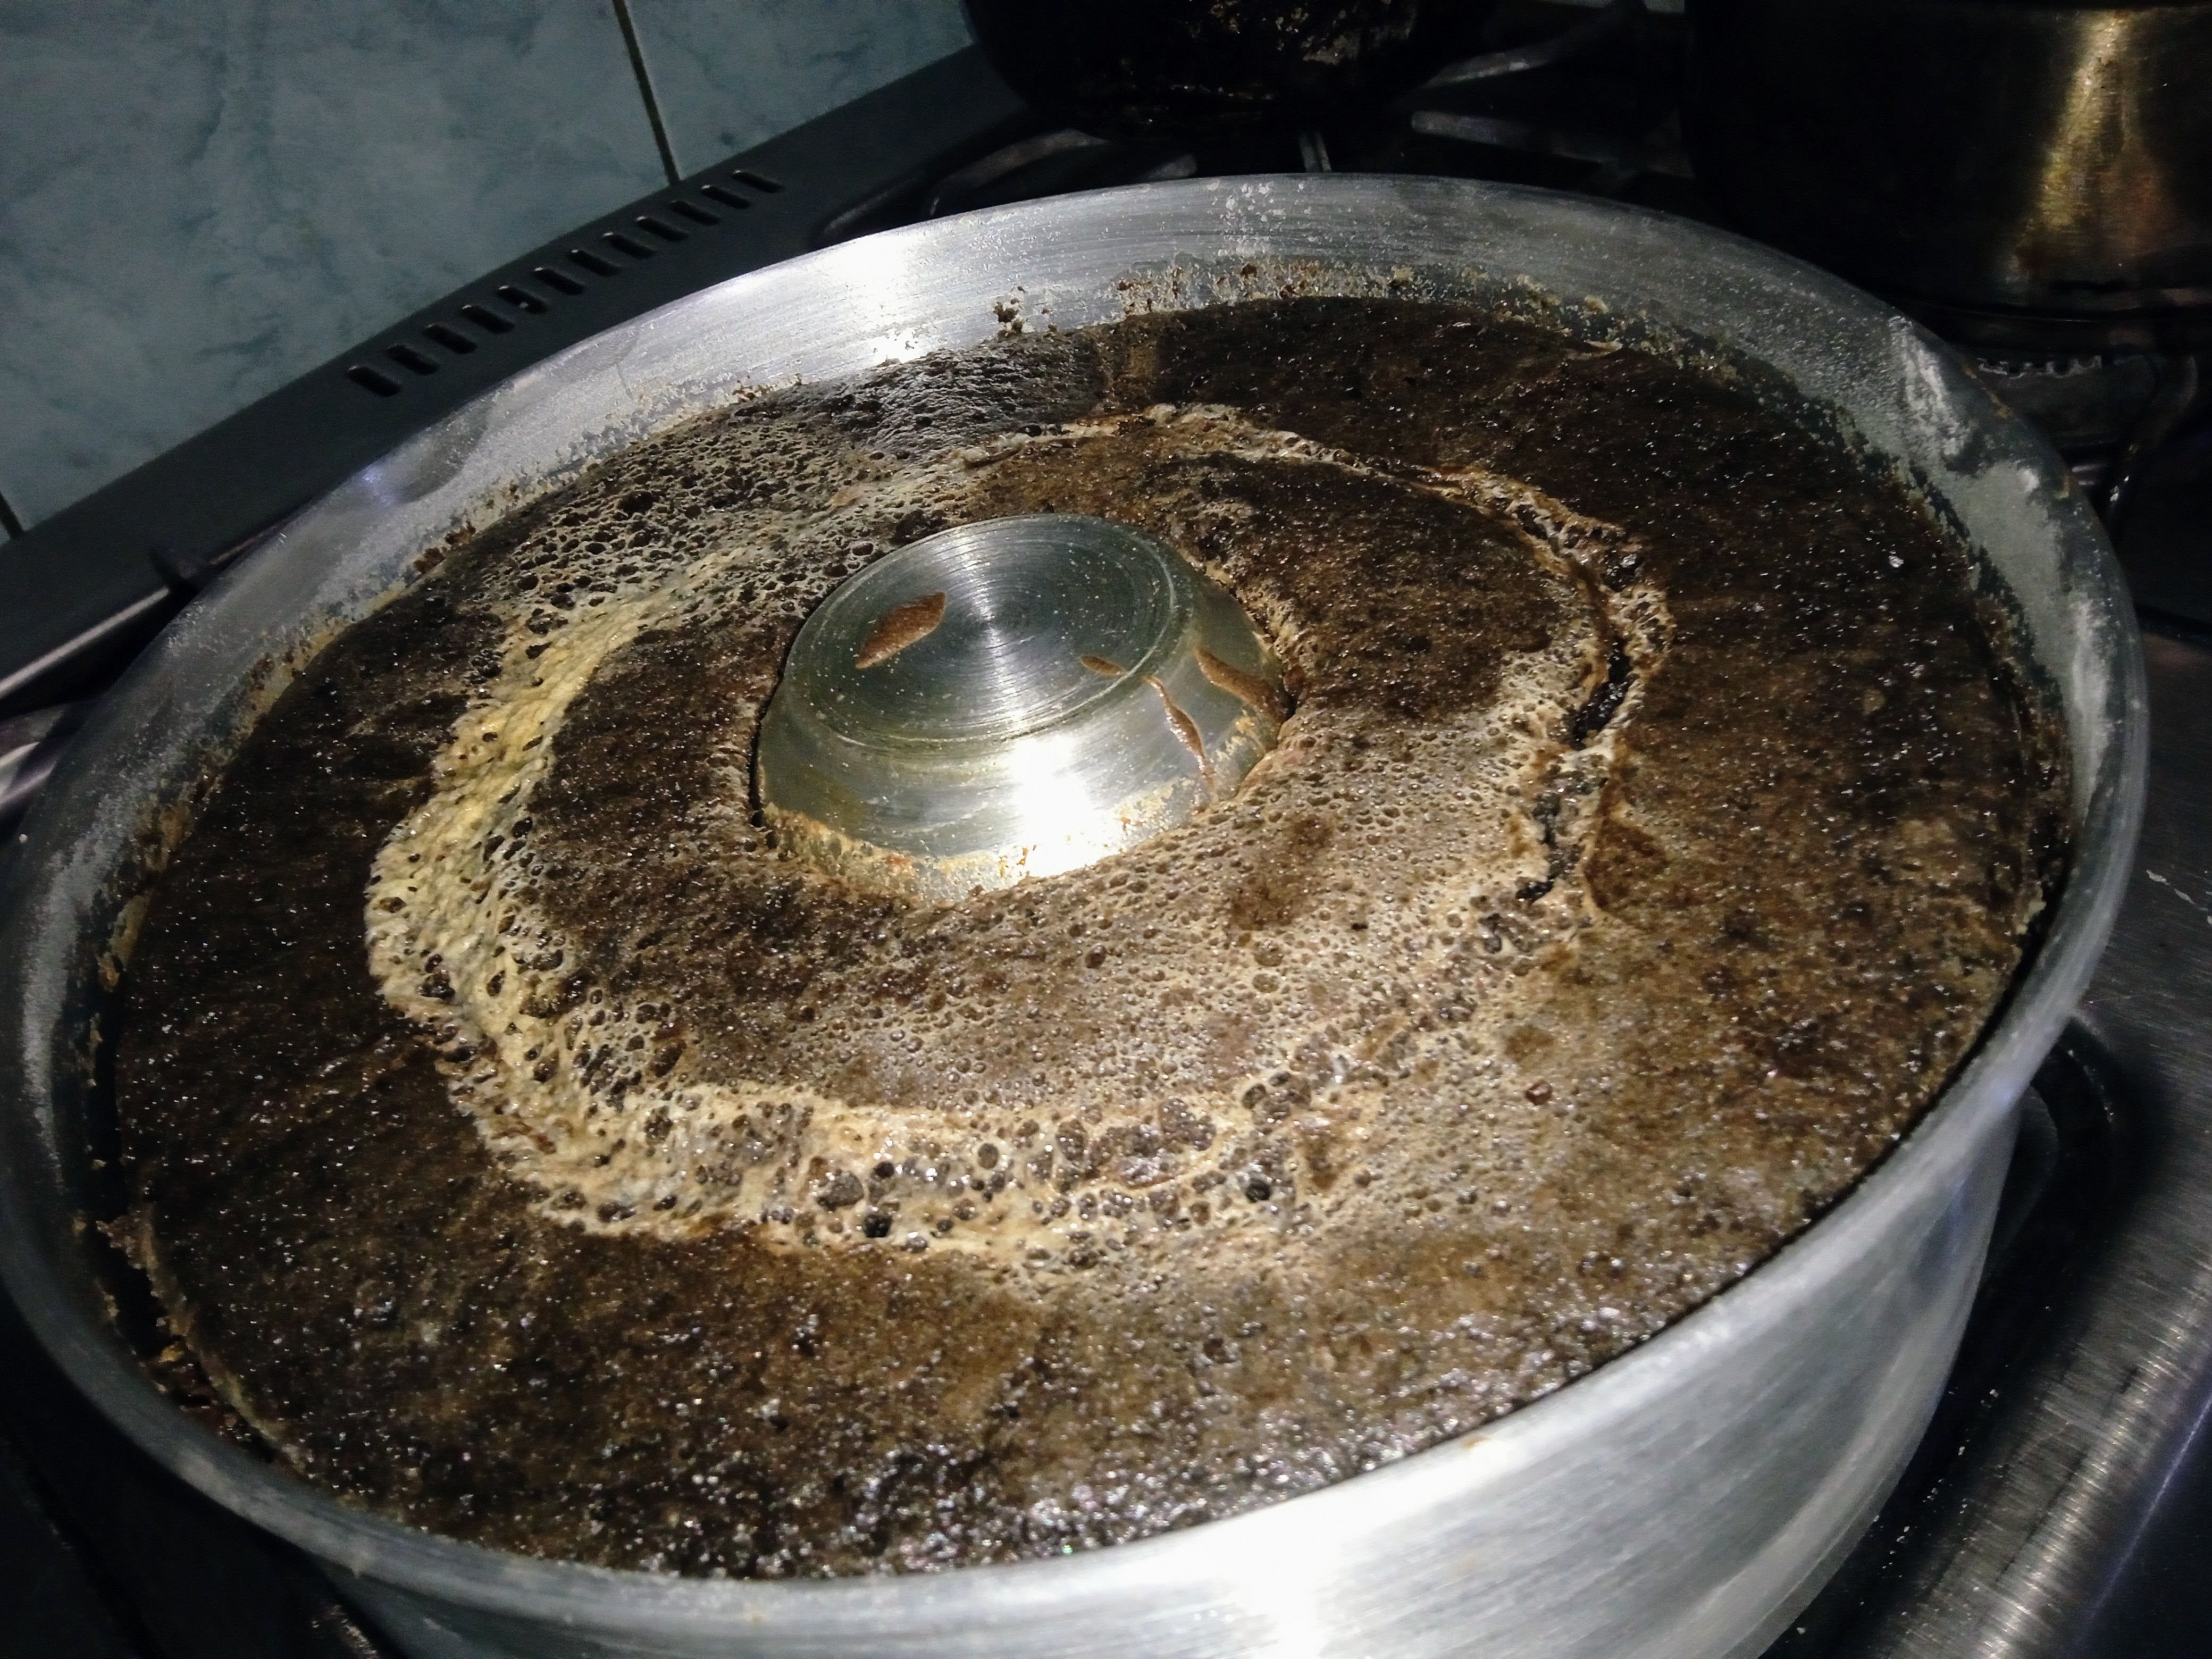
Debemos dejar reposar el pastel así que lo dejamos en el molde hasta que tenga temperatura ambiente, luego lo llevamos a la nevera para que el flan se enfríe y tome una consistencia más sólida (si volteamos recién salido del horno existe el riesgo de que el flan se desmorone).
Una vez el pastel esté frío lo colocamos sobre la estufa a baja llama para que el caramelo vuelva a su estado liquido y se pueda despegar (cuando movamos el pastel y este genere movimiento es señal de que el caramelo ya se despegó). Luego de esto volteamos.
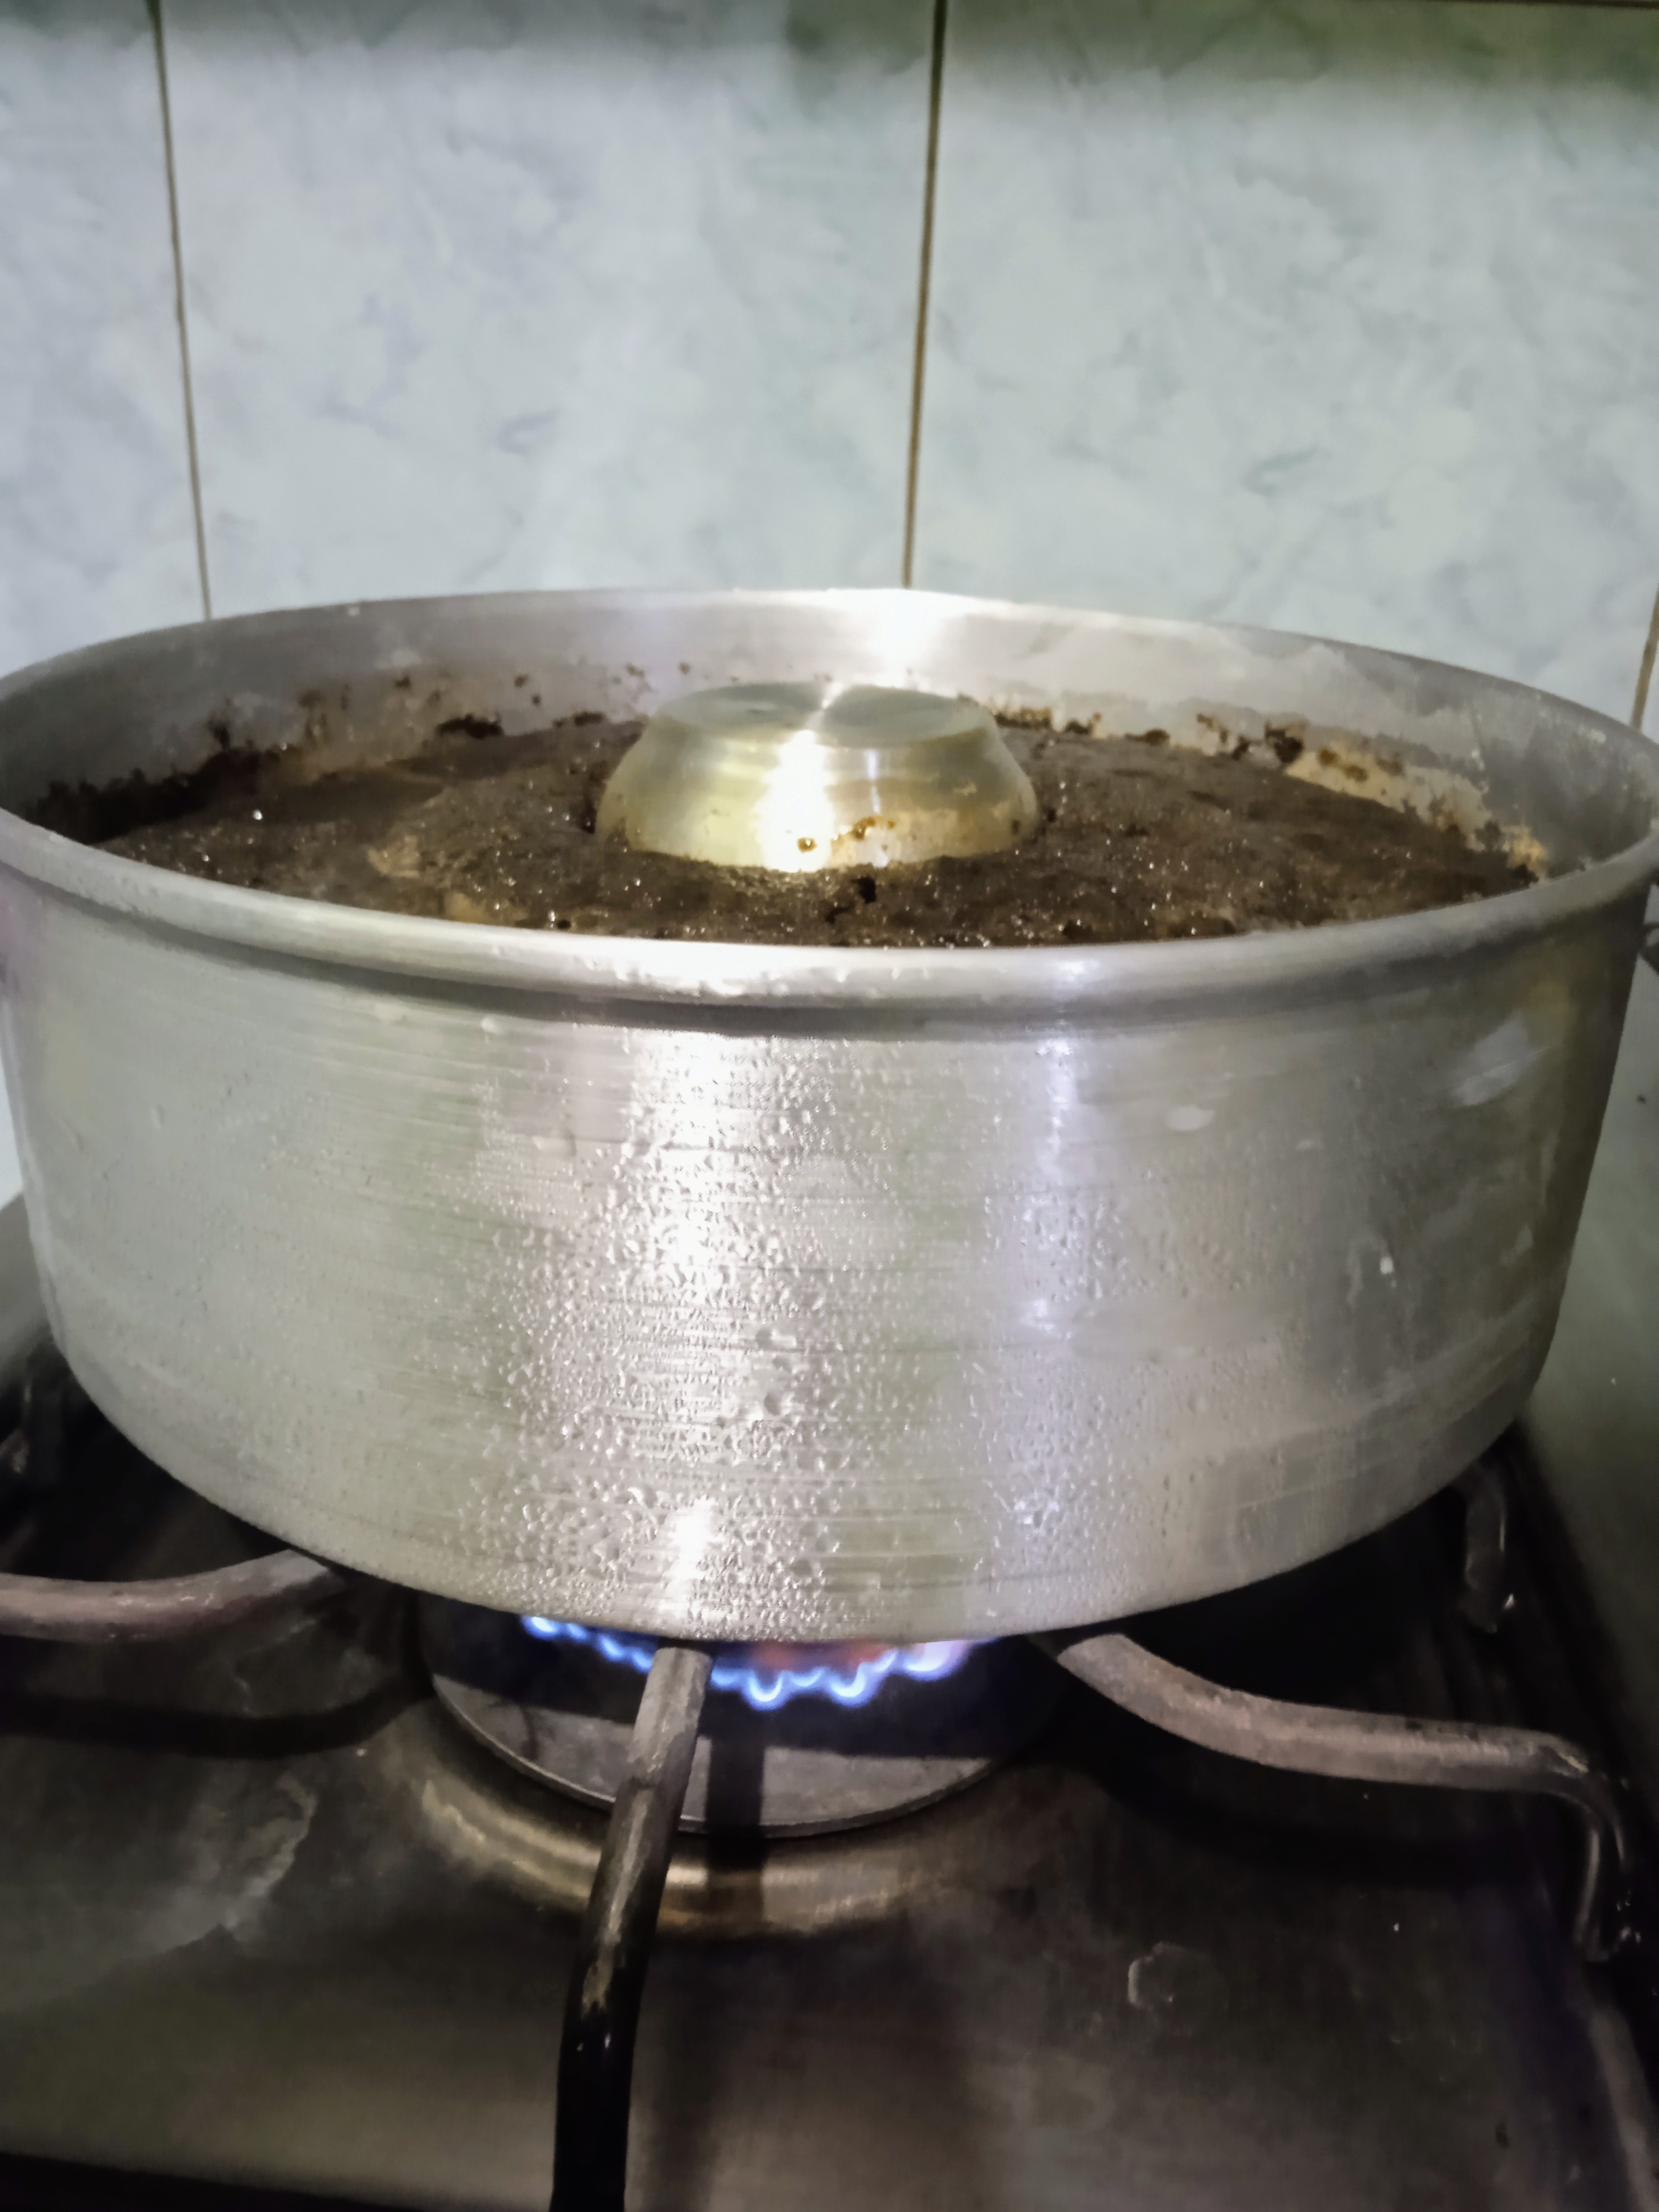
Y ahora sí nuestro pastel está listo 🥰
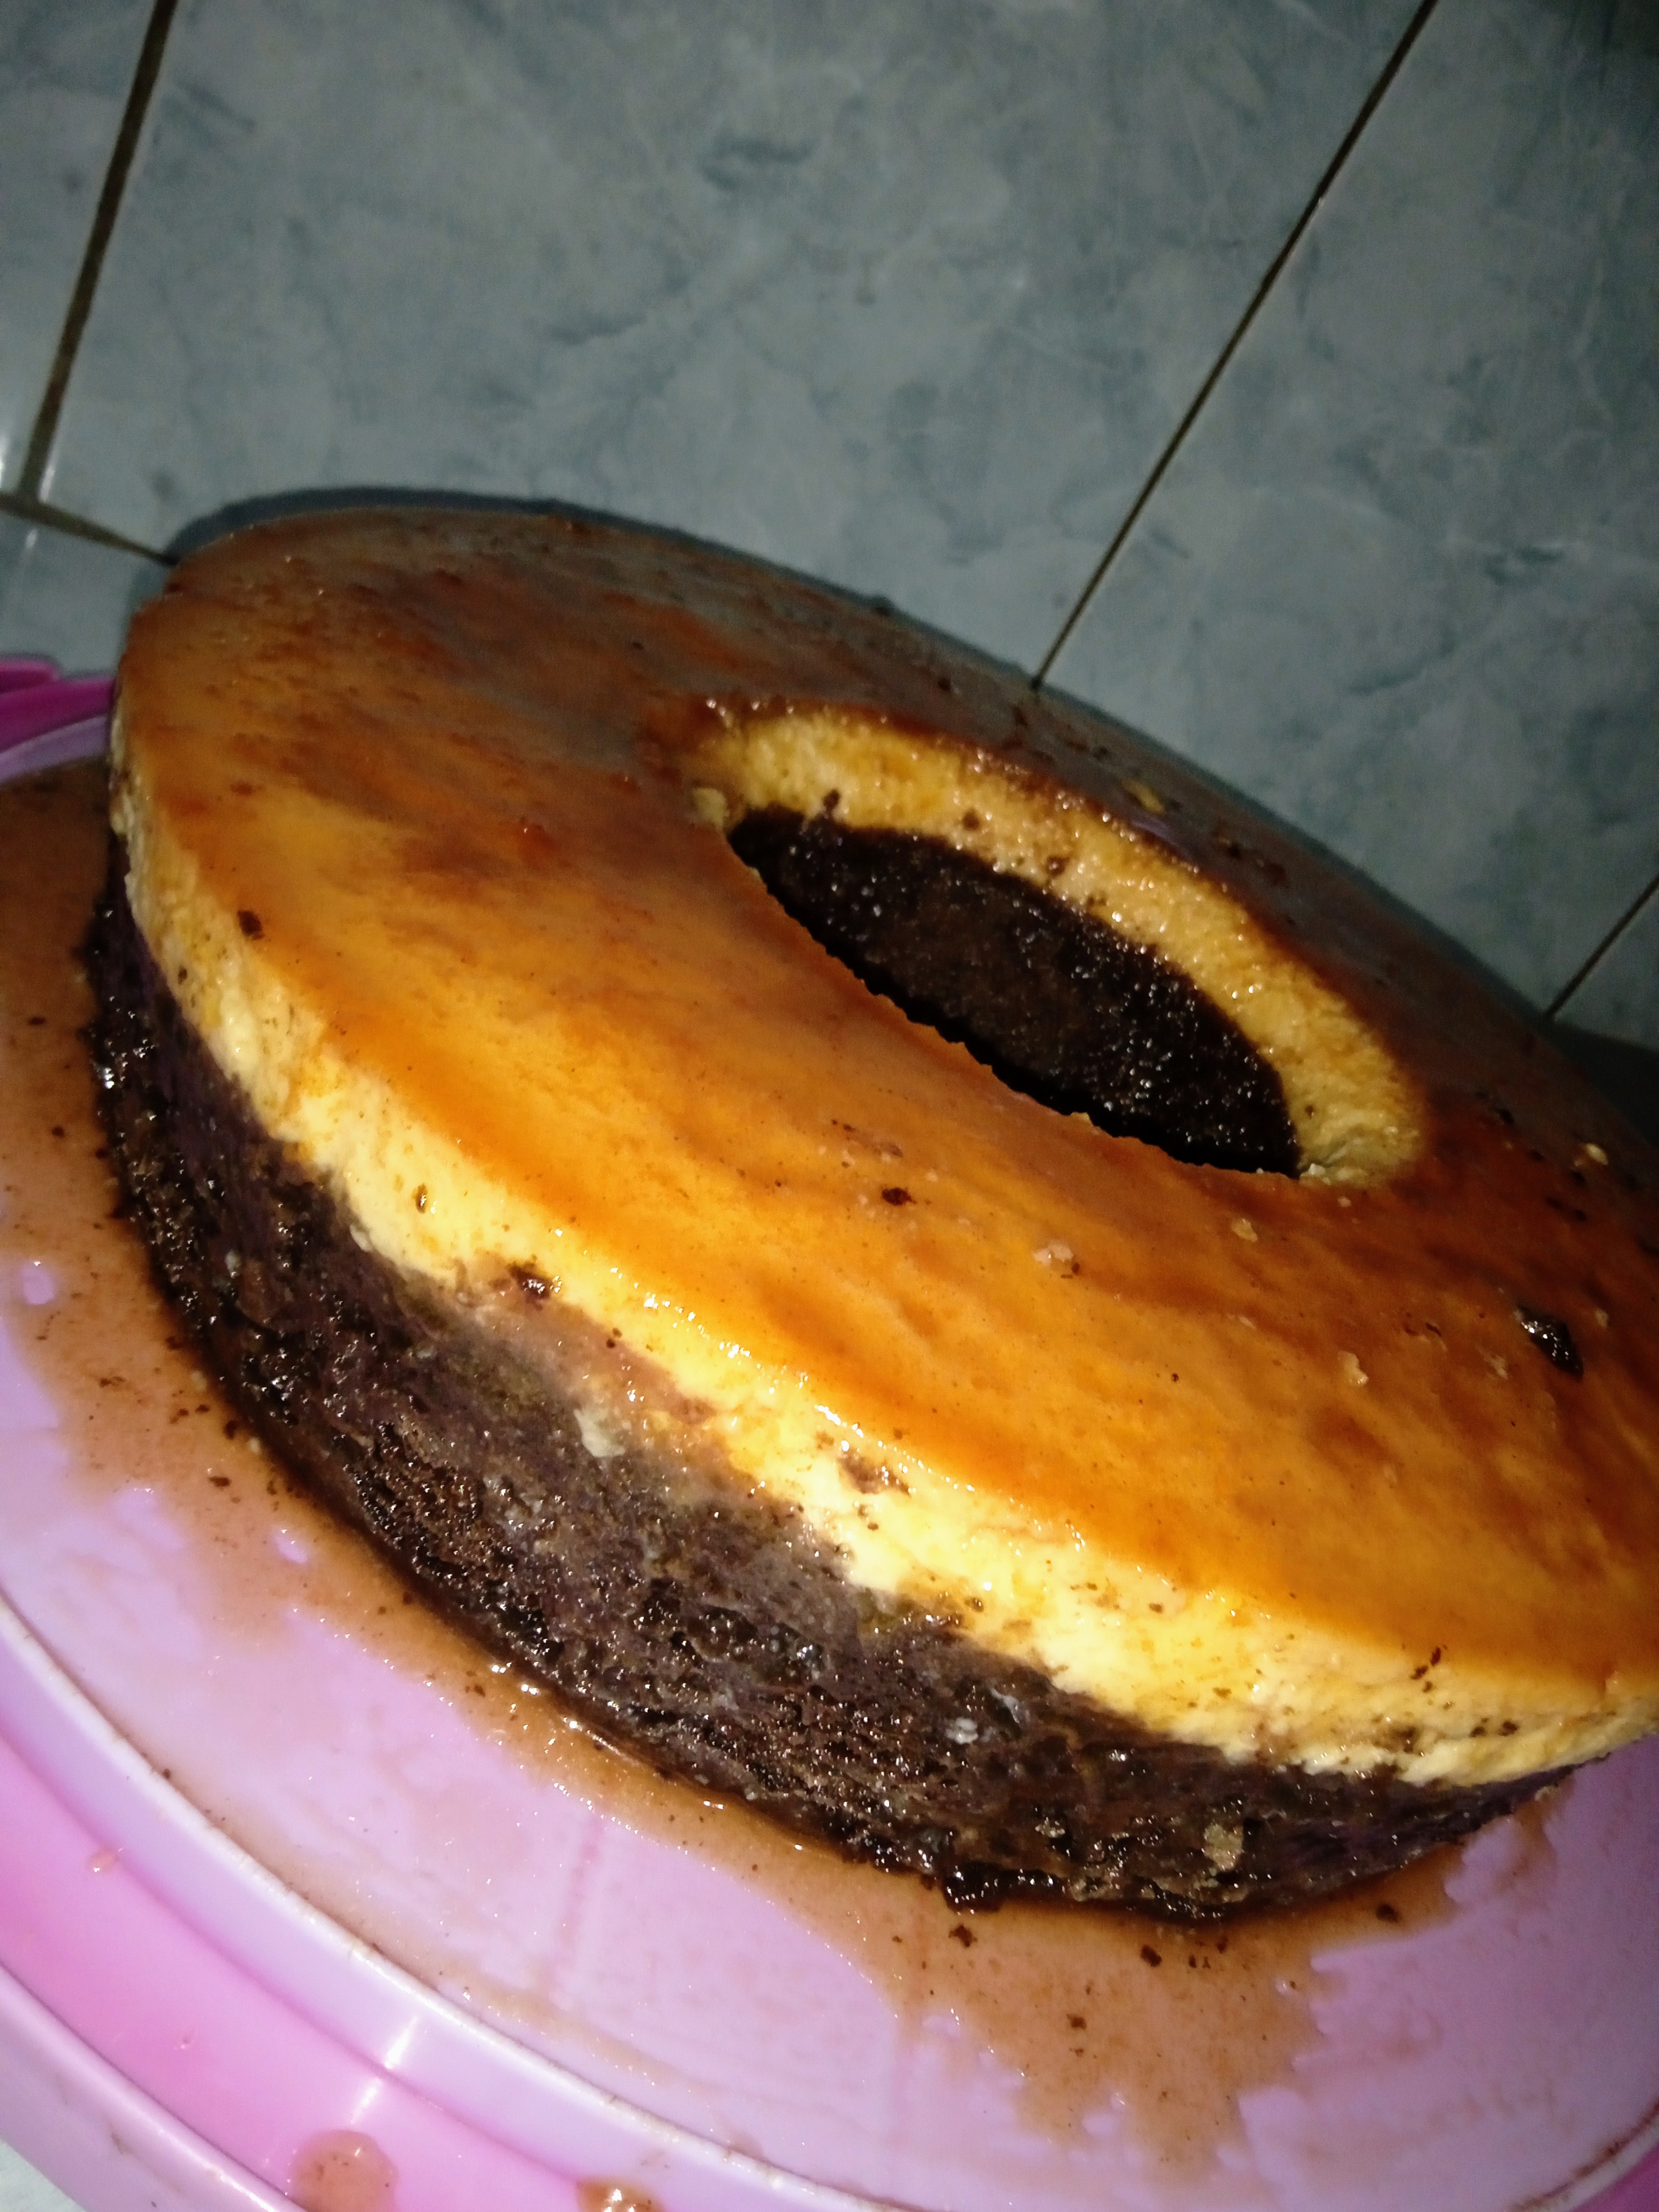
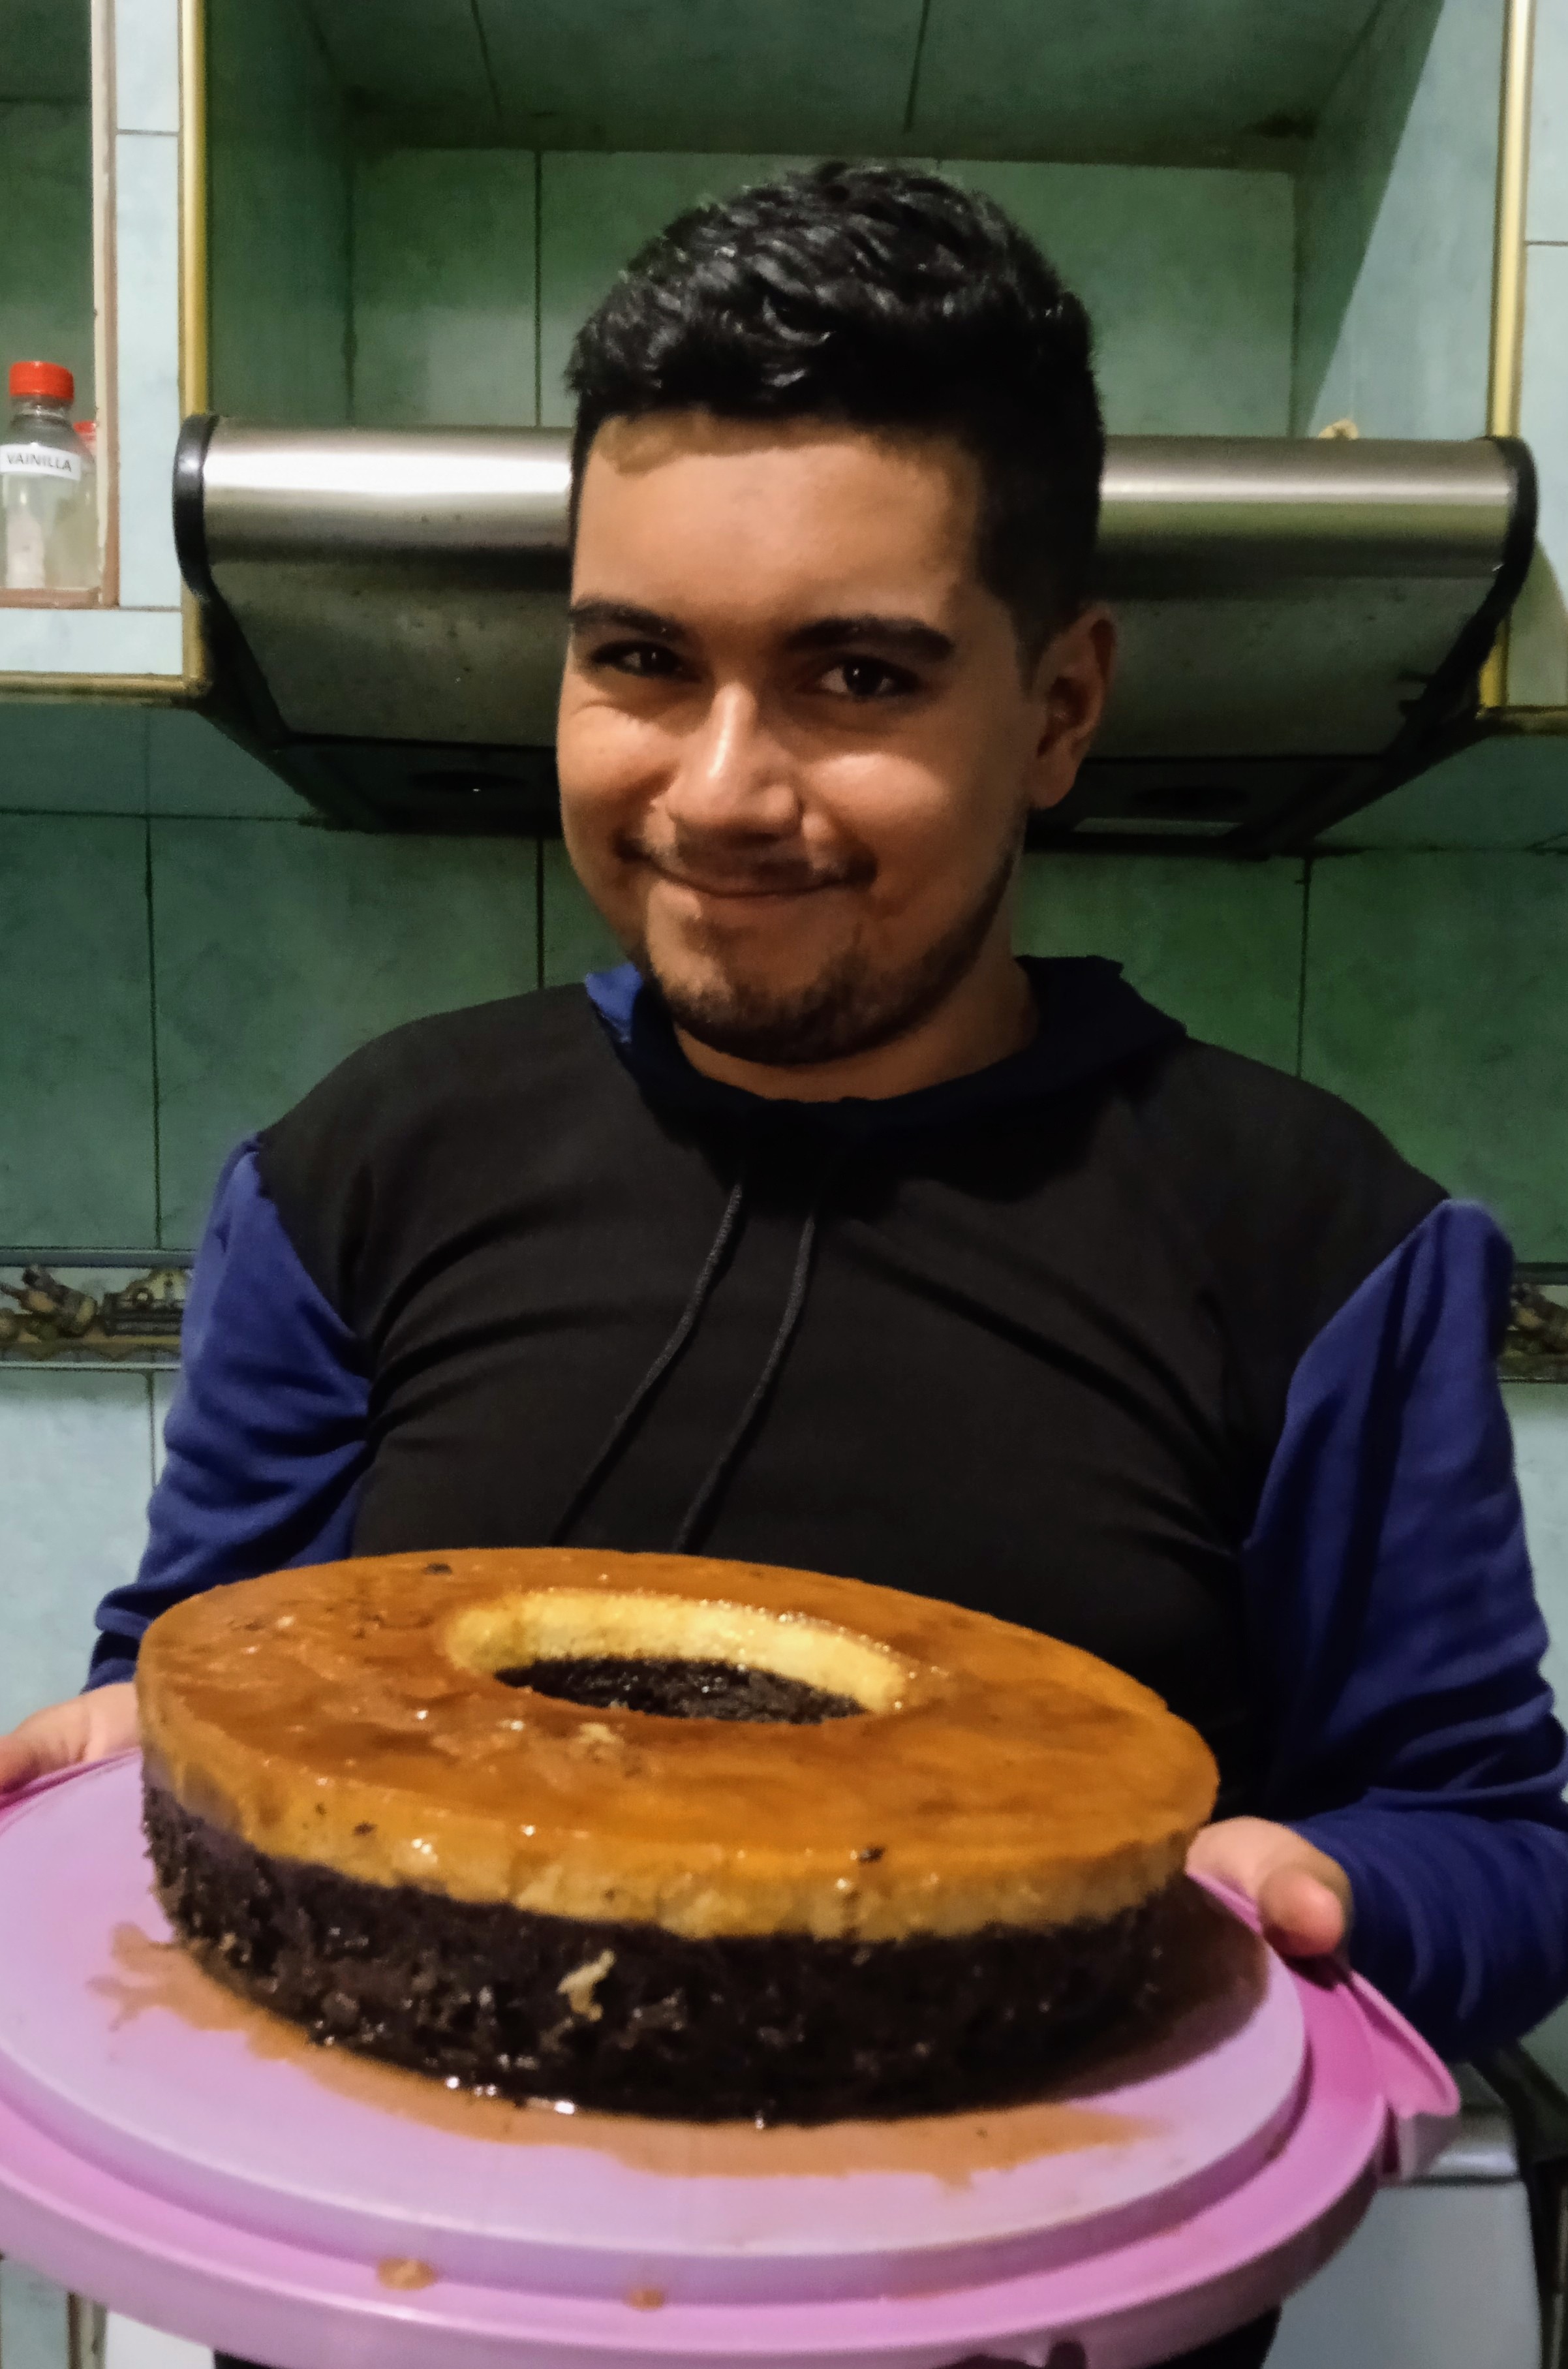
Procedemos a picar y así luce mi preparación

*En cuanto a la preparación les diré que así sale del horno ya que el flan es una mezcla mas pesada que la torta de chocolate. Gracias a esto el flan baja y la torta sube y al voltear obtenemos este resultado. Yo recomiendo consumir fría, así sabe más rico 🥰🤩
Las fotografías fueron captadas desde mí Redmi 9A
Muchas gracias por leerme 🤩🥰, bendiciones para todos

Greetings Hive friends I hope you are very well
Today I want to share with you a delicious recipe that here in Latin America is called Choco Flan or impossible cake 😱🤩. It is a preparation that includes moist chocolate cake and vanilla flan, as well as a spectacular caramel.

For this publication I will teach you how to make a liquid caramel, homemade flan (in Venezuela it is called quesillo) and a moist chocolate cake. I hope you like my post 🥰😉
For the Caramel
Need
- 250gm of sugar
- 150 gm of water
- 1/2 teaspoon vinegar or lemon (this will keep it more liquid)

Preparation
We will make the caramel directly from the mold where we plan to cook our Chocoflan. In my case I used a mold called "sabarina" or volcano mold
In our mold we will place all our ingredients and take it to the kitchen at low flame until we obtain a light brown or Caramel color (important, do not move with metallic objects, preferably only move with the same mold)

Once our caramel obtains the desired color, we remove from the heat and that's it. (We must put aside to cool down)

For the Custard
Ingredients
- 200 gm of condensed milk
- 4 eggs
- 235ml of water
- 80g milk powder
- 50 gm of sugar
- 1 spoon of vanilla
- 1/2 tablespoon of cornstarch

In a blender we will place all our ingredients and let beat for two minutes

Then we simply place our flan over a pitcher while we continue with the next part of the recipe.

For the moist chocolate cake
Need
- 180 gm self-rising wheat flour
- 50gm of cocoa powder
- 200 gm of sugar
- 120ml of buttermilk (you can use sour milk)
- 150 gm of margarine with salt
- 4 eggs
- 1 spoon of vanilla

Preparation
First of all we must unite the dry ingredients and sift them to avoid lumps. We will do this with the help of a strainer

On the other hand, on a bold, place the margarine and the sugar and beat it well until you get a smooth and whiter mixture (this can be done with the help of a whisk or a paddle)

After mixing well, we add half of our flour and mix gently with the help of a palette

Then we pour the eggs and the vanilla essence and mix gently

Then add the buttermilk and continue mixing with enveloping movements

And finally add the rest of the flour and continue mixing without leaving lumps

Mix well and this is how our chocolate mixture will look

Once the mixture is ready we can assemble our cake
Cake assembly process
On our mold with previously greased caramel we first pour the chocolate cake mixture. Then with the help of our wooden palette we gently pour the flan mixture

Once we place our Flan mixture little by little it will go down to the bottom of the mold inside the oven.
We place our mold on a larger one with hot water and take it to the oven for 1 hour. It should be cooked at 180°.

The cake is ready when you stick a toothpick into the chocolate part and a little bit of mixture comes out. That is the exact point for a chocolate cake

We must let the cake rest so we leave it in the mold until it reaches room temperature, then we take it to the fridge so that the flan cools and takes on a more solid consistency (if we turn it just out of the oven there is a risk that the flan crumbles).
Once the cake is cold, we place it on the stove at low flame so that the caramel returns to its liquid state and can be detached (when we move the cake and it generates movement, it is a sign that the caramel has already detached). After this we turn.

And now our cake is ready 🥰


We proceed to chop and this is what my preparation looks like

*Regarding the preparation, I will tell you that this is how it comes out of the oven since flan is a heavier mixture than chocolate cake. Thanks to this the flan goes down and the cake goes up and when turning we obtain this result. I recommend consuming cold, that way it tastes better 🥰🤩
The photographs were taken from my Redmi 9A
This was wonderful! Definitely a yummy recipe.
Hola amigo, vaya, he estado haciendo mis esfuerzos por disminuir el consumo de azúcar, pero así, con esta receta que se ve tan bien es bastante complicado alejarse del dulce je je je
Muy buena explicación, sin dudas que es un gran tutorial, una muy buena receta, que es difícil no hacerla guiándose con lo que nos has compartido. SALUDOS.
Oh por Dios, morí con las fotos del resultado final. Confieso que aun no me he atrevido a prepararla pero con la receta que nos comparte amigo lo intentare.
Excelente preparación. Bendiciones.🤗