🍰 Hola amigos amantes de la comida, Espero hayan tenido un lindo día. 🍰
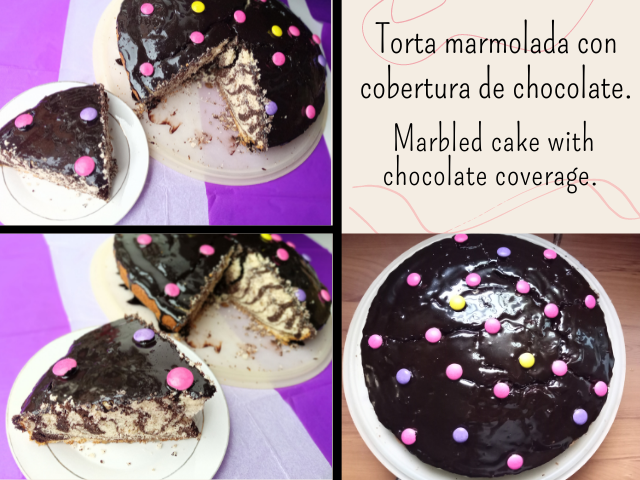
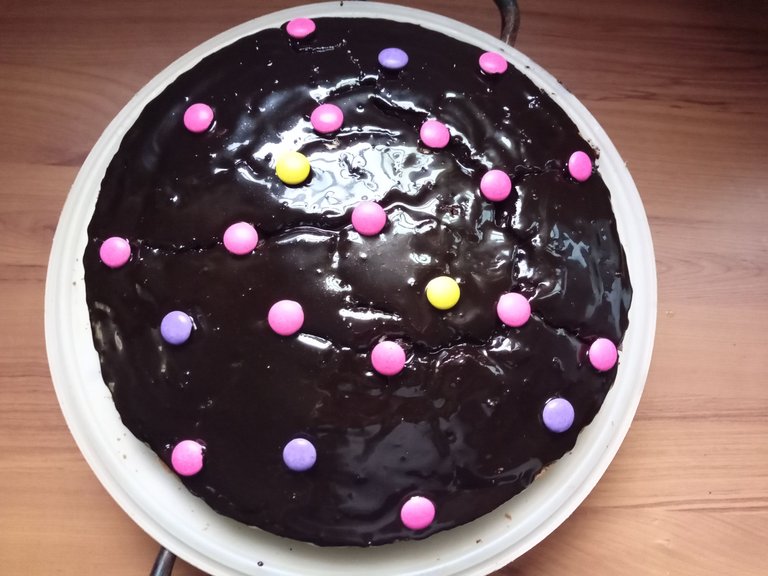
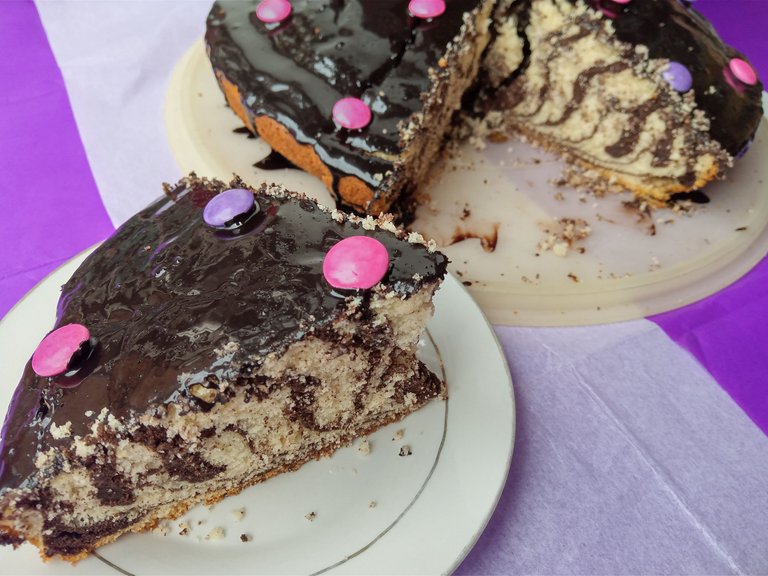
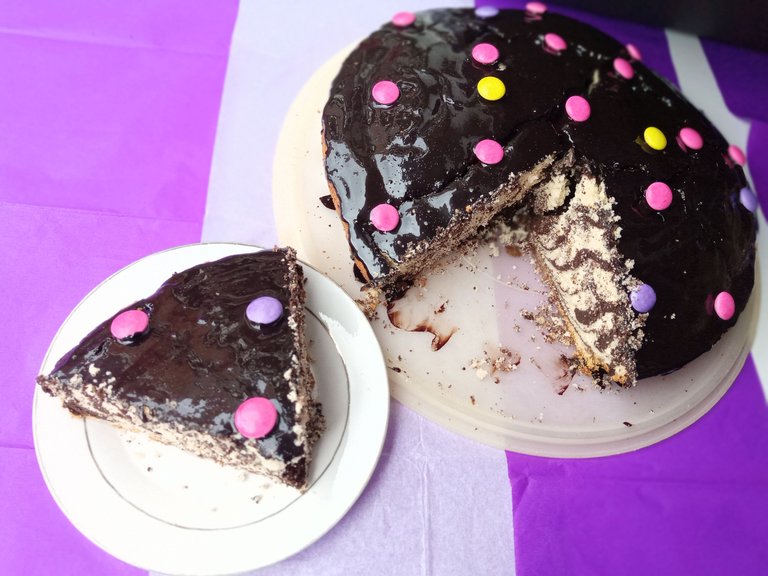
El día de hoy traigo una deliciosa torta marmolada, en esta ocasión yo le agregue una cobertura de chocolate, tú puedes agregar azúcar glass, chocolate derretido, lluvia de colores o lo que gustes. Esta torta la preparé para mi cumpleaños que fue el día domingo 29 de mayo y a mis familiares les gusto bastante, pensé que quizá era una buena idea compartir la receta con ustedes ya que, no he preparado para ustedes esta receta de torta marmolada anteriormente. Muchas personas creen que es complicada pero la verdad es muy fácil de hacer, es como hacer un bizcocho normal, solo se trata de agregar cacao a la mitad de la preparación.
🔻Si quieres saber cómo la preparo, a continuación te dejo el paso a paso.🔻
🍰Hello food loving friends, I hope you had a nice day.🍰
Today I bring a delicious marble cake, this time I added a chocolate coating, you can add icing sugar, melted chocolate, colored rain or whatever you like. I prepared this cake for my birthday, which was on Sunday, May 29, and my relatives liked it a lot. I thought it might be a good idea to share the recipe with you, since I have not prepared this marbled cake recipe for you before. Many people believe that it is complicated but the truth is that it is very easy to make, it is like making a normal sponge cake, it is only about adding cocoa halfway through the preparation.
🔻If you want to know how I prepare it then I leave you the step by step.🔻
♥️Espero les guste. ¡Comencemos!
♥️I hope you like it. Let's get started!

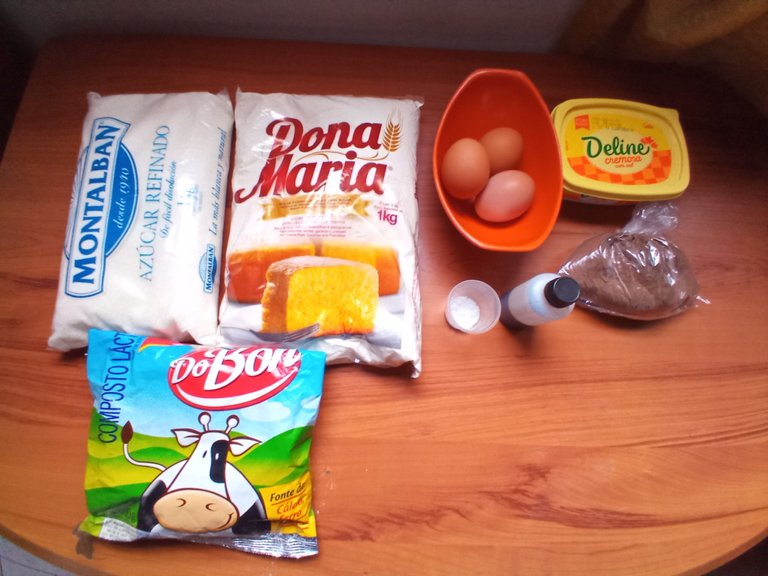
🍶 INGREDIENTES | 🍶 INGREDIENTS

- 5 tazas de harina de trigo (con o sin leudante)
- 1 taza y ½ de azúcar.
- ½ litro de leche líquida.
- ½ taza de cacao en polvo.
- 200 gramos de mantequilla.
- 3 huevos.
- 1 cucharadita de extracto de vainilla.
- Pizca de sal.
🍫Para la cobertura:
- 5 cucharadas de cacao en polvo.
- ¼ de taza de leche
- 3 cucharadas de azúcar.
- ½ cucharadita de mantequilla.
- 5 cups of wheat flour (with or without leavening agent)
- 1 and ½ cup of sugar.
- ½ liter of liquid milk.
- ½ cup of cocoa powder.
- 200 grams of butter.
- 3 eggs.
- 1 teaspoon of vanilla extract.
- Pinch of salt.
🍫For the coverage:
- 5 tablespoons of cocoa powder.
- ¼ cup of milk
- 3 spoonfuls of sugar.
- ½ teaspoon of butter.


🍶 PREPARACIÓN | 🍶 PREPARATION

🔸En esta ocasión usé un batidor eléctrico de mano, para acelerar un poco el proceso, ustedes pueden utilizar una batidora, una cuchara de madera o lo que ustedes tengan al alcance.
🔸This time I used an electric hand mixer, to speed up the process a bit, you can use a mixer, a wooden spoon or whatever you have within reach.

- 1 PASO:
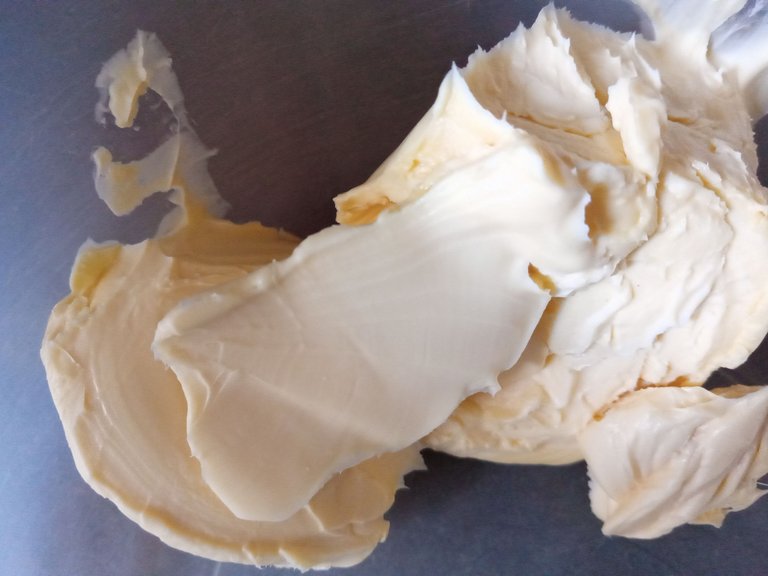
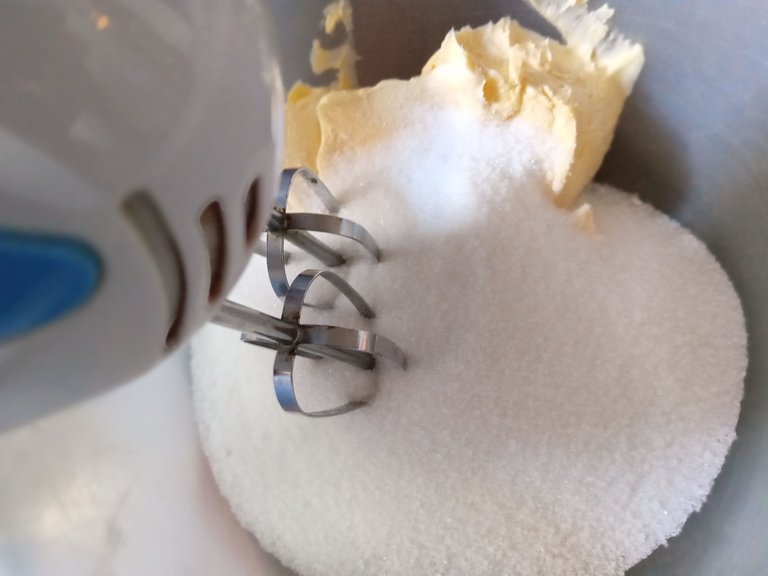
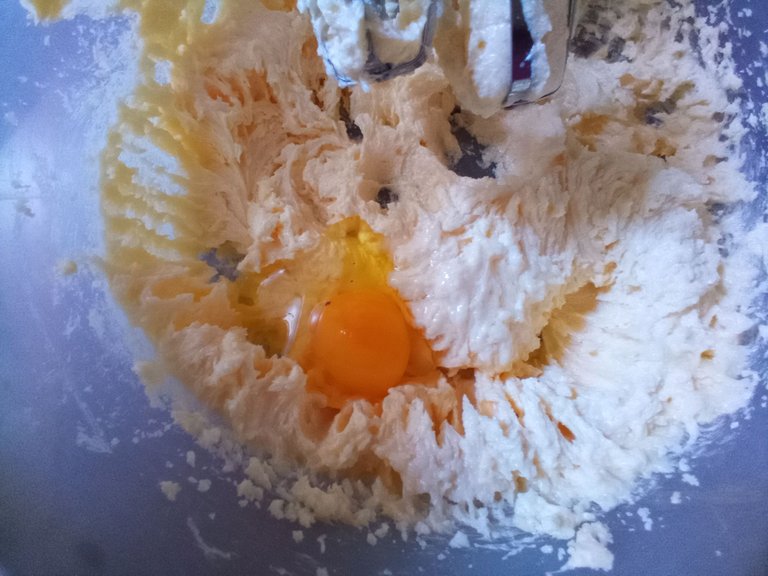
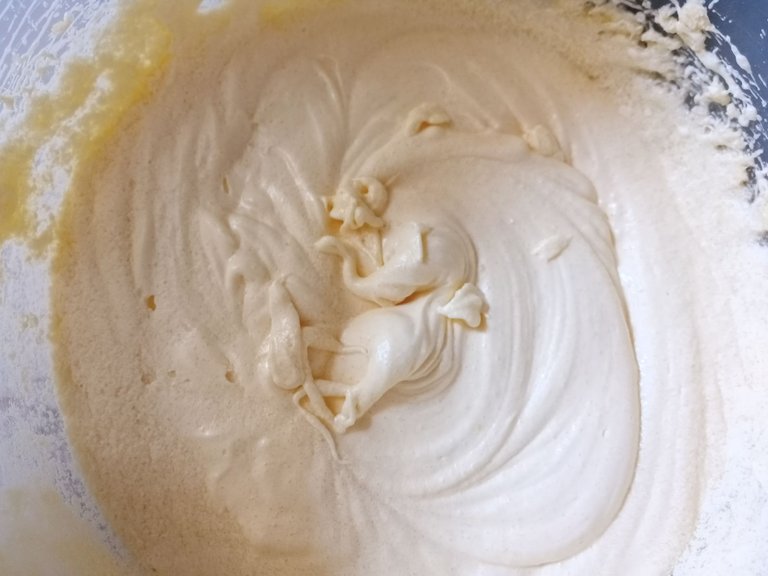
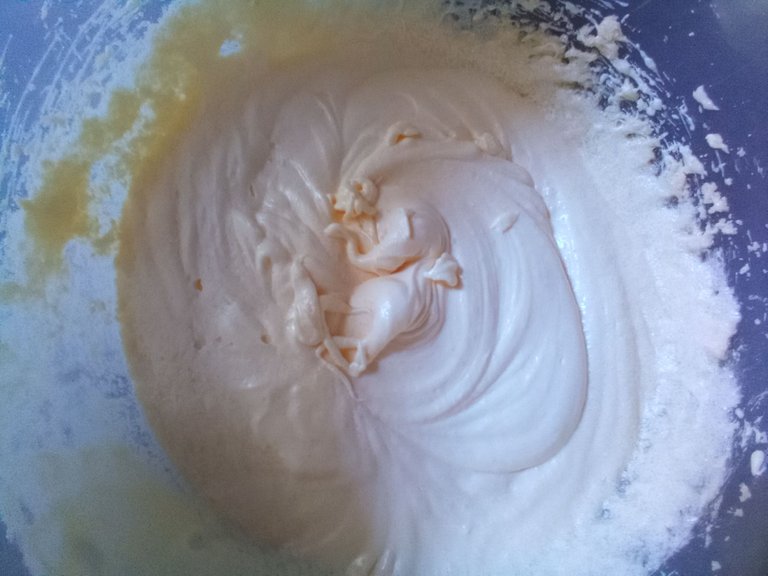
Comenzamos agregando a un recipiente; los 200 gramos de mantequilla y 1 taza y ½ de azúcar, batimos muy bien por unos minutos hasta que la mantequilla tome un color más blanco y obtengamos una consistencia más cremosa (esto ayuda a que el resultado final de nuestro bizcocho quede más esponjoso). Luego, agregamos de uno a uno los 3 huevos y nuevamente batimos por unos cuantos minutos.
- 1 STEP:
We start by adding to a container; the 200 grams of butter and 1 and ½ cups of sugar, beat very well for a few minutes until the butter takes on a whiter color, and we obtain a creamier consistency (this helps the final result of our cake to be more spongy) then add the 3 eggs one by one and beat again for a few minutes.


- 2 PASO:
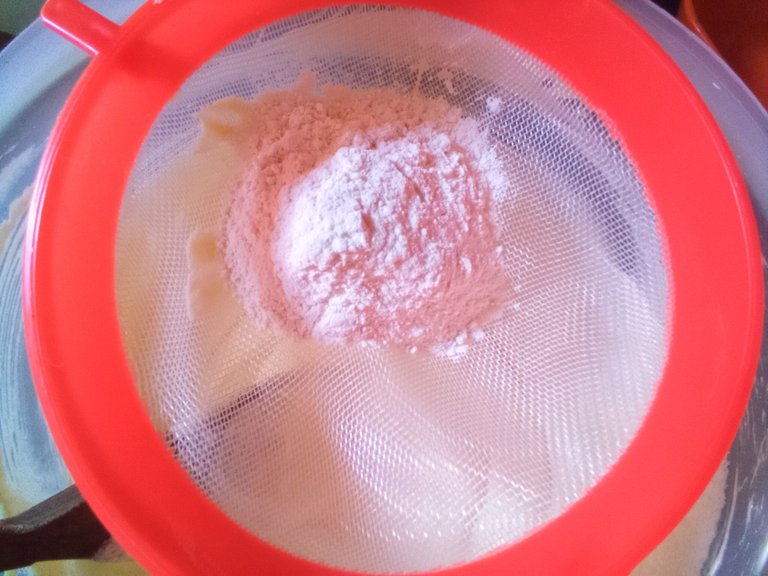
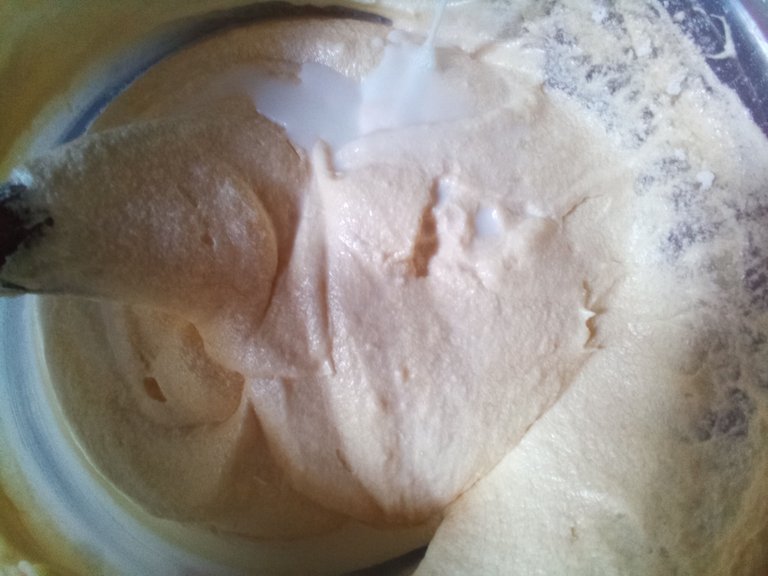
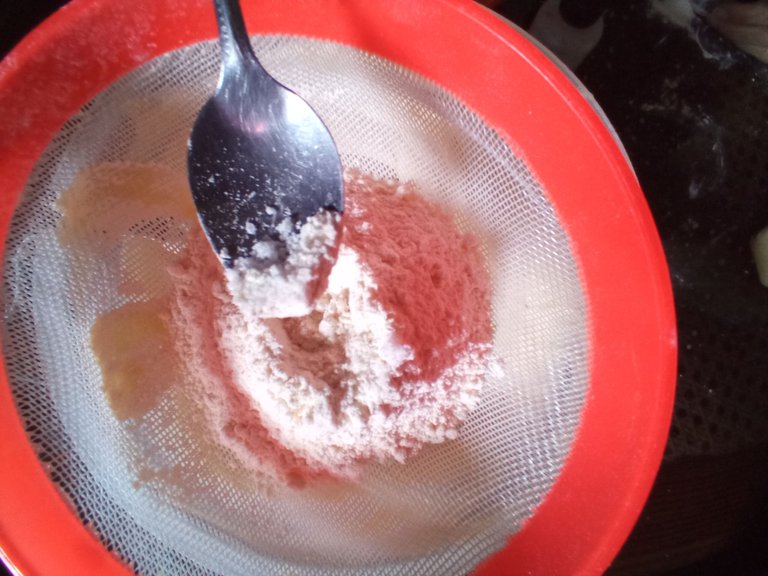
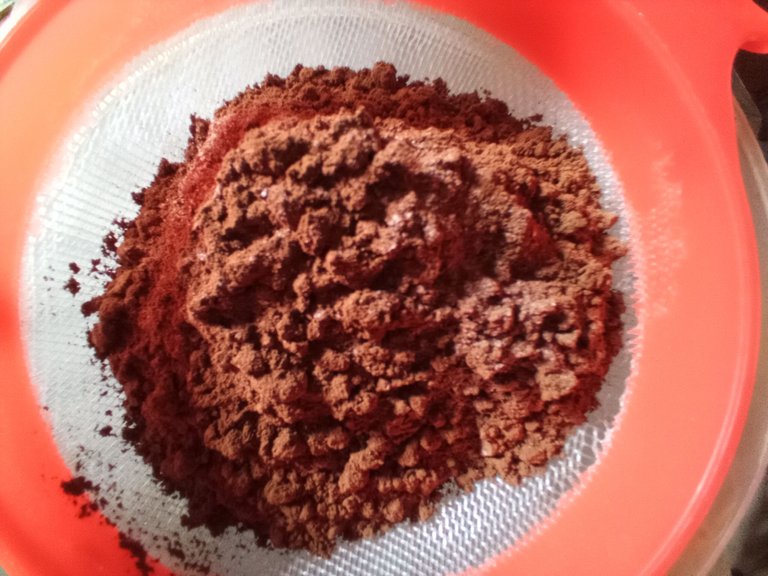
Una vez hecho esto, podemos continuar con la batidora eléctrica o con una cuchara de madera. Comenzamos a agregar las tazas de harina una a una (recuerden tamizar muy bien con ayuda de un colador, así evitaremos que se formen grumos en nuestra preparación) y vamos alternando con la leche líquida de la siguiente manera: tamizar un poco de harina, unir la preparación y luego agrega un poco de leche, hasta terminar con estos dos ingredientes.
- 2 STEP:
Once this is done, we can continue with the electric mixer or with a wooden spoon. We begin to add the cups of flour one by one (remember to sift very well with the help of a strainer, thus avoiding the formation of lumps in our preparation) and we alternate with the liquid milk as follows: sift a little flour, join the preparation and then add a little milk, until you finish with these two ingredients.


- 3 PASO:
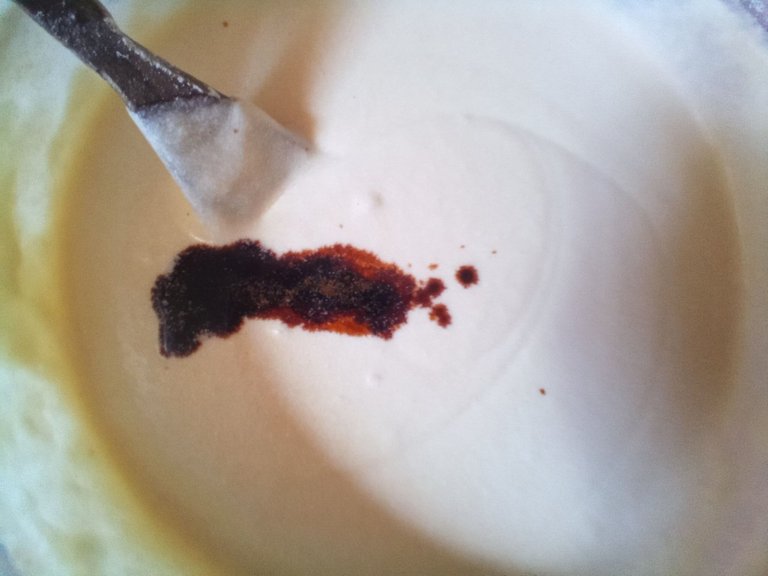
Antes de tamizar la última taza de harina, agrega la pizca de sal y un poco de extracto de vainilla (si tu harina de trigo no tiene leudante, este es el momento de agregar 1 cucharada de polvo para hornear), mezcla todos los ingredientes y continúa.
- 3 STEP:
Before sifting the last cup of flour, add together the pinch of salt and a little vanilla extract (if your wheat flour does not have leavening agent, this is the time to add 1 tablespoon of baking powder) mix all the ingredients and continue.


- 4 PASO:
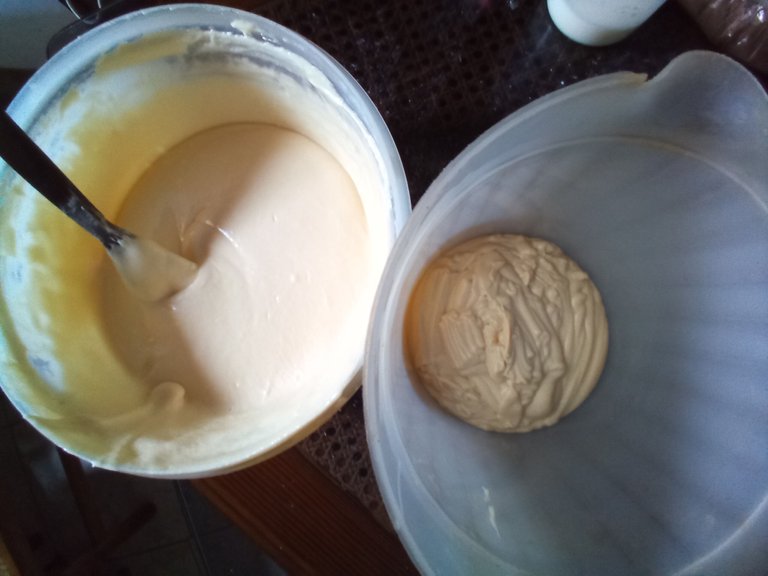
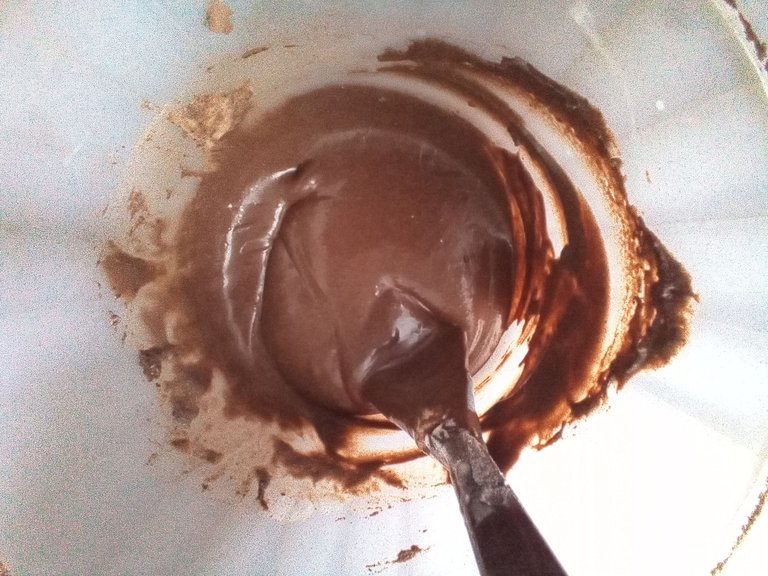
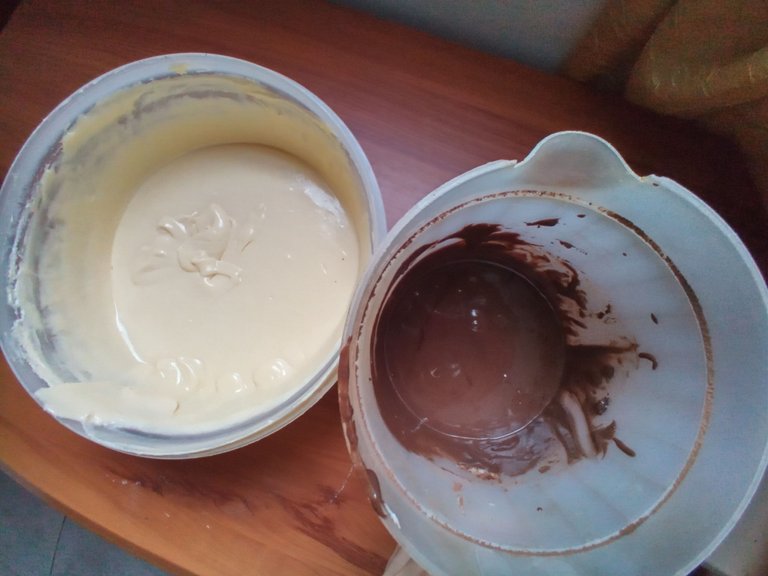
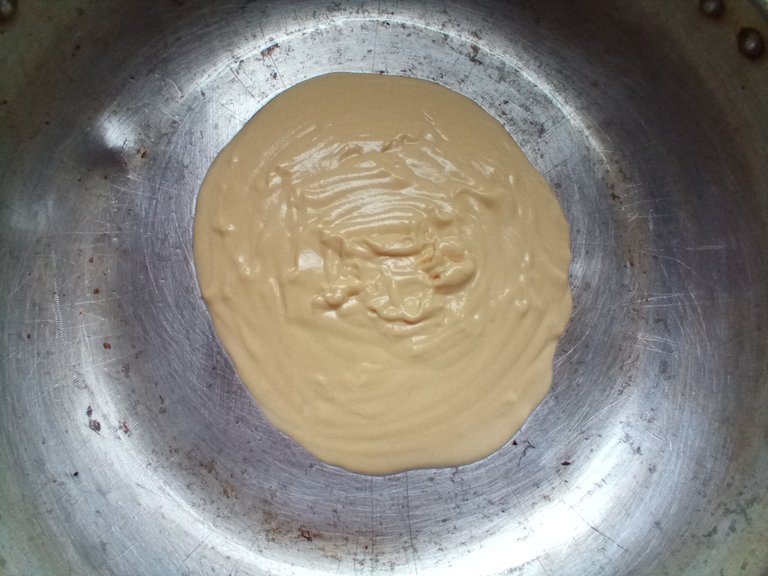
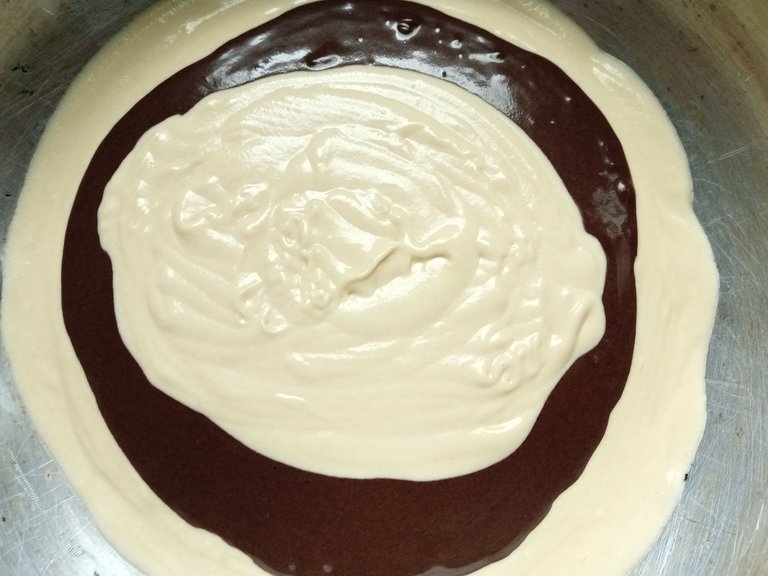
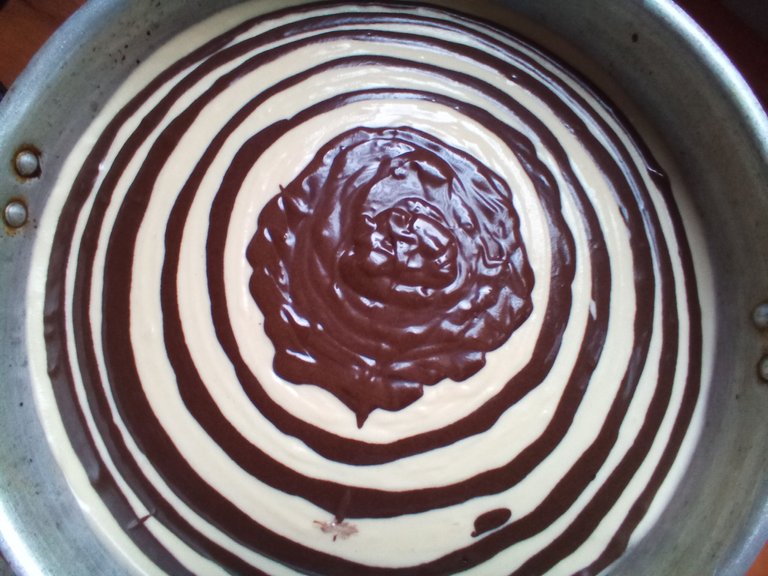
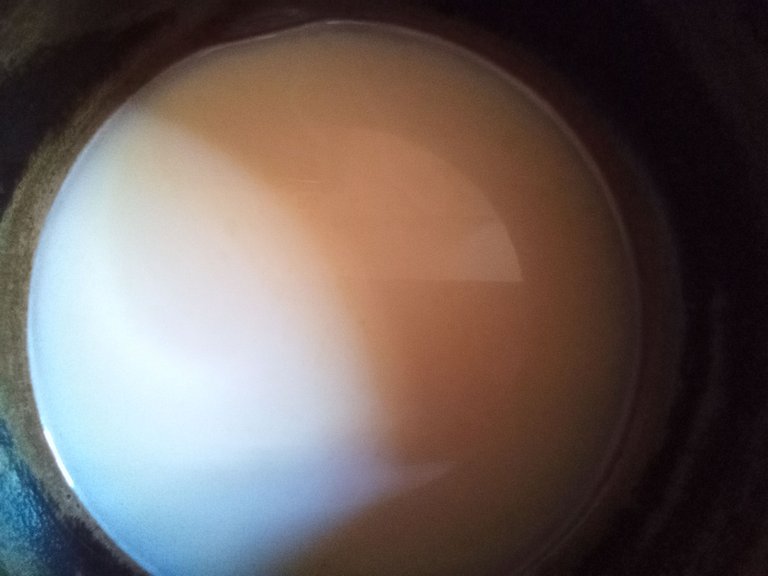
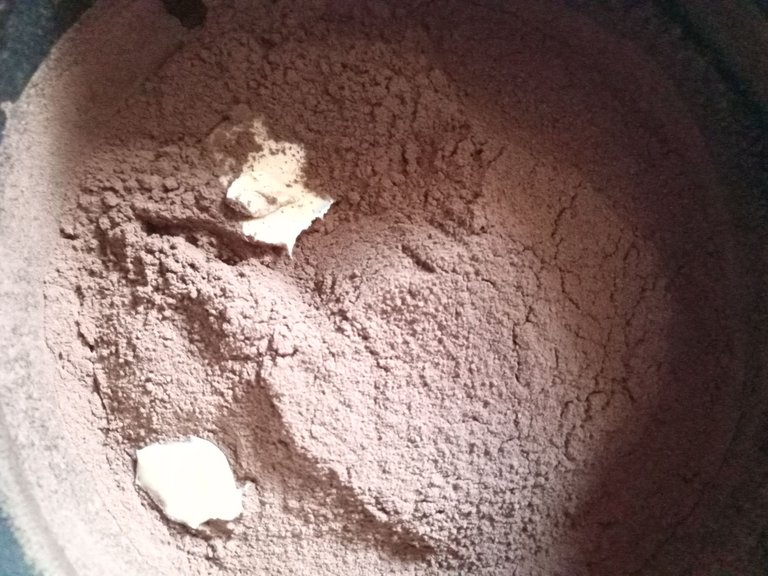
Dividimos la mezcla en dos mitades iguales y agregamos a una de ellas la ½ taza de cacao, unimos muy bien con una cuchara. si toma una consistencia muy espesa, agregar un poco mas de leche o agua hasta obtener la consistencia deseada. Por último, engrasar el molde con un poco de aceite e ir agregando las dos mezclas de forma intercalada, de la siguiente manera: un poco de la mezcla de vainilla y arriba un poco de la mezcla con cacao y así sucesivamente hasta terminar con ambas mezclas.
🔸A continuación, te muestro las fotos con el paso a paso.🔸
- 4 STEP:
Divide the mixture into two equal halves and add the ½ cup of cocoa to one of them, mix very well with a spoon. If it takes a very thick consistency, add a little more milk or water until you get the desired consistency. Finally, grease the mold with a little oil and add the two mixtures alternately, as follows: a little of the vanilla mixture and a little of the mixture with cocoa on top and so on until you finish with both mixtures .
🔸Next, I show you the photos with the step by step.🔸


- 5 PASO:
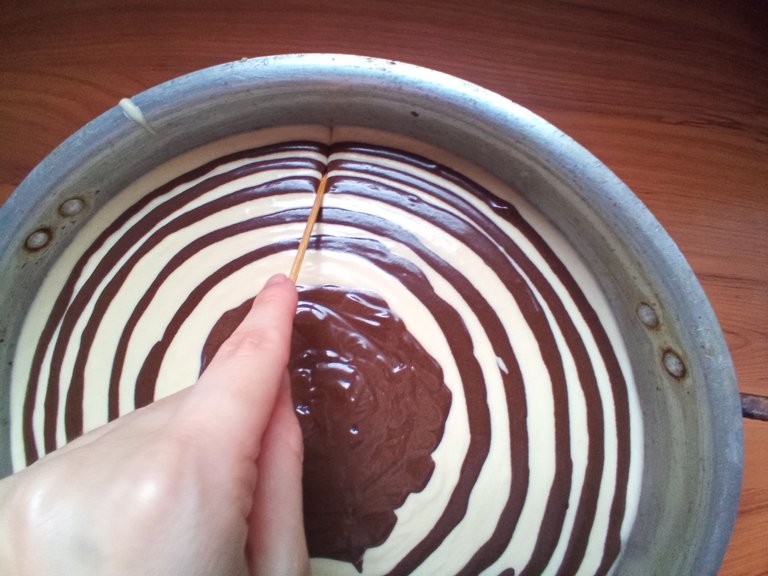
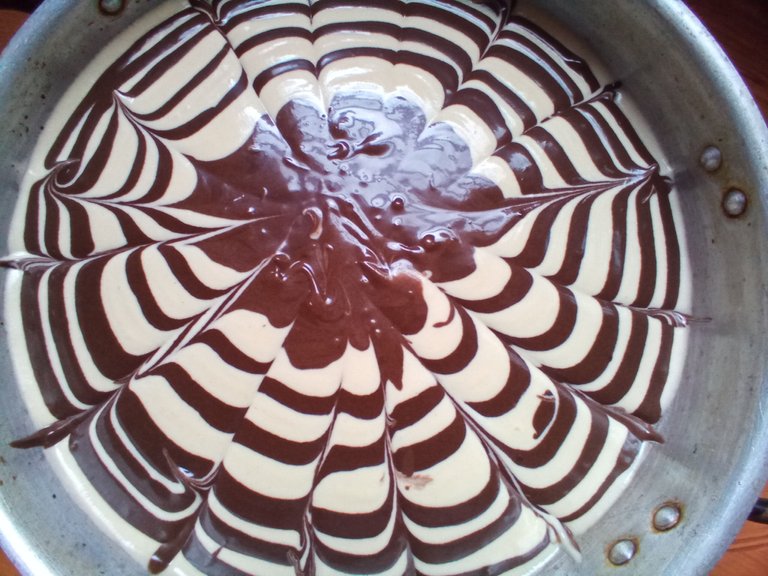
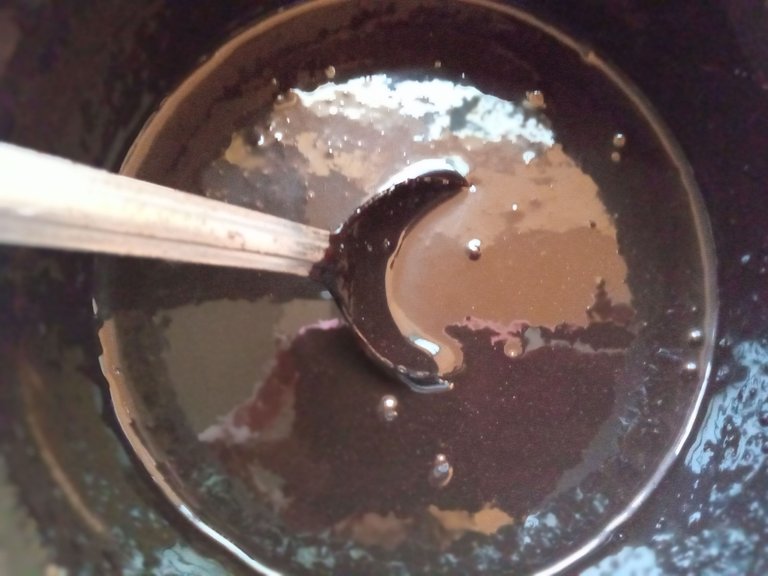
Una vez hecho eso, con ayuda de un palito de altura trazar líneas horizontal y verticalmente , para unir las mezclas y dale una bonita apariencia. Llevar al horno a 180ºC durante 40 minutos. Mientras esperamos que el biscocho este listo comenzamos a preparar el chocolate para la cobertura de nuestro bizcocho. Llevar un recipiente a fuego lento y agregar: ¼ de leche líquida, 3 cucharadas de azúcar, 5 de cacao en polvo, ½ cucharadita de mantequilla, unir todo muy bien hasta que todos los ingredientes se derritan, debe quedar una consistencia liquida pero un poco firme.
- 5 STEP:
Once that is done, with the help of a tall stick draw horizontal and vertical lines, to unite the mixtures and give it a nice appearance. Bake at 180º for 40 minutes. While we wait for the cake to be ready, we begin to make the chocolate for the coverage of our cake. Bring a container to a simmer and add: ¼ of liquid milk, 3 tablespoons of sugar, 5 of cocoa powder, ½ teaspoon of butter, mix everything very well, until all the ingredients melt, it should have a liquid consistency, but there will be a loose.

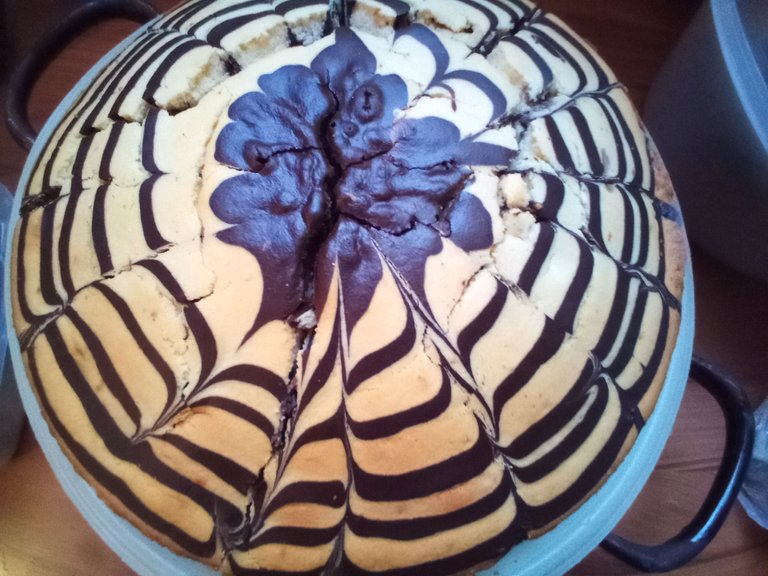

🍰¡Y listo!🍰 Retirar la torta del horno, dejar enfriar, agregar la cobertura de chocolate y la decoración que desees. Por último, llevar el refrigerador, por unas horas. Espero les guste y la disfruten mucho junto a sus seres queridos. hasta la próxima.
🍰¡And ready!🍰 Remove the cake from the oven, let it cool, add the chocolate coating and the decoration you want. Finally, bring the refrigerator, for a few hours. I hope you like it and enjoy it a lot with your loved ones. until next time.



Todas las fotografías son de mi propiedad.
Separador y Fotos editadas en Canva
All photographs are my property.
Photos edited in Canva
The rewards earned on this comment will go directly to the people sharing the post on Twitter as long as they are registered with @poshtoken. Sign up at https://hiveposh.com.
I love the way you decorate it, super yummy and nice! ❤️
Muchas gracias amiga! Un saludo 🤭👋🏻✨
This cake is so delicious woww i love it!!!
Congratulations @valenpba! You have completed the following achievement on the Hive blockchain and have been rewarded with new badge(s):
Your next target is to reach 400 replies.
You can view your badges on your board and compare yourself to others in the Ranking
If you no longer want to receive notifications, reply to this comment with the word
STOPCheck out the last post from @hivebuzz:
Support the HiveBuzz project. Vote for our proposal!