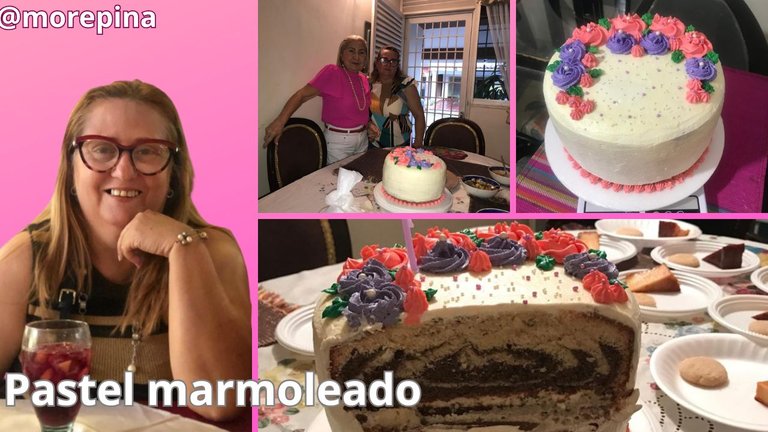
Marbled cake / Pastel marmoleado
Hello friends of the @foodiesbeehive community, I hope you had a nice day full of blessings for each of you who read and write to me. Thank God I am in good health and in good spirits.
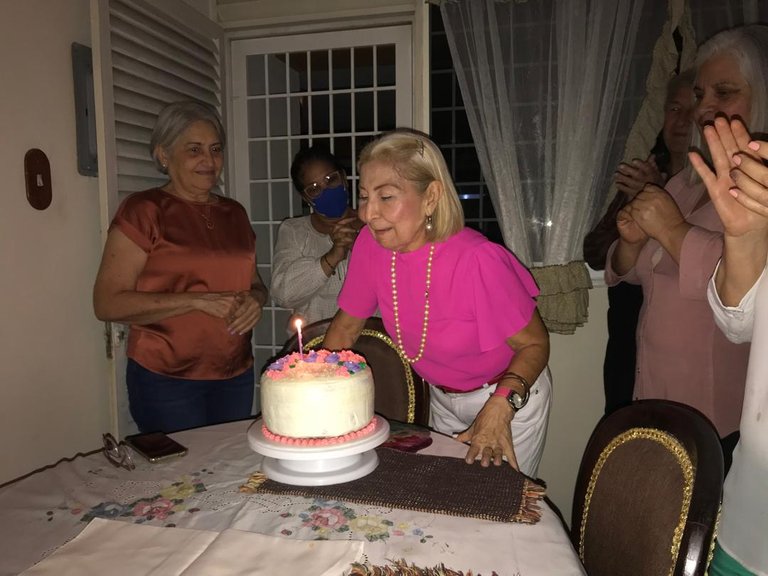
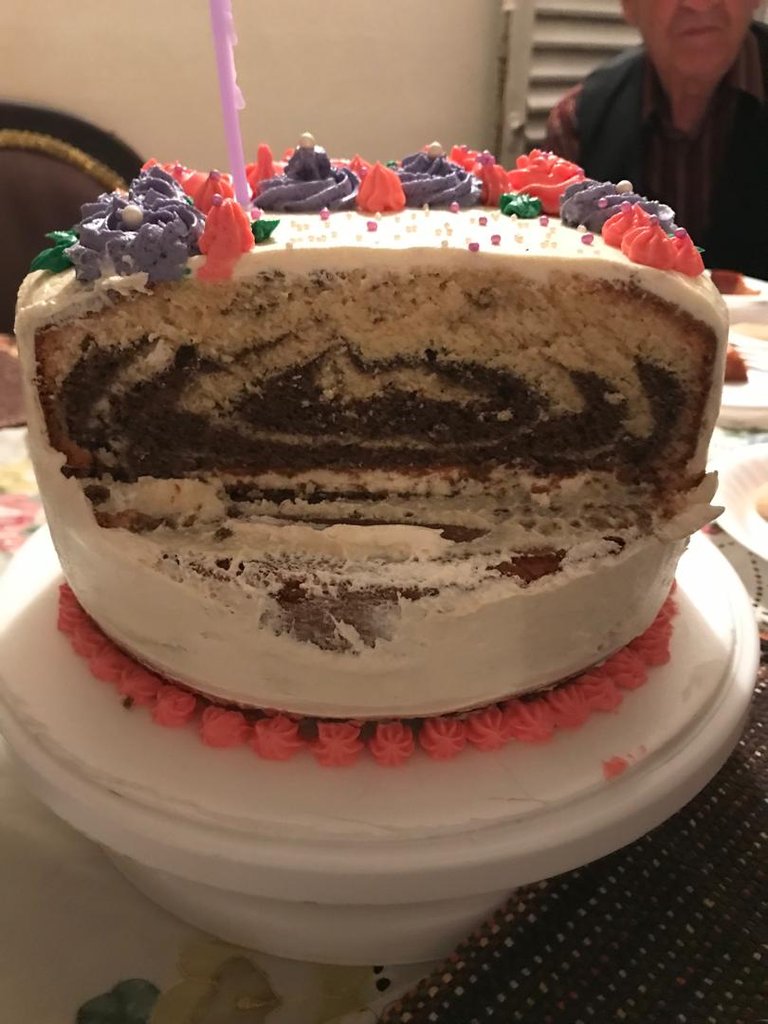
Once again I meet with you in this beautiful community of lovers of good taste to share with you a recipe for a delicious marbled cake that a friend of mine asked me to make for her birthday. It is a type of cake that is very fluffy and very rich, the vast majority of people tend to like it, it is used for different meetings and sharing of high class, for its flavor, the colorfulness to chop it and the aroma are features that make it a rich cake.
As I have been telling you in other opportunities, I love cooking, both the preparation of sweets and savory dishes and passes sweet and savory sticks for all occasions.
Well, friends, so as not to take longer I want to let you know my recipe for this type of cake, both for the cake and the decoration, which by the way was beautiful and very good taste, I should mention that I have learned to make several types of cakes thanks to the baking courses I have taken years ago and that these last years I have put them into practice, however each recipe I have adapted to my taste.
Now I ask you to follow me step by step for the elaboration of the mentioned cake, `and its decoration. I will now proceed to mention the ingredients and the procedure for its preparation. I used a mold of 22 centimeters by 12 centimeters high, it yields for 25 diners.
Ingredients for the cake:
- 6 cups of leavening flour
- 4 and ½ cups of sugar
- 300 grams of margarine or 1 and 1/2 cups oil
- 6 medium eggs
- 1 cup of milk
- 1 and ½ tablespoons of white vinegar (mix the milk with the vinegar to make the buter milk)
1/2 teaspoon salt, 1 teaspoon ground cinnamon, 1 teaspoon baking soda * 1 cup liquid milk - 1 cup of liquid milk
- 2 tablespoons vanilla
- 2 tablespoons orange zest
- 7 tablespoons of cocoa

Preparation of the sponge cake
1 .In a bowl place the margarine, cream, add 4 cups of sugar, stir until it is well creamed, it should take a white color, add the egg yolks one by one and stir.
 |  |  |
|---|
2.In another bowl sift the flour, add the cinnamon, baking soda, salt, unite them all and add to the bowl containing the sugar, margarine and egg yolks, stir until everything is well integrated, add the milk, vanilla, orange zest and stir in an enveloping way.
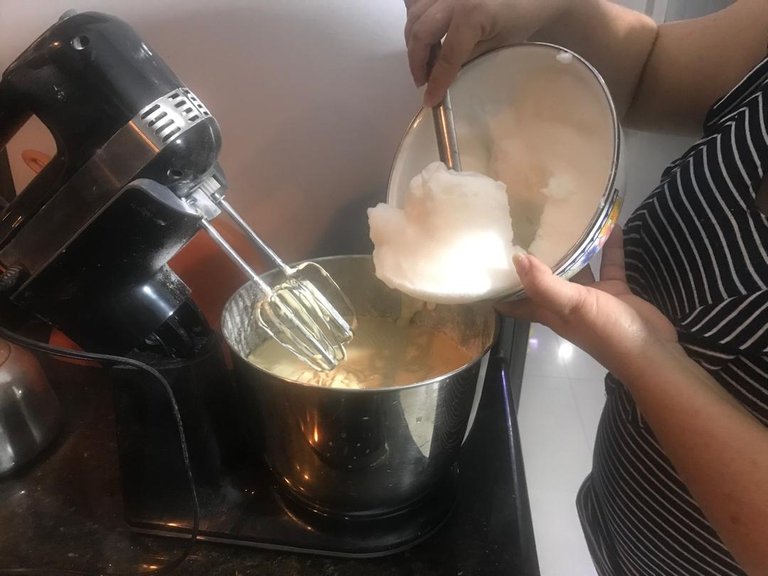
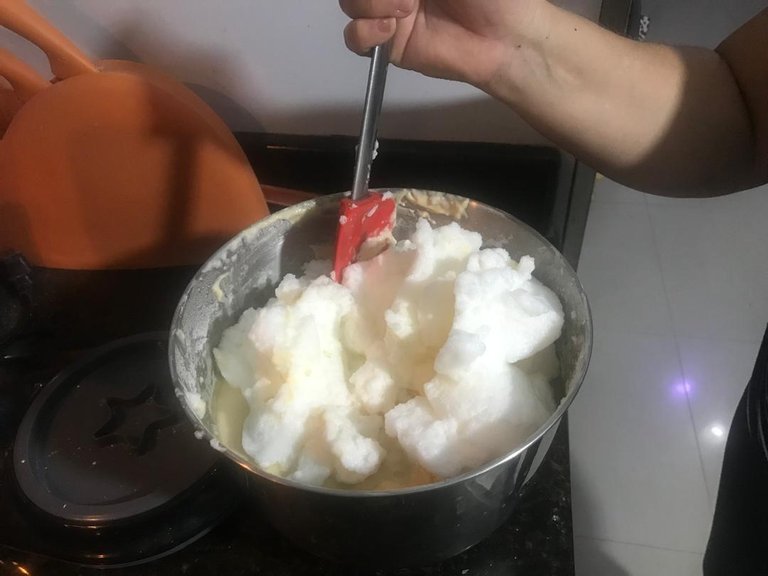
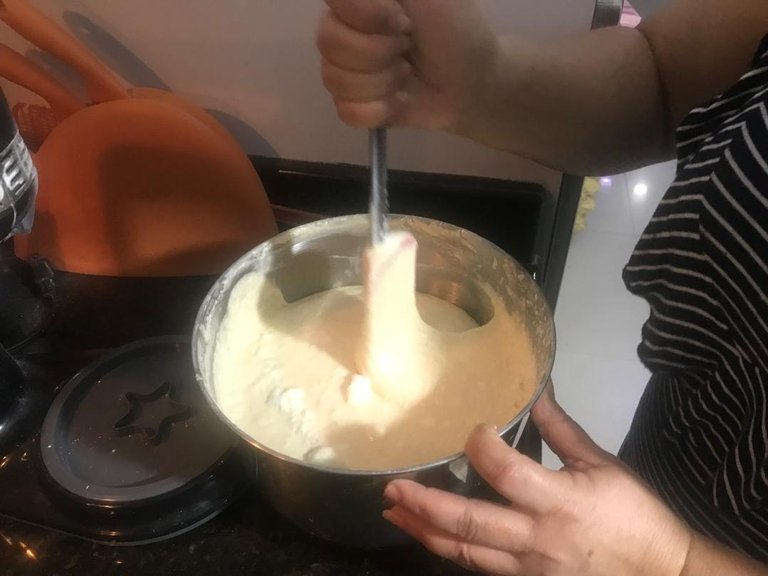
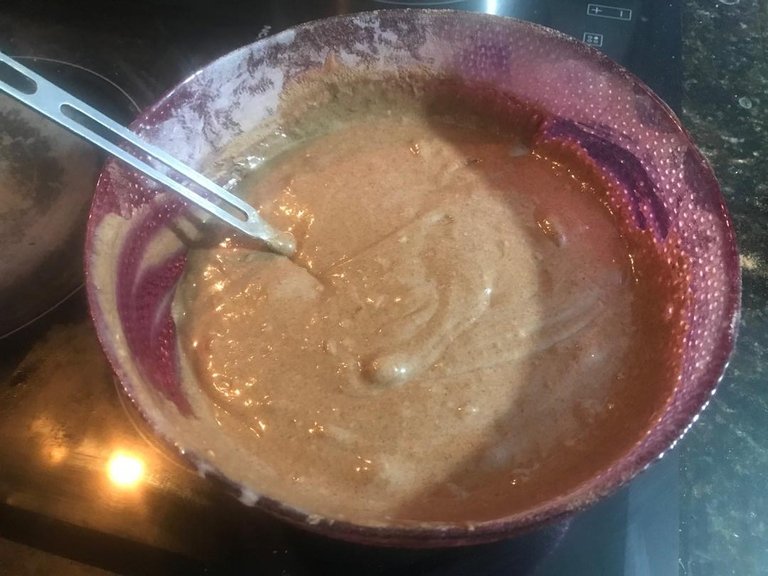
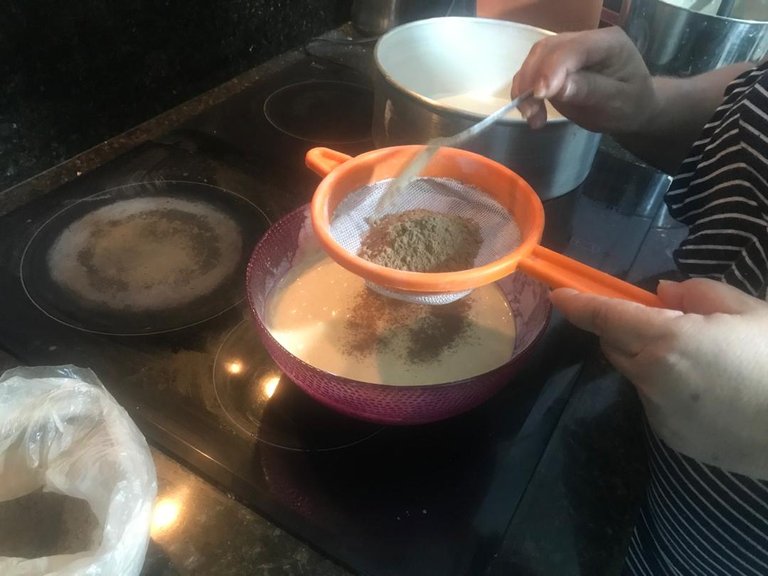
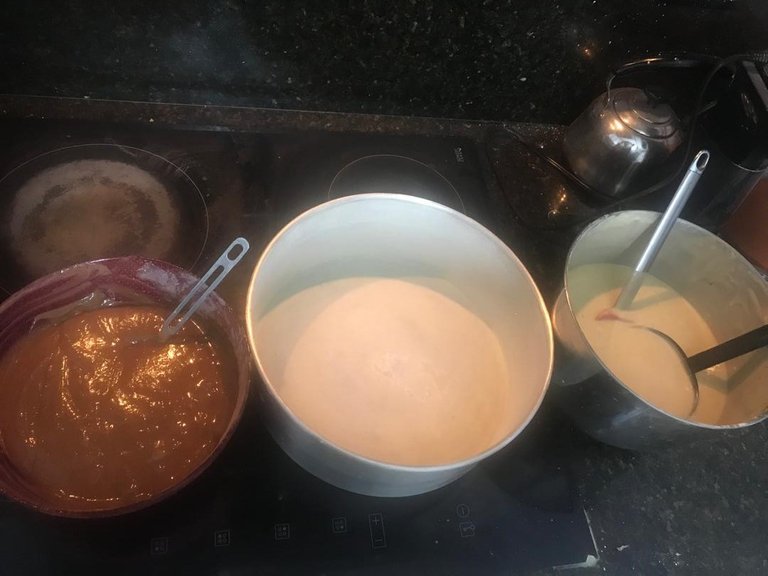
3.Beat the egg whites until stiff and add ½ cup of sugar, beat and add to the bowl containing all the preparation, stir with wrapping movements until everything is united. Divide into two equal parts, to one part add 7 tablespoons of cocoa powder sifted through a sieve and the other half of the vanilla mixture reserve.
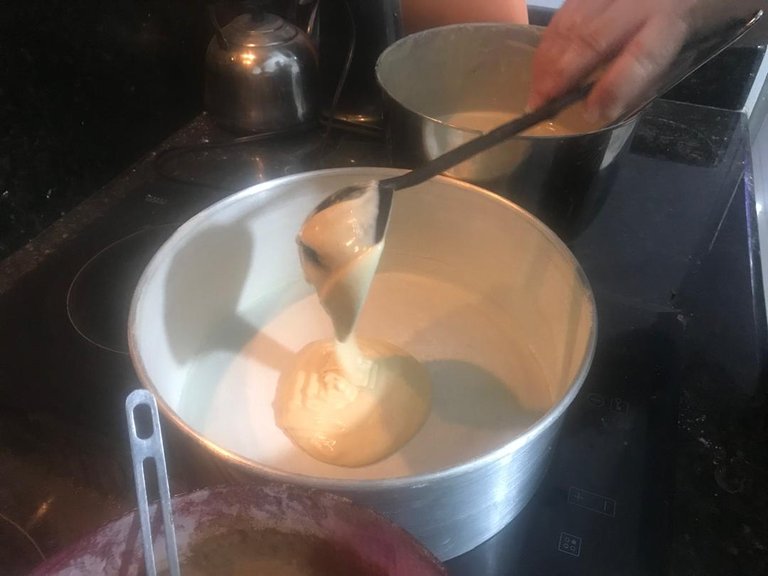
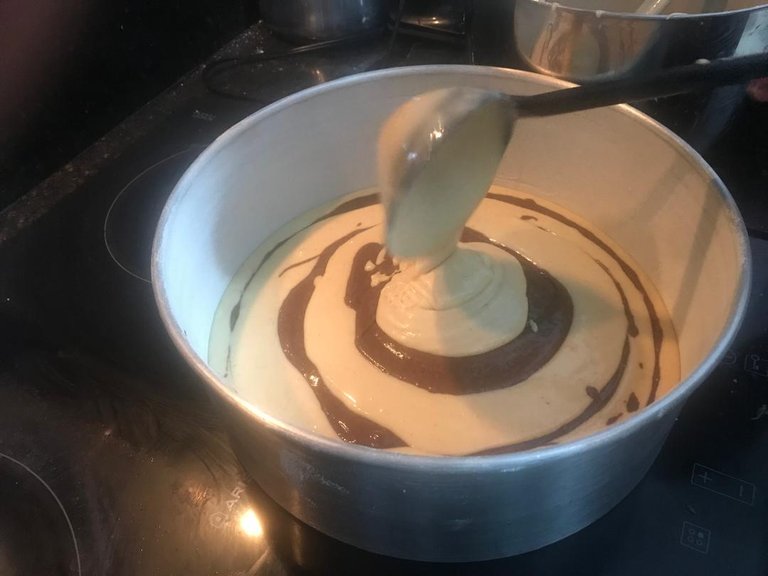
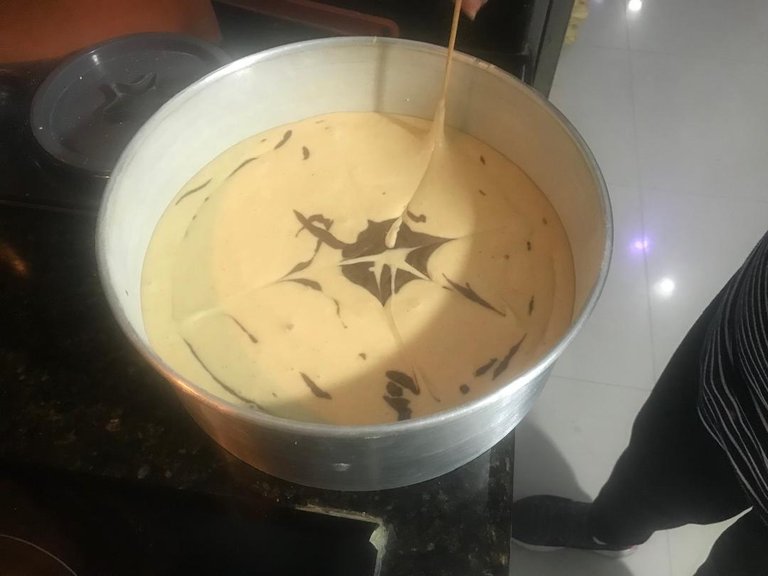
4.Place in the mold previously greased, add a part of the vanilla mixture, then on top the cocoa mixture and so on until the end, you must finish with the vanilla mixture, pass a height stick to all the mixture and make figures, finally cook at a temperature of 170 degrees Celsius for 45 minutes, I got two cakes of 6 centimeters each, then lower, let cool for 2 hours, in this case I decorated with buttercream, but you can decorate it with the cream of your choice.
 |  |  |
|---|
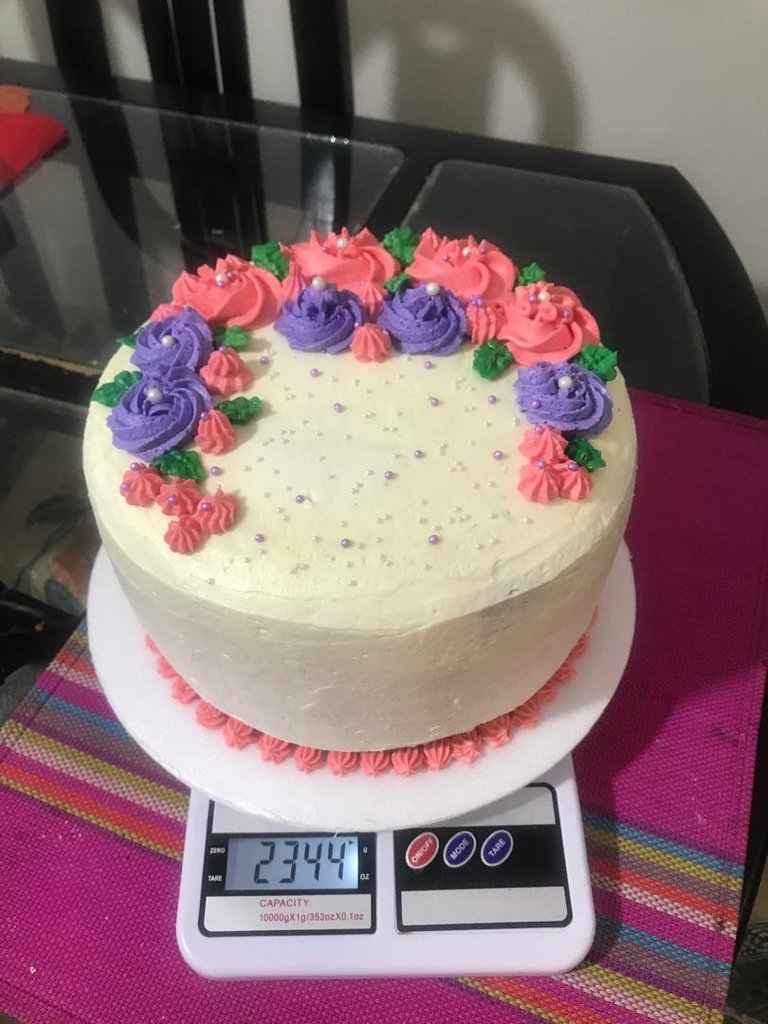
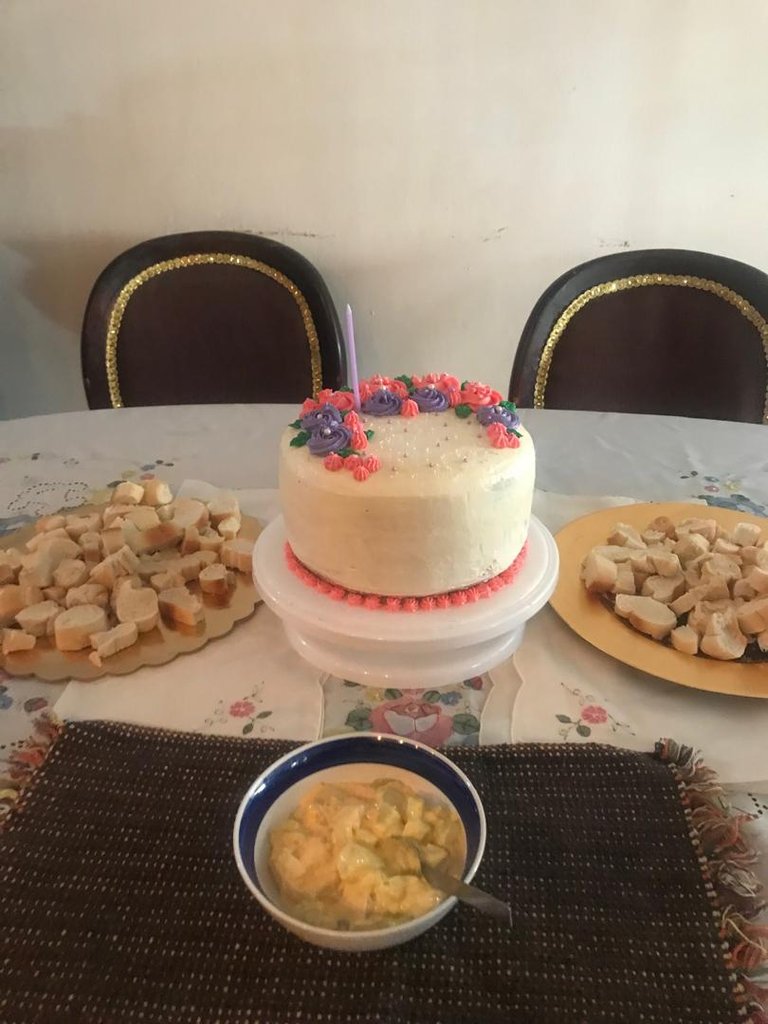
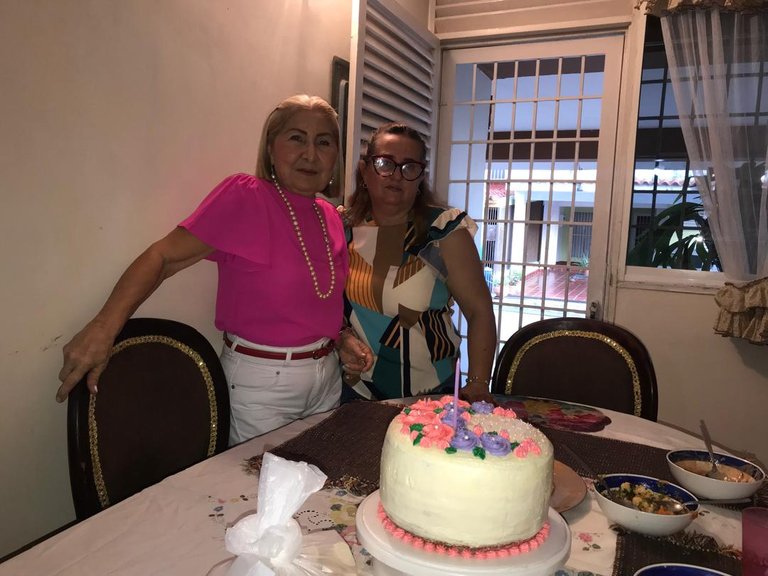
I used a white base for the buttercream, a Wilson 1M nozzle to manually make the purple and fuchsia roses, I placed some leaves of the same cream, I added white sprinkles of two sizes that give a touch of elegance to the cake. The birthday girl was dressed in the same color as the cake. I also used two anime disks for each cake and mounted one on top of the other, crossing two thick straws in the middle so that it would not move and so I could start the decoration.
 |  |  |
|---|
In another post I will explain the amount of ingredients to use depending on the size of the cake and the procedure to make the buttercream.
So far my post, I leave you some pictures of the ingredients and the whole procedure of making the cake, I hope you like it, I thank those who have been able to reach the end of my content. We will keep reading and writing, until the next post.

- Photos taken with Iphone 8 plus
- Cover designed with Canva
- Text translated with Deepl
Versión en Español
Hola amigos de la comunidad de @foodiesbeehive, espero que hayan tenido un bonito día lleno de bendiciones para cada uno de los que me leen y me escriben. Yo por acá gracias a Dios me encuentro bien salud y de ánimo.
Una vez más me encuentro con ustedes en esta hermosa comunidad de los amantes del buen paladar para compartirles una receta de un delicioso pastel marmoleado que me encargó una amiga para su cumpleaños. Es un tipo de torta que queda muy esponjoso y muy rico, a la gran mayoría de las personas suele gustarles, es utilizado para diferentes reuniones y compartir de alta categoría, por su sabor, la vistosidad al picarla y el aroma son características que lo hacen ser un rico pastel.
Como les he venido comentando en otras oportunidades, me encanta la cocina, tanto la elaboración de dulces como los platos salados y pasa palos dulces y salados para toda ocasión.
Bueno amigos para no alargarnos más quiero darles a conocer mi receta para este tipo de pastel, tanto para el bizcocho como lo que es la decoración, que por cierto quedó bellísima y de muy buen sabor, debo mencionar que he aprendido a hacer varios tipos de pasteles gracias a los cursos de repostería que he realizado hace años atrás y que estos últimos años los he puesto en práctica, sin embargo cada receta la he adaptado a mí gusto.
Ahora les pido que me acompañen al paso a paso para la elaboración del mencionado pastel, `y su decoración. Ahora procedo a mencionarles los ingredientes, su procedimiento para su elaboración. Utilicé un molde de 22 centímetros por 12 centímetros de alto, rinde para 25 comensales.
Ingredientes para el bizcocho:
- 6 tazas de harina leudante
- 4 y ½ tazas de azúcar
- 300 gramos de margarina o 1 y 1/2 taza de aceite
- 6 huevos medianos
- 1 taza de leche
- 1 y ½ cucharada de vinagre blanco (unir la leche con el vinagre para hacer el buter milk)
- 1/2 cucharadita de sal, 1 cucharada de canela molida, 1 cucharadita de bicarbonato
- 1 taza de leche liquida
- 2 cucharadas de Vainilla
- 2 cucharadas de ralladura de naranja
- 7 cucharadas de cacao
Preparación del Bizcocho
1.En un tazón colocar la margarina, cremar, agregar 4 tazas de azúcar, revolver hasta que esté bien cremada, debe tomar color blanco, colocar las yemas una a una y revolver.
| | |
|---|
2.En otro tazón cernir la harina, agregar la canela, el bicarbonato, la sal, unirlos todos e ir agregando al tazón que contiene el azúcar, la margarina y las yemas de huevo, revolver hasta integrar todo muy bien, agregar la leche, la vainilla, ralladura de naranja y revolver en forma envolvente.
 |  |  |
|---|
3.Batir a punto de nieve las claras de huevo y agregar ½ taza de azúcar, batir y agregar al tazón que contiene toda la preparación, revolver con movimientos envolventes hasta unir todo. Dividir en dos partes iguales, a una parte agregar 7 cucharadas de cacao en polvo cernidas por un colador y la otra mitad de la mezcla de vainilla reservar.
4.Colocar en el molde previamente engrasado, se va agregando una parte de la mezcla de vainilla, luego encima la mezcla de cacao y así sucesivamente hasta terminar, se debe terminar con la mezcla de vainilla, pasar un palito de altura a toda la mezcla y hacer figuras, por ultimo cocinar a una temperatura de 170 grados centígrados por 45 minutos, obtuve dos bizcochos de 6 centímetros cada uno, luego bajar, dejar enfriar durante 2 horas, en este caso la decoré con buttercream, pero la puede decorar con la crema de su preferencia.
| | |
|---|
Utilicé una base de color blanco para el buttercream, una boquilla 1M de Wilson para hacer de manera manual las rosas de color moradas y fucsias, le coloqué unas hojas de la misma crema, le agregué grajeas blancas de dos tamaños que le dan un toque de elegancia al pastel. Del mismo color de la torta estaba vestida la cumpleañera. También utilice dos discos de anime para cada bizcocho y monté uno encima del otro, atravesándole dos pitillos gruesos en el medio para que no se moviera y así poder iniciar el decorado.
| | |
|---|
En otro post les explicare la cantidad de ingredientes a utilizar dependiendo del tamaño del bizcocho y el procedimiento para elaborar el buttercream.
Hasta aquí mi post, les dejo algunas fotos de los ingredientes y todo el procedimiento de elaboración del pastel, espero que sea de su agrado, les doy las gracias a quienes han podido llegar hasta el final de mi contenido. Nos seguimos leyendo y escribiendo, hasta un próximo post.
- Fotos tomadas con Iphone 8 plus
- Portada diseñada con Canva
- Texto traducido con Deepl
Posted Using InLeo Alpha
muy sabroso se ve, excelente receta!
very tasty, excellent recipe!
Hola amiga, si queda muy rica.
Gracias por pasar por mi post,
saludos.
Qué buen tip de introducir pitillos para que no se mueva en verdad se ve muy rica
tu torta marmoleada y la verdad es que la decoración quedo muy linda
Gran trabajo
Gracias por pasar y comentar. Si esos pitillos que son los que se le colocan. Las bombas hacen que no se mueva.
Saludos
Join the foodie fun! We've given you a FOODIE boost. Come check it out at @foodiesunite for the latest community updates. Spread your gastronomic delights on and claim your tokens.