Un saludo a todos!hoy me gustaría compartir con ustedes algo que me encanta hacer, de hecho es mi trabajo diariamente, se trata de mi receta de donas para hacer desde casa.
Mi esposa y yo somos amantes de lo dulce, somos jóvenes y, teniendo tan solo un mes de casados tenemos que batallar a diario contra gastos económicos. Una de nuestras maneras de hacerlo es por medio de estás donas, vengan y les muestro la receta, y el proceso, es muy sencillo y puedes hacer tantas como quieras.

Ingredientes para la masa:
1kg harina de trigo de panadería
2 1/2 de agua
20g levadura
5 cucharadas de azúcar
2 cucharadas de mantequilla o manteca >vegetal
1 cucharada de vainilla
1 huevo
1 cucharadita de sal
Preparación:
En una taza grande o un bol agregamos el agua, la levadura, el azucar, el huevo, la vainilla, la mantequilla, y a medida que vamos batiendo iremos agregando los ingredientes. Luego al haber batido de manera constante vamos agregando la harina poco a poco, iremos mezclandola hasta que esté espesa y lo suficientemente consistente para amasar sobre una superficie lisa (preferiblemente un mesón).
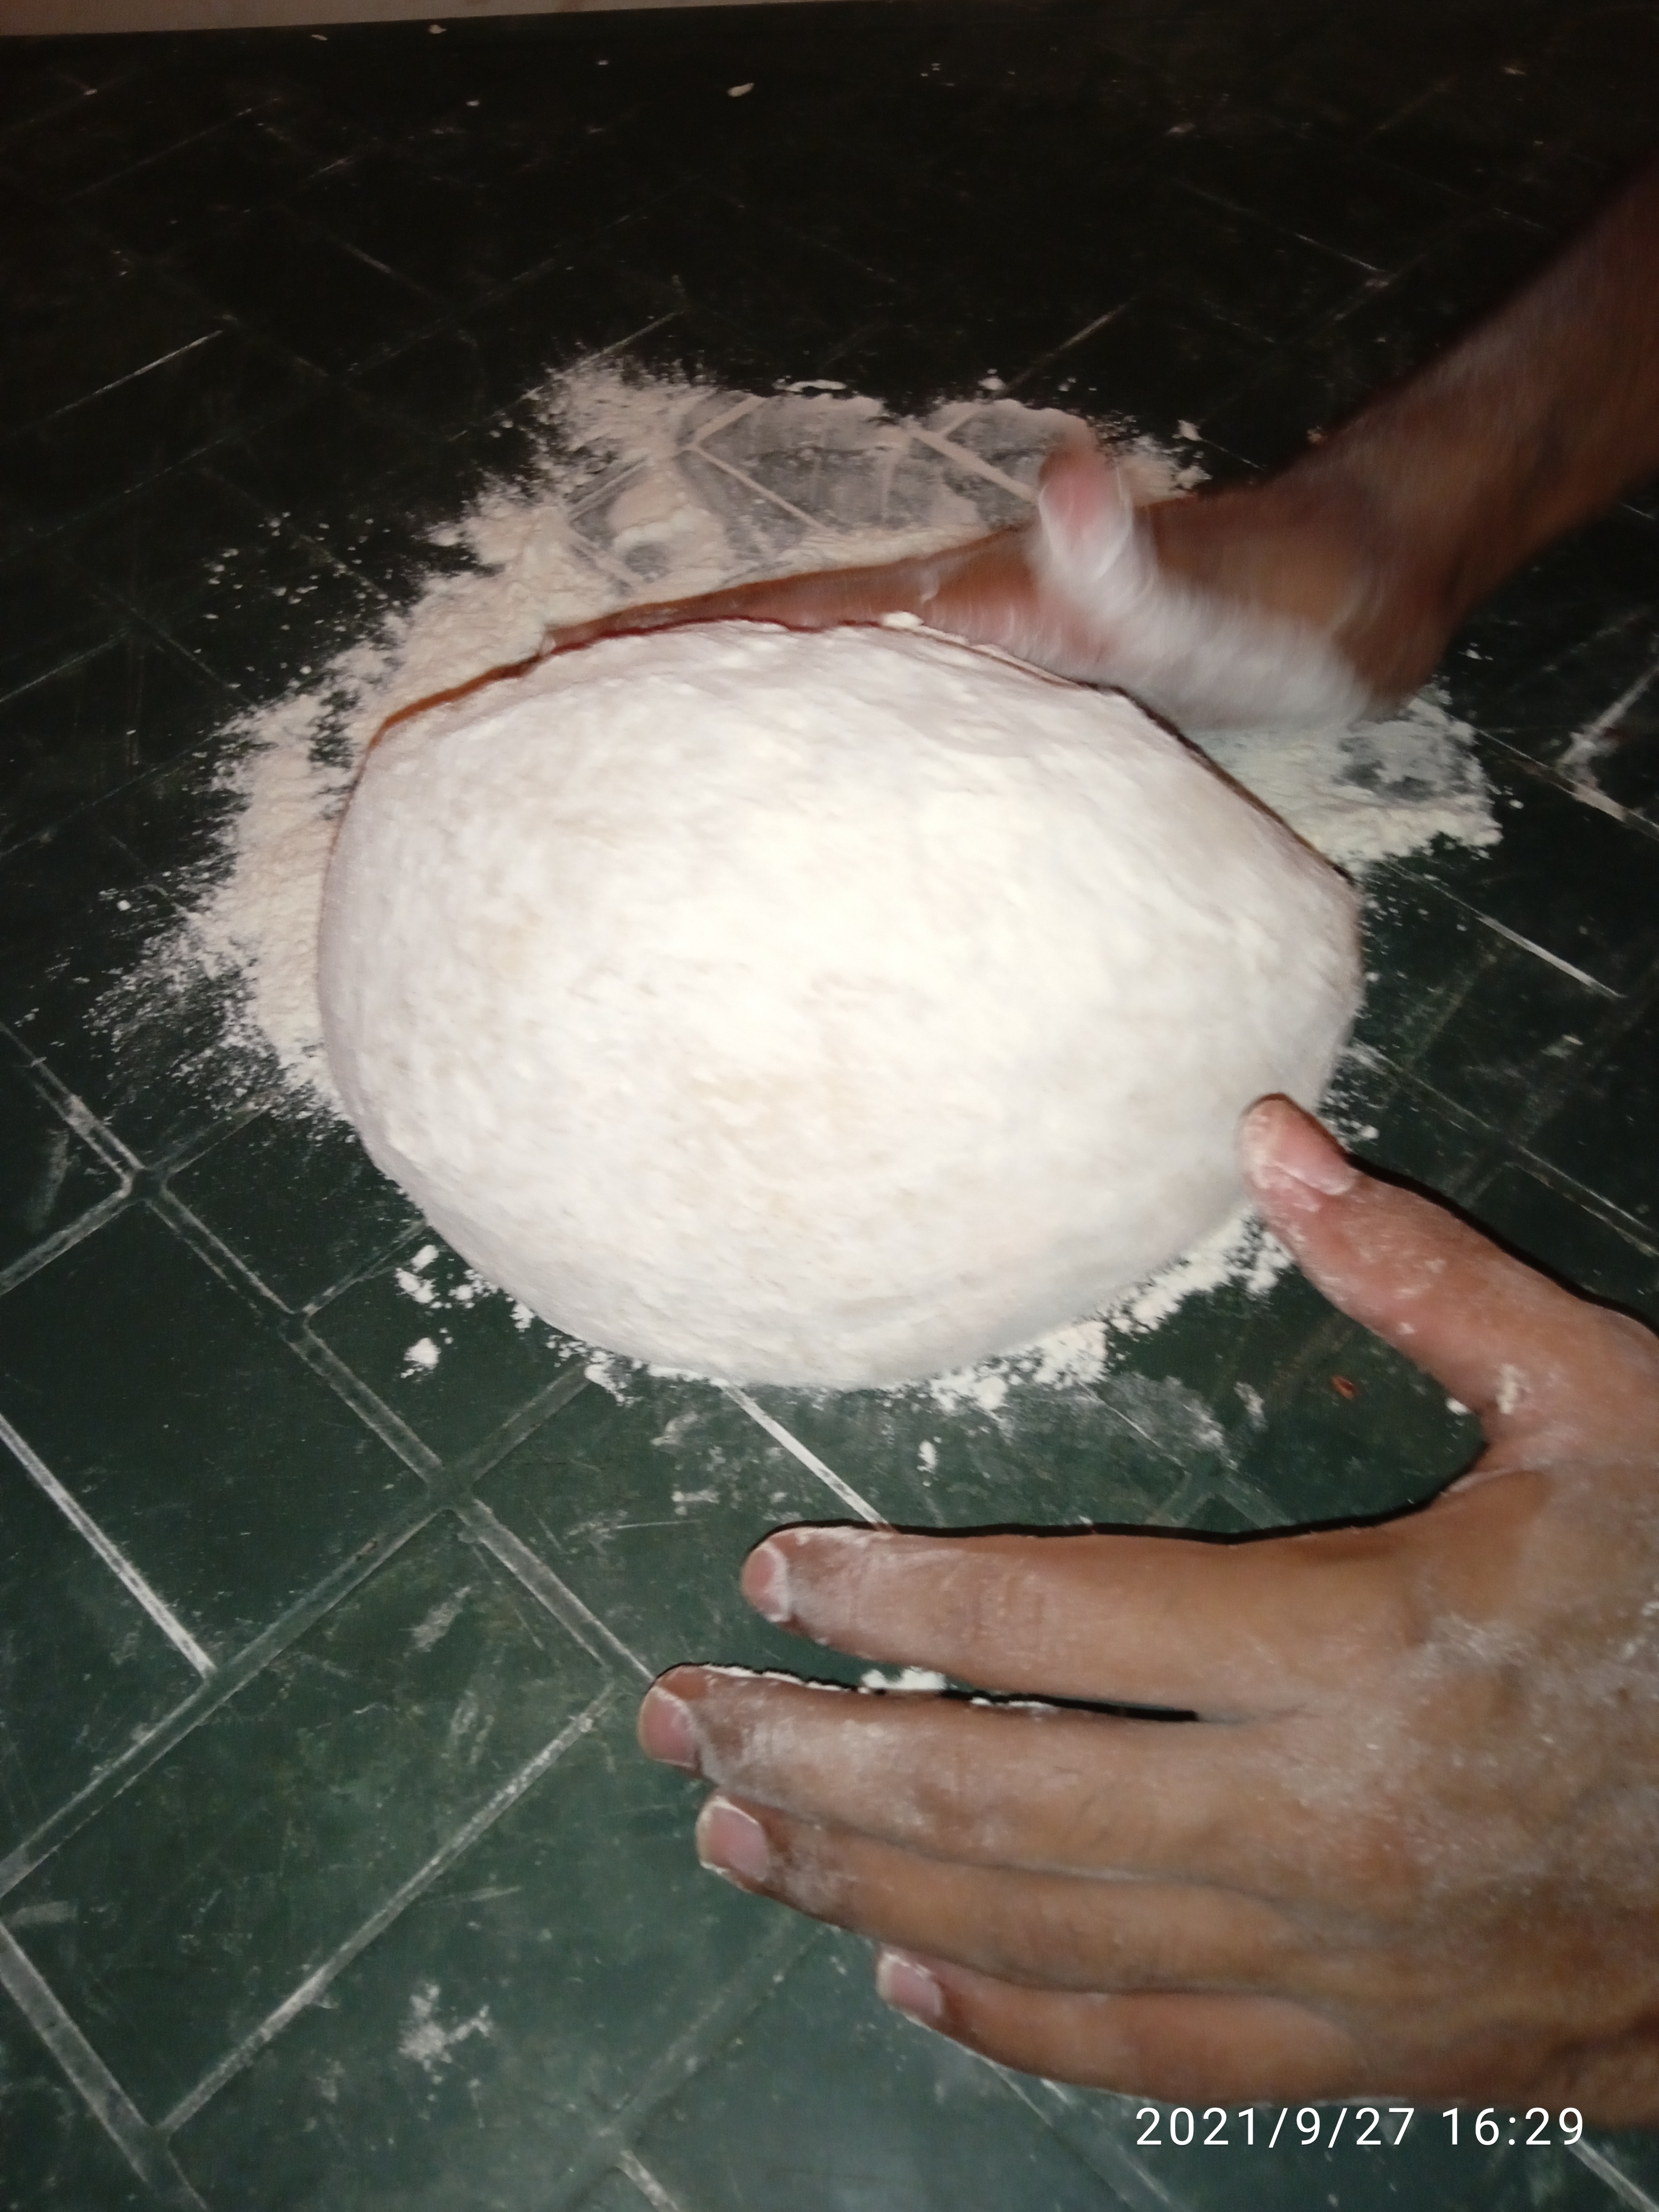
El amasado puede variar, para nuestra primera vez, puede durar un mínimo de 10 minutos (Nota: agregamos la cucharadita de sal cuando empezamos a amasar). Utilizaremos nuestras manos previamente lavadas para empujar y jalar la masa con fuerza la masa hasta que está quedé suave y sin grumos. Al terminar dejaremos reposar entre 20 y 30 minutos dependiendo del calor que haya en el ambiente.
Recomiendo tener una posición recta y utilizar un pies adelante y otro atrás, también amasar sobre una superficie que se ajuste a nuestra estatura, esto permitirá que sea menos complicado el amasar y cuidaremos nuestra columna.
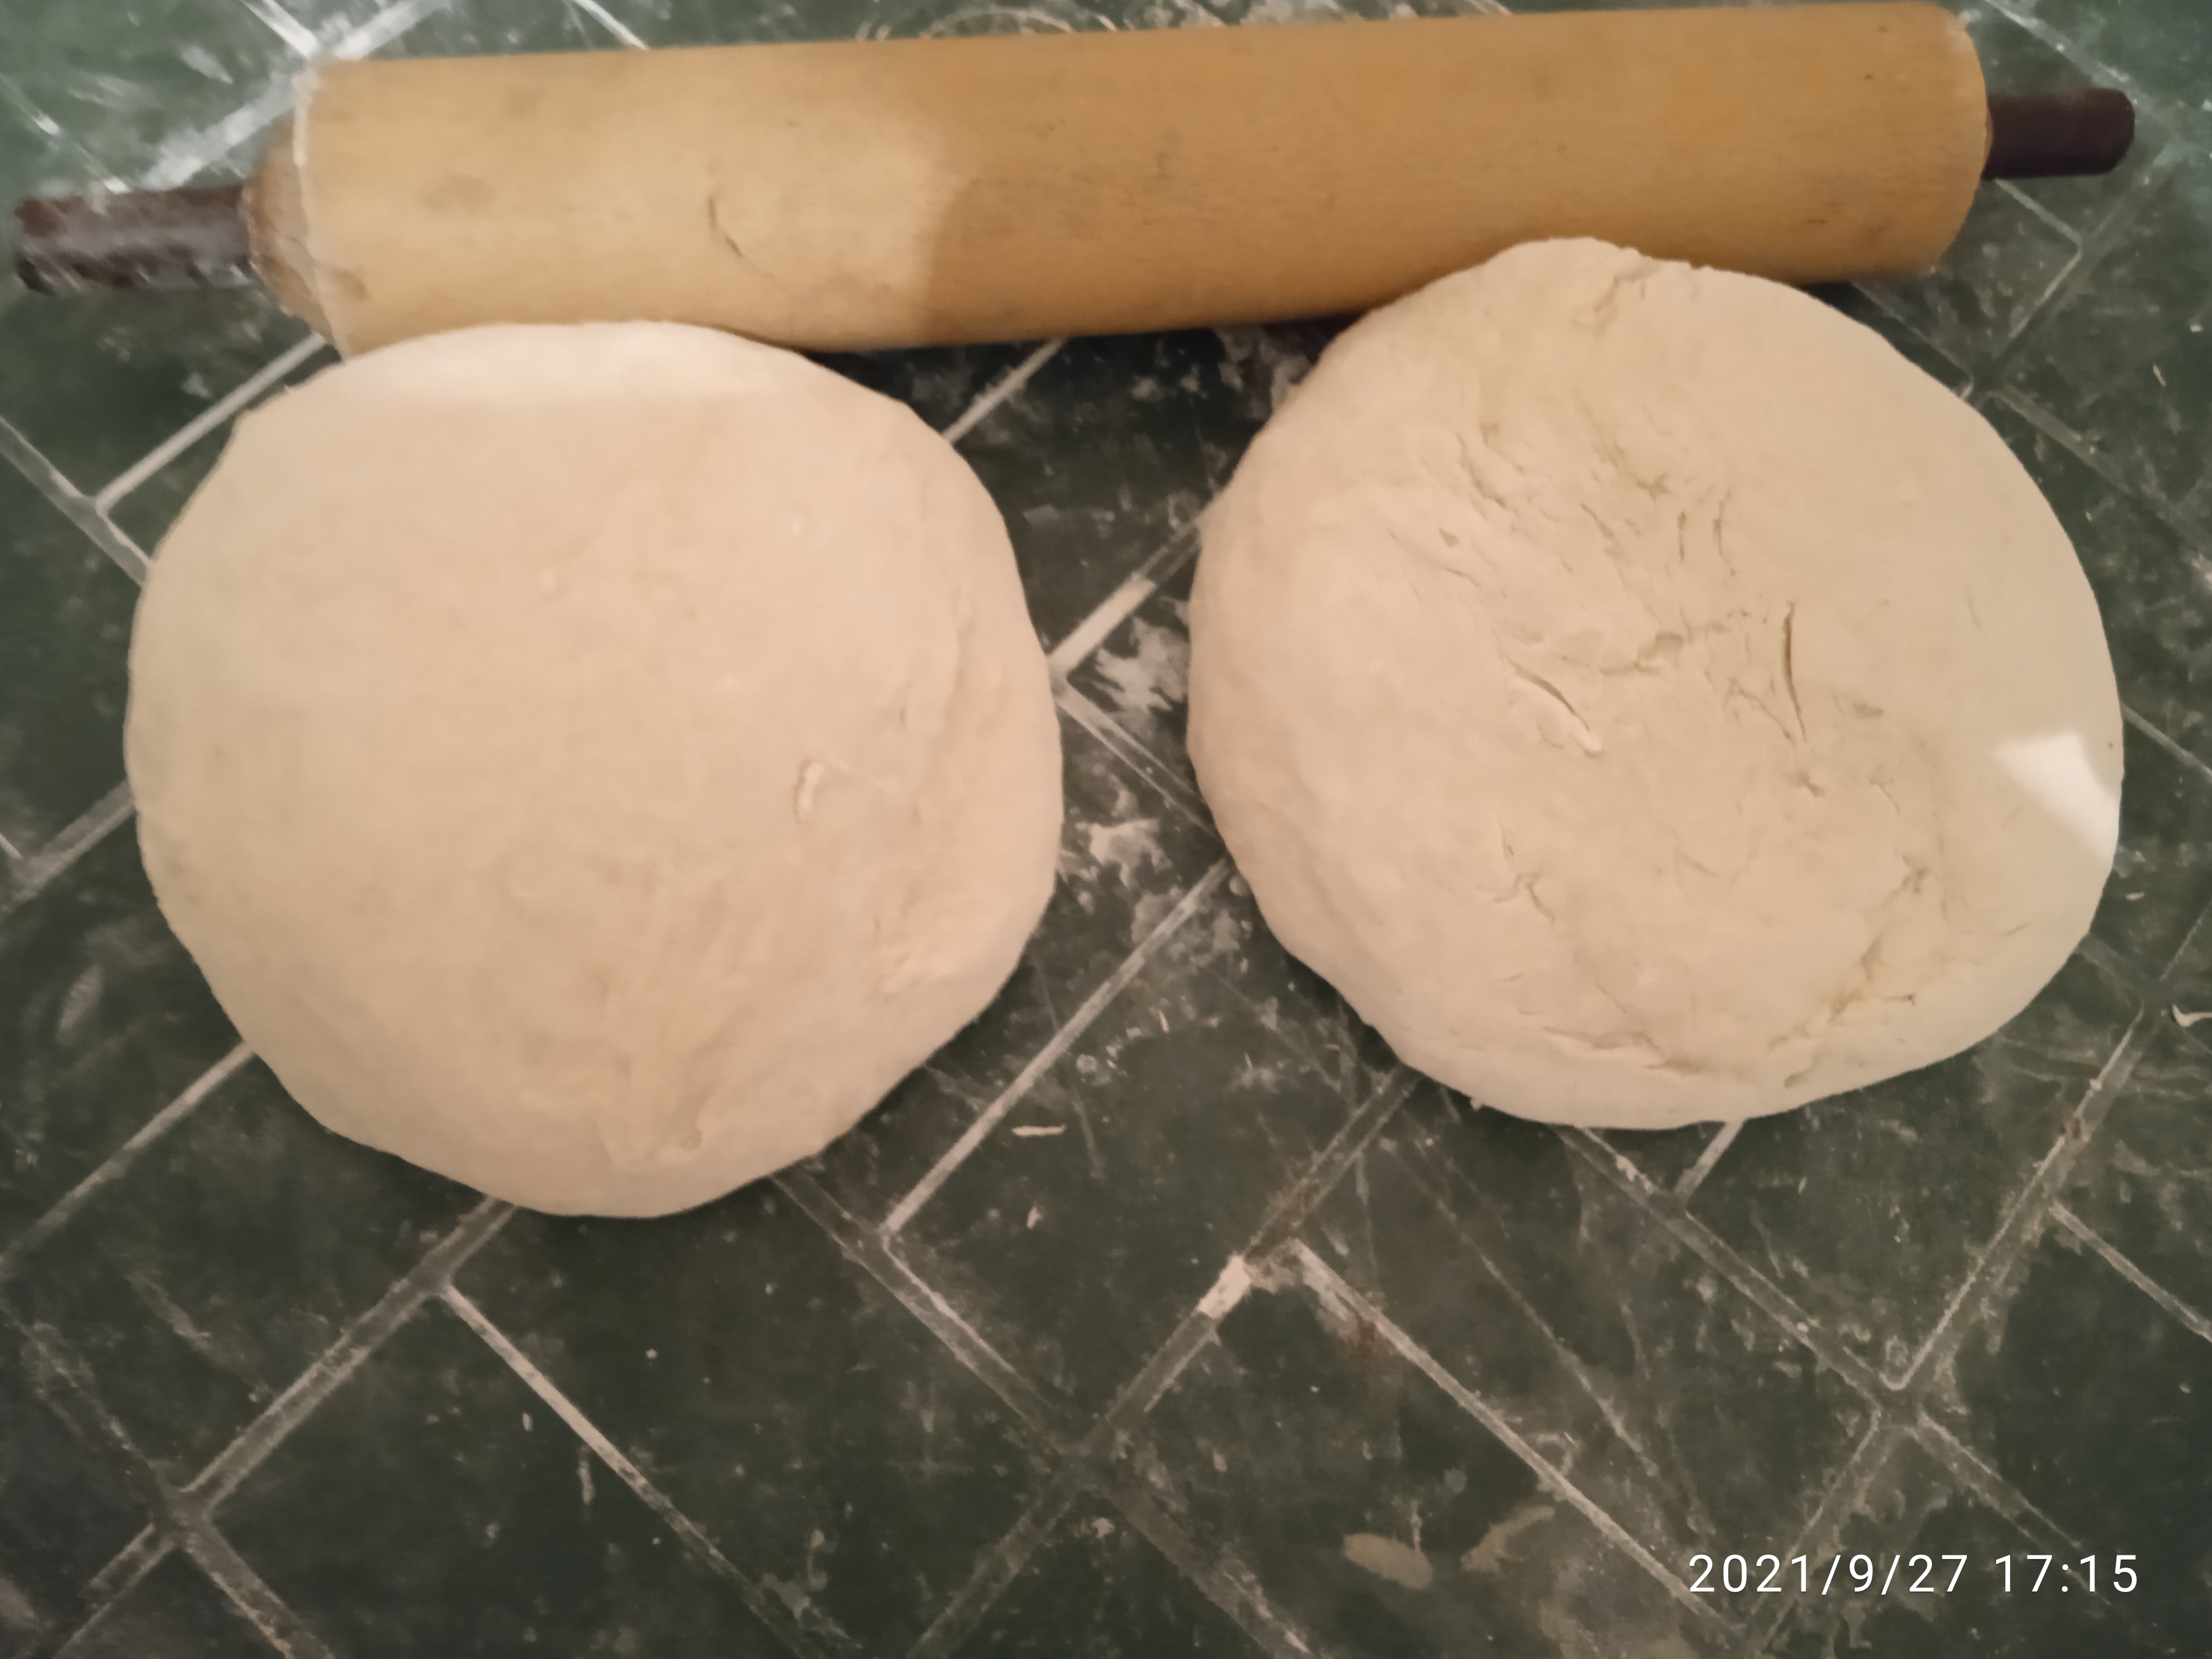
Al finalizar el tiempo de espera, dividiremos la masa en dos mitades, y estiraremos primero una con la ayuda de un rodillo, estiraremos hasta que la masa tenga un proporción de gusto para el grosor de las donas (nota: agregaremos poco a poco harina a medida que estiremos la masa ya que está se pegara un poco)
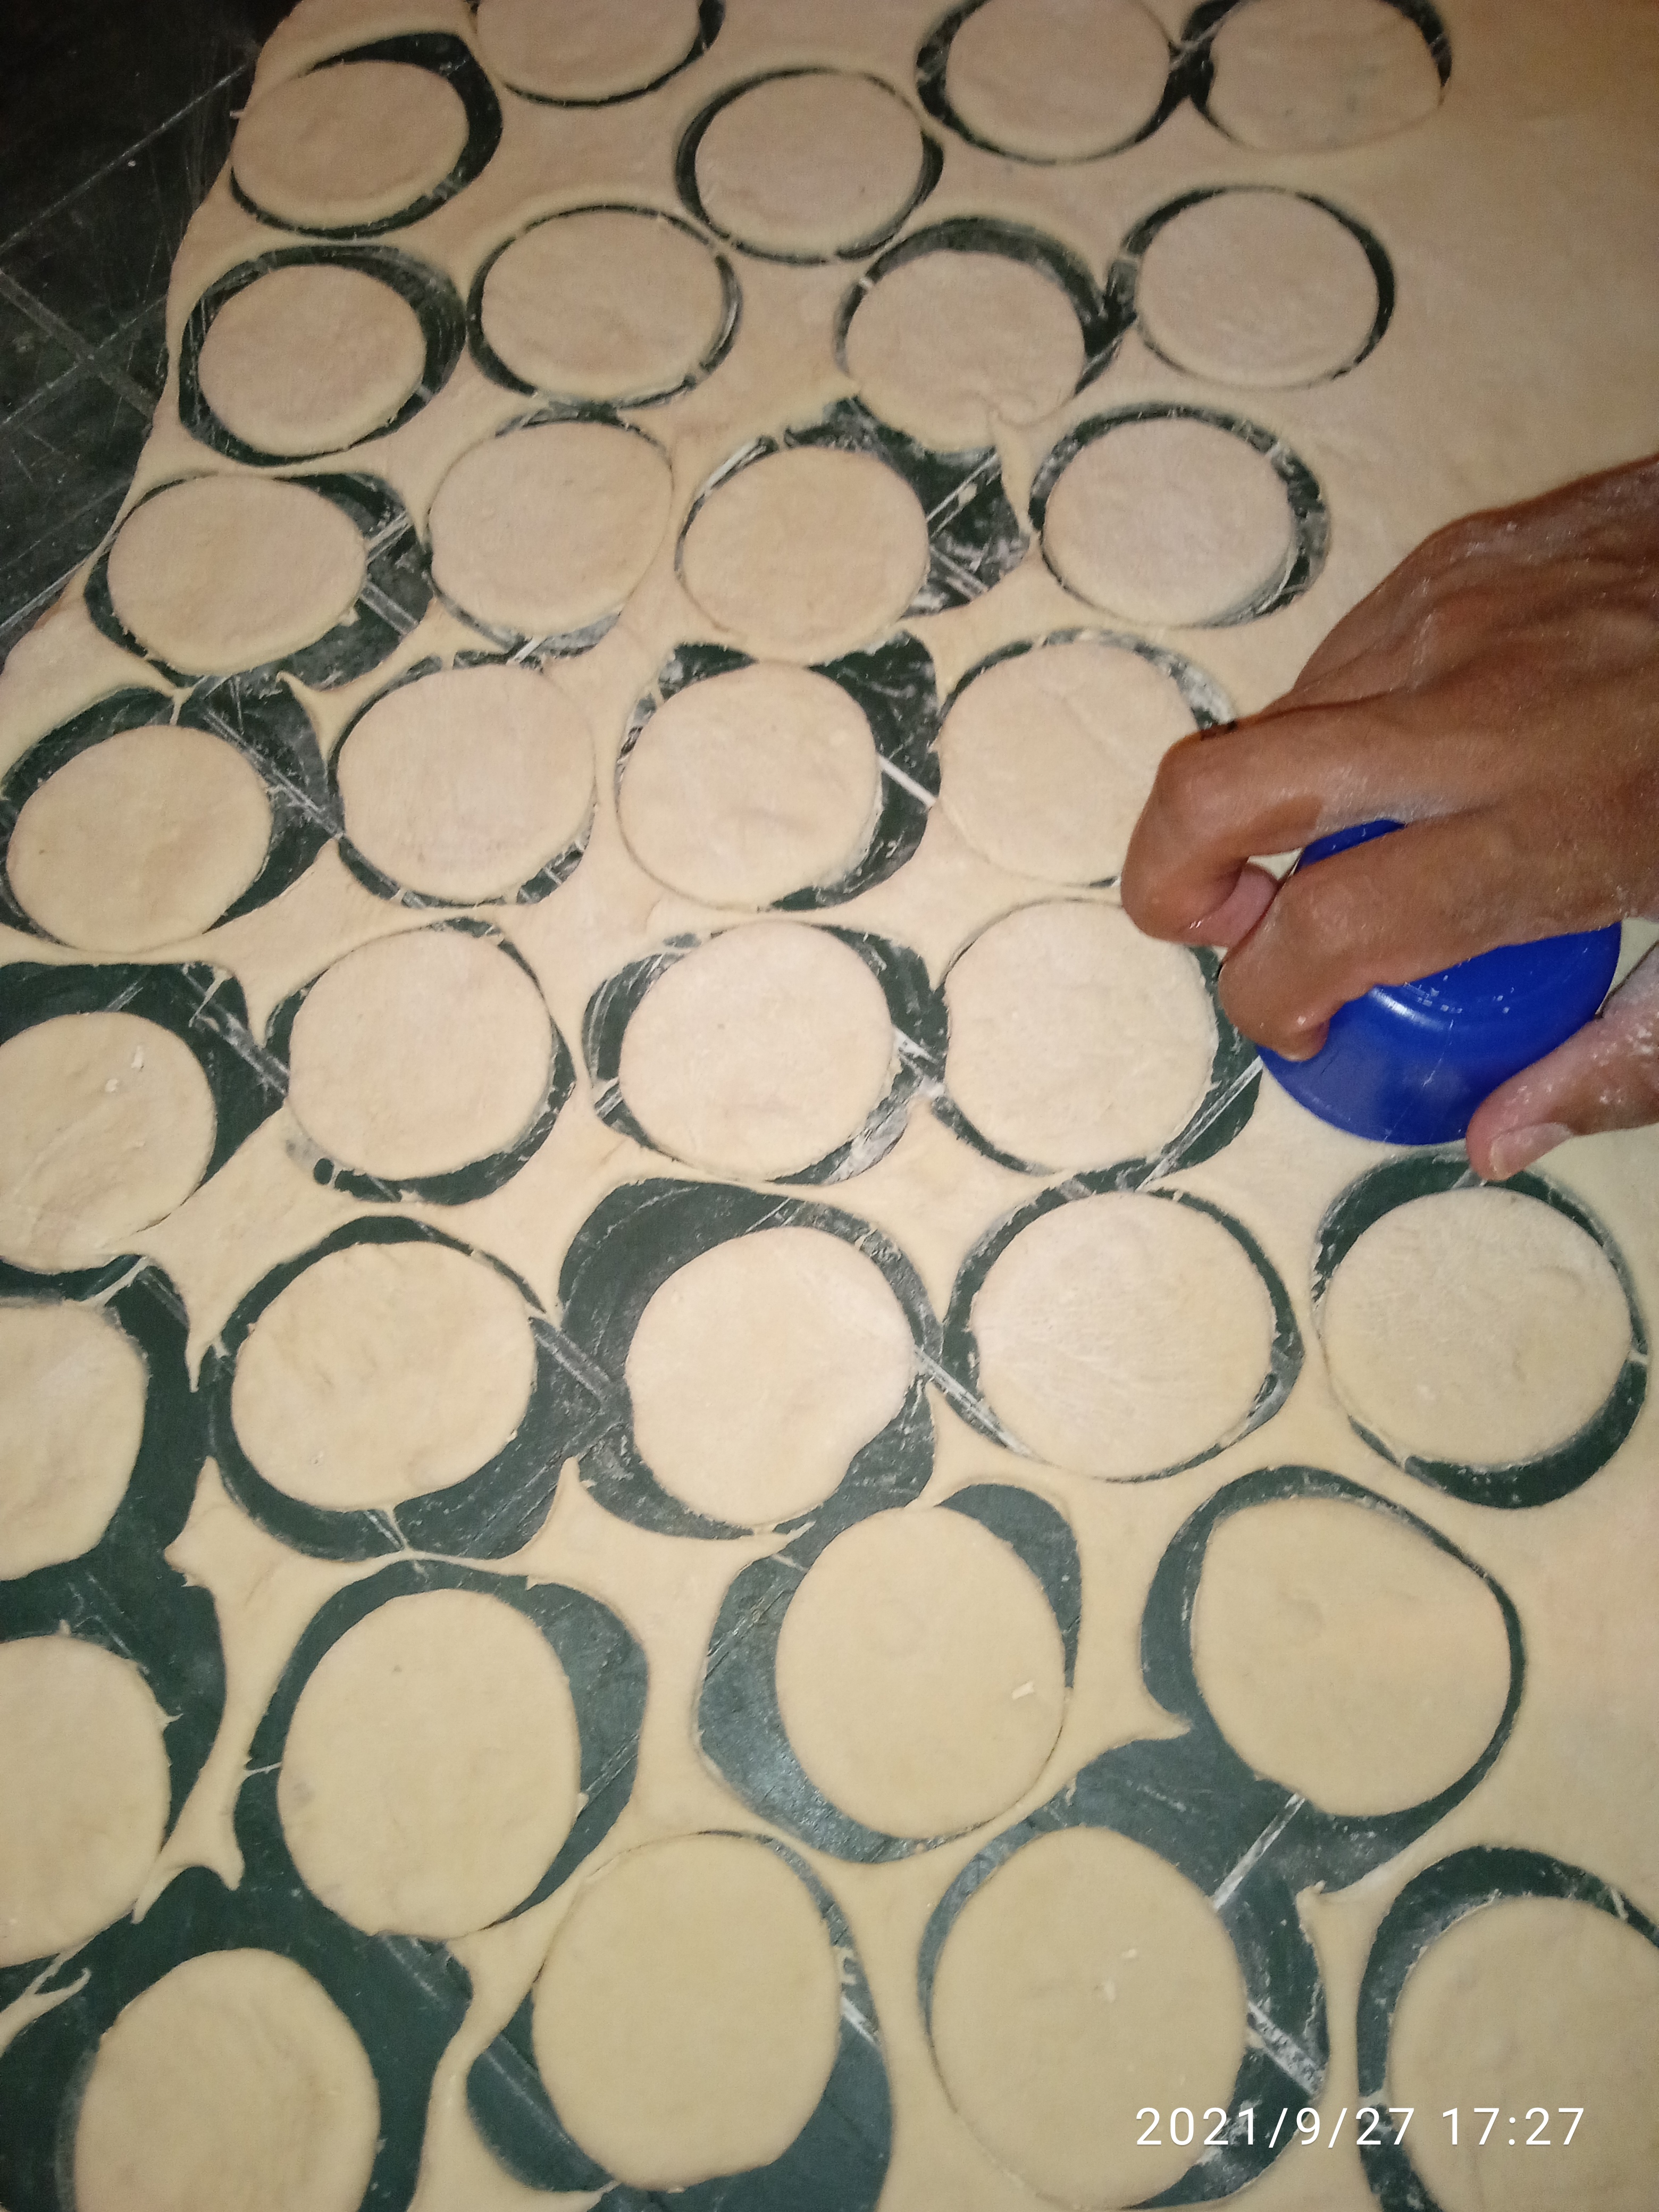
Luego de haber estirado cada lado utilizaremos un molde de donas para darle forma(podemos incluso empezar utilizando un vaso de plástico o aluminio para la forma redonda).
Recordemos que la cocina es divertida sobre todo si preparas algo nuevo, así que no te preocupes si la primera vez no sale tal cual como lo vez en la imagen, poco a poco lograrás obtener el resultado correcto, todo requiere de práctica.
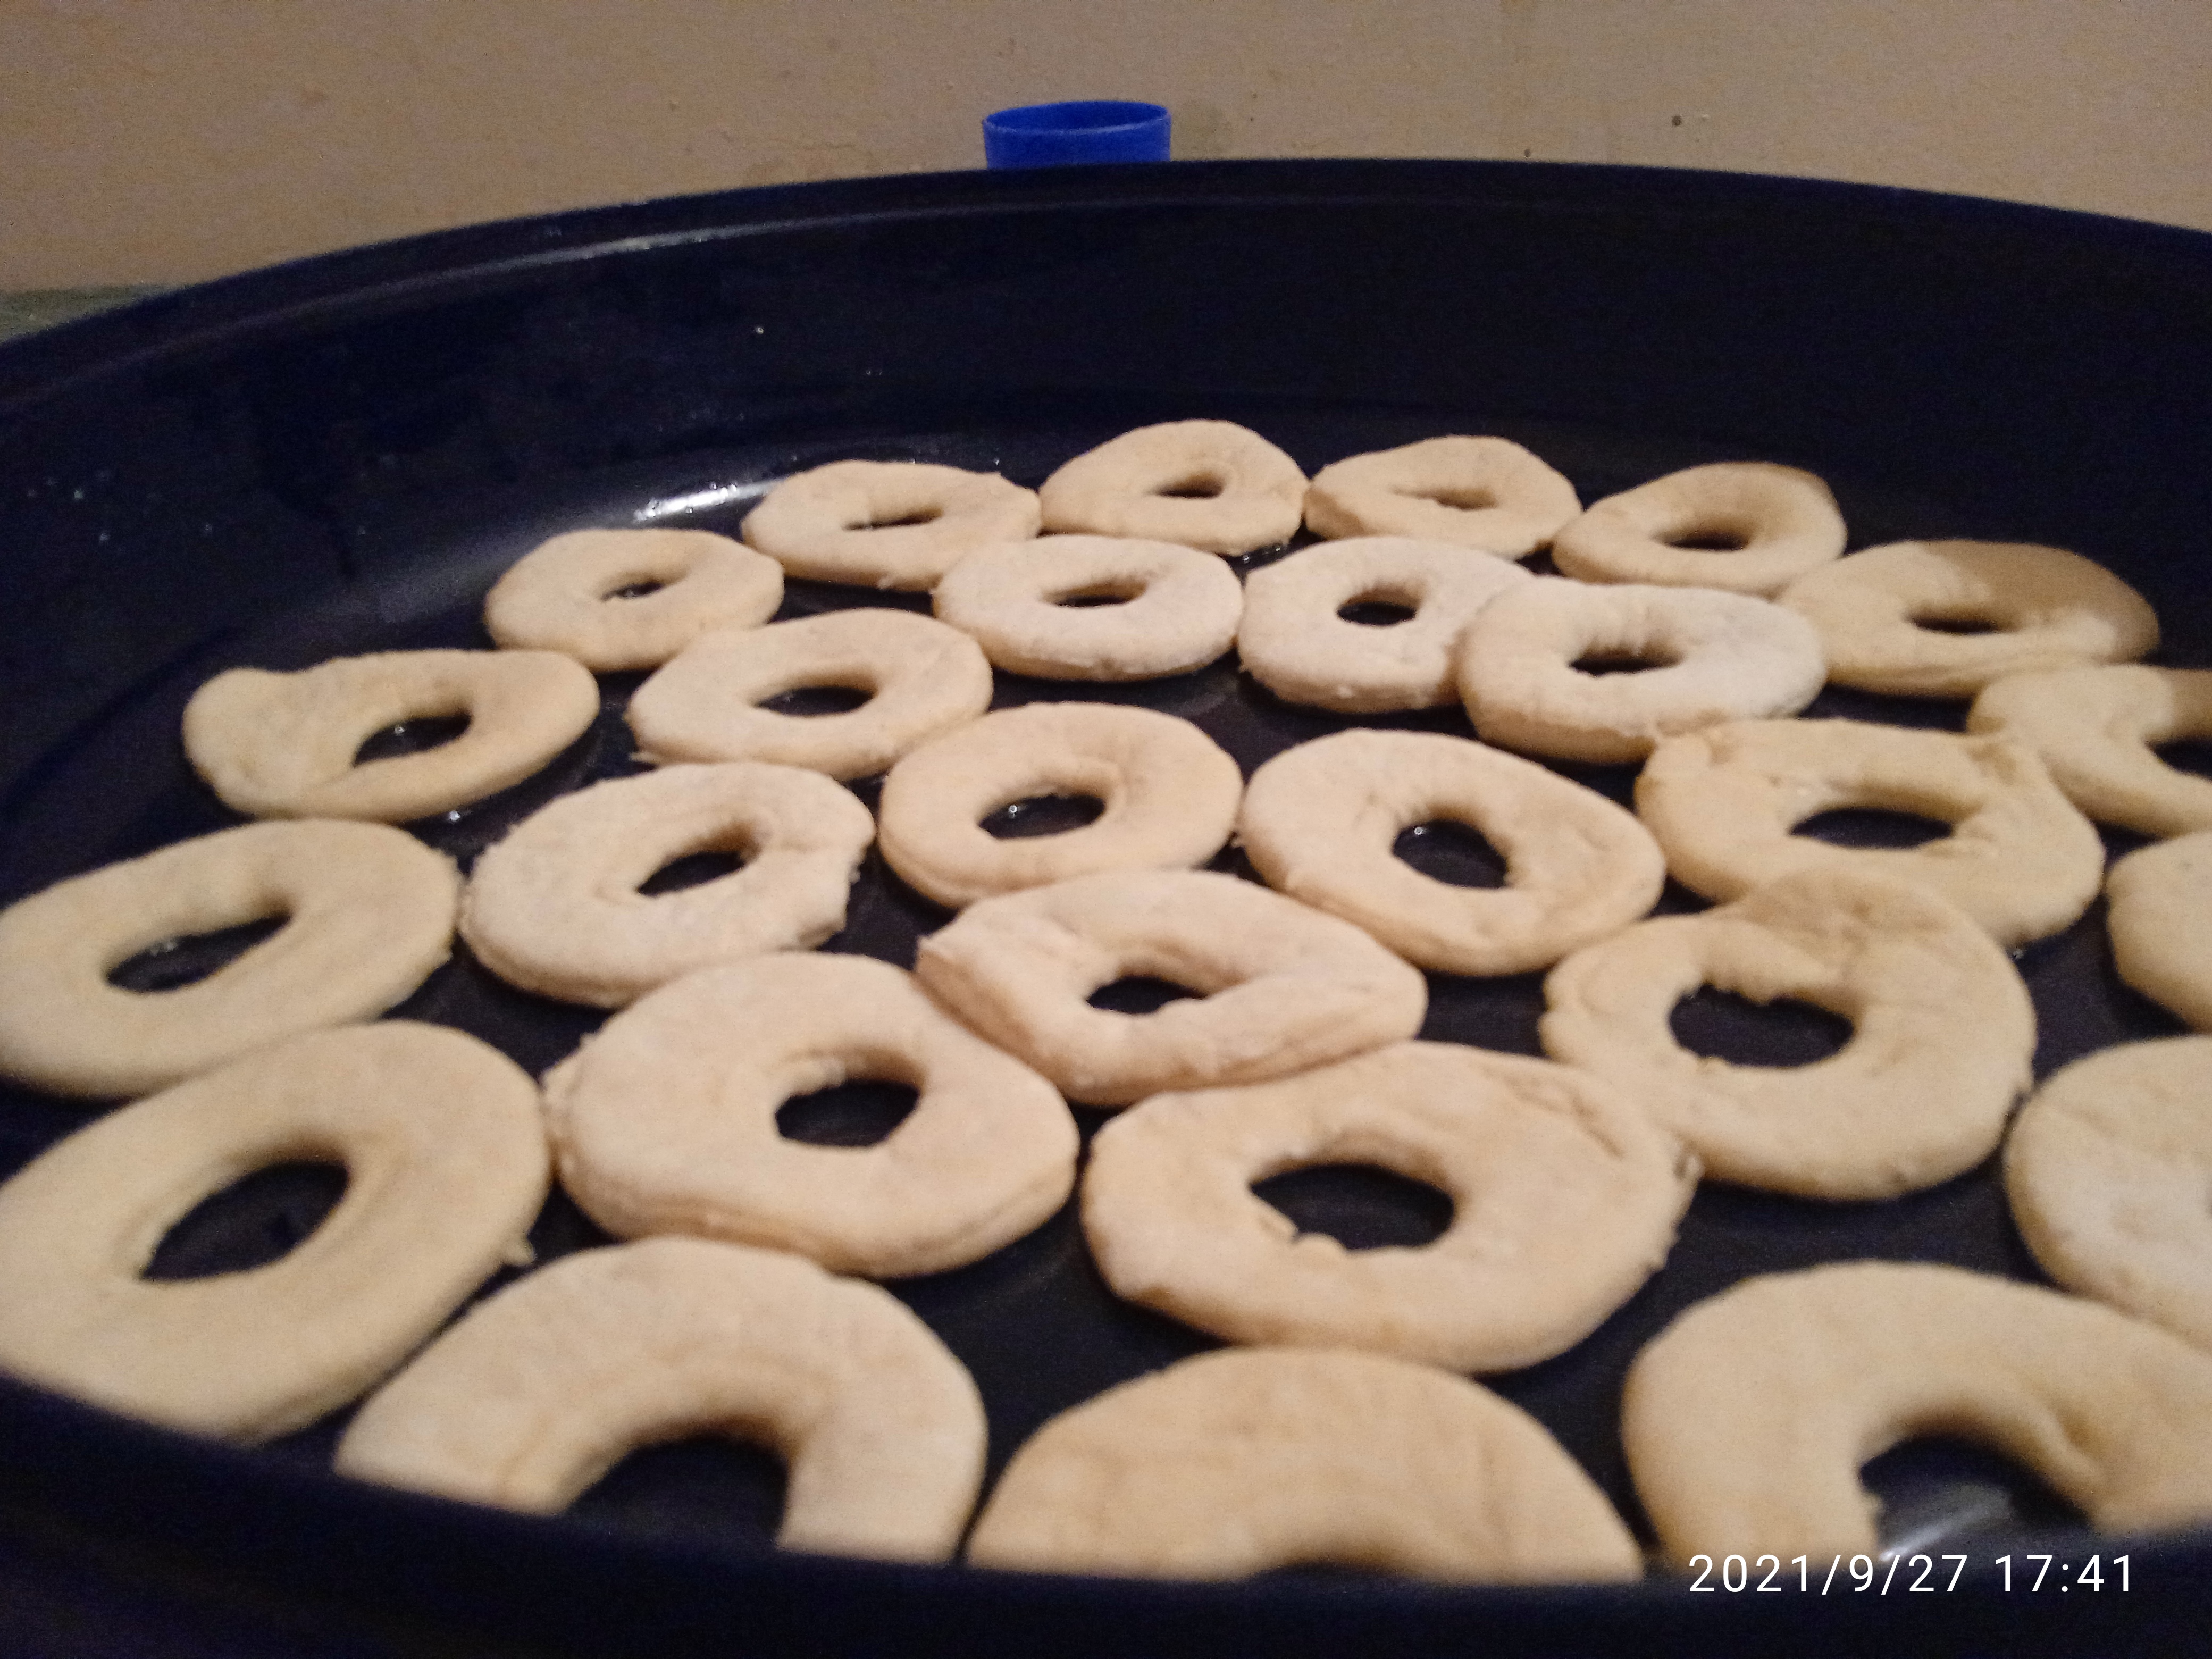
Luego de hacer las formas de las donas, con un molde más pequeño hacemos un mini círculo en el centro de cada una. Al terminar nos quedará algo de masa con la que repetiremos el proceso, igual que con la mitad faltante.
Por último colocaremos las donas en un molde cubierto con un poco de aceite y dejaremos reposar por aproximadamente 15 minutos.
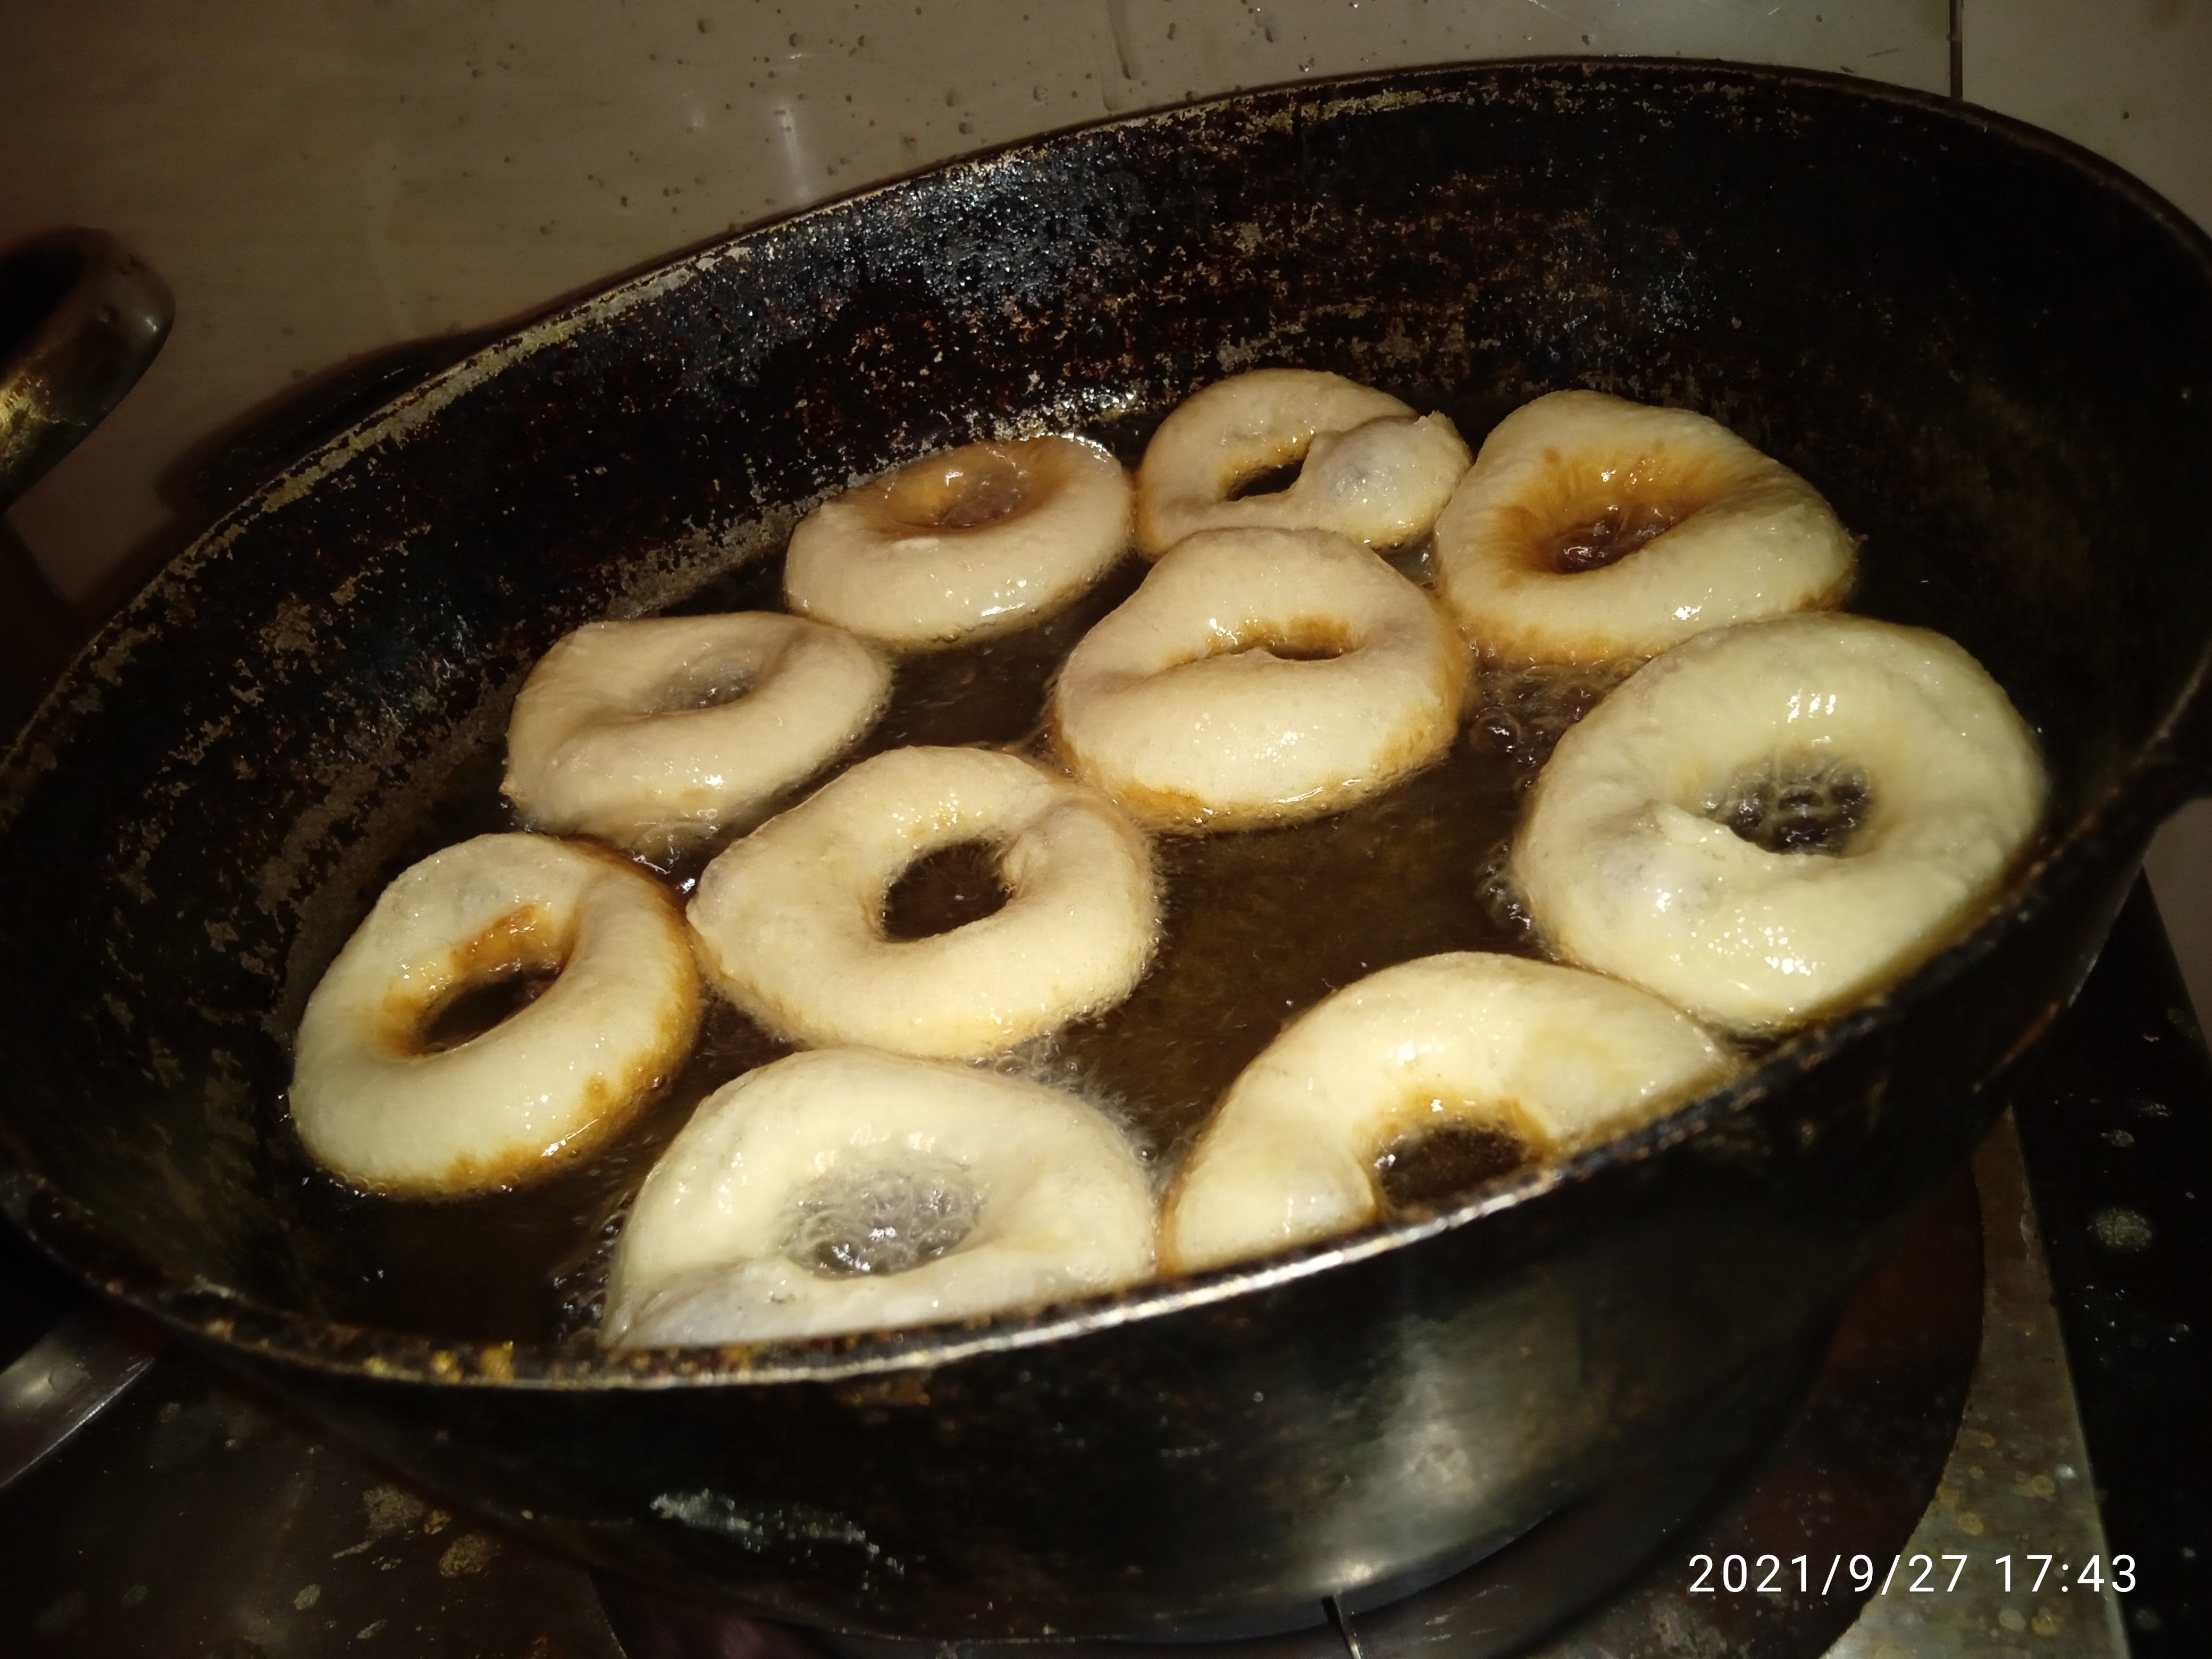
Listo! Ya llegado a este punto no hay vuelta atrás, solo falta freír nuestras donas en un caldero con una temperatura estable, en casa lo hacemos con cocina eléctrica o a gas, puedes elegir en dónde y observar que temperatura esa adecuada, sugiero un poco alta la llama así quedarán más suaves nuestras donas.
Ahora solo falta un borde para darles un sabor peculiar y diferente a nuestras donas, que les parece una cobertura de chocolate?
Ingredientes para cobertura de chocolate:
150g de cacao en polvo
4 cucharadas de maizina
4 cucharadas de aceite
2 tazas de agua
2 tazas de azúcar

Preparación:
Añadimos todos los ingredientes en una olla, y batimos bien ayudándonos con un batidor de mano antes de cocinar. Luego de haber batido llevamos al fuego poniendo nuestra olla en una temperatura alta, sin despegarnos de ella batiremos hasta que el chocolate espese y despegue de la olla.
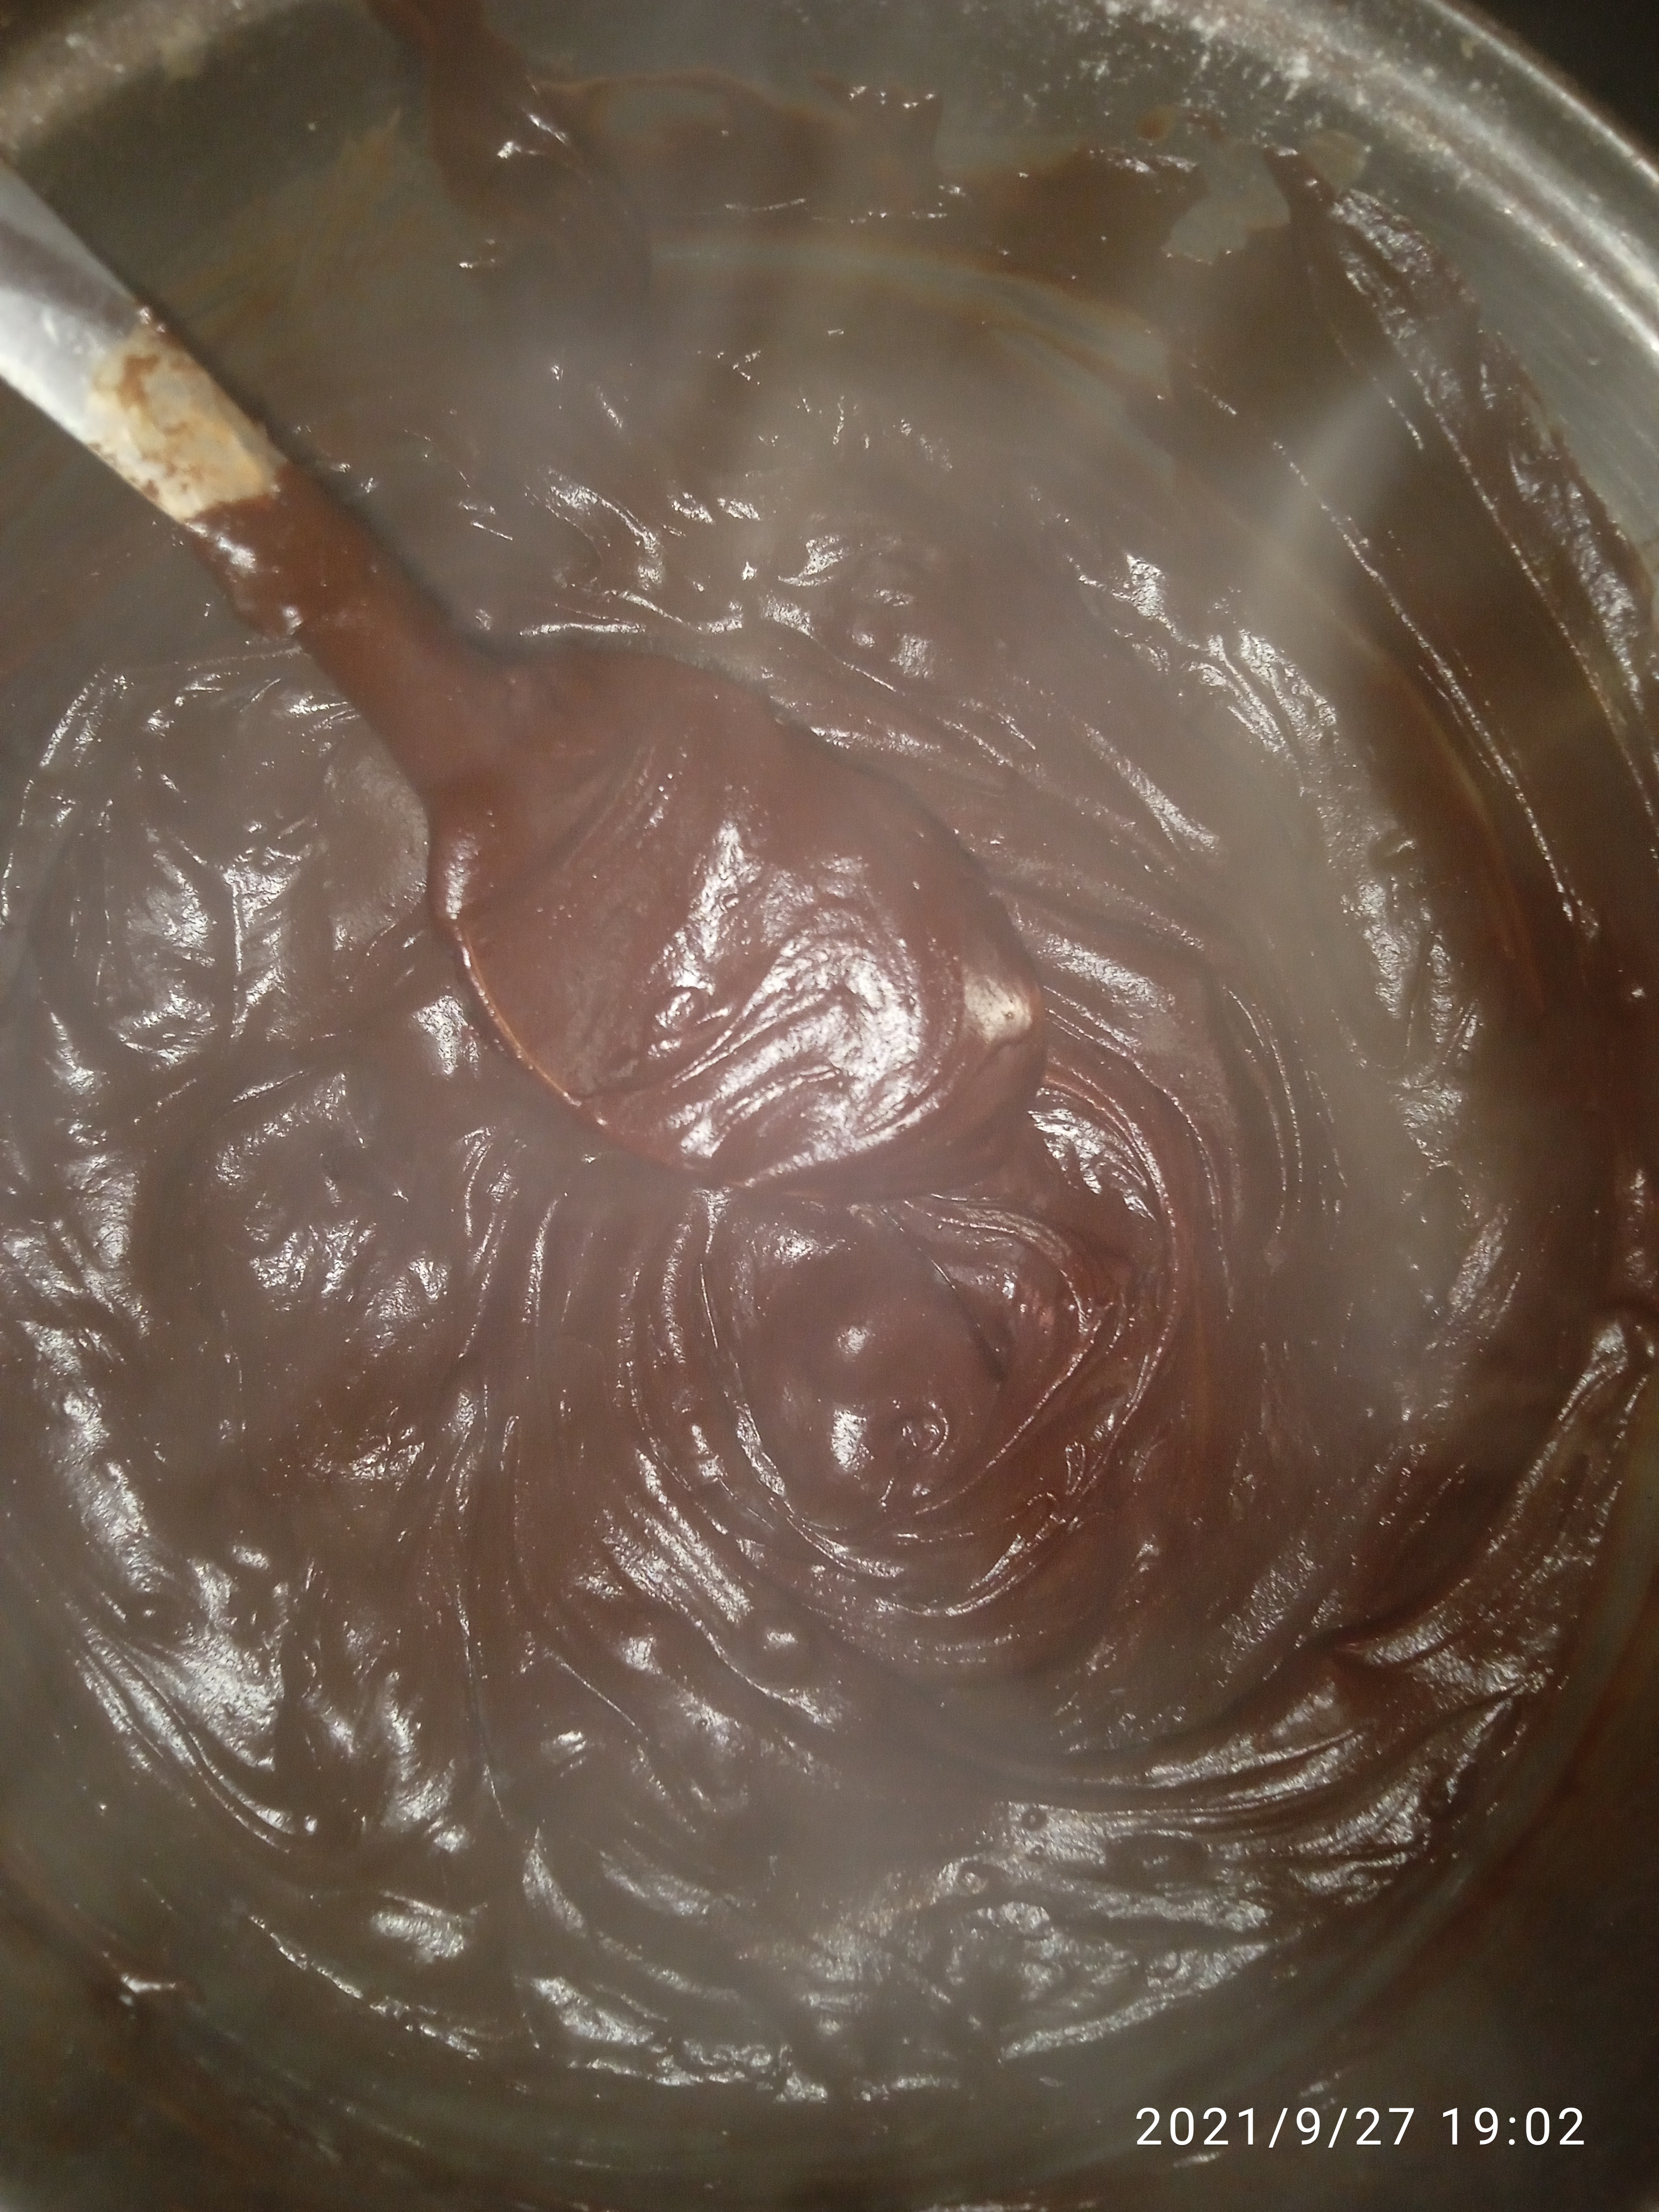
Terminamos! Ahora solo falta que el chocolate enfríe para decorar nuestras donas. Algo que me gustaría aclarar cuando hablamos de medidas por taza es que si has usado tazas medidoras antes, utilizaremos la taza más grande. Espero les haya gustado la receta.
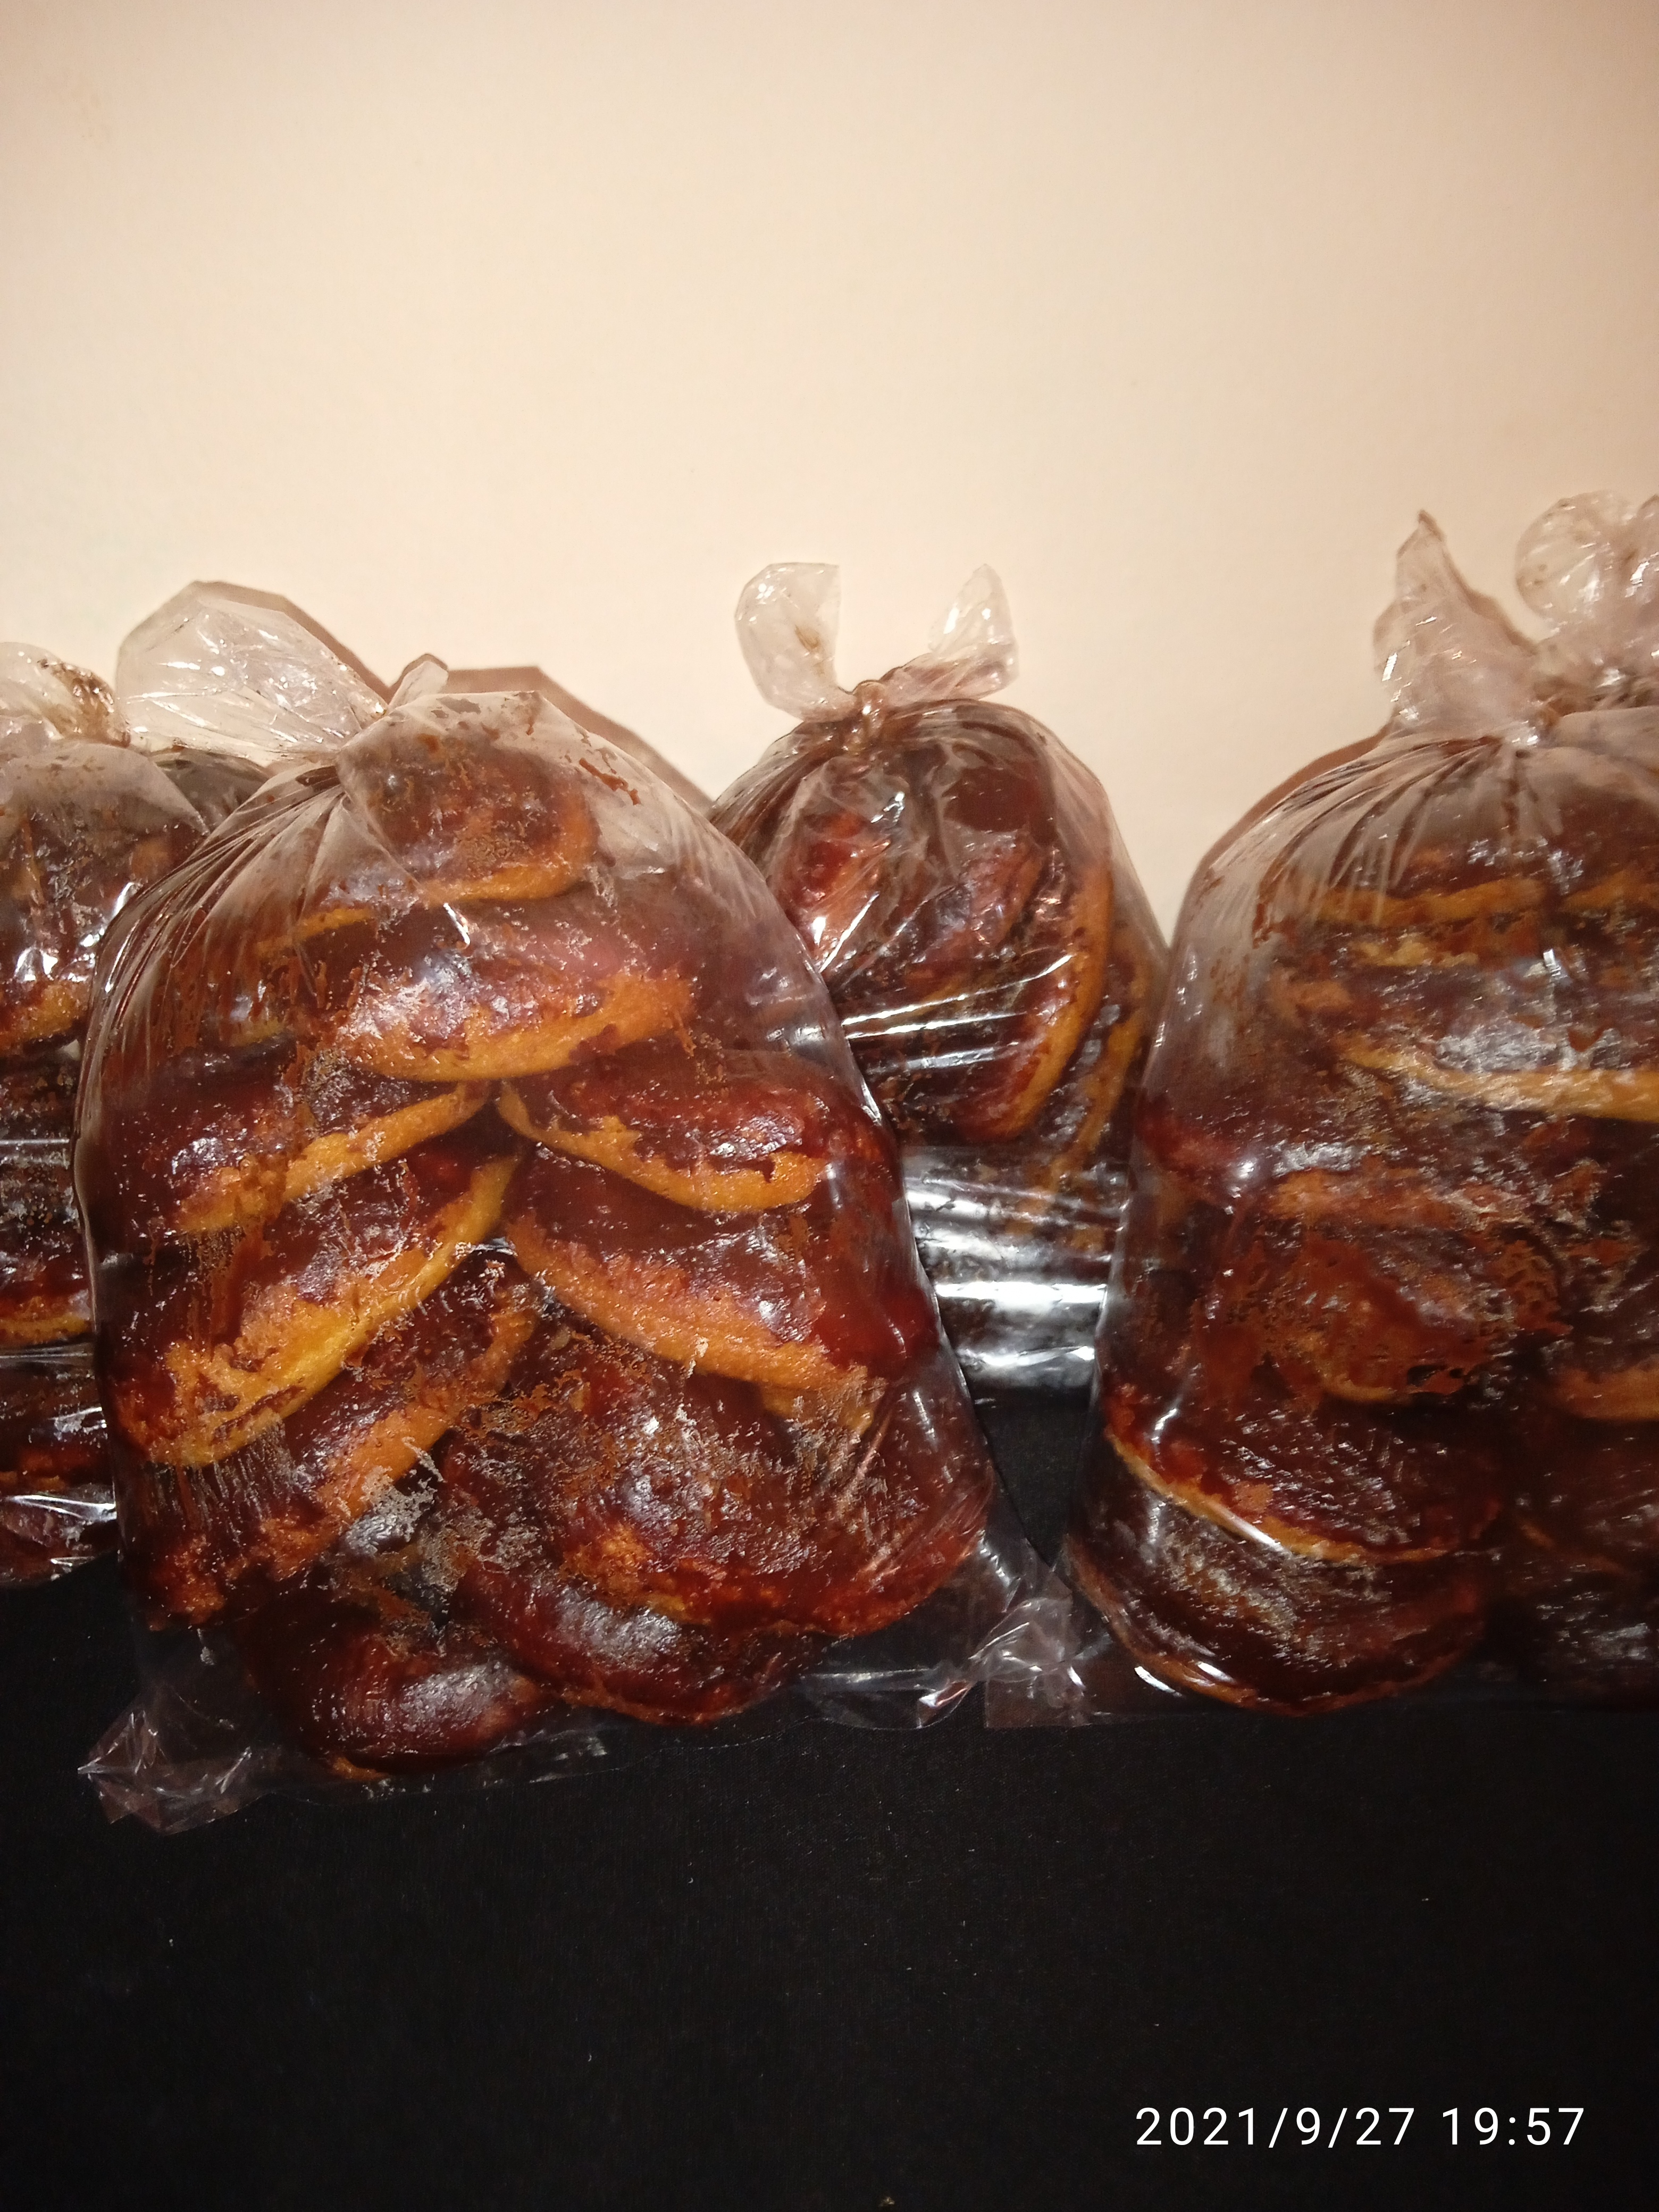
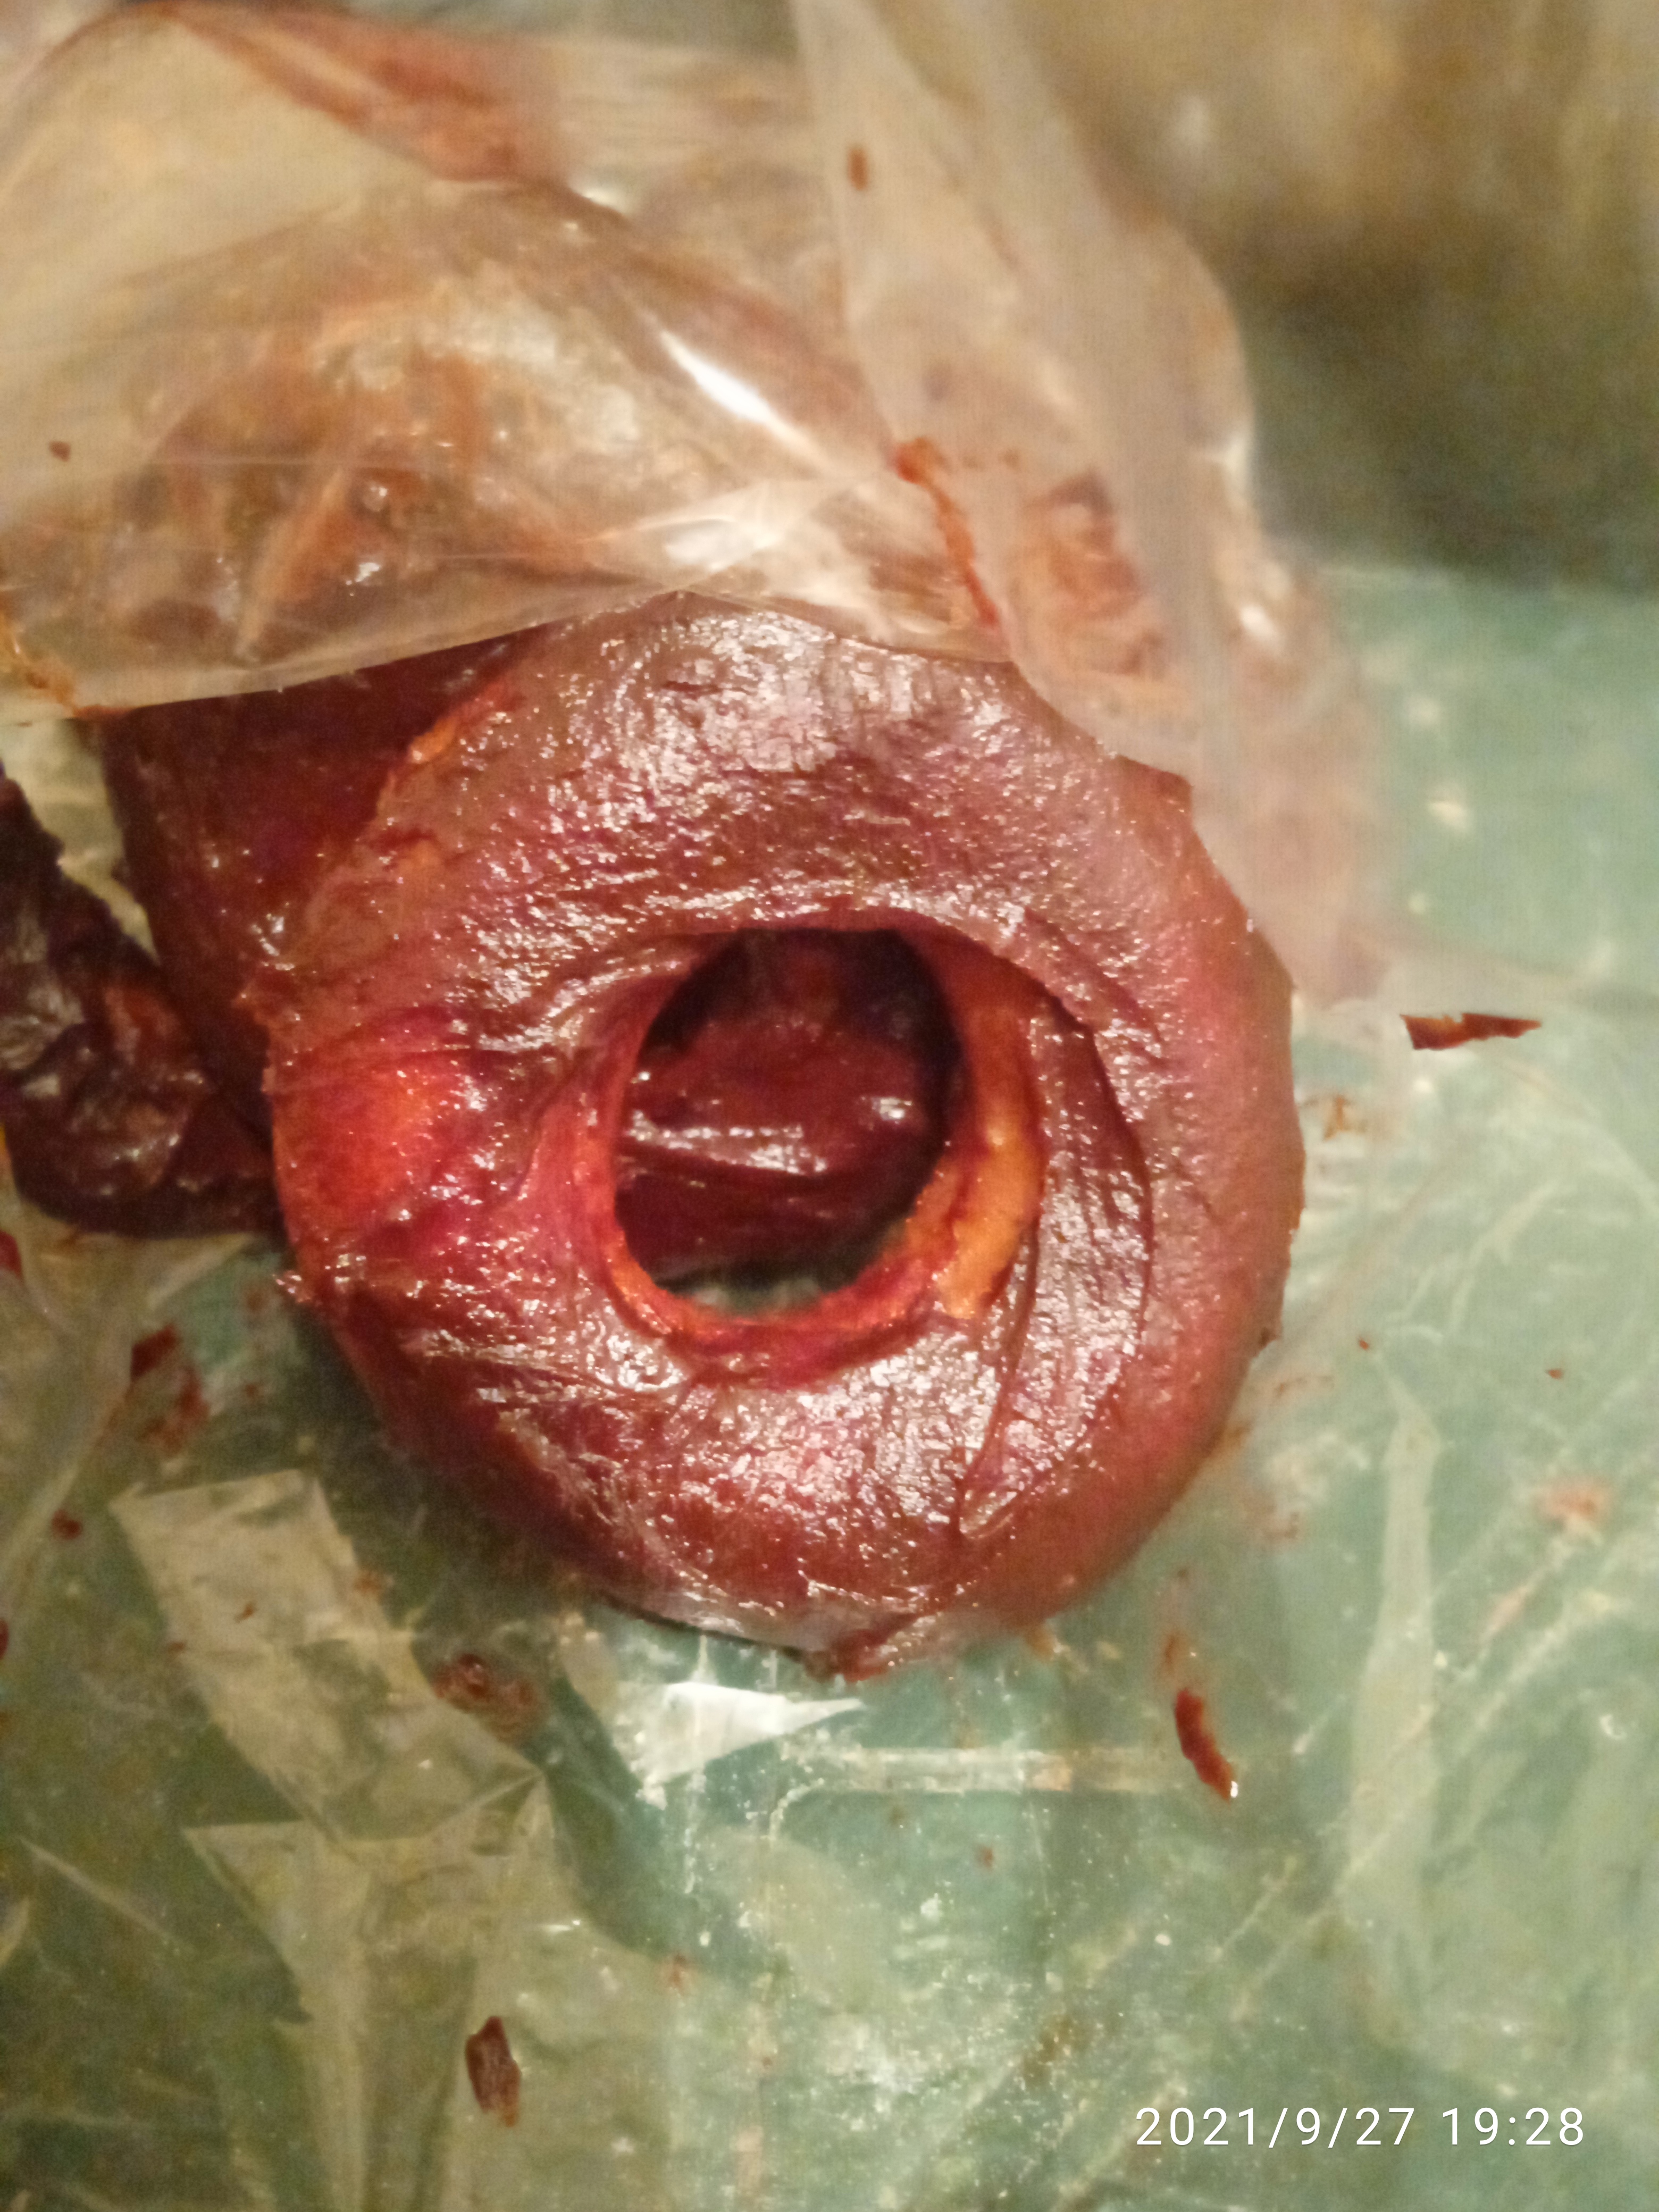
Mi esposa y yo aquí en Venezuela vendemos nuestras donitas cubiertas con chocolate empaquetadas tal como vez en la imagen
English
Greetings everyone! Today I would like to share with you something that I love to do it is my daily job, it is my recipe for donuts to make at home.
My wife and I have a sweet tooth, we are young, and, having only been married for a month, we have to struggle daily with financial expenses. One of our ways to do it is through these donuts, come and I show you the recipe, and the process, it is very simple and you can make as many as you want.
Ingredients for the dough:
1kg bakery wheat flour
2 1/2 of water
20g yeast
5 tablespoons sugar
2 tablespoons butter or vegetable shortening > 1 tablespoon vanilla
1 tablespoon vanilla
1 egg
1 teaspoon salt
Preparation:
In a large cup or bowl add the water, yeast, sugar, egg, vanilla, butter, and as we are beating we will add the ingredients. Then having beaten steadily we will add the flour little by little, we will mix it until it is thick and consistent enough to knead on a smooth surface (preferably a countertop).
The kneading can vary, for our first time, it can last a minimum of 10 minutes (Note: we add the teaspoon of salt when we start kneading). We will use our previously washed hands to push and pull the dough with force until it is smooth and without lumps. In the end, we will let it rest between 20 and 30 minutes depending on the heat of the environment.
I recommend having an upright position and use one foot in front and one behind, also knead on a surface that fits our height, this will allow less complicated kneading and take care of our spine.
At the end of the waiting time, divide the dough into two halves, and stretch the first one with the help of a rolling pin, stretch until the dough has a proportion of taste for the thickness of the donuts (note: gradually add flour as we stretch the dough as it sticks a little).
After having stretched each side we will use a donut mold to shape it(we can even start by using a plastic or aluminum cup for the round shape).
Remember that cooking is fun especially if you prepare something new, so do not worry if the first time does not come out as you see in the picture, little by little you will get the right result, everything takes practice.
After making the donut shapes, with a smaller mold we make a mini circle in the center of each one. In the end, we will have some dough left to repeat the process, the same as with the missing half.
Finally, place the donuts in a mold covered with a little oil and let them rest for approximately 15 minutes.
That's it! At this point there is no turning back, we just need to fry our donuts in a pan with a stable temperature, at home we do it with an electric or gas stove, you can choose where and observe what temperature is adequate, I suggest a little high flame so our donuts will be softer.
Now we just need an edge to give them a peculiar and different flavor to our donuts, how about a chocolate coating?
Ingredients for chocolate coating:
150g cocoa powder
4 tablespoons cornstarch
4 tablespoons of oil
2 cups of water
2 cups of sugar
Preparation:
Add all the ingredients to a pot and beat well with a whisk before cooking. After whisking, we put our pot on high heat, and without leaving the pot, we will whisk until the chocolate thickens and comes off the pot.
That's it! Now we just need to let the chocolate cool down to decorate our donuts. Something I would like to clarify when we talk about measurements per cup is that if you have used measuring cups before, we will use the larger cup. I hope you liked the recipe.
My wife and I here in Venezuela sell our chocolate-covered donuts packaged as you can see in the picture.
Congratulations @moica! You have completed the following achievement on the Hive blockchain and have been rewarded with new badge(s) :
Your next target is to reach 50 comments.
You can view your badges on your board and compare yourself to others in the Ranking
If you no longer want to receive notifications, reply to this comment with the word
STOPTo support your work, I also upvoted your post!
Check out the last post from @hivebuzz: