Well hello, stranger
Vetkoek (translating to english as fat cake, so let's stick with vetkoek 🤣) has always been a favourite for me when visiting my grandmother. She used to make them herself from start to finish. I'm not one for vetkoek bought at markets or shops or even the Vetkoek Factory we used to have. It's either made fresh at home or not enjoyed at all.
From time to time I'll make fresh vetkoek at home. I like to use a pre-mix from this since I know it will always be the same. Apart from that, I know how many I'll get, and it's convenient for those weekends when I don't feel like leaving the house or making a mess.
Probably not many will know about vetkoek, and you might not have these pre-mixes available. I'm sure if you go google "Vetkoek recipe" you'll find one that guides you through the ingredients and all. If that's not possible you can also use store-bought bread dough, we used to do that while growing up. I'm not sure if this will be an option for everyone. For all my South African-based peeps out there, if you love vetkoek give the pre-mix by Eureka Mills a try. It's fluffy and doesn't hold the oil, so you have a crispy vetkoek without all the oil dripping out of it.
For this vetkoek adventure, I made use of Eureka Mills vetkoek mix. The pack states that you'll be able to make 10 160-gram vetkoeks, but I usually end up with between 20-25 small vetkoek. You can enjoy them with golden syrup or a homemade curry mince. I prefer them sweet! I know people also tend to put jam and cheese on them.
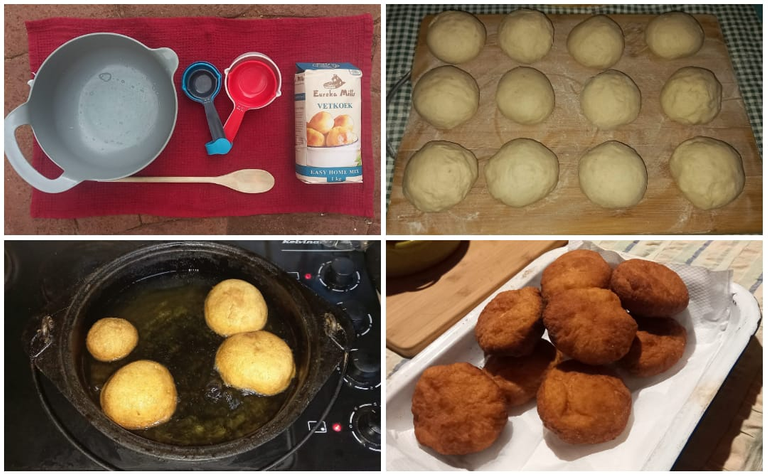
Come along for the cooking adventures during load-shedding!
Well what's the wait?! let's get mixing!
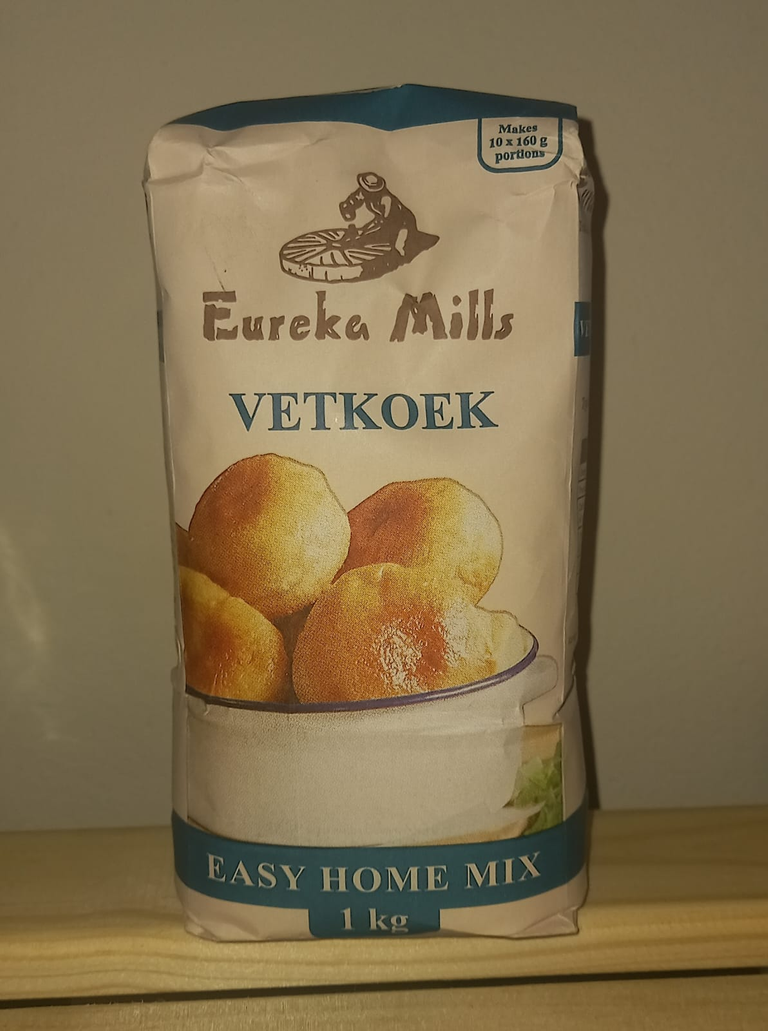
As I mentioned, I like to use the vetkoek mix by Eureka Mills, but you can use store bought bread dough as well. I like mixing parts as it adds to the cooking experience.
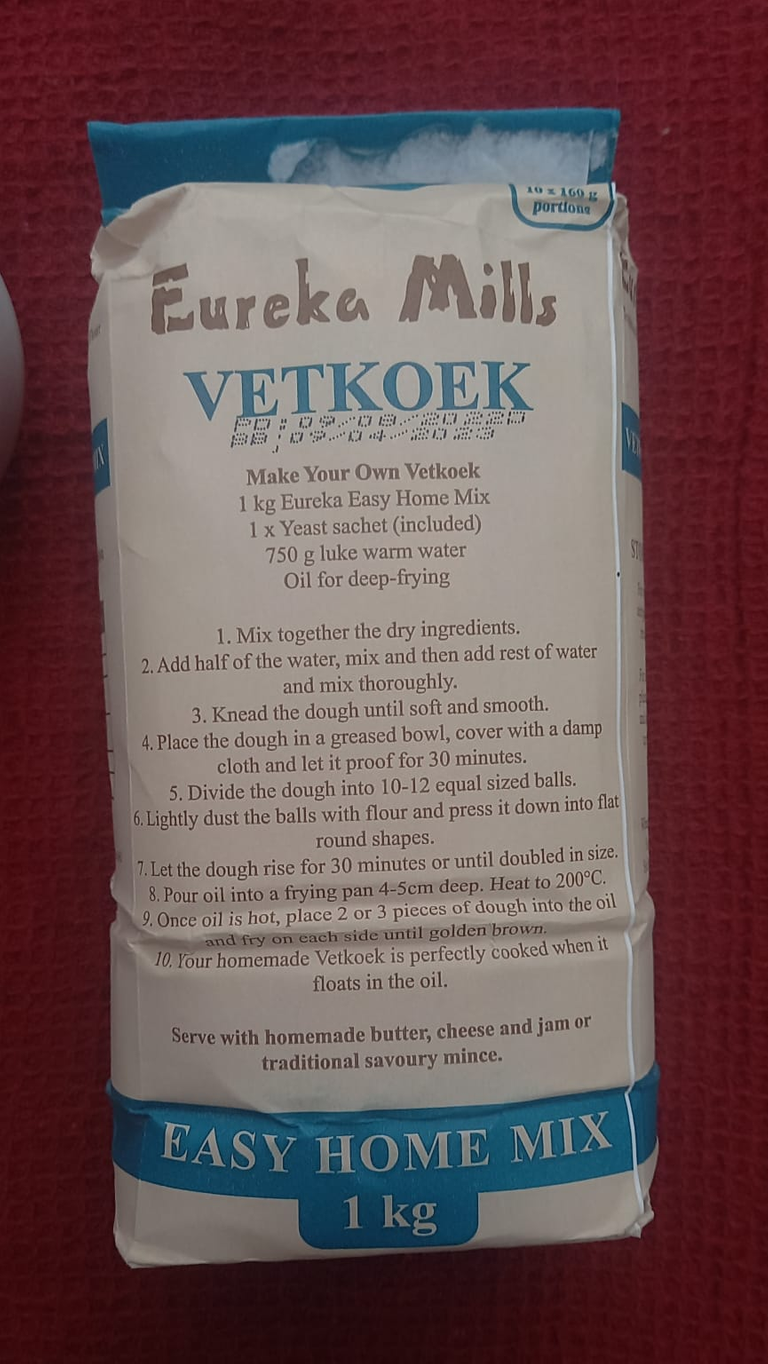
The mixture that I use only requires the pack, yeast, 750 ml lukewarm water and oil that will be used for deep frying the vetkoek. The best part of this pack is that the yeast is included! so you don't have to remember to pick some up. All you need to grab in the store is the Eureka Mills Vetkoek Mix.
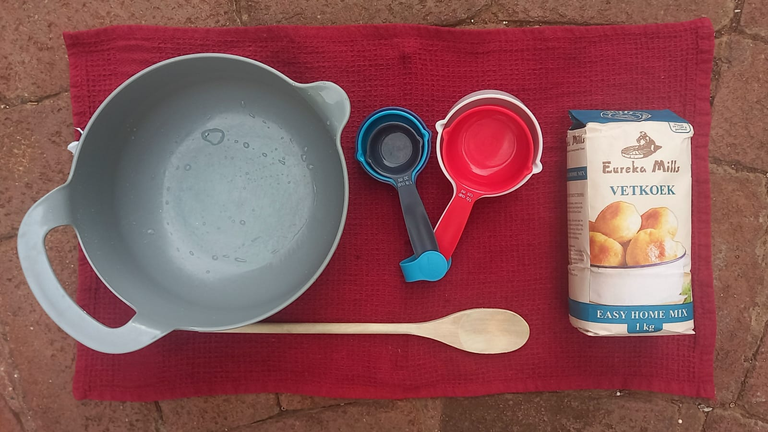
I had to gather a few tools before I started. I moved outside since we had load shedding during the time and it was dark inside the house. I got a bowl, measuring cups, a wooden spoon and a towel to set everything up. I picked a spot outside where I would be able to see and still avoid the rain.
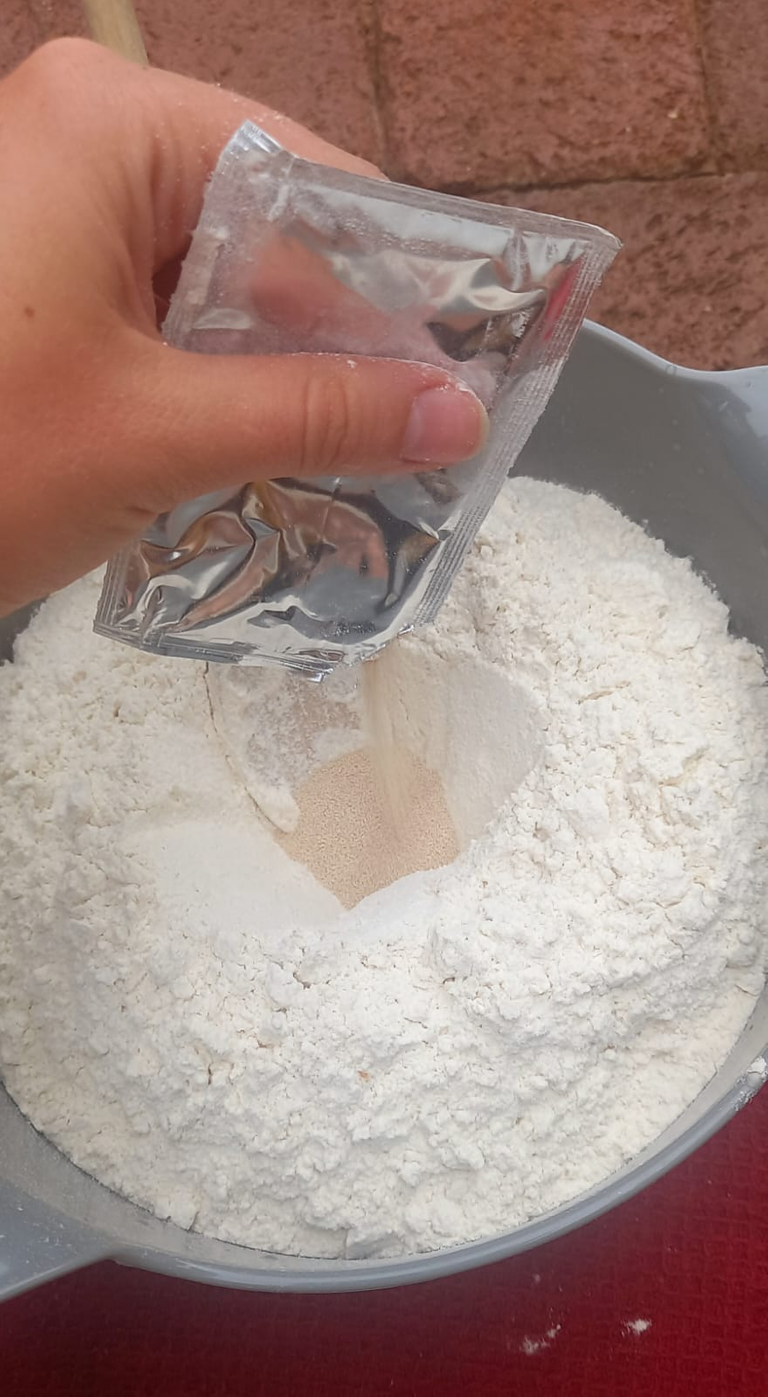
I emptied the vetkoek pre-mix pack into the bowl and made a small hole for the yeast. I then emptied the yeast packet into the hole and mixed it into the flour mix. This way I know the yeast is everywhere and not just on the bottom or in the middle.
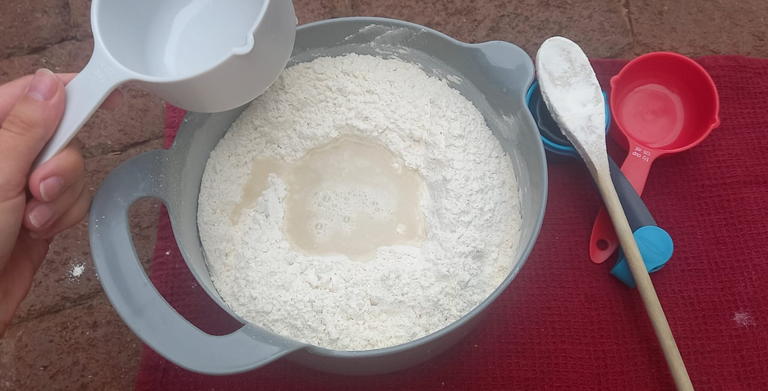
Next we add water! The magic mixture potion to almost everything. Since we didn't have power, I just used hot water from the tap. Usually, I would boil water and let it cool for a bit, but today we didn't have that luxury.
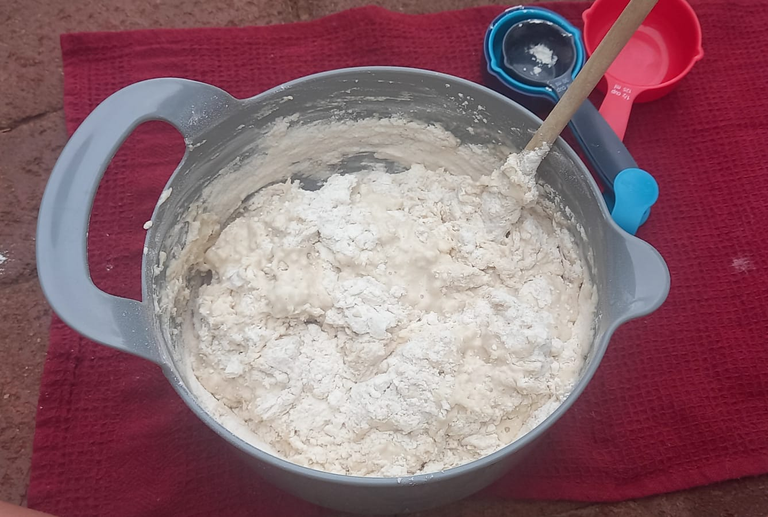
I like mixing it first with a spoon. This way I don't have to touch the first bit of flour and water mixing. I don't like the texture and it's difficult to clean your hands afterwards. I mix the water into the flour until it starts to form clay parts and dry parts. Almost like mud and soil mixing.
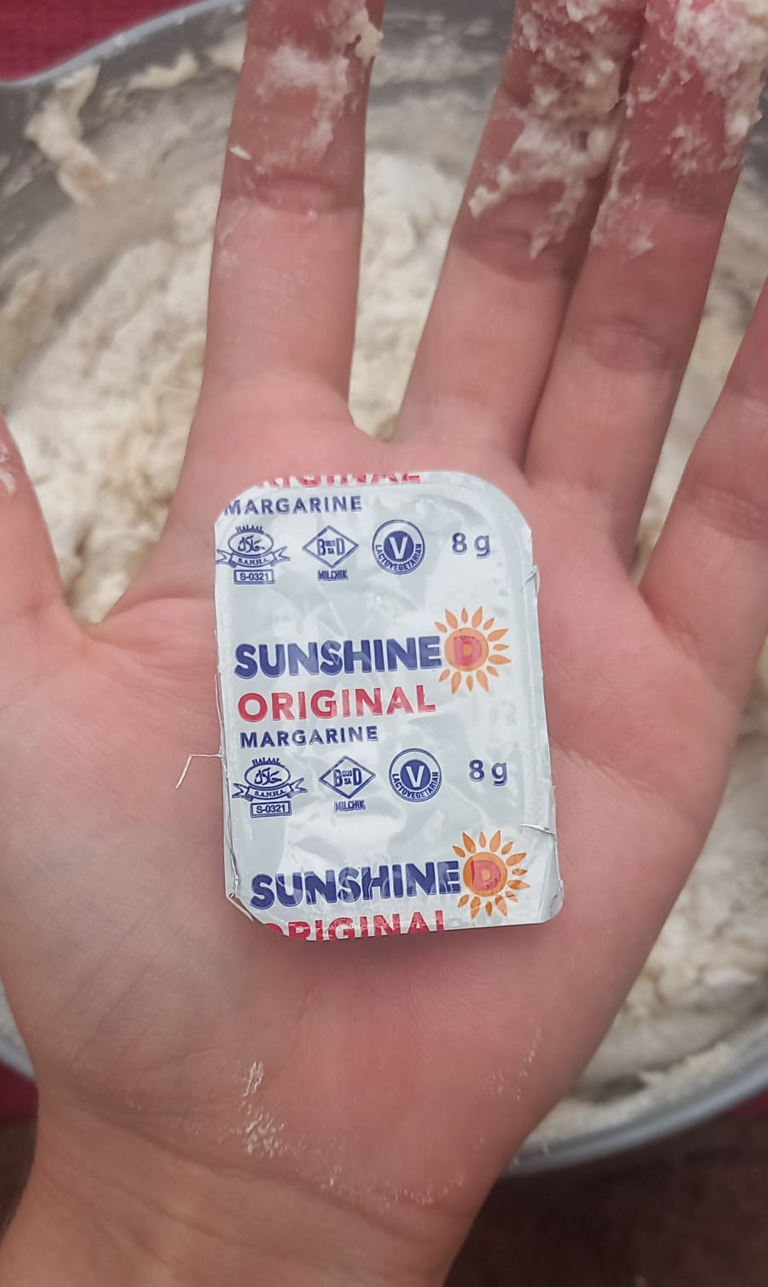
Now we can get our hands dirty! We got a bunch of this small margarine at a workshop, but it tastes terrible on bread. So I make use of them when cooking or baking. I used it to cover my hands in margarine so it would be easier to mix the dough with my hands/
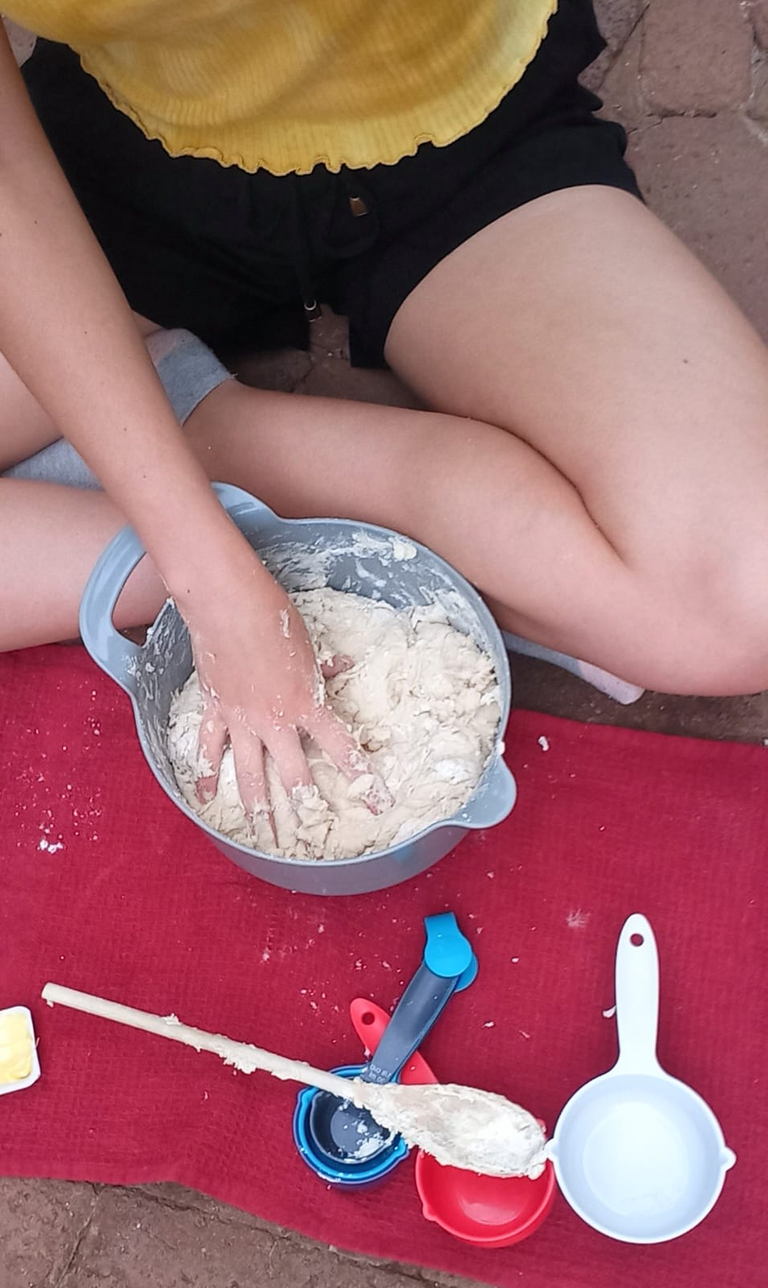
And then it's time to be a little kid again! I personally made a lot of mud pies as a child and mixing vetkoek dough takes me back to those times.
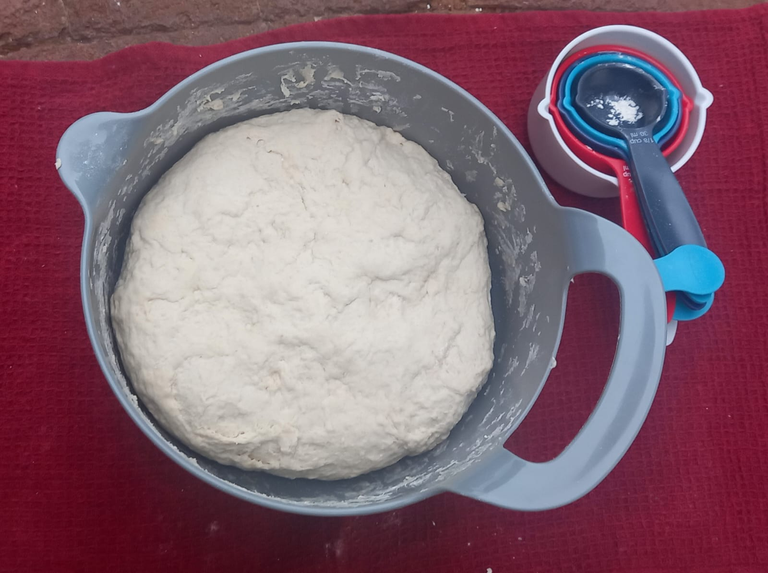
Once everything is mixed you'll have a ball of dough that is ready to grow!
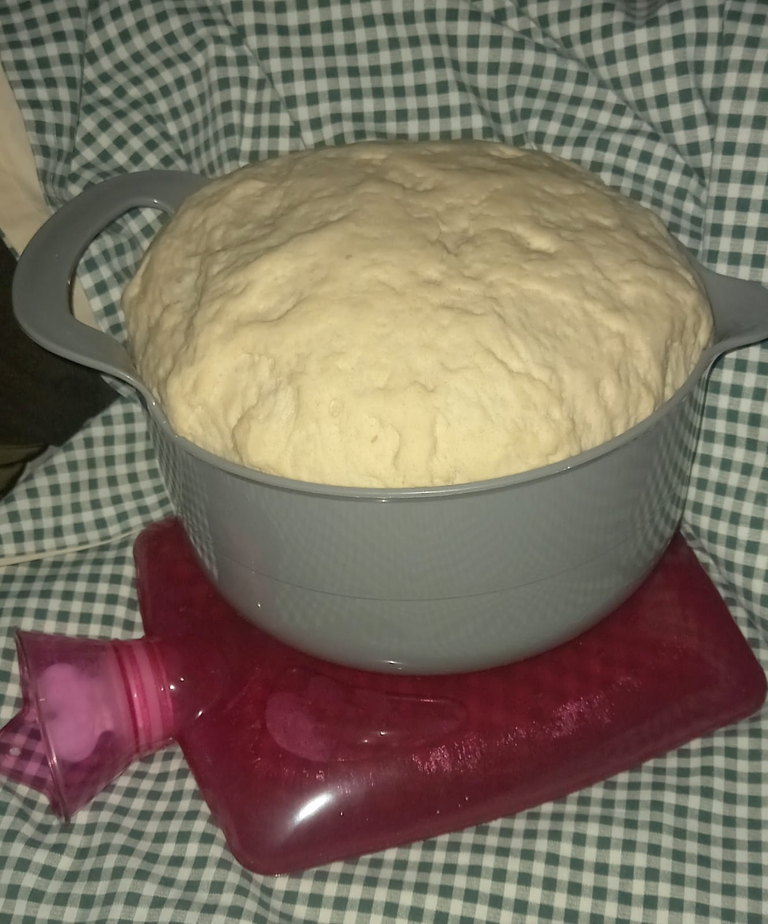
Since it was a gloomy day, it wasn't that hot outside and the dough had a hard time rising. I got a hot water bottle, placed it under the dowl, and wrapped everything in a cloth to help hold the heat. This creates an environment for the yeast o activate and do their job!
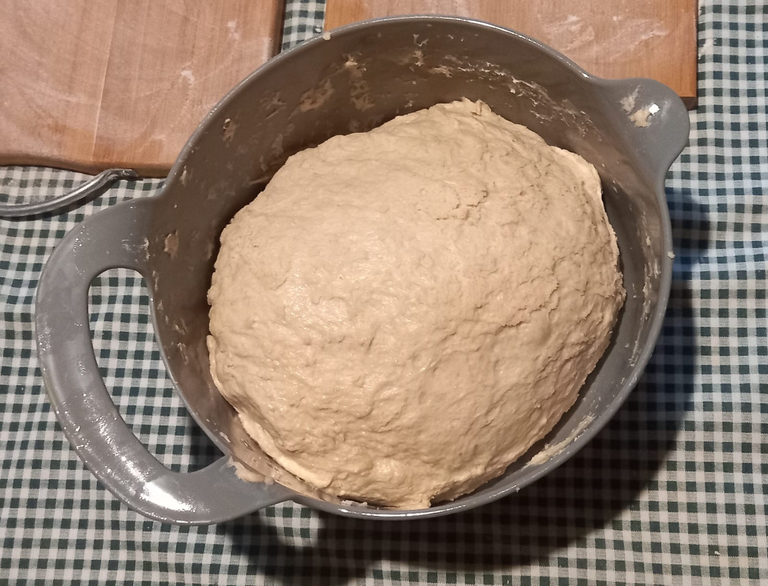
Once the dough was ready, I kneaded the dough again. Now it was ready to be shaped into small vetkoek.
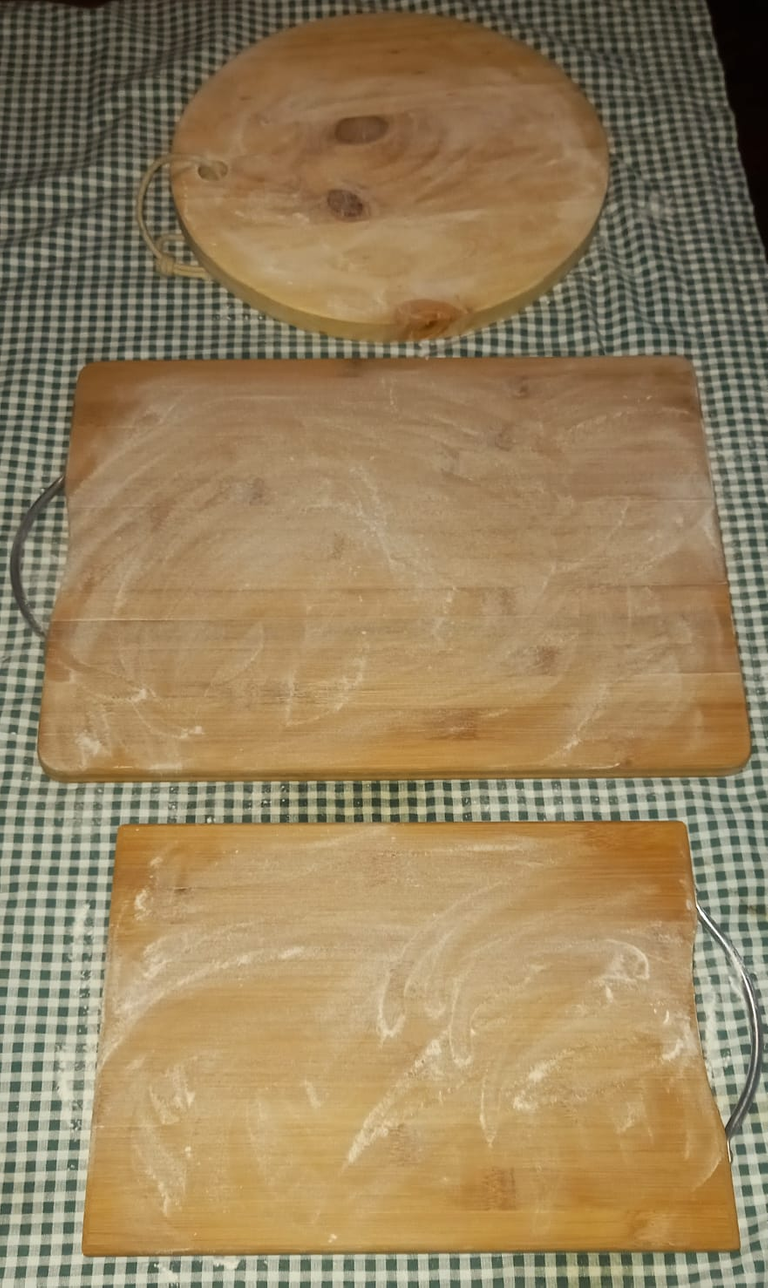
I sprinkle a bit of flour onto my wooden boards to prevent the vetkoek from getting stuck.
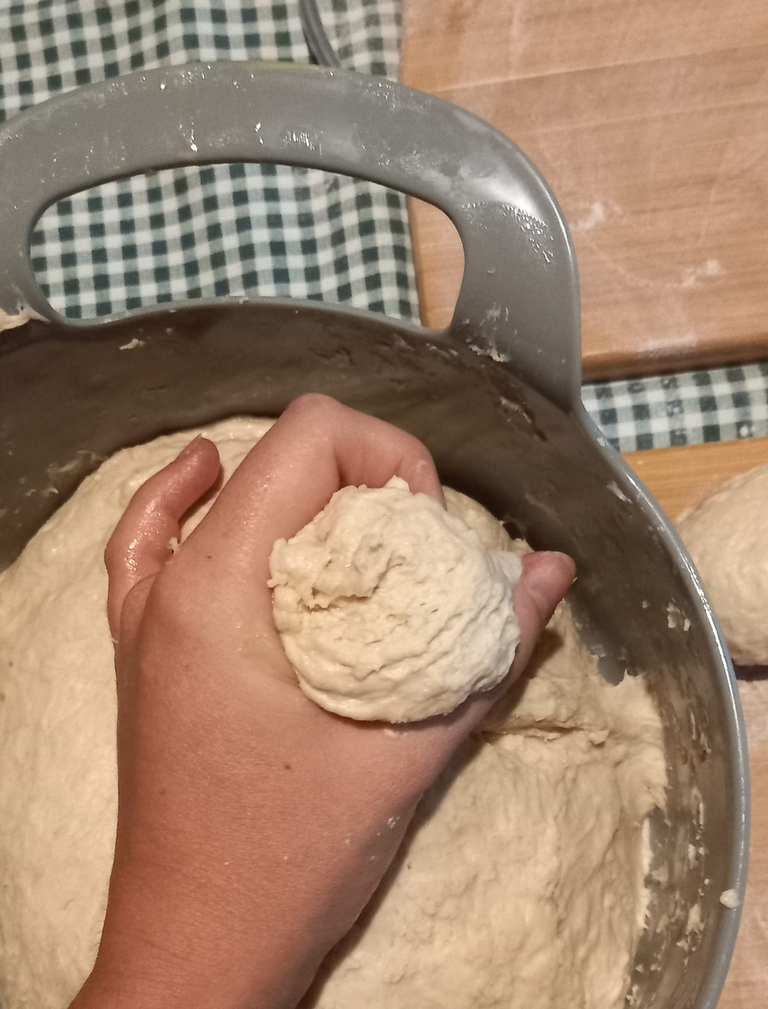
I like to use my thumb and index finger to a section of the dough 👌. This way I know I'm taking the same amount each time and the vetkoek turns out similar in size.
Next it's on to shaping! I don't know how to explain this, so I hope the video helps 🤣. But I tuck the dough under itself while keeping it the shape of a bowl. It's easier to do this by first flattening the ball into a circle shape and tucking pieces underneath.
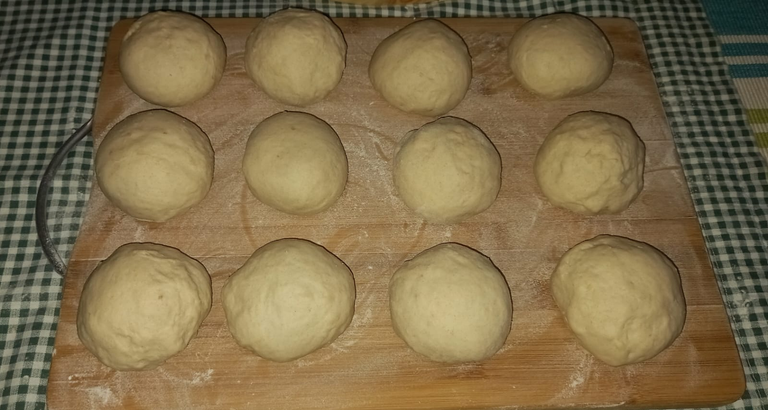
And after a few minutes joined with sticky hands I ended up with 23 almost even-sized vetkoek! Don't they just look perfect? I have a lot of pride in my vetkoek shaping skills.
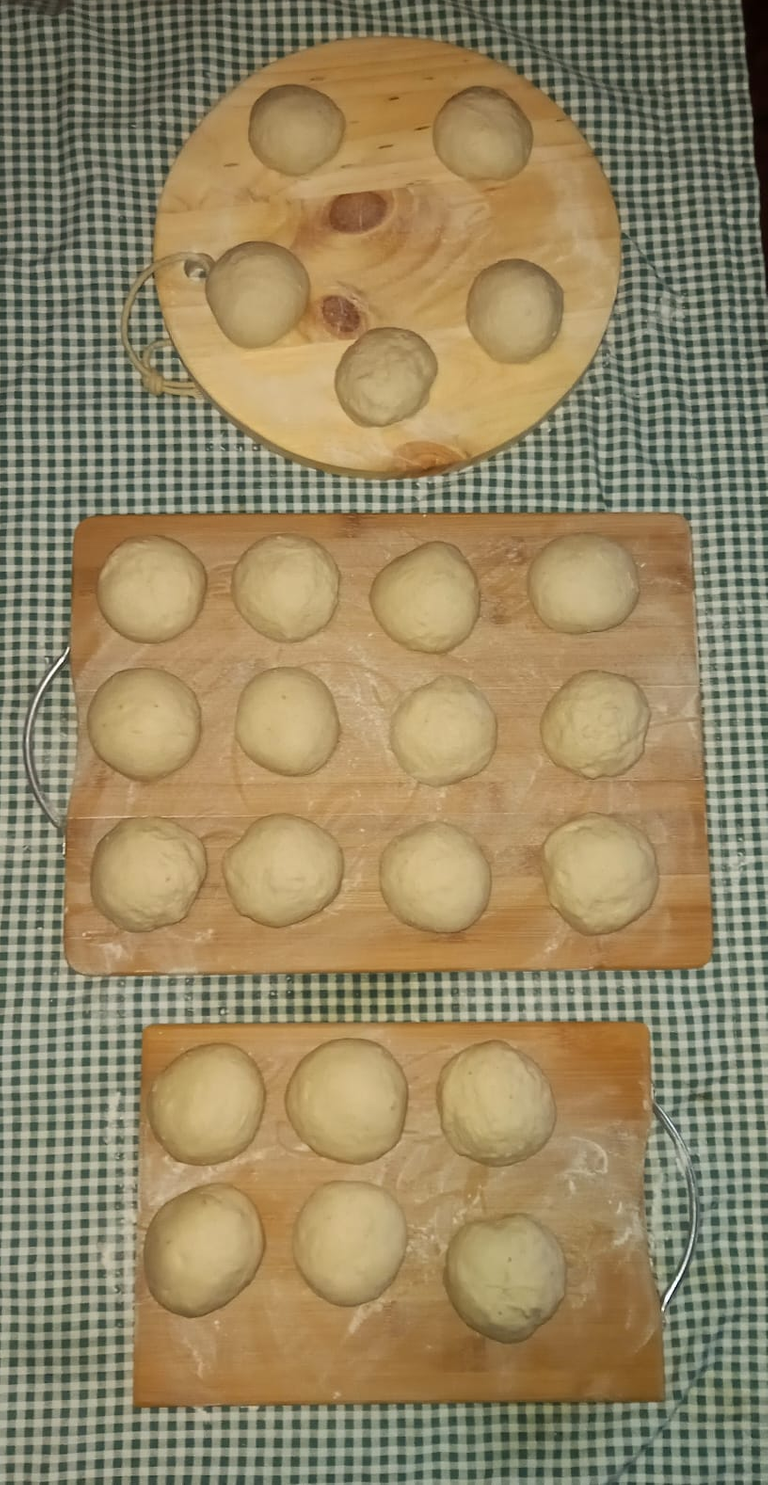
I let them rise for another 10 min. And then move on to more shaping.
I make little nests by pinching the centre together. Please excuse my poor camera skills 🤣. It was still load-shedding and the battery light was starting to fail me. I also had no one to take the video. But this will give you an idea of how I form the nests.
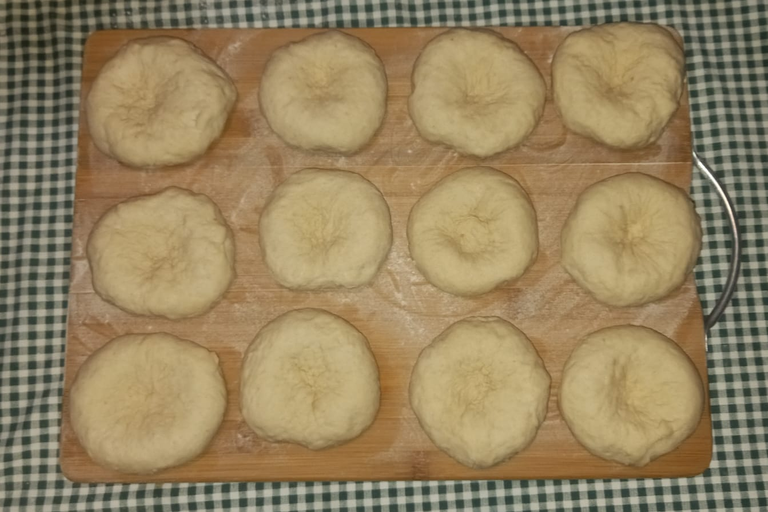
And now they can chill for another 10 min!
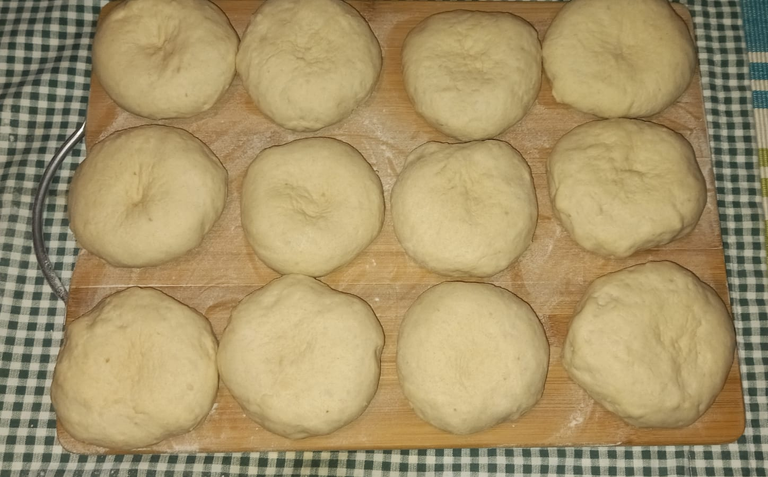
During the 10 min wait I'll start heating up the oil for frying them. And once they are puffed up and the oil is warm enough it's gone time. Here you can see the centres are still pinched even though they have puffed up. I do this to ensure everything gets cooked and it makes the centers more fluffy.
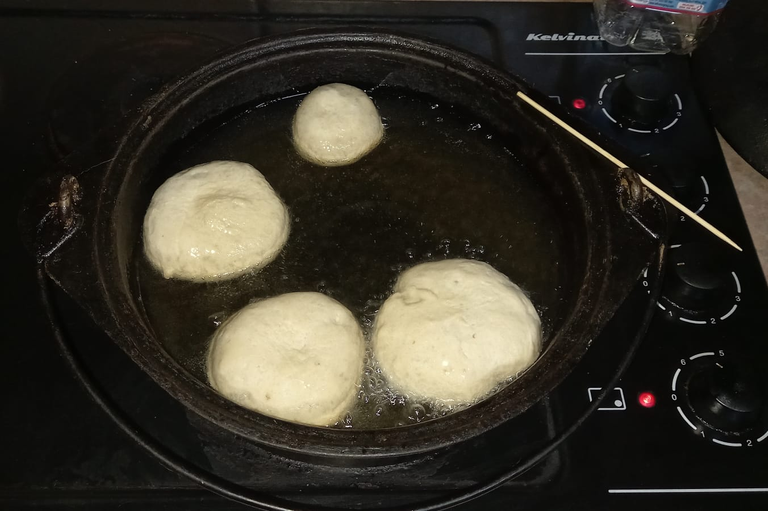
I was taught that vetkoek should be cooked in cast iron pots and nothing else, for it regulates the oil temperature the best. The oil needs to be hot otherwise the vetkoek will not cook in the centre. A trick I use to see if it's hot enough is by dipping a wooden skewer in the oil. If it bubbles when placed on the bottom the oil is hot. The more bubbles, the hotter it is. I wait until it resembles a fizzy soda. Before placing the vekoek into the oil, I'll pinch the centre a bit again. I'm always very cautious when working with hot oil.
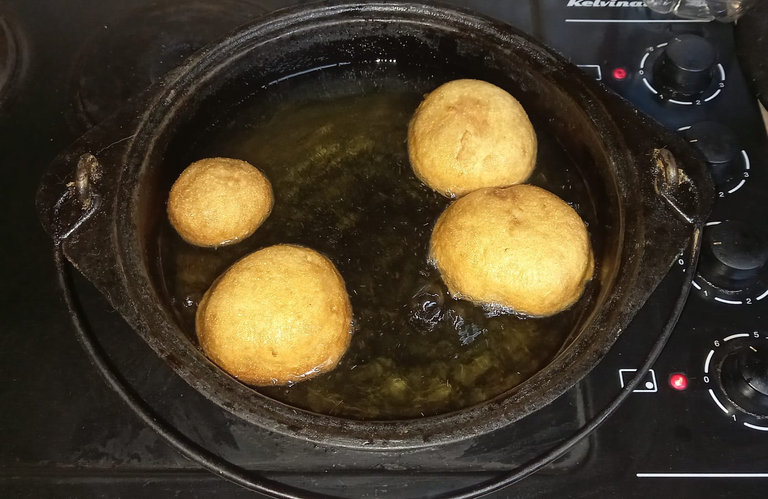
My grandmother believed that you should leave vetkoek until they flip over on their own... unfortunately mine never does that 😂. I'll check until they turn the colour and flip them. I flip them a few times to get a nice golden brown colour.
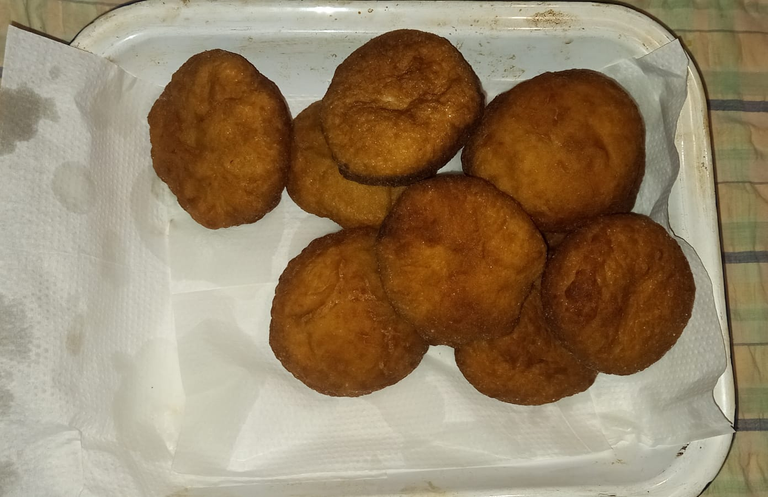
I like to set them on paper towels to get more of the oil out. I'll even pat them down if needed.
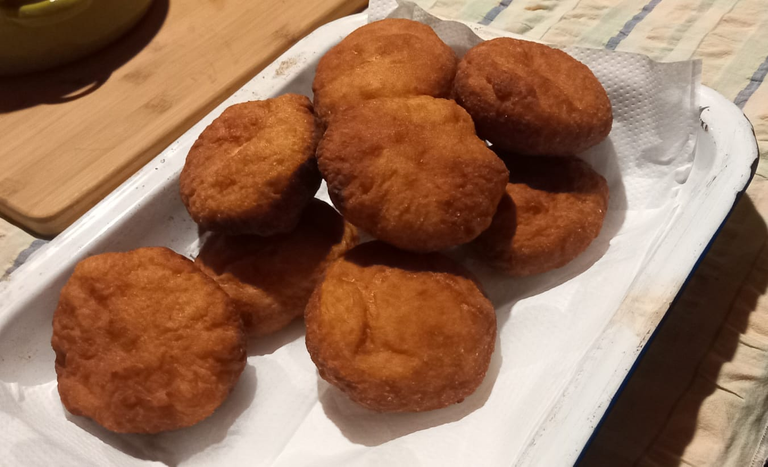
They are best served fresh and warm with golden syrup or mice!
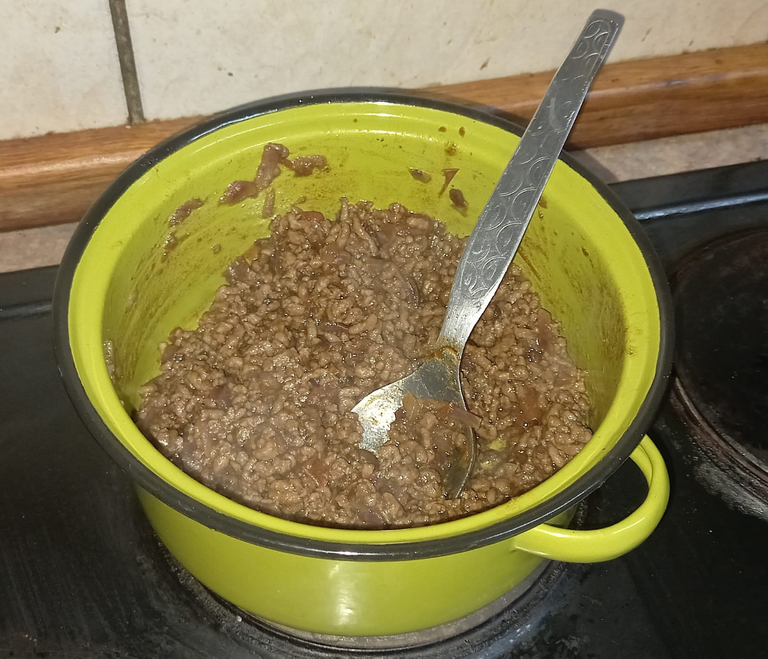
Since I'm not a fan of mince I always get someone else to make it 😂. I prefer mine with enough syrup to make a kid hyper!
Thank you for stopping by! Vetkoek might not be the healthiest thing to eat, but it's worth the few extra calories! Golden brown vetkoek and syrup will always be a favourite of mine and I'm glad there is an easy way to make them fresh at home. I'm happy that you stopped by to enjoy the tasty food with me.


This is a detailed way to make Vetkoek, and I am glad I found this as it is my first time hearing about it.
the VETKOEK look delicious
Congratulations @misshugo! You received a personal badge!
Participate in the next Power Up Day and try to power-up more HIVE to get a bigger Power-Bee.
May the Hive Power be with you!
You can view your badges on your board and compare yourself to others in the Ranking
Check out our last posts:
Wow a recipe and a dish that I didn't know... I'll have to try it!
I'll let you know the final result😉
A hug!
Join the foodie fun! We've given you a FOODIE boost. Come check it out at @foodiesunite for the latest community updates. Spread your gastronomic delights on and claim your tokens.