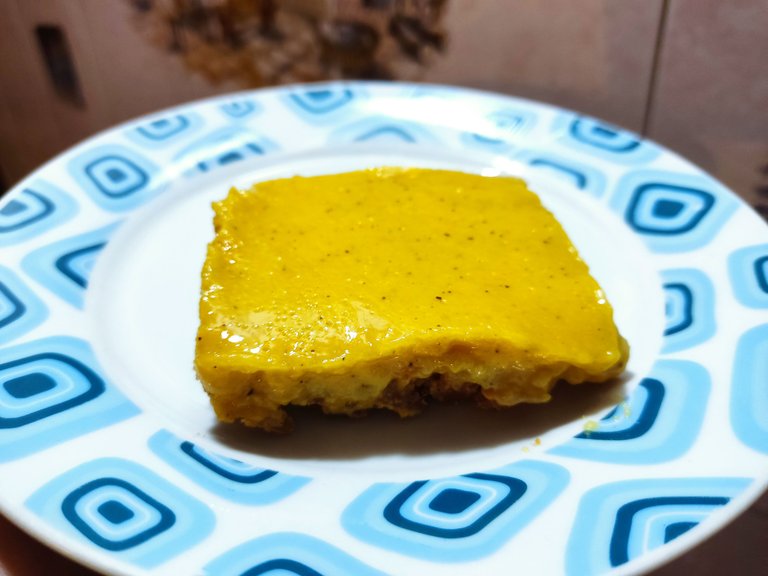
¡Empecemos! / Let's Go

Ingredientes | Ingredients
| ✔ 4 Parchitas (Maracuya) | ✔ 4 Parchitas (passion fruit) |
| ✔ 300g de Leche Condensada | ✔ 300g condensed milk |
| ✔ 3 Yemas de Huevo | ✔ 3 egg yolks |
| ✔ 1 paquete de Galletas de Vainilla (María preferiblemente) | ✔ 1 package of Vanilla Crackers (Maria preferably) |
| ✔ 1 cucharadita de gelatina sin sabor | ✔ 1 teaspoon unflavored gelatin |
| ✔ 3 cucharadas de mantequilla | ✔ 3 tablespoons butter |

Procedimiento | Procedure
Paso 1 | Step 1
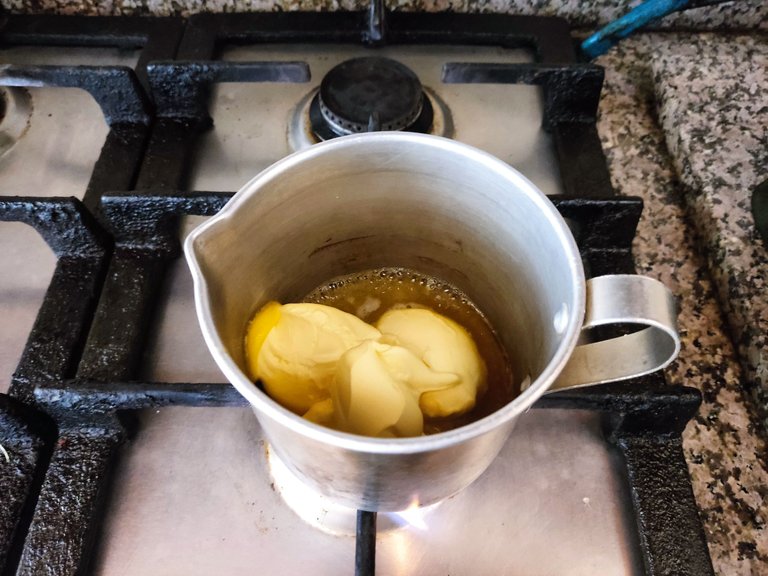
Lo primero que tenemos que hacer es derretir a fuego lento las 3 cucharadas de mantequilla. Luego reservamos y dejamos enfriar.
The first thing we have to do is to melt over low heat the 3 tablespoons of butter. Then we set aside and let it cool.

Paso 2 | Step 2
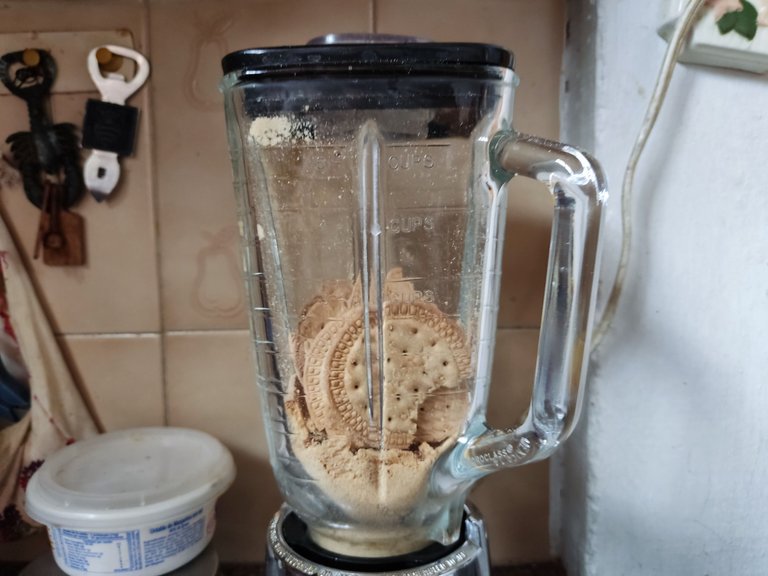 | 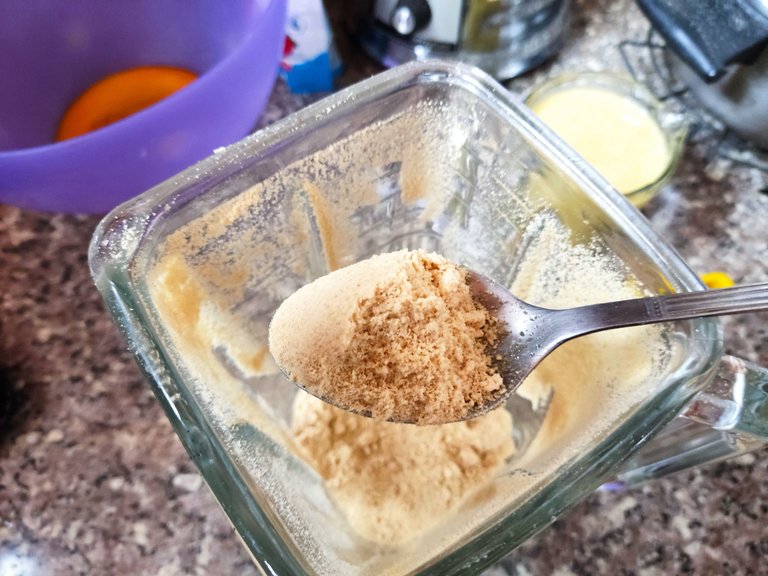 |
Luego procedemos a pulverizar las galletas, mediante un procesador de alimentos o una licuadora, para hacer la base del pie.
Then we proceed to pulverize the cookies, using a food processor or blender, to make the base of the pie.

Paso 3 | Step 3
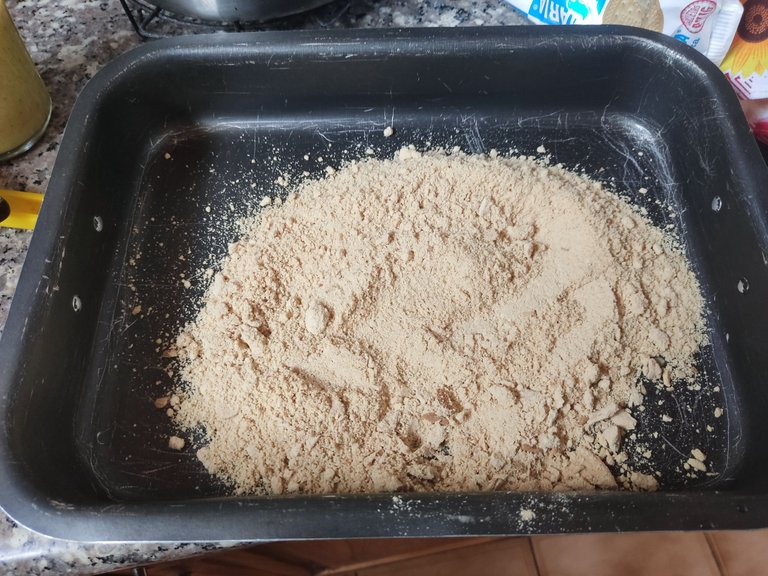
Buscamos nuestro molde, preferiblemente uno desarmable, pero como yo no tengo uso cualquiera, luego agregamos el polvo de galletas y la mantequilla derretida que habíamos conservado en el paso 1.
We look for our mold, preferably a collapsible one, but as I don't have one I use any, then we add the cookie powder and the melted butter that we had preserved in step 1.

Paso 4 | Step 4
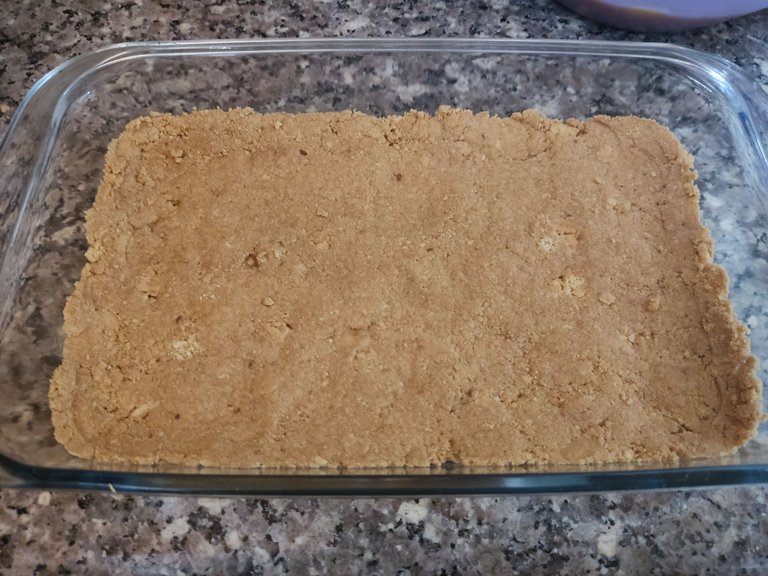
Amasamos el polvo de galleta con la mantequilla y luego hacemos la base del pie, con ayuda de una cuchara aplanamos bien, hasta tener una capa bien nivelada. Luego metemos al horno, a 180°C por 10 minutos para dorar, mientras seguimos con nuestra preparación.
We knead the cookie powder with the butter and then we make the base of the pie, with the help of a spoon we flatten it well, until we have a well leveled layer. Then we put it in the oven at 180°C for 10 minutes to brown, while we continue with our preparation.

Paso 5 | Step 5
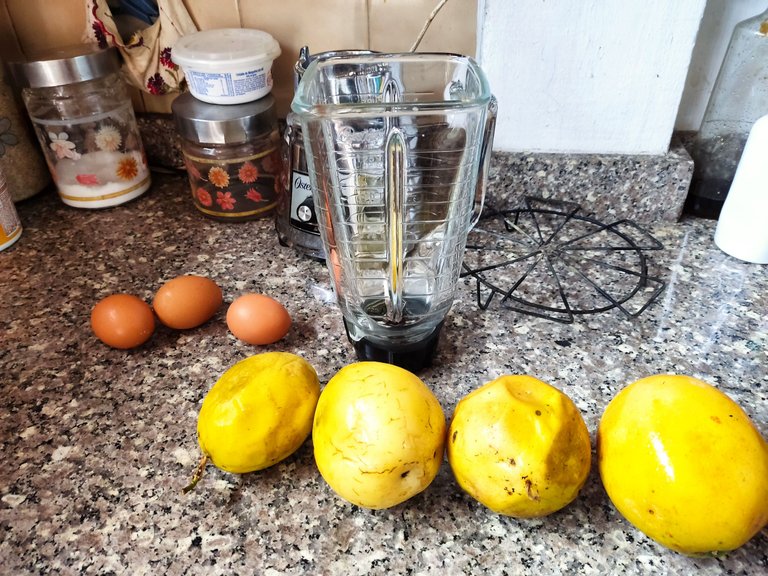
Ahora nos preparamos, para hacer el jugo de parchita, lo hacemos como si fuéramos a preparar un jugo normal, abrimos las parchitas, las colocamos en la licuadora, agregamos un cuarto de taza de agua, licuamos y luego colamos, reservamos este jugo para usarlo más adelante.
Now we prepare ourselves, to make the parchita juice, we do it as if we were going to prepare a normal juice, we open the parchitas, place them in the blender, add a quarter cup of water, blend and then strain, reserve this juice for later use.

Paso 6 | Step 6
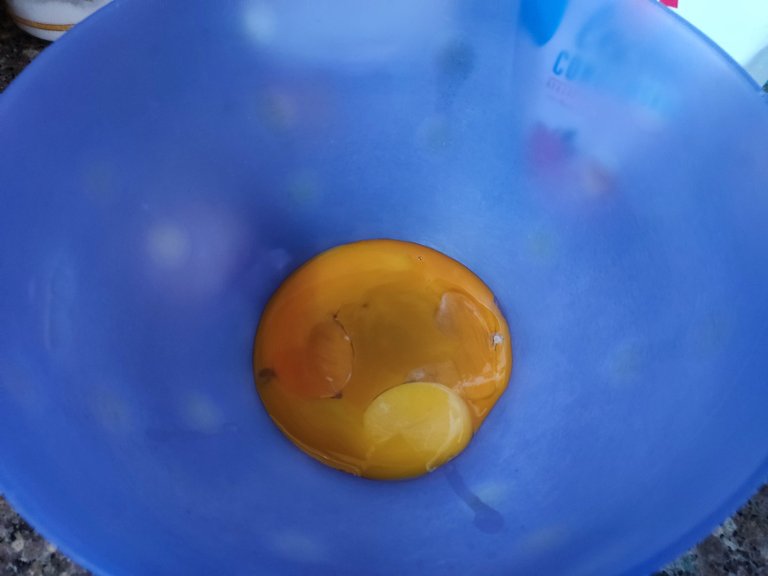 | 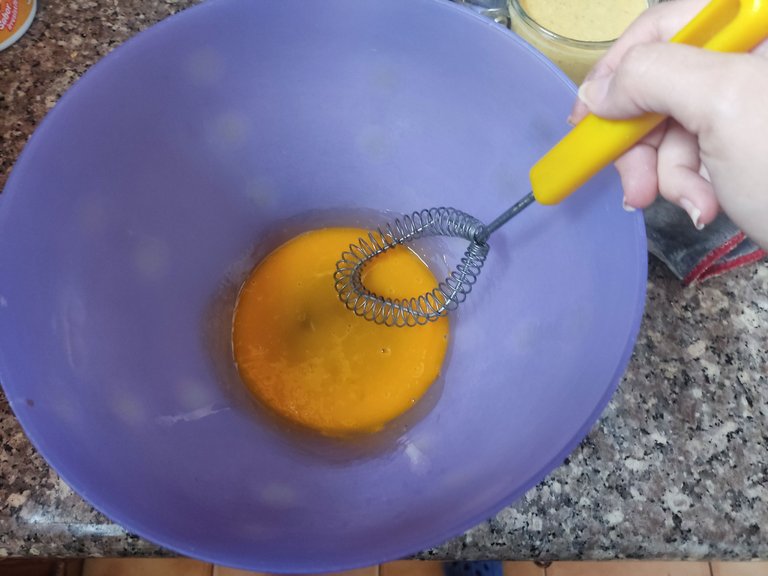 | 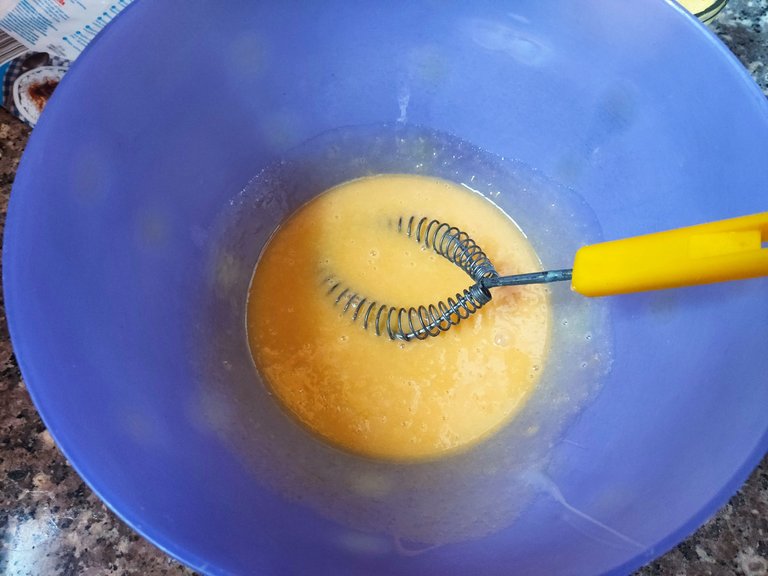 |
Ahora, en otro recipiente, colocamos las 3 yemas de huevo y luego procedemos a mezclar un poco con un batidor de mano, hasta integrar bien las yemas.
Now, in another bowl, place the 3 egg yolks and then proceed to mix a little with a whisk until the yolks are well integrated.

Paso 7 | Step 7
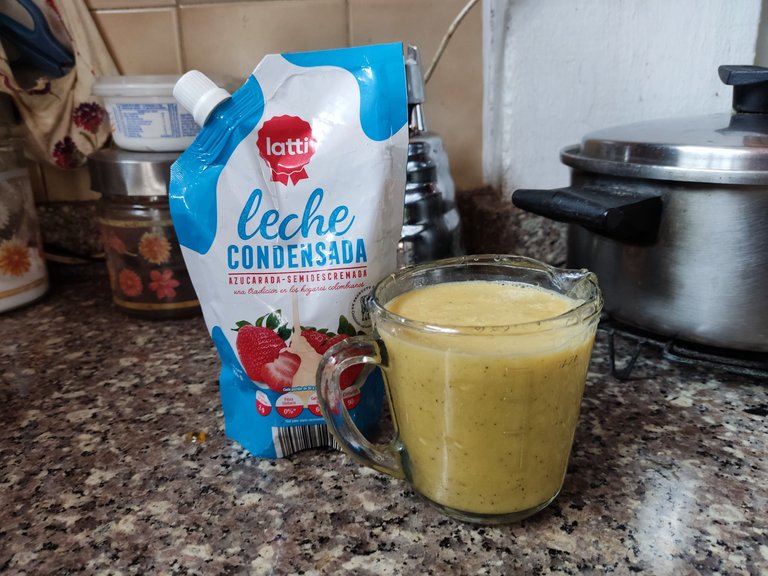 | 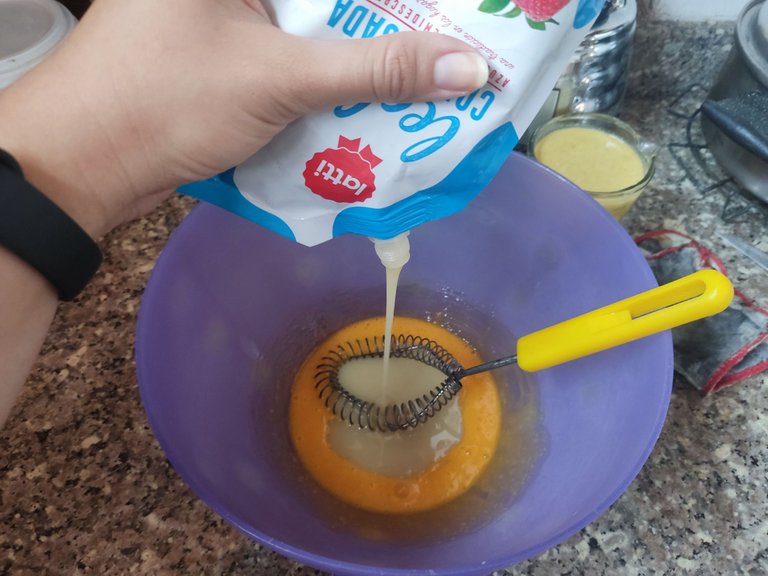 | 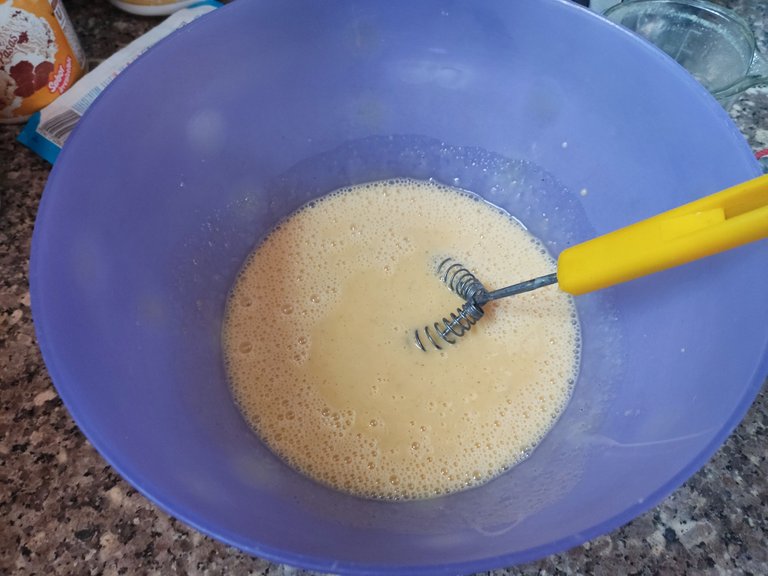 |
Ahora, nos preparamos para agregar el jugo de parchita y la leche condensada. Primero agregamos la leche condensada y mezclamos hasta mezclar bien los ingredientes.
Now, we prepare to add the parchita juice and the condensed milk. First add the condensed milk and mix until the ingredients are well blended.

Paso 8 | Step 8
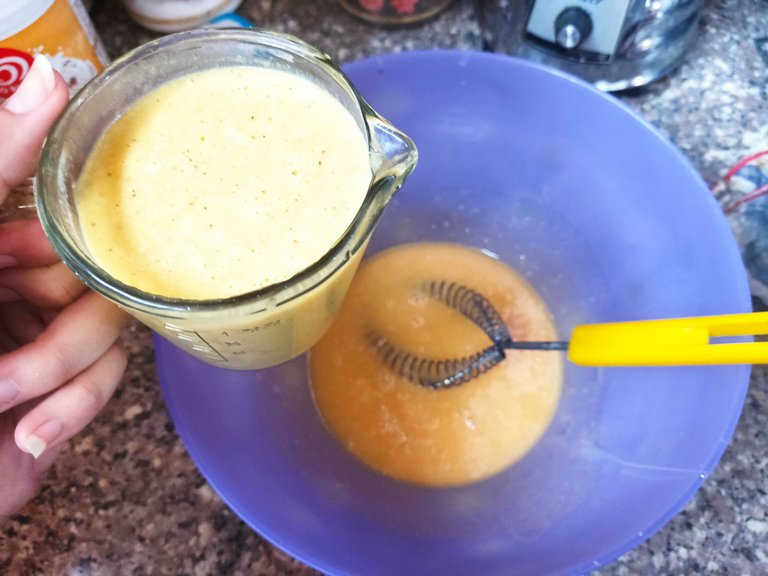
Antes de agregar el jugo de parchita a la mezcla, reservamos un cuarto de jugo, que usaremos en el siguiente paso. Agregamos el resto de jugo a la mezcla y revolvemos bien.
Before adding the parchita juice to the mixture, reserve a quarter of the juice, which will be used in the next step. Add the rest of the juice to the mixture and stir well.

Paso 9 | Step 9
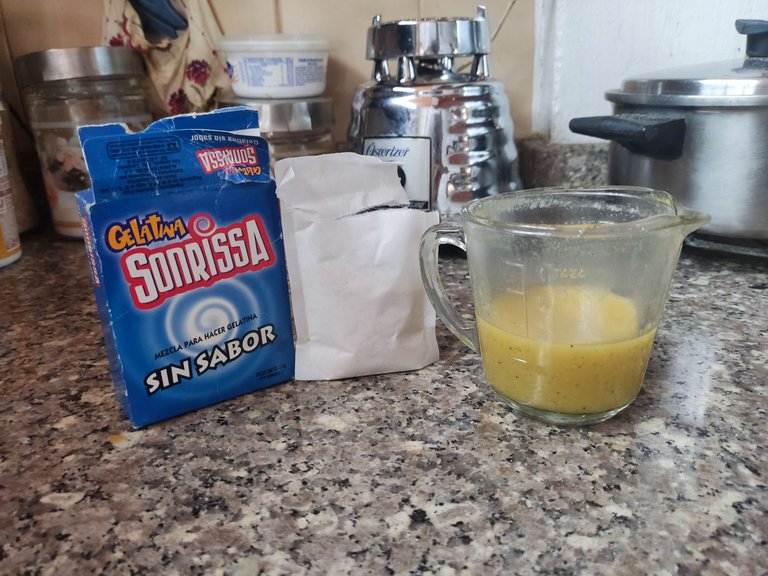 | 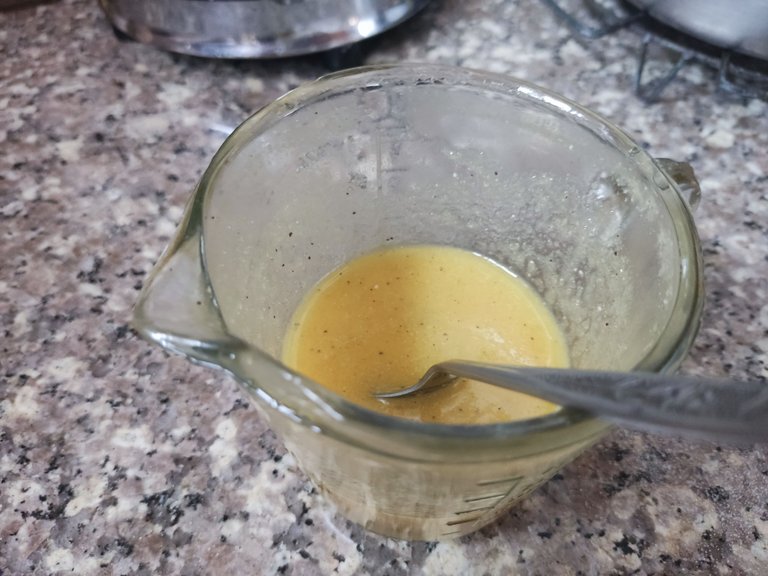 |
Ahora bien, viene el proceso de hidratar la gelatina sin sabor. Tomamos el cuarto de jugo de parchita que reservamos en el paso anterior, y le agregamos la cucharadita de gelatina y procedemos a mezclar para integrar bien. Luego llegamos el jugo a una olla y lo colocamos a tibiar por unos minutos a fuego lento. Por último, lo agregamos a toda la mezcla y revolvemos bien.
Now comes the process of hydrating the unflavored gelatin. We take the quarter of parchita juice that we reserved in the previous step, and add the teaspoon of gelatin and proceed to mix to integrate well. Then we put the juice in a saucepan and place it to warm for a few minutes over low heat. Finally, we add it to the whole mixture and stir well.

Paso 10 | Step 10
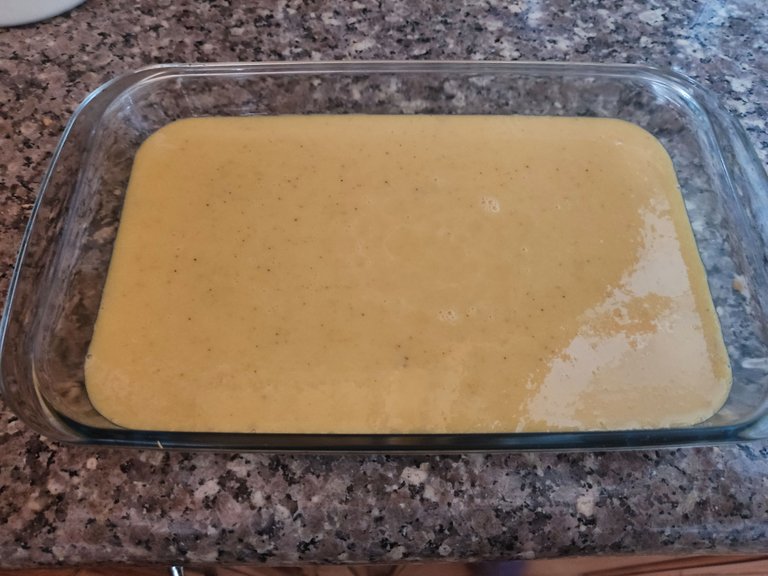 | 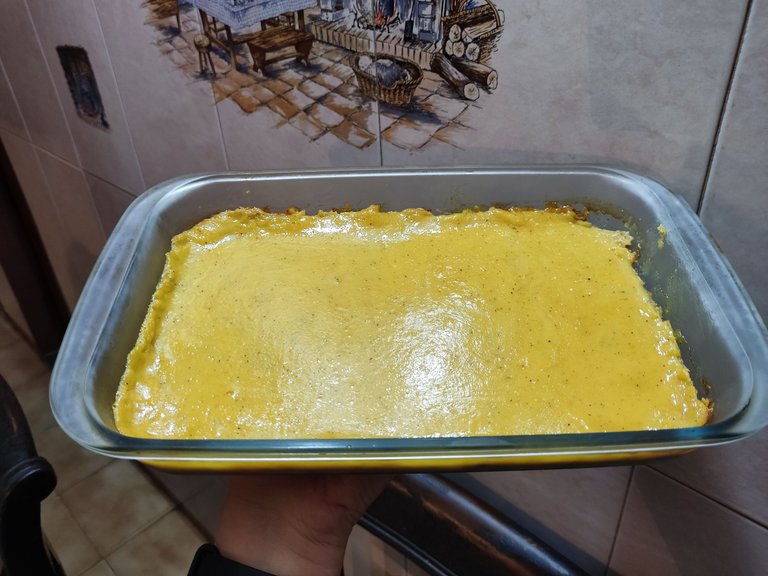 |
Por ultimo, agregamos nuestra mezcla al recipiente donde tenemos la galleta previamente dorada al horno y llevamos a hornear durante 15 a 20 minutos dependiendo del horno a 180°C, hasta que compacte, luego lo sacamos, lo dejamos enfriar y lo metemos a la nevera durante aproximadamente 4 horas y listo. ¡A disfrutar!
Finally, add our mixture to the container where we have the cookie previously browned in the oven and bake for 15 to 20 minutes depending on the oven at 180°C, until compact, then take it out, let it cool and put it in the fridge for about 4 hours and ready. Enjoy!

Resultado Final | Final Result

Esta es una receta sencilla y deliciosa para preparar en casa. Espero que les haya gustado y se animen a prepararla ¿La han probado?
Déjame tu opinión en los comentarios. ¡Nos Leemos!
This is a simple and delicious recipe to prepare at home. I hope you liked it and I encourage you to prepare it. Have you tried it?
Let me know your opinion in the comments, we'll read you!

¡Buenas Vibras para todos! | Good Vives for All!

Texto traducido en | Text translated in: DeepL
Fotos tomadas por mí | Photos taken by me @keritroberts ; Dispositivo | Device: POCO X3 PRO


This recipe is simple, but the ingredients used are very nutritious. Thanks for sharing :)
Yes, i love this recipe for this. Thank you and you´re welcome!
It's delicious) thanks for the recipe! and I have cakes!
Yes, you are right. Thank you! 🤗
The rewards earned on this comment will go directly to the person sharing the post on Twitter as long as they are registered with @poshtoken. Sign up at https://hiveposh.com.
Hola buenas noches se ve rico si es así como sería probarlo sigue así saludos
Hola, muchas gracias, si es buenísimo, espero que algún día lo pruebes!