Hola amigos de Hive 😂
Acá les traigo mi primera receta en arrocera eléctrica, todo comenzó cuando una compañera de la oficina me regaló dicha arrocera y decidí estrenarla con una comida un tanto diferente me animé a documentar en parte con fotos el proceso que les muestro a continuación:
| Ingredientes | Cantidad |
|---|---|
| Arroz | 3 tazas |
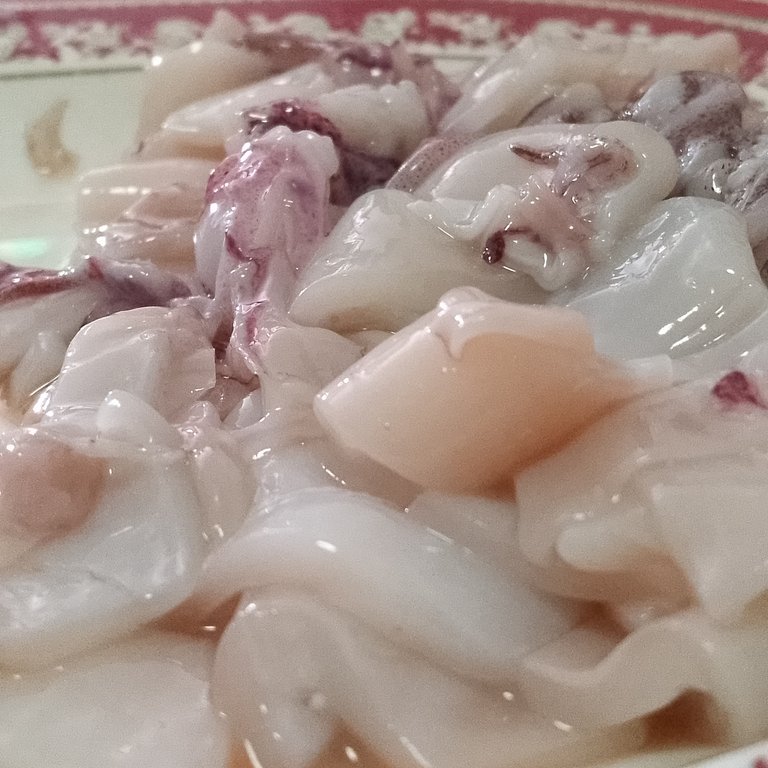
| Calamares | 200 grs |
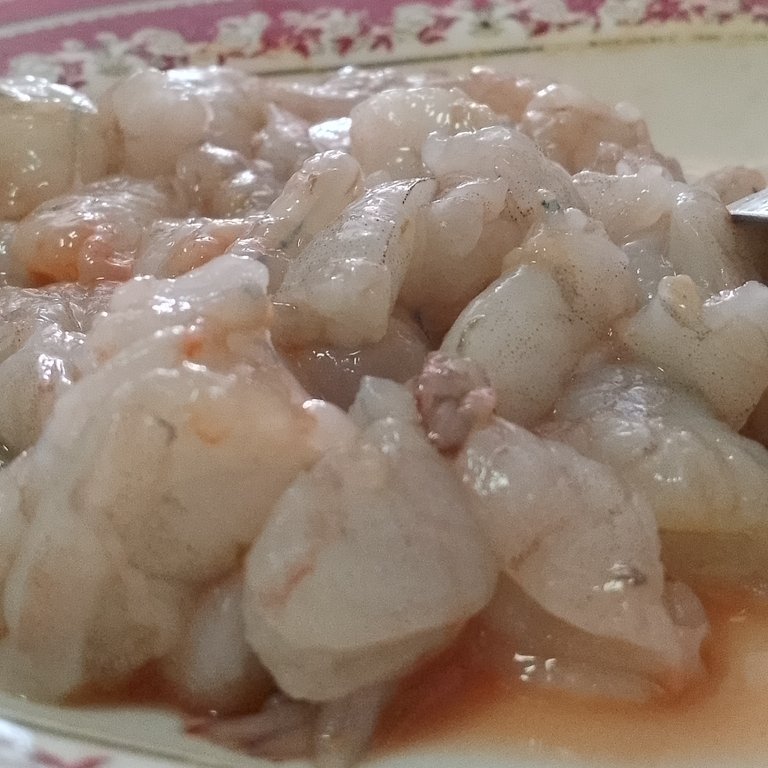
| Camarones | 200 grs |
| Cebolla | 1/4 |
| Cebollín | 1 tallito |
| Ají dulce | 2 |
| Pimentón | 1/2 |
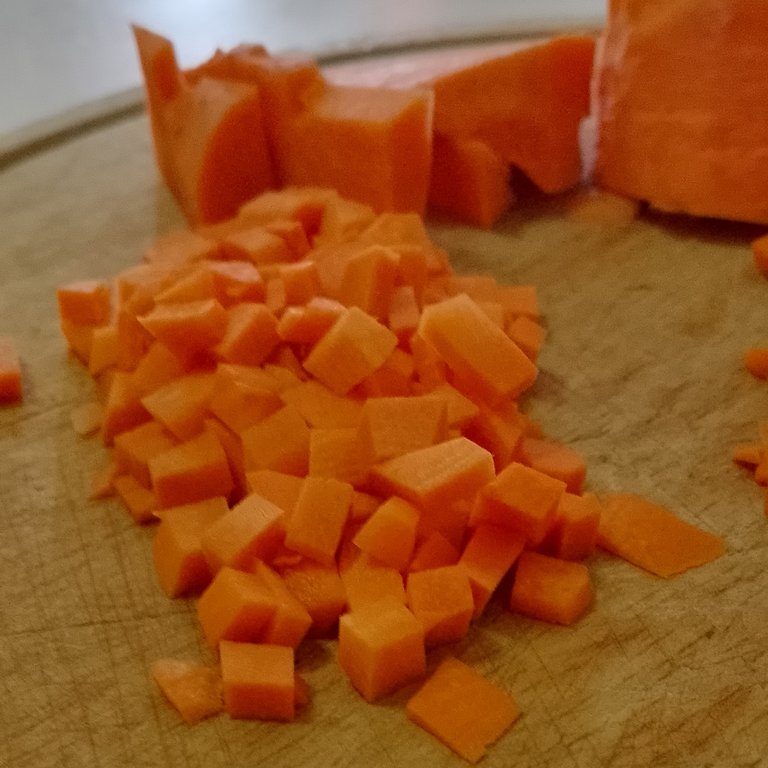
| Zanahoria | 1/2 |
| Vainitas | 100 grs |
| Ajo | 3 Dientes |
| Aceite |
 |  |
|---|
La preparación es bastante sencilla, opcional primero hay que preparar previamente un caldo con las conchas de los camarones en 5 tazas de agua con sal y aliños al gusto para darle un gusto especial.
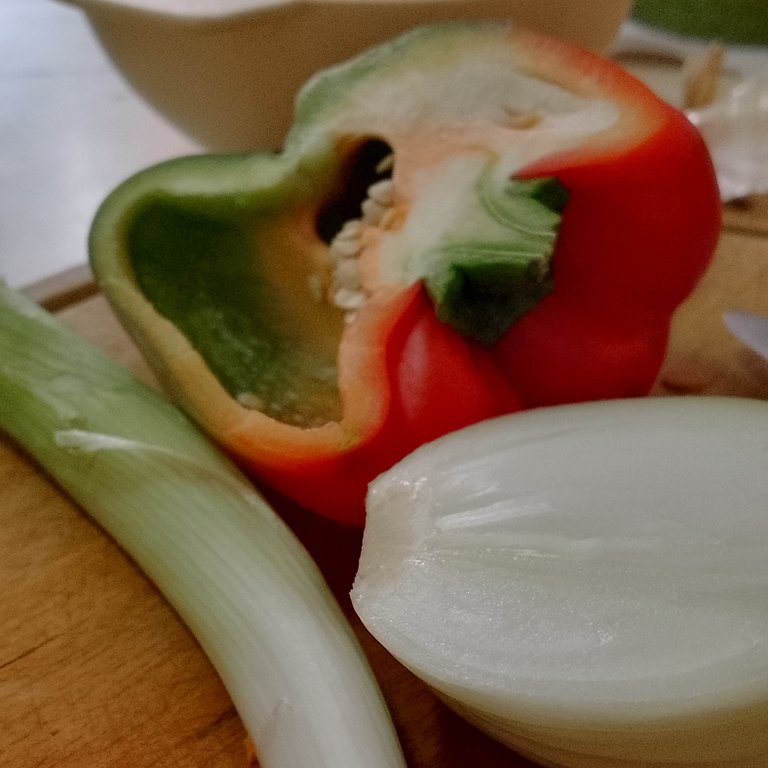
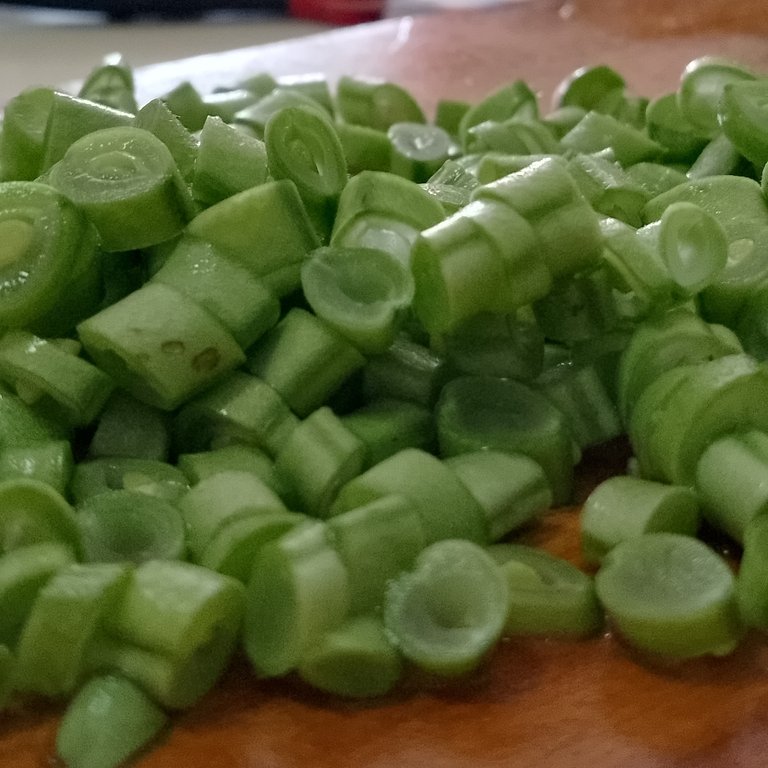
Picamos todos los ingredientes en cubitos pequeños; cebolla, ají, cebollín, ajo, vainitas, zanahoria. Y luego los calamares y camarones en porciones pequeñas.

 |  |
|---|
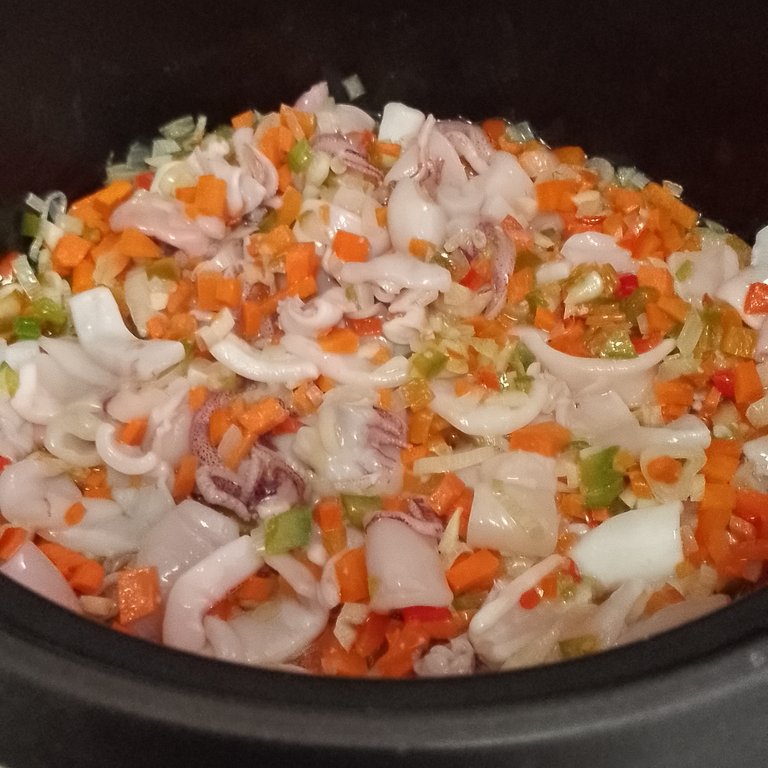
Una vez realizado el picado de los ingredientes, procedemos a sofreír la cebolla y el cebollín con el aceite en nuestra arrocera, una vez se tornen un poco transparentes se van agregando el resto de los vegetales y se van mezclando con una paleta de plástico para que no se quemen, ni rayar la arrocera.
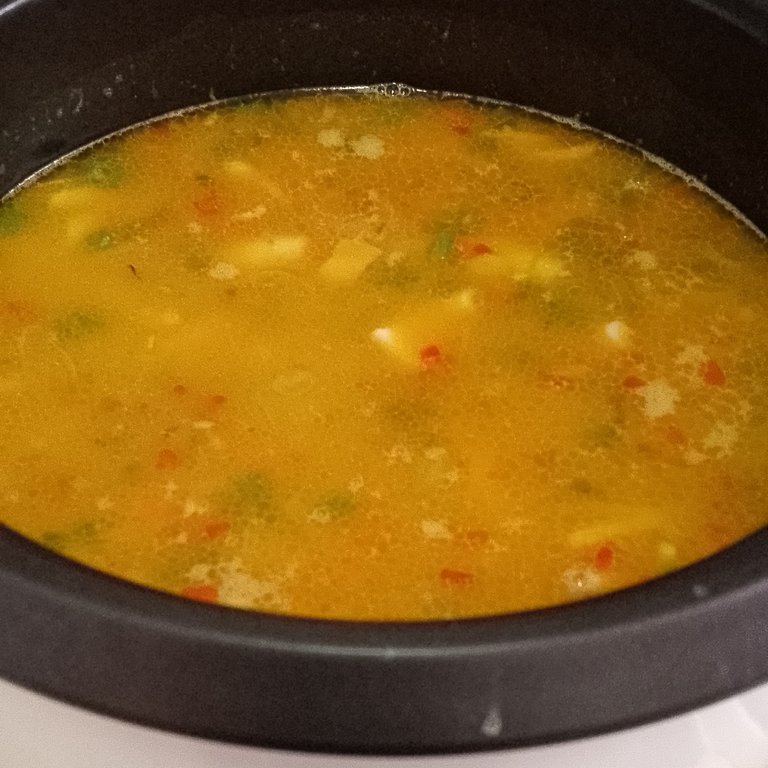
Luego de un par de minutos de cocción, agregamos lentamente el arroz y mezclamos con la paleta, procedemos a agregar el caldo a la arrocera y un poco de sal al gusto.
Dejamos que se cocine el arroz hasta que se comience a reducir el caldo, justo en ese momento se agregan los camarones y otro poco de sal si desea, se coloca la tapa nuevamente. En este punto, ya en cuestión de poco tiempo la arrocera automáticamente debe salir del modo de cocción normal y entrar en ciclo de cocción lenta. Se deja unos 5-10 minutos más para terminar de cocinar los camarones y terminamos.
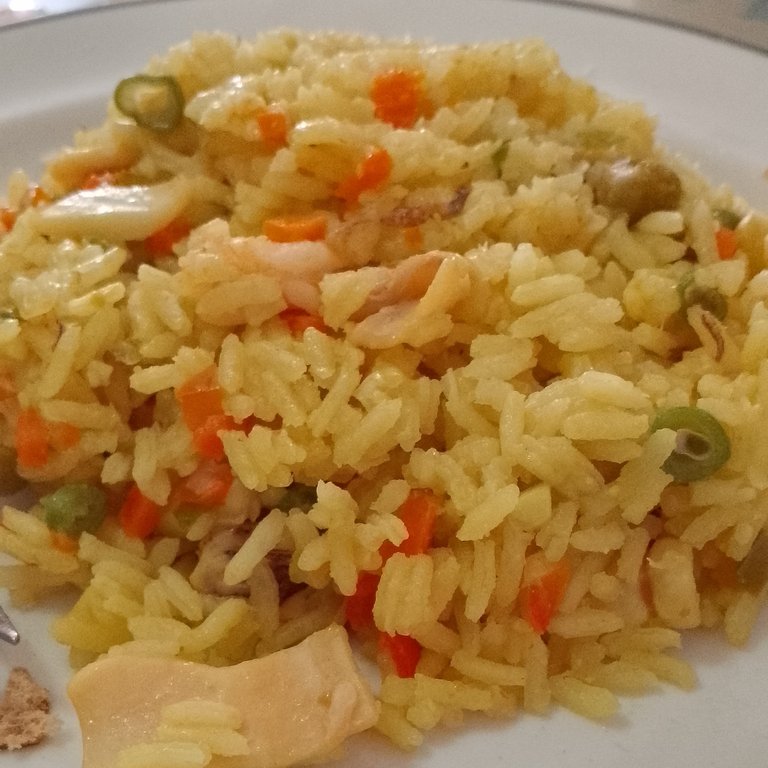
Tenemos el arroz con mariscos fácil y sencillo.
**Hello friends of Hive** 😂
Here I bring you my first recipe in electric rice cooker, it all started when a colleague from the office gave me this rice cooker and I decided to release it with a somewhat different meal I was encouraged to document in part with photos the process that I show you below:
| Ingredients | Quantity |
|---|---|
| Rice | 3 cups |
| Squid | 200 grs |
| Shrimp | 200 grs |
| Onion | 1/4 |
| Chives | 1 tallito |
| Sweet chili pepper | 2 |
| Paprika | 1/2 |
| Carrot | 1/2 |
| Pods | 100 grs |
| Garlic | 3 Teeth |
| Oil |
The preparation quite simple, optional first you have to previously prepare a broth with the shells of the shrimp in 5 cups of water with salt and dressings to taste to give it a special taste.
Chop all ingredients into small cubes onion, chives, garlic, beans, carrots. And then the squid and shrimp in small portions.
Once the ingredients have been chopped
We proceed to fry the onion and chives with the oil in our rice cooker, once they become a little transparent the rest of the vegetables are added and they are wagging with a plastic paddle so that they do not burn or scratch the rice cooker.
After a couple of minutes of cooking slowly add the rice and mixing with the shoulder as the rice is placed, proceed to add the broth to the rice cooker and a little salt to taste.
Let the rice cook until you begin to reduce the broth just at that time the shrimp are added and another little salt if you want the lid is placed again.
At this point already in a matter of a short time the rice cooker should automatically leave the normal cooking mode and enter the slow cooking cycle. Leave about 5-10 minutes more to finish cooking the shrimp and finish.
We have the rice with seafood easy and simple.
Fotos celular Tecno Spark 10c
Traducido automáticamente al inglés en: https://www.collinsdictionary.com/es/traductor
Congratulations @daistile714! You have completed the following achievement on the Hive blockchain And have been rewarded with New badge(s)
Your next target is to reach 100 upvotes.
Your next target is to reach 50 comments.
You can view your badges on your board and compare yourself to others in the Ranking
If you no longer want to receive notifications, reply to this comment with the word
STOPTo support your work, I also upvoted your post!
Check out our last posts: