

This is my fourth batch of beer this year and this one has turned out the best so far with some additions I learned from my wine experiments. This method can be used with any beer kit or malt syrup if you want to brew and easily carbonate your beer.
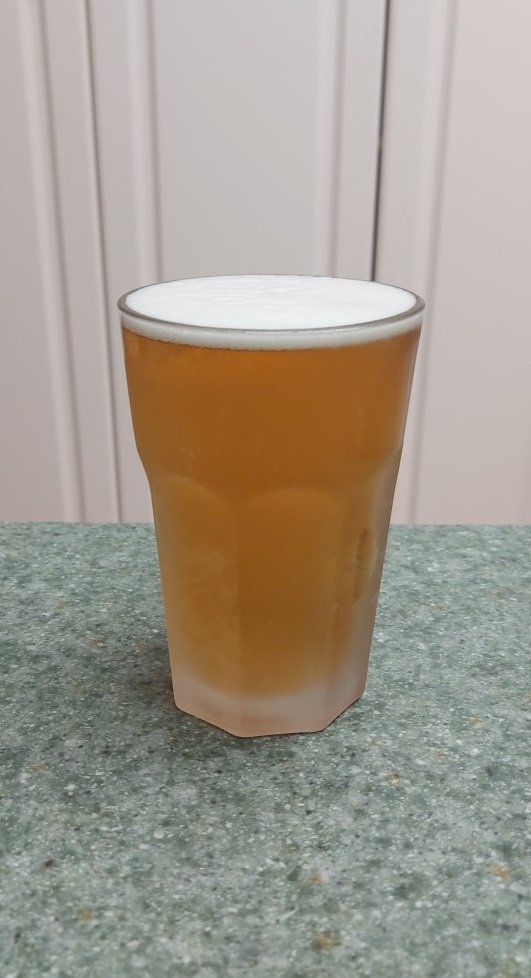
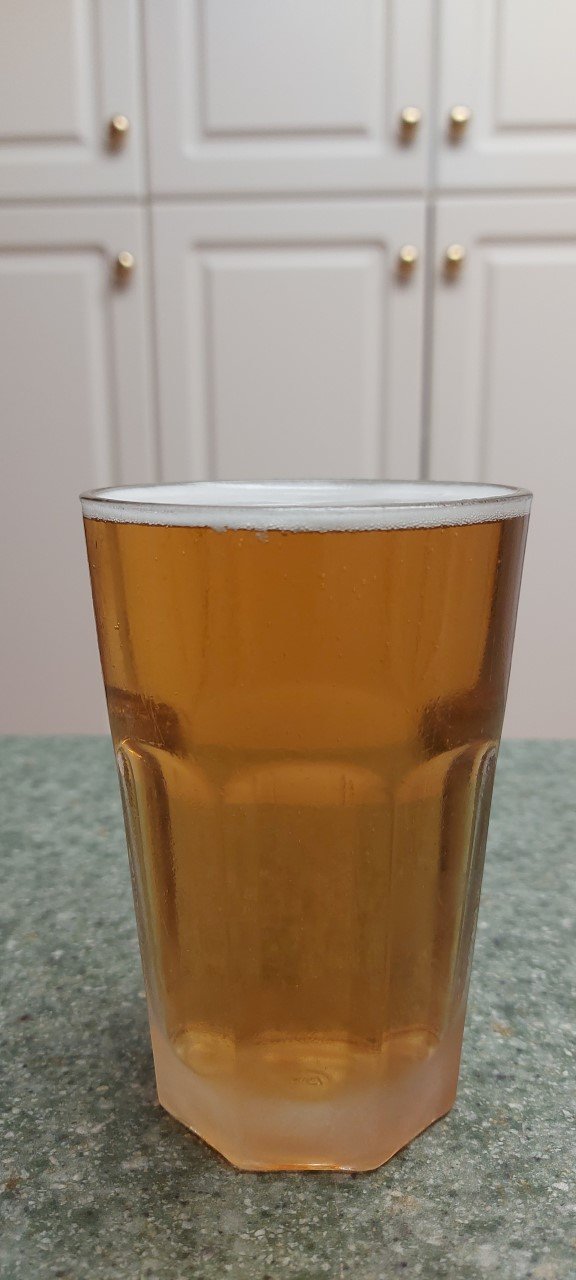
I carefully tilted the glass and poured this to retain the carbonation, the glass was somewhat condensed on the outside so the bubbles were a bit hidden in the picture although the beer was comparable to a store bought beer in carbonation level.
I had some volcano beers earlier this year and it was mainly because the final gravity wasn't low enough so the wine yeast over carbonated the beer. This happened I believe because without the additional additives and/or the use of table sugar left too many residual sugars after the main fermentation leaving the wine yeast to finish the job in the bottles.
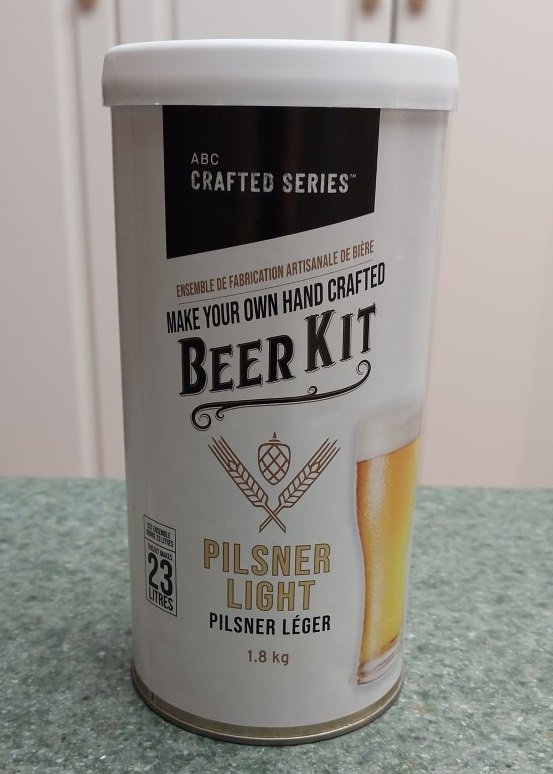
There are two main ways I have tried with my 12 liter brew bucket. The beer kit in the picture is meant for 23 liters but you can ignore the instructions and use the entire kit in a 12 liter bucket, this produces a rich and delicious beer. Note that if you go with using the entire can of malt syrup in a 12 liter batch you don't need to add any dextrose as the syrup will get you to a comparable gravity reading with the sugars in the malt syrup.
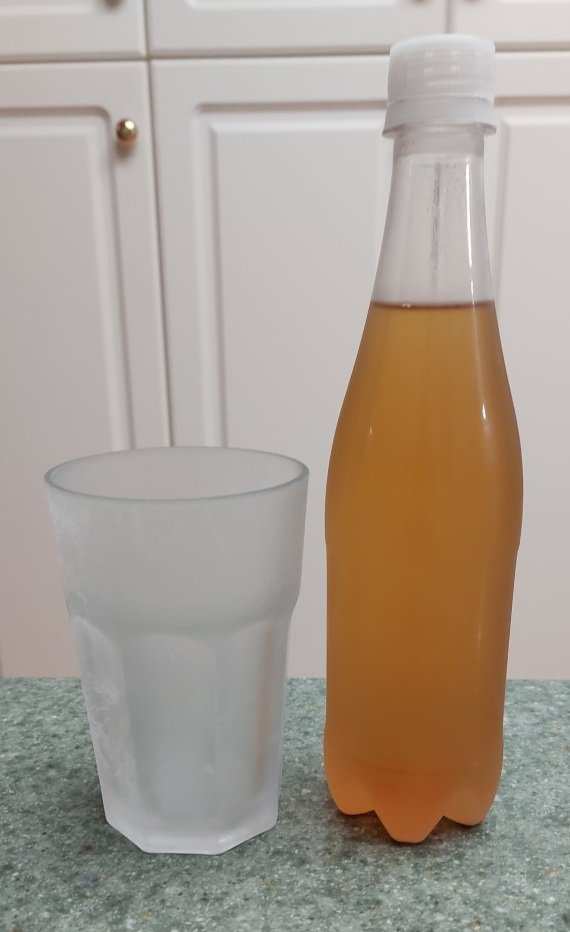
For simplicity I brewed the main fermentation in a plastic pail with a spigot and an airlock, it sat in this container for 10 -12 days and then was bottled with the wine yeast. It then sat in the bottles for over 3 weeks to carbonate.
If you want a lighter beer like the one I made this time the recipe is listed below and half the can of malt syrup was used. You can also just double up the recipe if you want to use the whole can. My ingredients are extra from the kit instructions but I have learned that the more happy you make the yeast the better your end result is going to taste.
Ingredients:
1/2 can which is 1.8 kg and looks like around 1.5 liters of malt syrup
2 tsp yeast nutrient (made from deactivated bread yeast)
1/4 tsp DAP
1/8 tsp epson salts (magnesium sulphate)
3 cups dextrose
Ale yeast packet included in the beer kit
Original gravity was 1.04
Final gravity was 1.002
Final alcohol level 4.99% - After carbonation the alcohol level will rise 10%-20%
Here's the interesting part; the beer kit calls for what is called bottle conditioning (carbonation) by adding in more dextrose so the yeast will continue to ferment enough to carbonate the beer.
After some reading on the subject I found that Lalvin K1-V1116 wine yeast is one of the only wine yeasts that will eat maltose and maltriose among other sugars found in malt syrup like glucose, sucrose and fructose.
After the beer yeast (ale yeast included in most beer kits) completes the main fermentation there are still some residual sugars that didn't get converted to alcohol. This leaves enough food for the Lalvin K1-V1116 wine yeast to finish the job and produce enough carbonation for the beer. This will produce a more dry beer than otherwise as the wine yeast tries to eat the remaining sugars turning them into carbon dioxide and alcohol.
I used 1/16 tsp (or more) of a pack of K1-V1116 wine yeast in a small bowl with around a cup of water, I used a 15 second blast of heat from my stovetop and a bit of sugar and yeast nutrient and started it off for around half an hour, then I just scooped about a tsp (5 ml) in each empty bottle before I filled the rest with beer.
Final thoughts:
Don't use sucrose (table sugar) for increasing the alcohol content or carbonation. It ruins the flavor of the beer with a strong acrid and harsh flavor, even more so than wine.
The additives like yeast nutrient, DAP and the magnesium make a noticeable difference in the final gravity of the beer. I would absolutely use them if you can get them. If the yeast are happy then the final result is going to be more smooth and taste better.
Overall the beer is close to a Corona taste, I think the plastic bottles have some negative effect on the taste but it's not worth having glass bottles crack due to the pressure so it's either use a keg or plastic bottles when home brewing.
I'm going to keep trying to fine tune these recipes and eventually get some better stainless steel equipment to use and compare to. I hope this helps so far though for someone trying to create some decent home brew without having to spend much money.
If you like this please upvote and leave your comments and thoughts below. Cheers!
Congratulations @cryptoguitar9999! You have completed the following achievement on the Hive blockchain and have been rewarded with new badge(s):
Your next target is to reach 500 upvotes.
You can view your badges on your board and compare yourself to others in the Ranking
If you no longer want to receive notifications, reply to this comment with the word
STOPSupport the HiveBuzz project. Vote for our proposal!