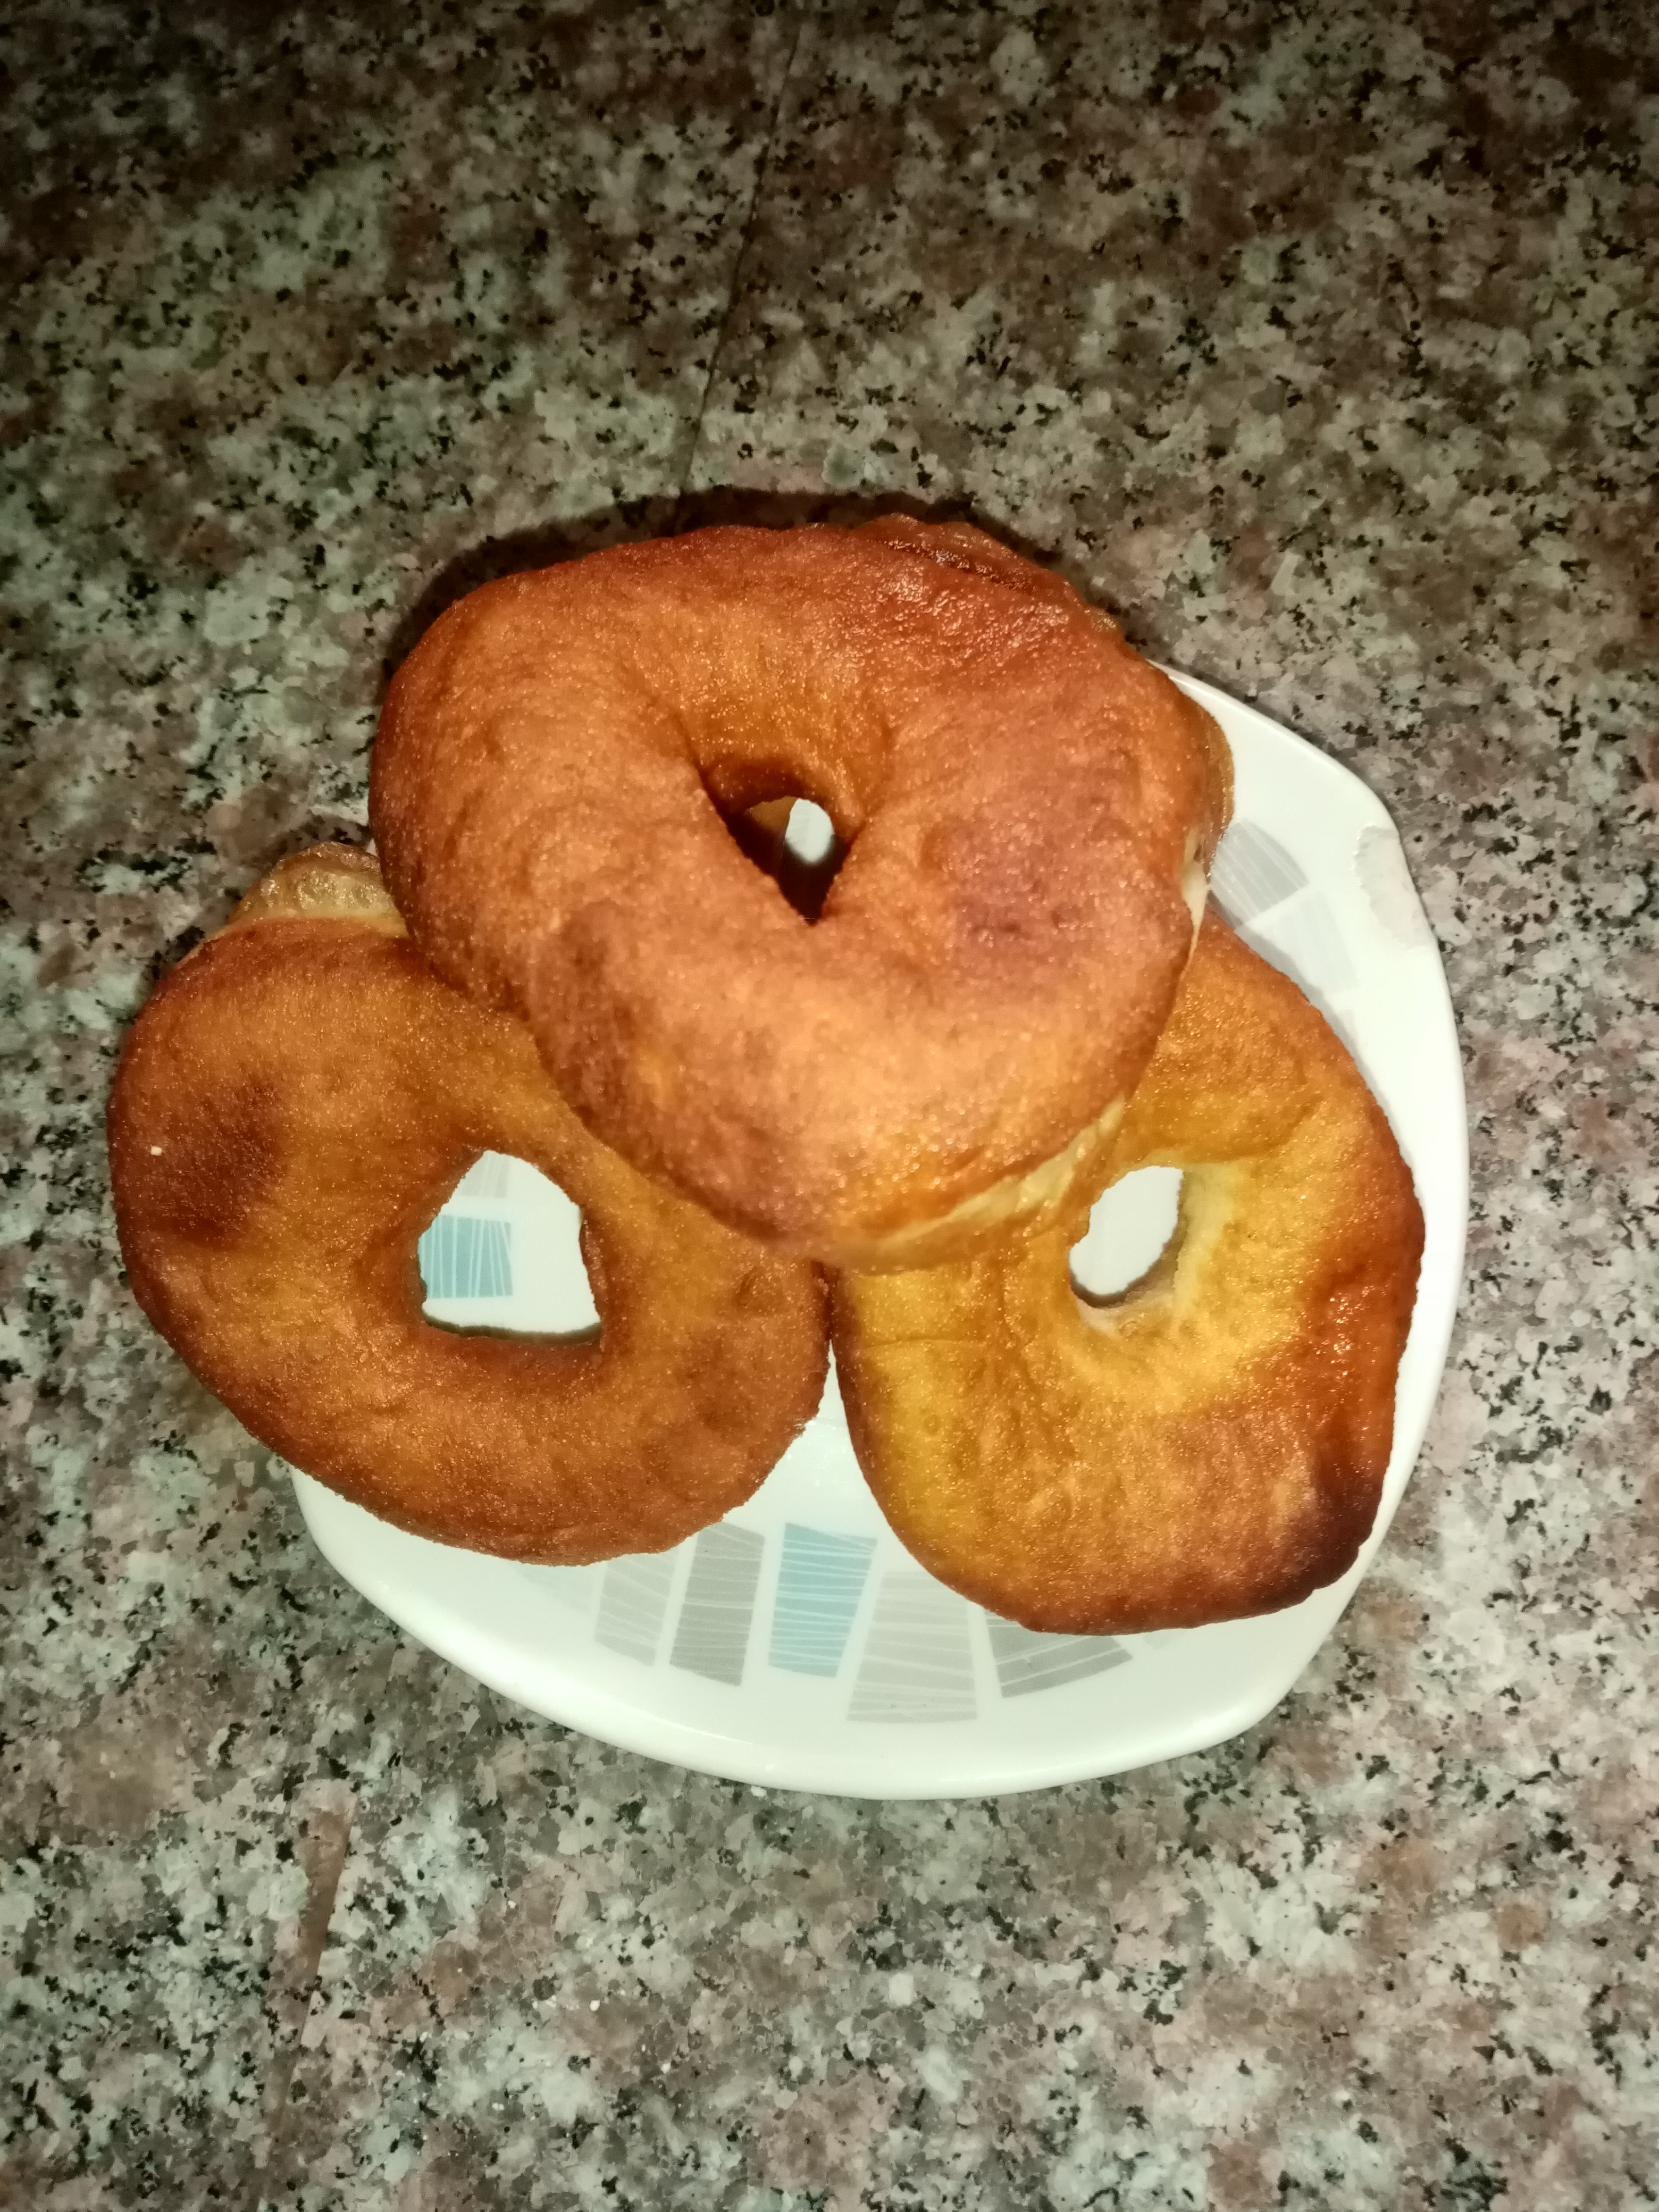
Las donas, son panes dulces en forma de rosquillas, esquisitos y son ideales para merendar. Pueden freírlas o hacerlas al horno. También, pueden hacerlas rellenas, rocearlas solo con azúcar glas, granulada, o bañarla con chocolate, manjares, entre otros.
Puedes usar estos mismos ingredientes de la masa para preparar donas o bombas rellenas, así se les dice en mi País. Sólo no le abras el huevo del centro, luego de freírlas las abres por un lado (bomba) para rellenarlo con dulce de leche, crema pastelera u otro y le espolvorea nevazucar o azúcar granulada por la parte superior.
Mientras que para el caso de donas rellanas, no le abres por ningún lado, sólo usas una boquilla para relleno con manga, agregas el relleno dentro de ella y aplicas (como en forma de inyección) a la dona; finalmente las cubres con lo que desees.
En este caso las haré sencillas con un glaseado.
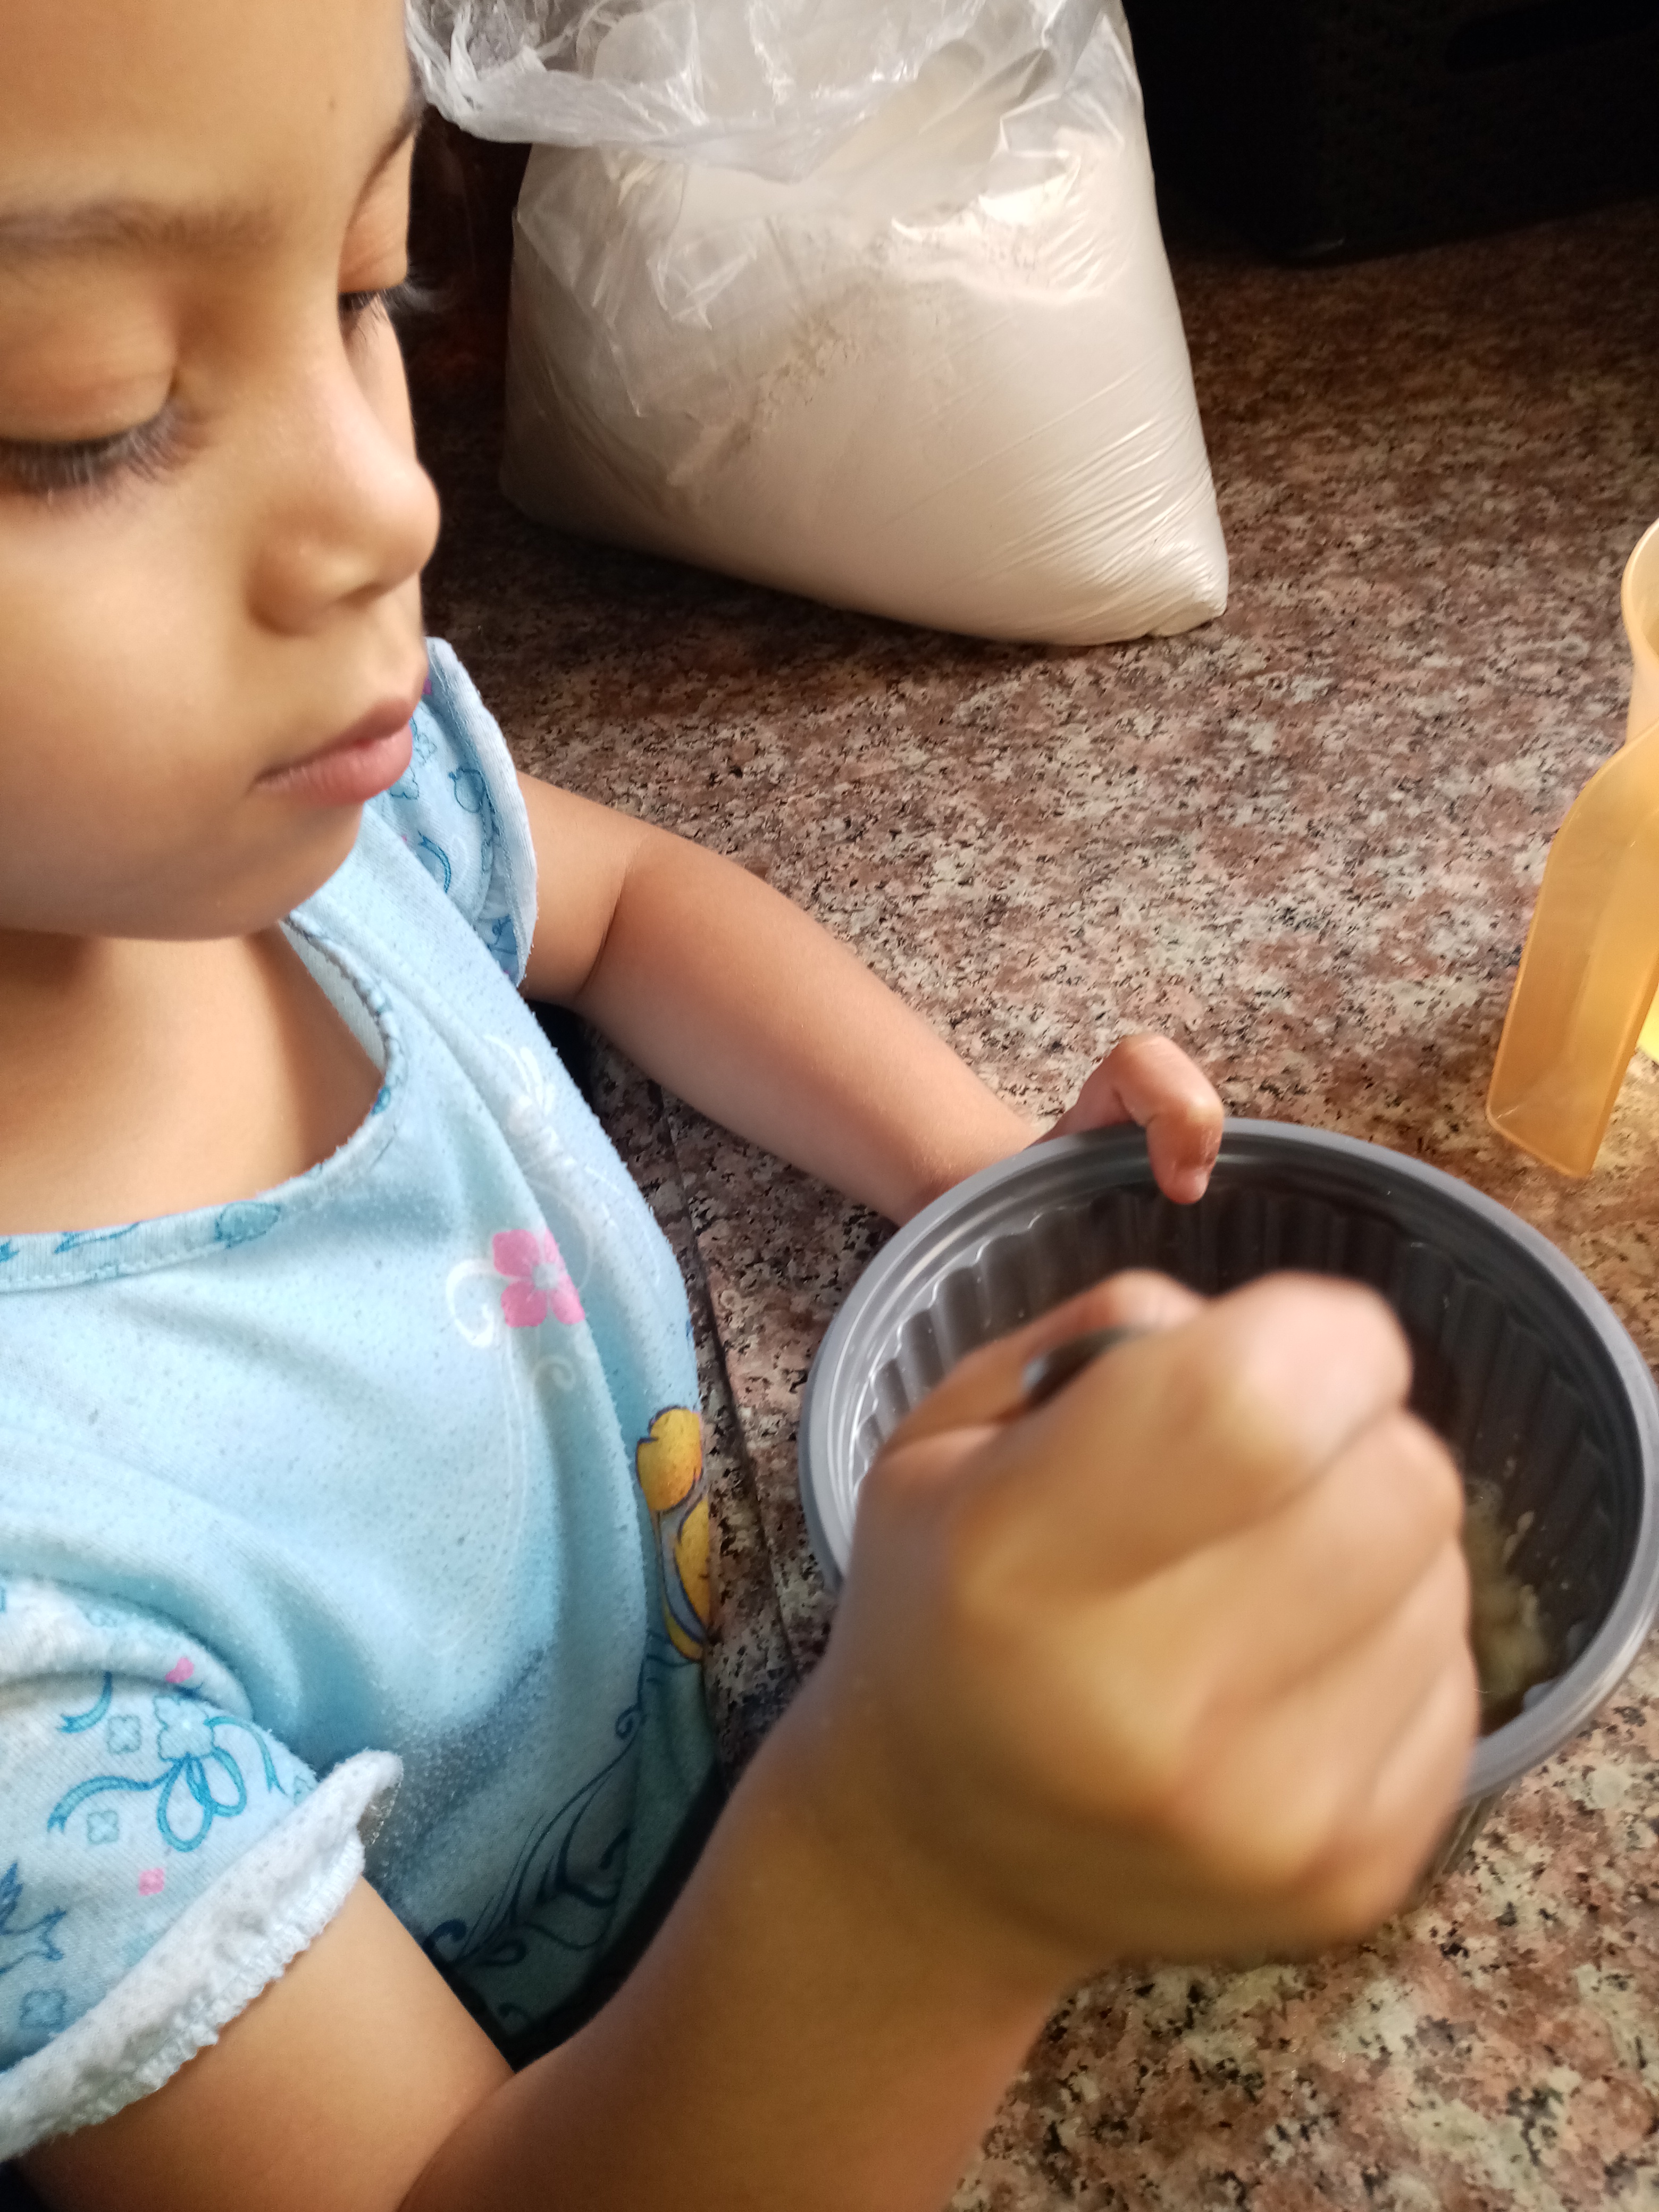
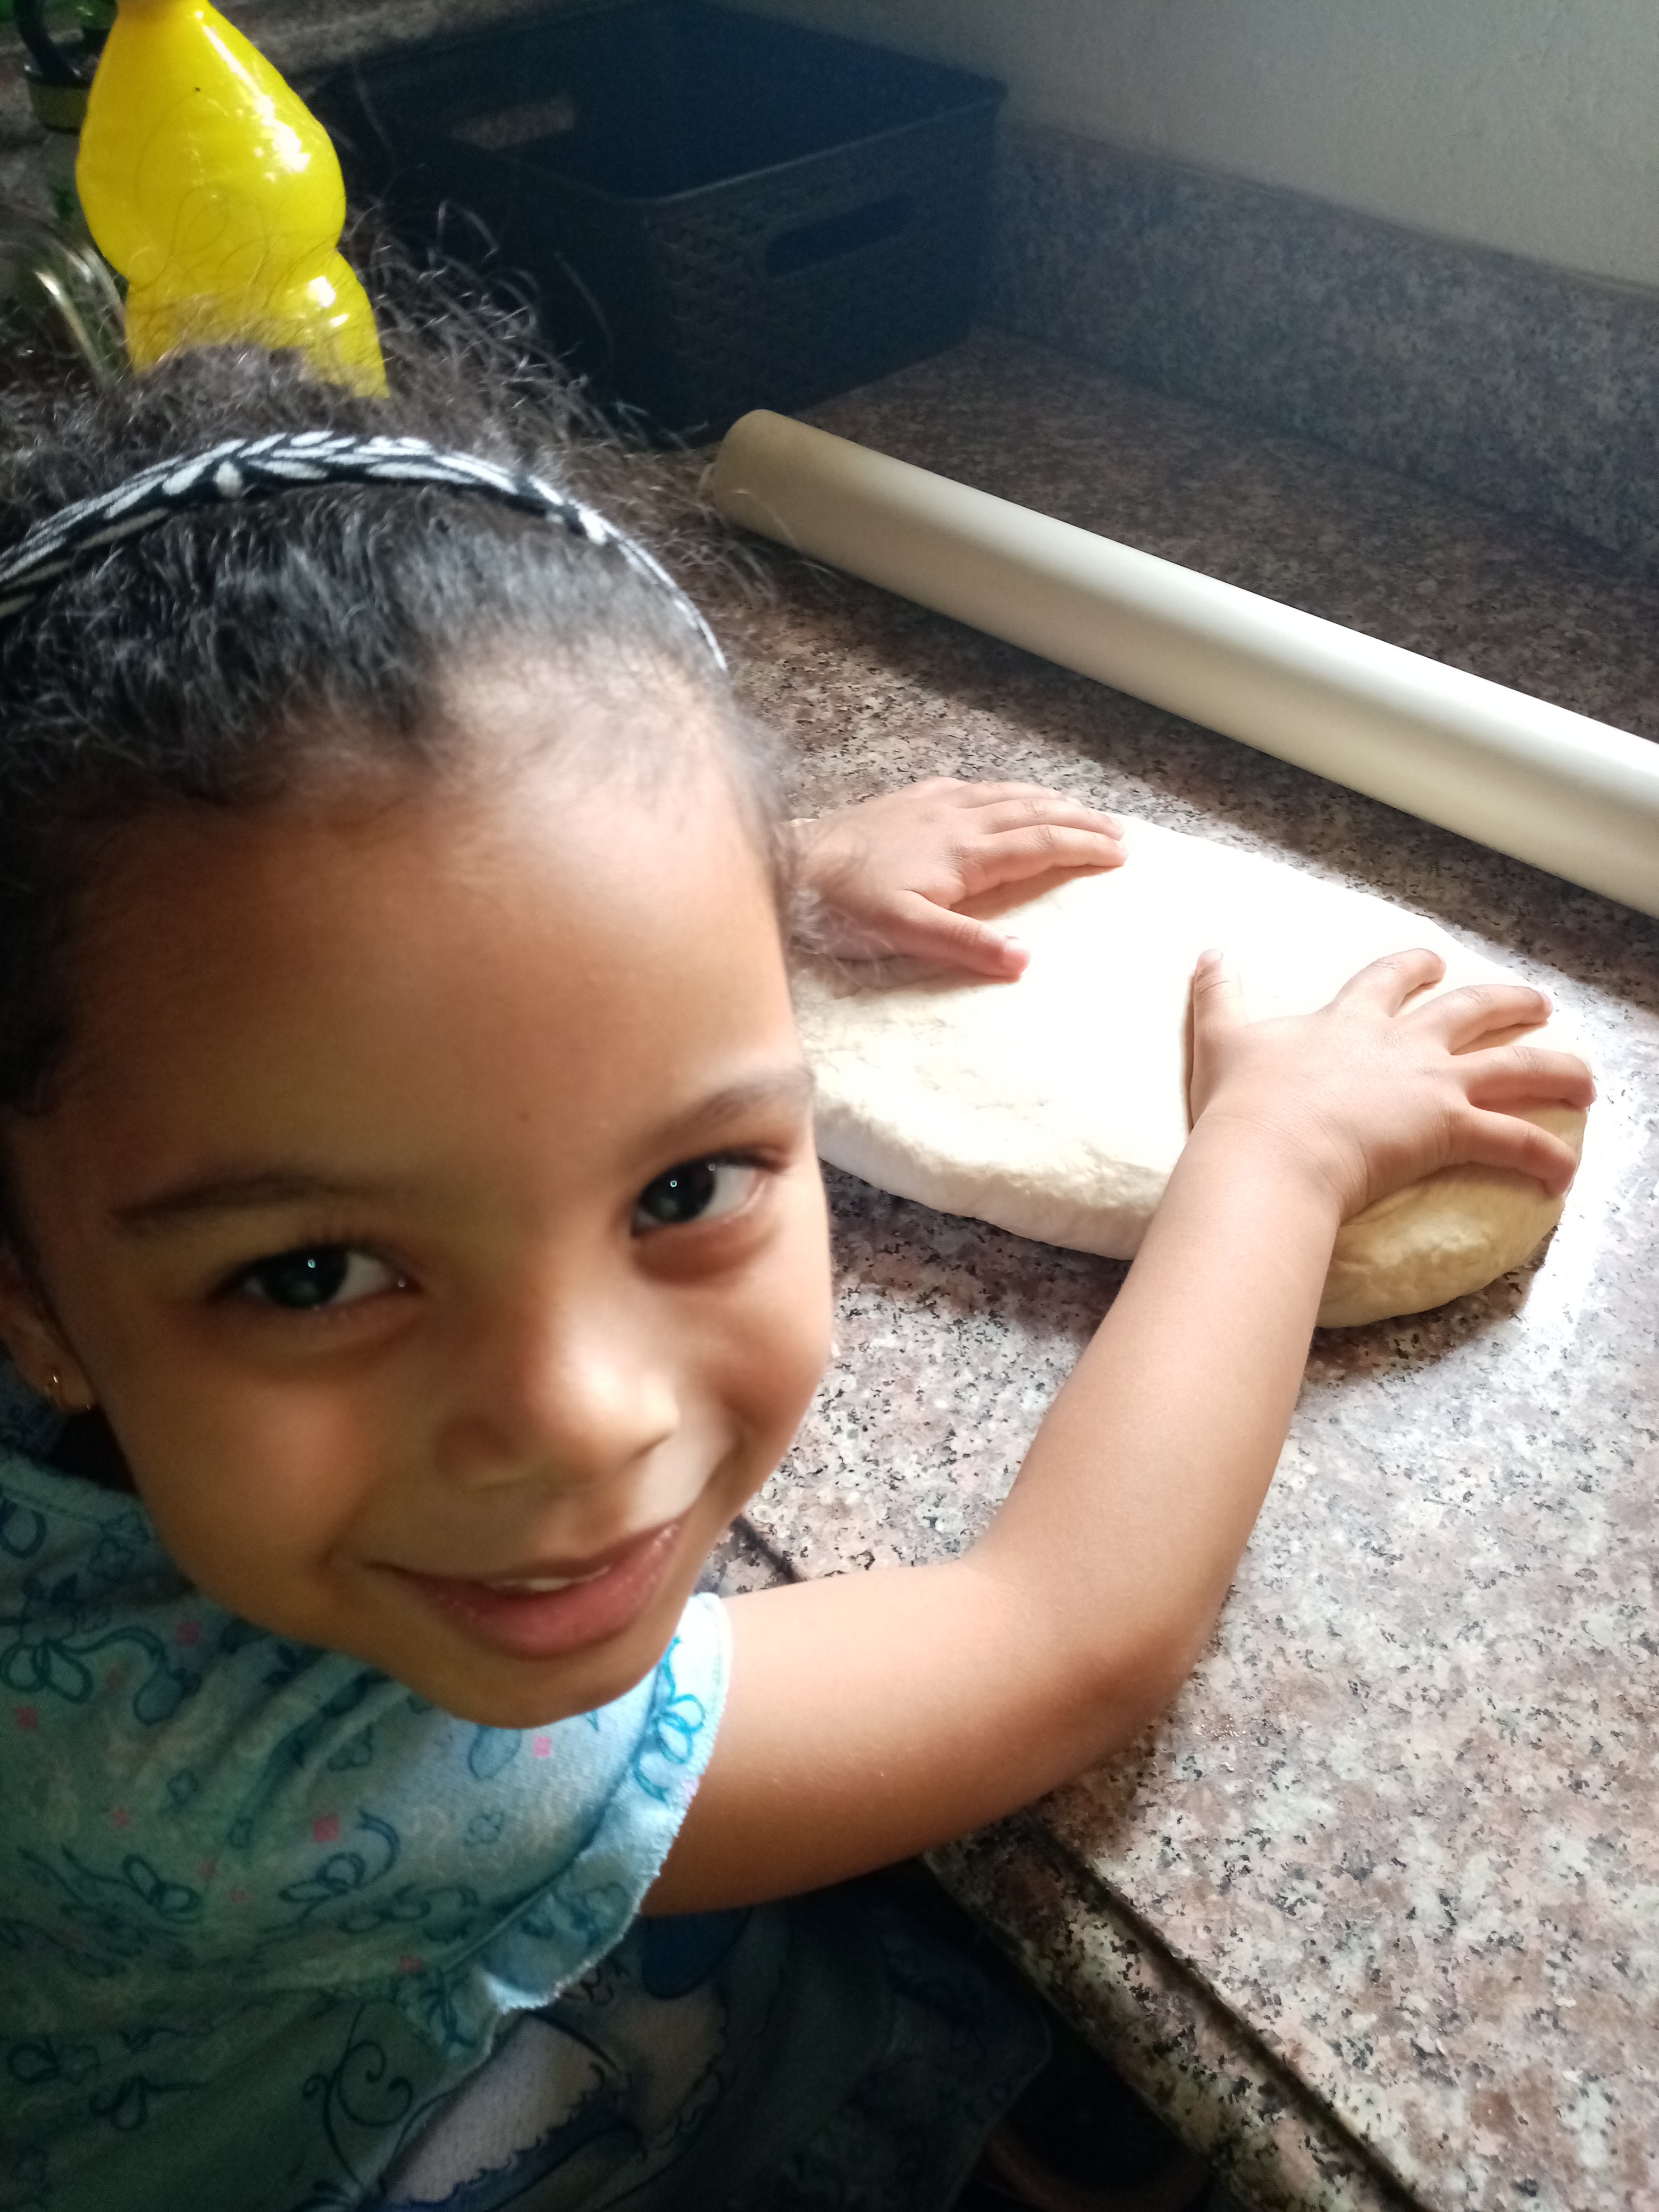
Friends of #hive and #foodiesbeehive, today I bring you a recipe that I prepared with my daughter, some delicious doughnuts.
The donuts are sweet breads in the form of doughnuts, delicious and ideal for snacking. They can be fried or baked. Also, they can be filled, sprinkled only with powdered sugar, granulated, or bathed with chocolate, delicacies, among others.
You can use these same dough ingredients to prepare doughnuts or stuffed bombs, as they are called in my country. Just don't open the egg in the center, after frying them open the one side (bomba) to fill it with dulce de leche, custard or other and sprinkle snow or granulated sugar on top.
While in the case of filled doughnuts, you don't open them from any side, you just use a filling nozzle with a sleeve, add the filling inside it and apply (as an injection) to the doughnut; finally you cover them with whatever you want.
In this case I will make them simple with a glaze.
Ingredientes:
500g Harina todo uso
200-250ml de agua o leche
10g Levadura
50g Mantequilla o margarina.
1 Huevo +1 Yema
50g Azúcar
1 cucharadita de Sal
Vainilla al gusto
Aceite c/n
Glaseado
200g Azúcar glas, nevazucar, azúcar pulverizada
Jugo de 1 limón y rayadura.
Agua o leche c/n
Ingredients:
500g all-purpose flour
200-250ml of water or milk
10g Yeast
50g Butter or margarine
1 Egg +1 Yolk
50g Sugar
1 teaspoon of salt
Vanilla to taste
Oil
Glaze
200g caster sugar, sugar, powdered sugar
Juice of 1 lemon and peel.
Water or milk c/w
Preparación de la masa
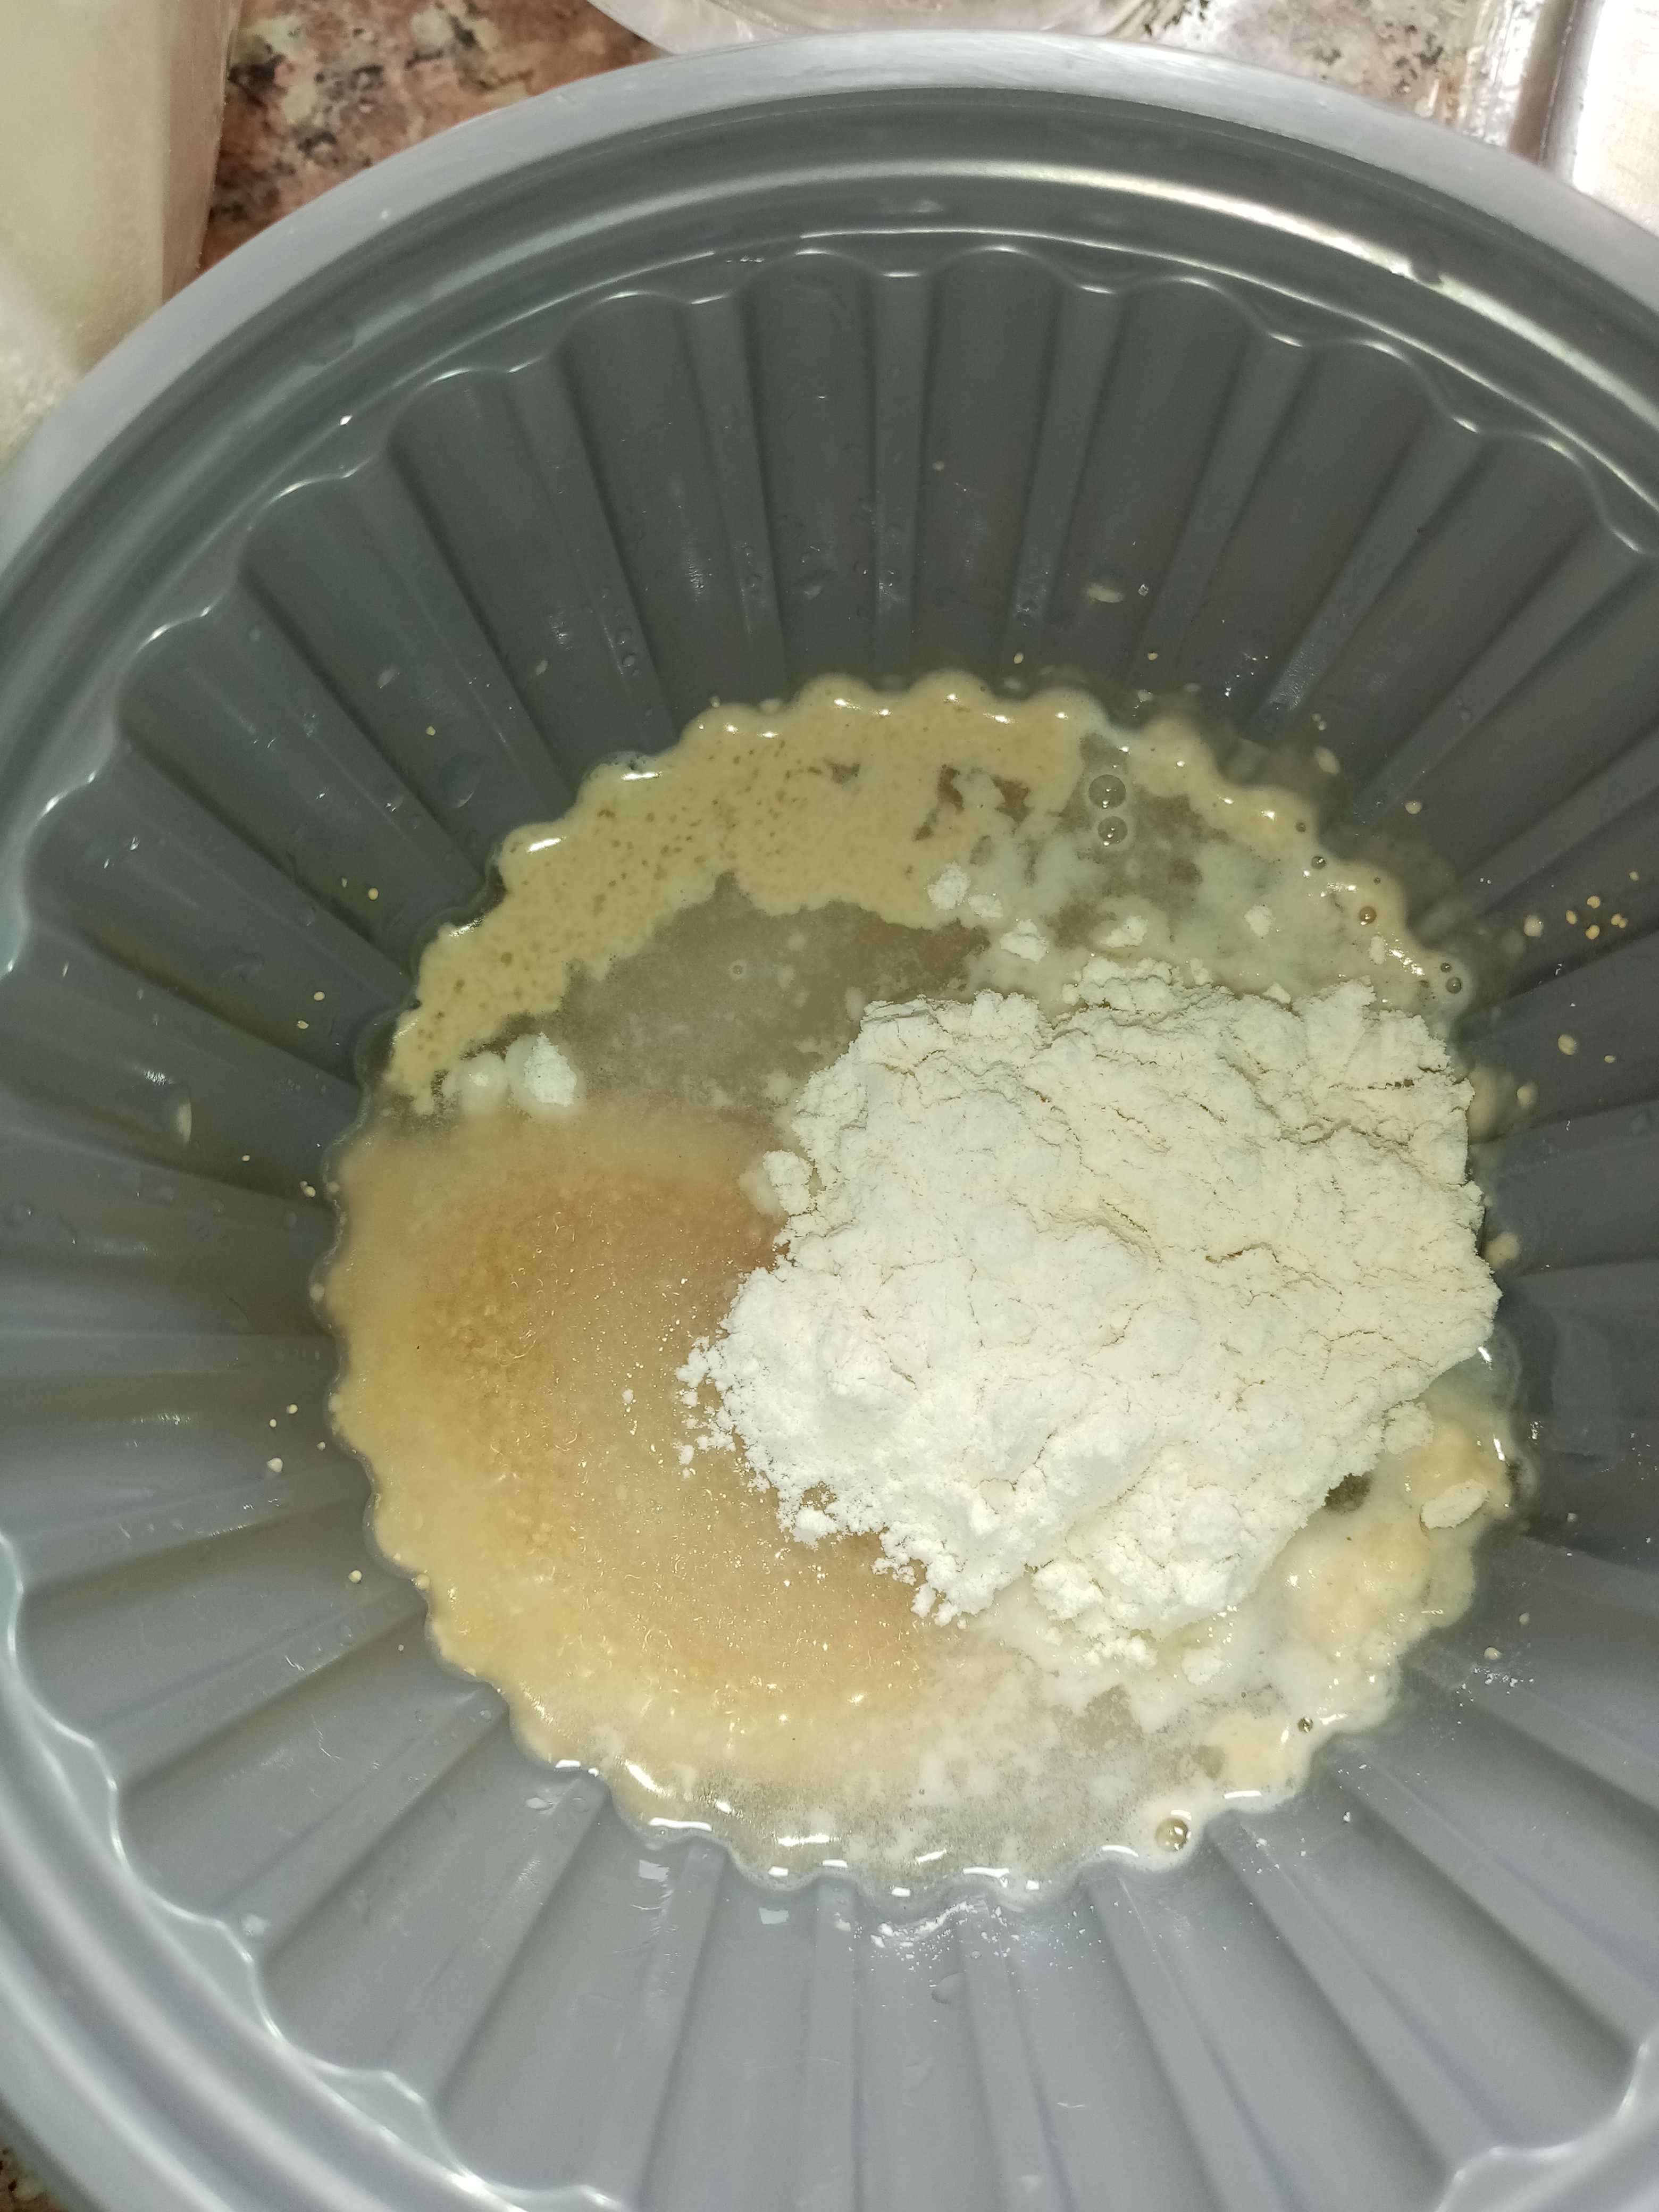
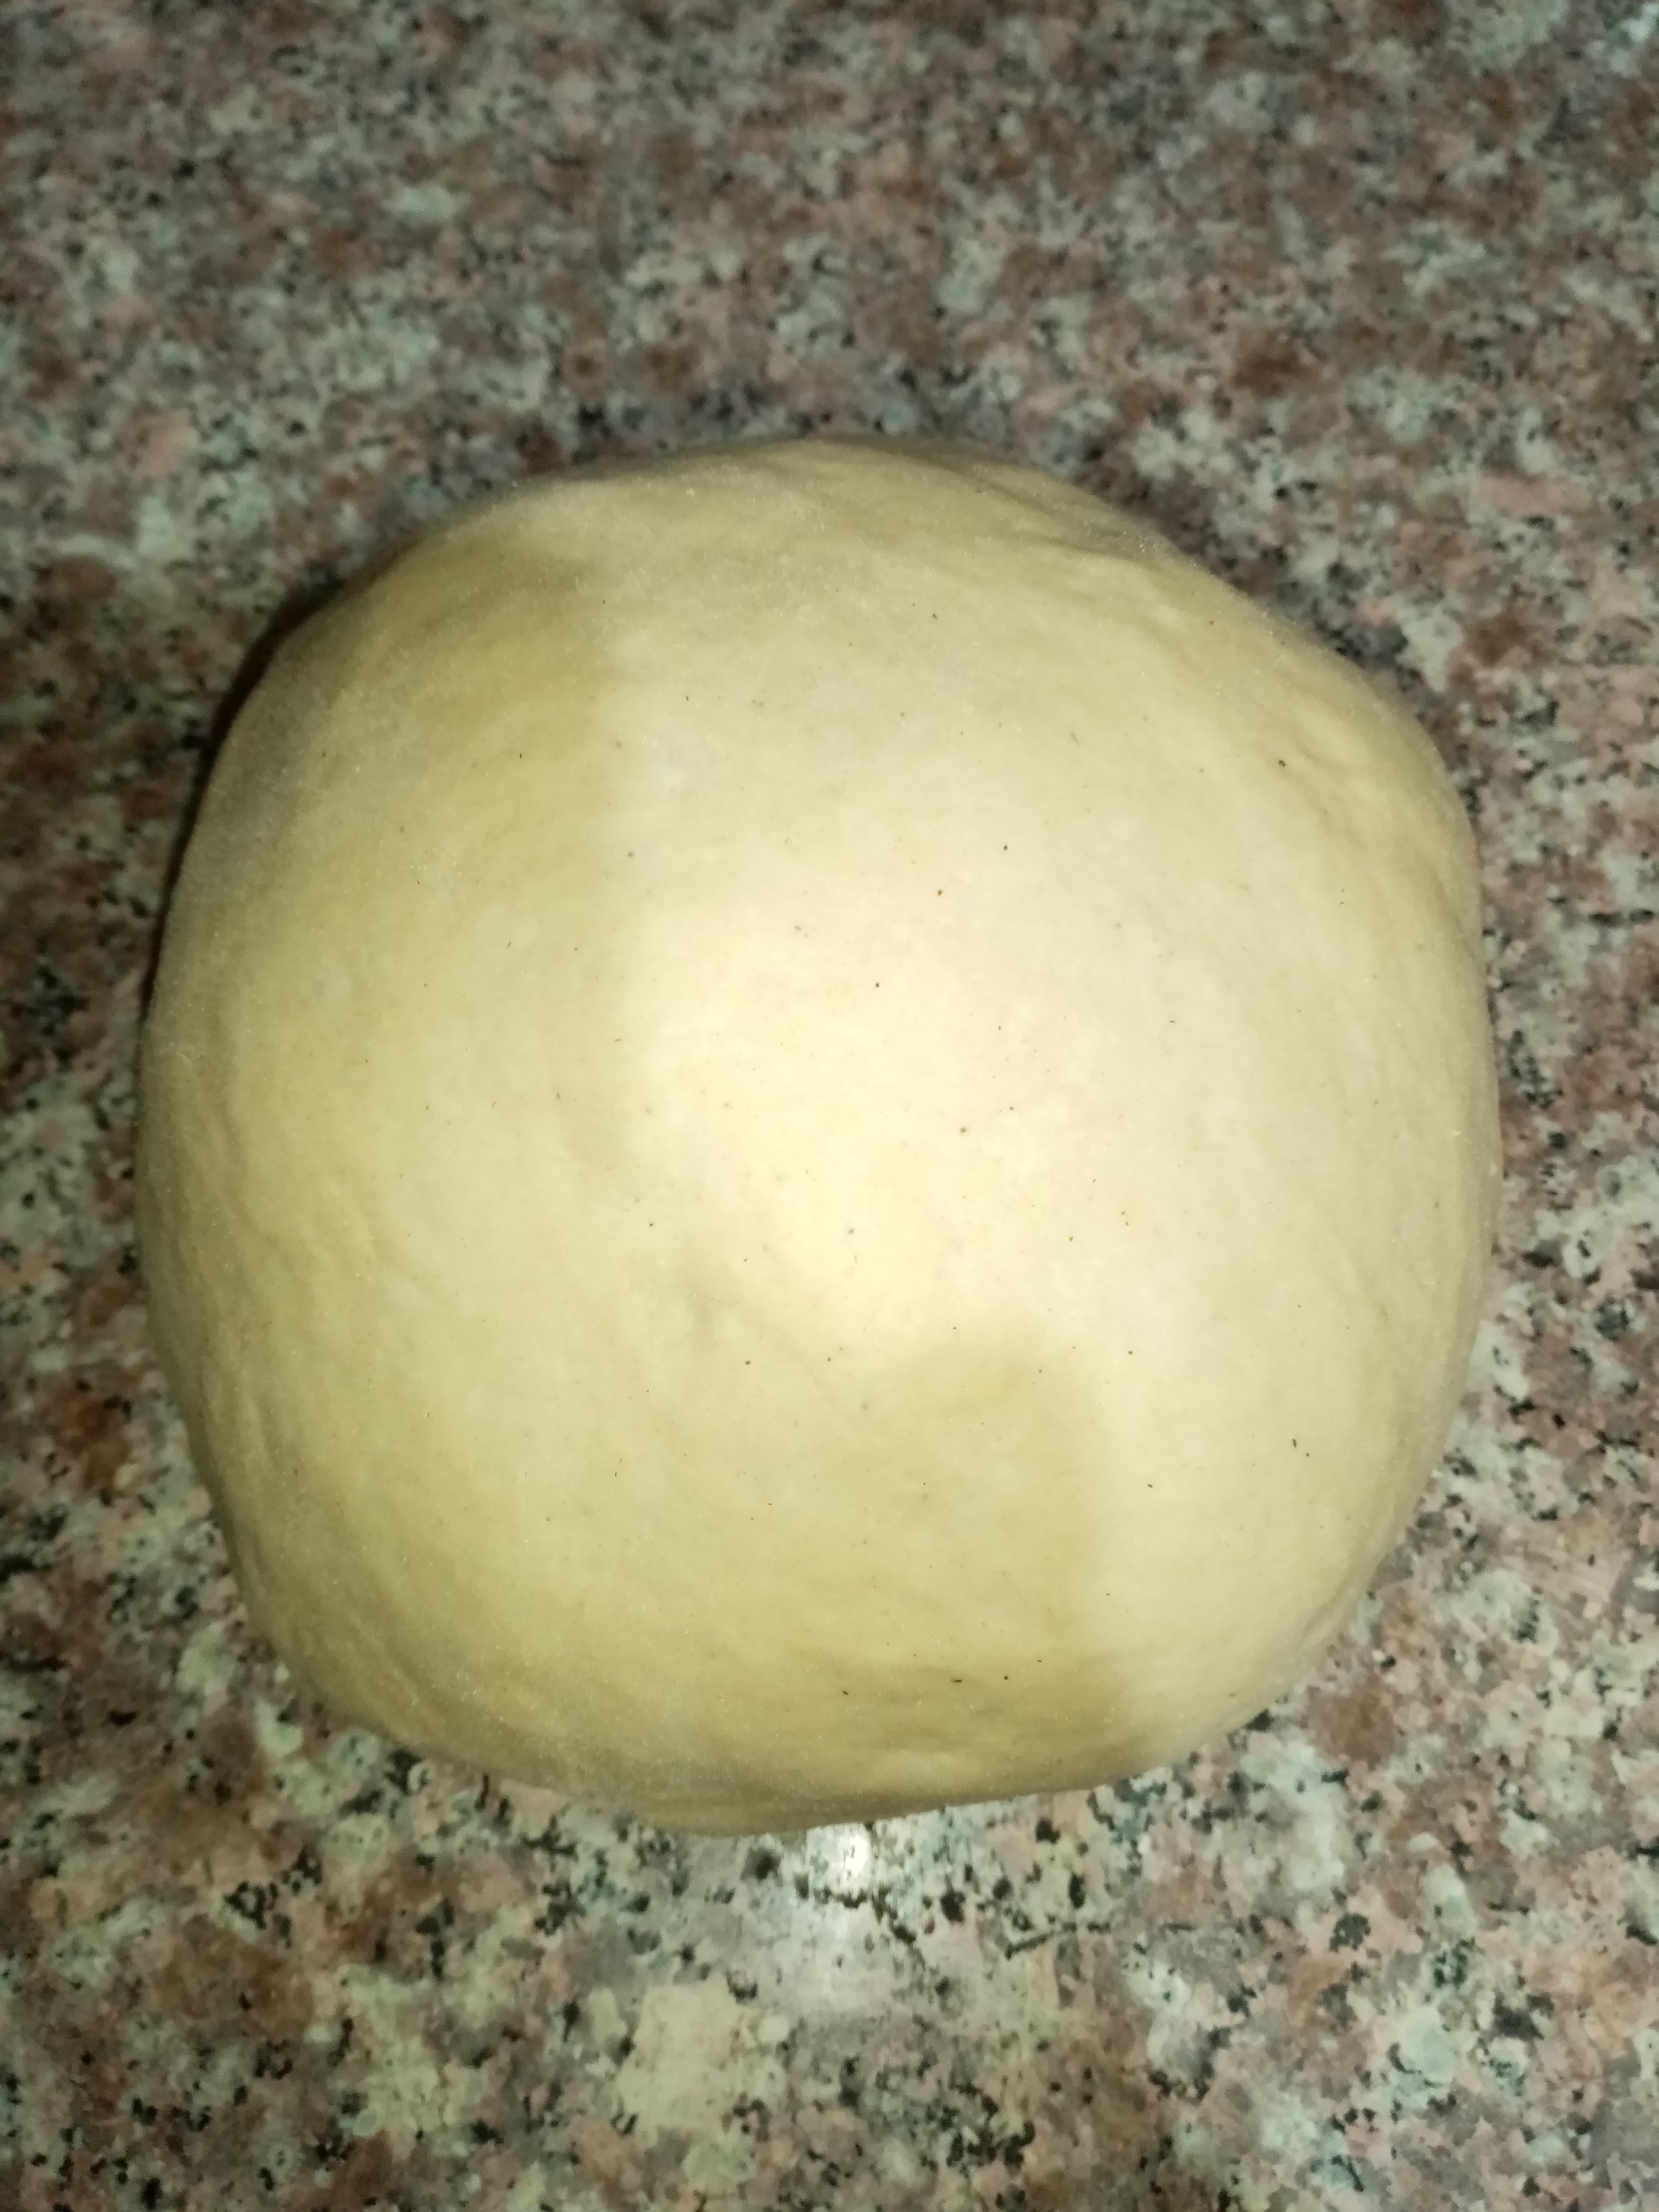
Luego de activar la levadura (100ml de agua o leche tibia+cucharada de azúcar+cucharada de harina), procedemos a agregar el restante de los líquidos (agua o leche, huevo y Yema) y mezclar. Agregar el azúcar e ir revolviendo, incorporar poco a poco la harina ( recuerden que dependerá mucho de tu preparación la cantidad de harina a usar, en algunos casos puede ser menos o un poco más). La mantequilla debe estar a temperatura ambiente o un poco diluida, pero no caliente. Amasar e Incorporar la sal y la harina hasta que logre despegarse bien de las manos, pero no se excedan, queremos una masa suave, no dura.
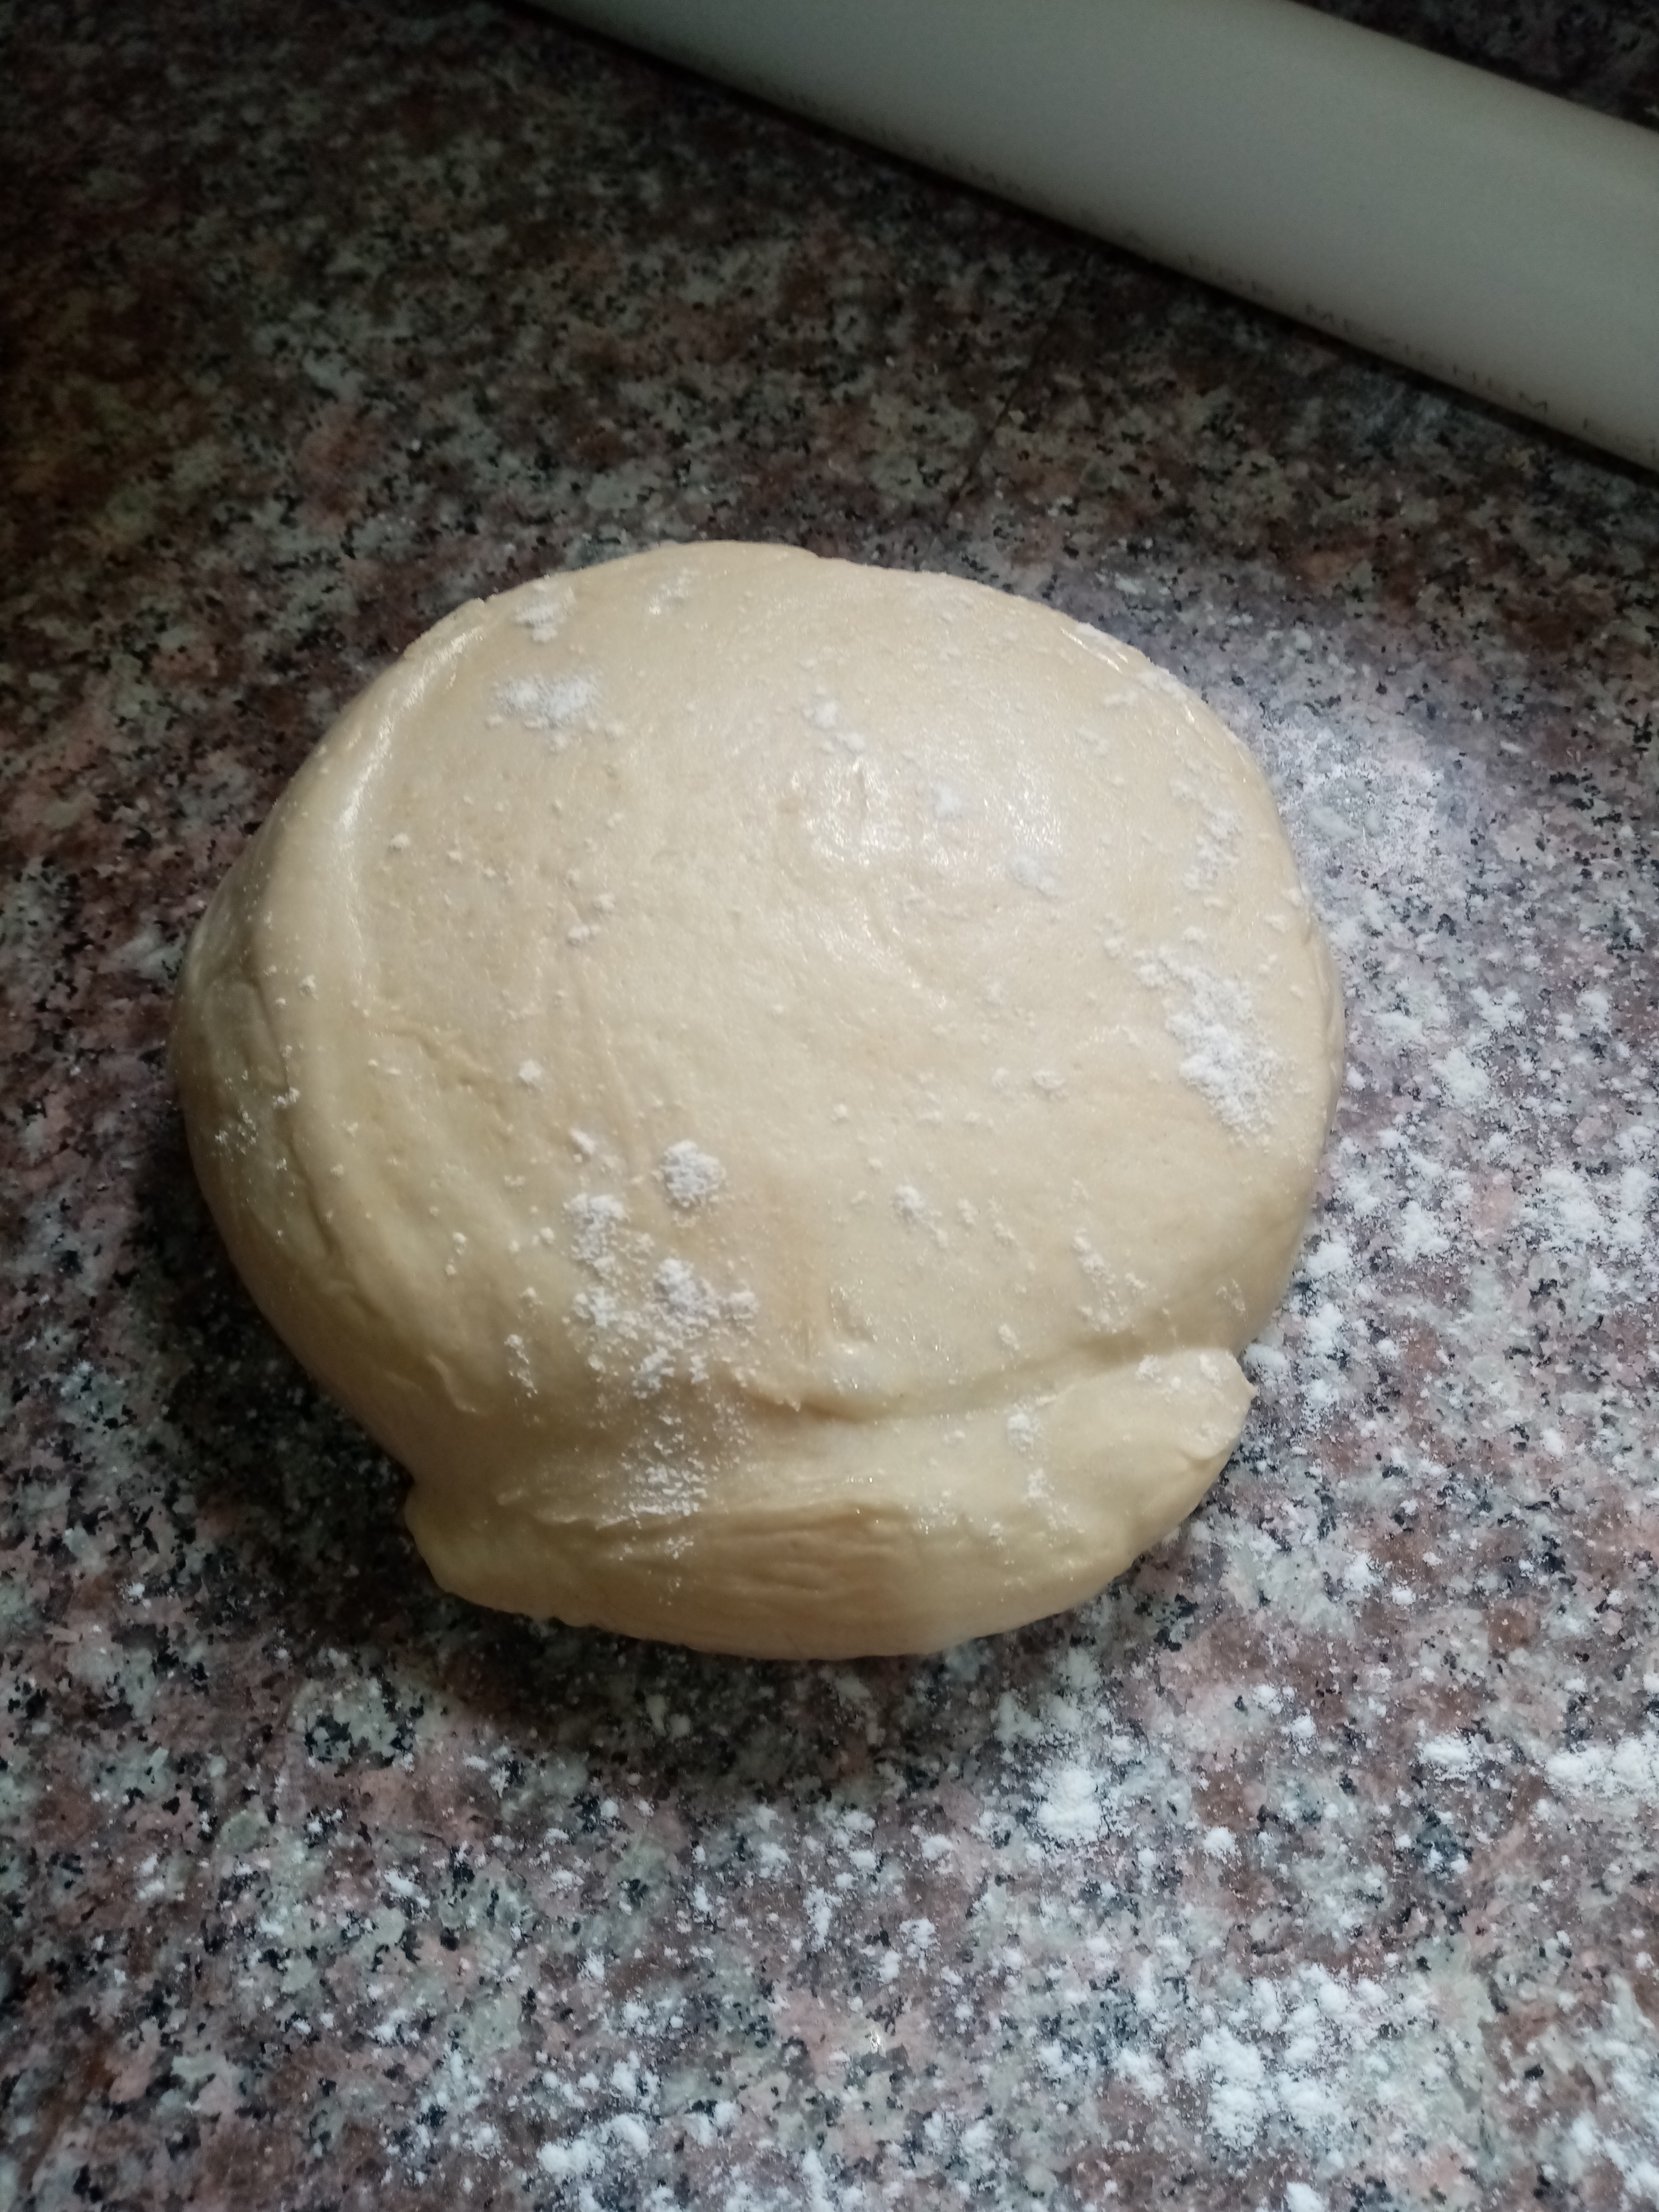
Dejar reposar por 30minutos o hasta que duplique su volumen. En un envase engrasado, bien tapado con envoplast o un paño seco, y dejar en un lugar cálido sin corrientes de aire frío.
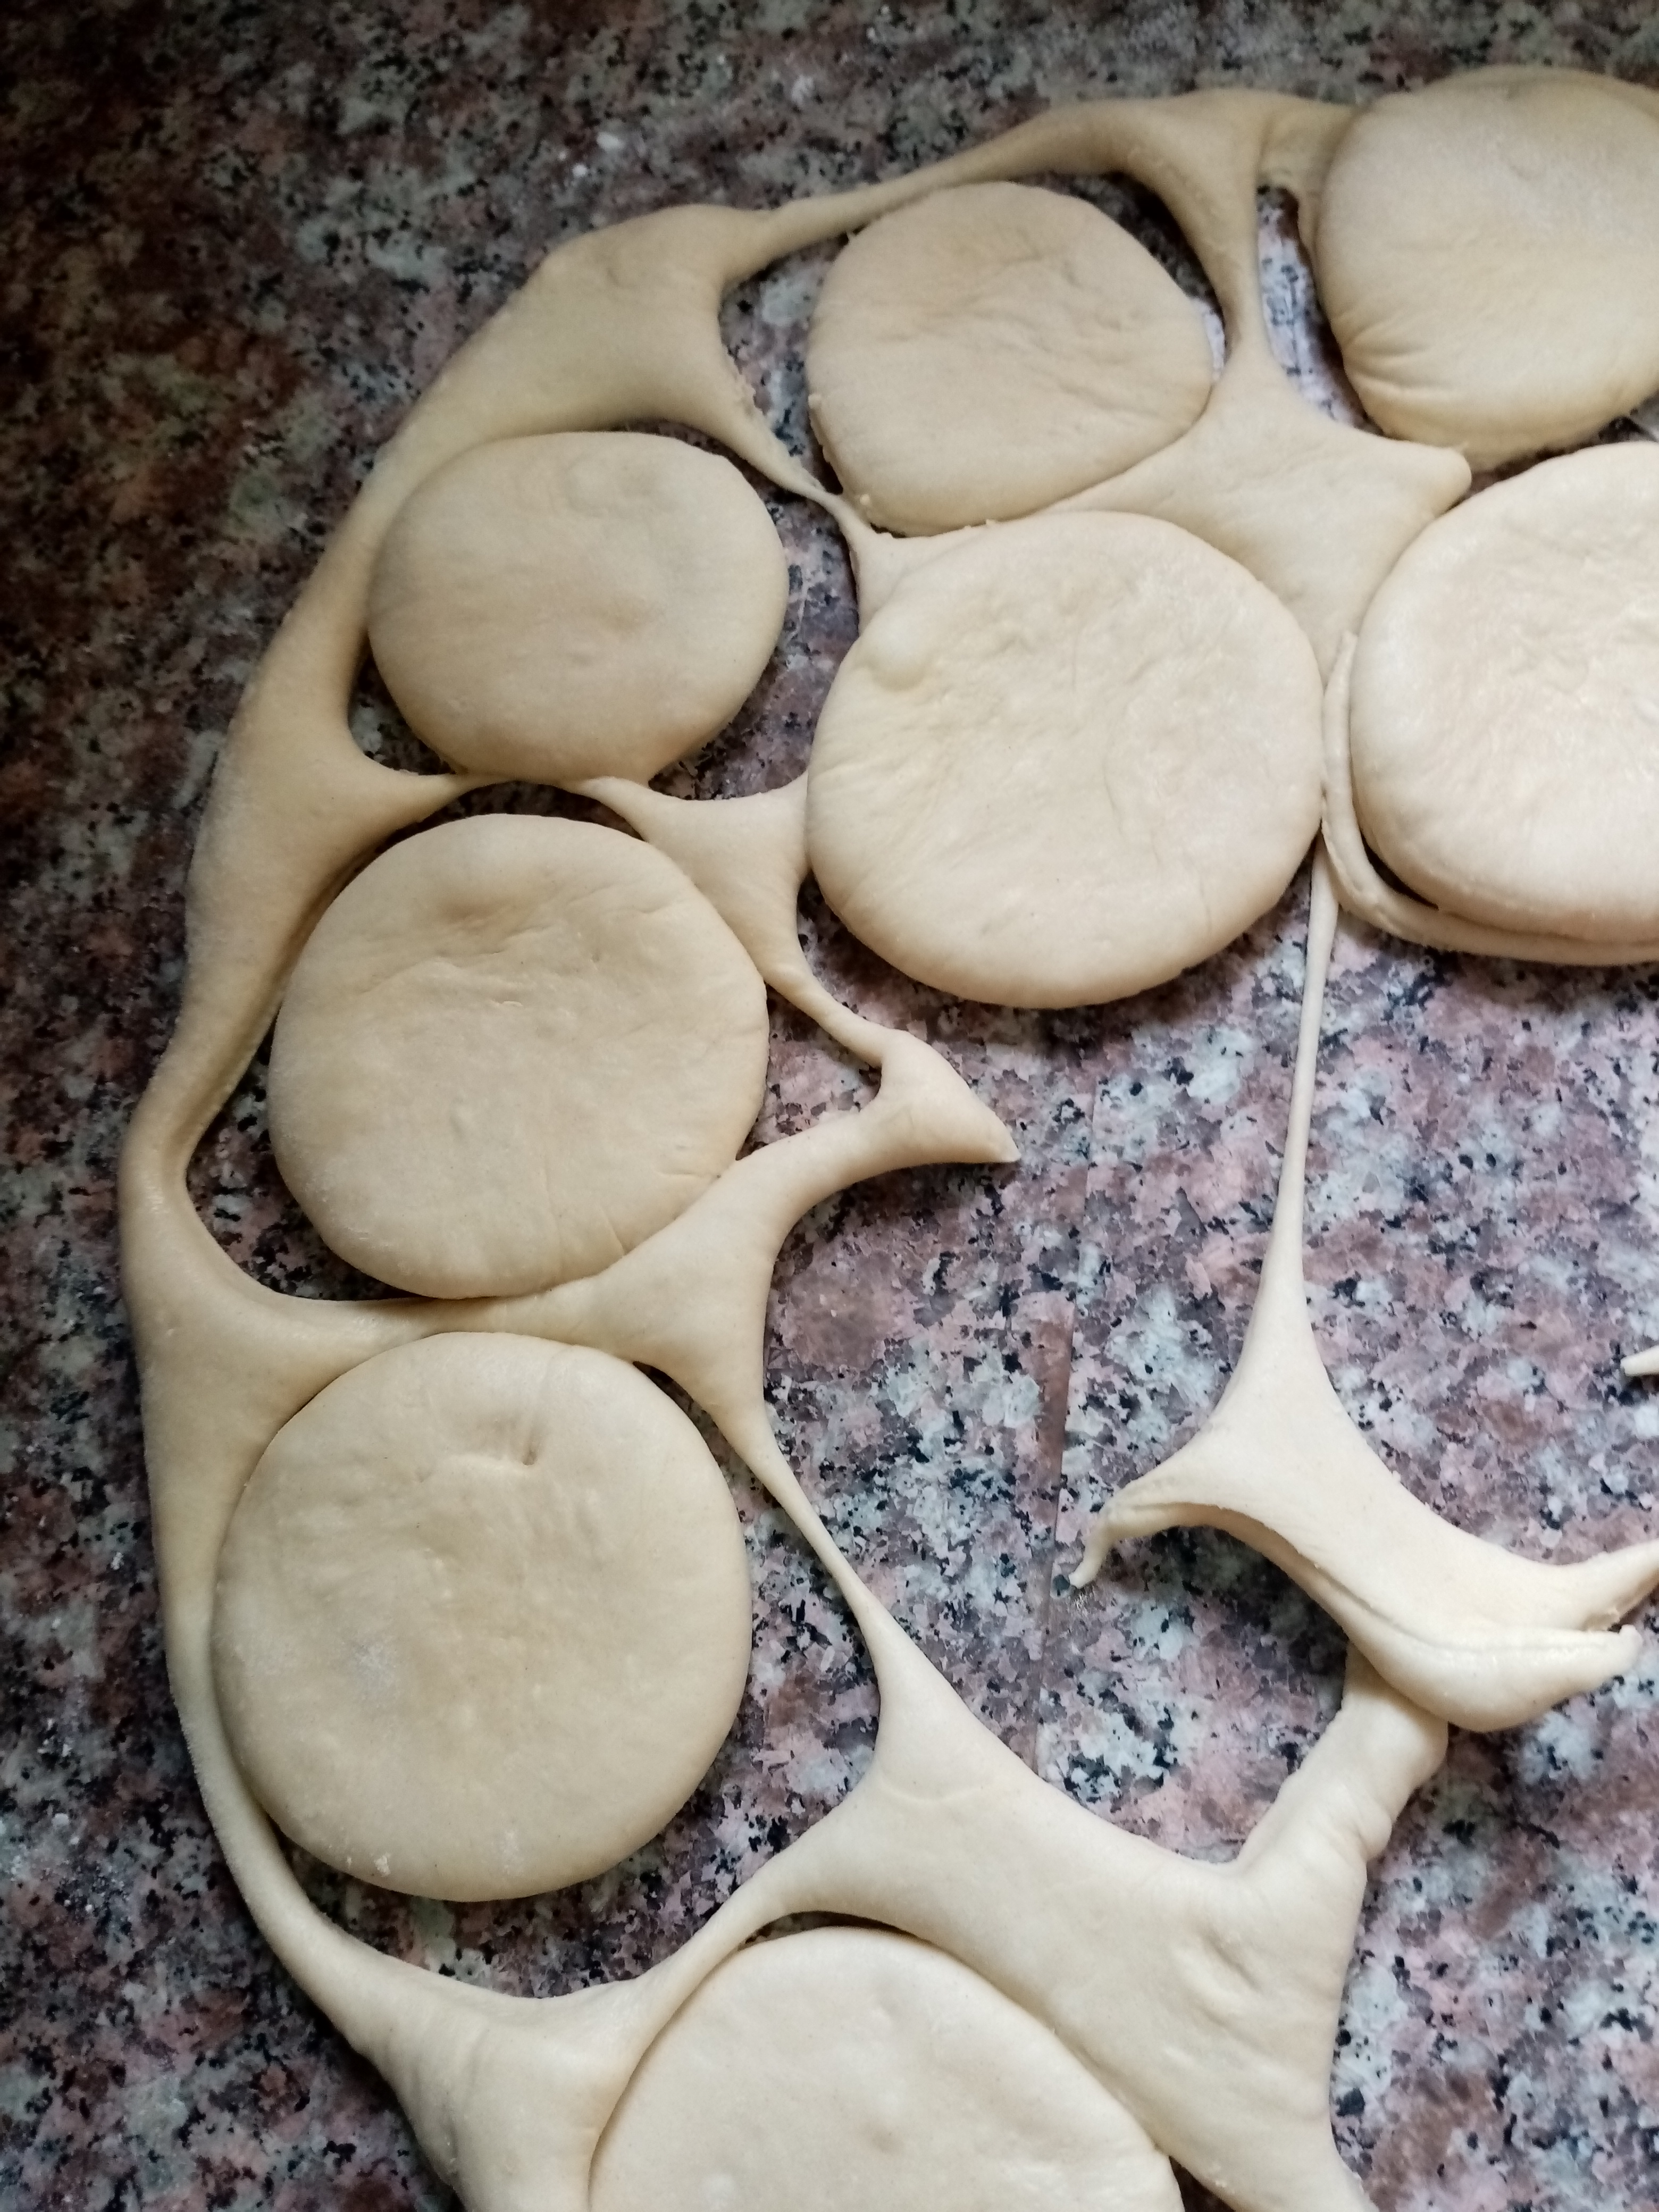
Culminados los 30min, sacar del envase, y con las manos o ayuda del rodillo, proceden a sacar el aire de la masa. Luego estirar con ayuda del rodillo, dejar 1cm o menos de grosor y con ayuda de un cortador circular o un vaso, hacer la forma. Para hacer la perforación interior, si no tienes cortador, puedes usar la tapa de un refresco, solo le colocas un poco de harina a la parte que usaras para cortar.
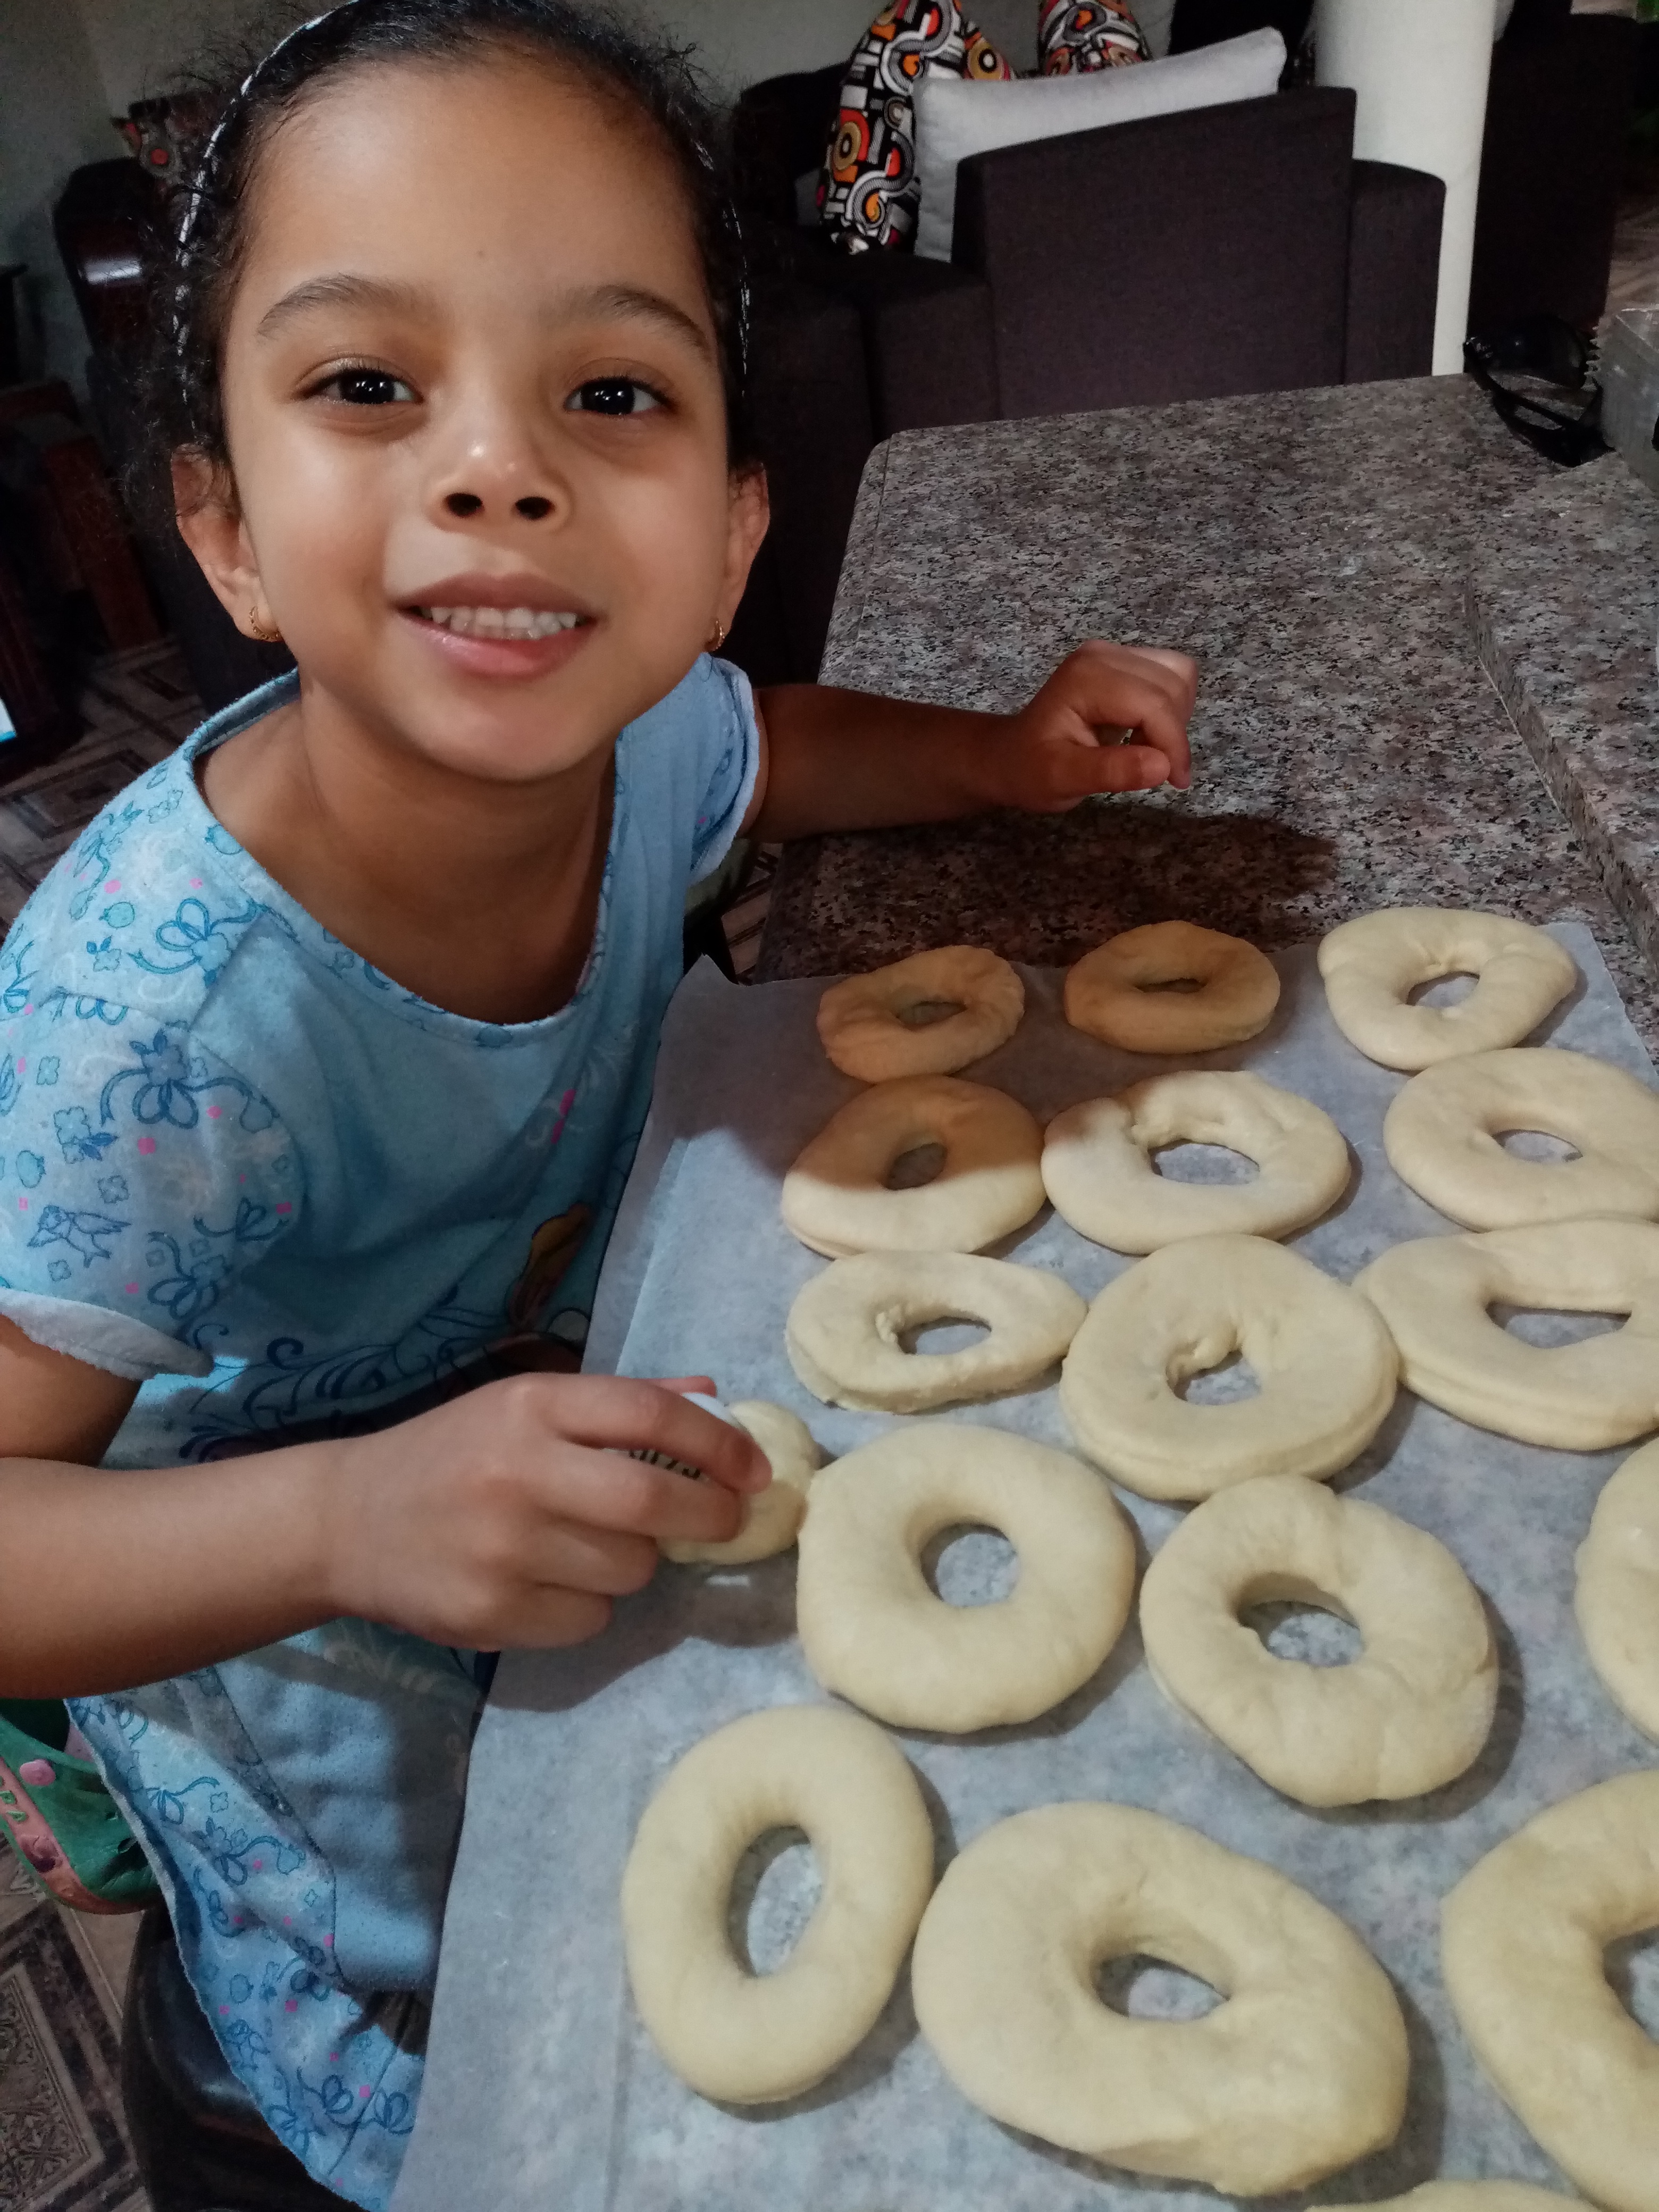
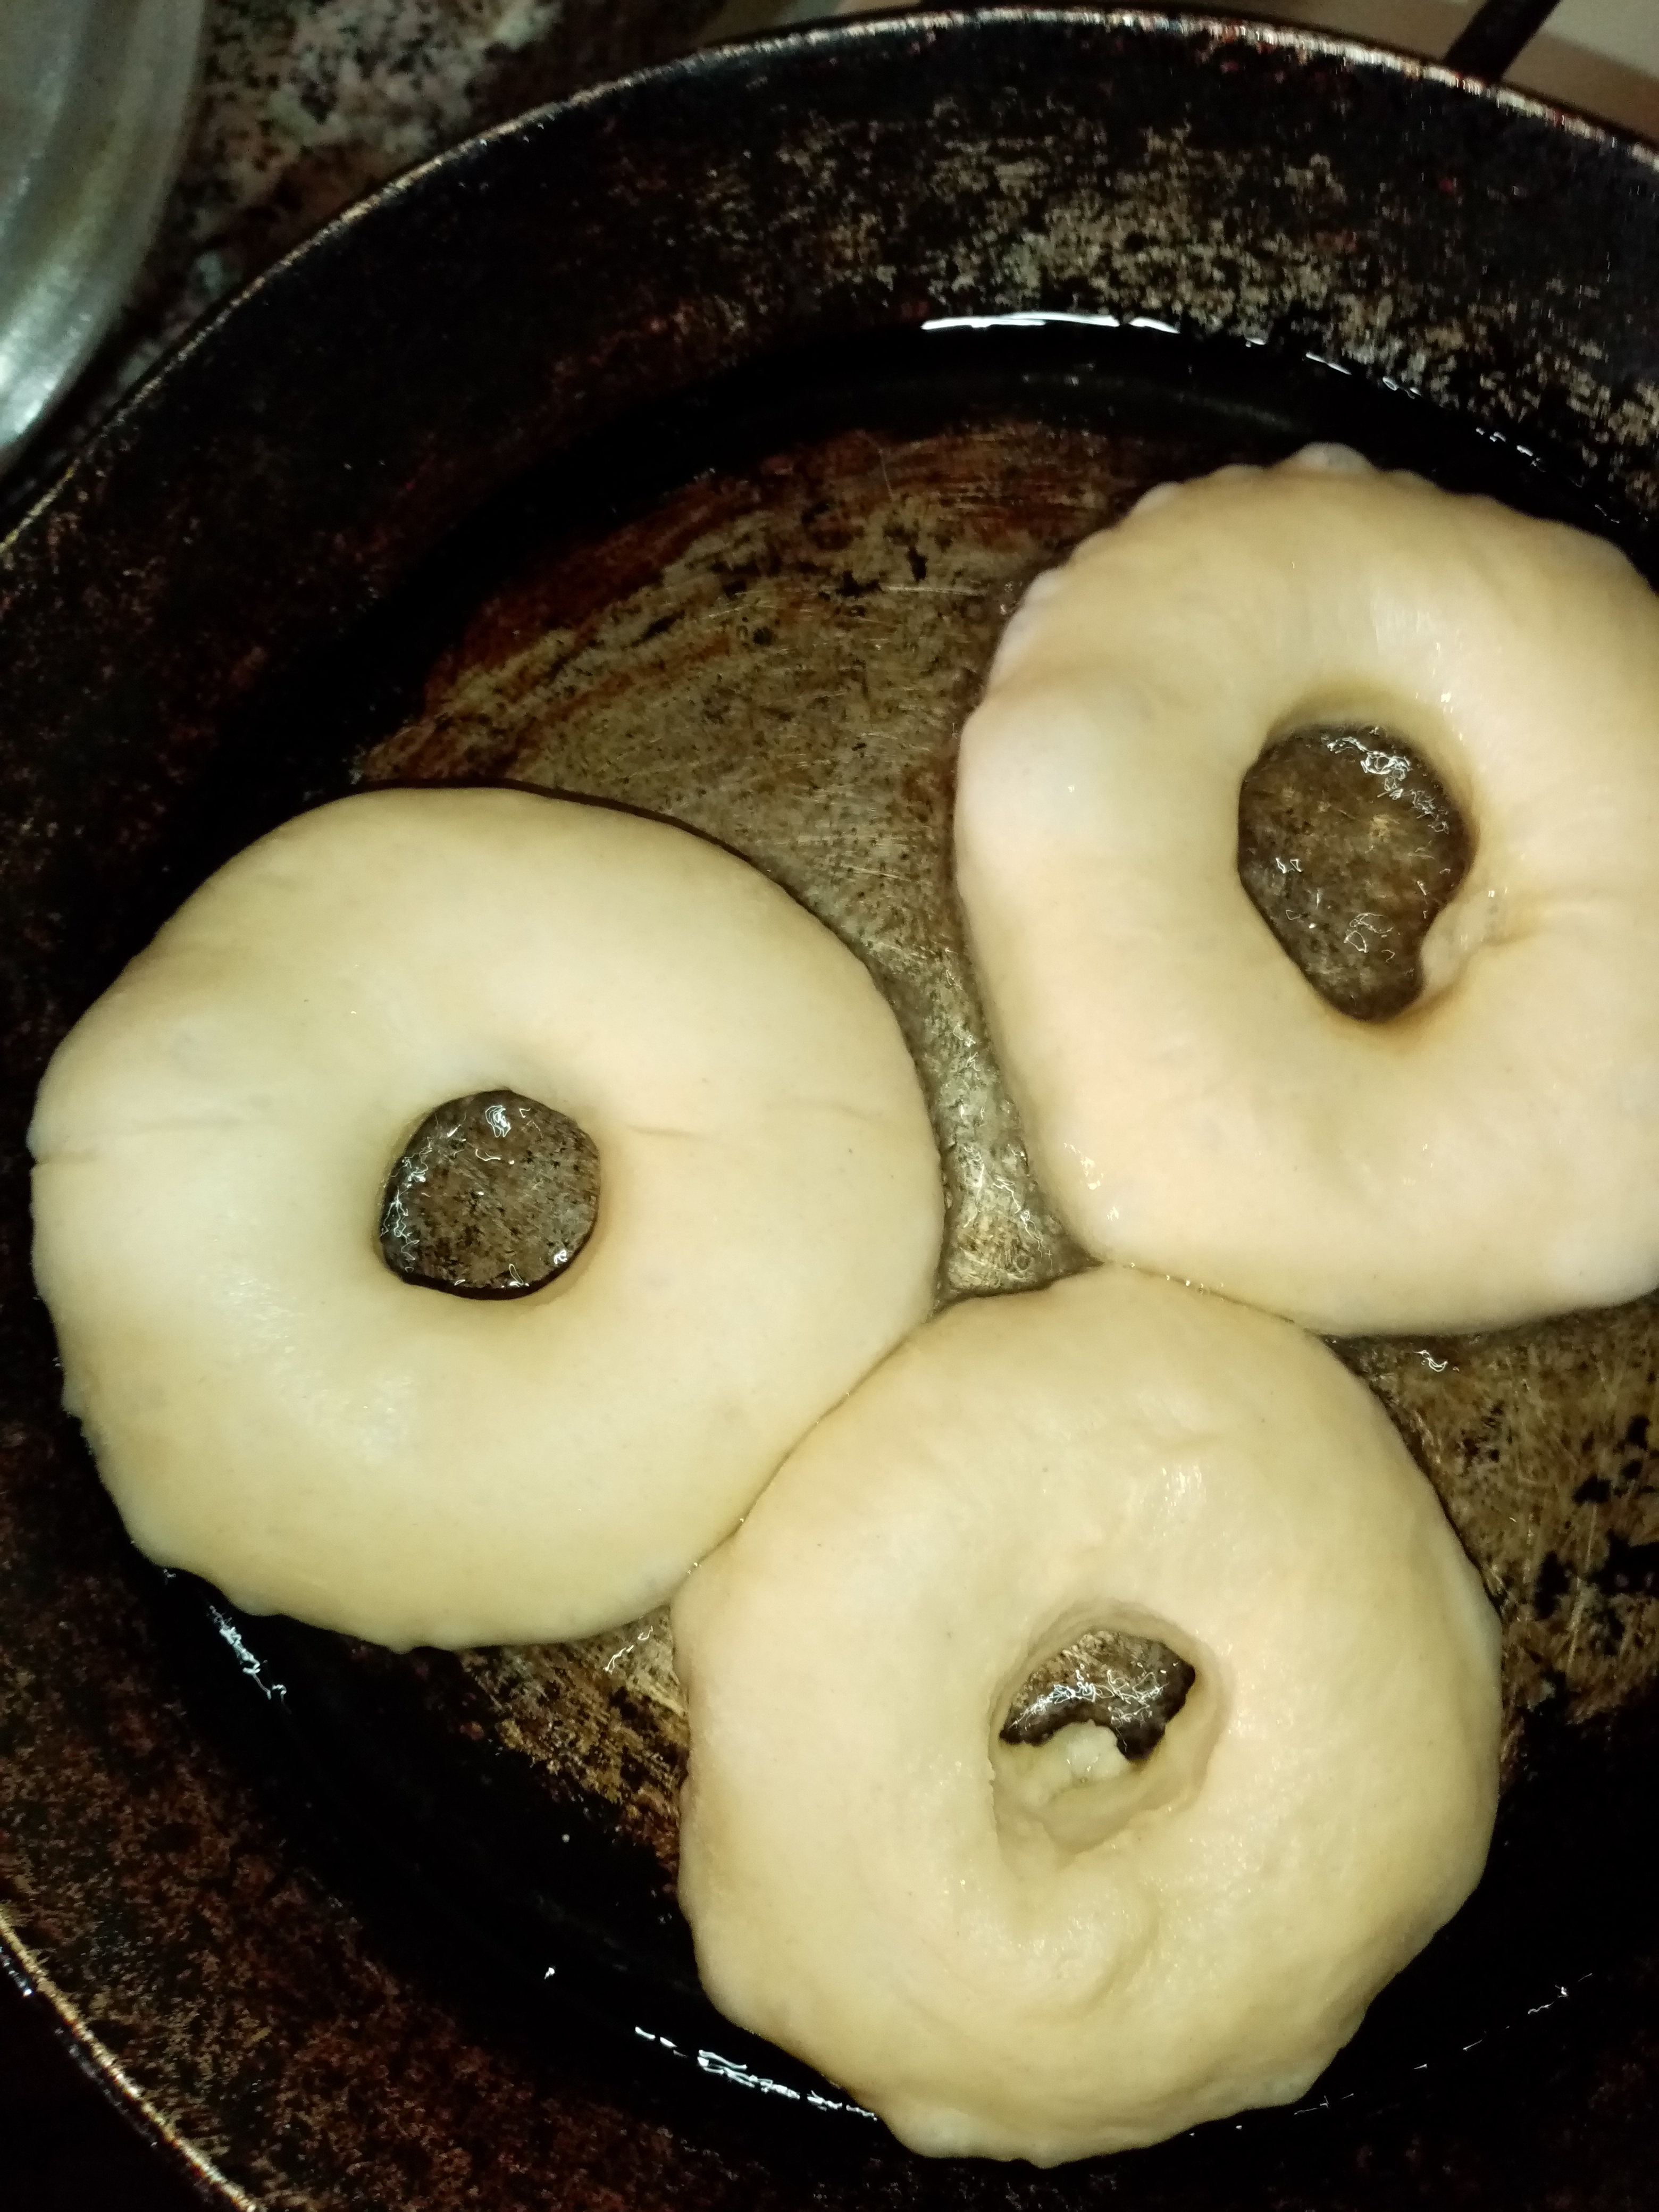
Y así te quedaran. Puedes dejarlas en reposo unos 5min y luego llevarlas a freír con abundante aceite a temperatura media-alta.
Ojo, estar pendientes, porque se cocinan muy rápido, debes darle la vuelta a pesas comiencen a dorar.
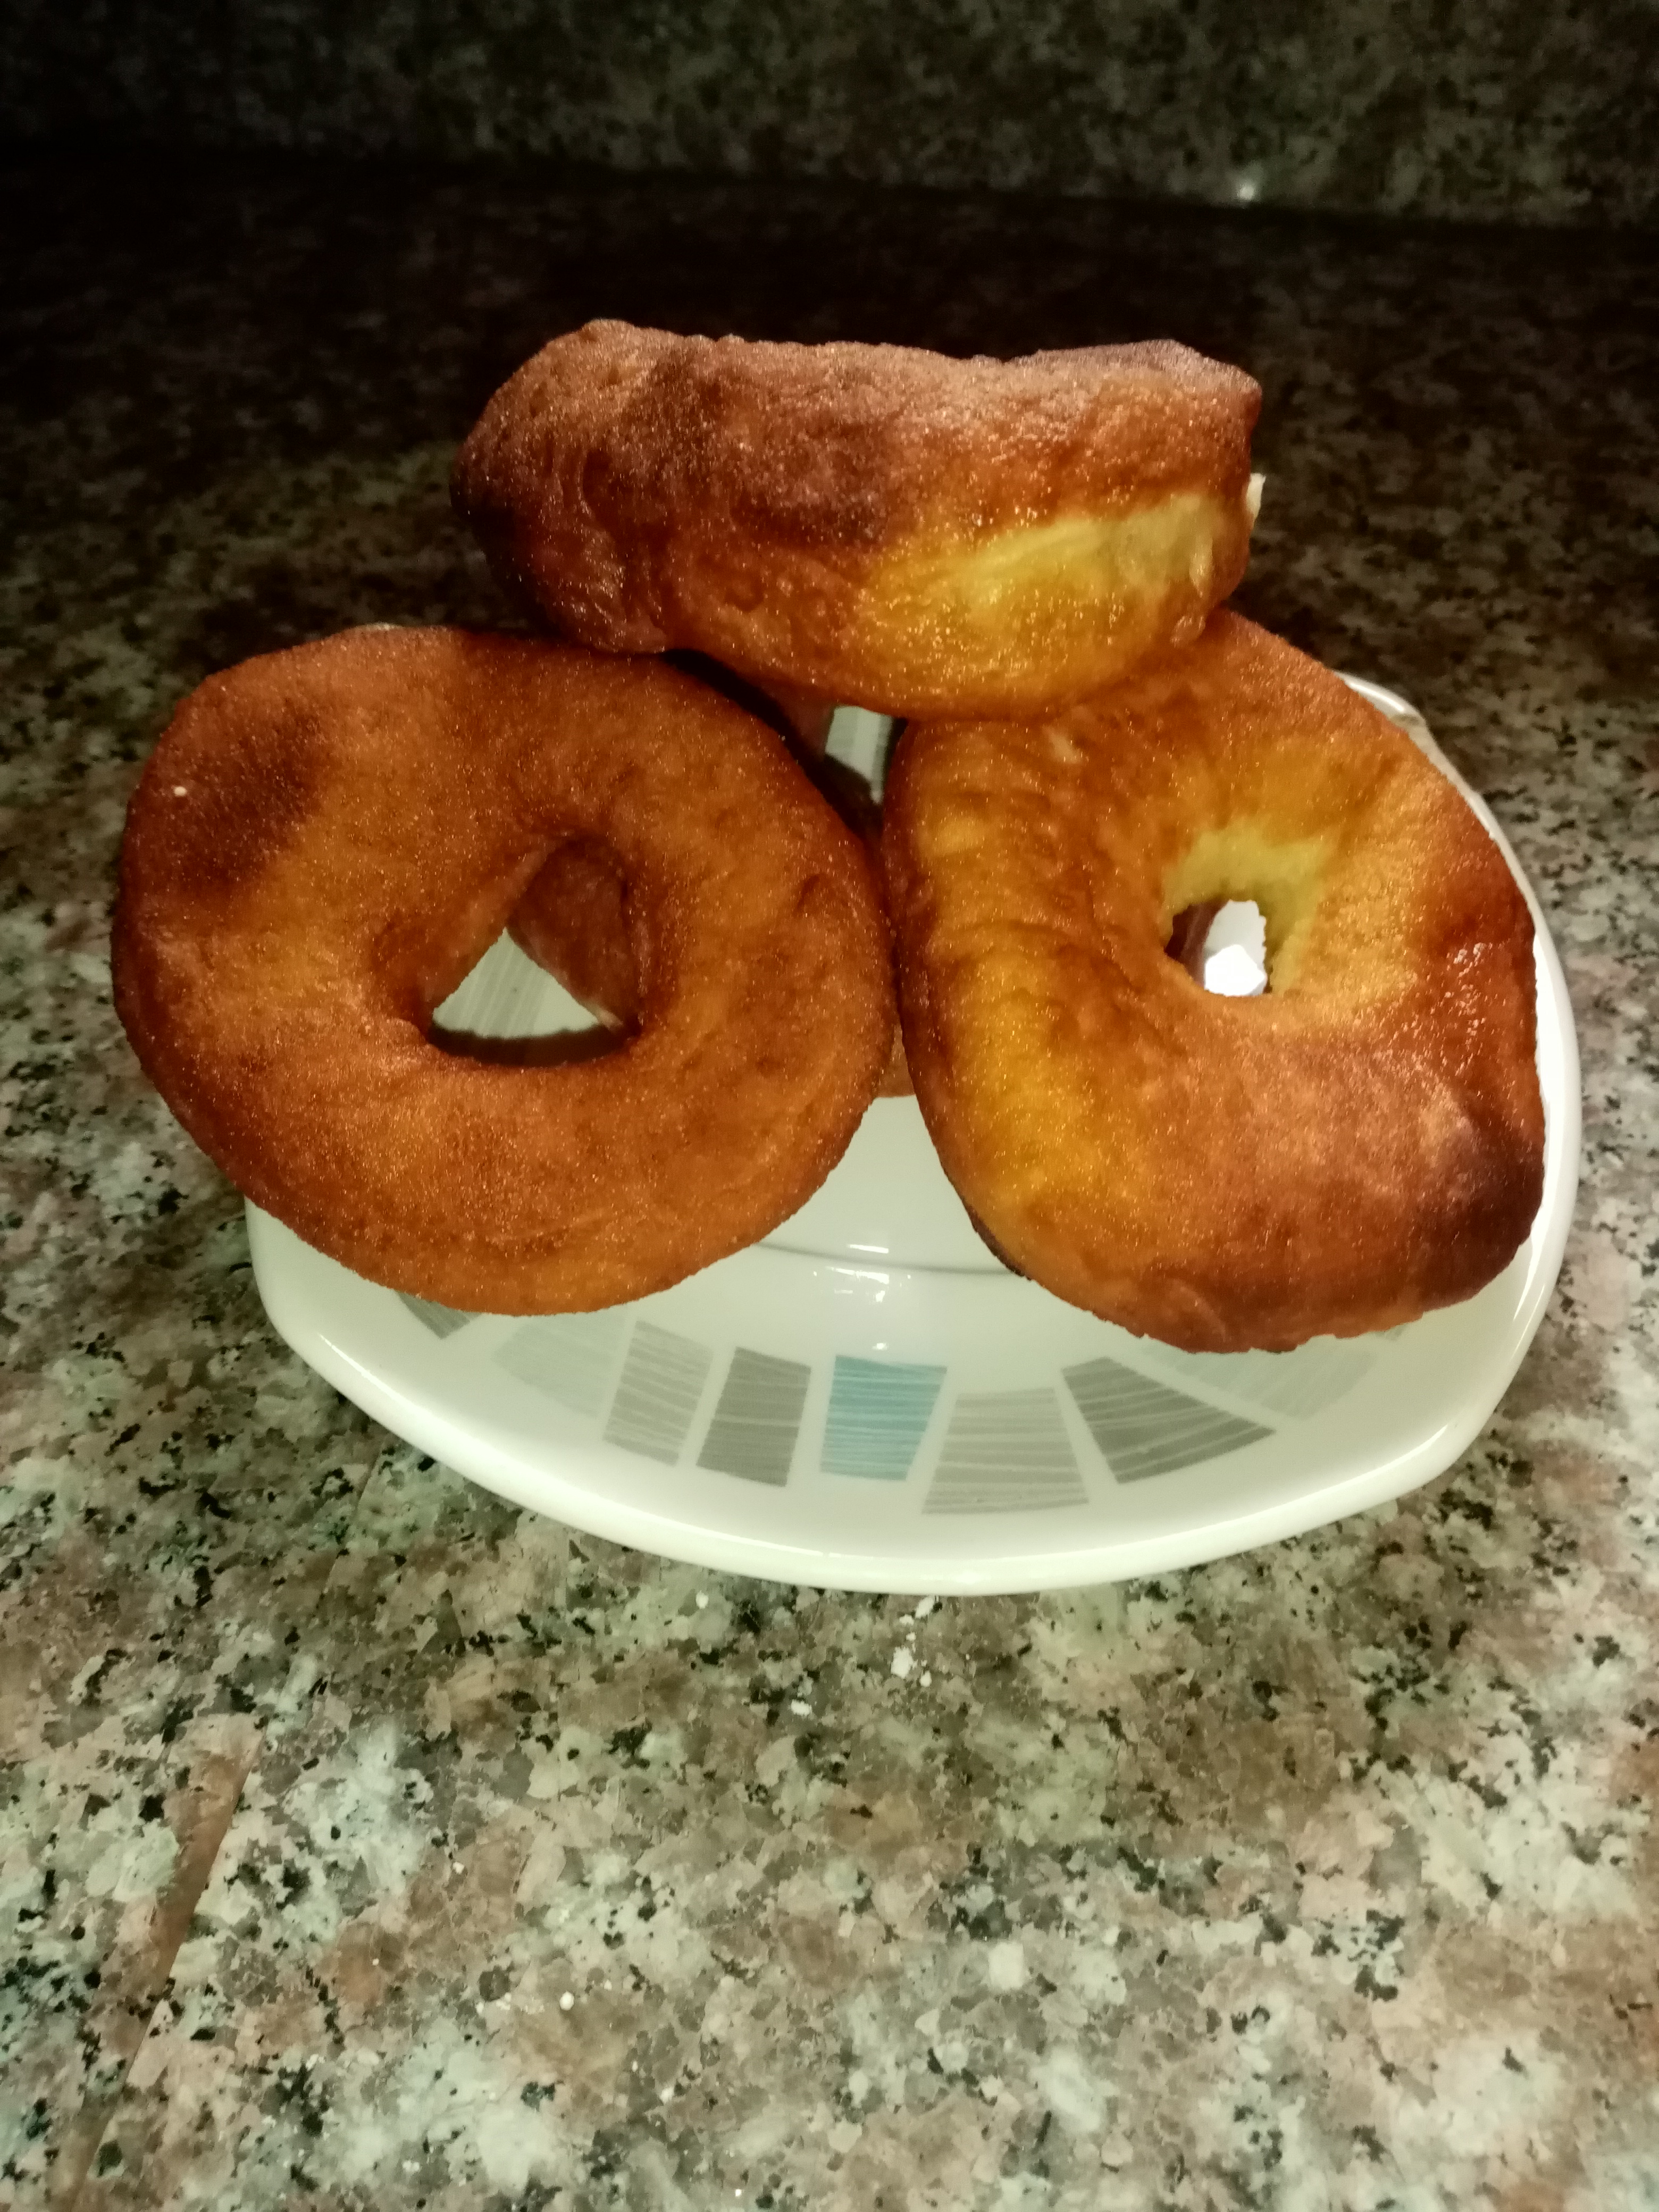
Déjalas reposar en papel servilleta para que absorban los excesos de aceite, al enfriar puedes pasarlas por azúcar glass o azúcar granulada.
Mass preparation
After activating the yeast (100ml of water or warm milk+spoonful of sugar+spoonful of flour), proceed to add the remaining liquids (water or milk, egg and yolk) and mix. Add the sugar and go stirring, incorporate little by little the flour ( remember that it will depend a lot on your preparation the amount of flour to use, in some cases it can be less or a little more). The butter should be at room temperature or a little diluted, but not hot. Knead and incorporate the salt and the flour until it manages to come off well from the hands, but don't overdo it, we want a soft dough, not hard.
Let it rest for 30 minutes or until it doubles its volume. In a greased container, well covered with envoplast or a dry cloth, and leave in a warm place without cold air currents.
After 30 minutes, remove from the container, and with your hands or with the help of the roller, proceed to remove the air from the dough. Then stretch with the help of the roller, leave 1cm or less of thickness and with the help of a circular cutter or a glass, make the form. To make the interior perforation, if you don't have a cutter, you can use the lid of a soft drink, just put some flour to the part you will use to cut.
And that's how they will look. You can leave them in rest for about 5 minutes and then take them to fry with plenty of oil at medium-high temperature.
Be careful, because they cook very fast, you must turn over the weights to begin to brown.
Let them rest on napkin paper so they can absorb the oil excesses, when they cool down you can put them through powdered sugar or granulated sugar.
Glaseado
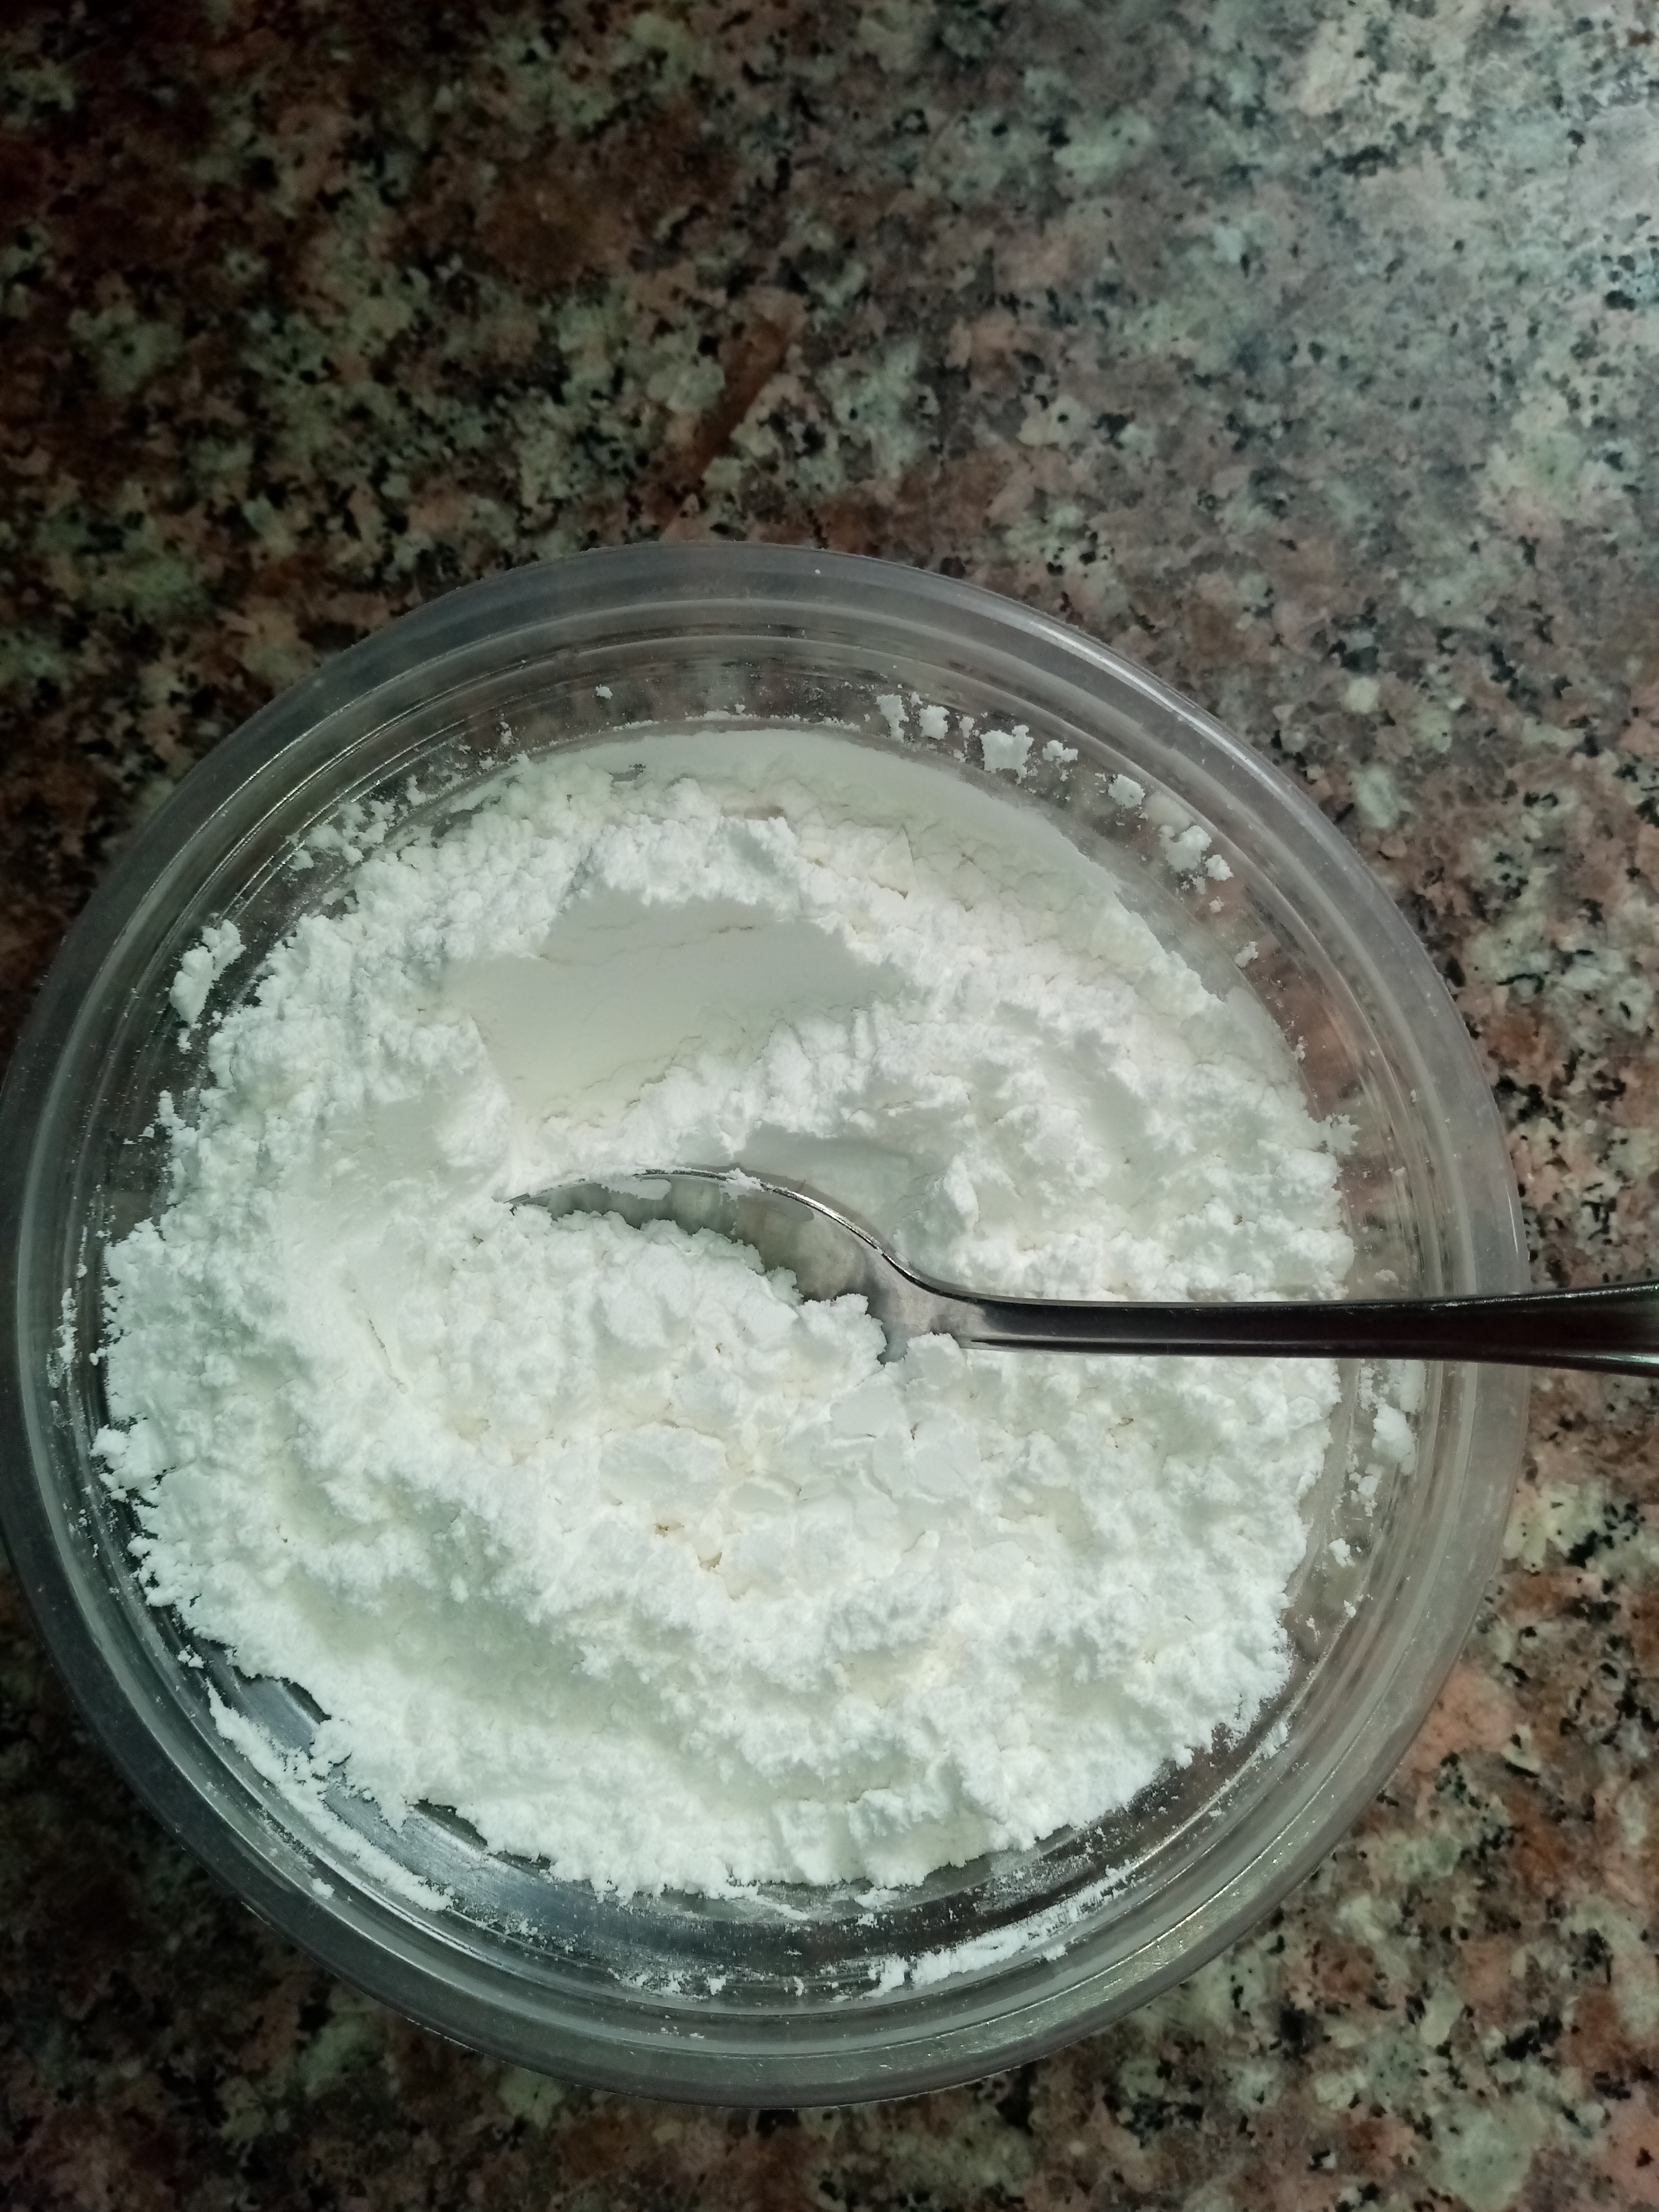
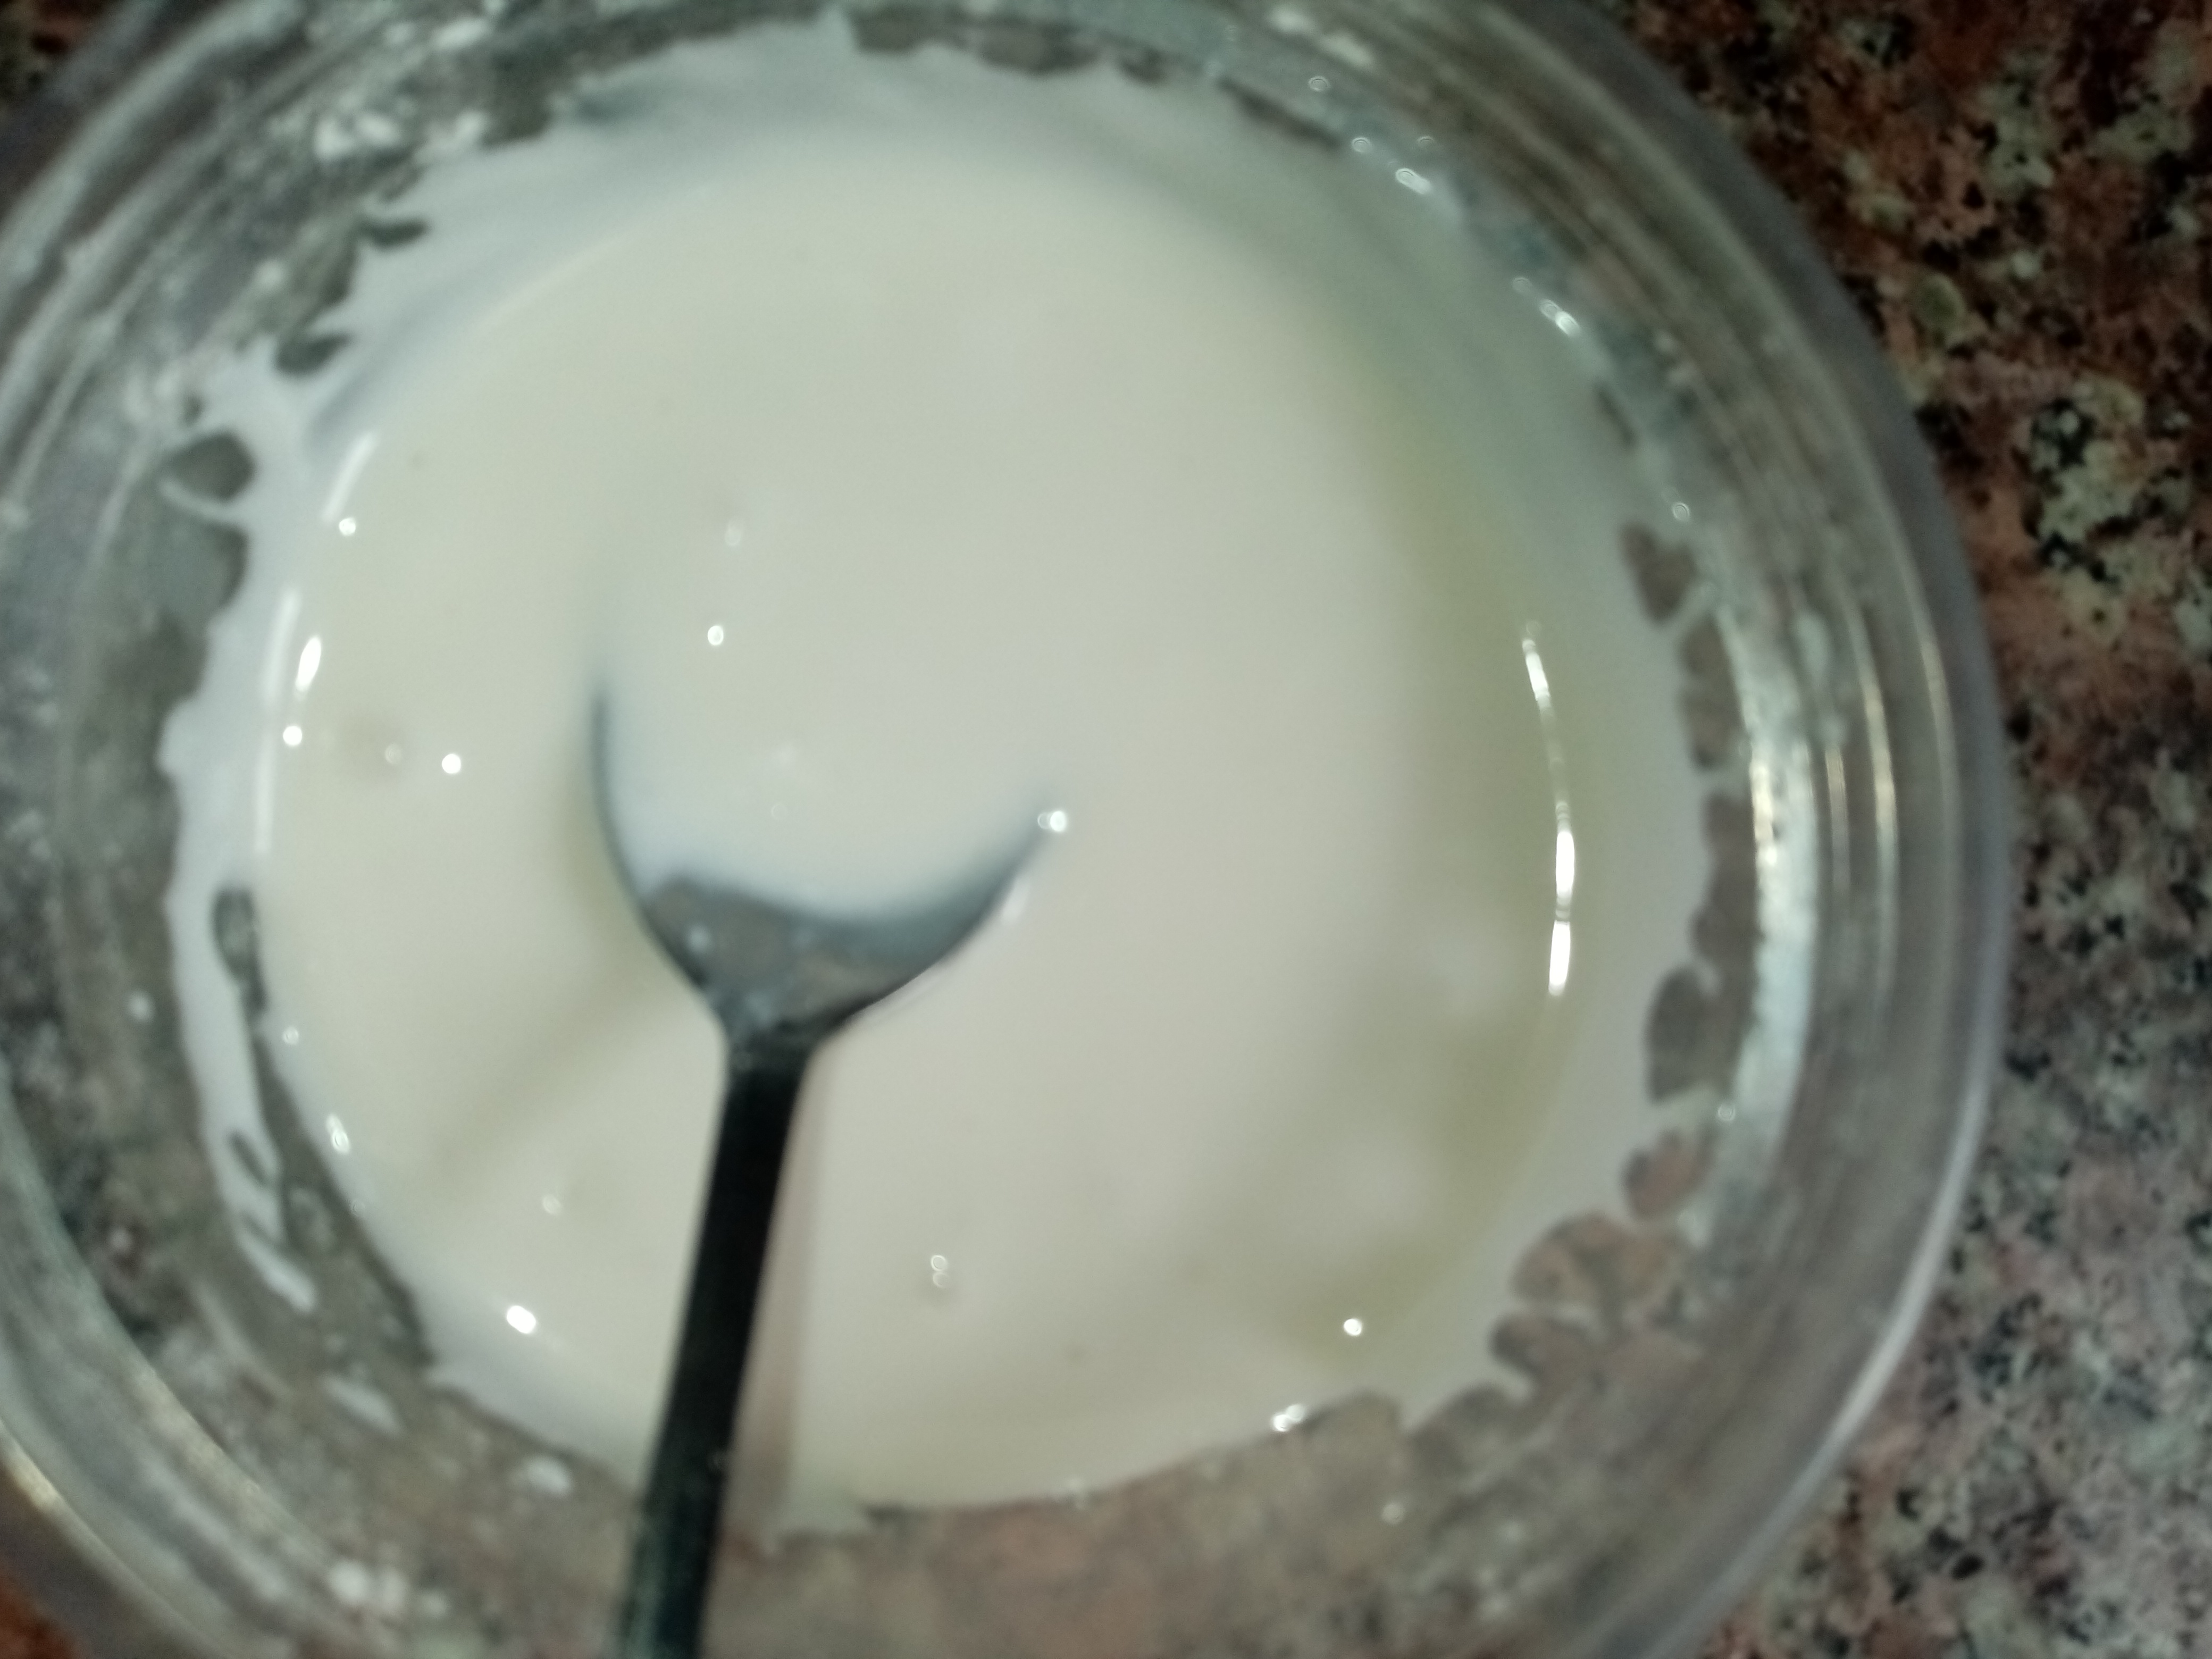
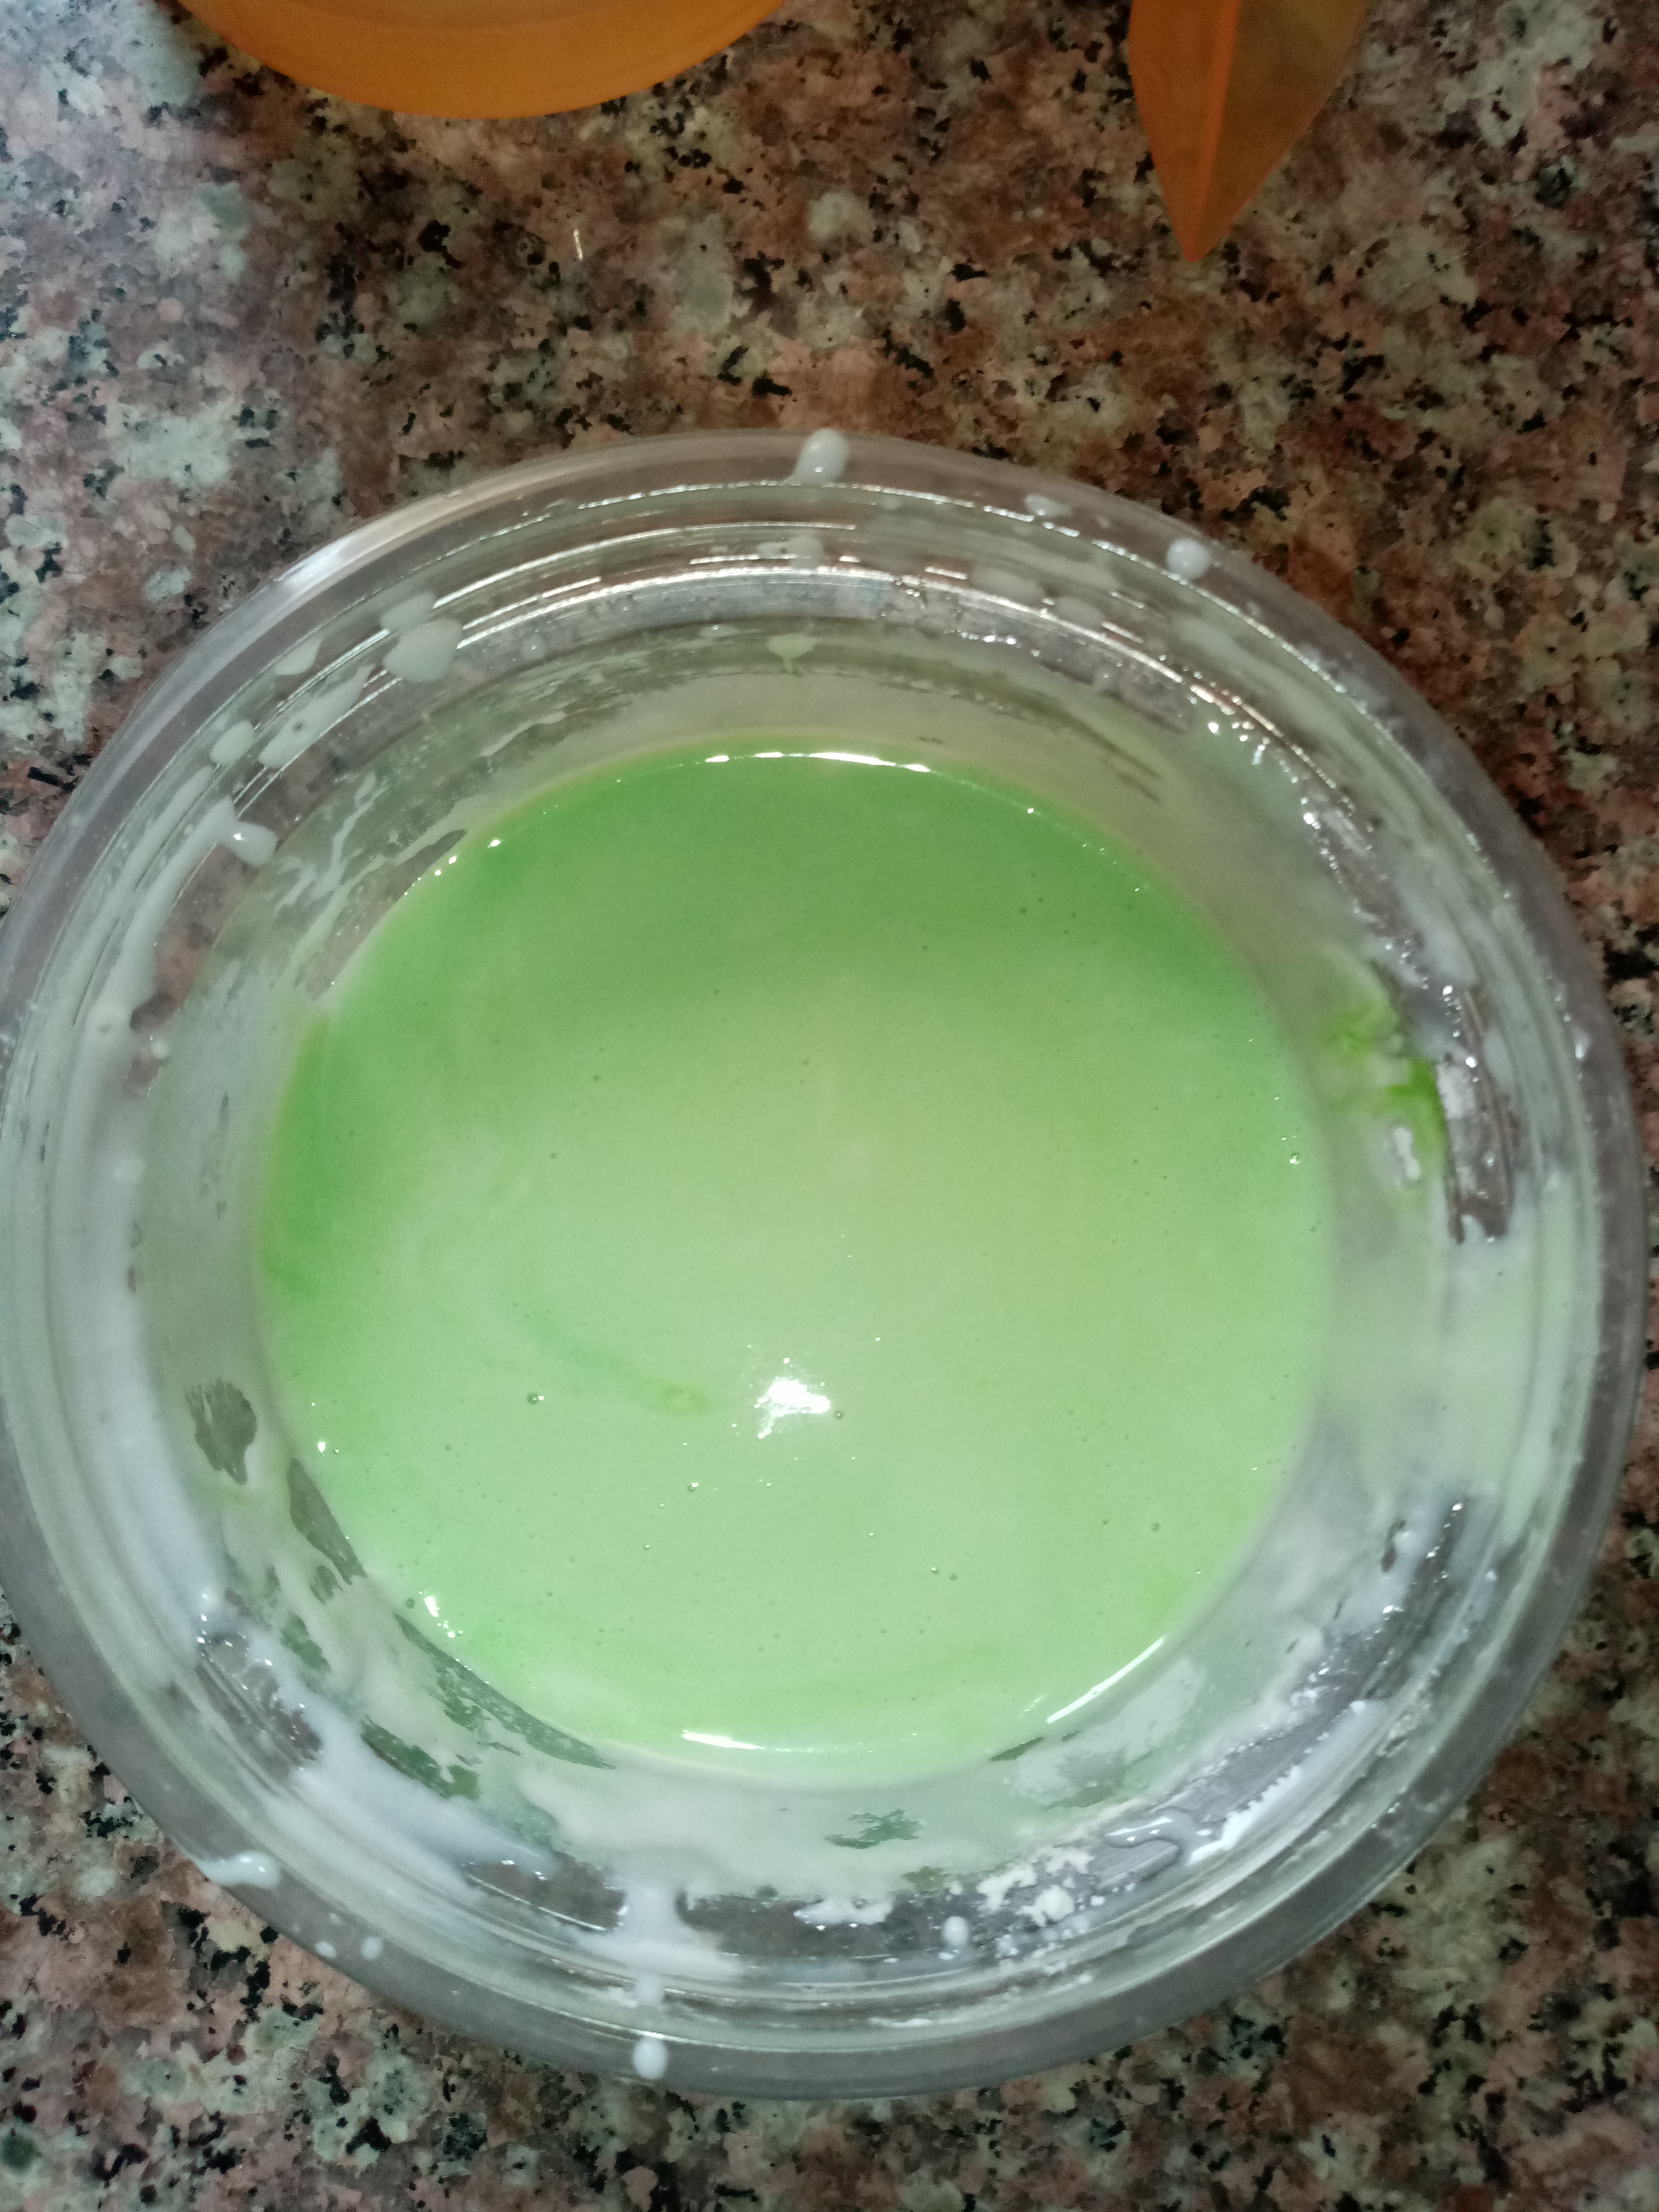
Cernir el azúcar glas y agregar en un envase, incorporar la rayadura y jugo de limón. Por último agregaras el agua o leche. Te recomiendo ir probando poco a poco, agregando cucharadas del líquido hasta que llegues a como quieras dejarle.
Particularmente yo, le agregué casi 100ml de agua. Ya que no quería tan espeso el glaseado.
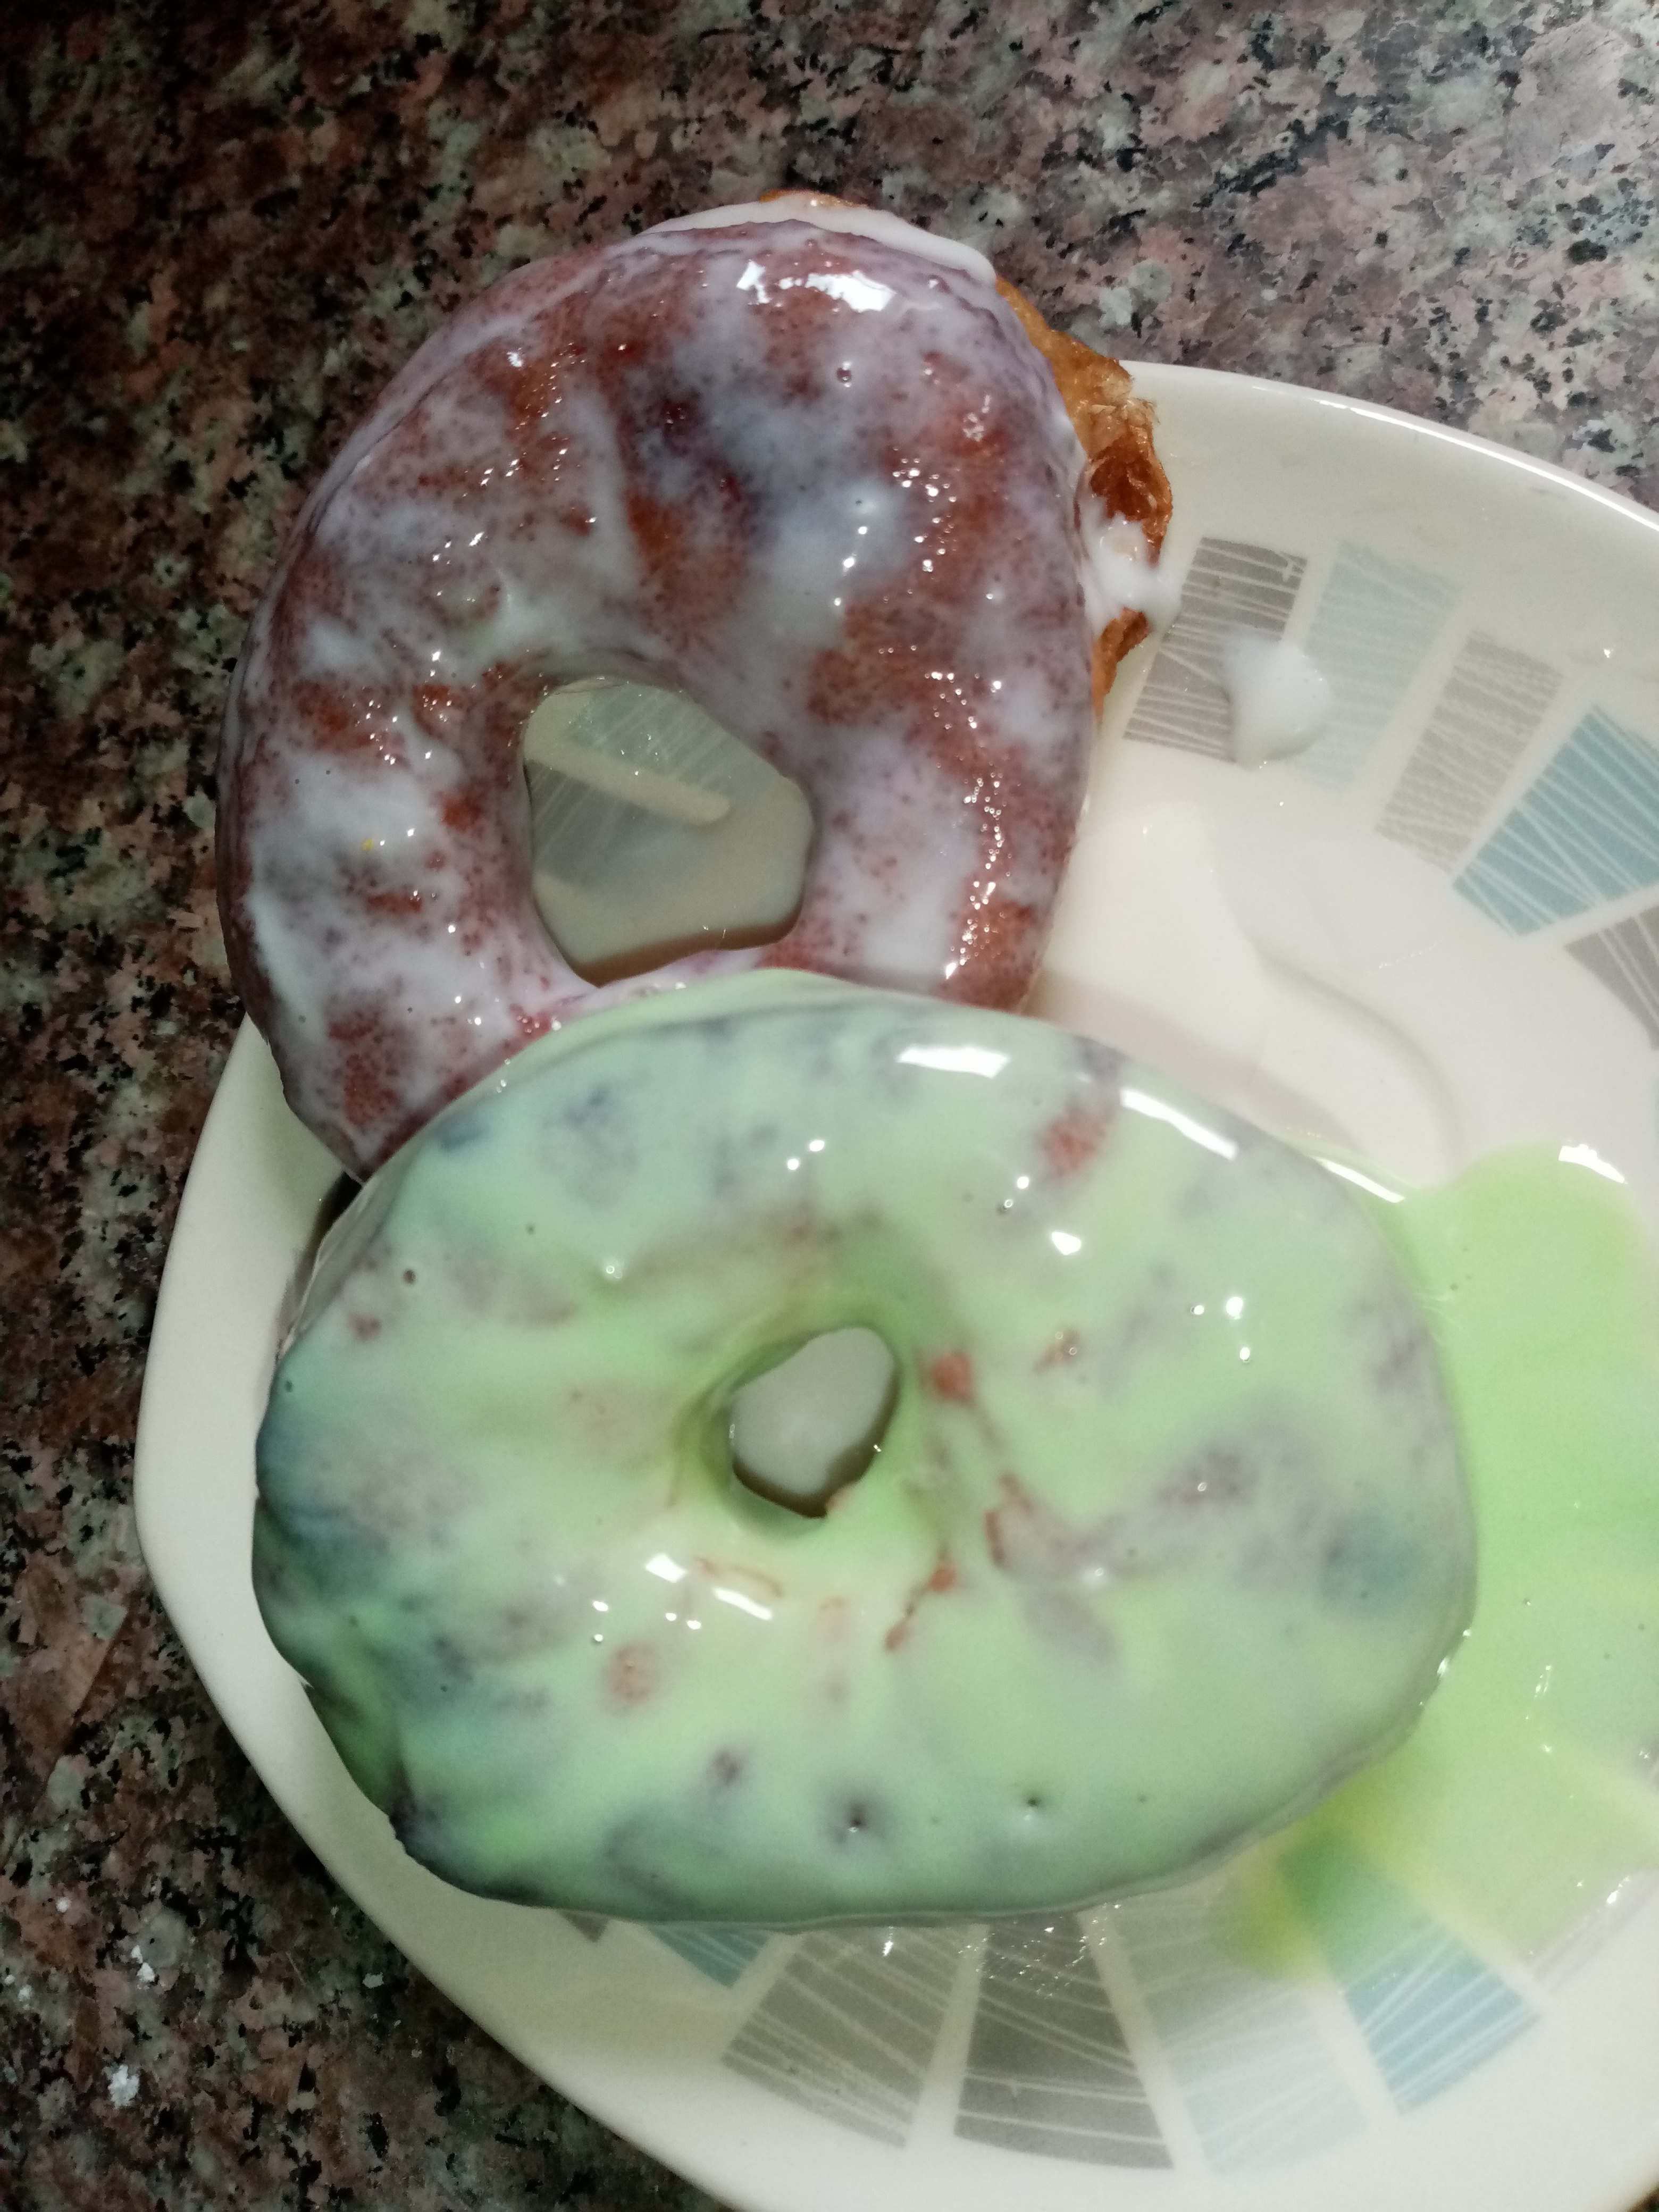
Además, solo le aplique una capa, deje enfirar y este es el resultado. Si deseas, cuando enfríe esa capa puedes agregarle una más.
Glaze
Sift the powdered sugar and add in a container, add the grated and lemon juice. Finally add the water or milk. I recommend you to try it little by little, adding spoonfuls of the liquid until you get to how you want to leave it.
Particularly me, I added almost 100ml of water. Since I didn't want the icing to be so thick.
Also, just apply one coat, let it cool and this is the result. If you wish, when that layer cools down you can add one more.
Espero les guste, gracias por leerme, visitarme y apoyarme.
I hope you like it, thanks for reading me, visiting me and supporting me.
La autora @canggie92
The author @canggie92
Nota: Todas las fotografías fueron tomadas por mi y son de mi propiedad.
Note: All photographs were taken by me and are my property.
Just that smile on your girls face sais it all, love them aswell
Yes, that's right. He loves to help me make and eat them, of course.
Congratulations @canggie92! You have completed the following achievement on the Hive blockchain and have been rewarded with new badge(s) :
You can view your badges on your board and compare yourself to others in the Ranking
If you no longer want to receive notifications, reply to this comment with the word
STOPDo not miss the last post from @hivebuzz:
Gracias
De nada @canggie92👍🙂
Y seguimos con las recetas eso se ve sabroso vale jaja
Jajajjaa buenísimas!!!!!!
Eso se ve riquísimo!
Me encanta que mostrarás a la niña, se ve tan alegre cocinando.
Asi es. Ella siempre lo está, le gusta mucho ayudar.
It looks very delicious <3