Hello friends...
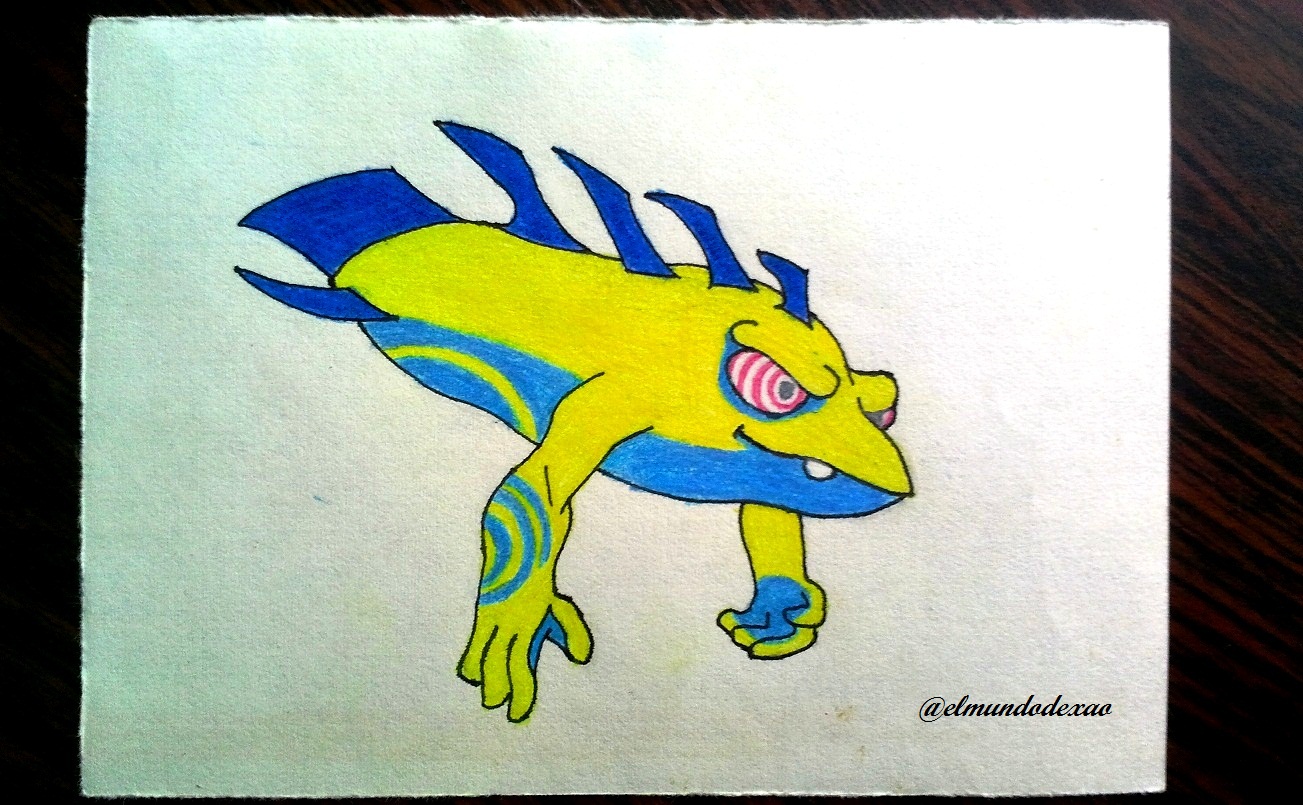
Welcome to my blog I hope you are having a good time; today I want to share with all of you a new drawing and it is about the Hypnogriff slug; this character belongs to the psychic element and is very rare, obviously you can already imagine its power which is to hypnotize its opponents, for this reason it has that crazy face.
Next I mention the materials used: white bond paper, pencil # 2, 0.5 marker, eraser and colors (Variety of brands).
Before continuing I remind you that at the end I will leave you the link I used in this occasion.
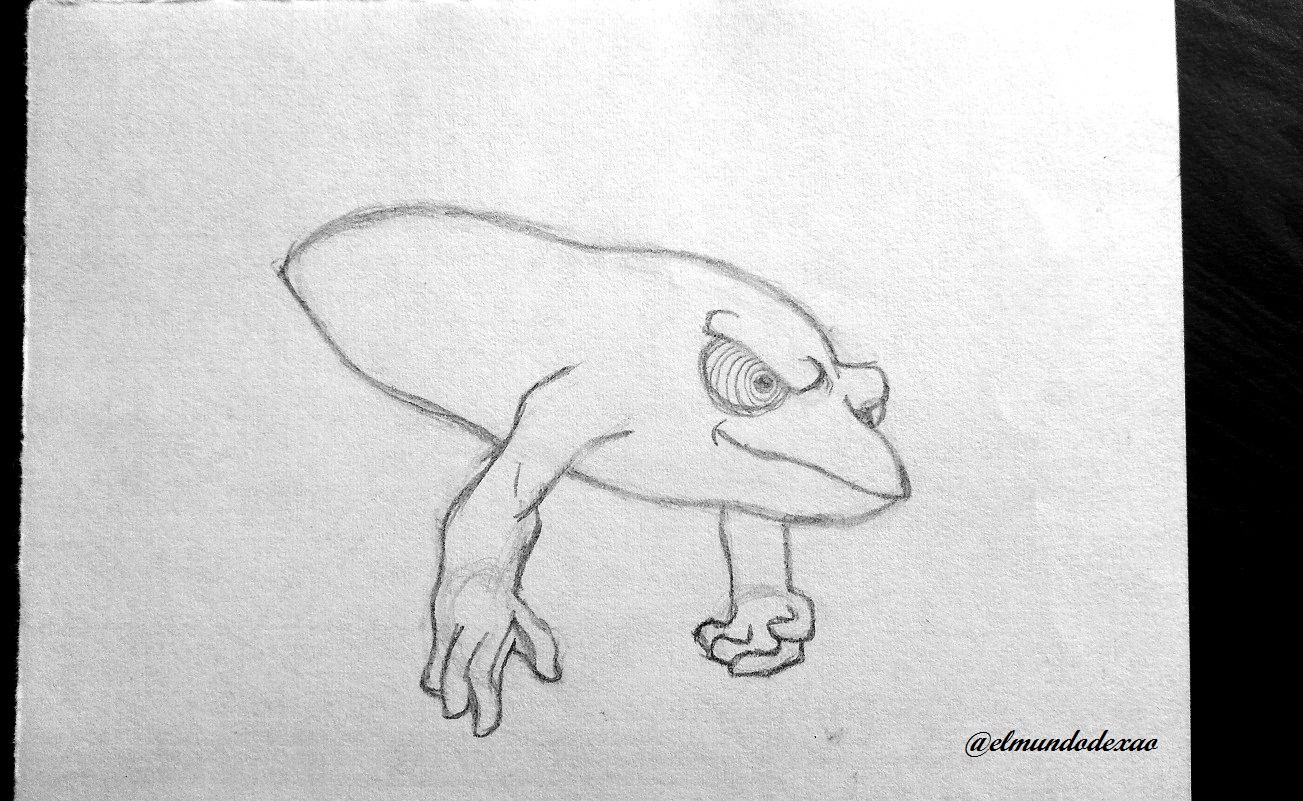
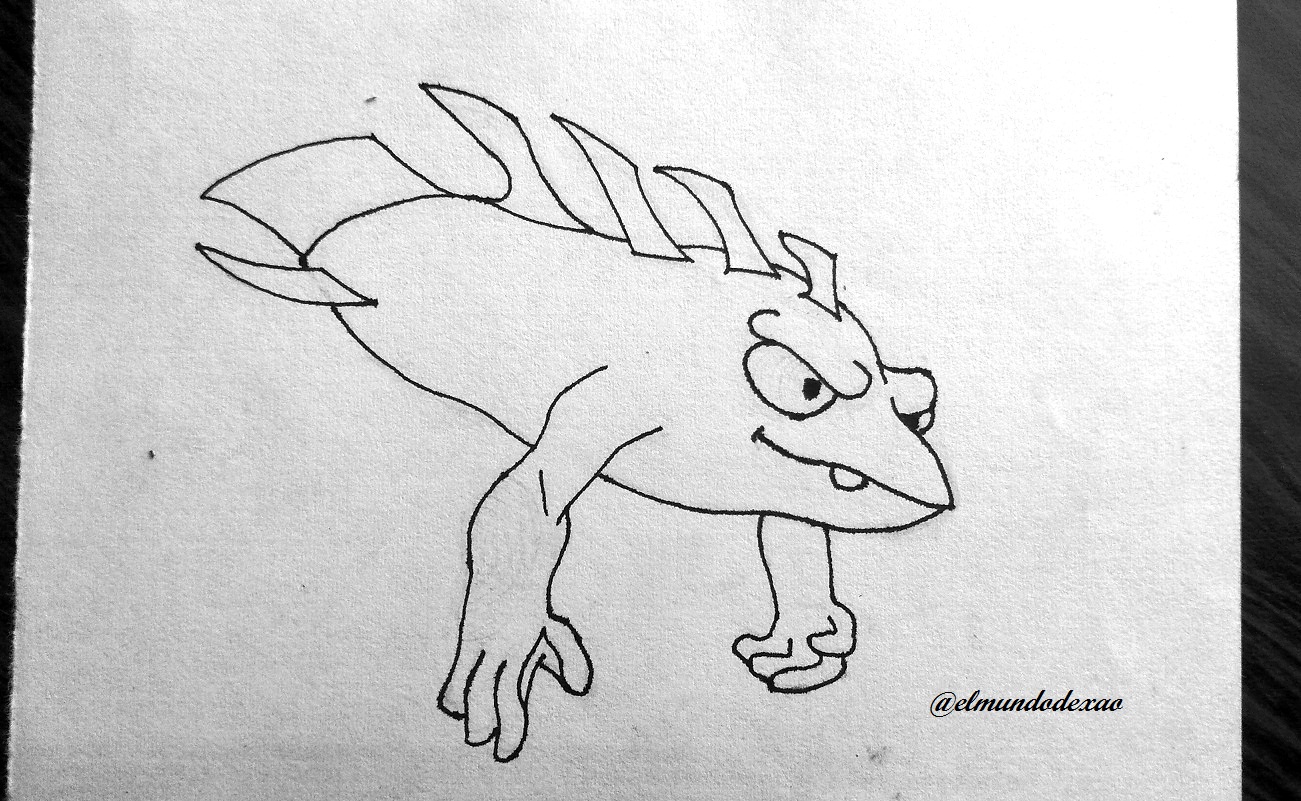
 I started by first making a sketch which I finished completely and then I knew what the step by step I was going to do. The first thing was to define an oval but giving it at once the necessary appearance to have the characteristics of this slug.
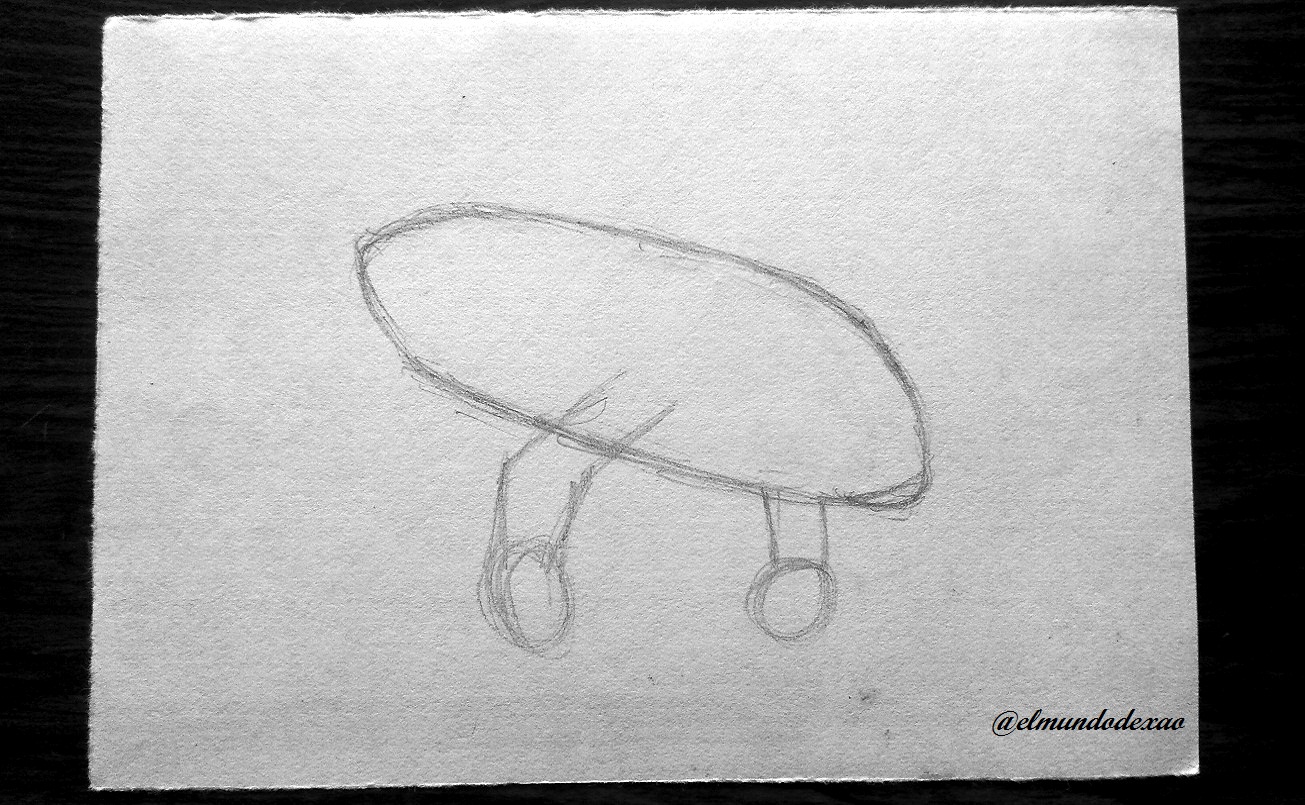
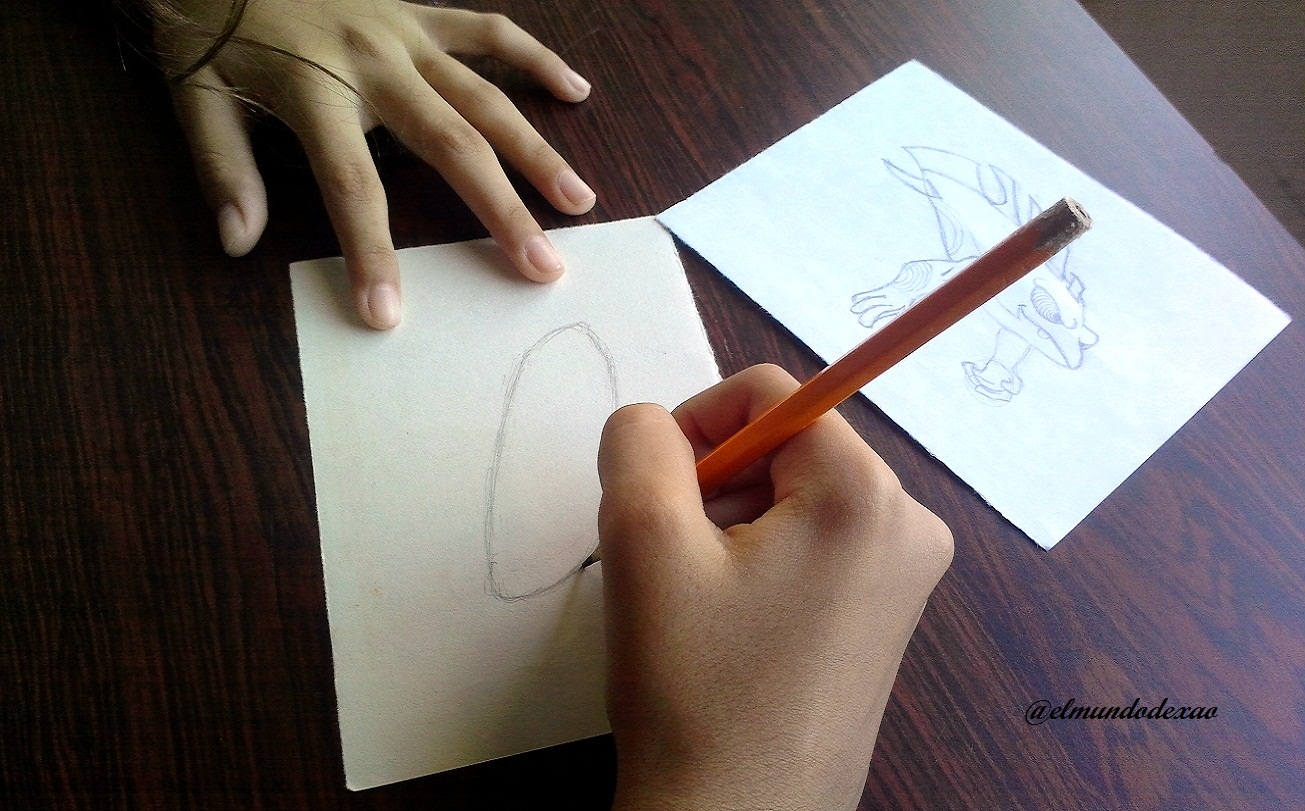 Then I define the position and length of the arms; which I start with a pair of stripes that end in small circles that will serve to define the hands. I also define her face and for this I must pay close attention to every detail of the frown that gives her that wacky face.
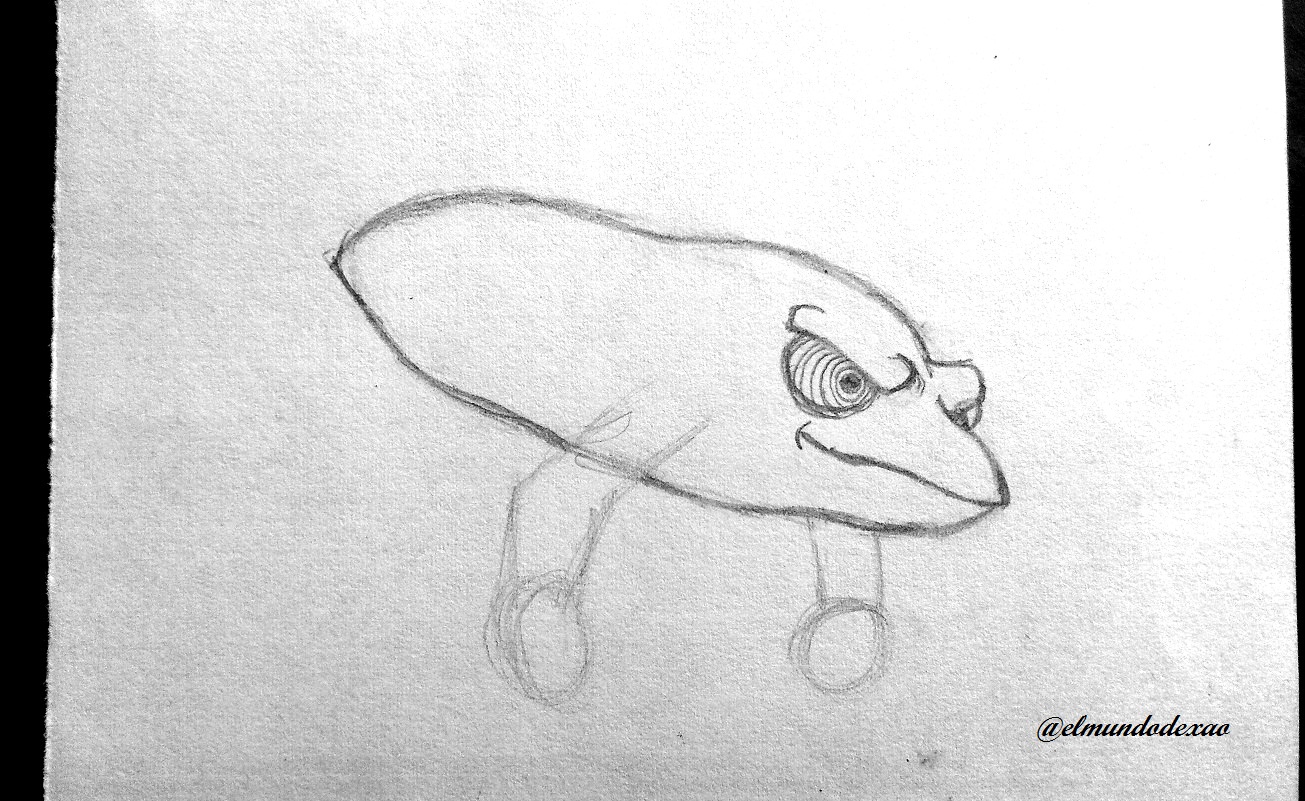 Now I will shape the arms starting with the right one since we have a complete view of it; as you can see the arms are muscular and have only four fingers.
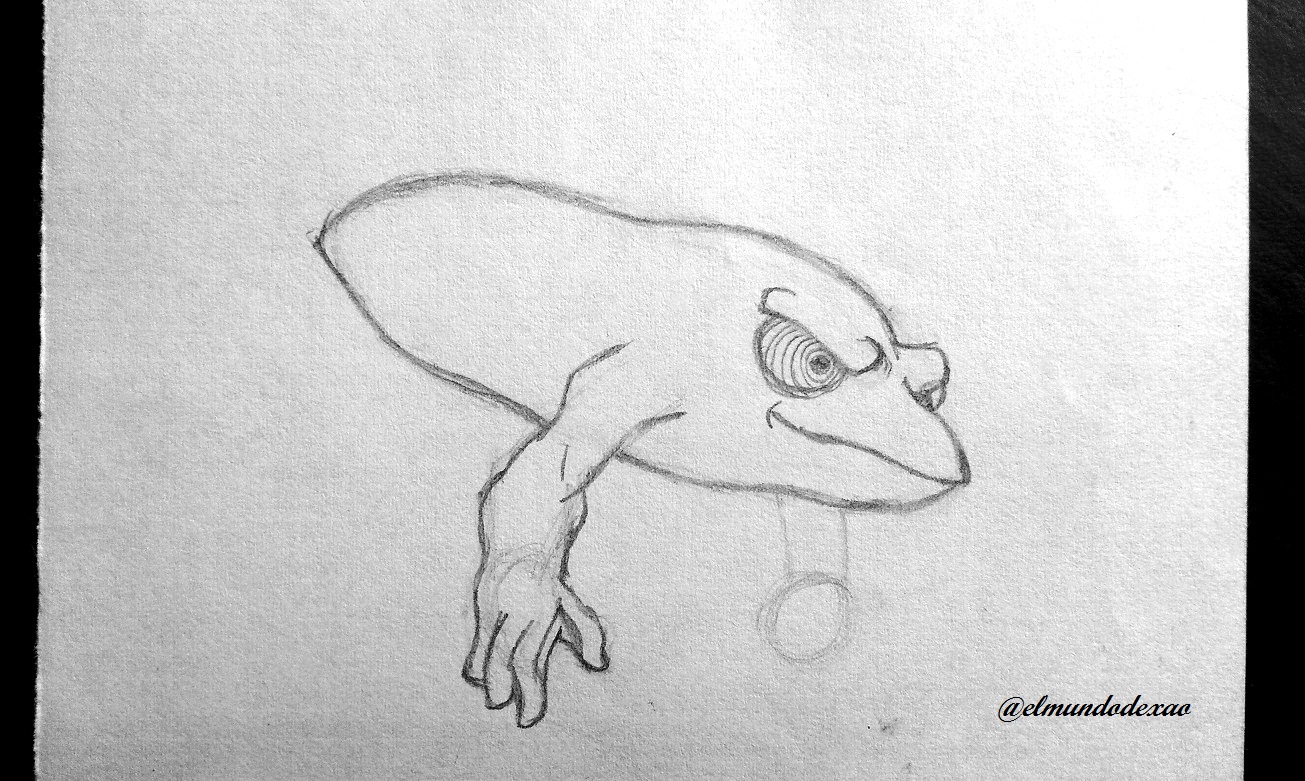
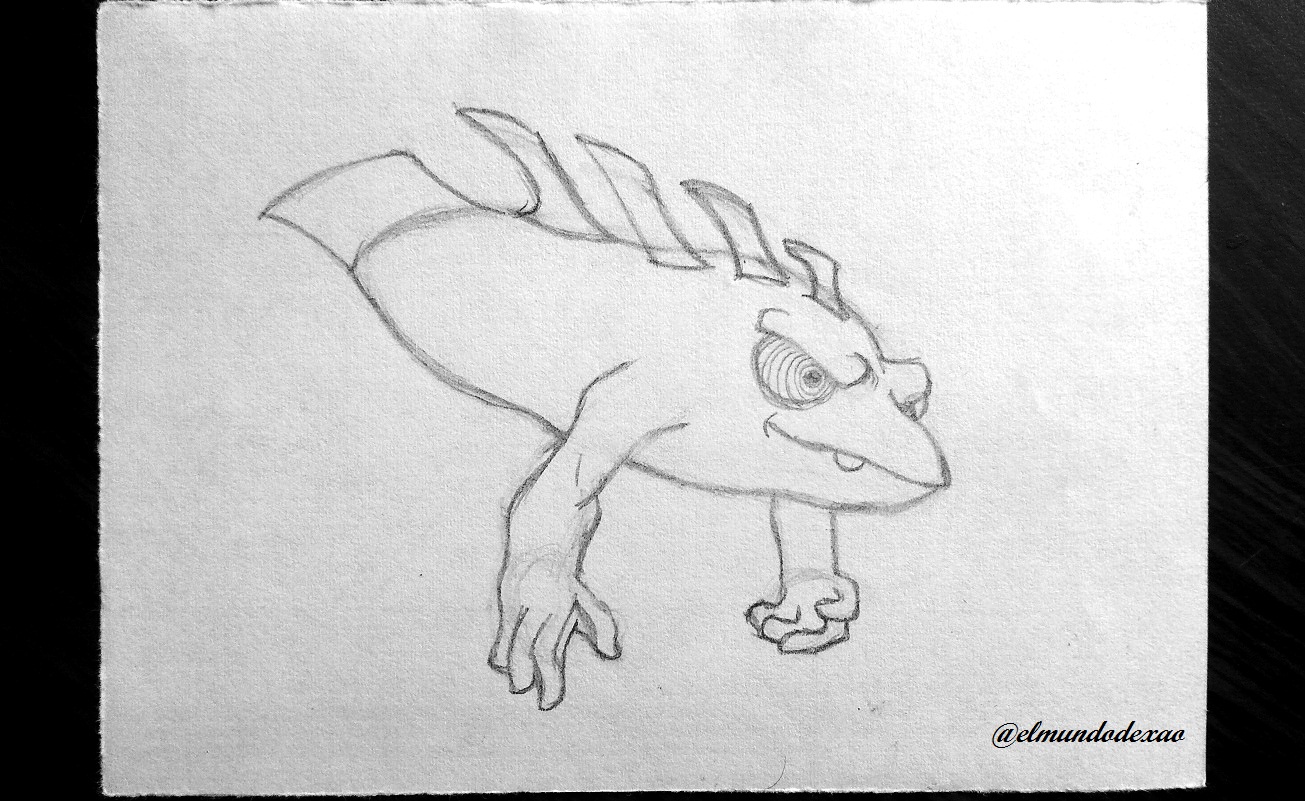
 Once the arms are ready, I draw some kind of fins on its back and another wider one at the end that would be like a kind of tail, besides, this last one has a more pointed one than the others. I also define some tattoos in the form of swirls that can be clearly seen on his arms and belly.
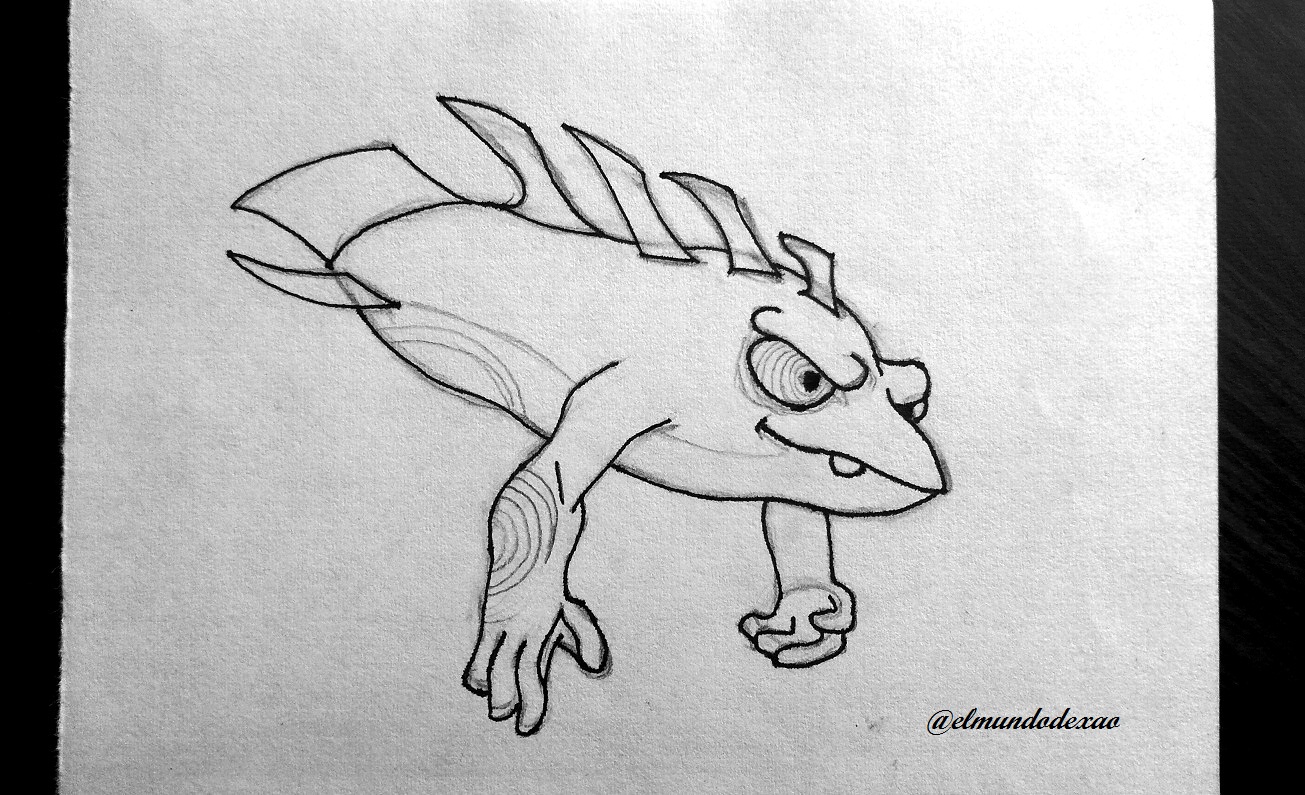
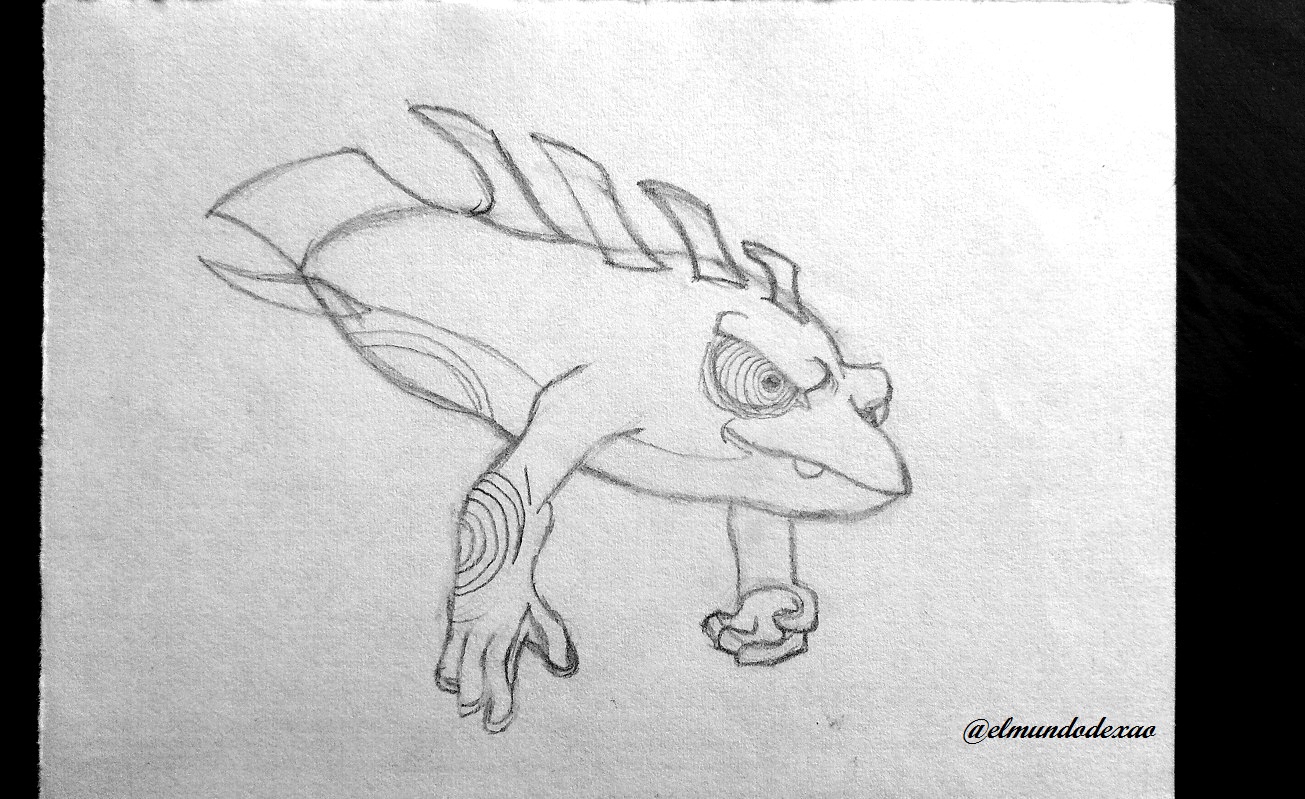 Up to this point the drawing is ready and I can begin to ink it; but some parts I am not going to ink them since they don't deserve it and I made them to be able to know how they are beforehand since I will define them when I am coloring. Once inked I proceed to erase all the remaining graphite and that's it; modesty aside, I think it looks great.
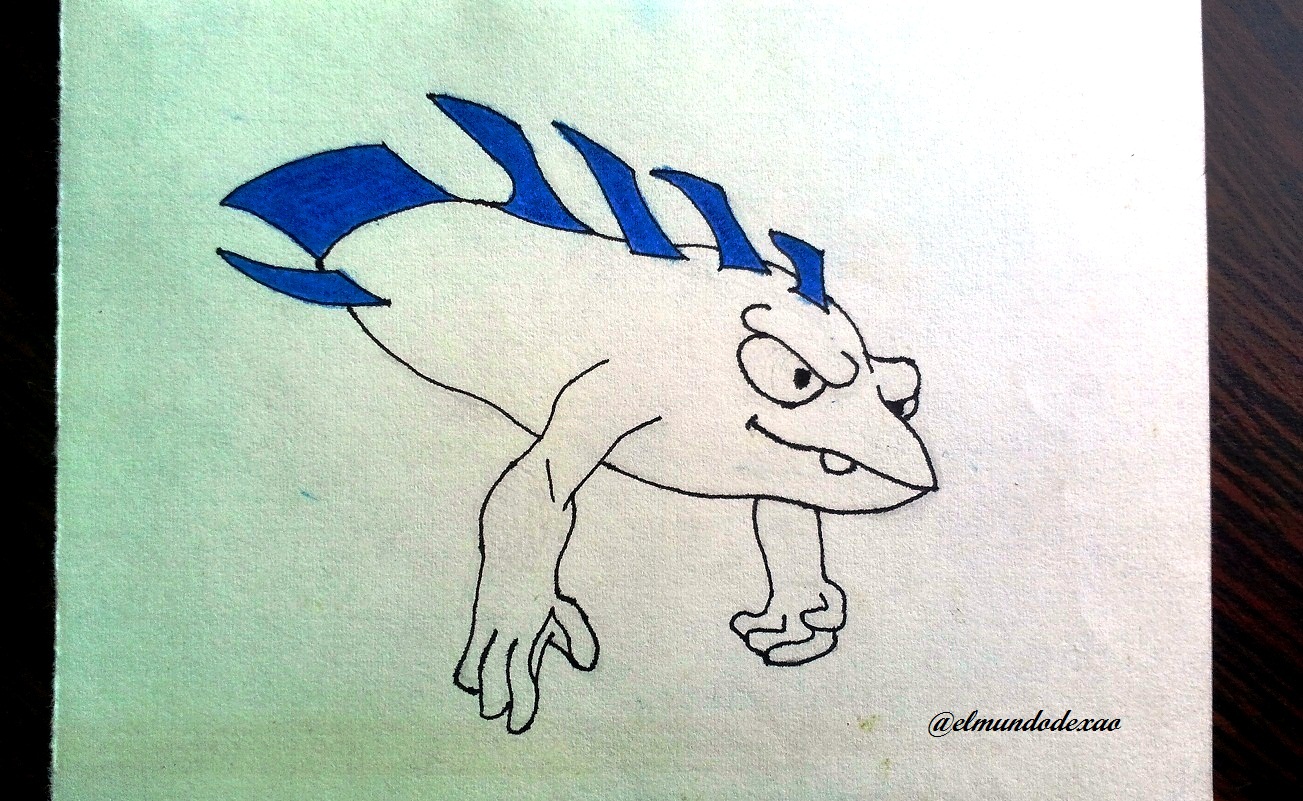
 The next step will be to color and I will start with the fins placing a blue color after this I will color the eyes; these have that effect that makes reference to a hypnotized being or with powers to hypnotize therefore they have that effect of slings coming out from the pupil and going through the whole eye.
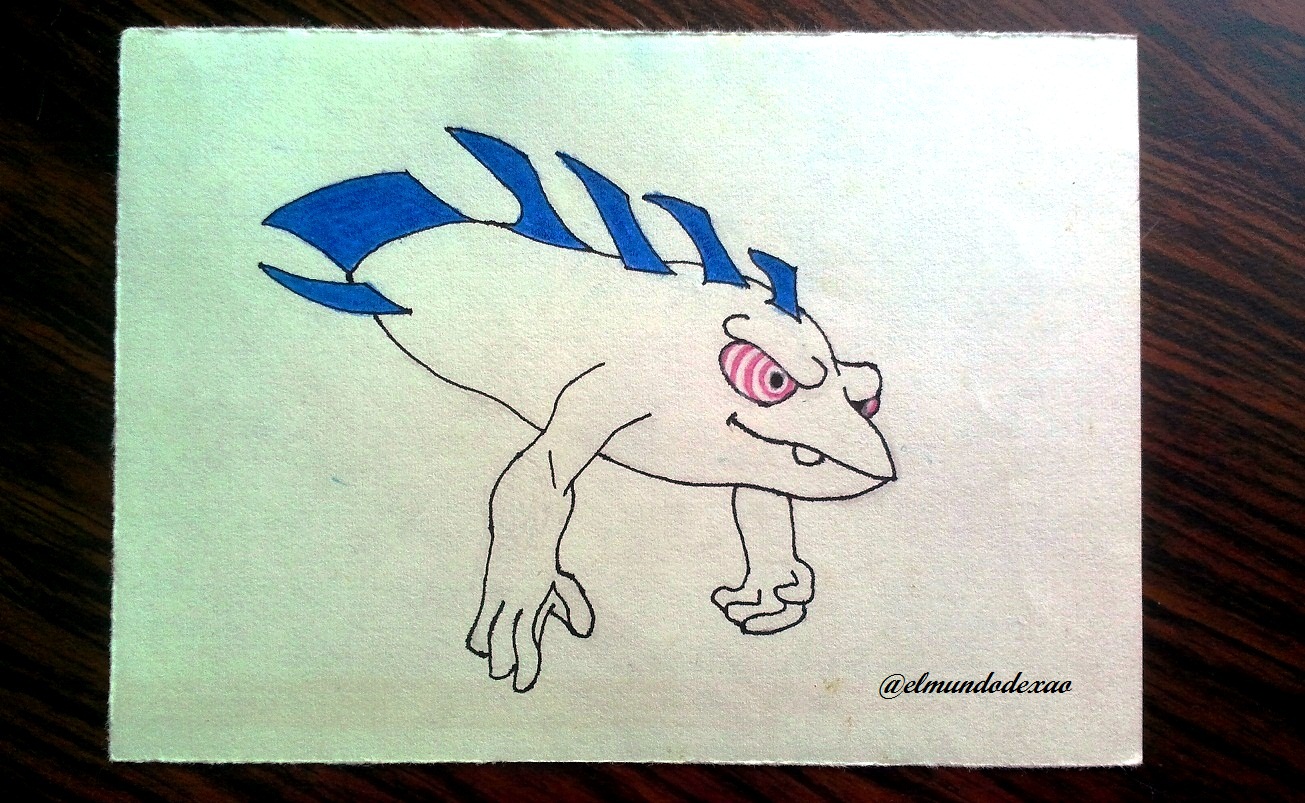 I will continue with the belly that has a light blue color as well as the palms of the hands and the dark circles or lower part of the eye. Now I will use a yellow color for the upper part and also the arms.
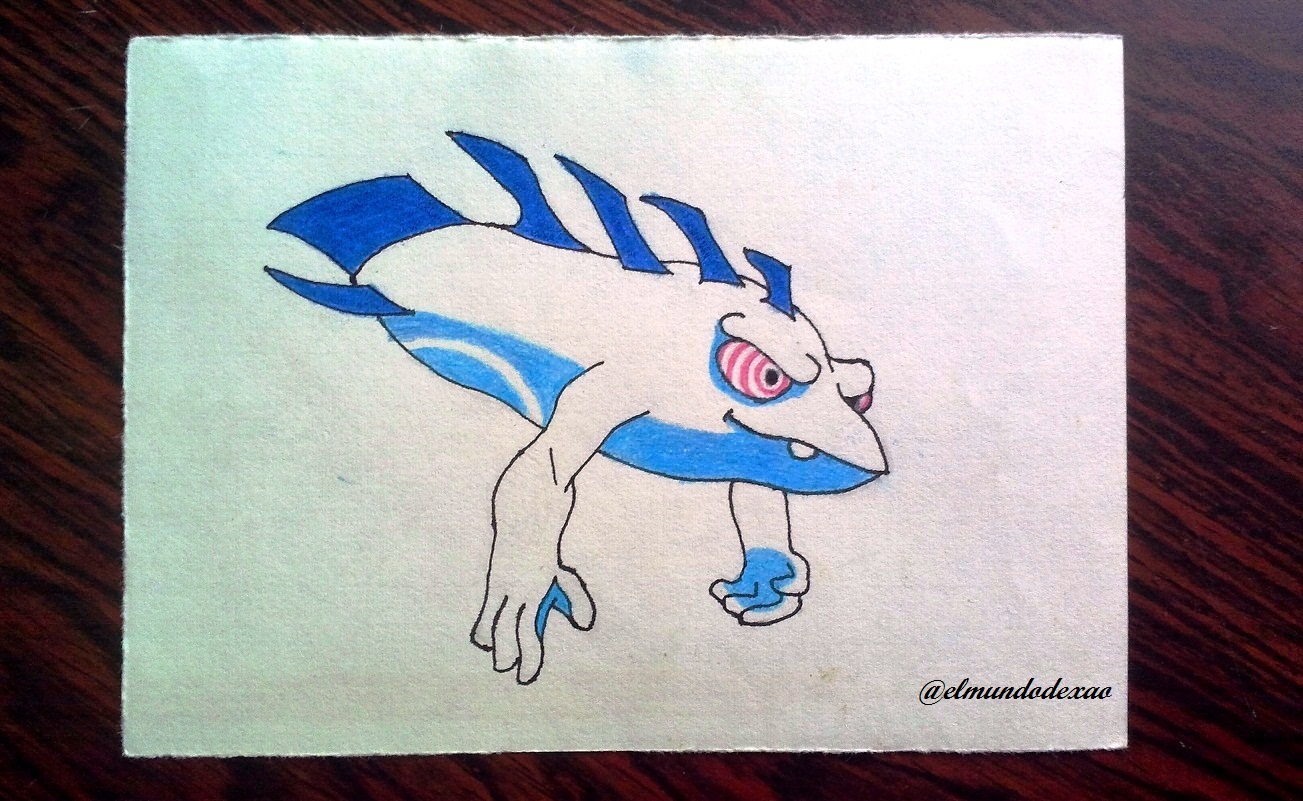
 To finish I will give it a mustard yellow tone in both arms and that it reaches the eye and I will extend it a little more for the upper lip and this way the drawing is ready; the only thing missing is the light blue color that it leaves when it is launched. And until here my publication I say goodbye wishing you a happy sunrise, sunset or a happy night depending on where you are.
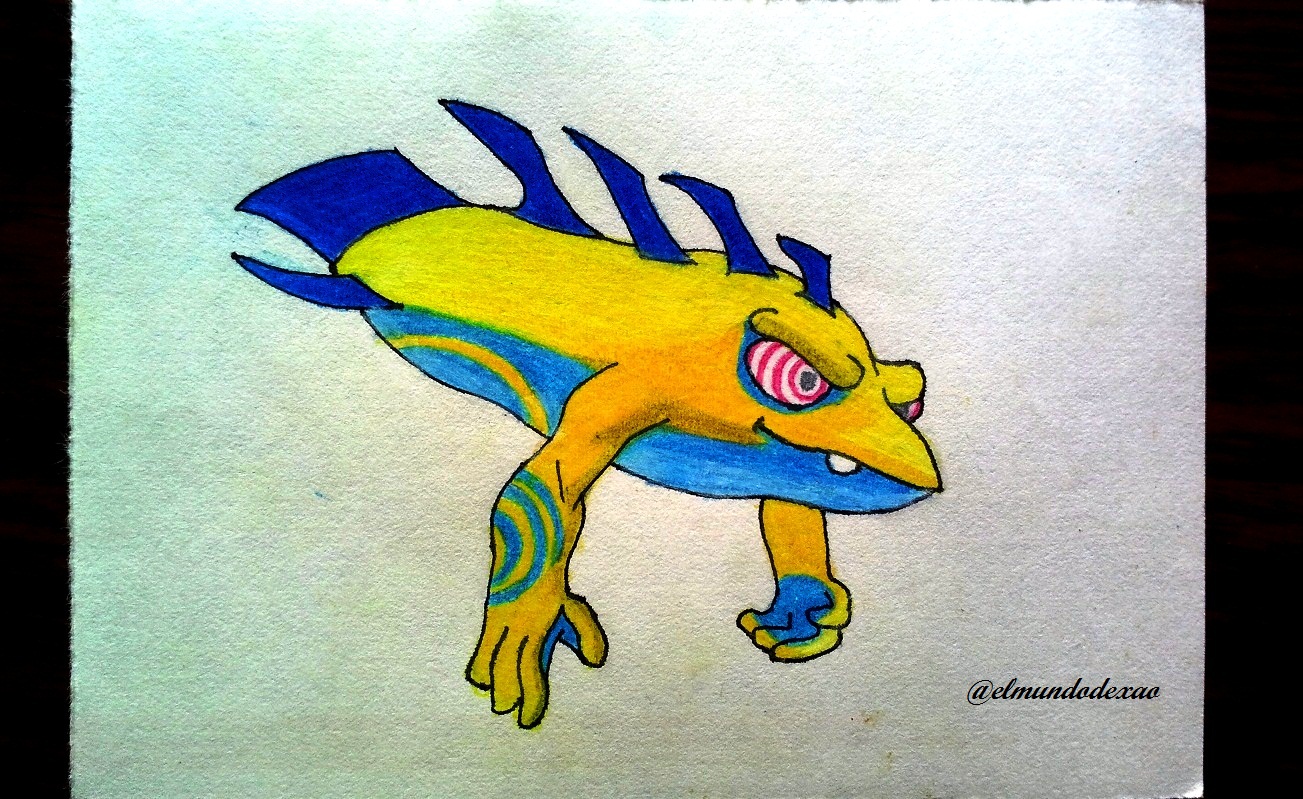
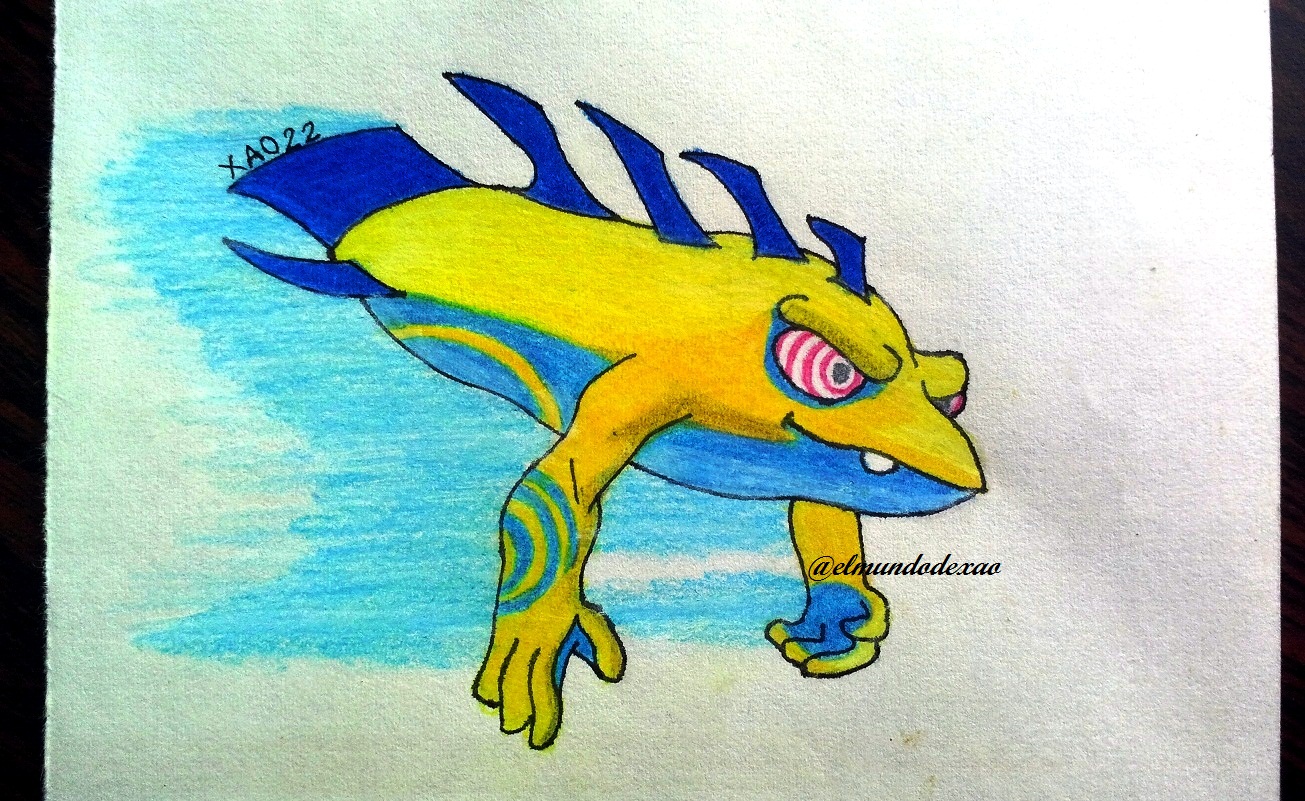
Photo Source: Own photos captured with a Síragon camera.
Modified size: With the Paint Program.
Thanks for visiting my Blog… AH! Don't forget to vote, reblogear, and comment.
Translated with:

www.DeepL.com/Translator (free version)

Dibujando a la Babosa Hypnogriff.
Hola amigos…
Bienvenidos a mi blog espero la estén pasando bien; hoy quiero compartir con todos ustedes un nuevo dibujo y se trata de la babosa Hypnogriff; este personaje pertenece al elemento psíquico y es muy rara, obviamente ya se pueden imaginar su poder que es hipnotizar a sus contrincantes, por esta razón tiene esa cara de chiflada.
A continuación menciono los materiales utilizados: Papel bond blanco, lápiz # 2, rotulador de 0.5, borrador y colores (Variedad de marcas).
Antes de continuar les recuerdo que al final les dejare el enlace que use en esta ocasión.
 Comencé haciendo primero un boceto el cual termine totalmente para luego saber que me deparaba el paso a paso que iba hacer. Lo primero fue definir un óvalo pero dándole de una vez la apariencia necesaria para que tenga las características de esta babosa.
 Luego defino la posición y largo de los brazos; los cuales comienzo con un par de rayas que terminan en unos pequeños círculos que servirán para definir las manos. También defino su cara y para ello debo prestarle mucha atención a cada detalle del ceño fruncido que le da esa cara de chiflada.

 Ahora le daré forma a los brazos comenzando con el derecho ya que tenemos una visión completa de este; como podrán ver los brazos son musculosos y poseen solo cuatro dedos.

 Una vez listos los brazos dibujo unas especies de aletas que tiene en la espalda y otra más ancha al final que vendría siendo como una especie de cola, además esta última tiene a su lado una que es más puntiaguda que las demás. Defino también unos tatuajes en forma de remolinos que se pueden observar claramente en sus brazos y en la panza.

 Hasta este punto el dibujo ya está listo y puedo comenzar a entintarlo; pero algunas partes no las voy a entintar ya que no lo ameritan y las hice para poder saber cómo quedan de antemano ya que las definiré cuando este coloreando. Una vez entintado procedo a borrar todo el grafito restante y listo; modestia aparte me parece que ha quedado genial.

 El paso siguiente será colorear y comenzaré por las aletas colocándoles un color azul después de esto coloreo los ojos; estos llevan ese efecto que hace referencia a un ser hipnotizado o con poderes para hipnotizar por lo tanto llevan ese efecto de hondas saliendo desde la pupila y recorriendo todo el ojo.

 Seguiré con la panza que lleva un color celeste al igual que las palmas de las manos y las ojeras o parte baja del ojo. Ahora utilizare un color amarillo para la parte superior y también los brazos.

 Para terminar le daré un tono de amarillo mostaza en ambos brazos y que llegue hasta el ojo además lo extiendo un poco más por el labio superior y así está listo el dibujo; solo faltaría el celaje de color celeste que deja cuando es lanzado. Y hasta aquí mi publicación me despido deseándoles un feliz amanecer, atardecer o una feliz noche según donde te encuentres.


Fuente de Fotos: Propias capturadas con una cámara Síragon.
Modificado el tamaño: Con el Programa Paint.
Gracias por visitar mi Blog… ¡AH! No se olvide de votar, rebloguear y comentar.


