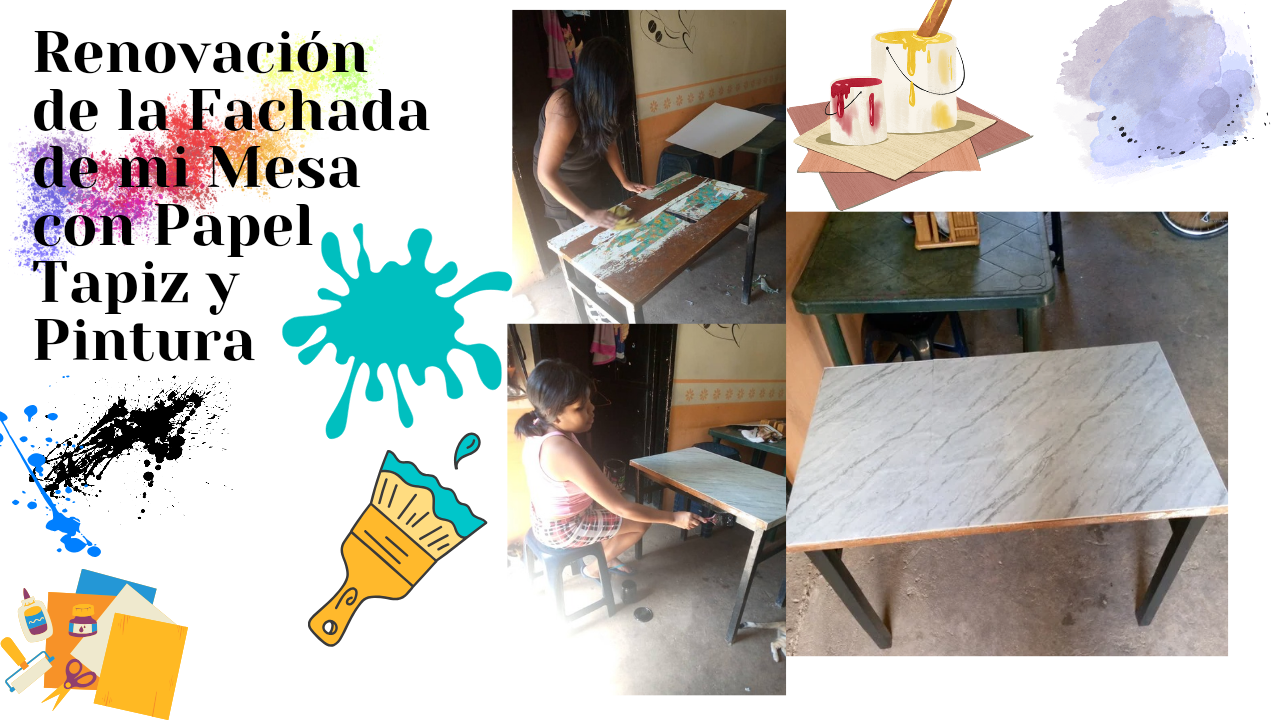
Hello, Home Solution community! Today I want to share with you how I renovated the front of my table, which I use as a desk, using wallpaper that imitates porcelain and painting the legs black. This renovation not only improves the aesthetics of the furniture, but it is also an economical and creative way to give it a new life since this desk has been around for a long time and it is time to give it a second chance.
Refurbishing furniture is a great way to personalize our space and make it more welcoming. Over time, furniture can become worn, lose its appeal, or simply no longer fit our style. Buying new furniture can be expensive. Refurbishing what we already have is a more economical and sustainable alternative; we contribute to reducing waste and taking care of the environment. It is an opportunity to express our personality and style through decoration; sometimes, a makeover can make a piece of furniture more functional and adapted to our needs.
(Materiales:)||(Materials :)
- Papel tapiz imitación porcelanato
- Pintura negra
- Una brocha para pintar
- Tijeras
- Regla y lápiz
- Un pañuelo para limpiar
- Porcelain-effect wallpaper
- Black paint
- A paintbrush
- Scissors
- Ruler and pencil
- A tissue for cleaning
(Procedimiento:)||(Procedure:)
Paso nro 1
Paso nro 1
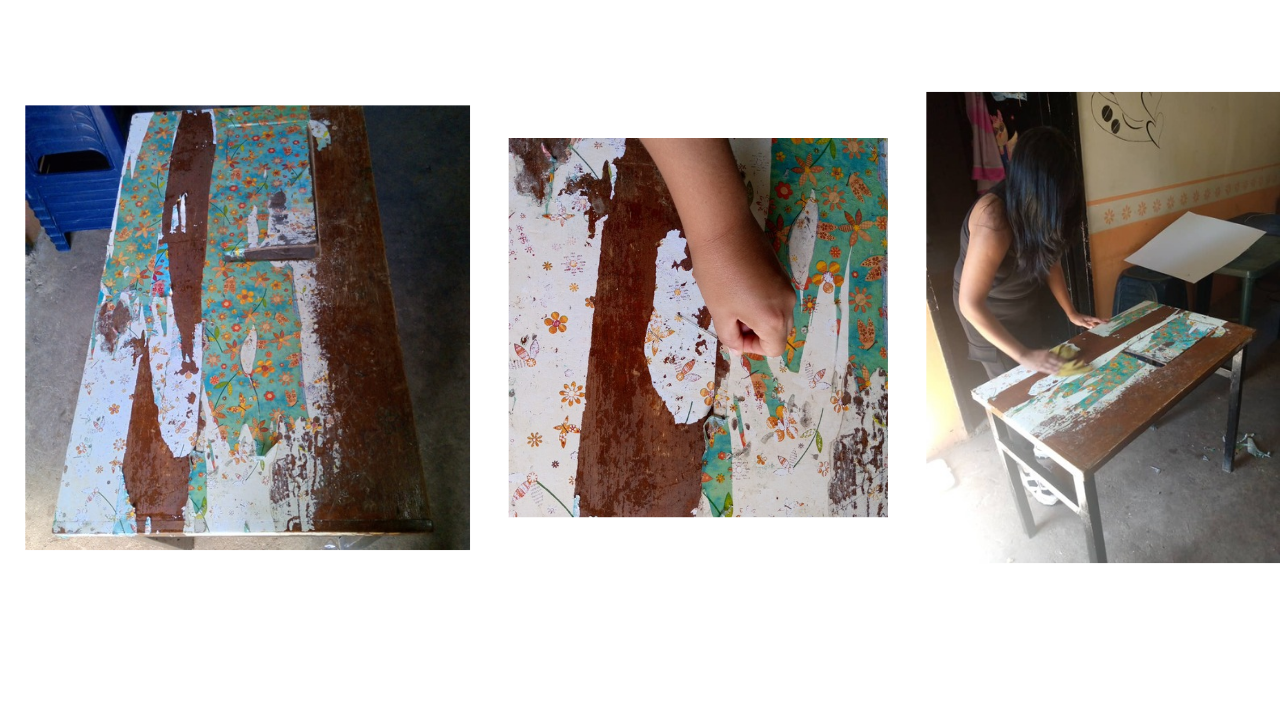
First, I thoroughly cleaned the table top and legs, making sure they were free of dust and grease. This is crucial to ensure that both the wallpaper and paint adhere properly.
Paso nro 2
Paso nro 2
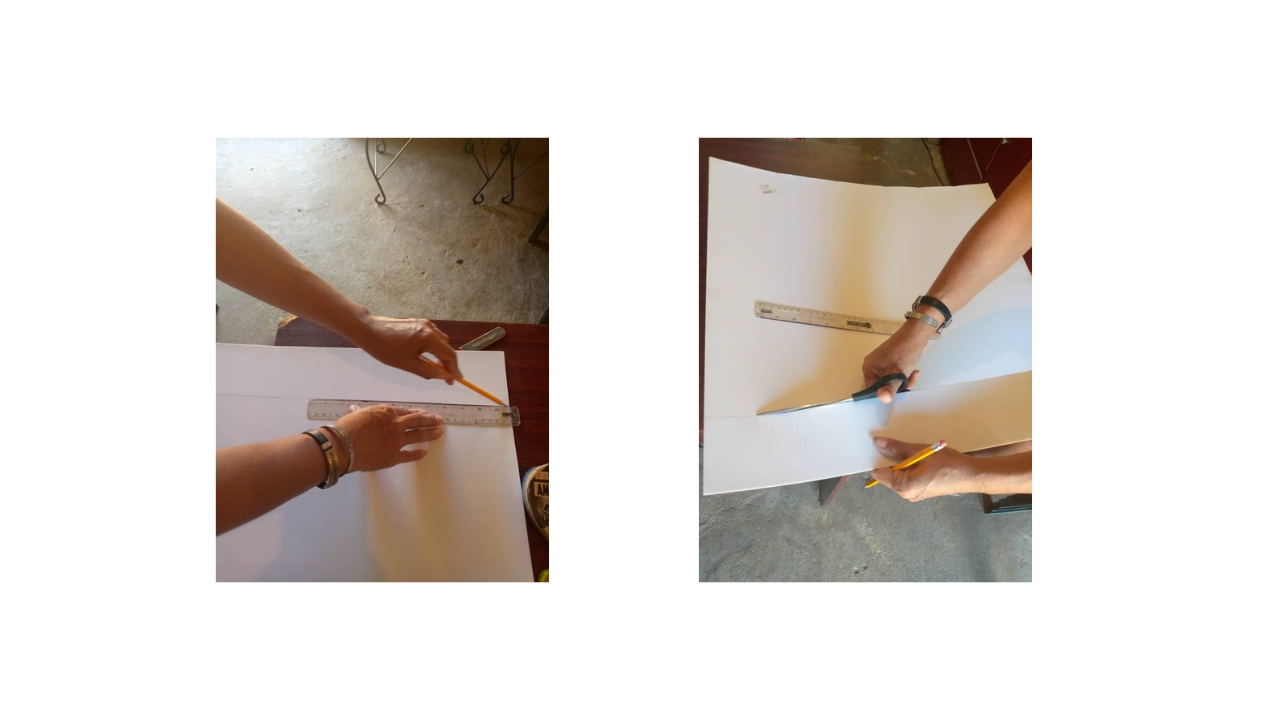
I then measured the surface of the table front and marked the dimensions on the wallpaper. Using the scissors, I cut out the necessary pieces, making sure to cut a little more than I needed to make adjustments if necessary. This is important to avoid any gaps. Next, I started to apply the wallpaper from one end of the table, working in small sections for a better fit. I used the ruler to smooth out the paper and remove any air bubbles, making sure to work from the center out to the edges. This helps to achieve a more professional finish.
Paso nro 3
Paso nro 3
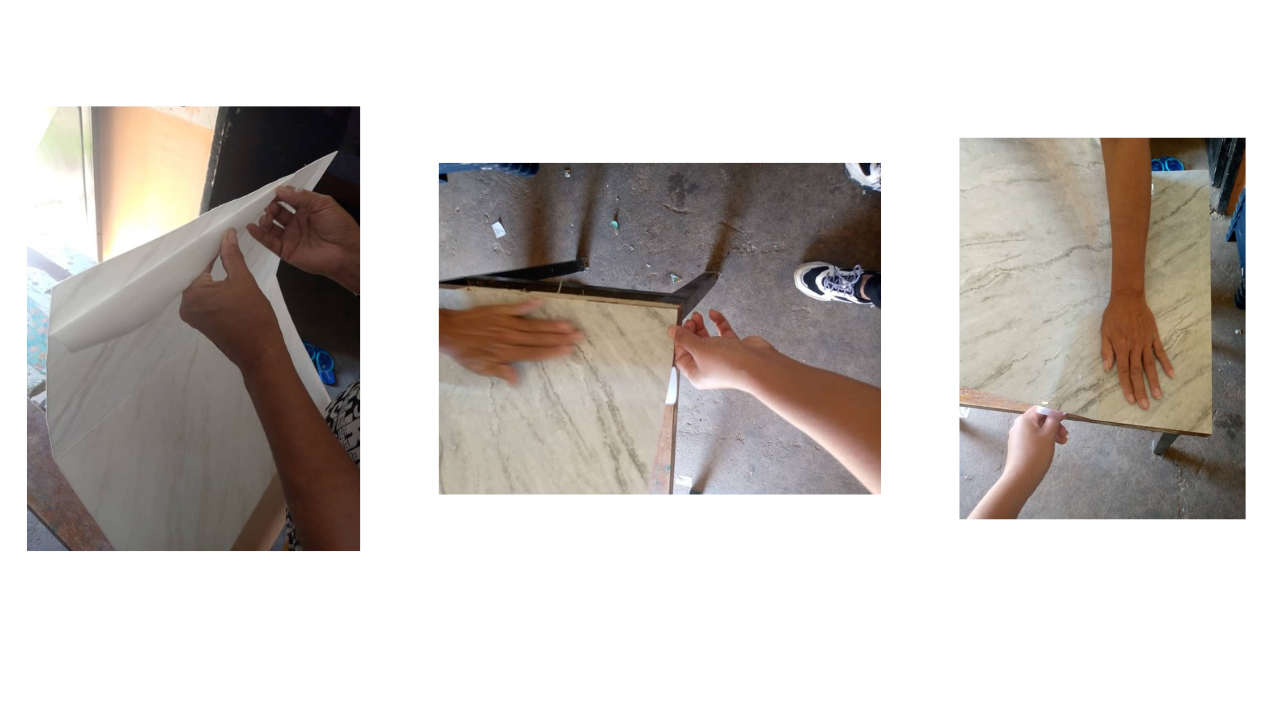
After I had put up the wallpaper, I trimmed off any excess at the edges with the craft knife to maintain a clean finish. Although the wallpaper comes ready to use, it is recommended to let it sit to ensure it adheres properly, so I avoided moving the furniture for a few hours.
Paso nro 4
Paso nro 4
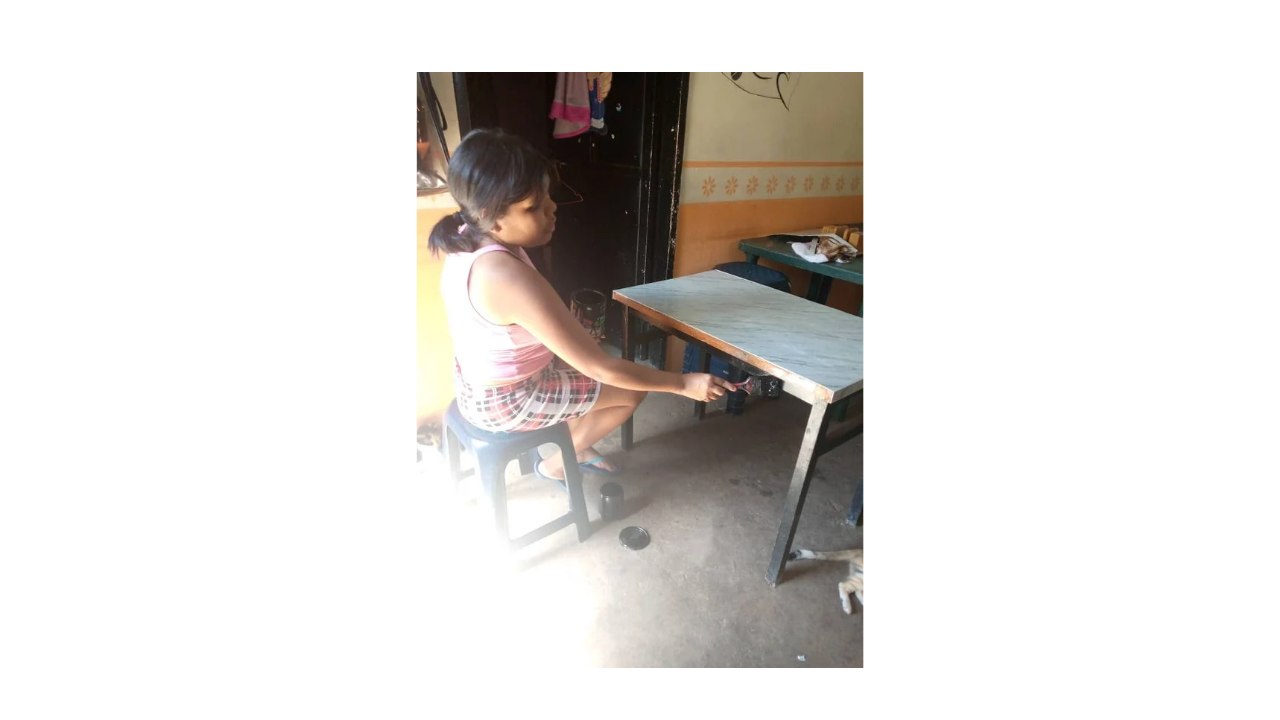
Next, I started painting the legs with the black paint, using a brush. I applied an even coat and let the paint dry. I found that I needed a second coat for a more uniform and long-lasting finish. The black paint gives the table a modern and elegant touch, and it matches almost any decor. Finally, I wiped away any residue with a clean rag to ensure that both the wallpaper and the paint looked perfect.
The transformation of my desk has been rewarding and has significantly improved the atmosphere of my workspace. Thank you for joining me on this project and until next time.
Las fotos de este blog son de mi propiedad|Las imágenes son editadas en canva|Fotografías tomadas en mi celular infinix Smart 7|El contenido está traducido en el traductor de Firefox.
Esta es una excelente forma de darle una nueva imagen a los muebles. Gracias por compartir.
Hola saludos, gracias que bueno que te gustó está idea de renovación
Es una opción excelente, de hecho yo en casa compre papel contac pero tipo madera para hacer algo similar!
Hola, la verdad quedó mejor de lo esperaba,y si me imagino que también con tu papel contact también quedará buenísimo
quedo genial, se ve diferente!
Hola si de verdad que se ve como otra mesa