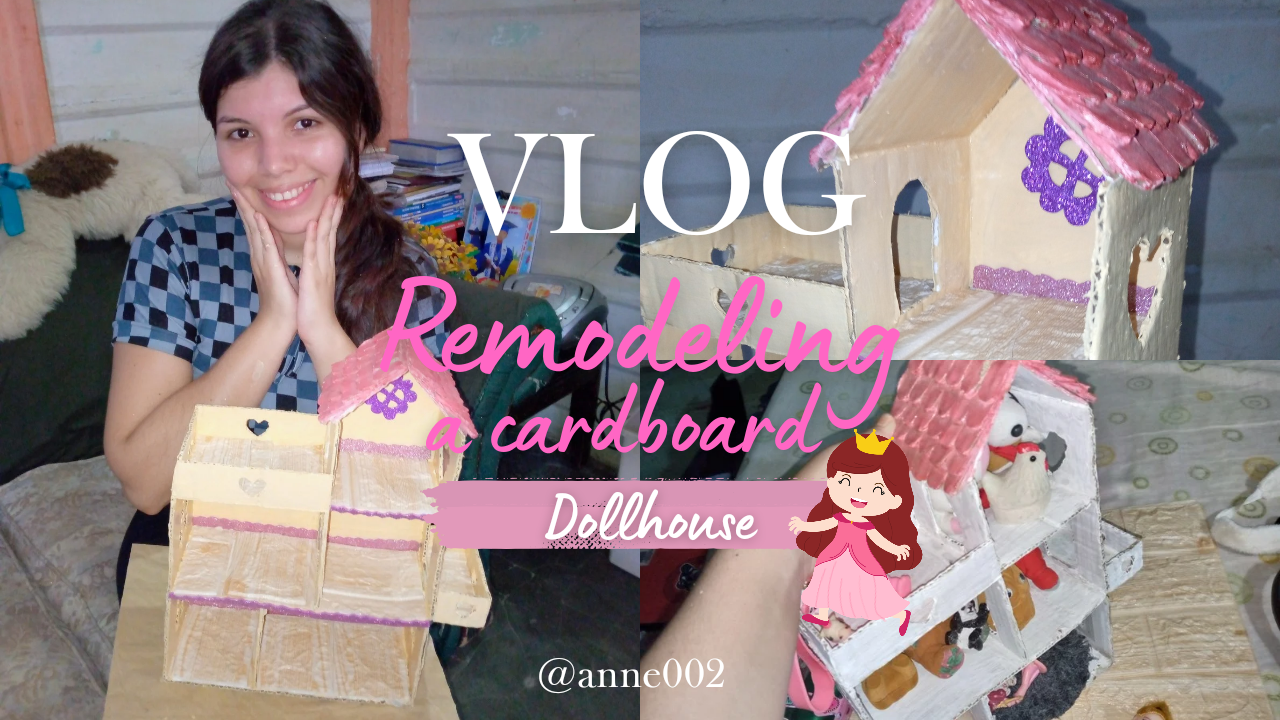
Hey, friends, I greet you. It is a pleasure for me to share with you another space of creative ideas.
I hope you are having a great day. I am fine, thank God, enjoying every day of what I do and share with you. I tell you that these days, just when I have not been so well at all, I have been trying to fix my room more. Well, it is not really mine because we live in a home that is not ours but we take care of it with a lot of love. So for the time being, it is mine, but I have been more interested in remodeling things that are already somewhat old and that have worn out due to the number of times I have moved.
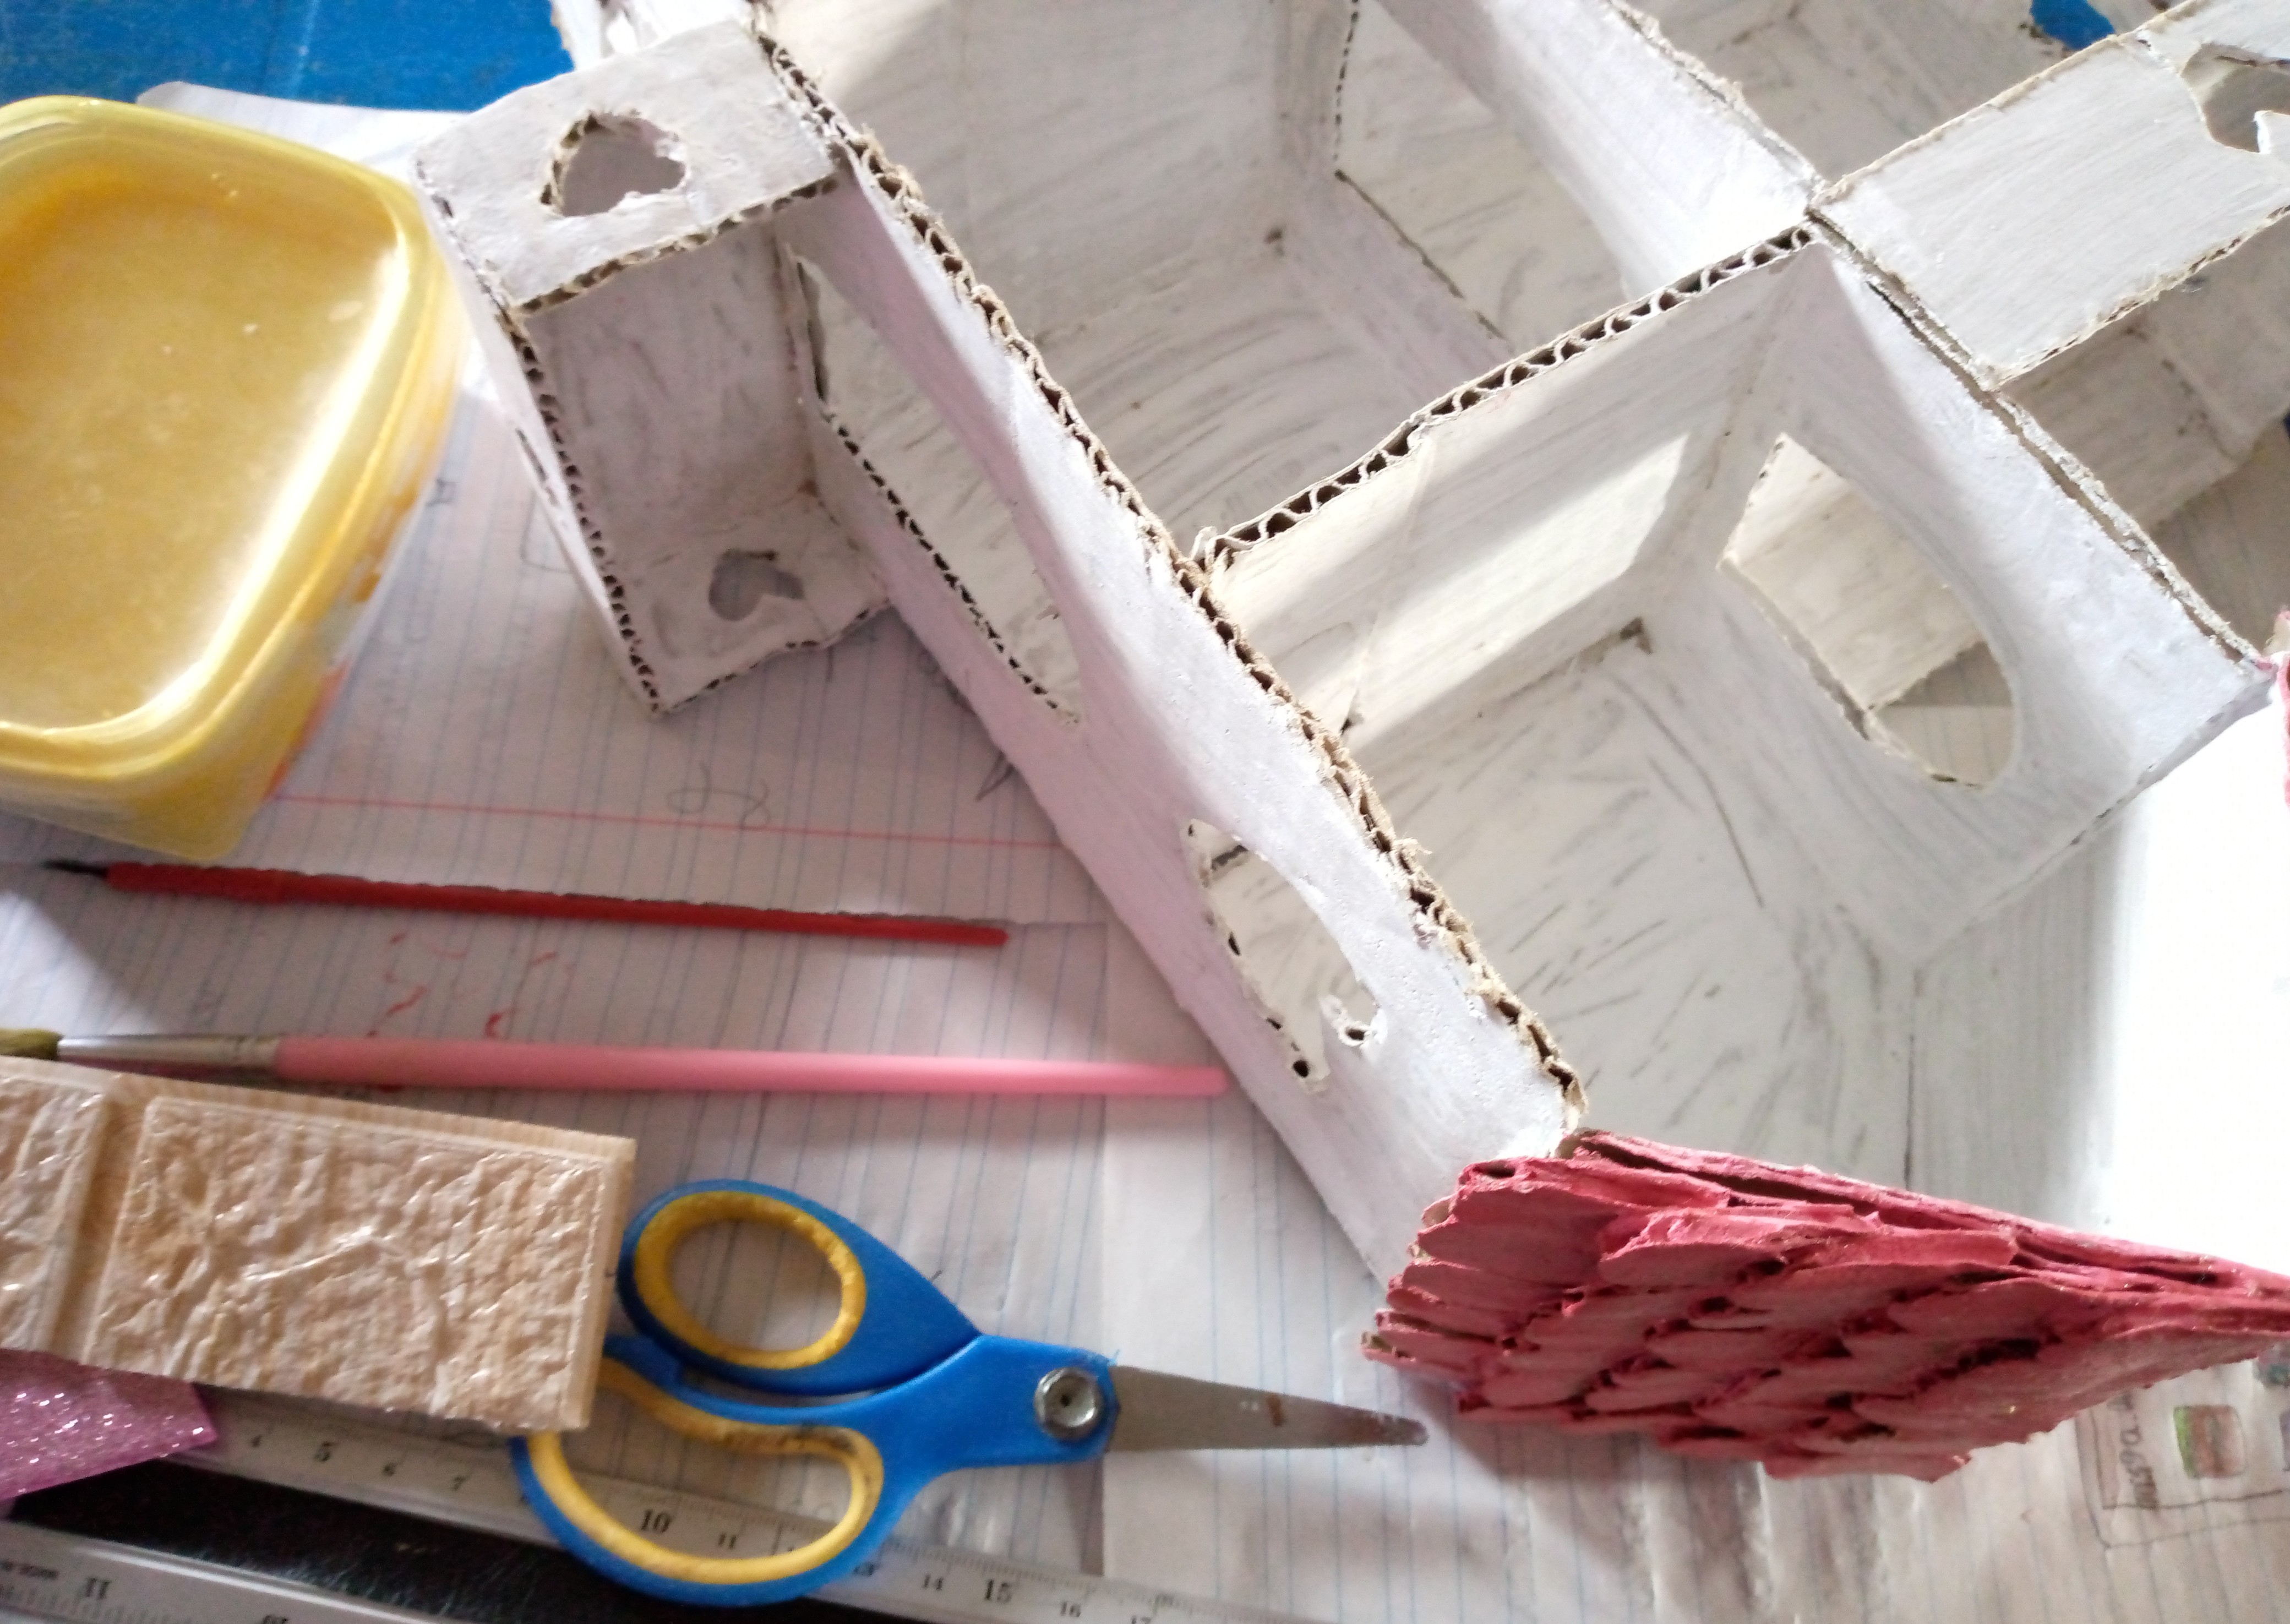
On this occasion I will be doing a remodeling to this ornament that I had here in my room, notice that it is a beautiful somewhat old dollhouse and that is made of cardboard that I had made for a project but for some reason I used to place some toys that I had as a souvenir from my childhood and some key chains, also my Barbies that are somewhat old since I would like to collect them, but as I mentioned although it is made of cardboard it has not been damaged and that is what impresses me, it is in good condition so today we are going to give a new life to this dollhouse to see how it turns out, let's get to work.
.jpg)
The materials we will use for the remodeling are a few things like paint this time we will use oil based house paint, we will use a brush because this house is somewhat small and it is necessary to paint with something small, we will use some embossed adhesive paper that I had left over from previous work also shiny foam as decoration in this case pink and purple, shaped scissors, normal scissors, ruler, pencil and glue.
Steps to follow:
We will prepare our paint in a small jar and mix it well. Remember that these paints are not easily removed with water, but rather we will use a little gasoline to wash our brush once we use it. We will start by dipping the brush a little and we will place unused tissue sheets on the base of our table where we will paint the house. We will paint from the inside out so that the work is easier and we do not paint our hands, although you can use gloves since the paint dries somewhat slowly.
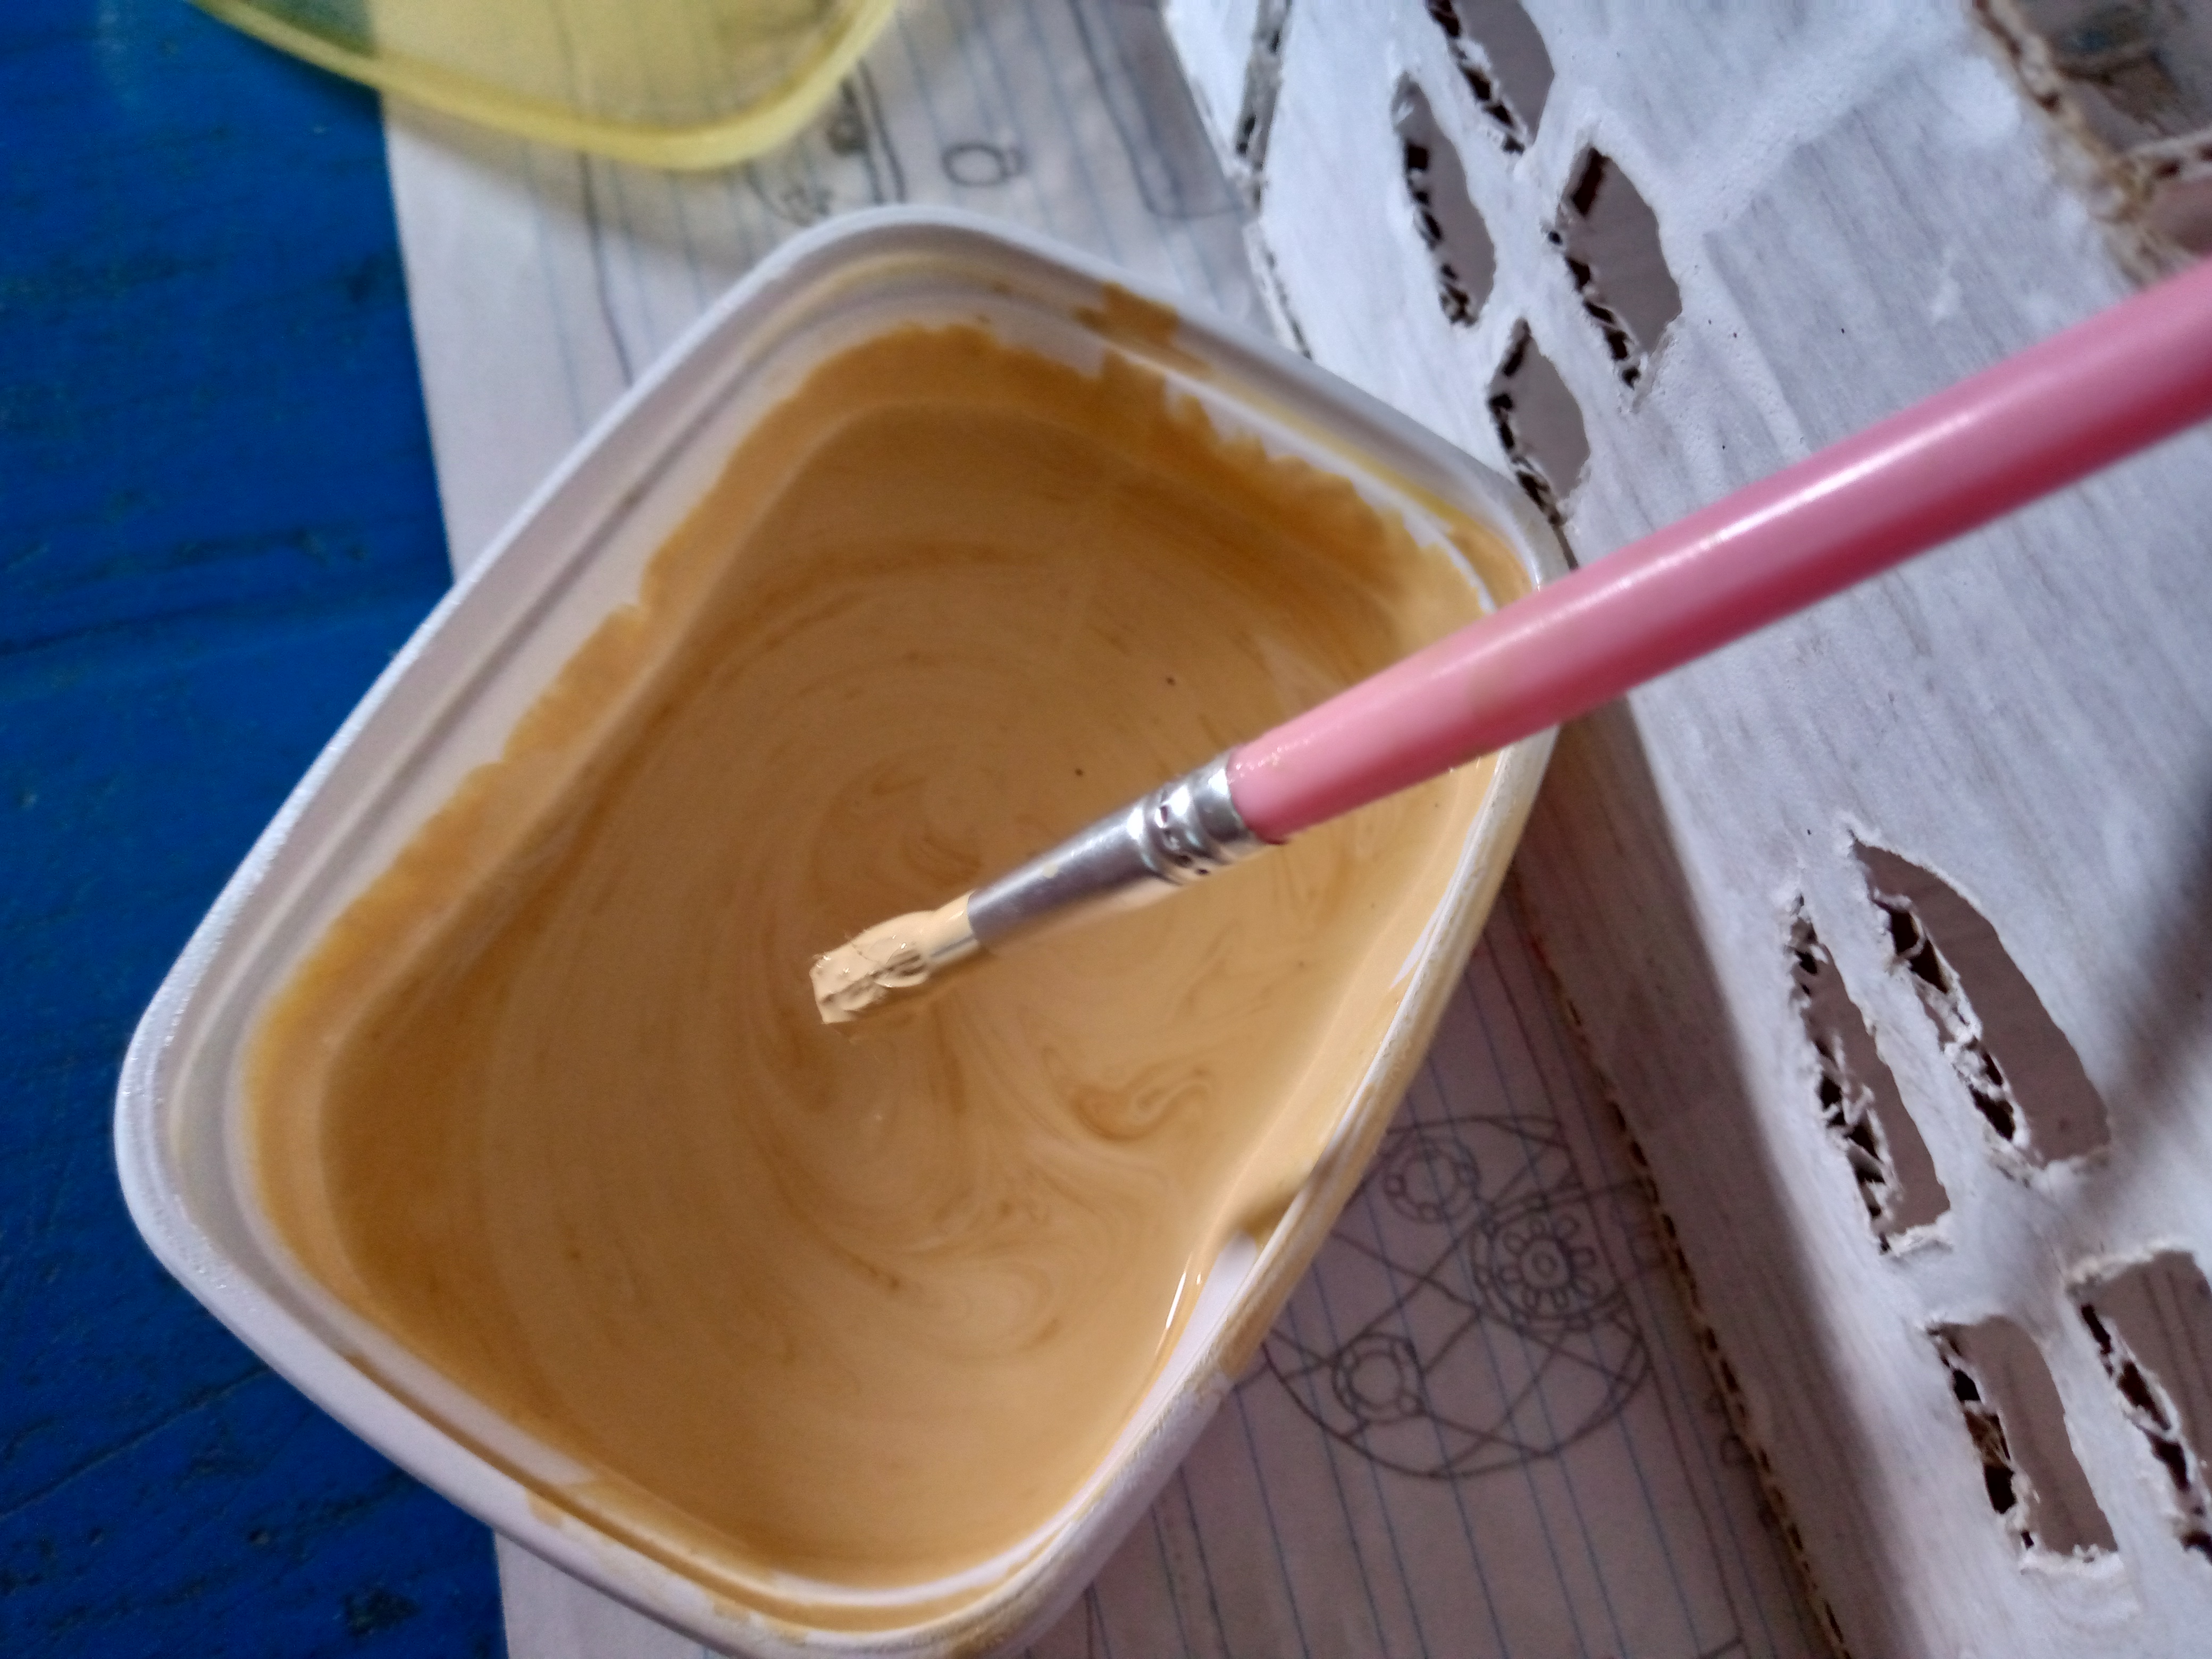
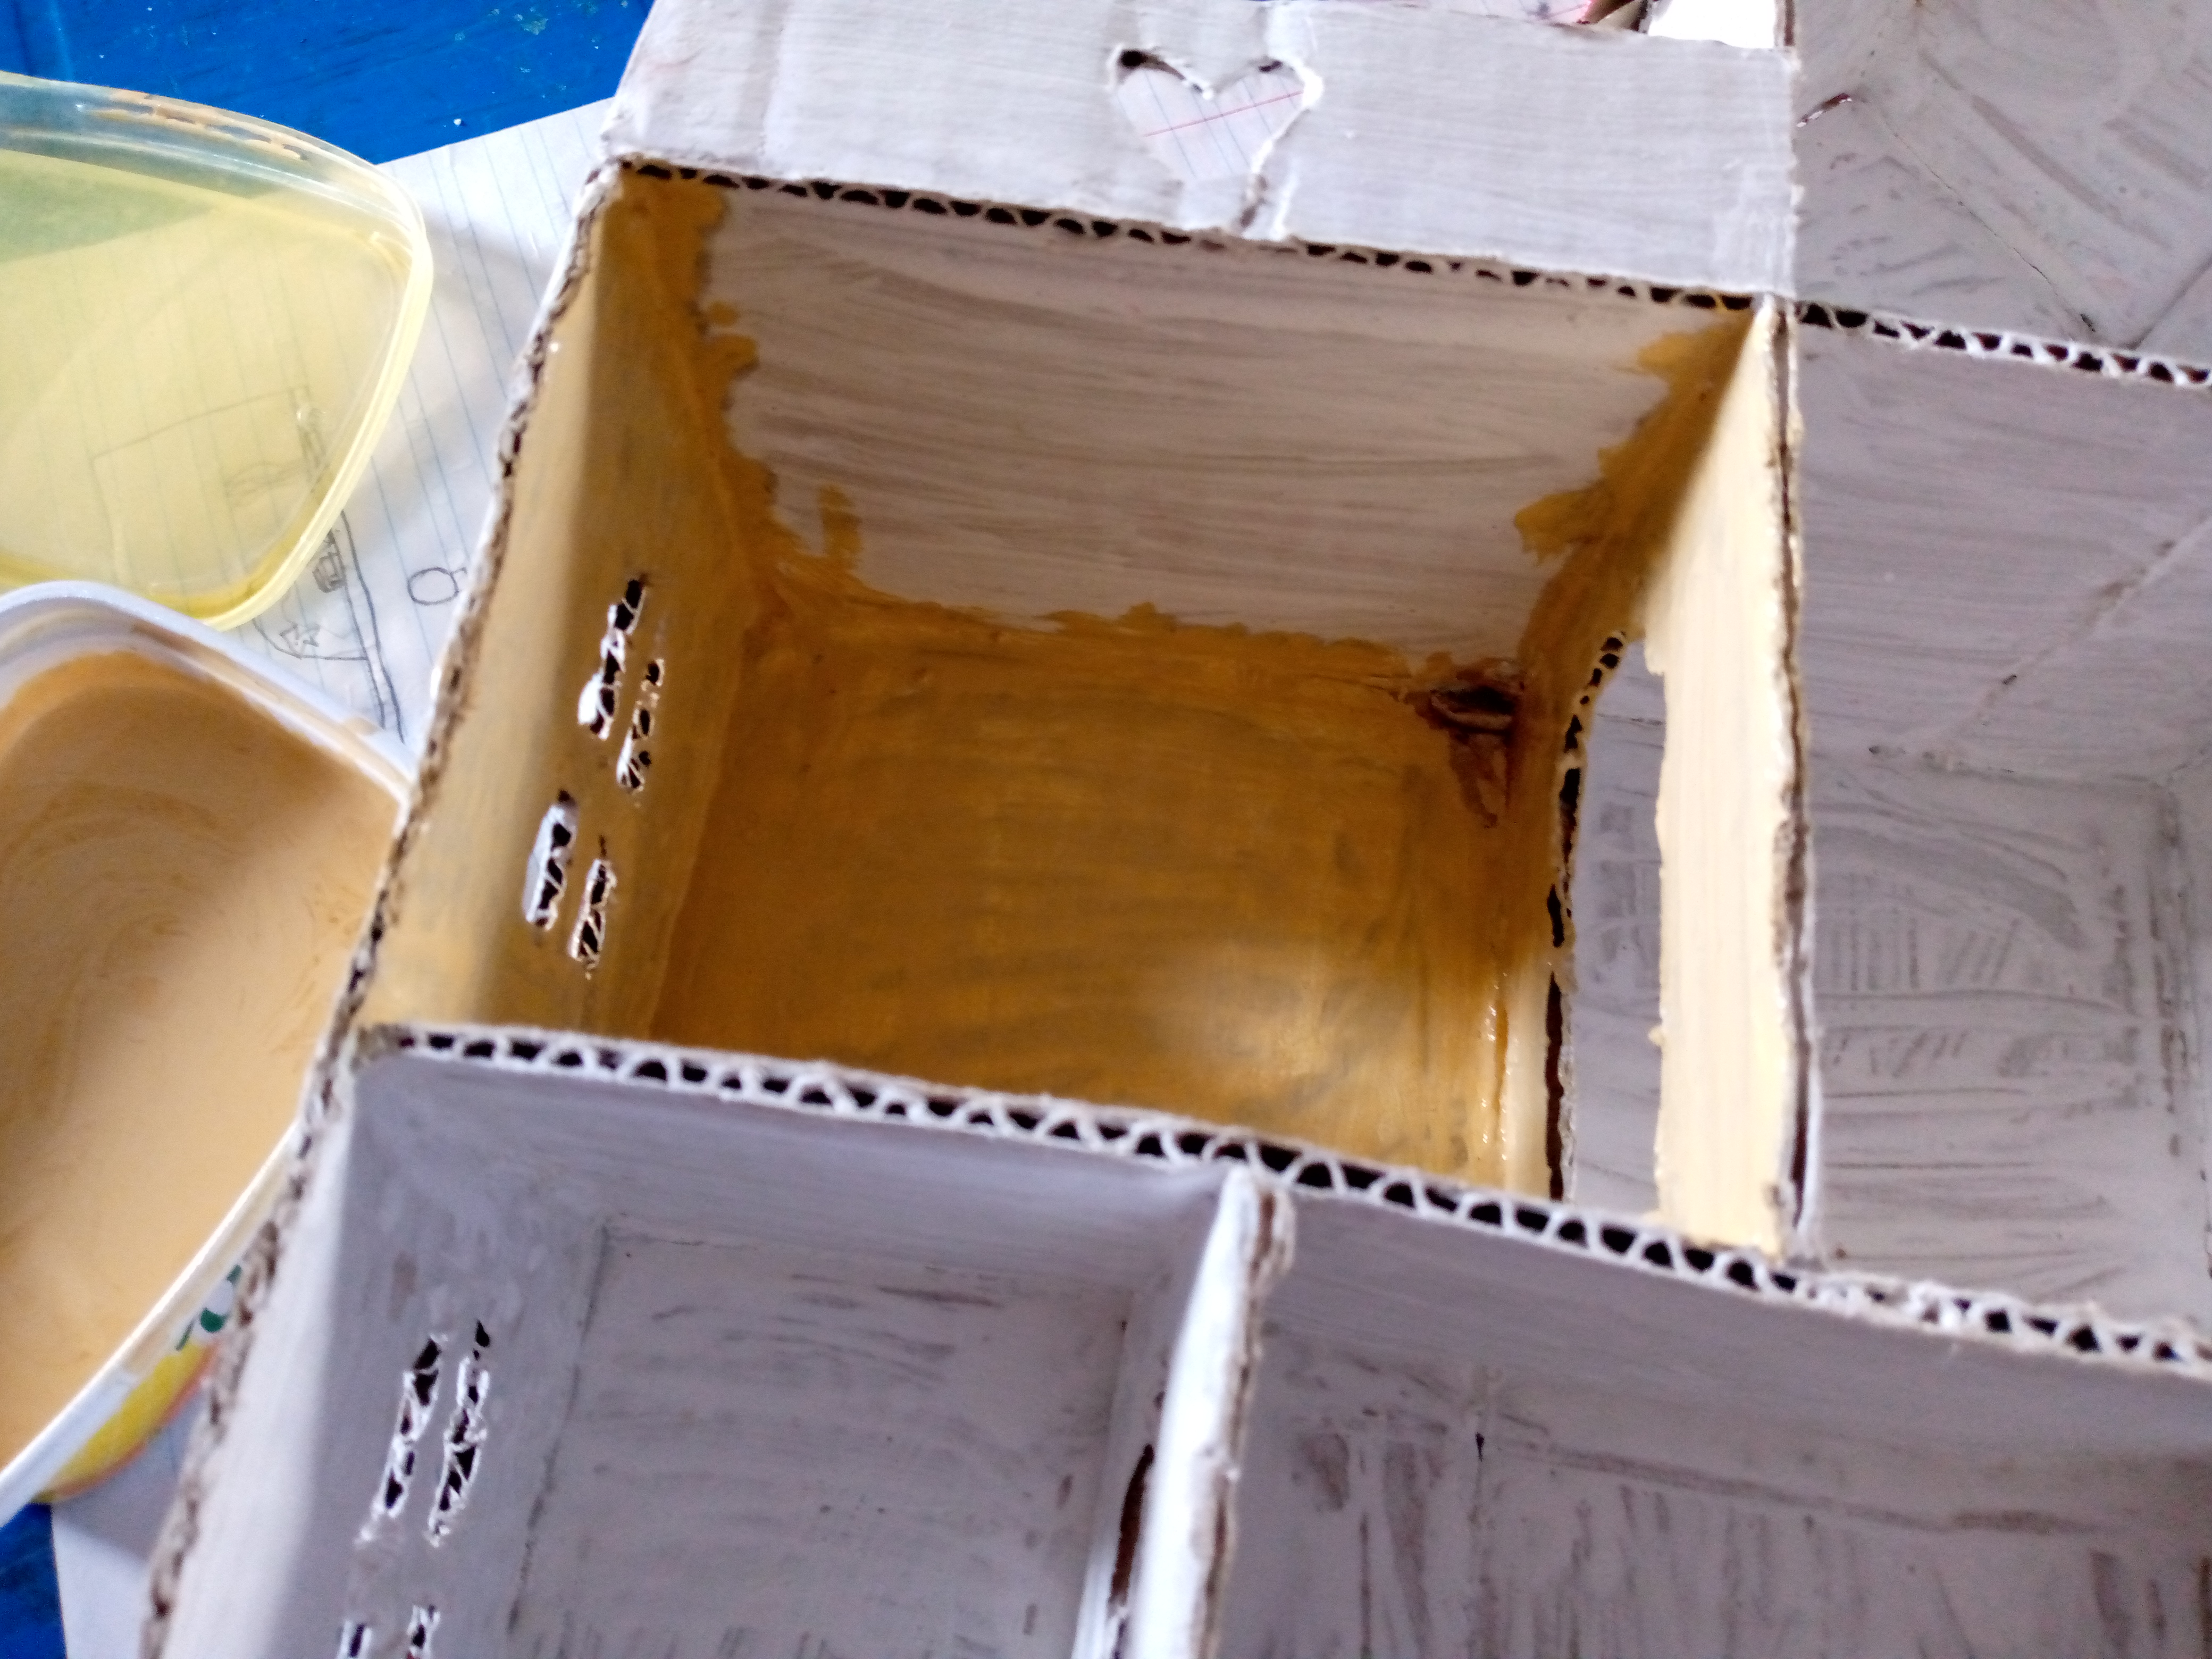
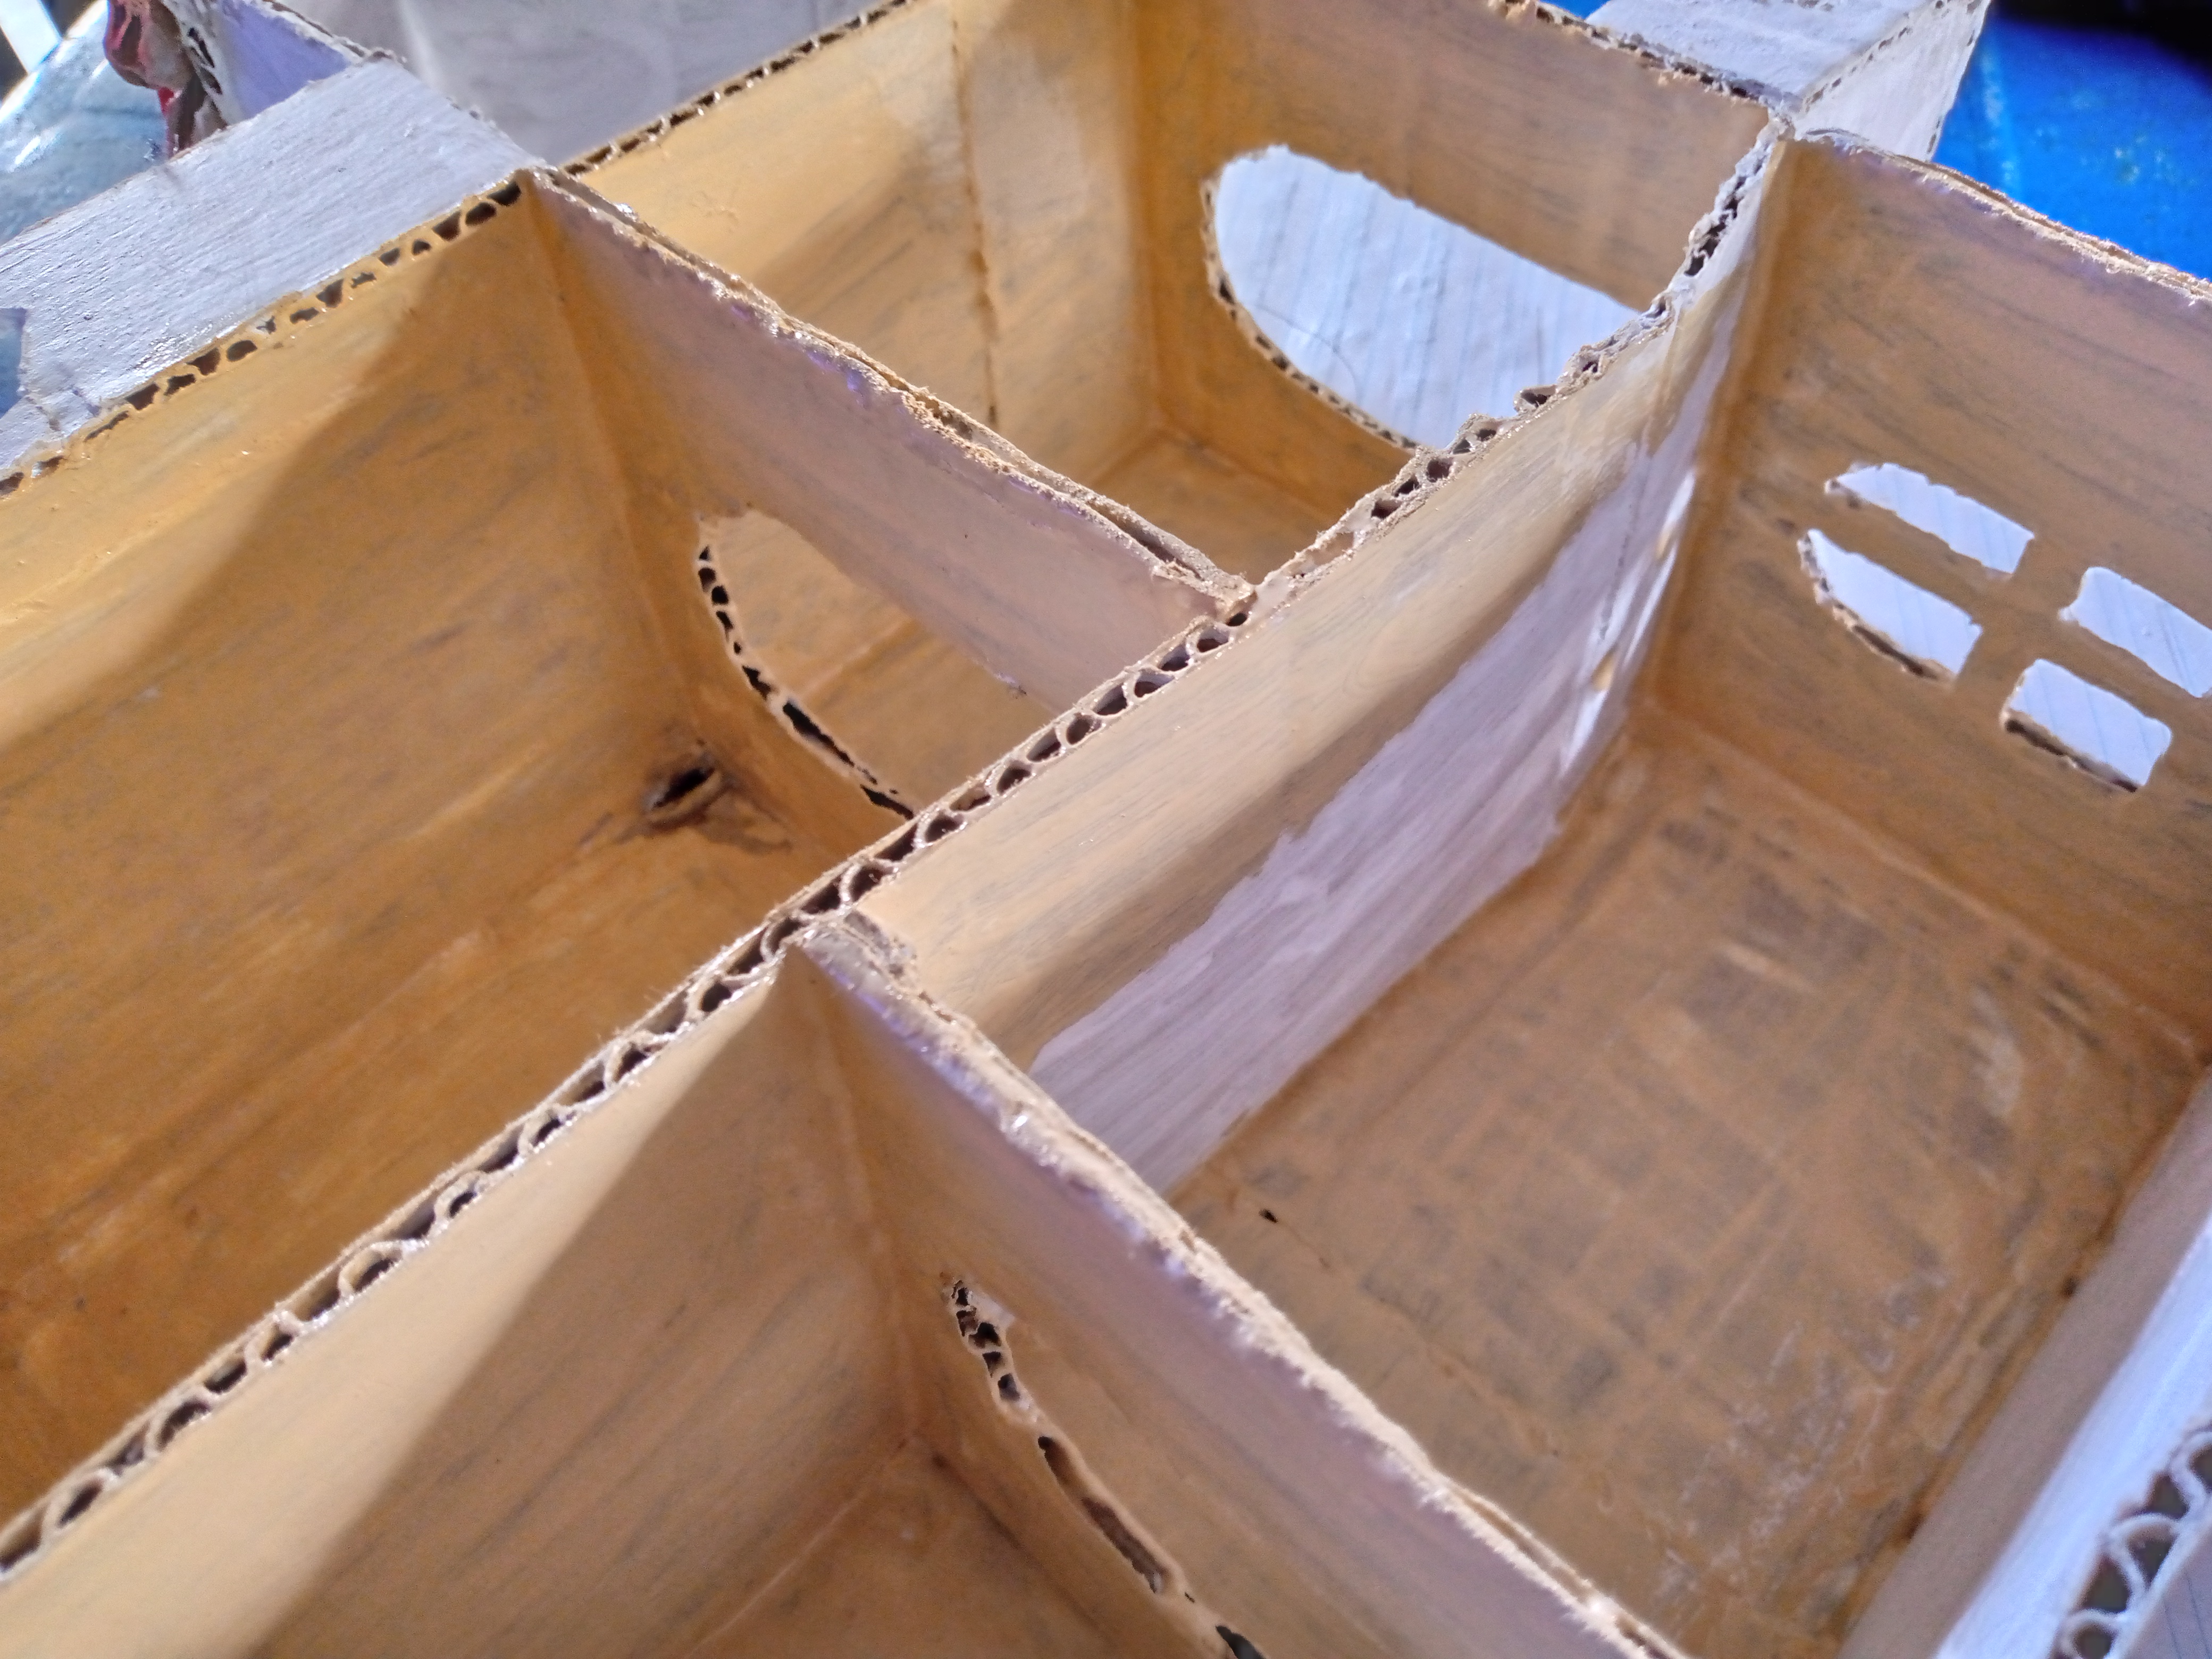

We will paint the walls of the house inside evenly, from top to bottom, so that we have a good finish. If necessary, after drying you can apply another coat of paint if necessary of course, so that our house will look like this.
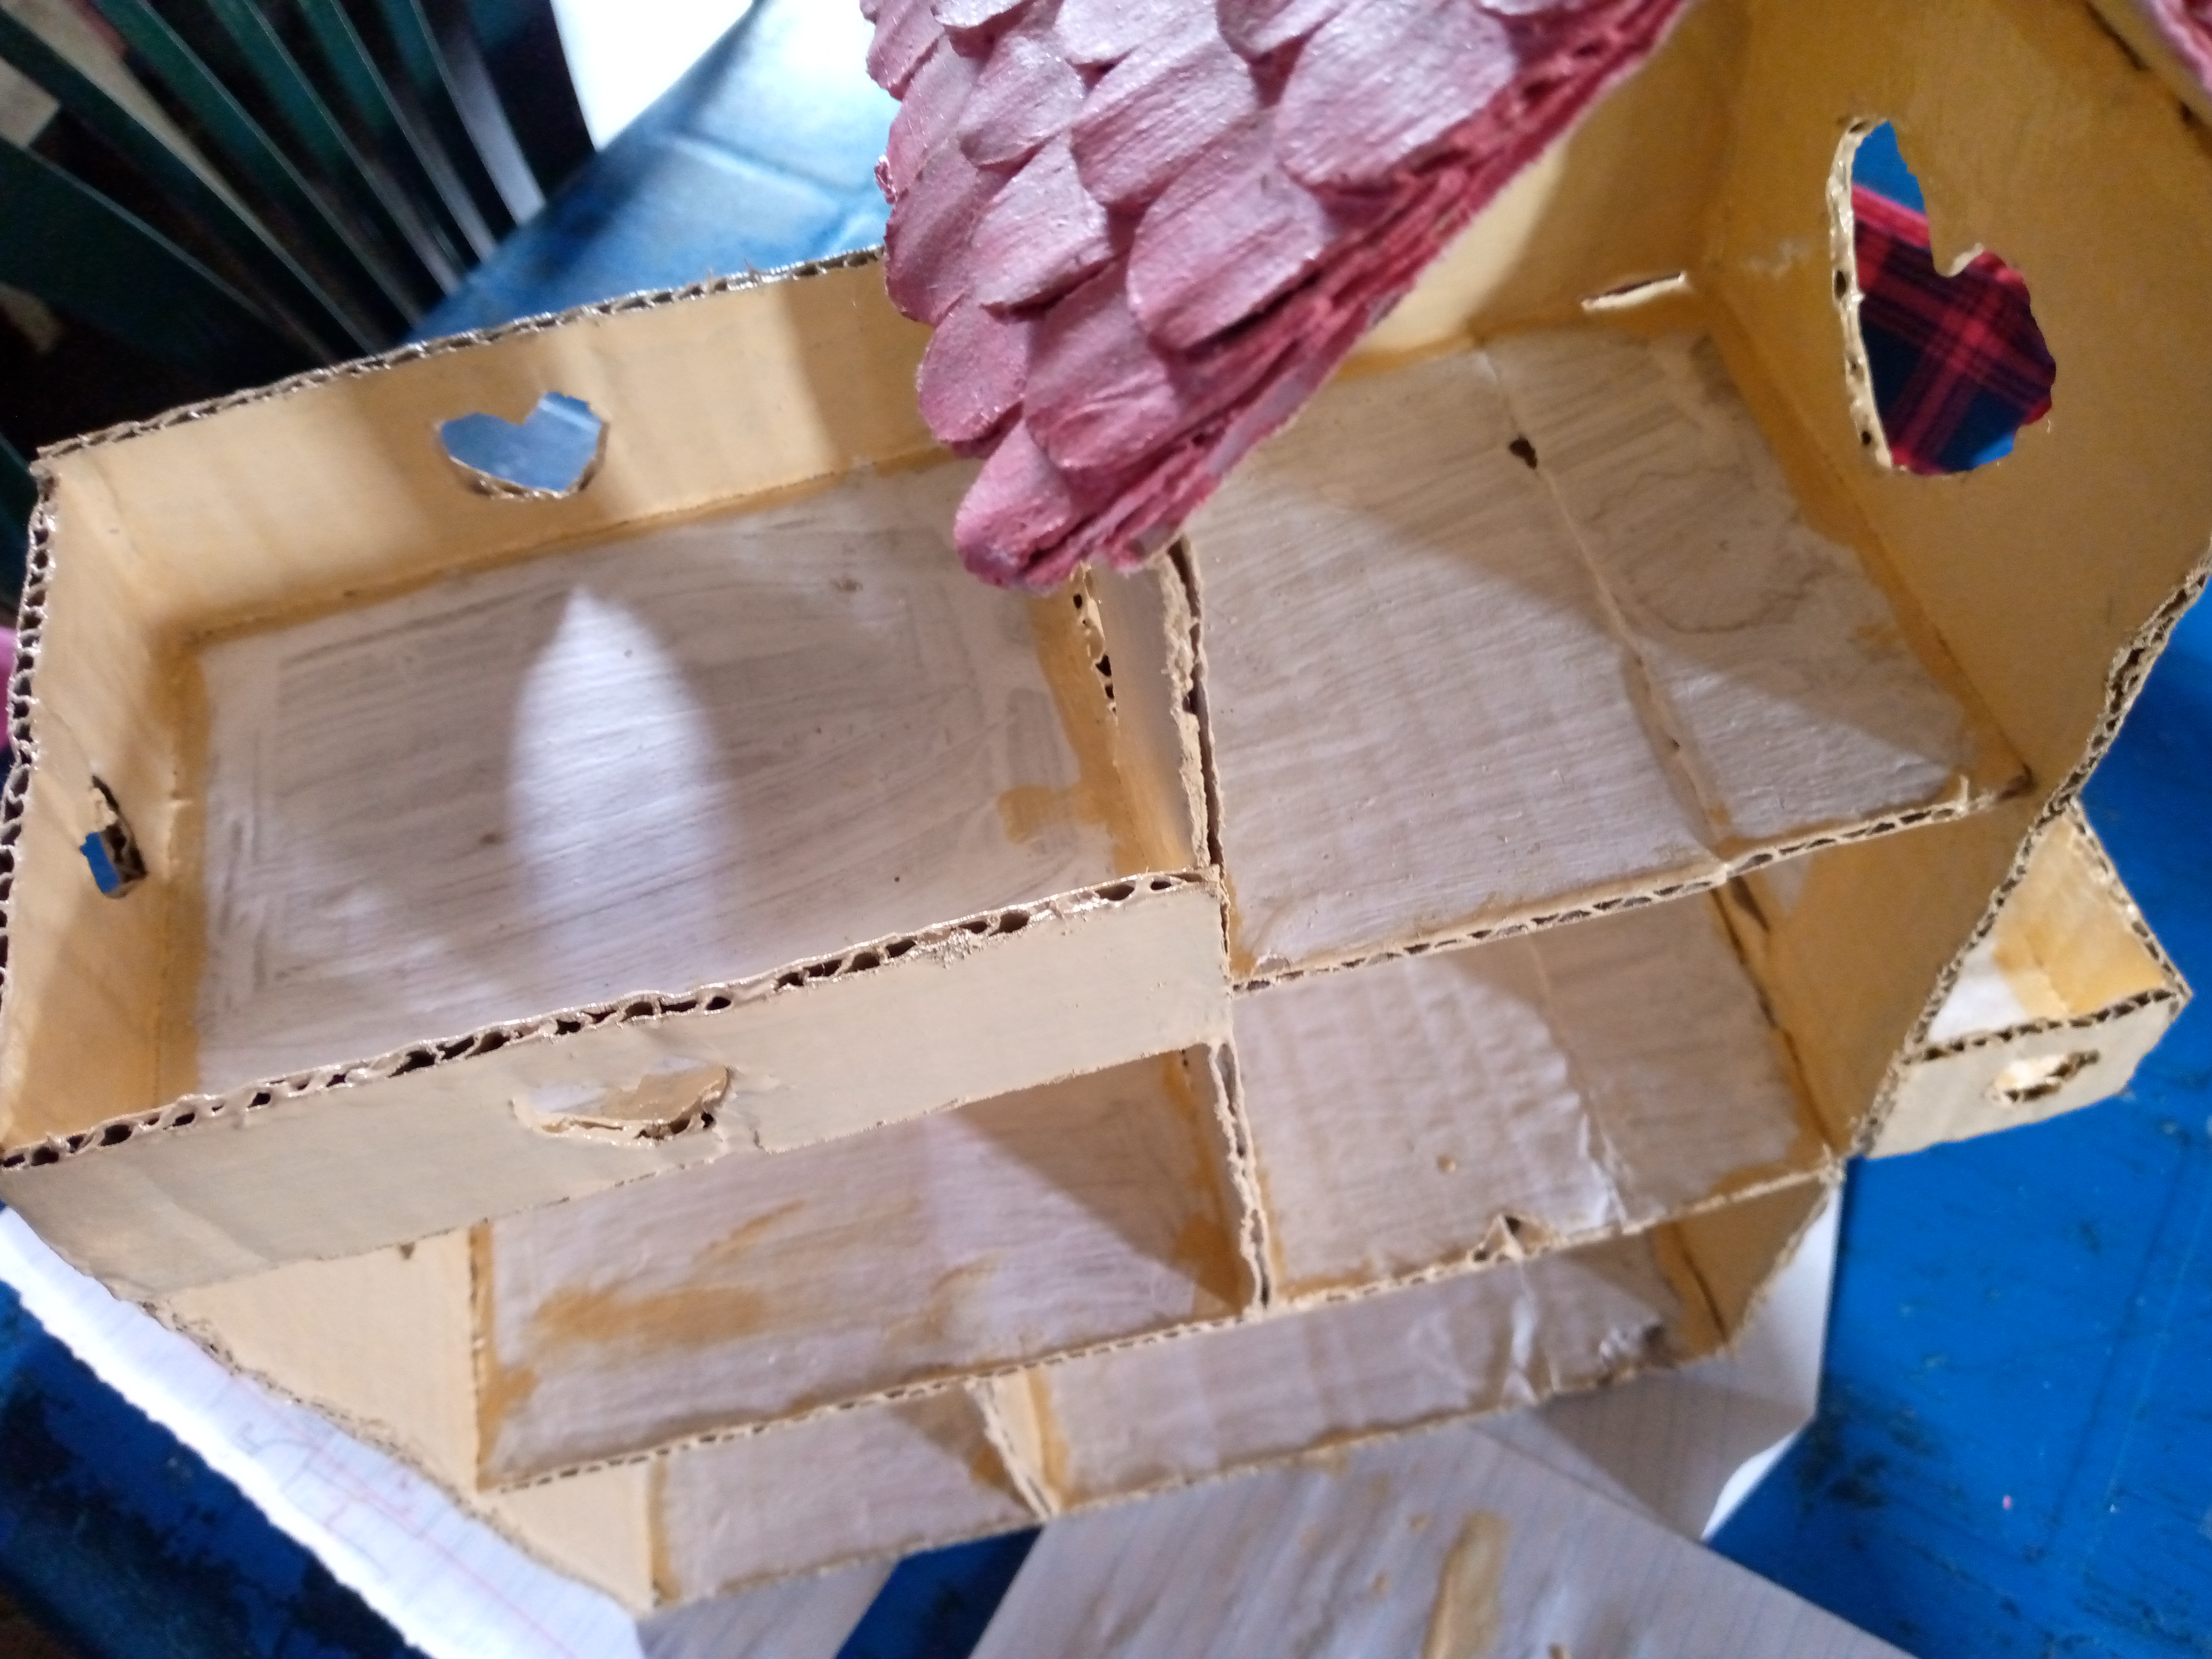
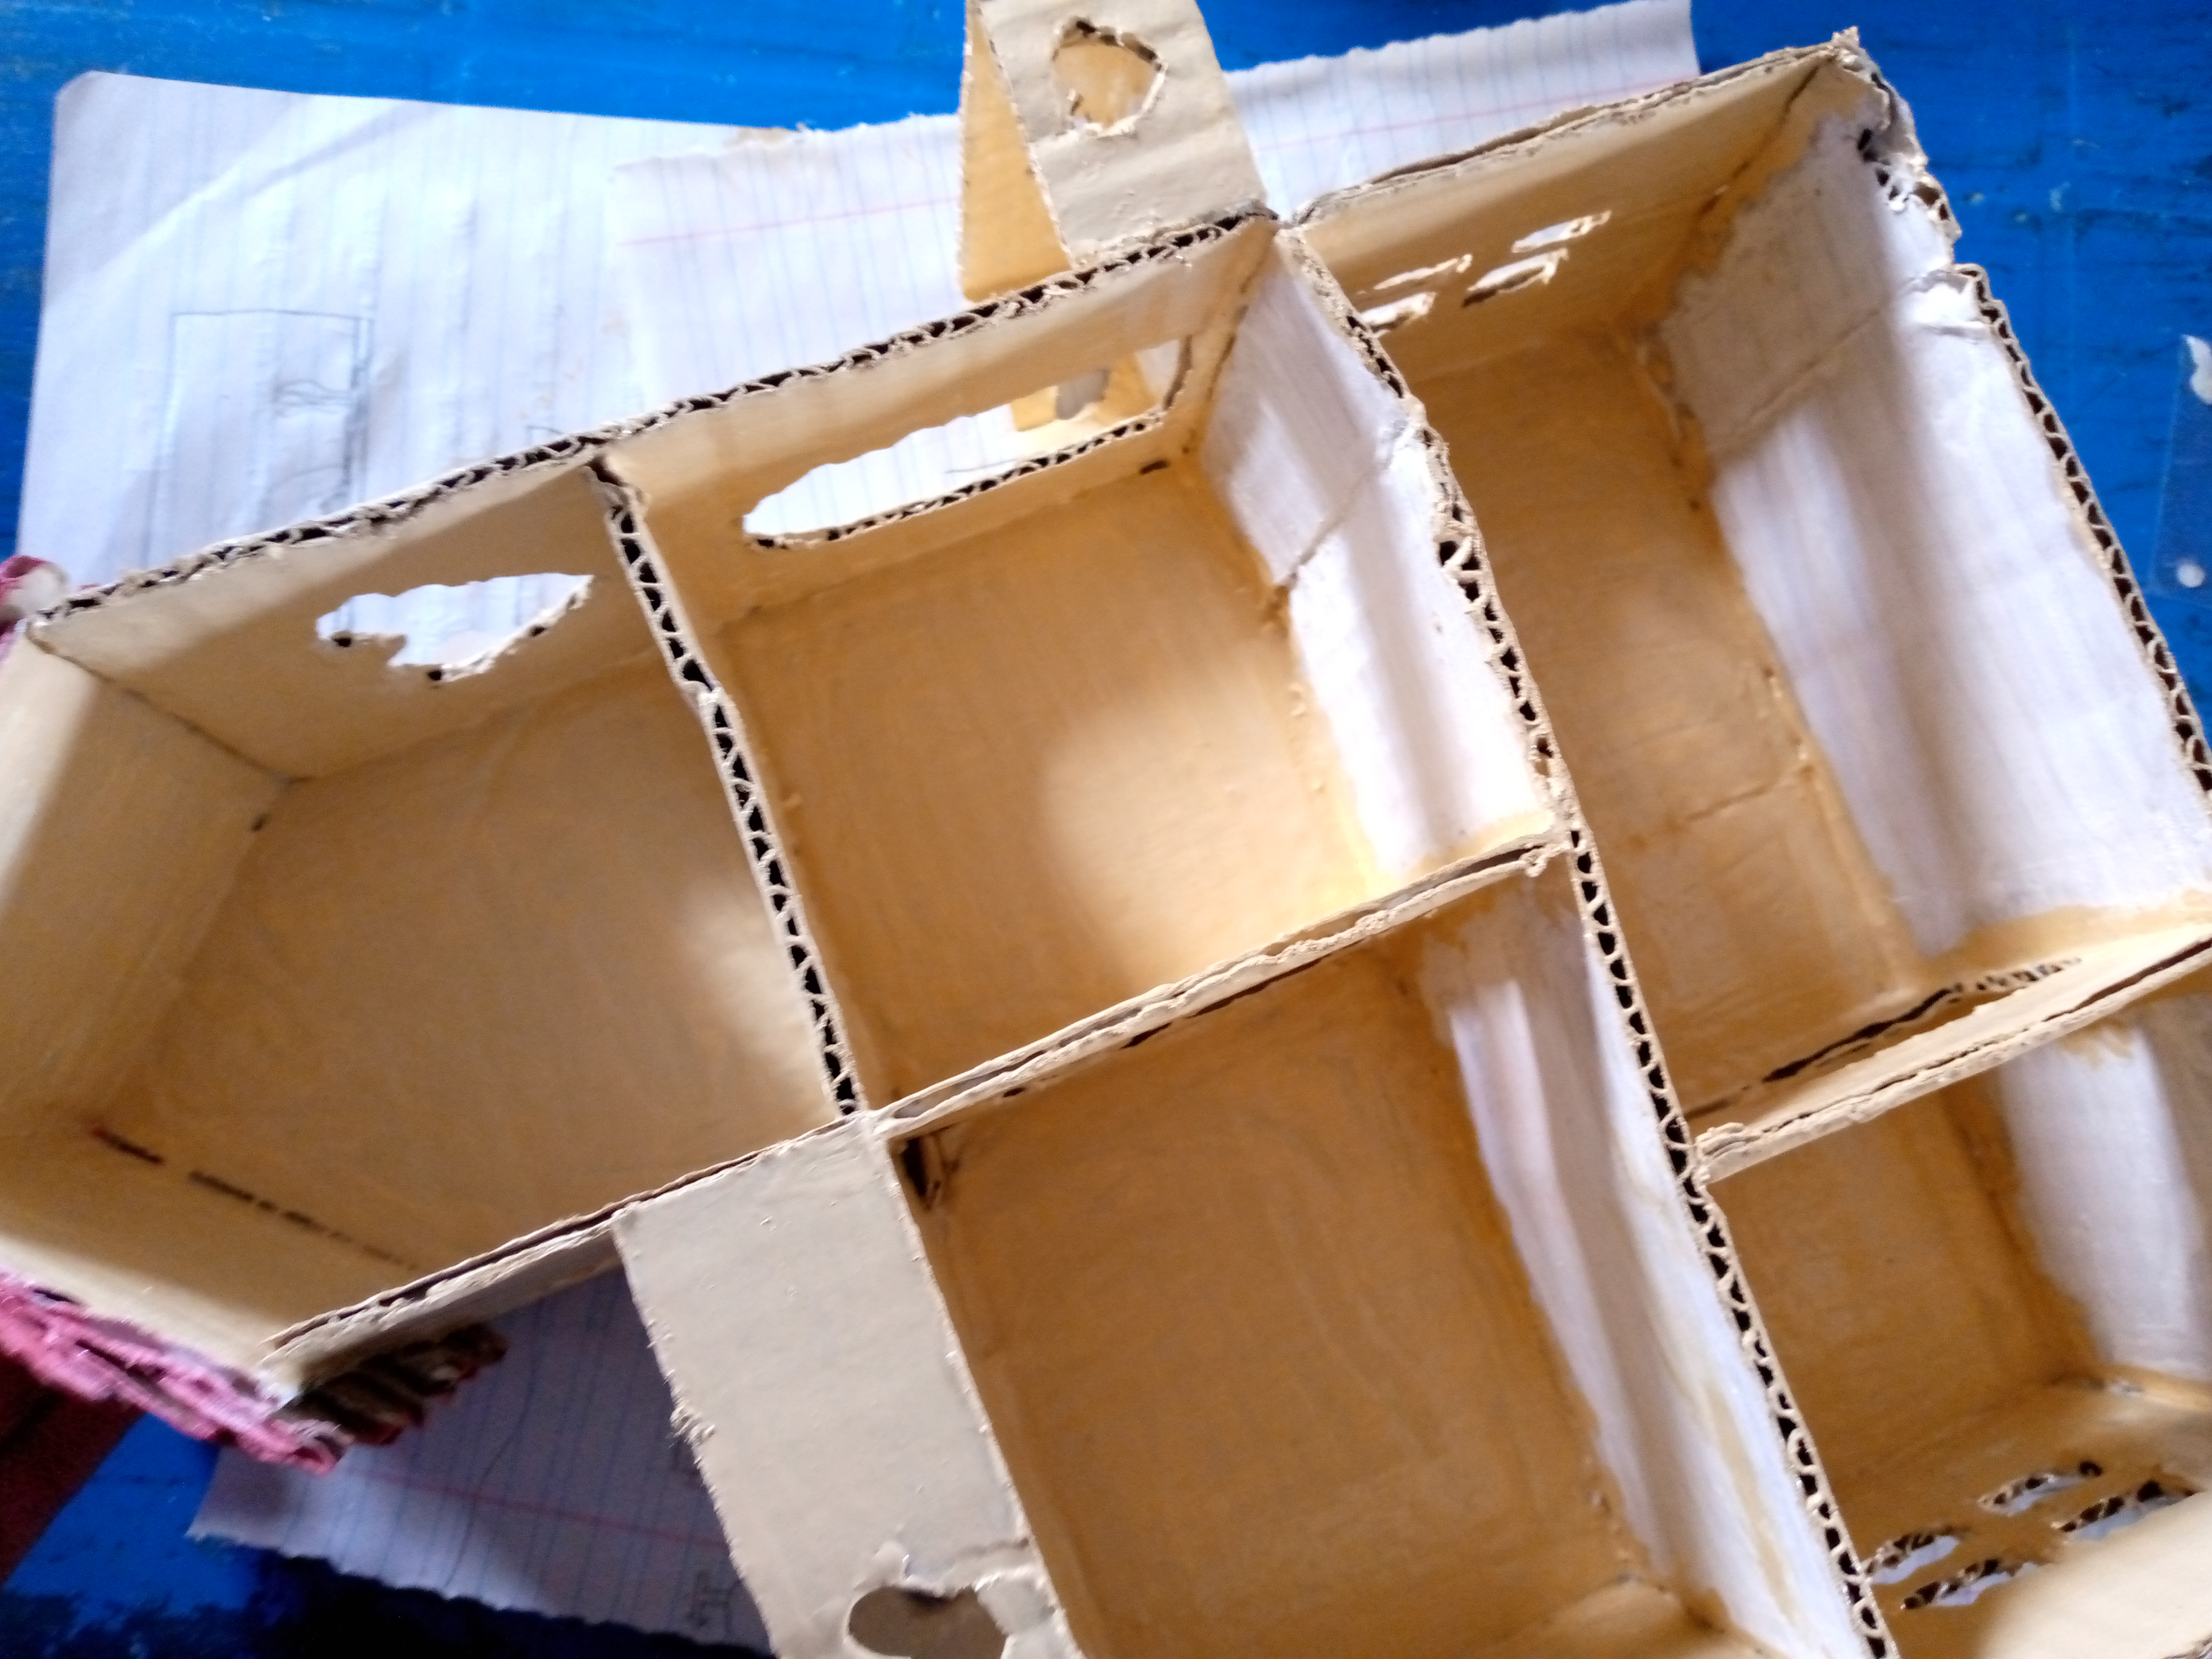
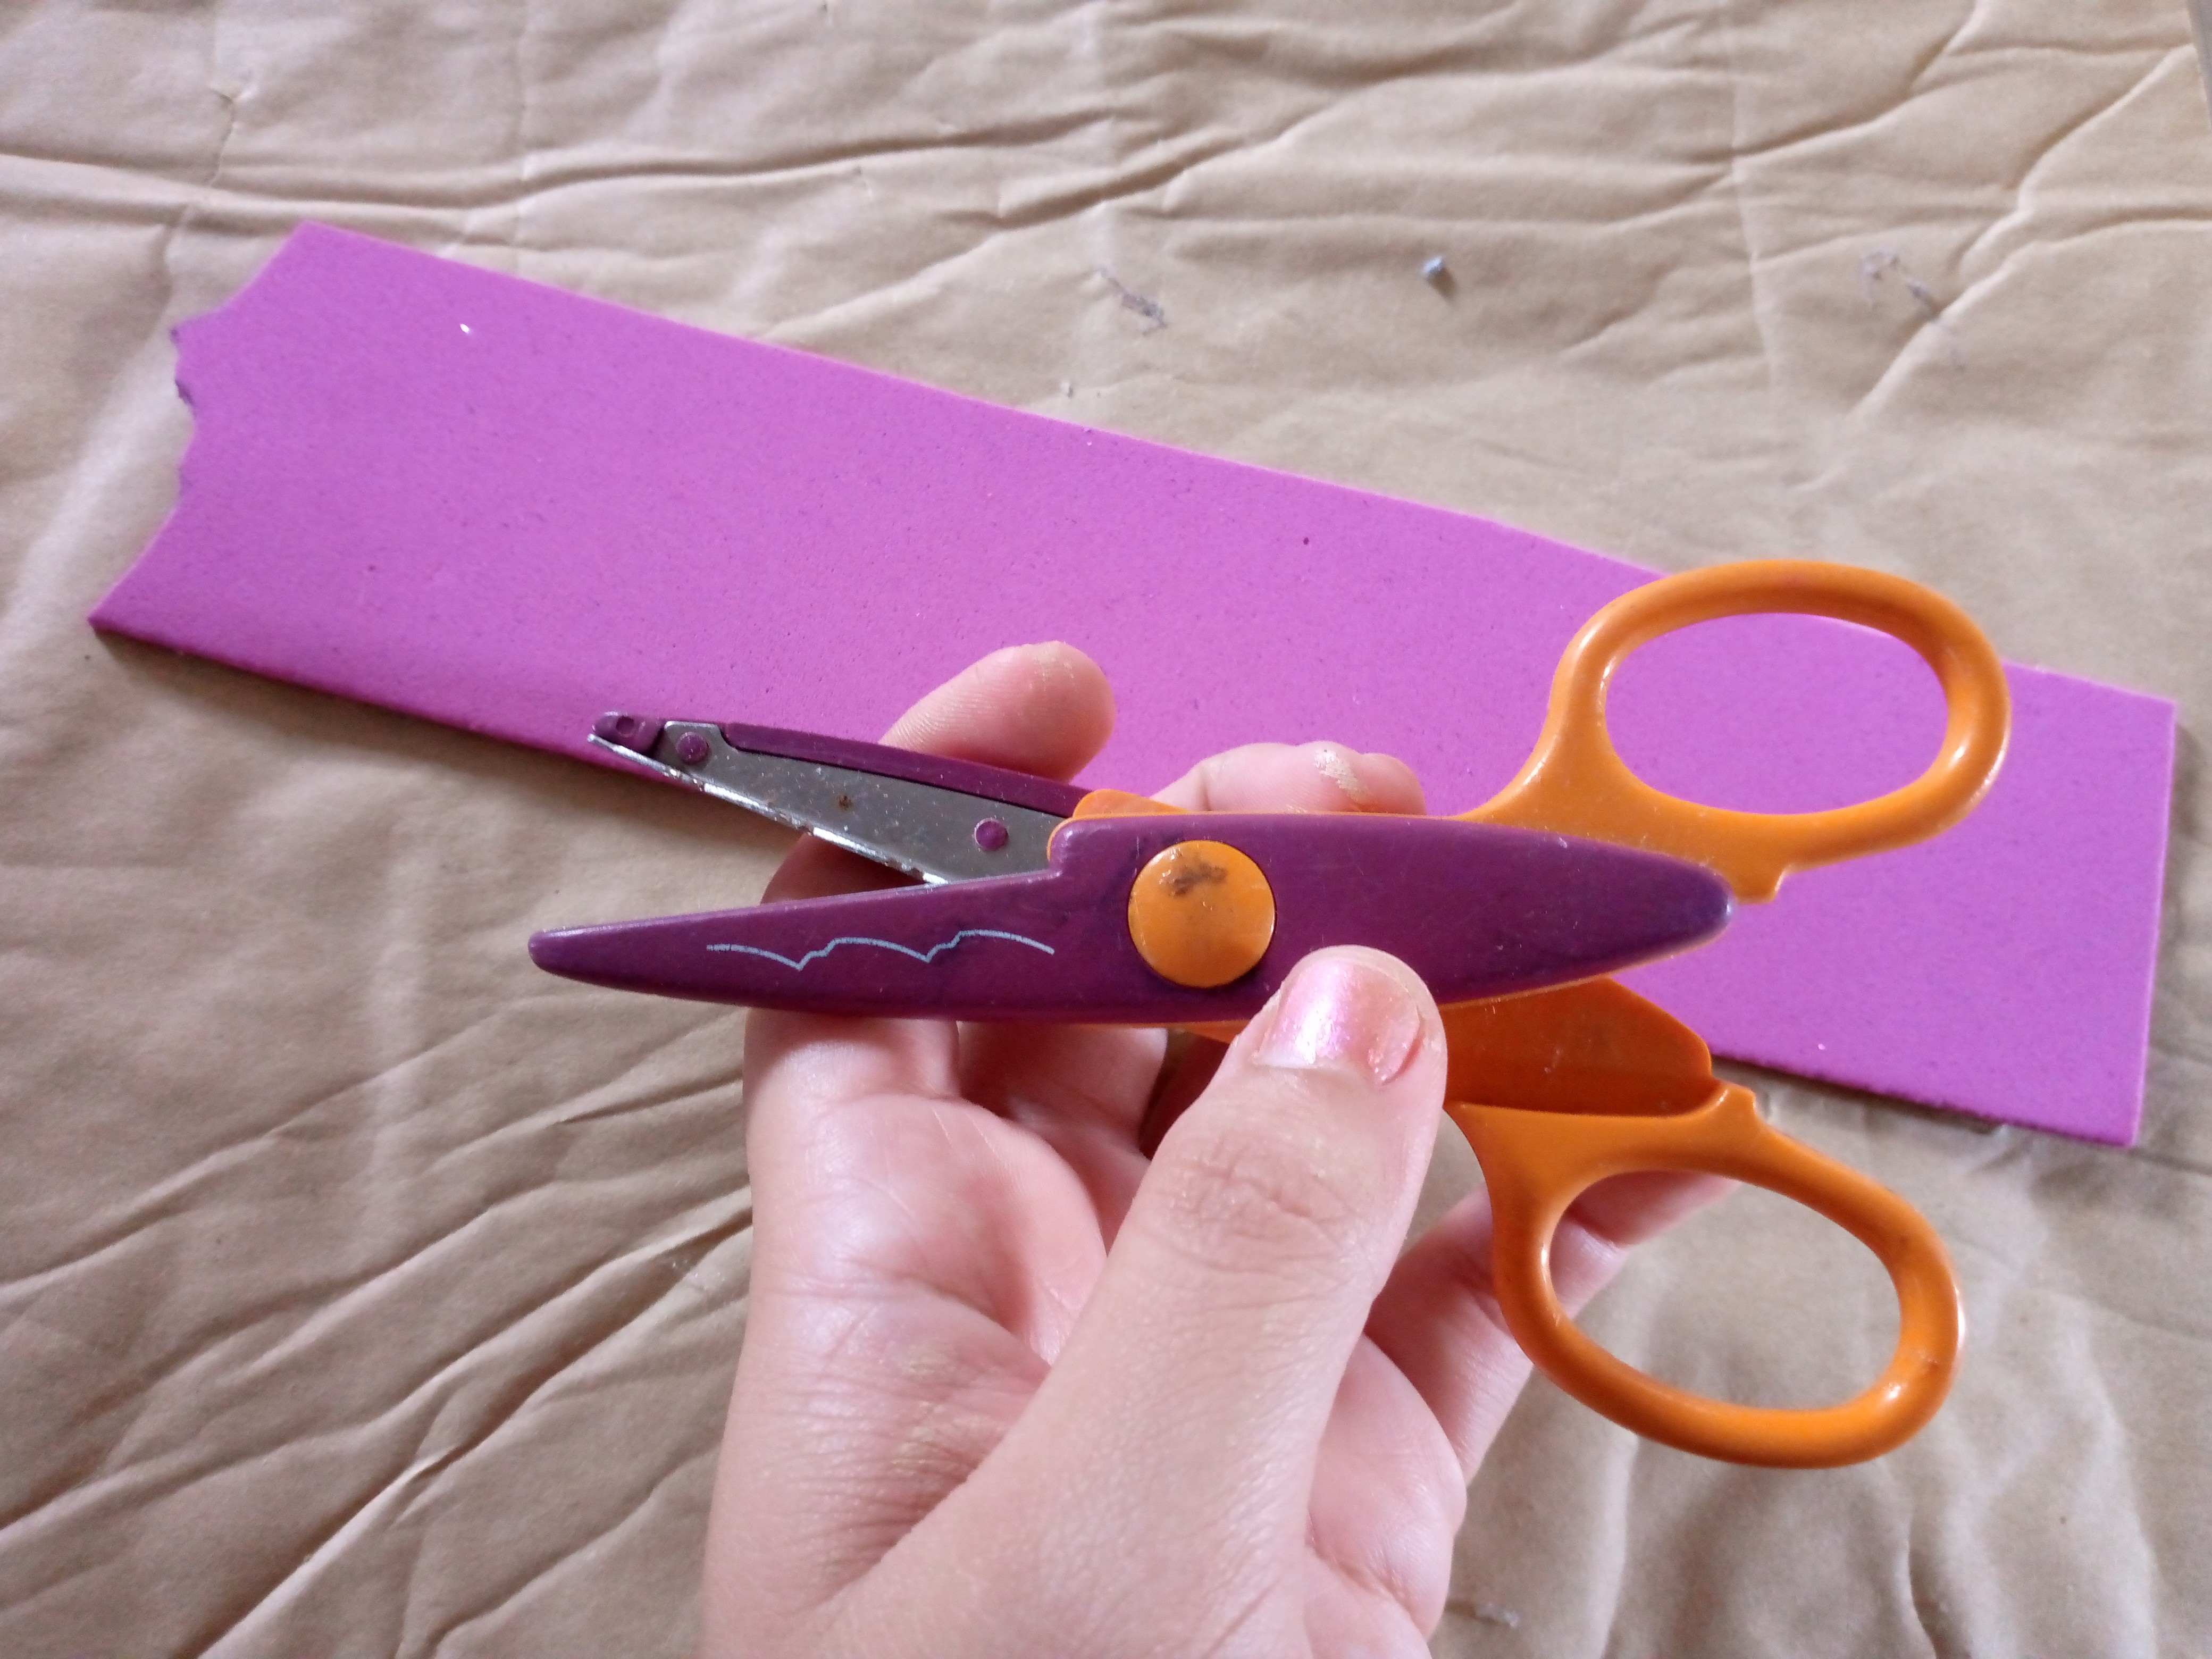
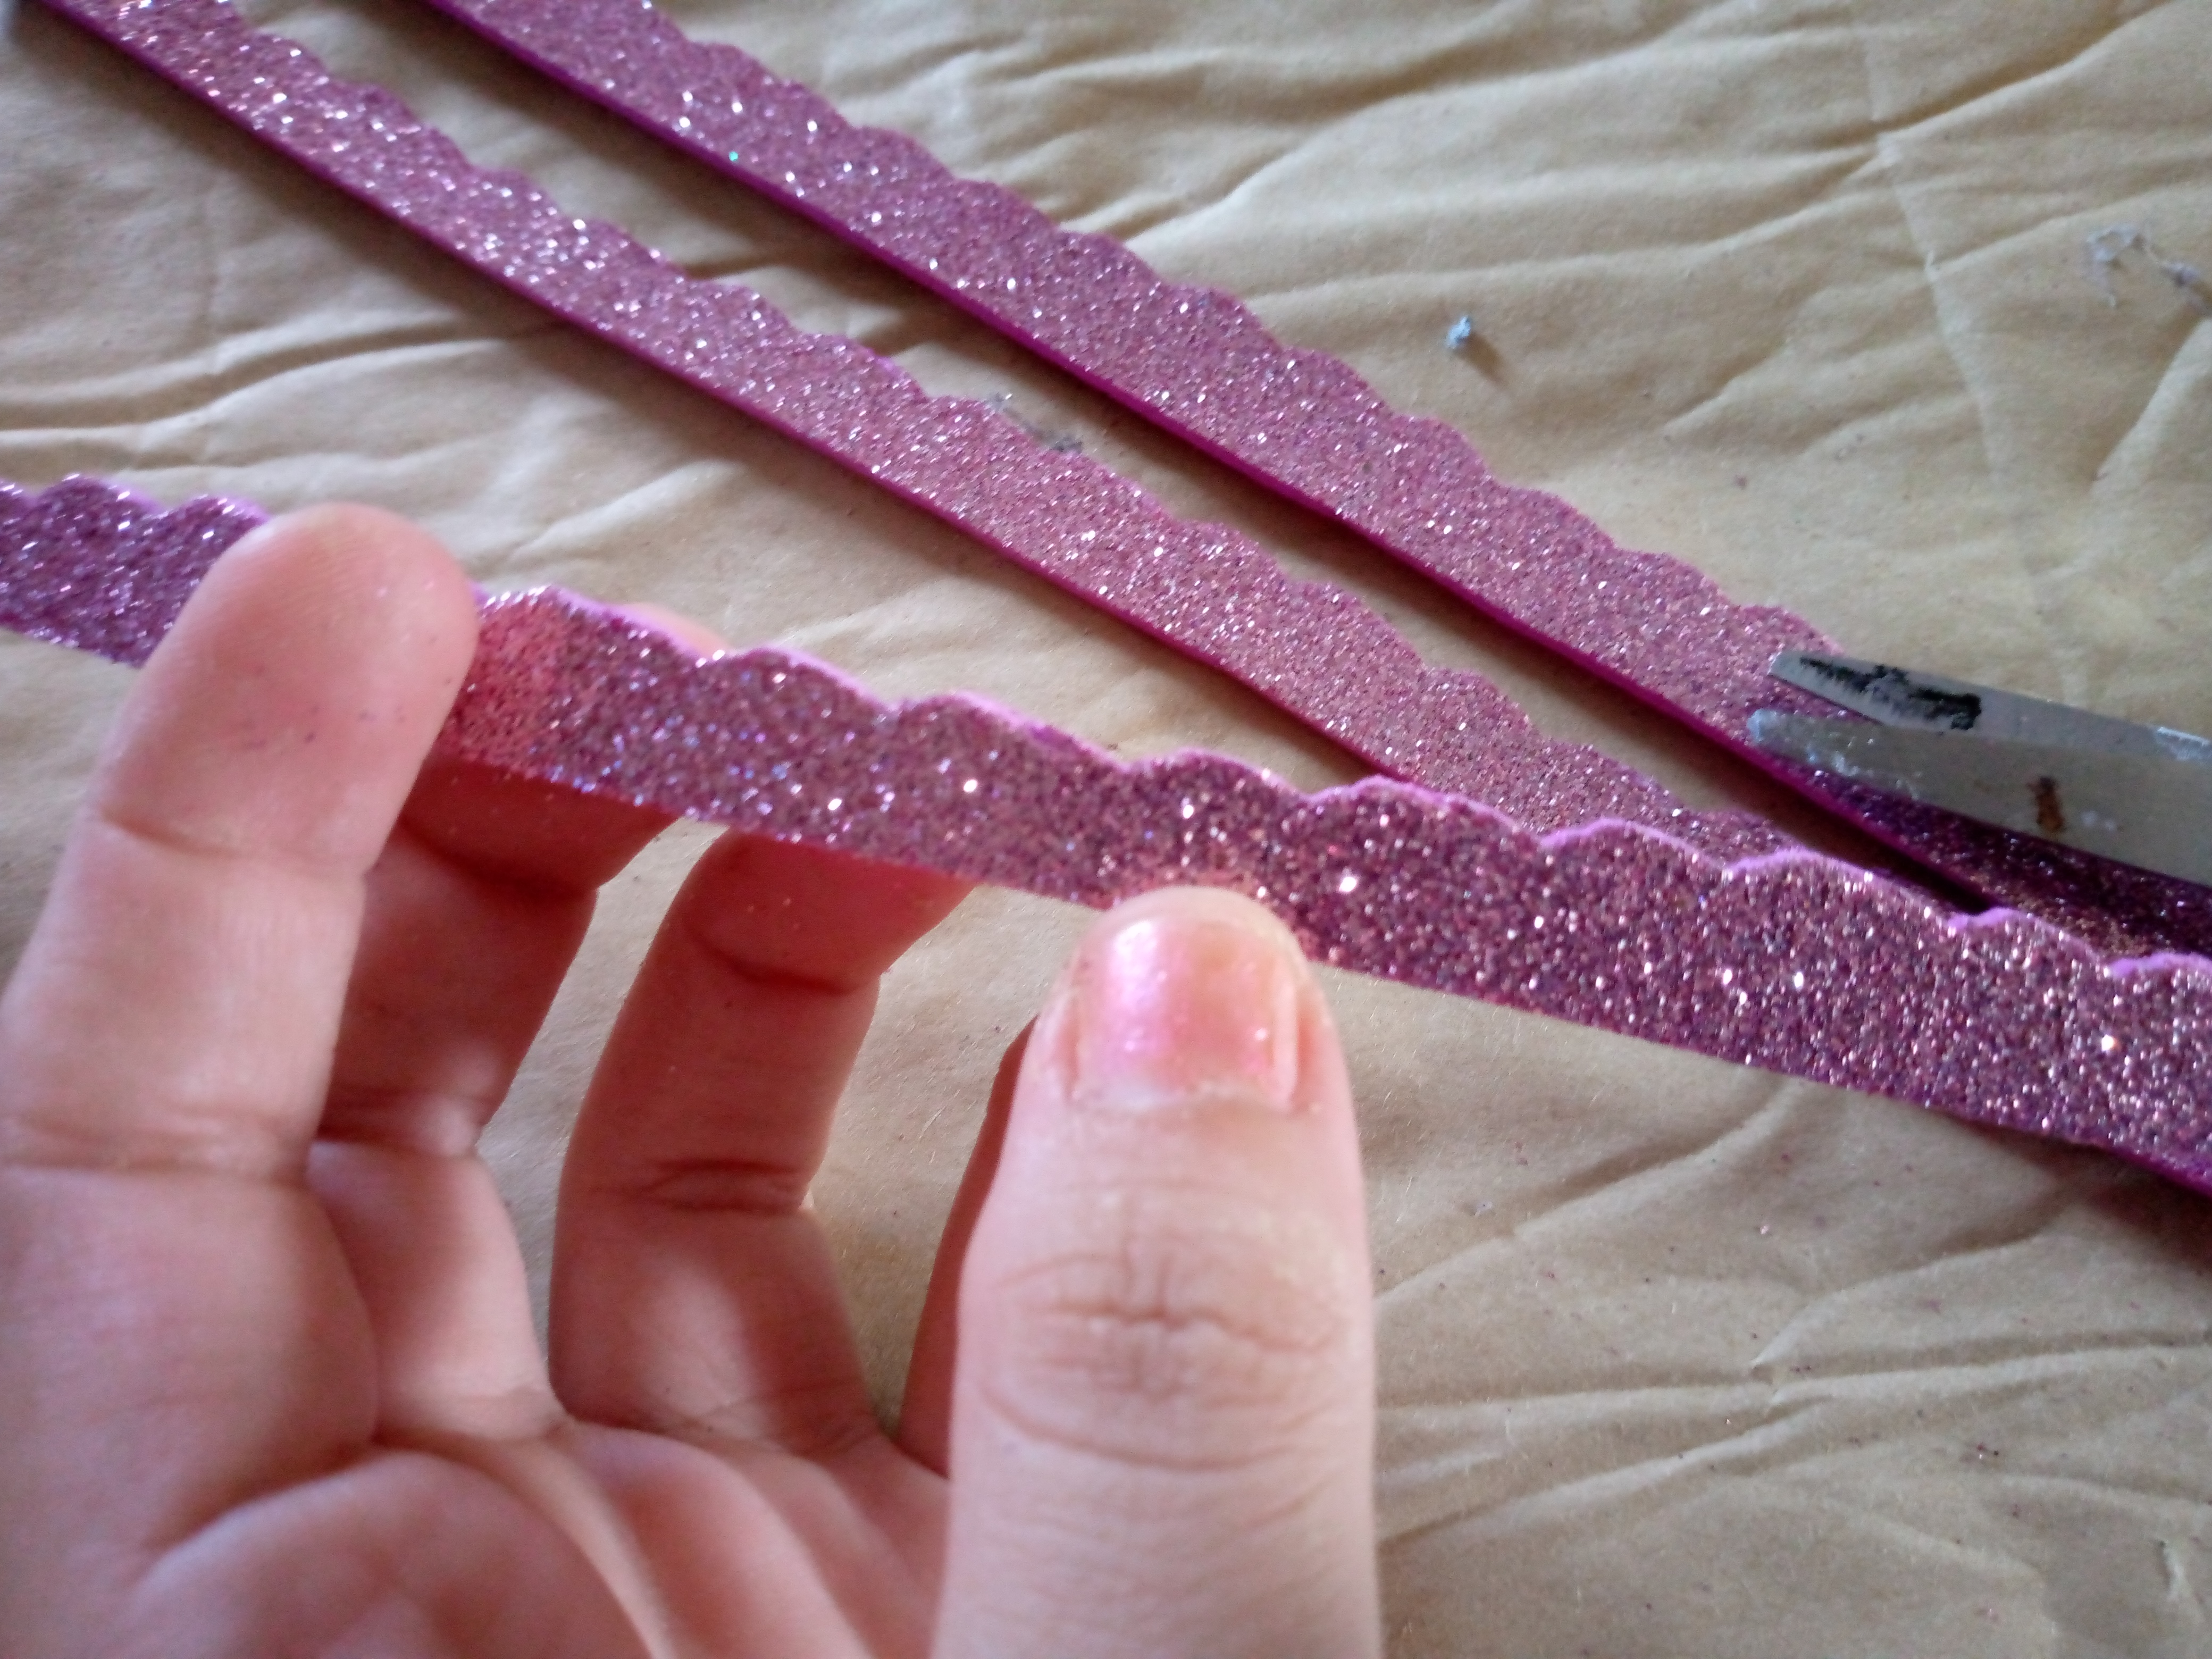
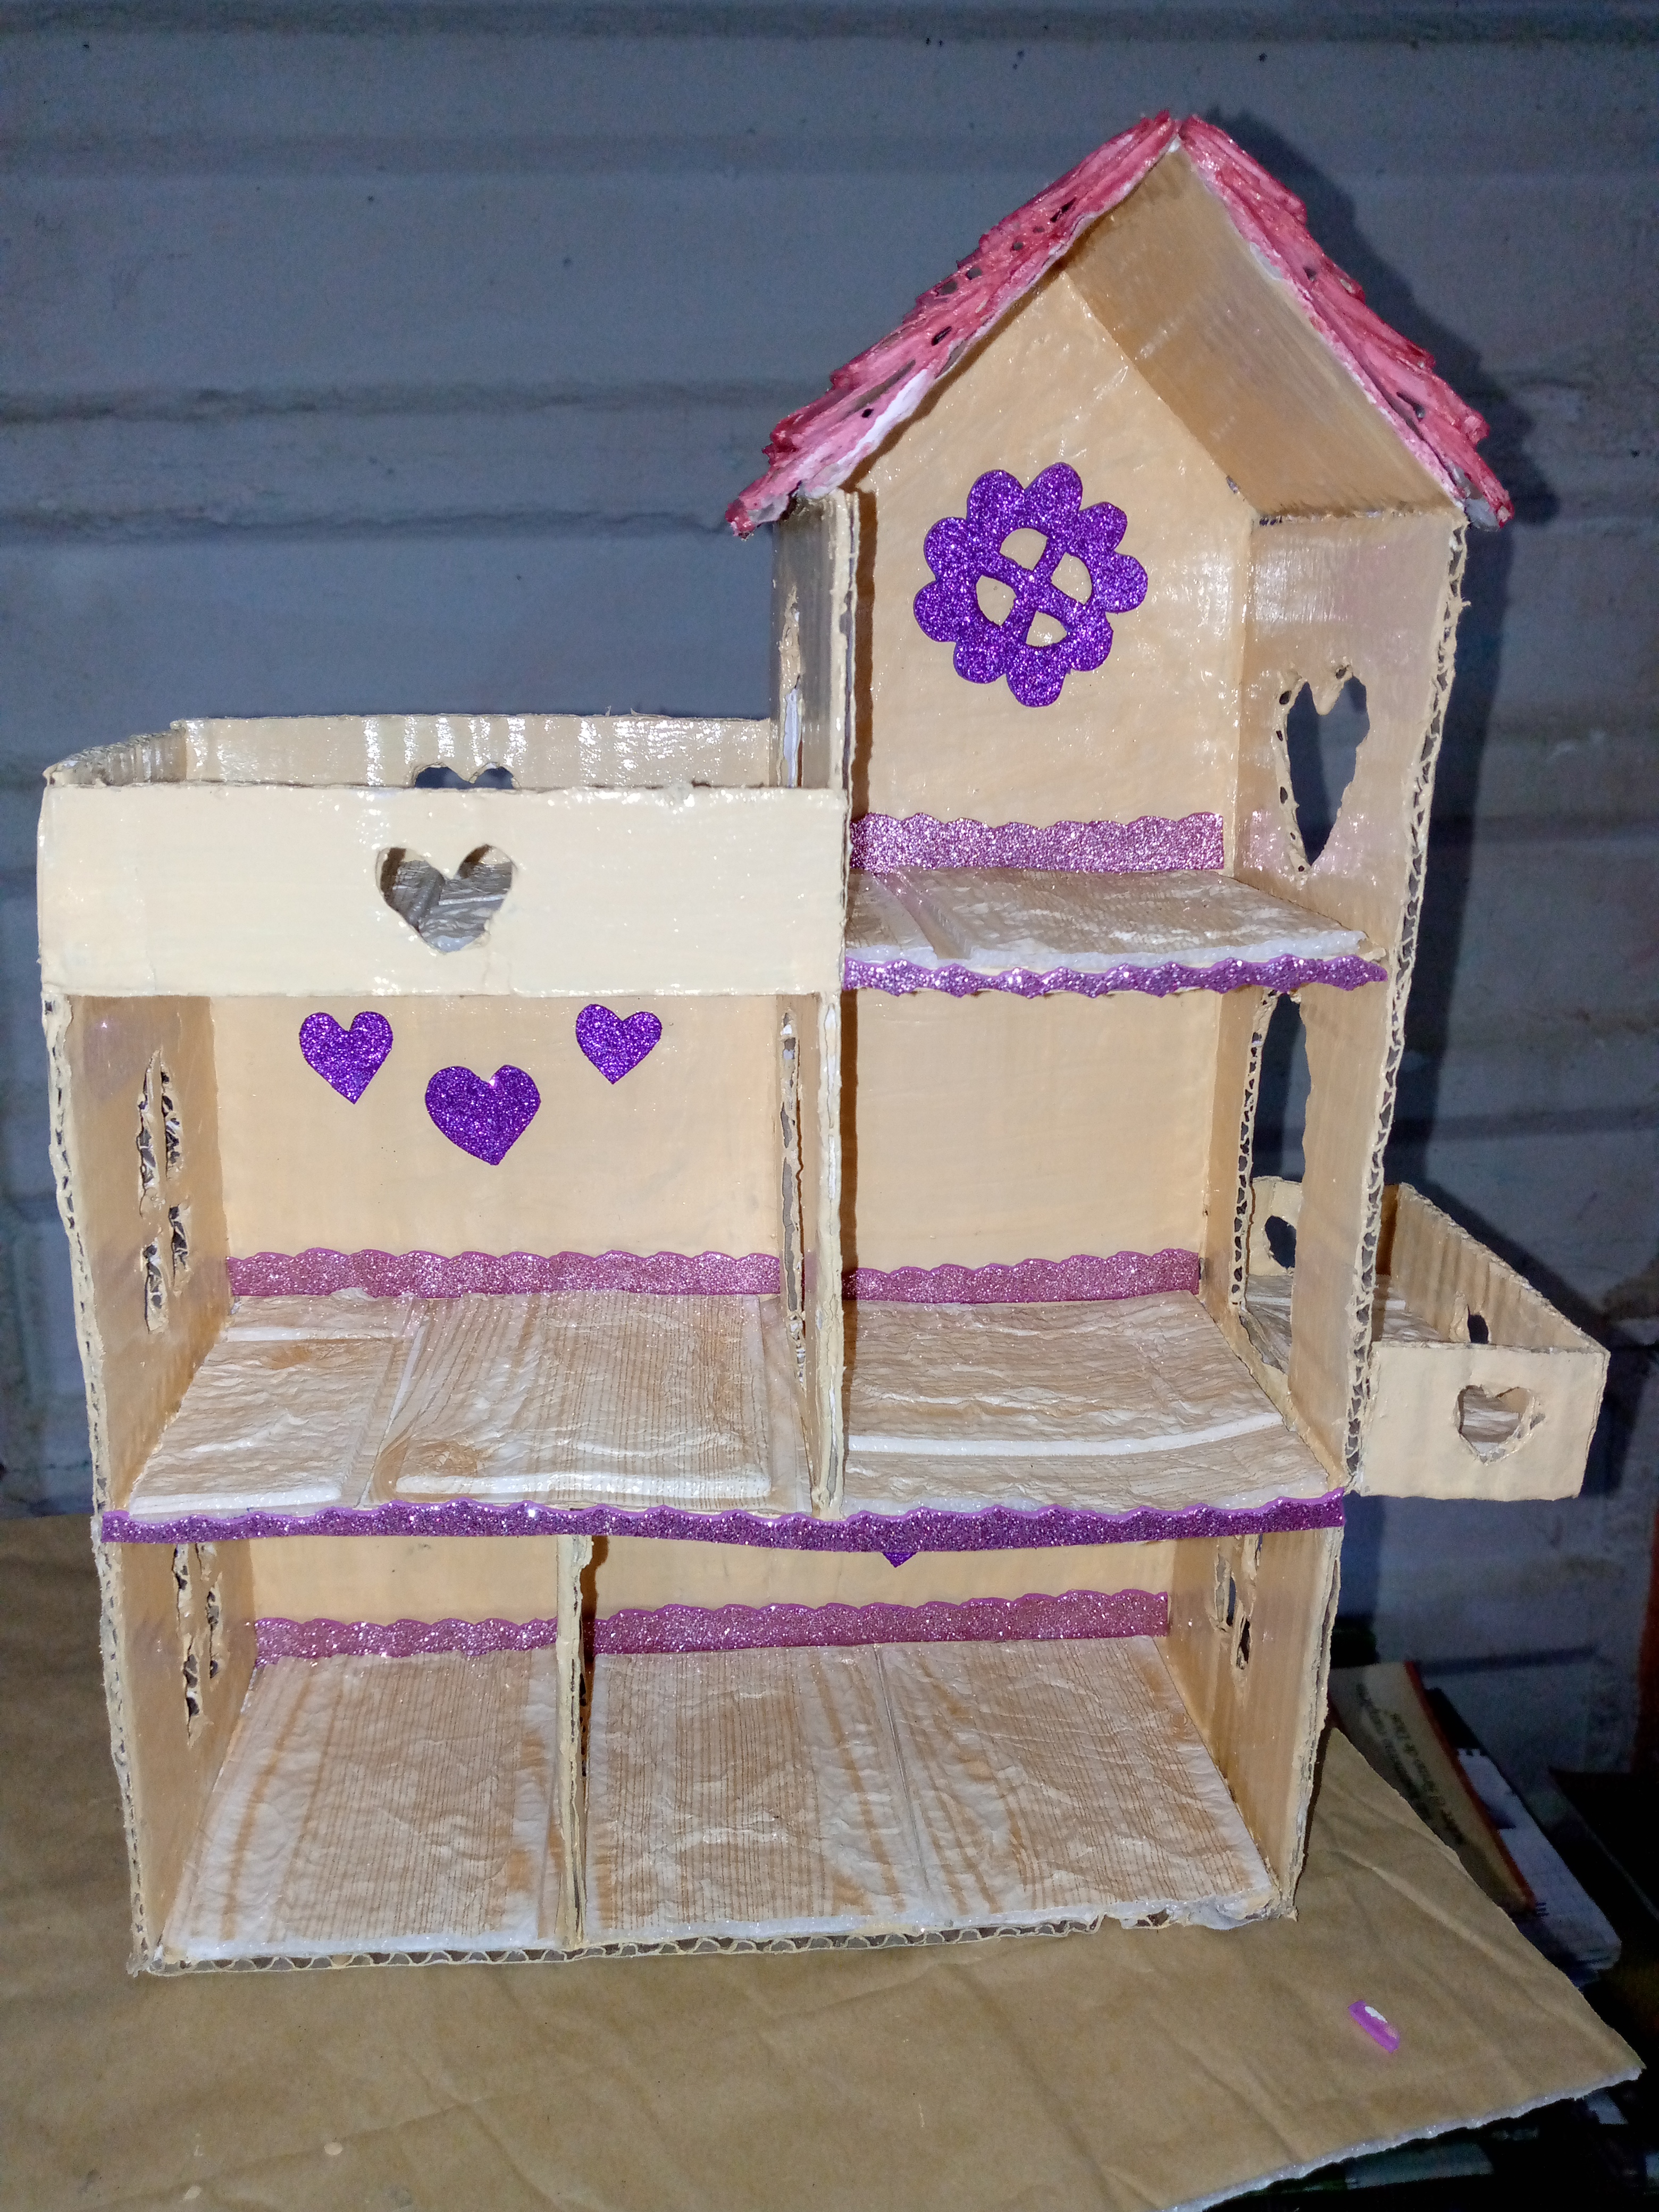
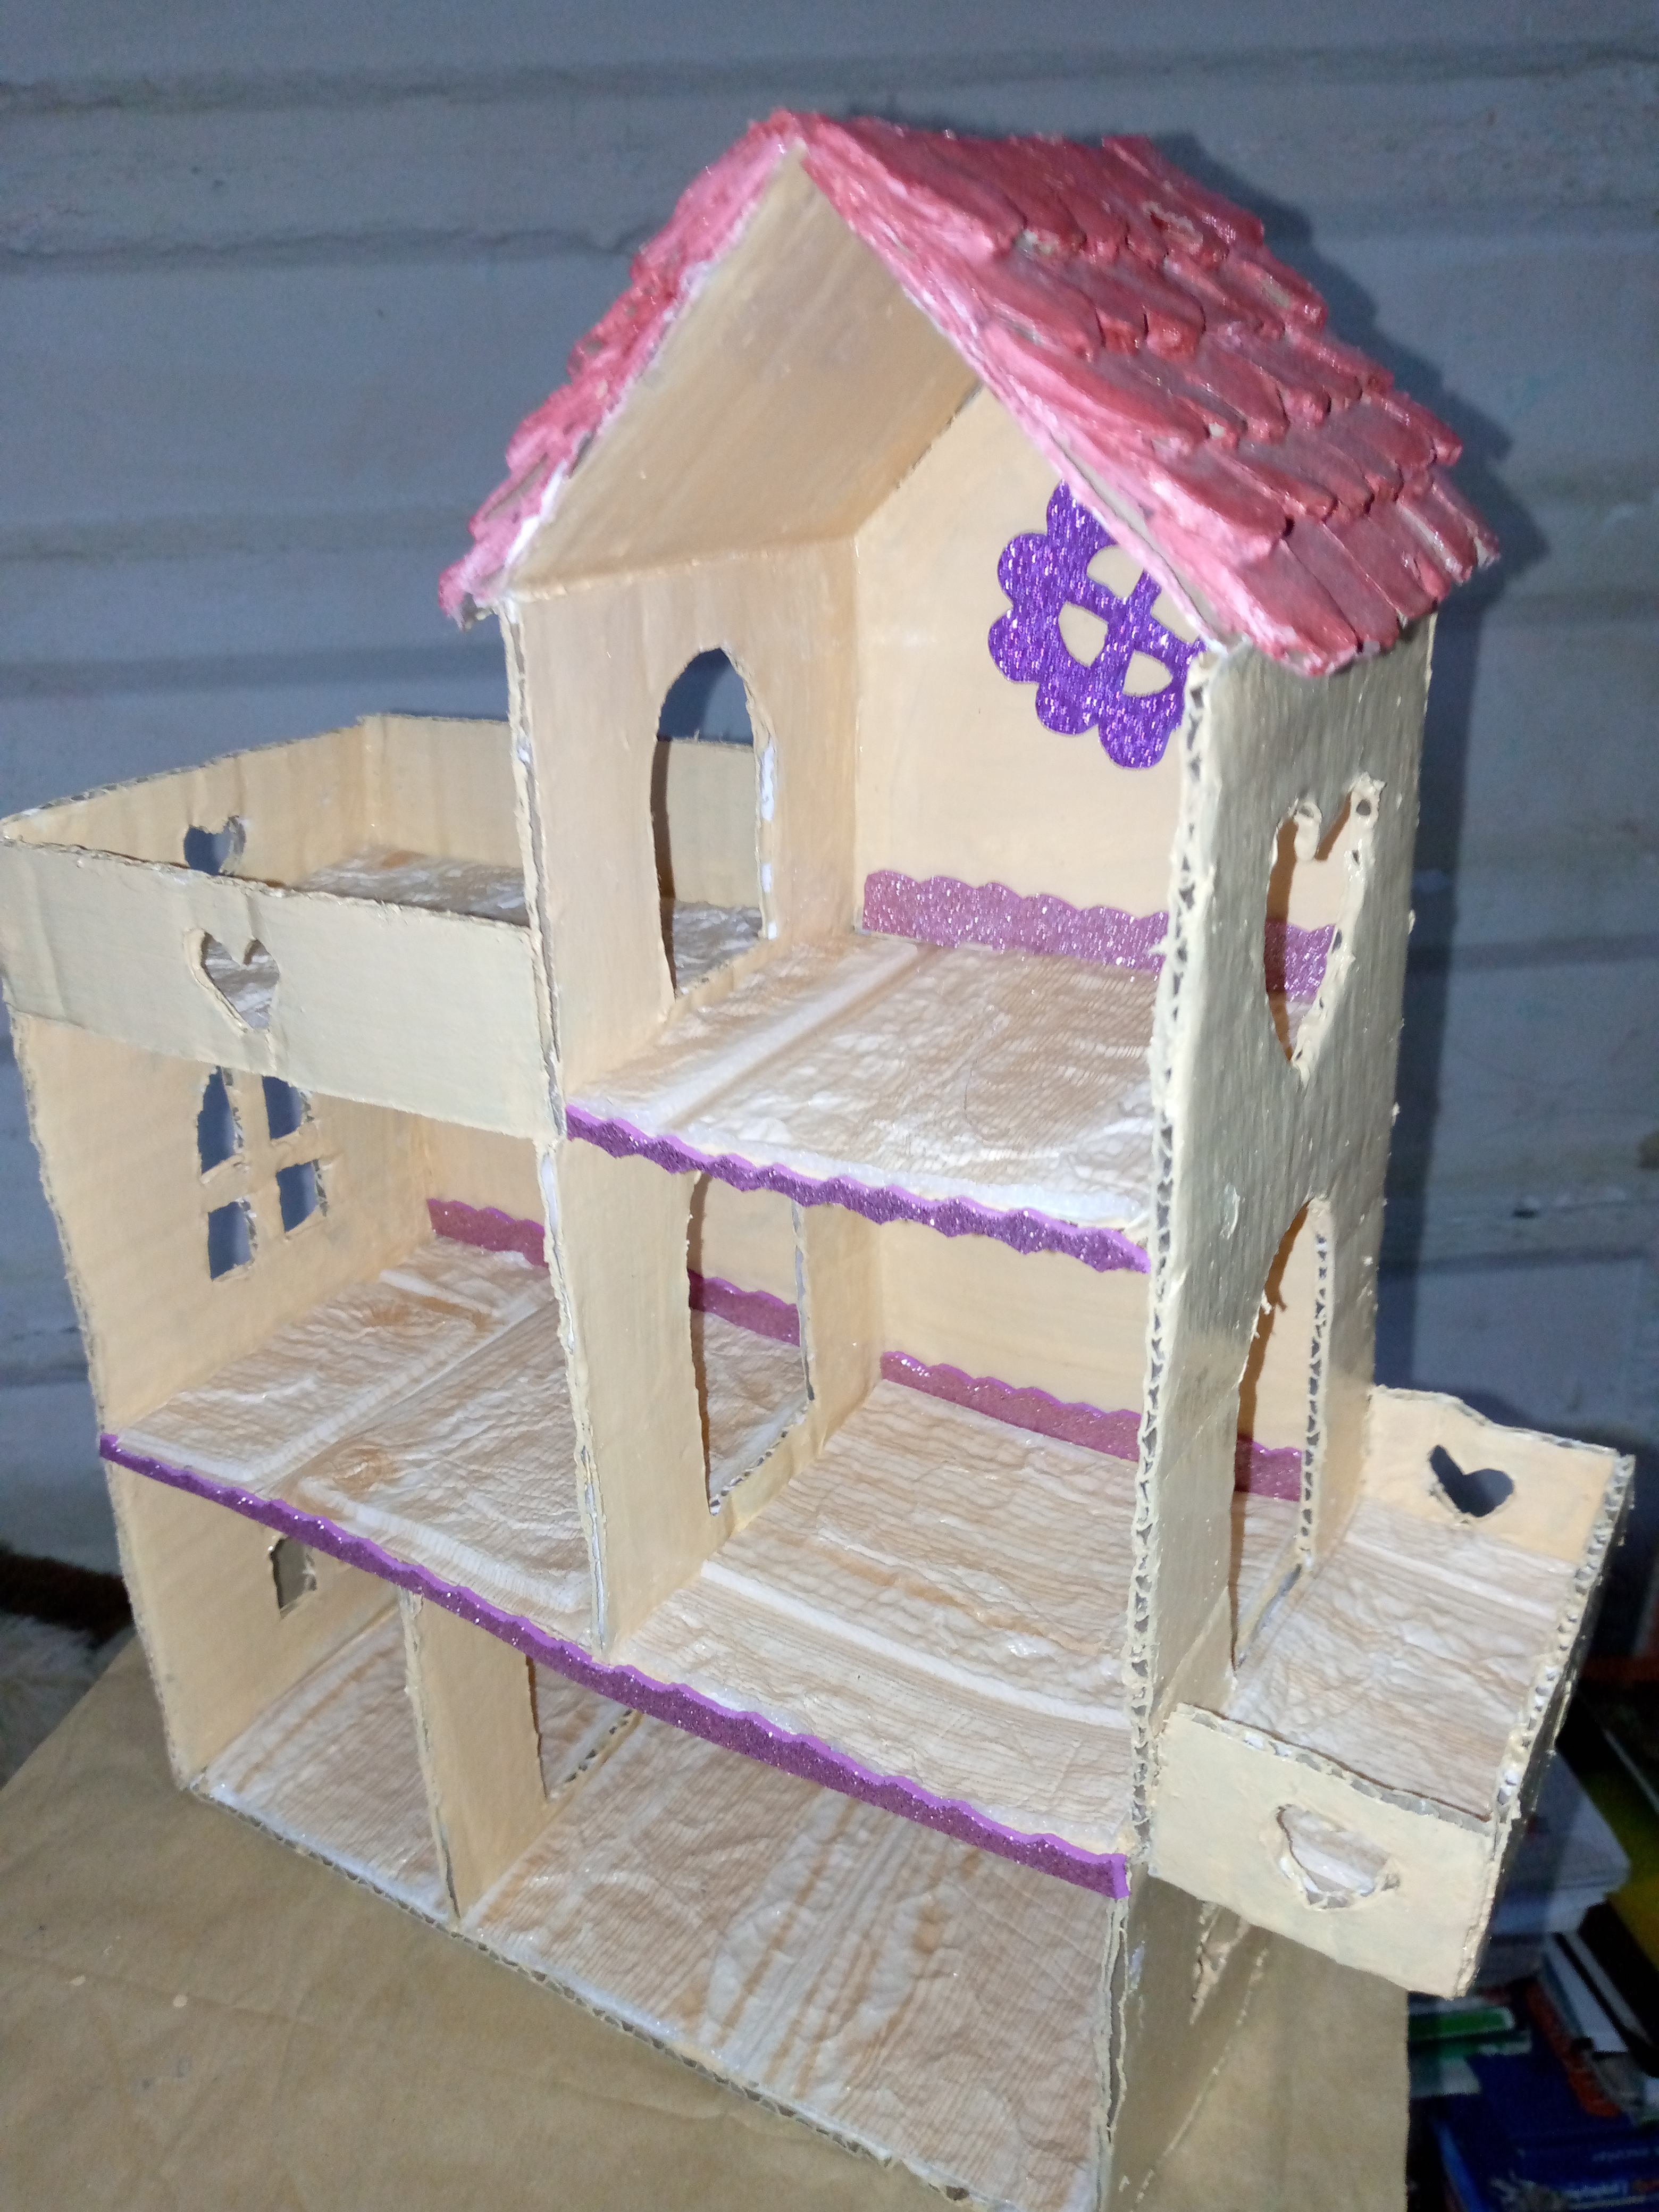
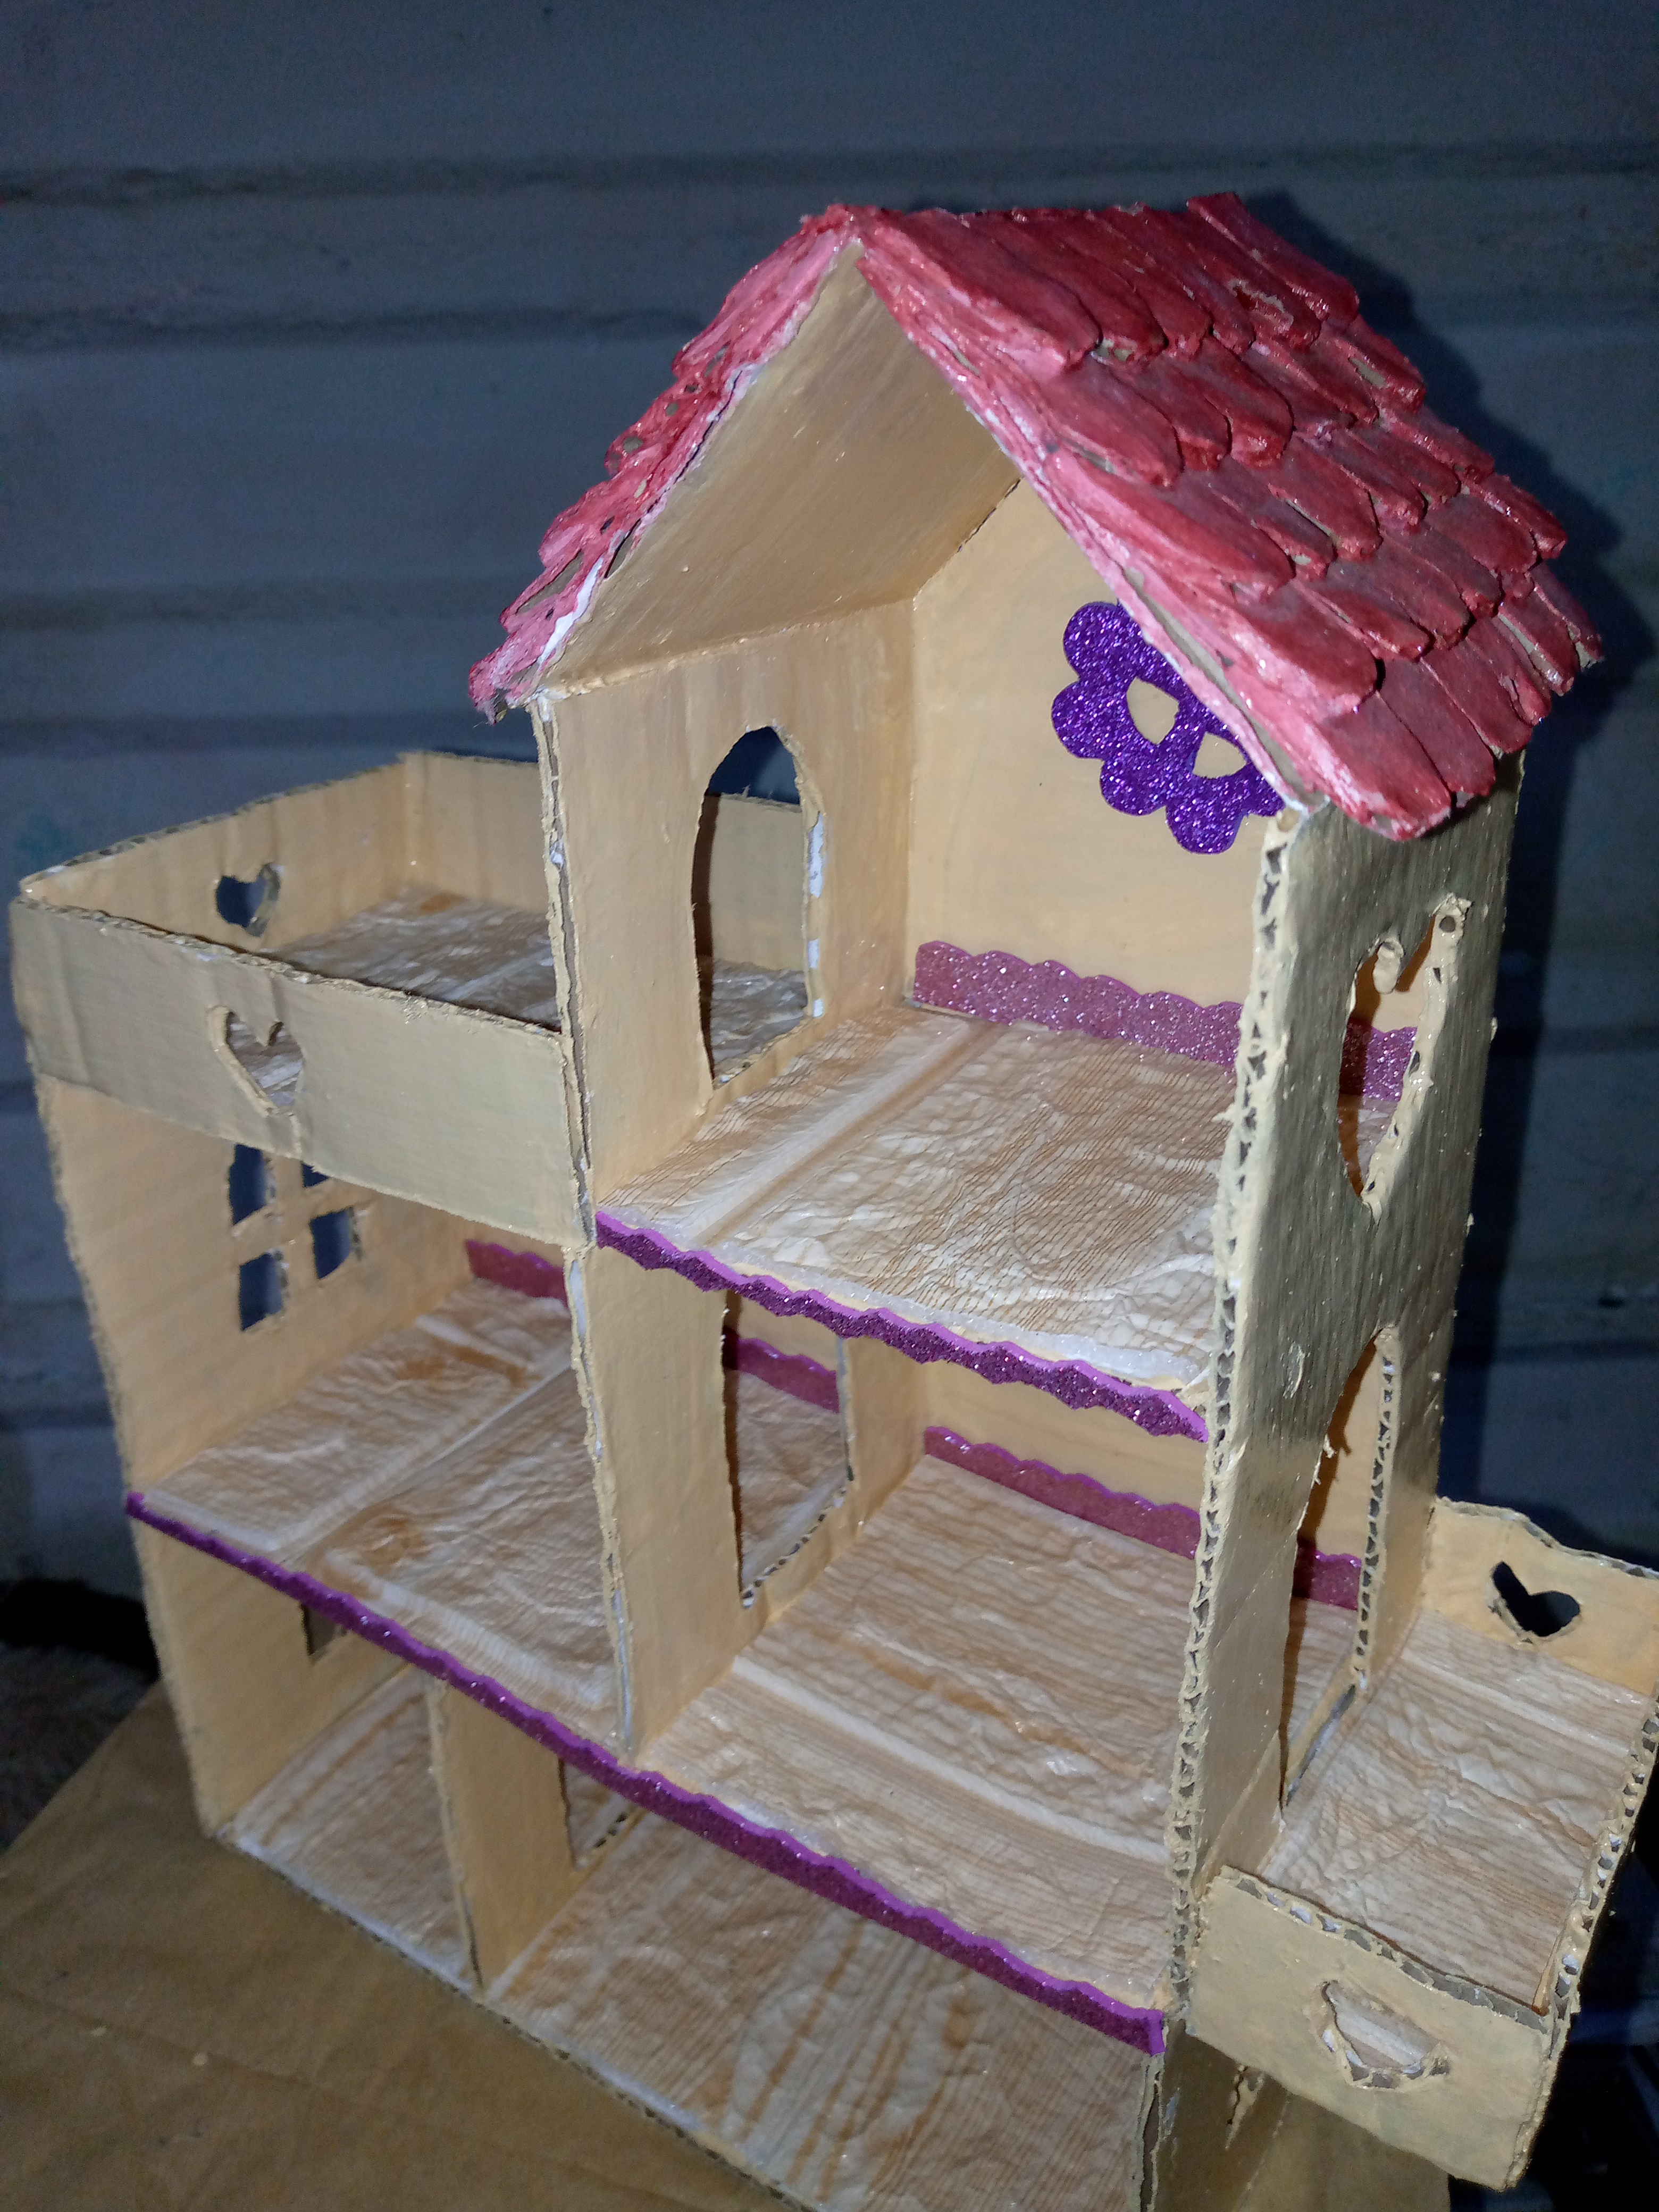
Well while our paint dries outdoors, we will go to cut strips of pink foam with our shaped scissors. This time I had these really pretty scissors that I thought were shaped like clouds and I wanted to try making strips like that with them and they turned out really well. I will stick them right on the edges of the walls inside the house to decorate it and so our little house will look a little more striking. I will be placing a strip on all the walls that you can see facing forward.
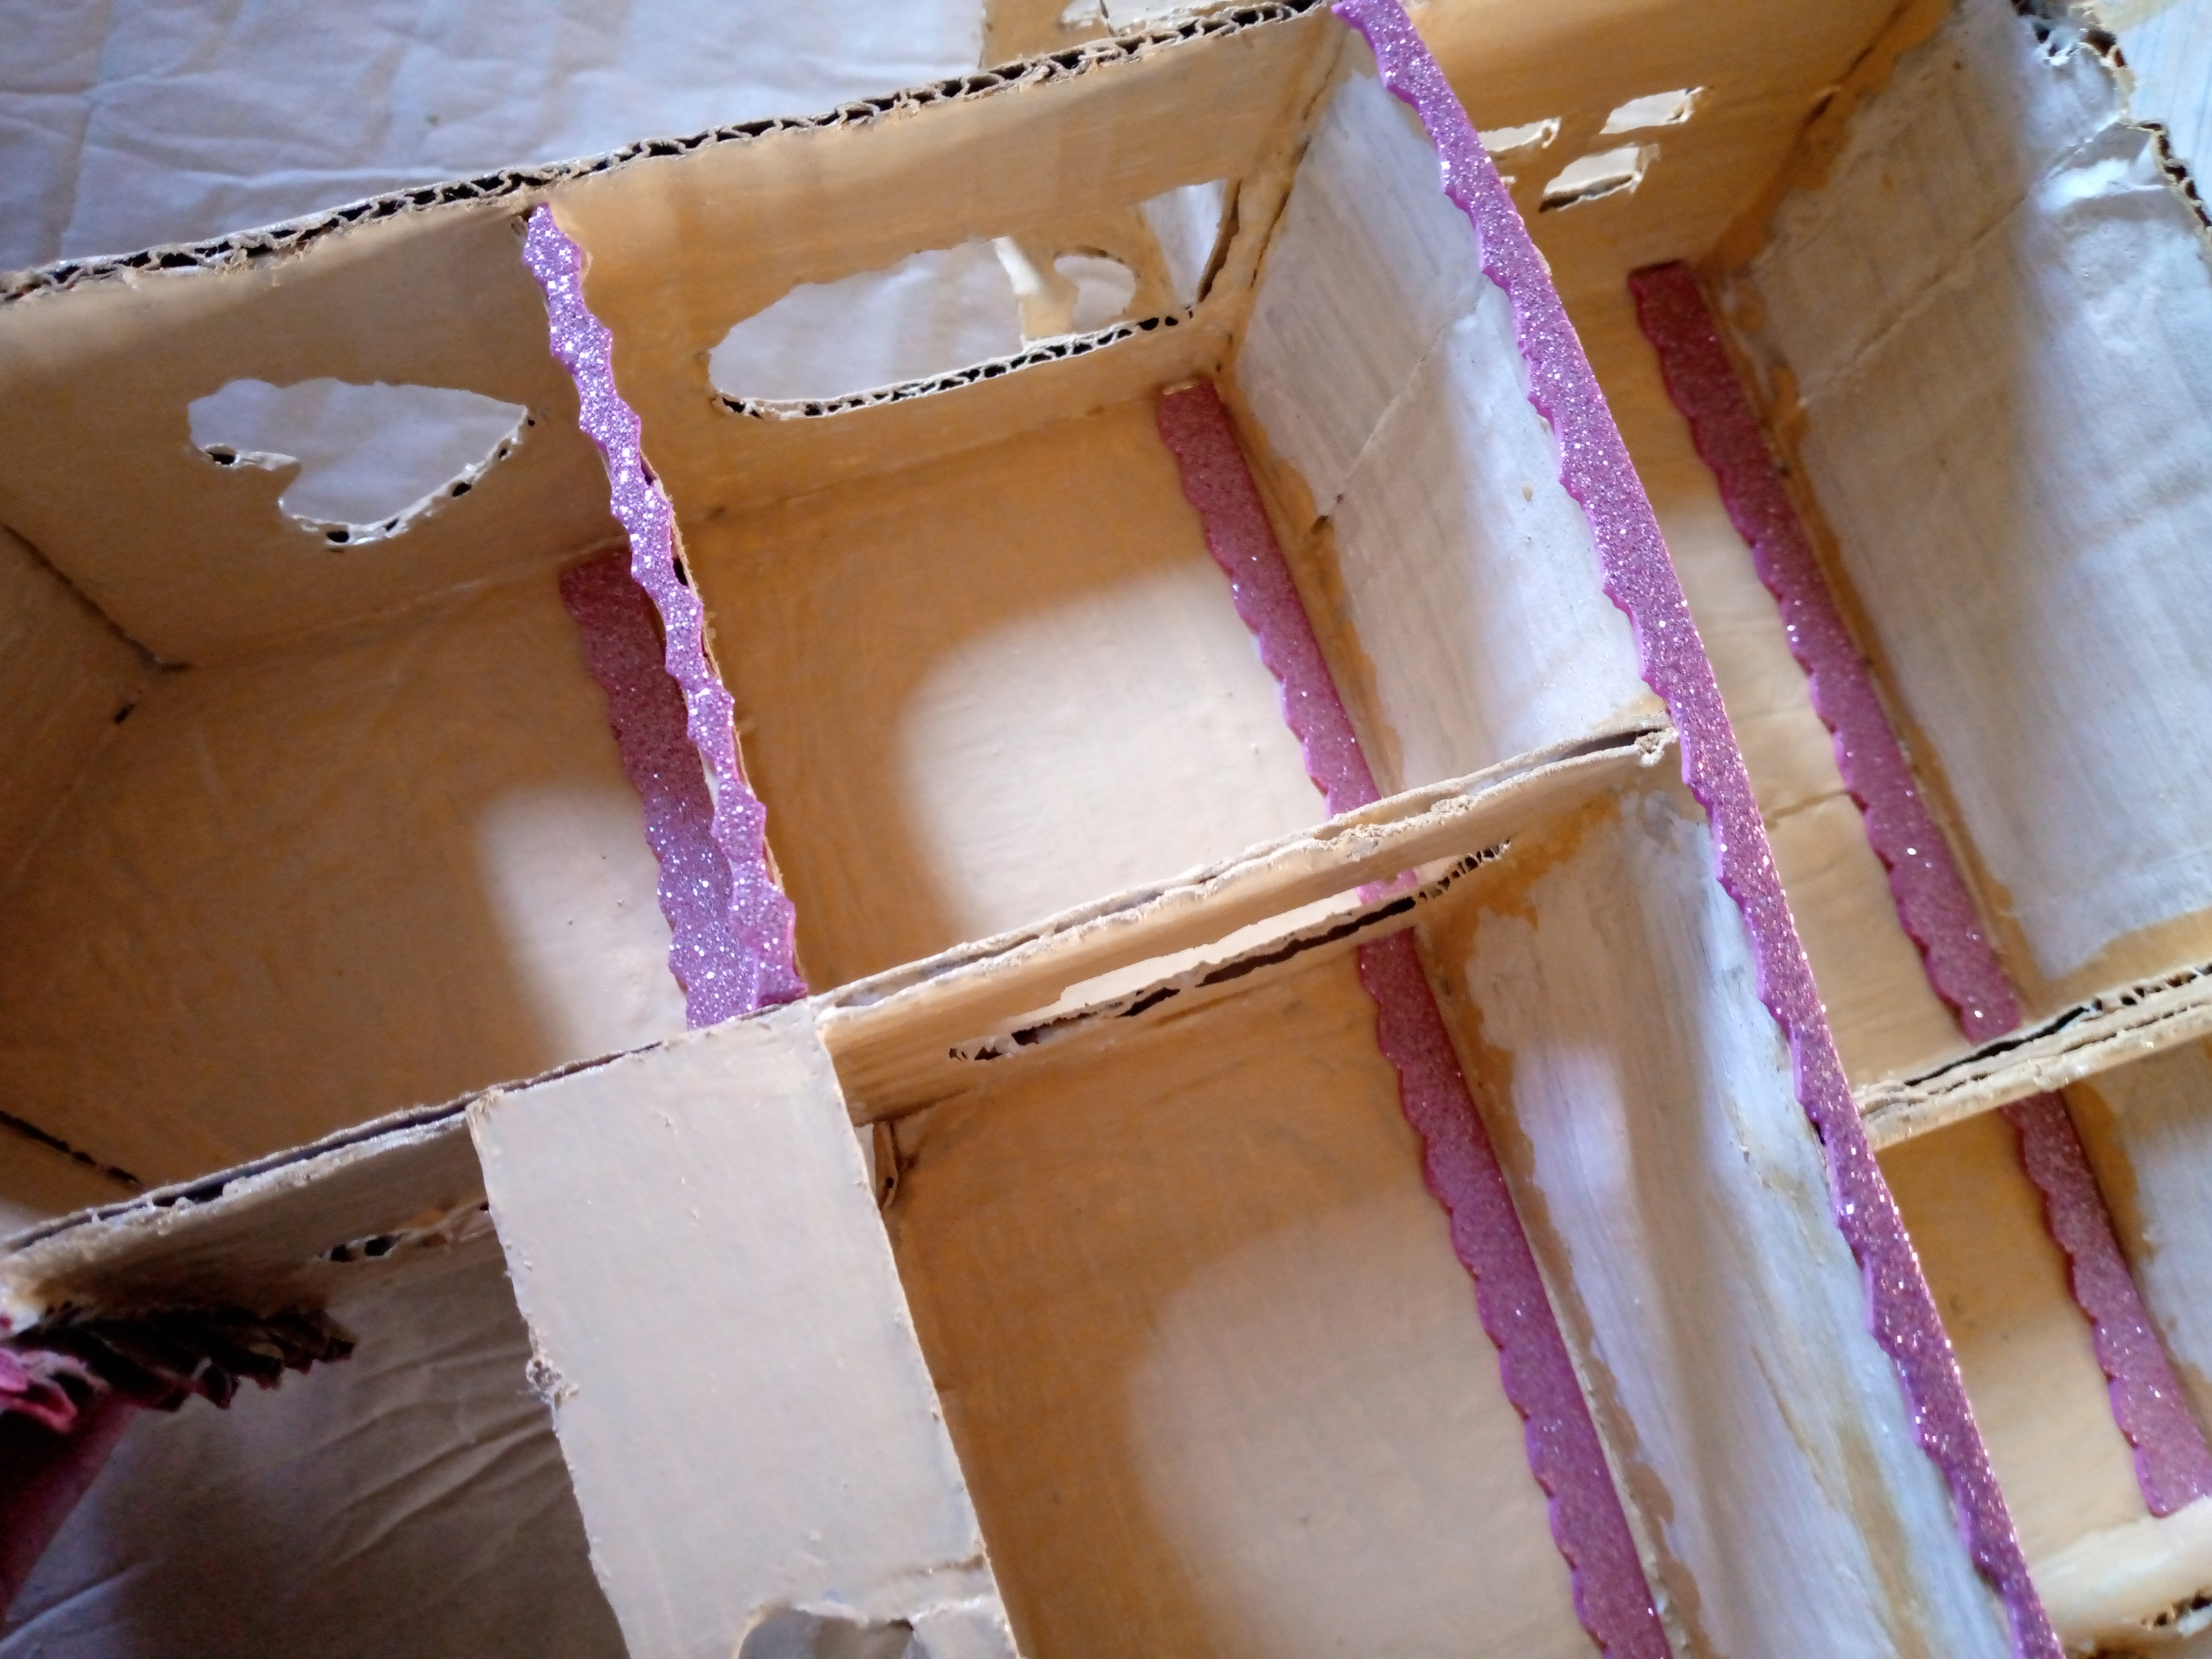
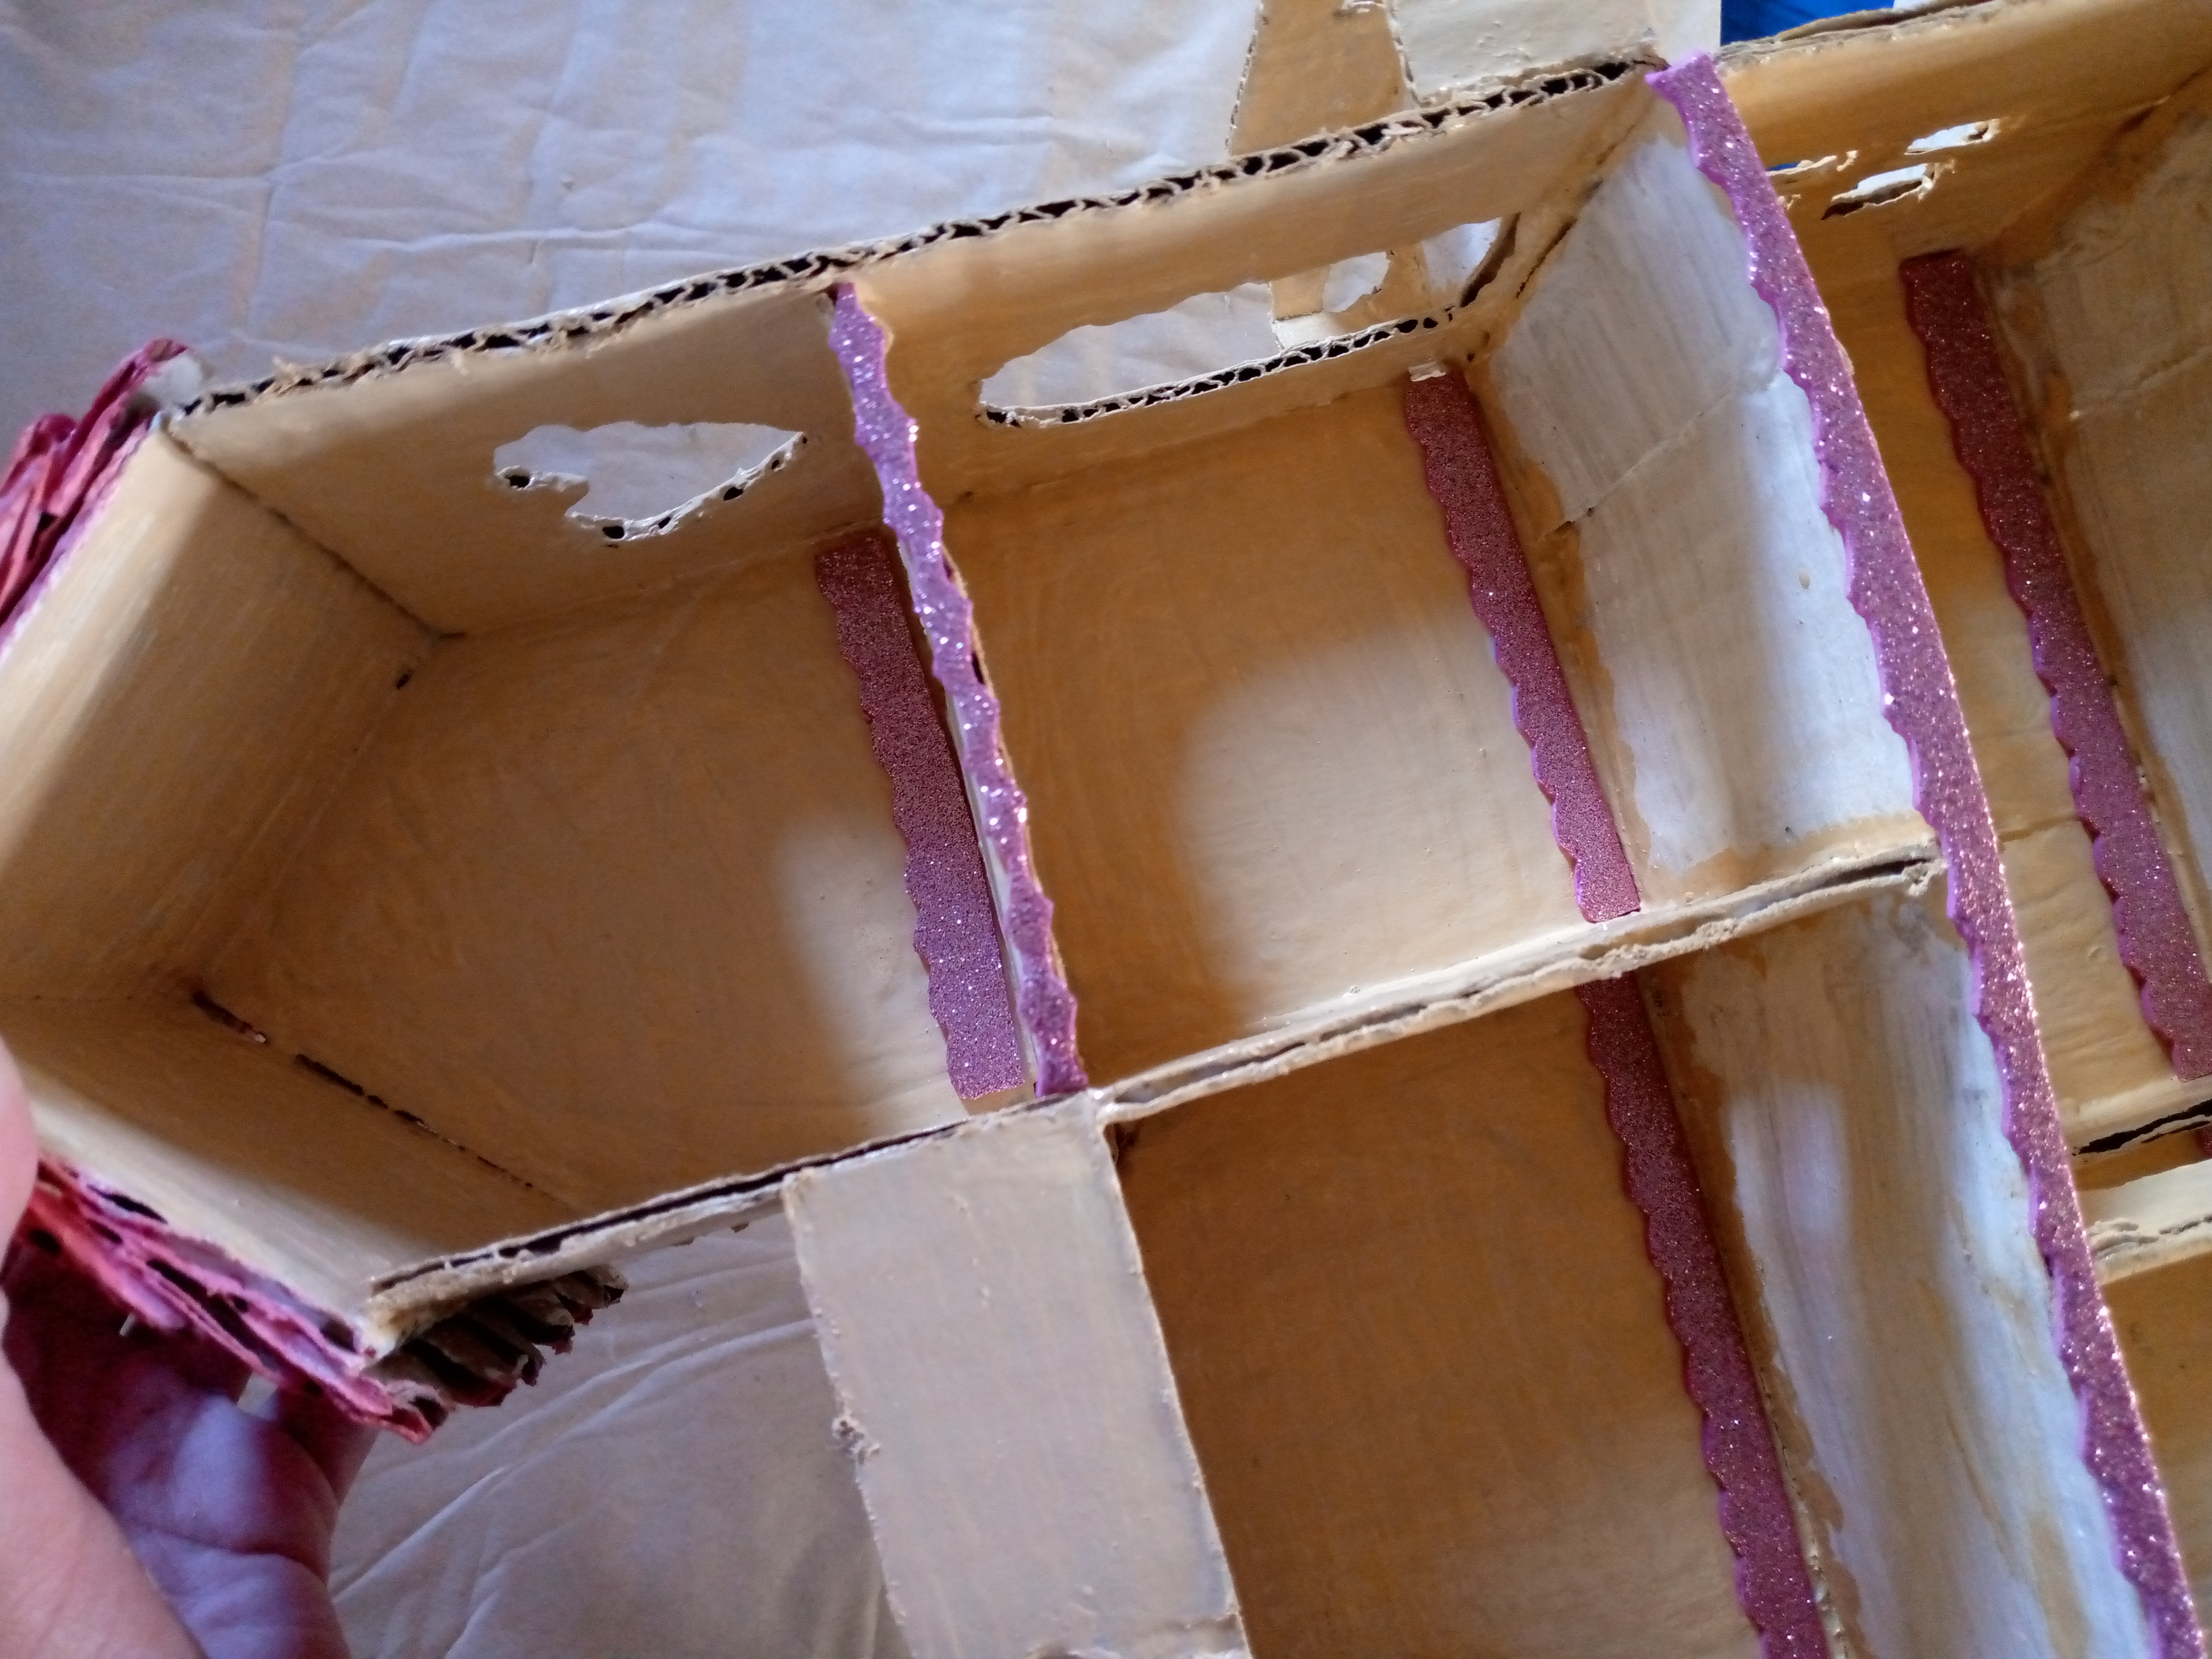
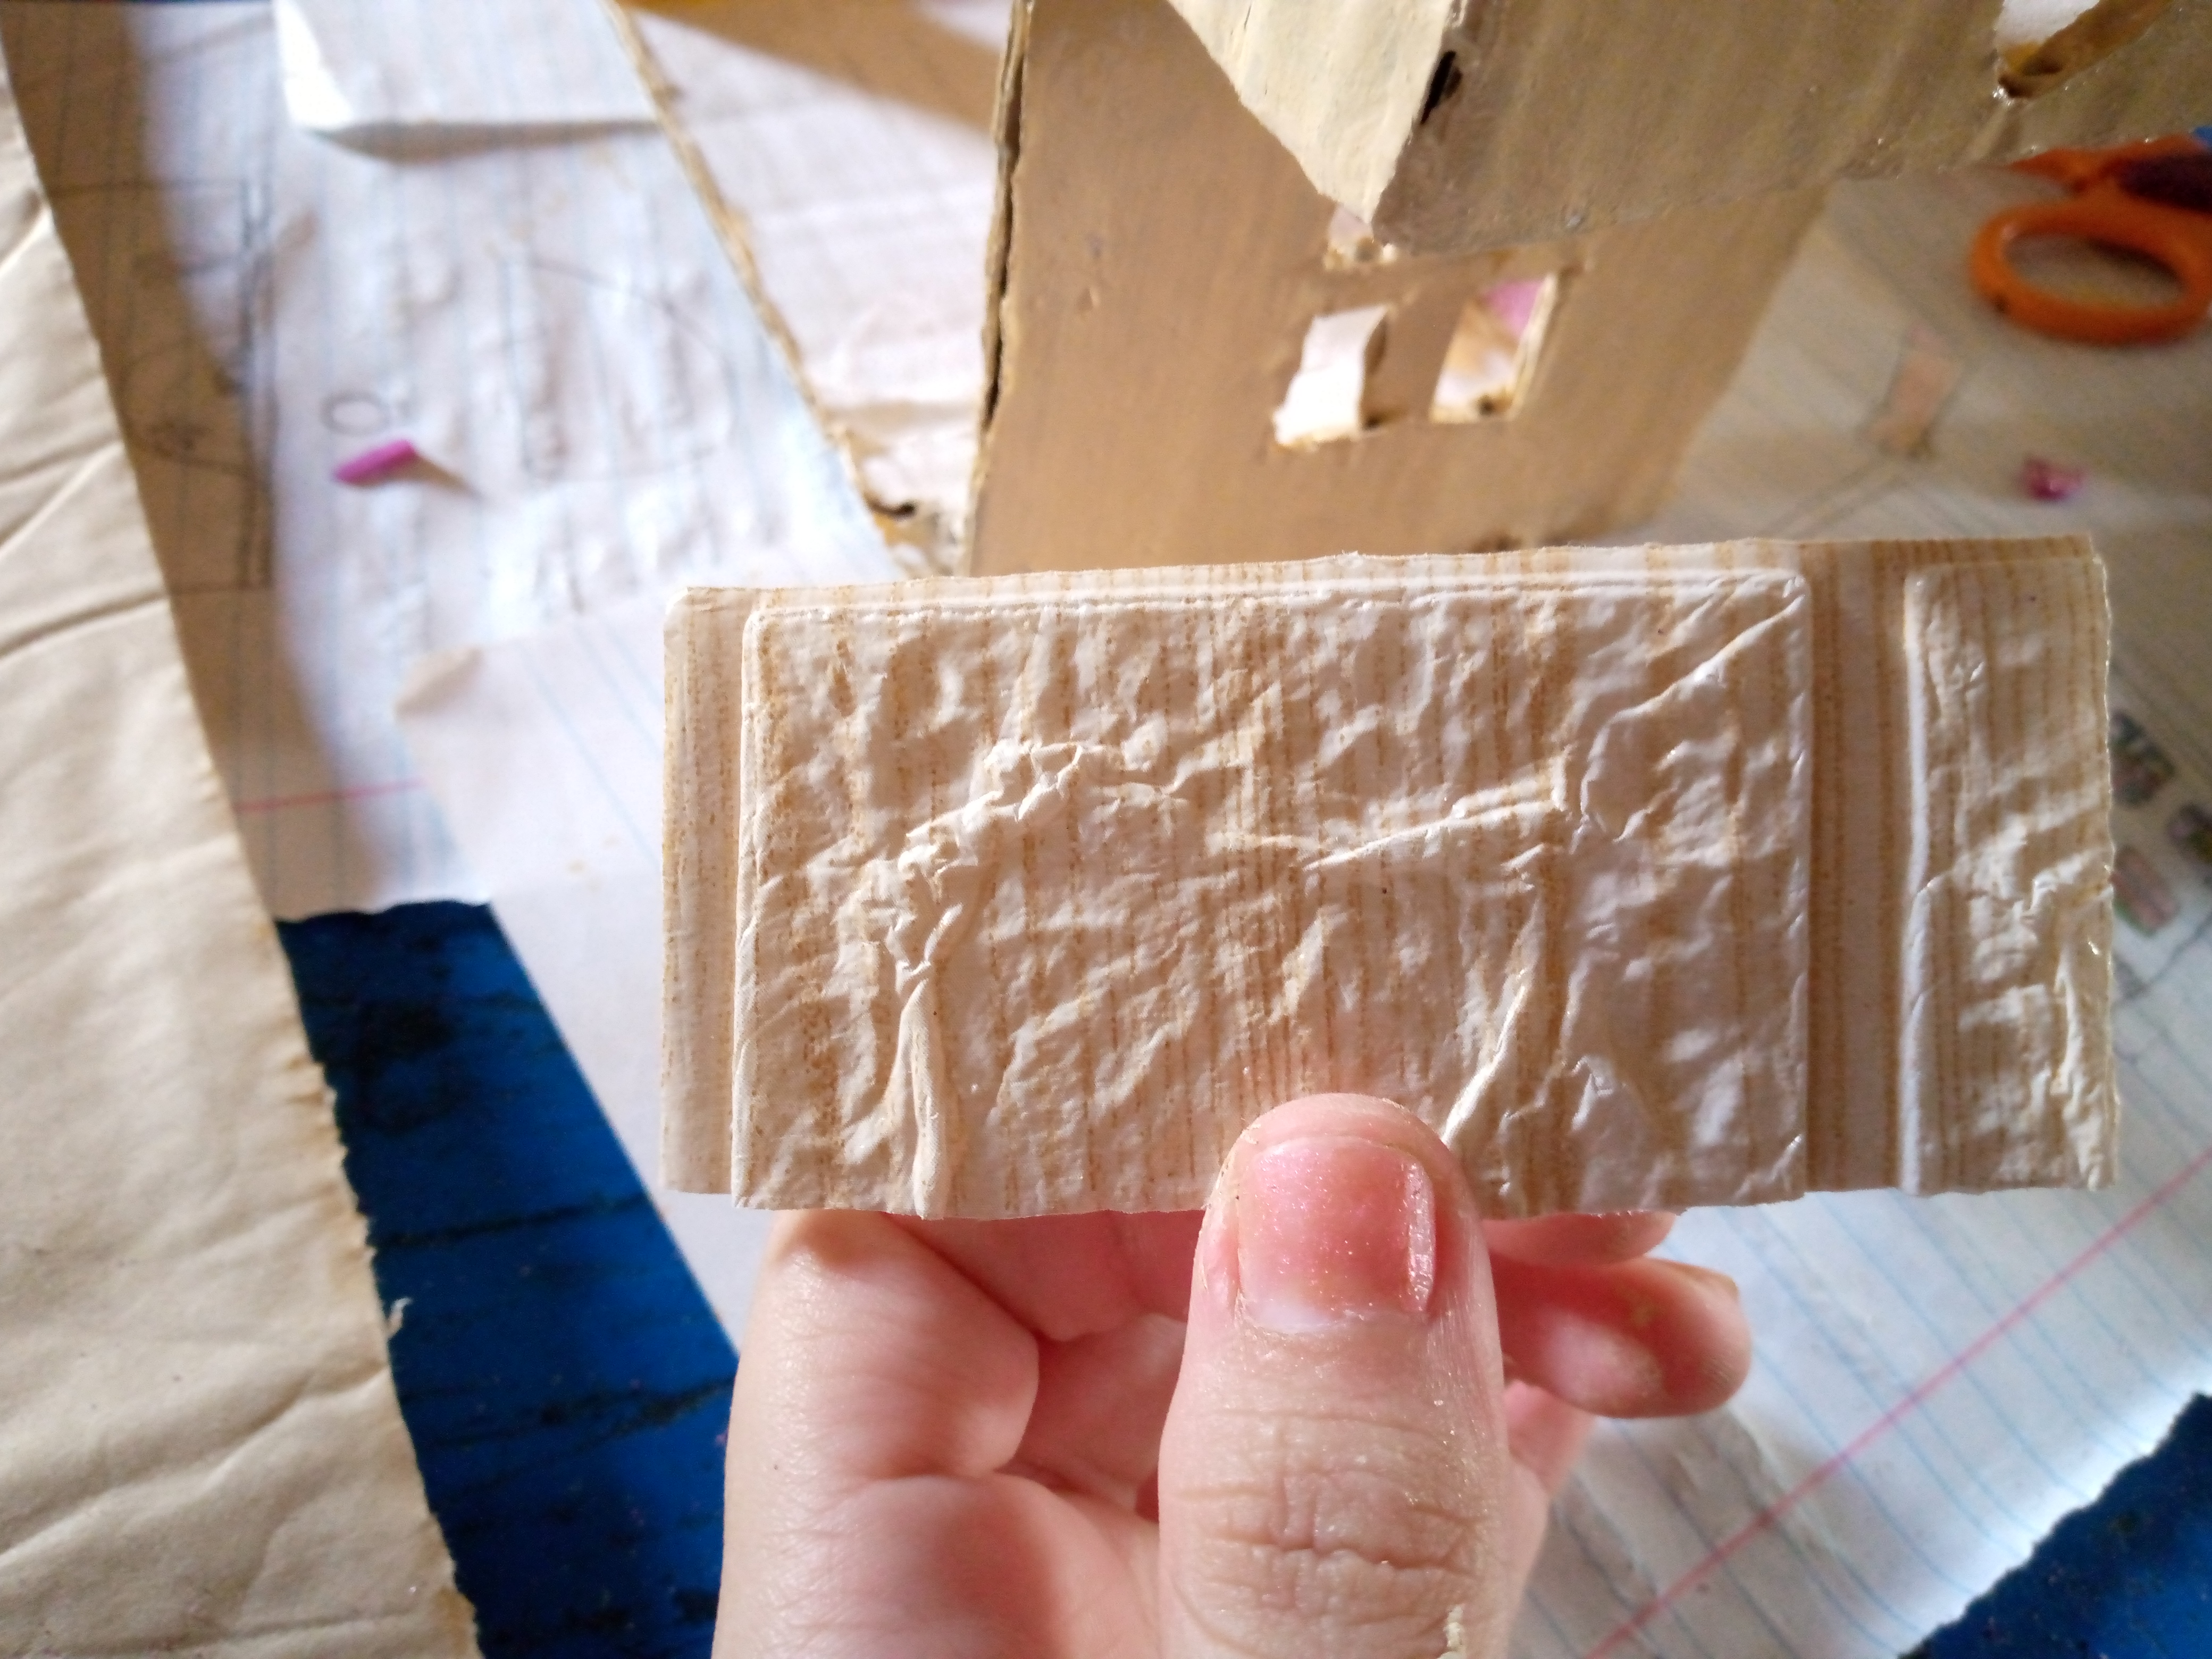
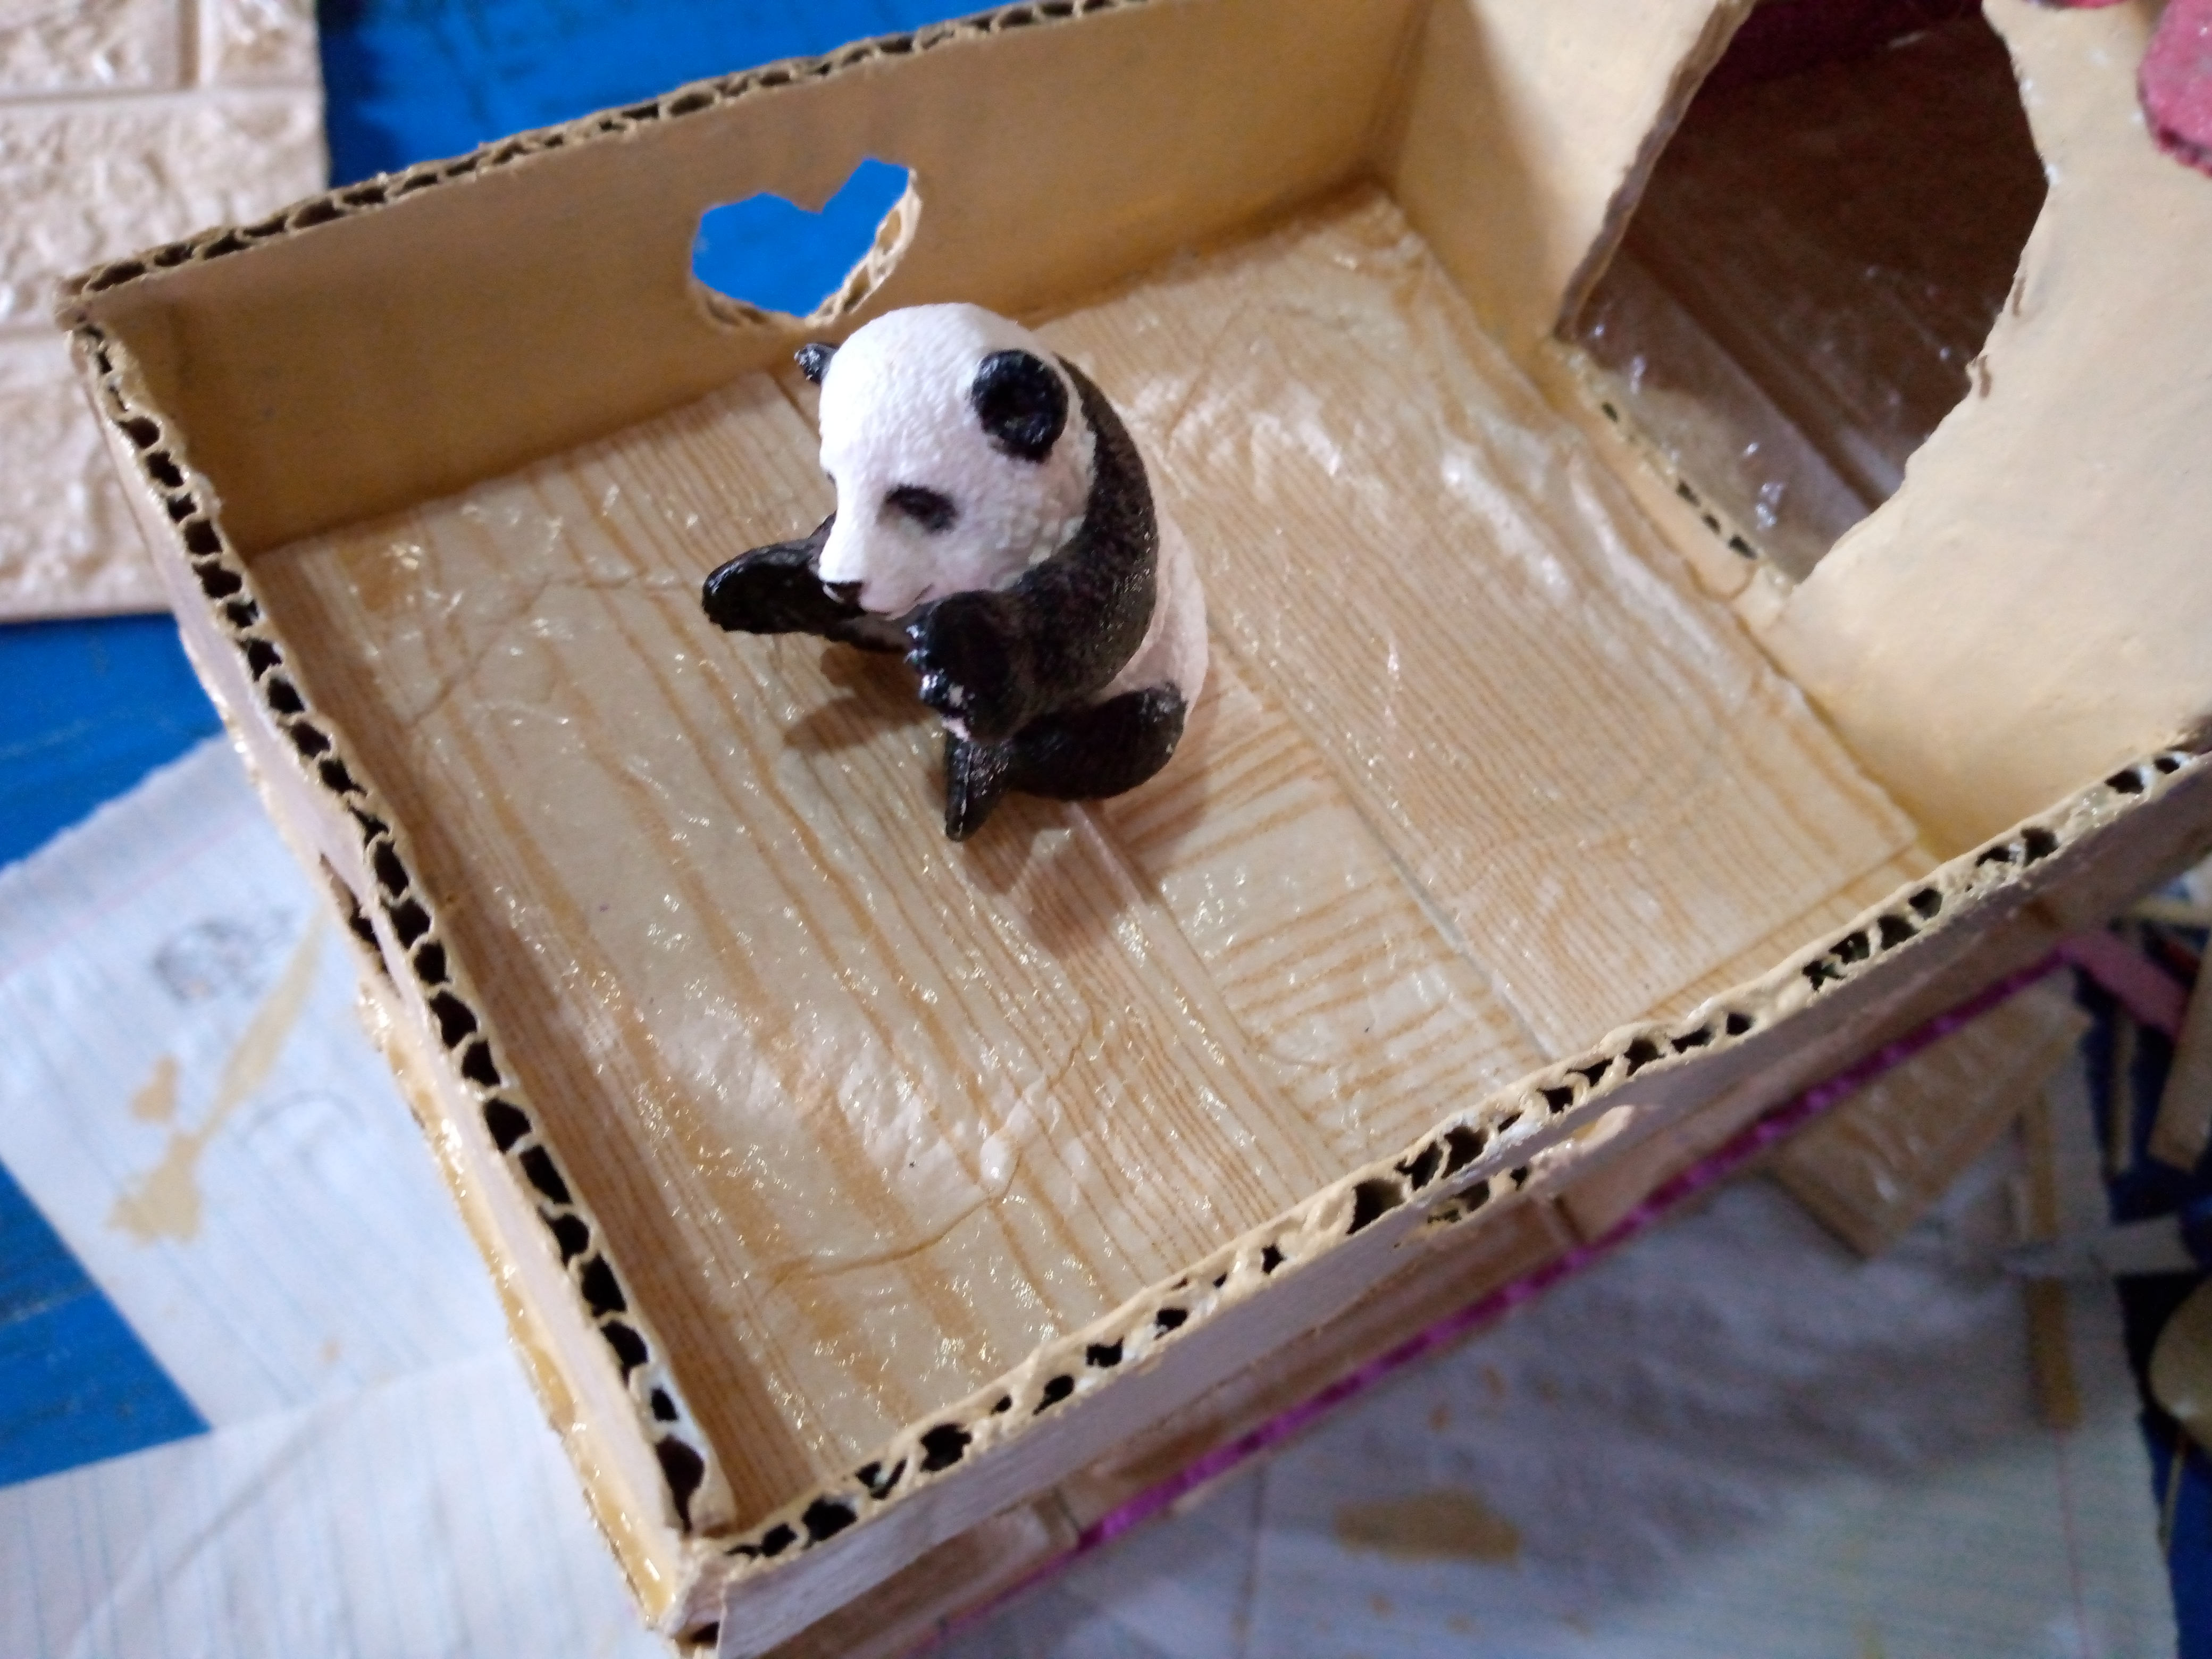
After finishing simply by sticking the foam strips we will be cutting small squares of adhesive paper to cover the floor of our little house. Remember to use the ruler to mark them well so that we do not have too much or too little. I will be sticking this paper on all the floors of the house. As you can see, it has three floors with a small roof terrace.
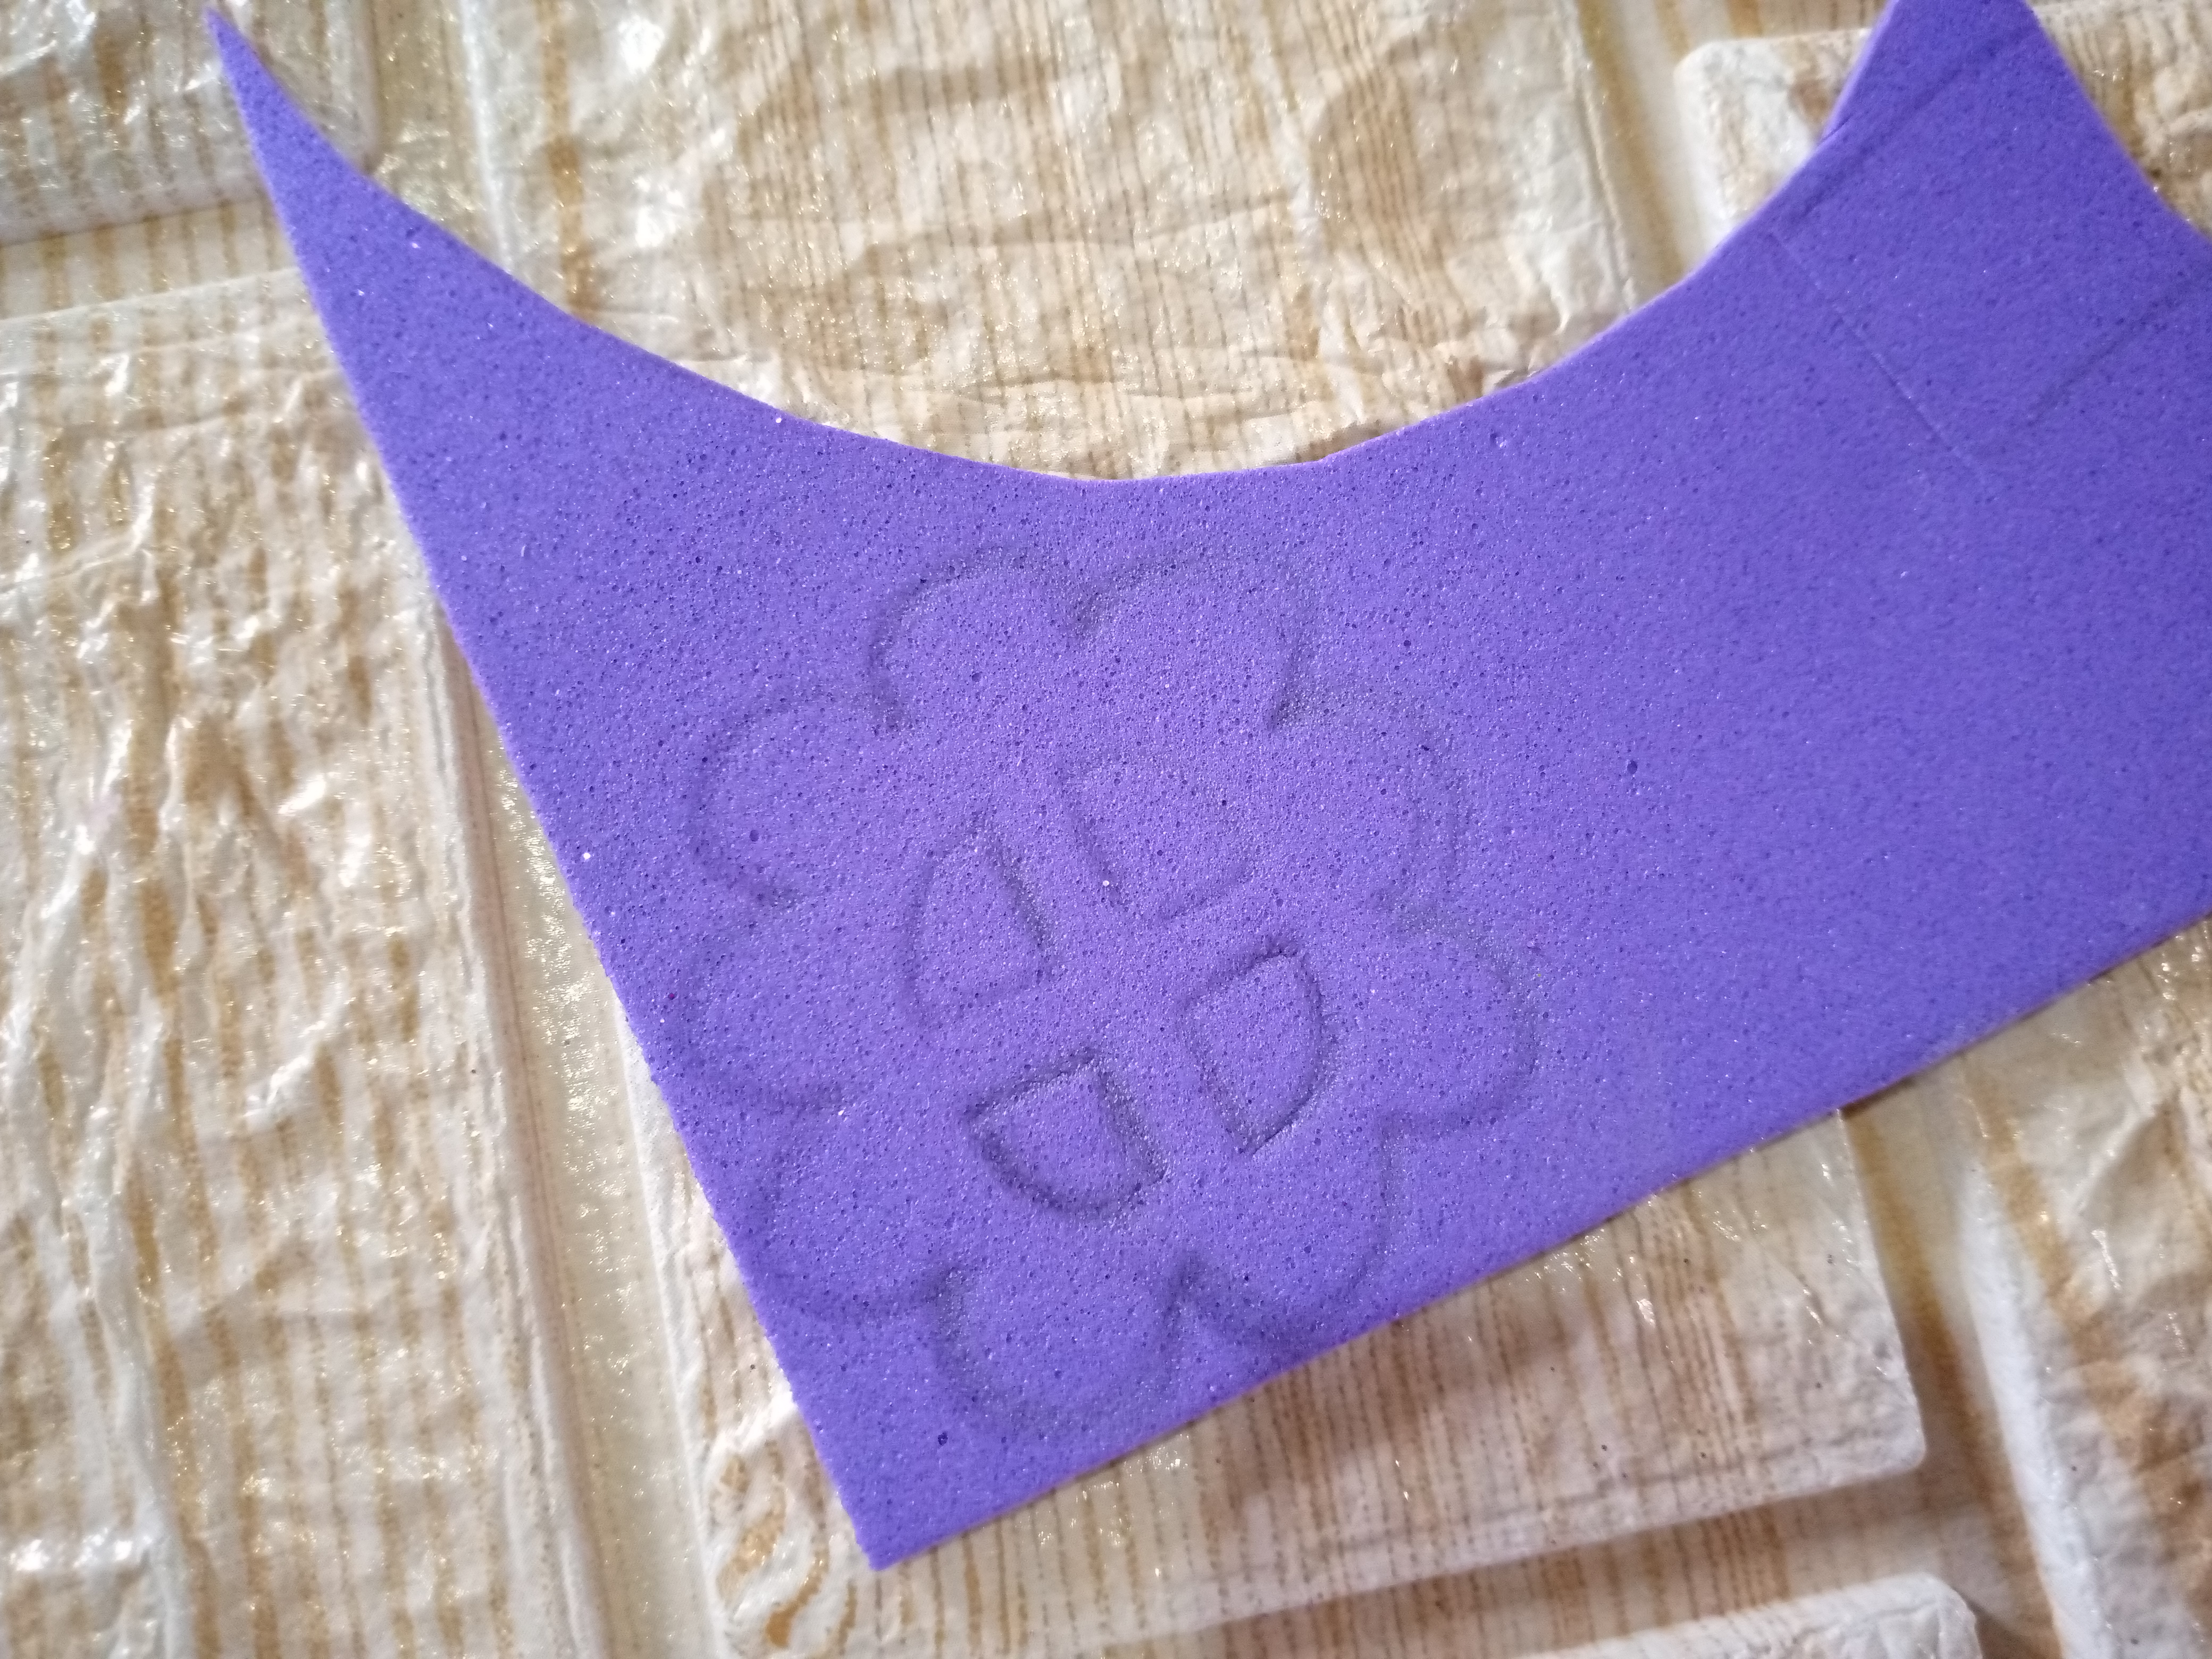
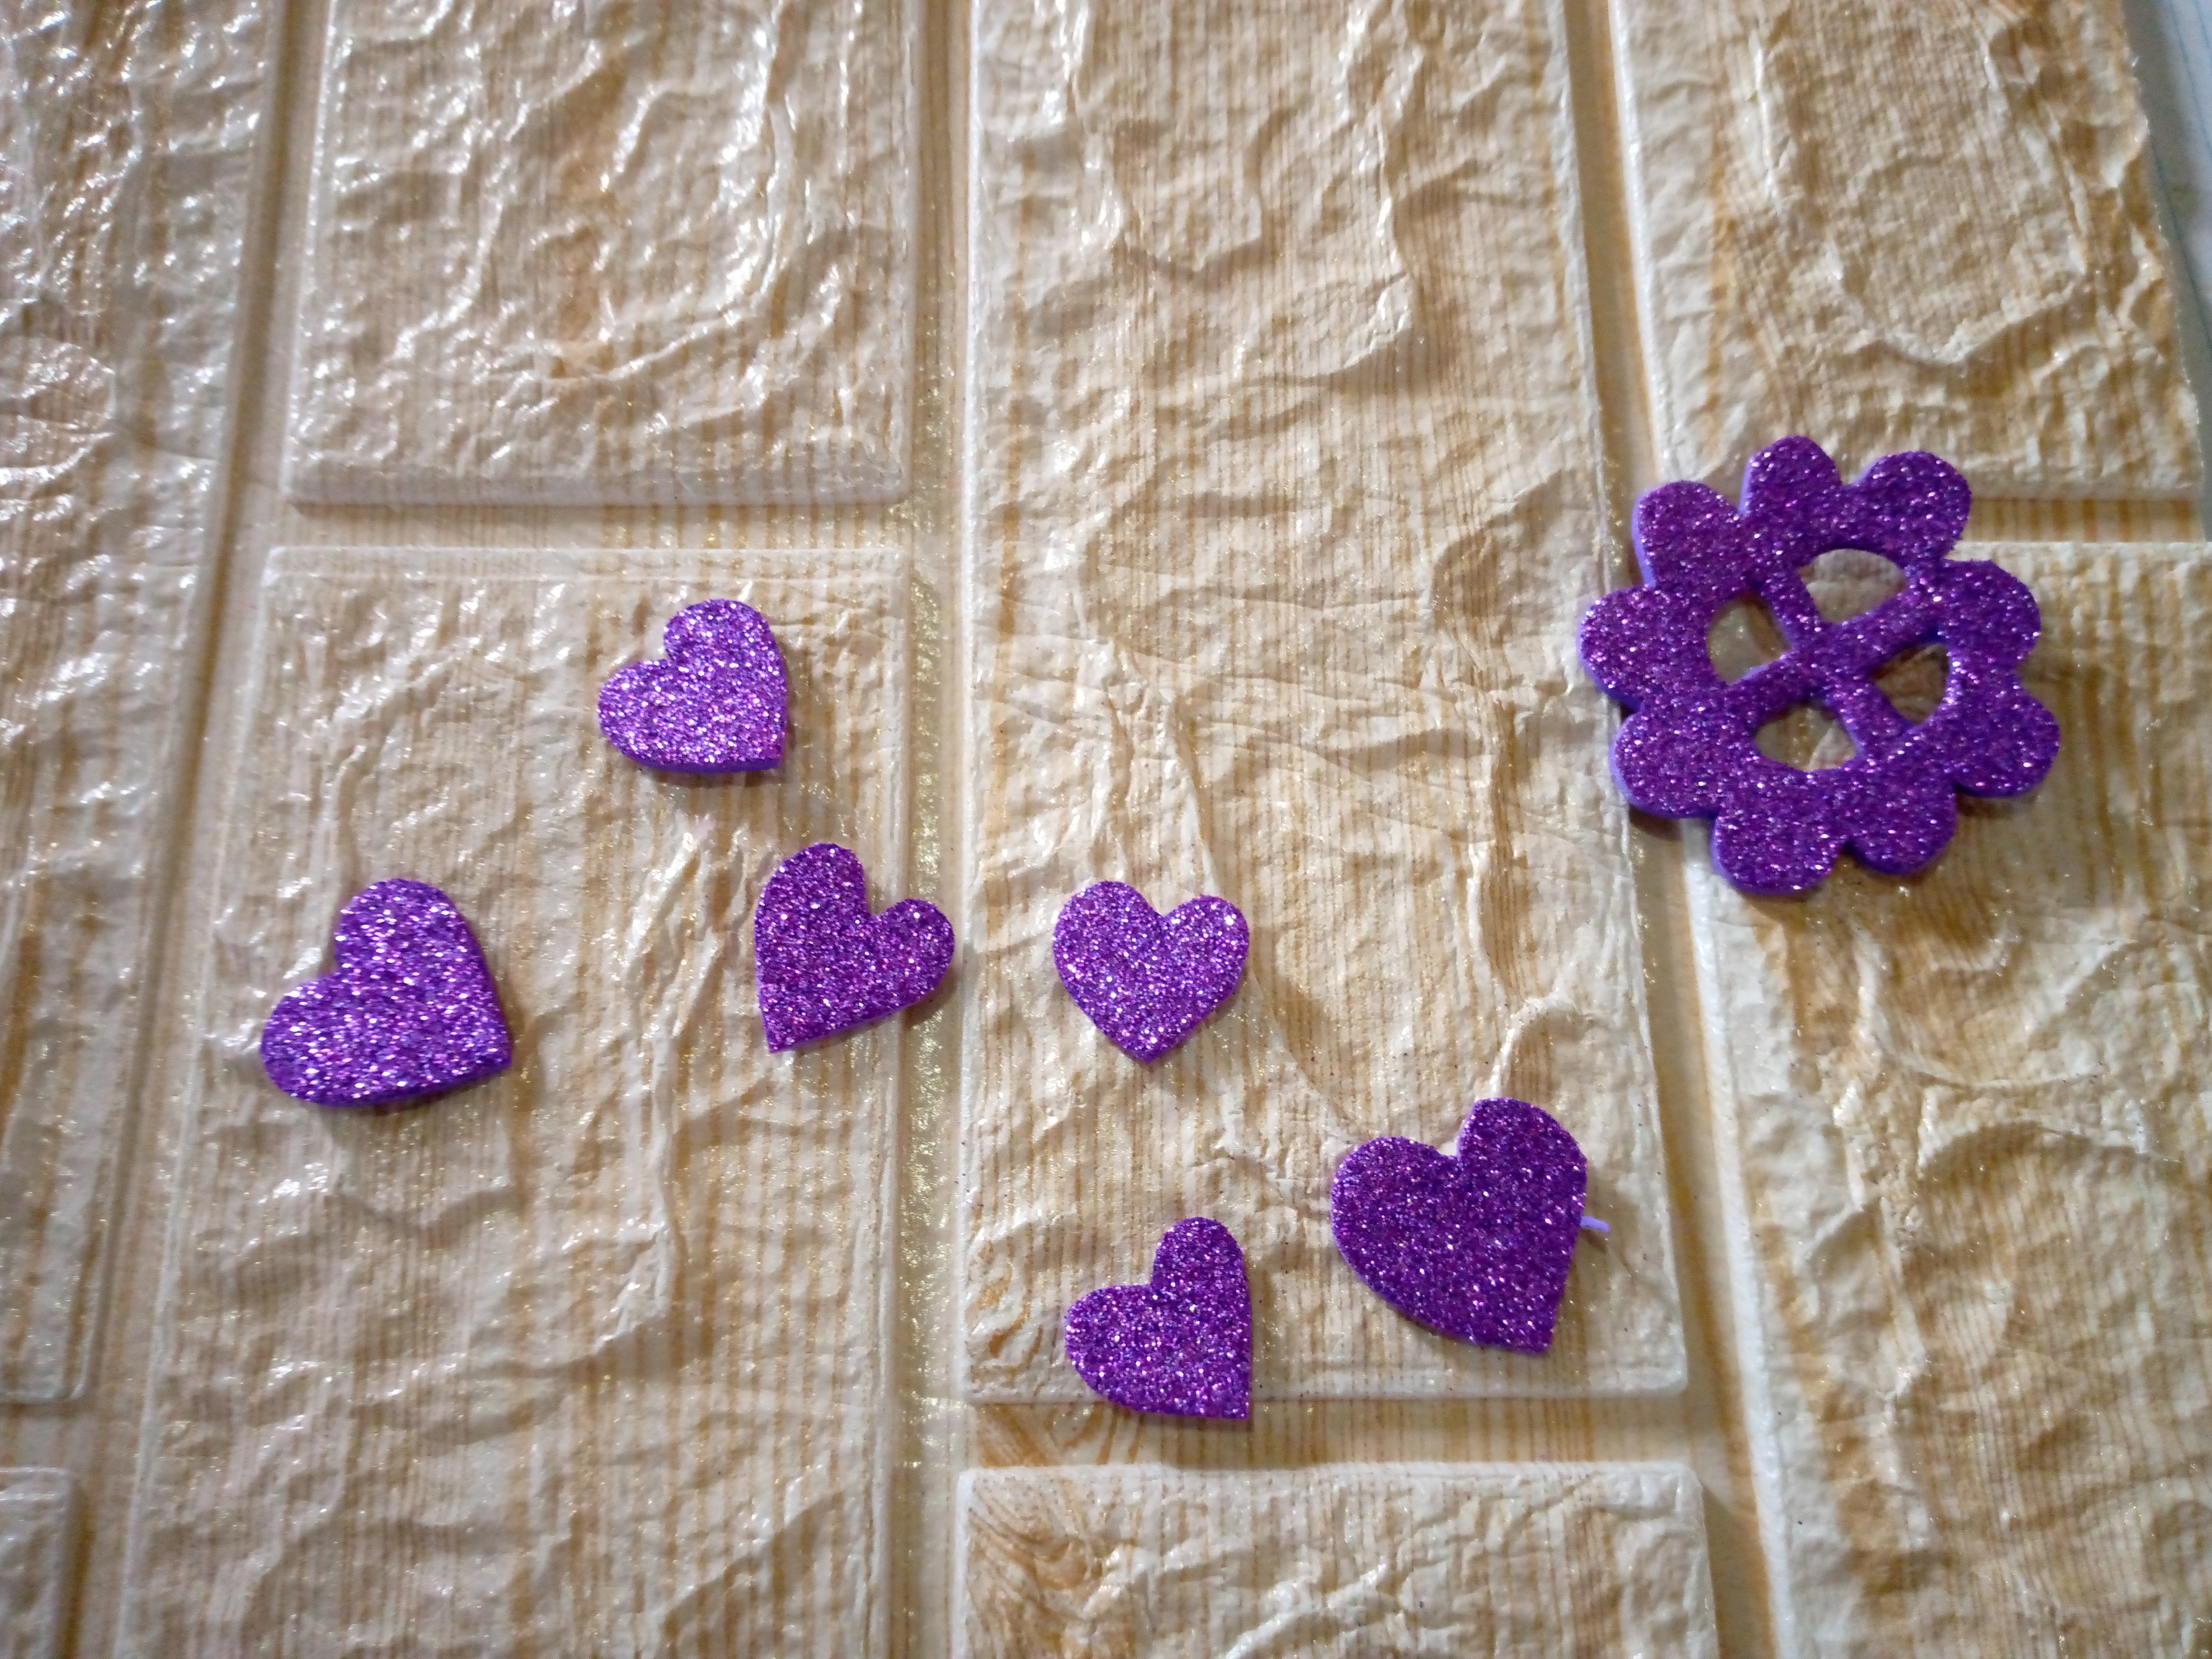
As details I wanted to make a kind of shiny flower-shaped foam window that I thought was very pretty and that I cut out patiently because if it is something small, the foam can break if we are not careful, so keep that in mind when making this type of details in foam. I also made small hearts to decorate some walls on the other floors of my little house. I placed a large one in the middle and two on the sides, glued them with white glue and of course let them dry.
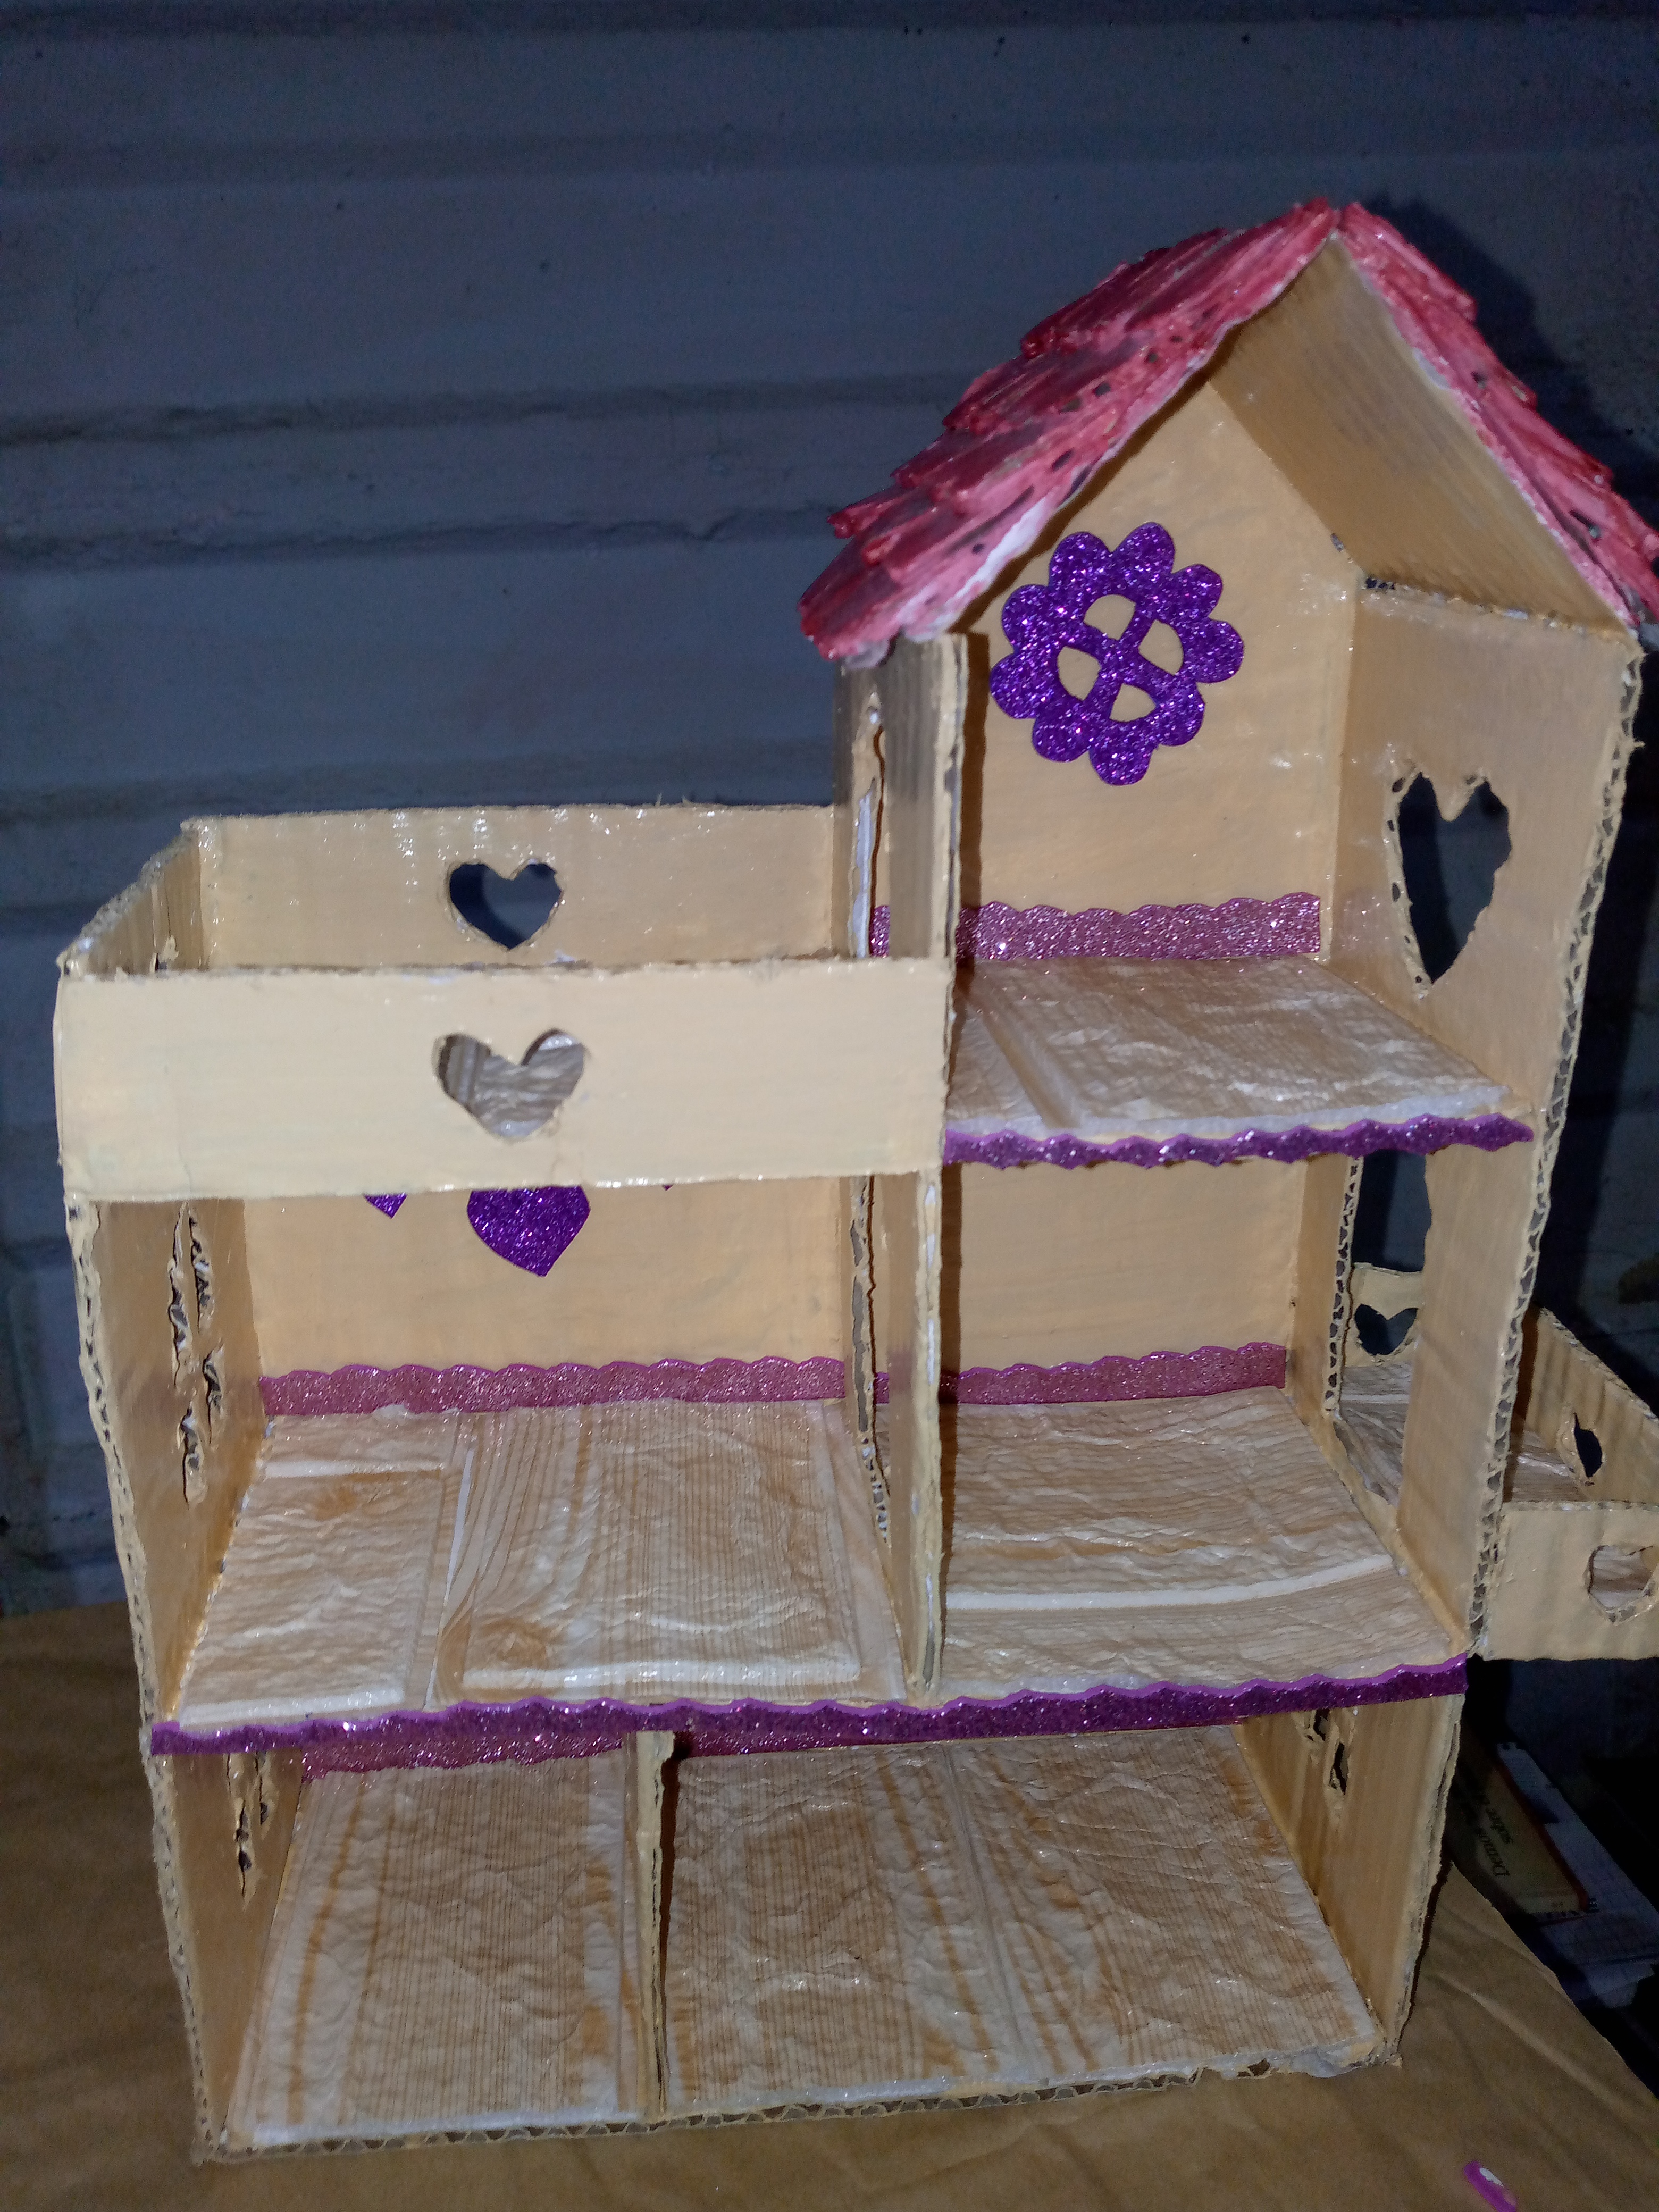
Result:
This is how I have finished remodeling my little house and these are the final results of how it turned out, what did you think friends? I let it dry there overnight since the paint does not dry so easily although it may seem like it after a few days this decoration is fine to use and if you have a small girl I recommend that if you are remodeling things you use paints that do not have a strong aroma since this can harm your health and let it dry in the open air, without more to say here I leave you close-up photos of my little house, I am loving the results, see you friends thanks for reading my blog see you in another creative idea for your home. ✨❤️

Esta muy lindo este organizador en forma de casita. Que bueno que la conserves, tienes razón para la habitación de una niña esta perfecta. También puedes guardas accesorios. Gracias por compartir.
Hola así es la verdad tiene muchas funciones de uso esa casita 😊con esta nueva remodelación quedó perfecta para guardar cositas ya que la pintura en la superficie hace que sea más resistente al roce, gracias por comentar saludos
Esta bien bonito para guardar los accesorios
Hola amiga así es hasta para el maquillaje 🥰
Como un organizador para jovencitas esta genial, además de ser un buen proyecto de manualidades. Gracias por compartir
Gracias amiga así es es multiuso😊