Hello home friends, it is a pleasure for me to be here again with you and sharing happy creations for the home. I thank the @homesolutions team in advance for giving me a warm welcome. It is a great pleasure for me to be part of the community and appreciate your beautiful and good tips for the home here, they have helped me a lot 🤭.
When I found out there was a little corner inside Hive where we could share things to do in our home I got really excited and wanted to join here. I love making little ideas from recycled paintings and flower pots decorating my little space and making details and ornaments for the living room and bedroom. I also like to remodel and give a new life to objects we have at home that we have surely thought have no use but when we remodel them they look very beautiful when we give them a touch up.
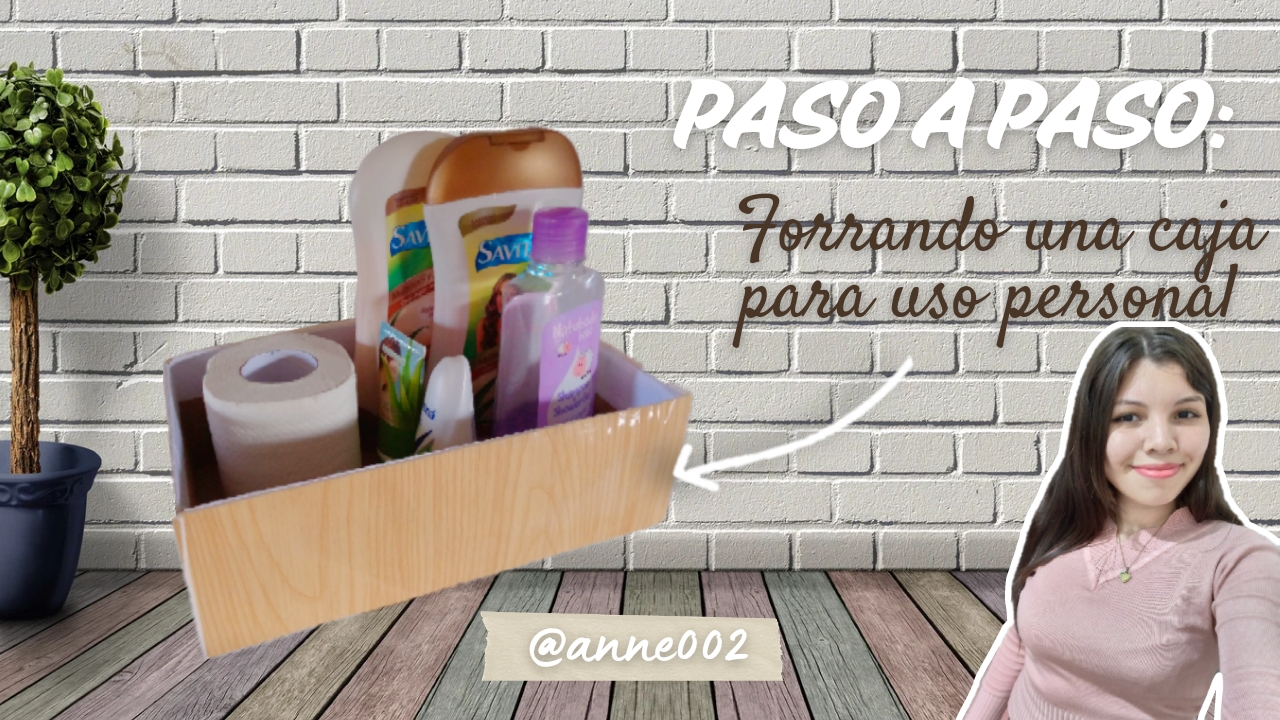
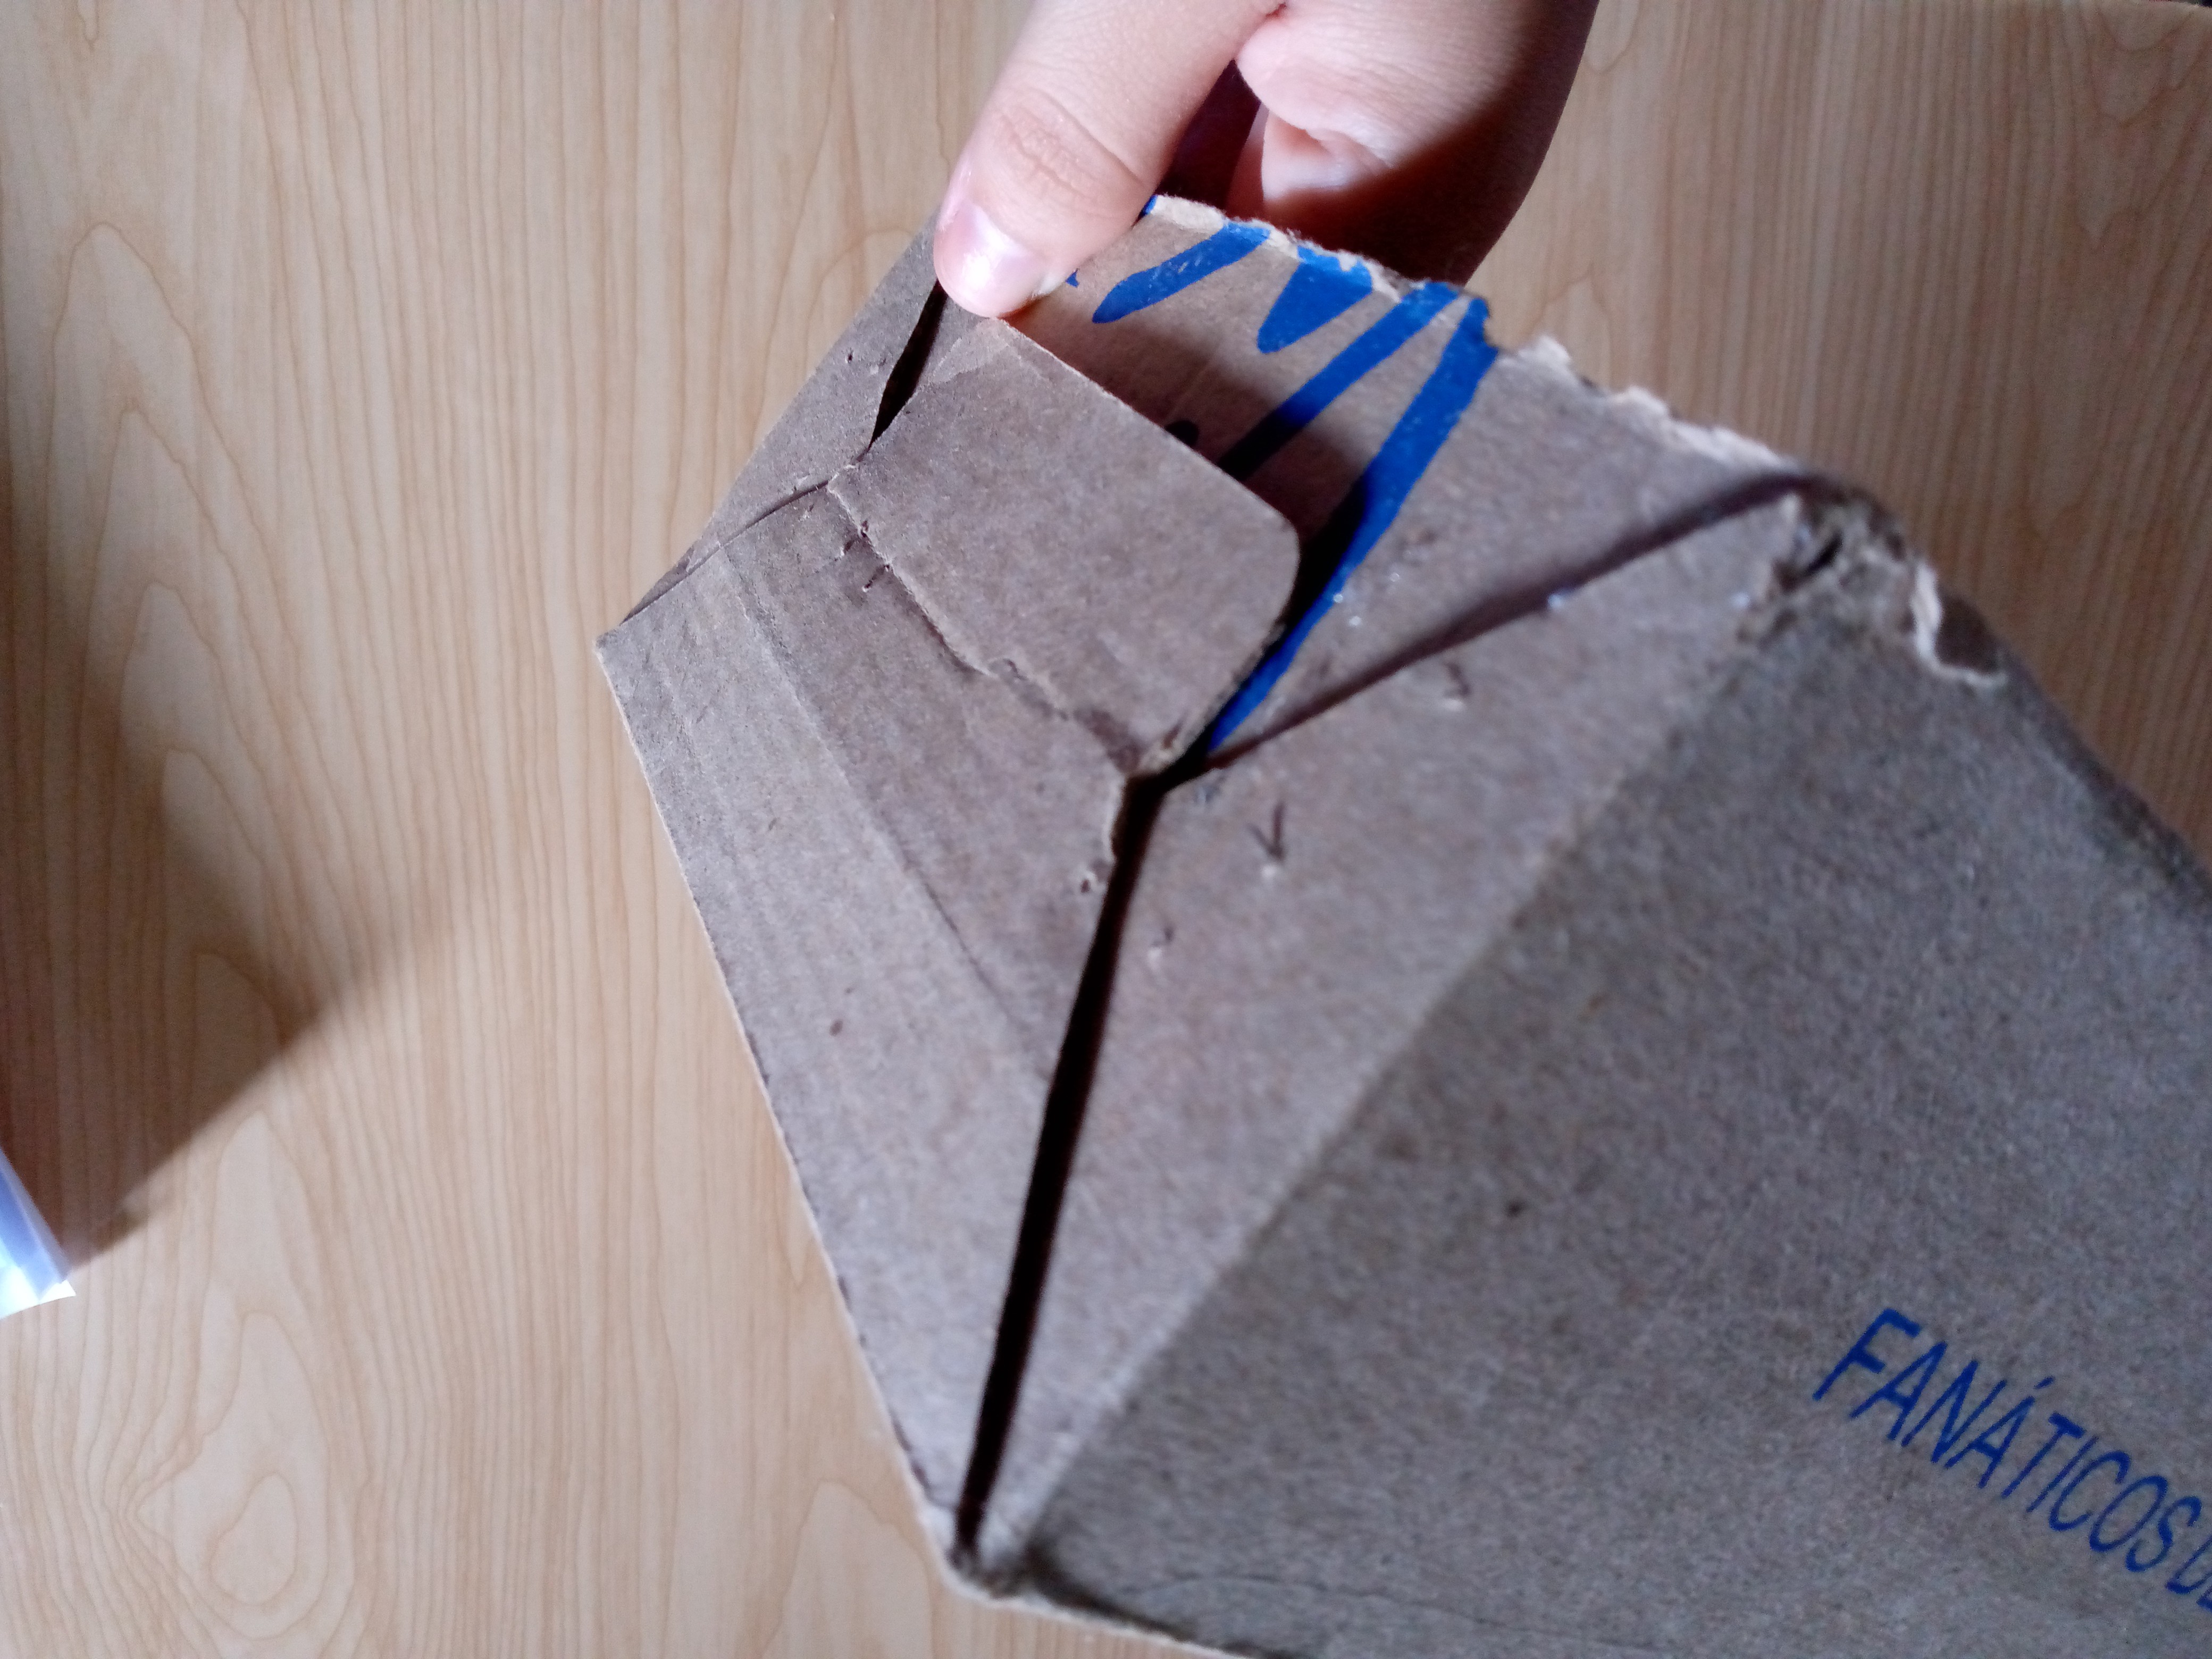
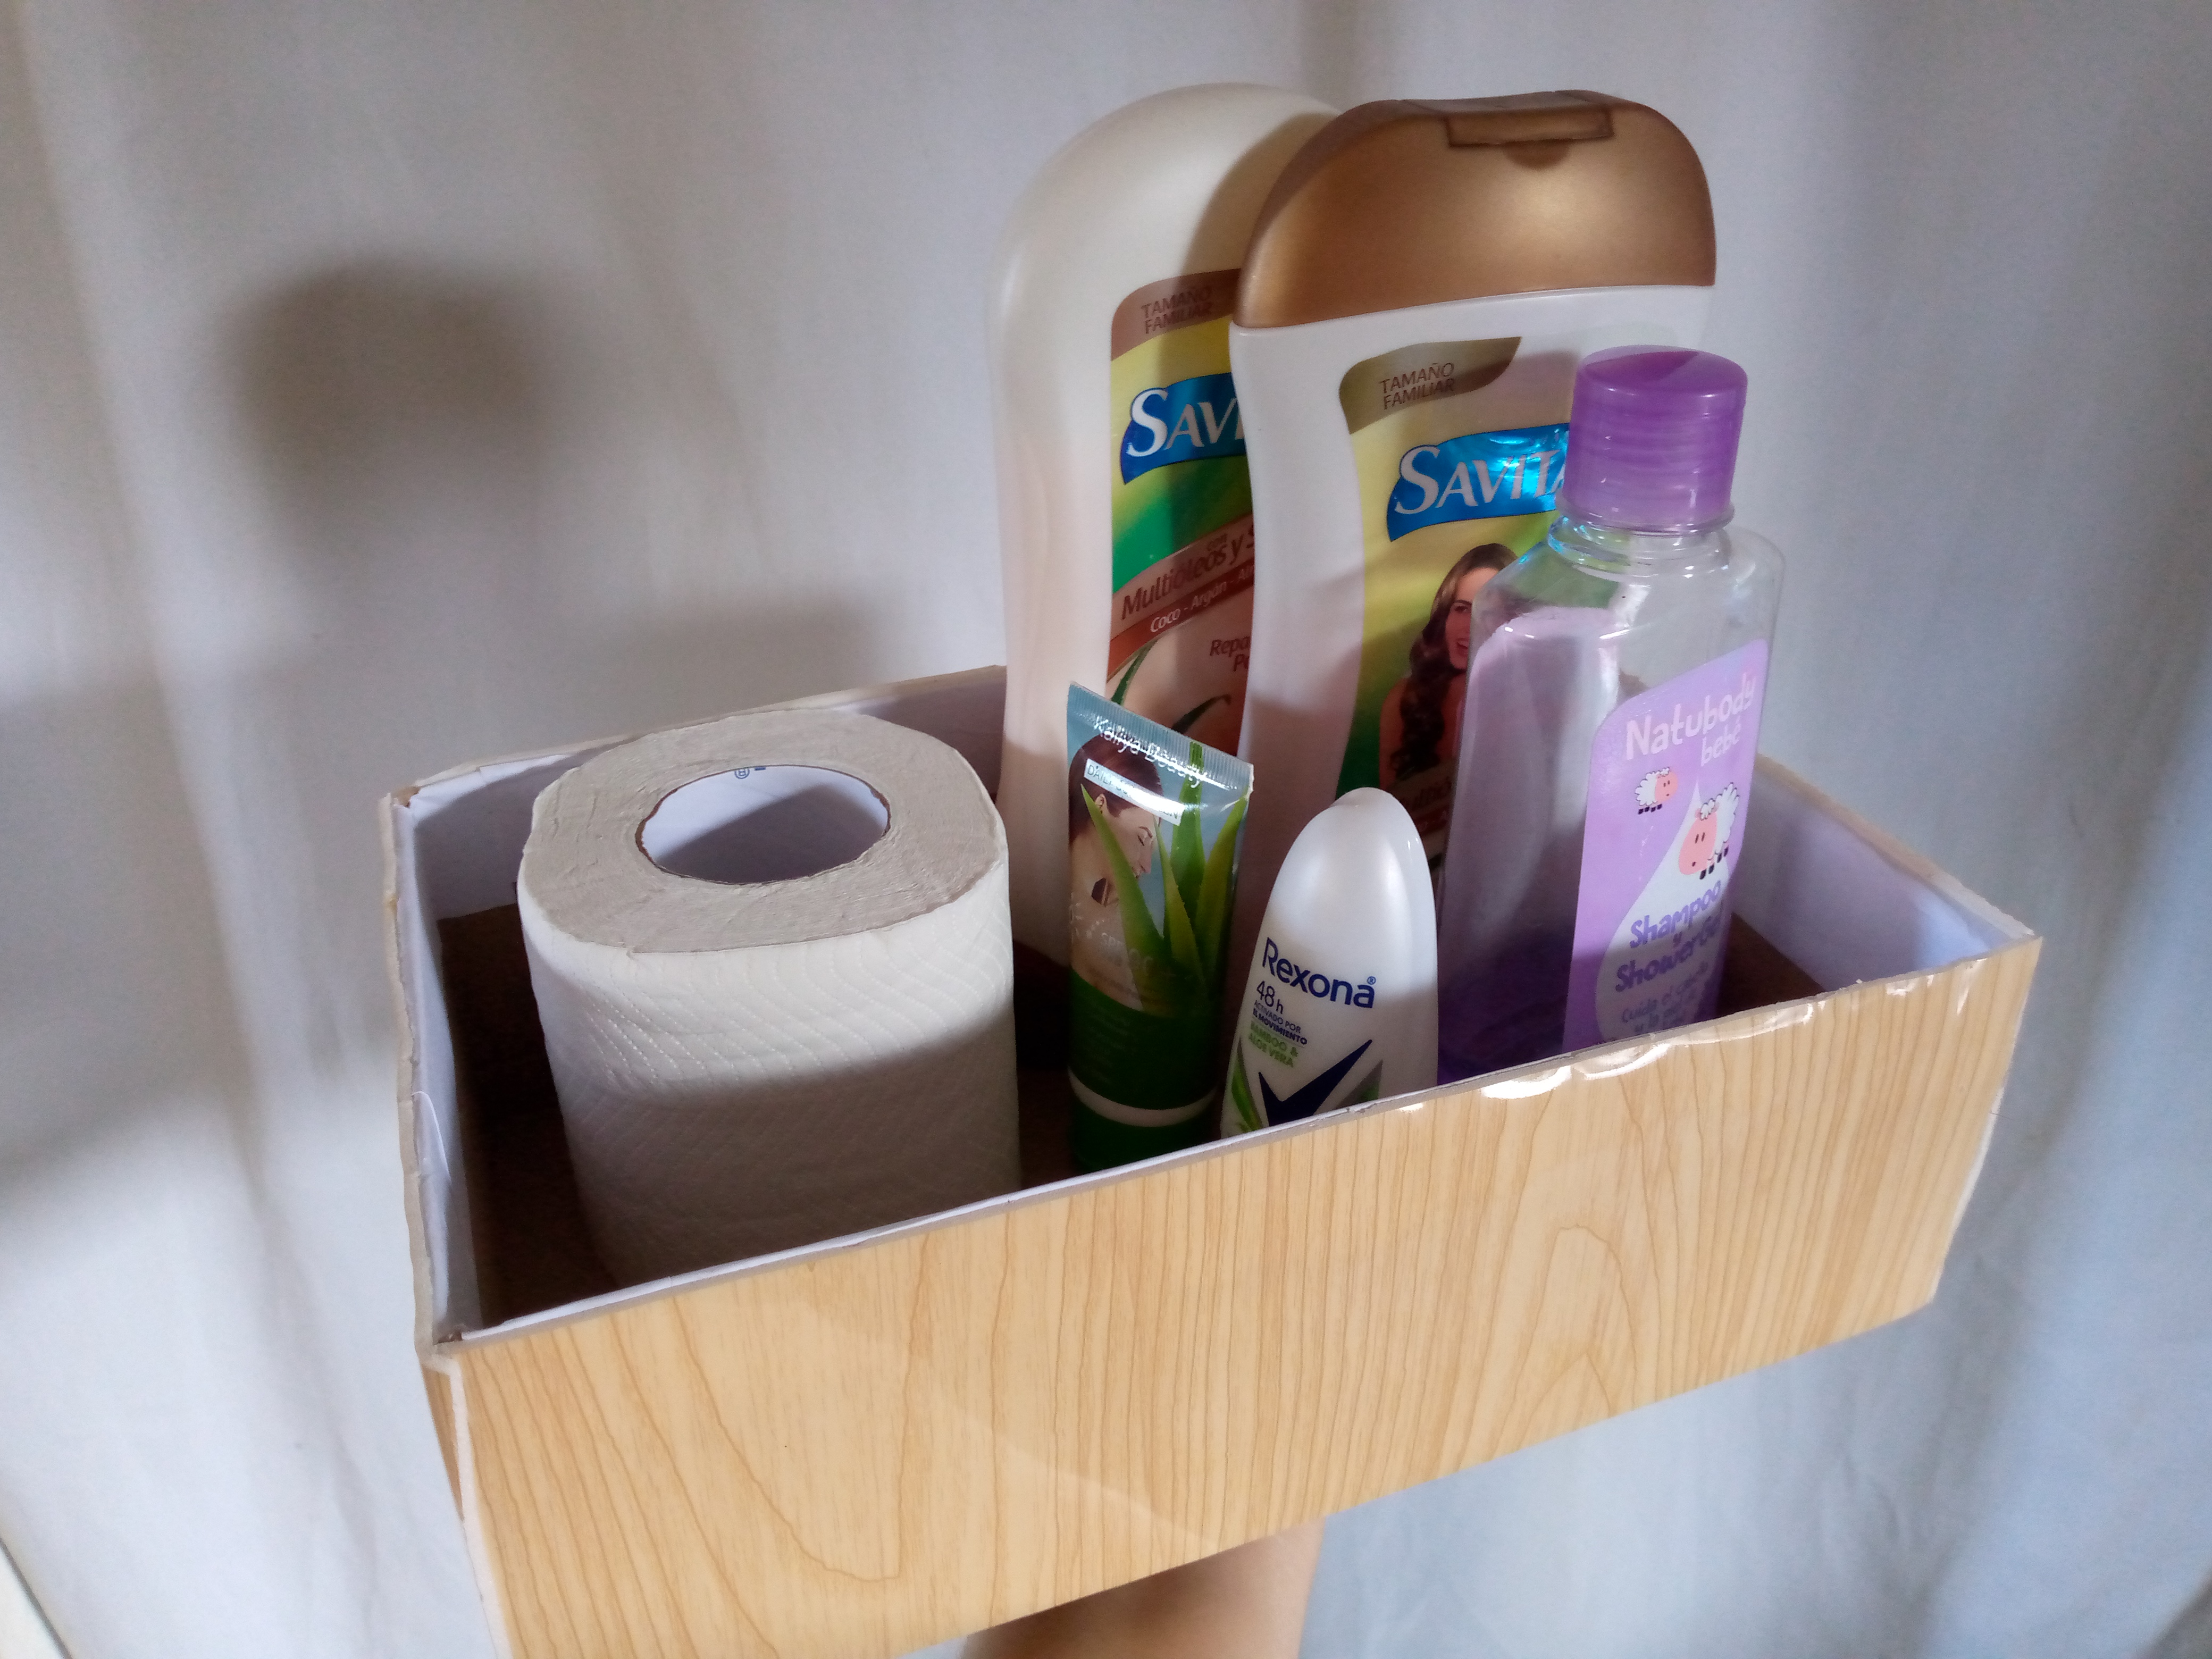
Continuing with the theme that I love to make home decorations, in this blog I will be showing you how to reuse this shoe box that was already somewhat disassembled and that I had stored for a long time, I decided to give it a second chance by covering it with this wood-shaped textured paper, I bought this paper a few days ago and unlike another one I had bought this one is shiny, smooth and sticks more, so on the outside I will be gluing this adhesive paper to my box to store little things for my personal use in the bathroom. If you want to know how I covered it and gave it a new chance, it's time for you to stay here appreciating the step by step.
Materiales//Materials:
- Caja de cartón sin usar
- Tijera
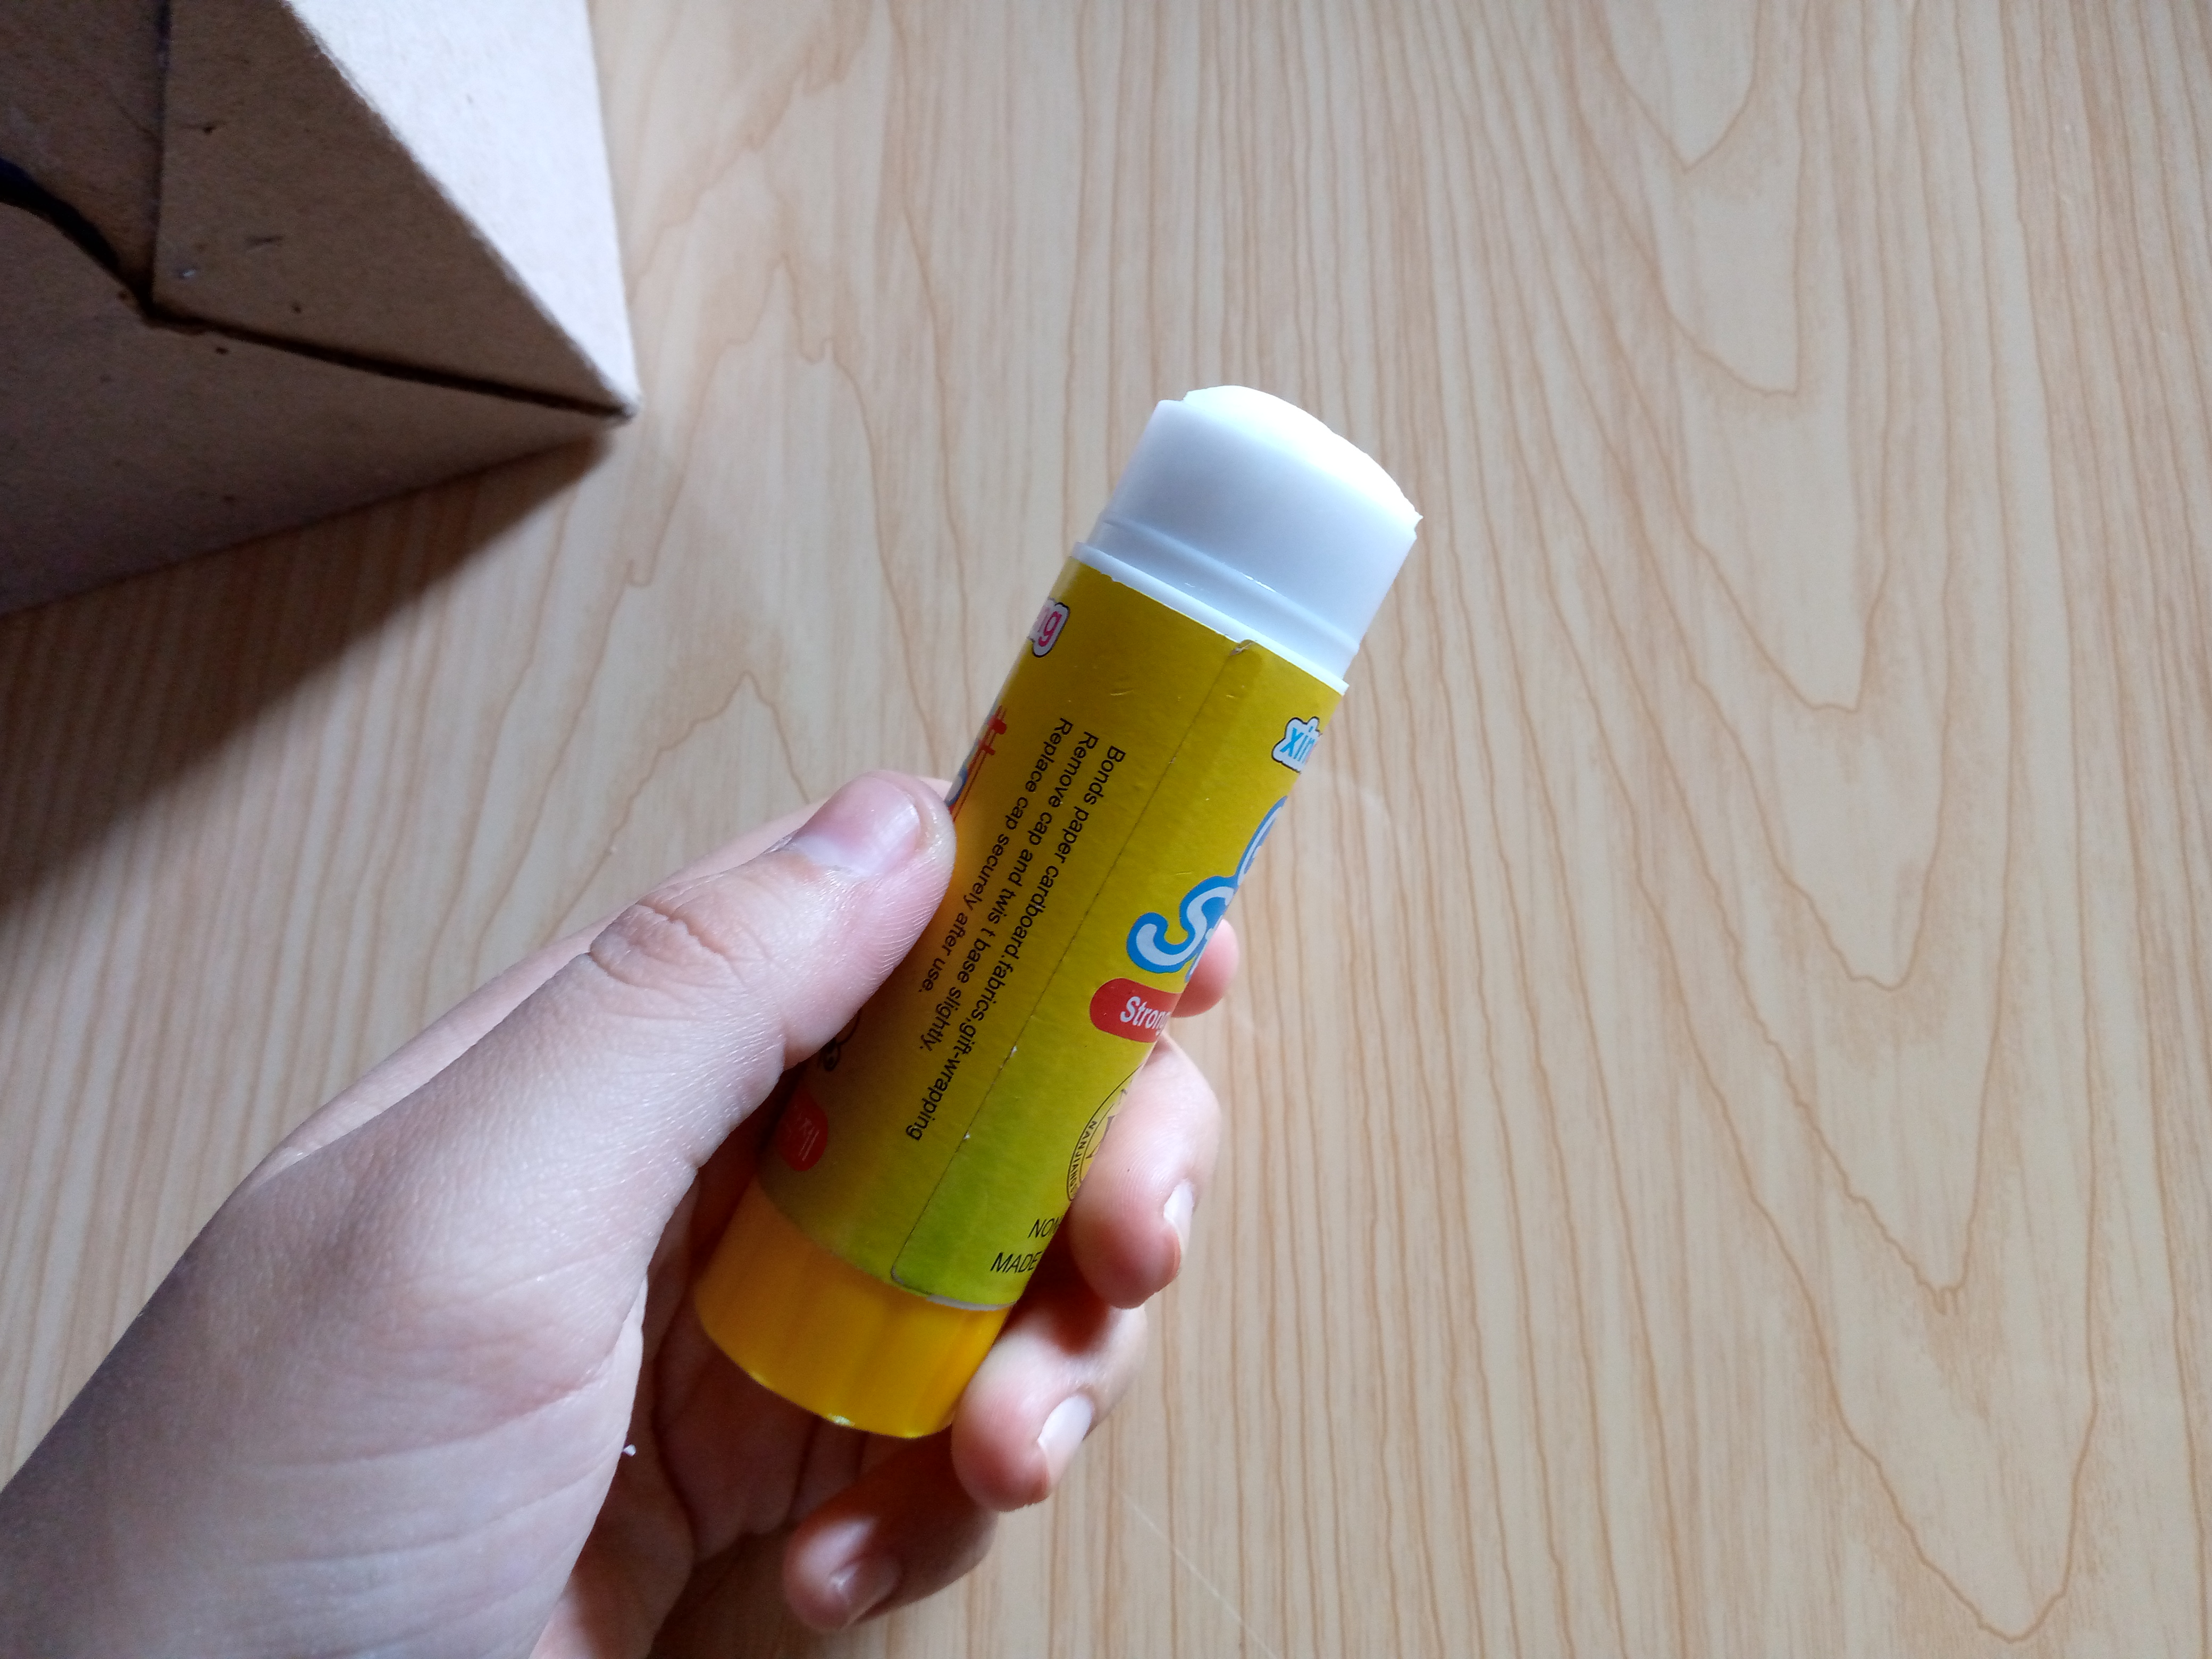
- Pega de barra
- Silicón caliente
- Hojas de papel blanco
- Lápiz
- Papel adhesivo de textura
- Unused cardboard box
- Scissors
- Glue stick
- Hot glue
- Sheets of white paper
- Pencil
- Textured adhesive paper
Pasos a seguir//Steps to follow:
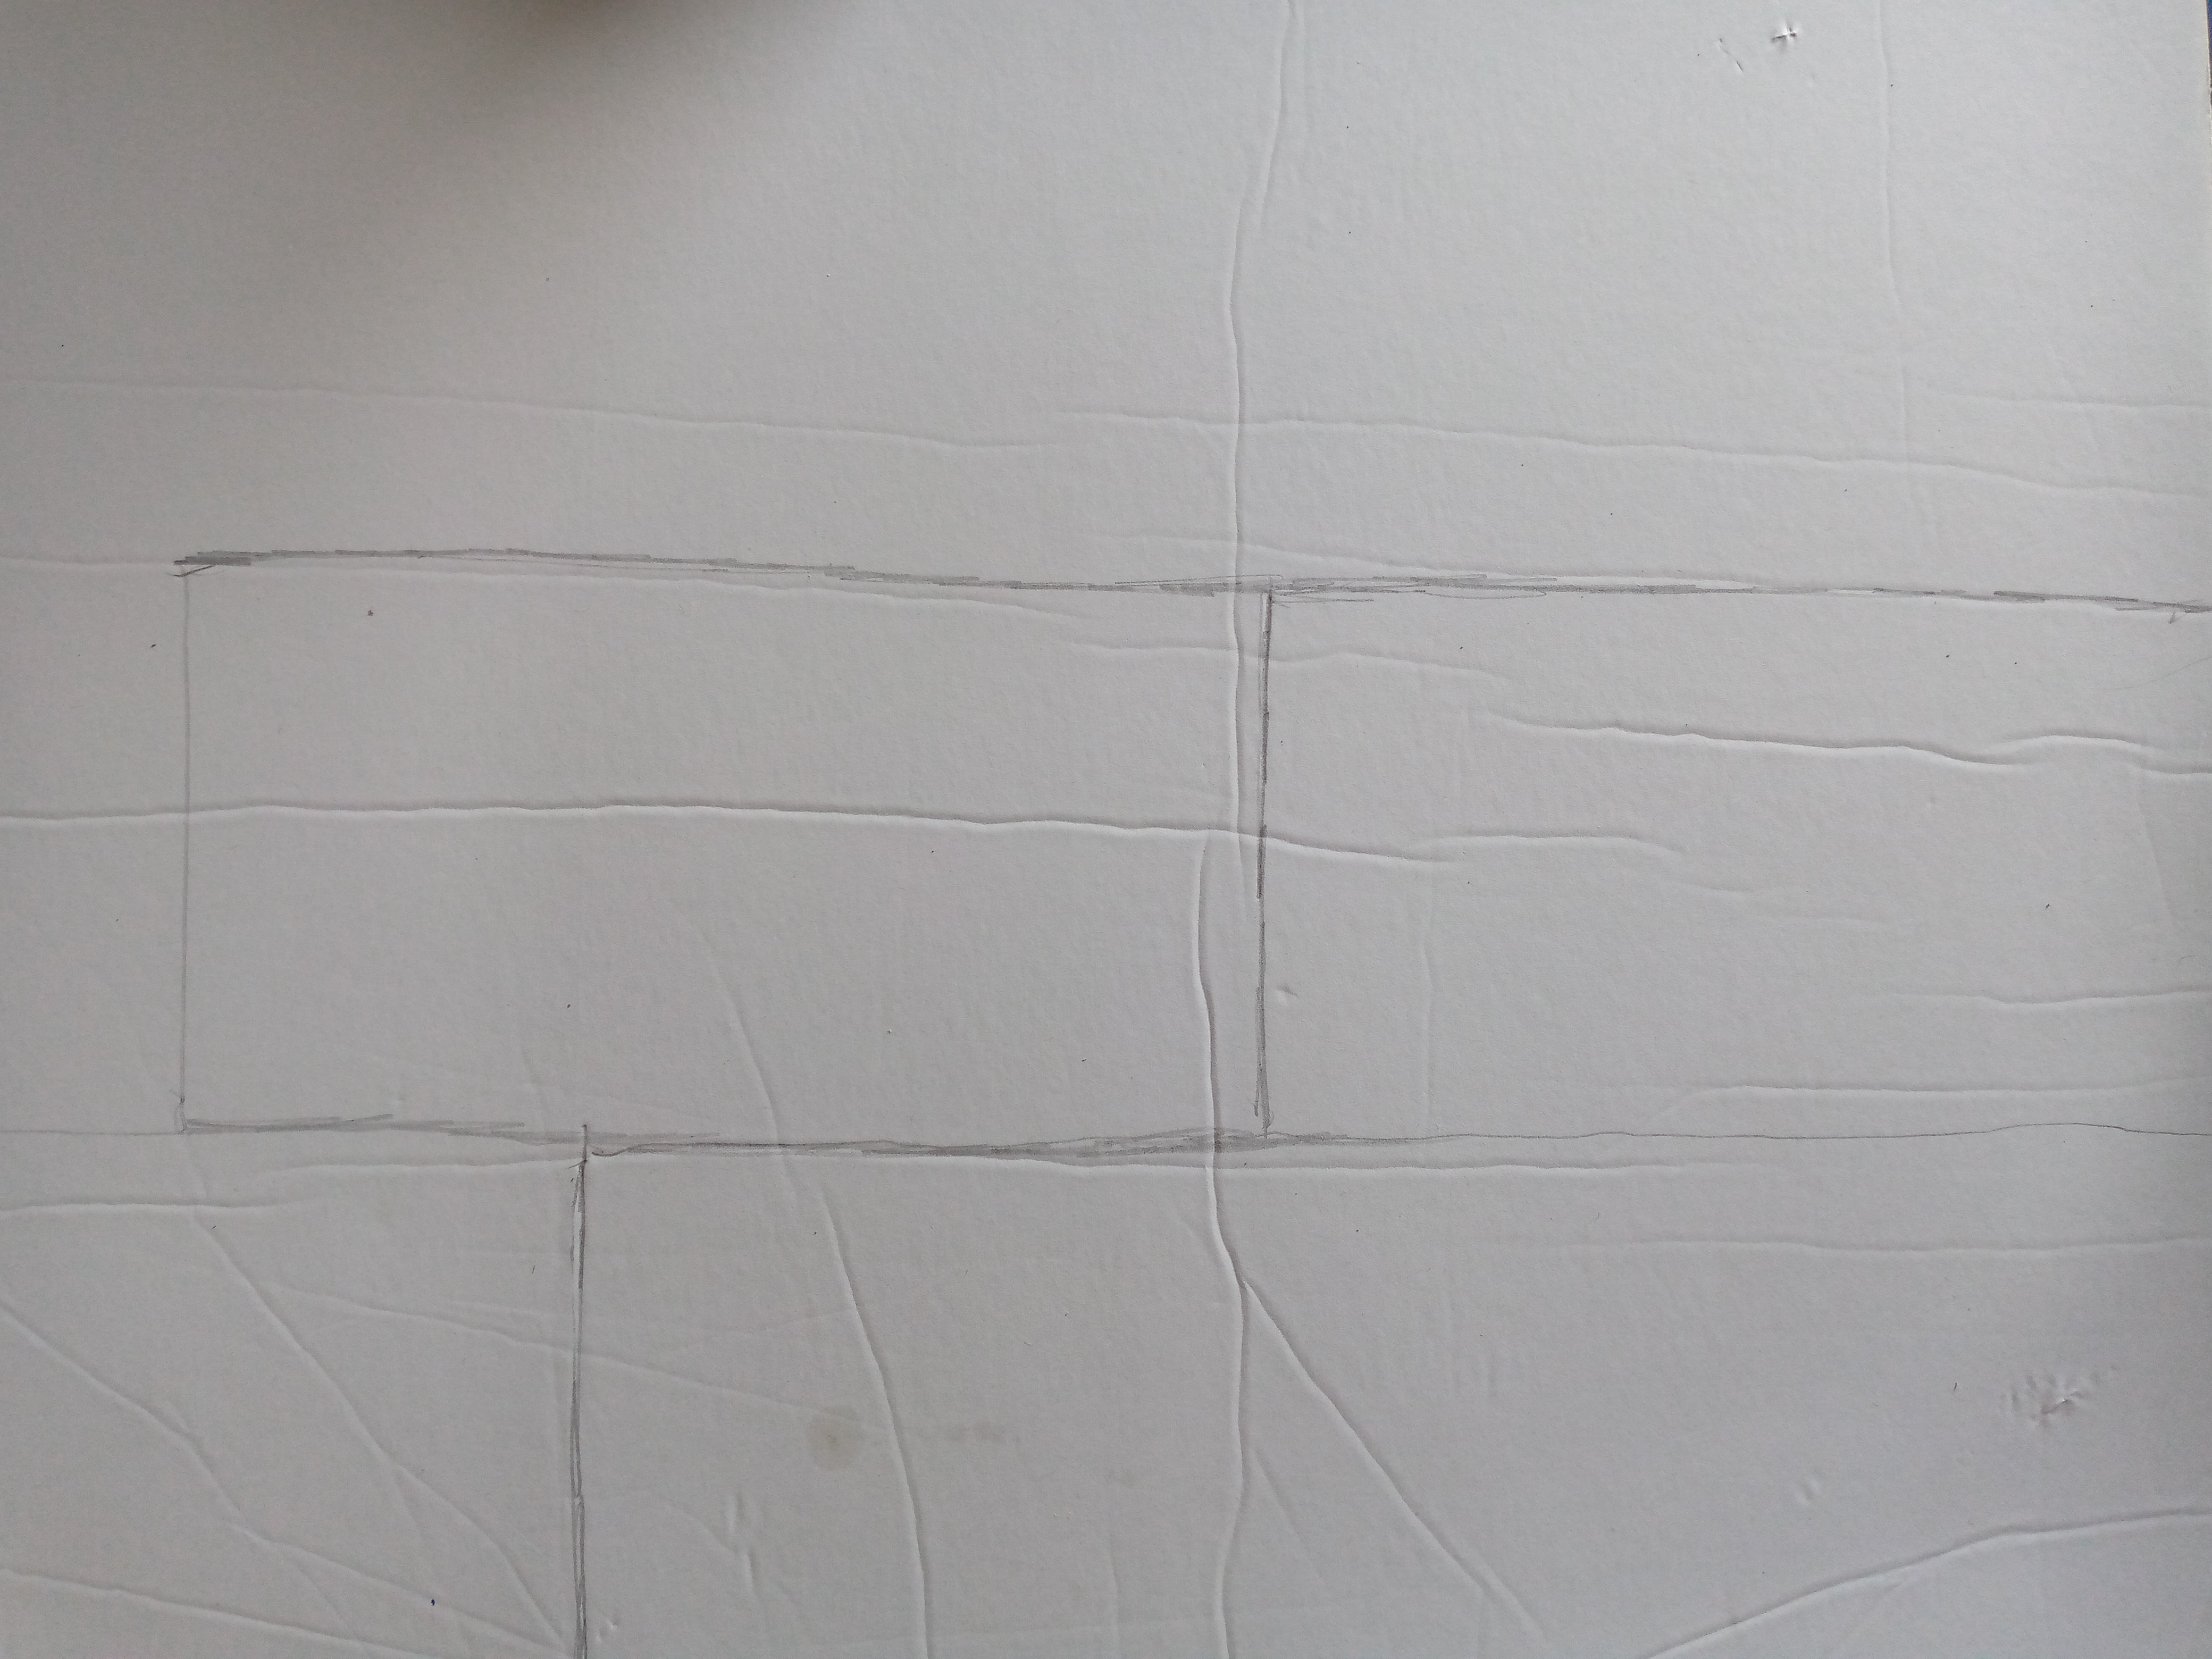
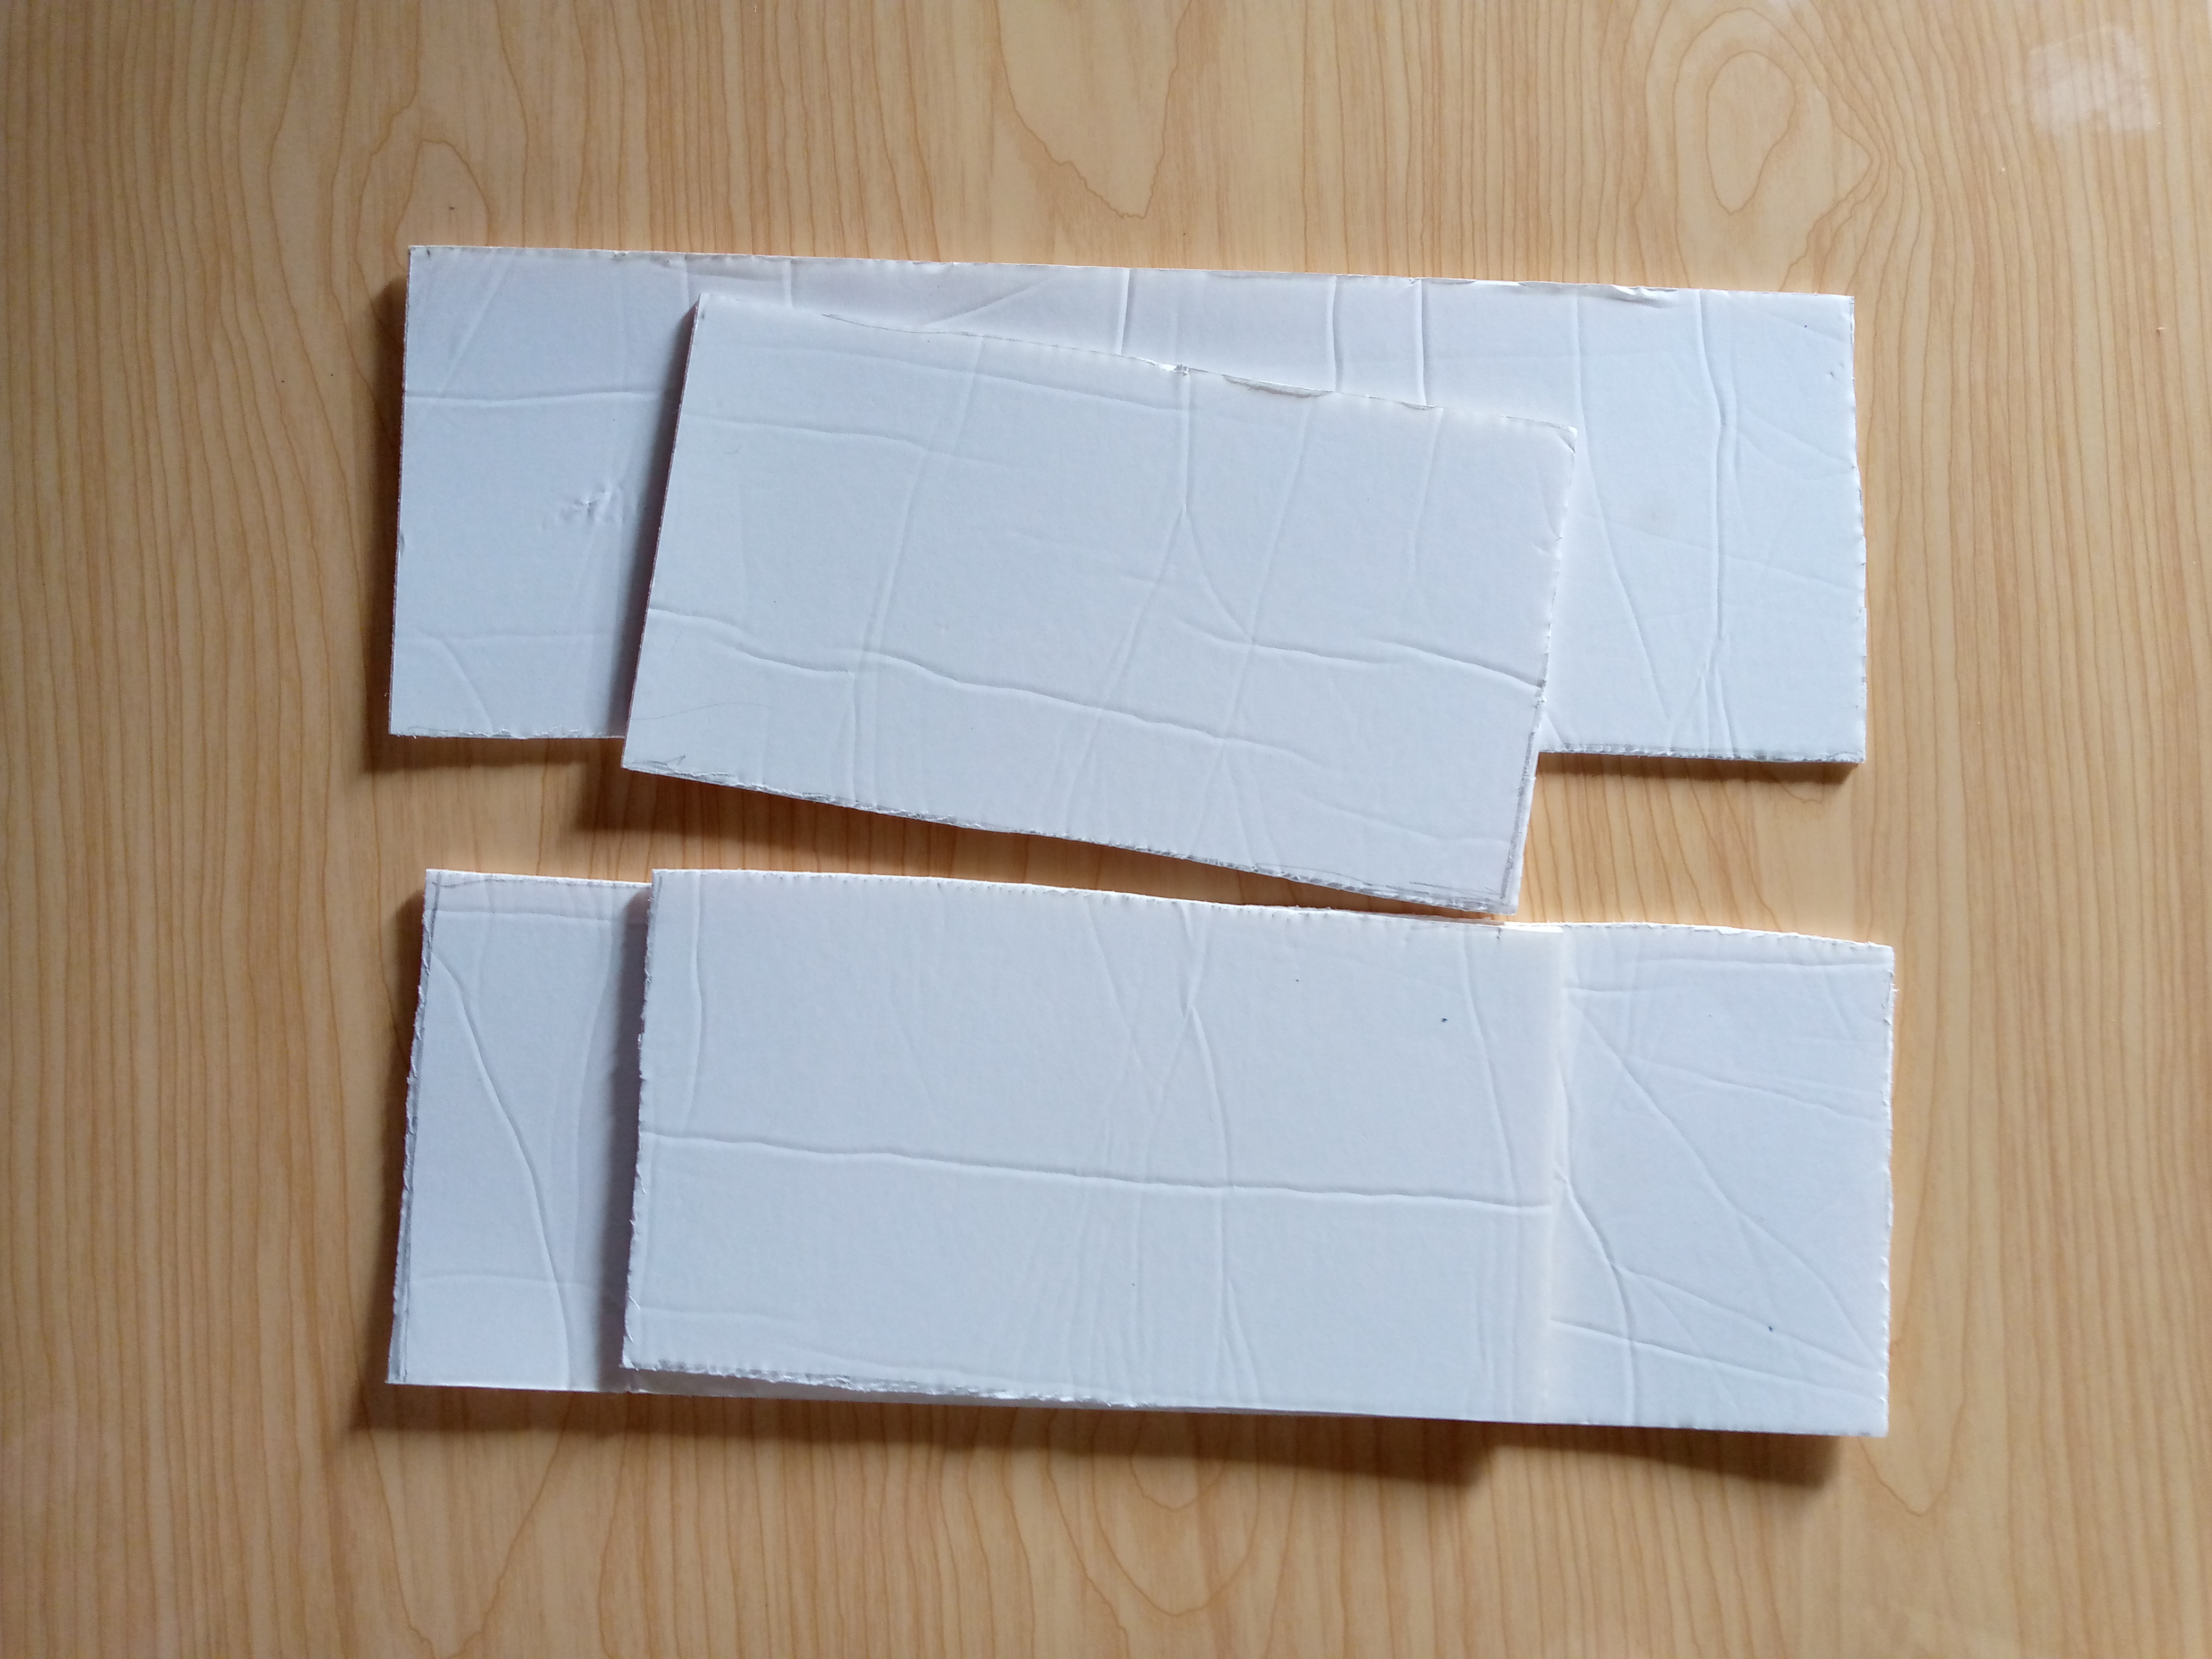
Step 01
I started by marking the measurements of the box on the bottom of the paper, the pieces for the four sides of the box, the rectangular ones on the sides and the smaller ones on the front. In total I cut four pieces out of the paper and cut them out.
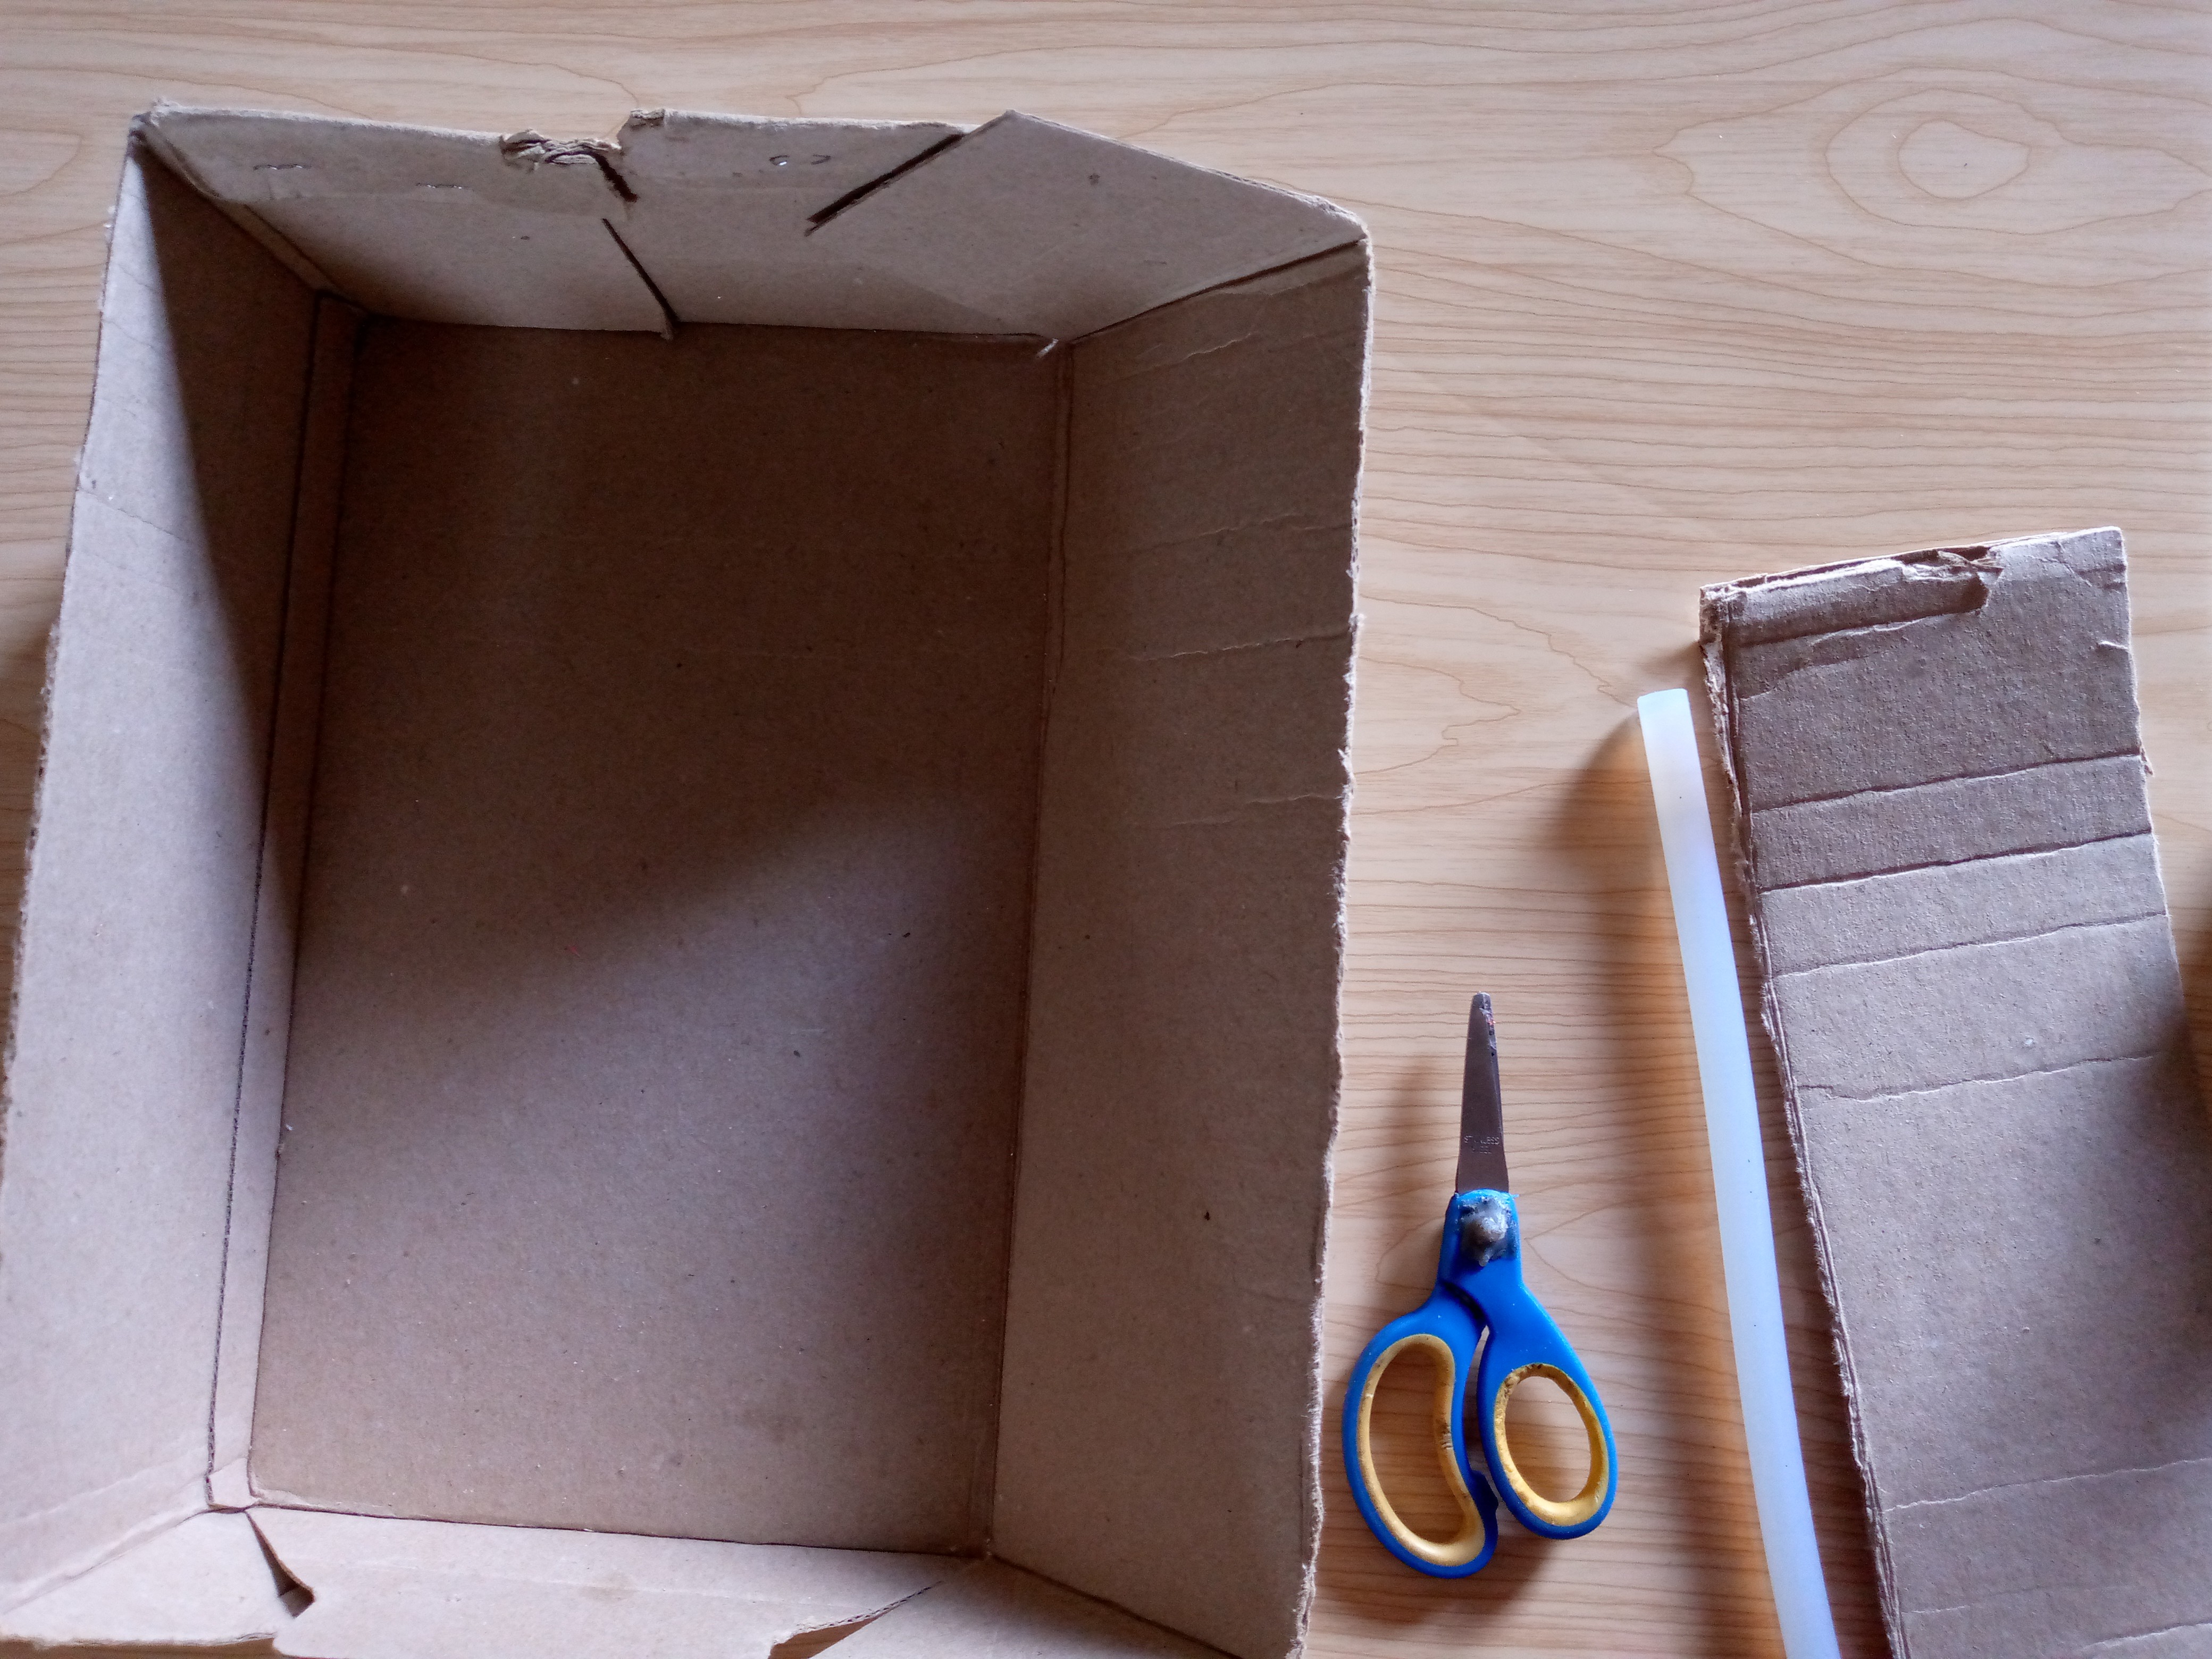
Step 02
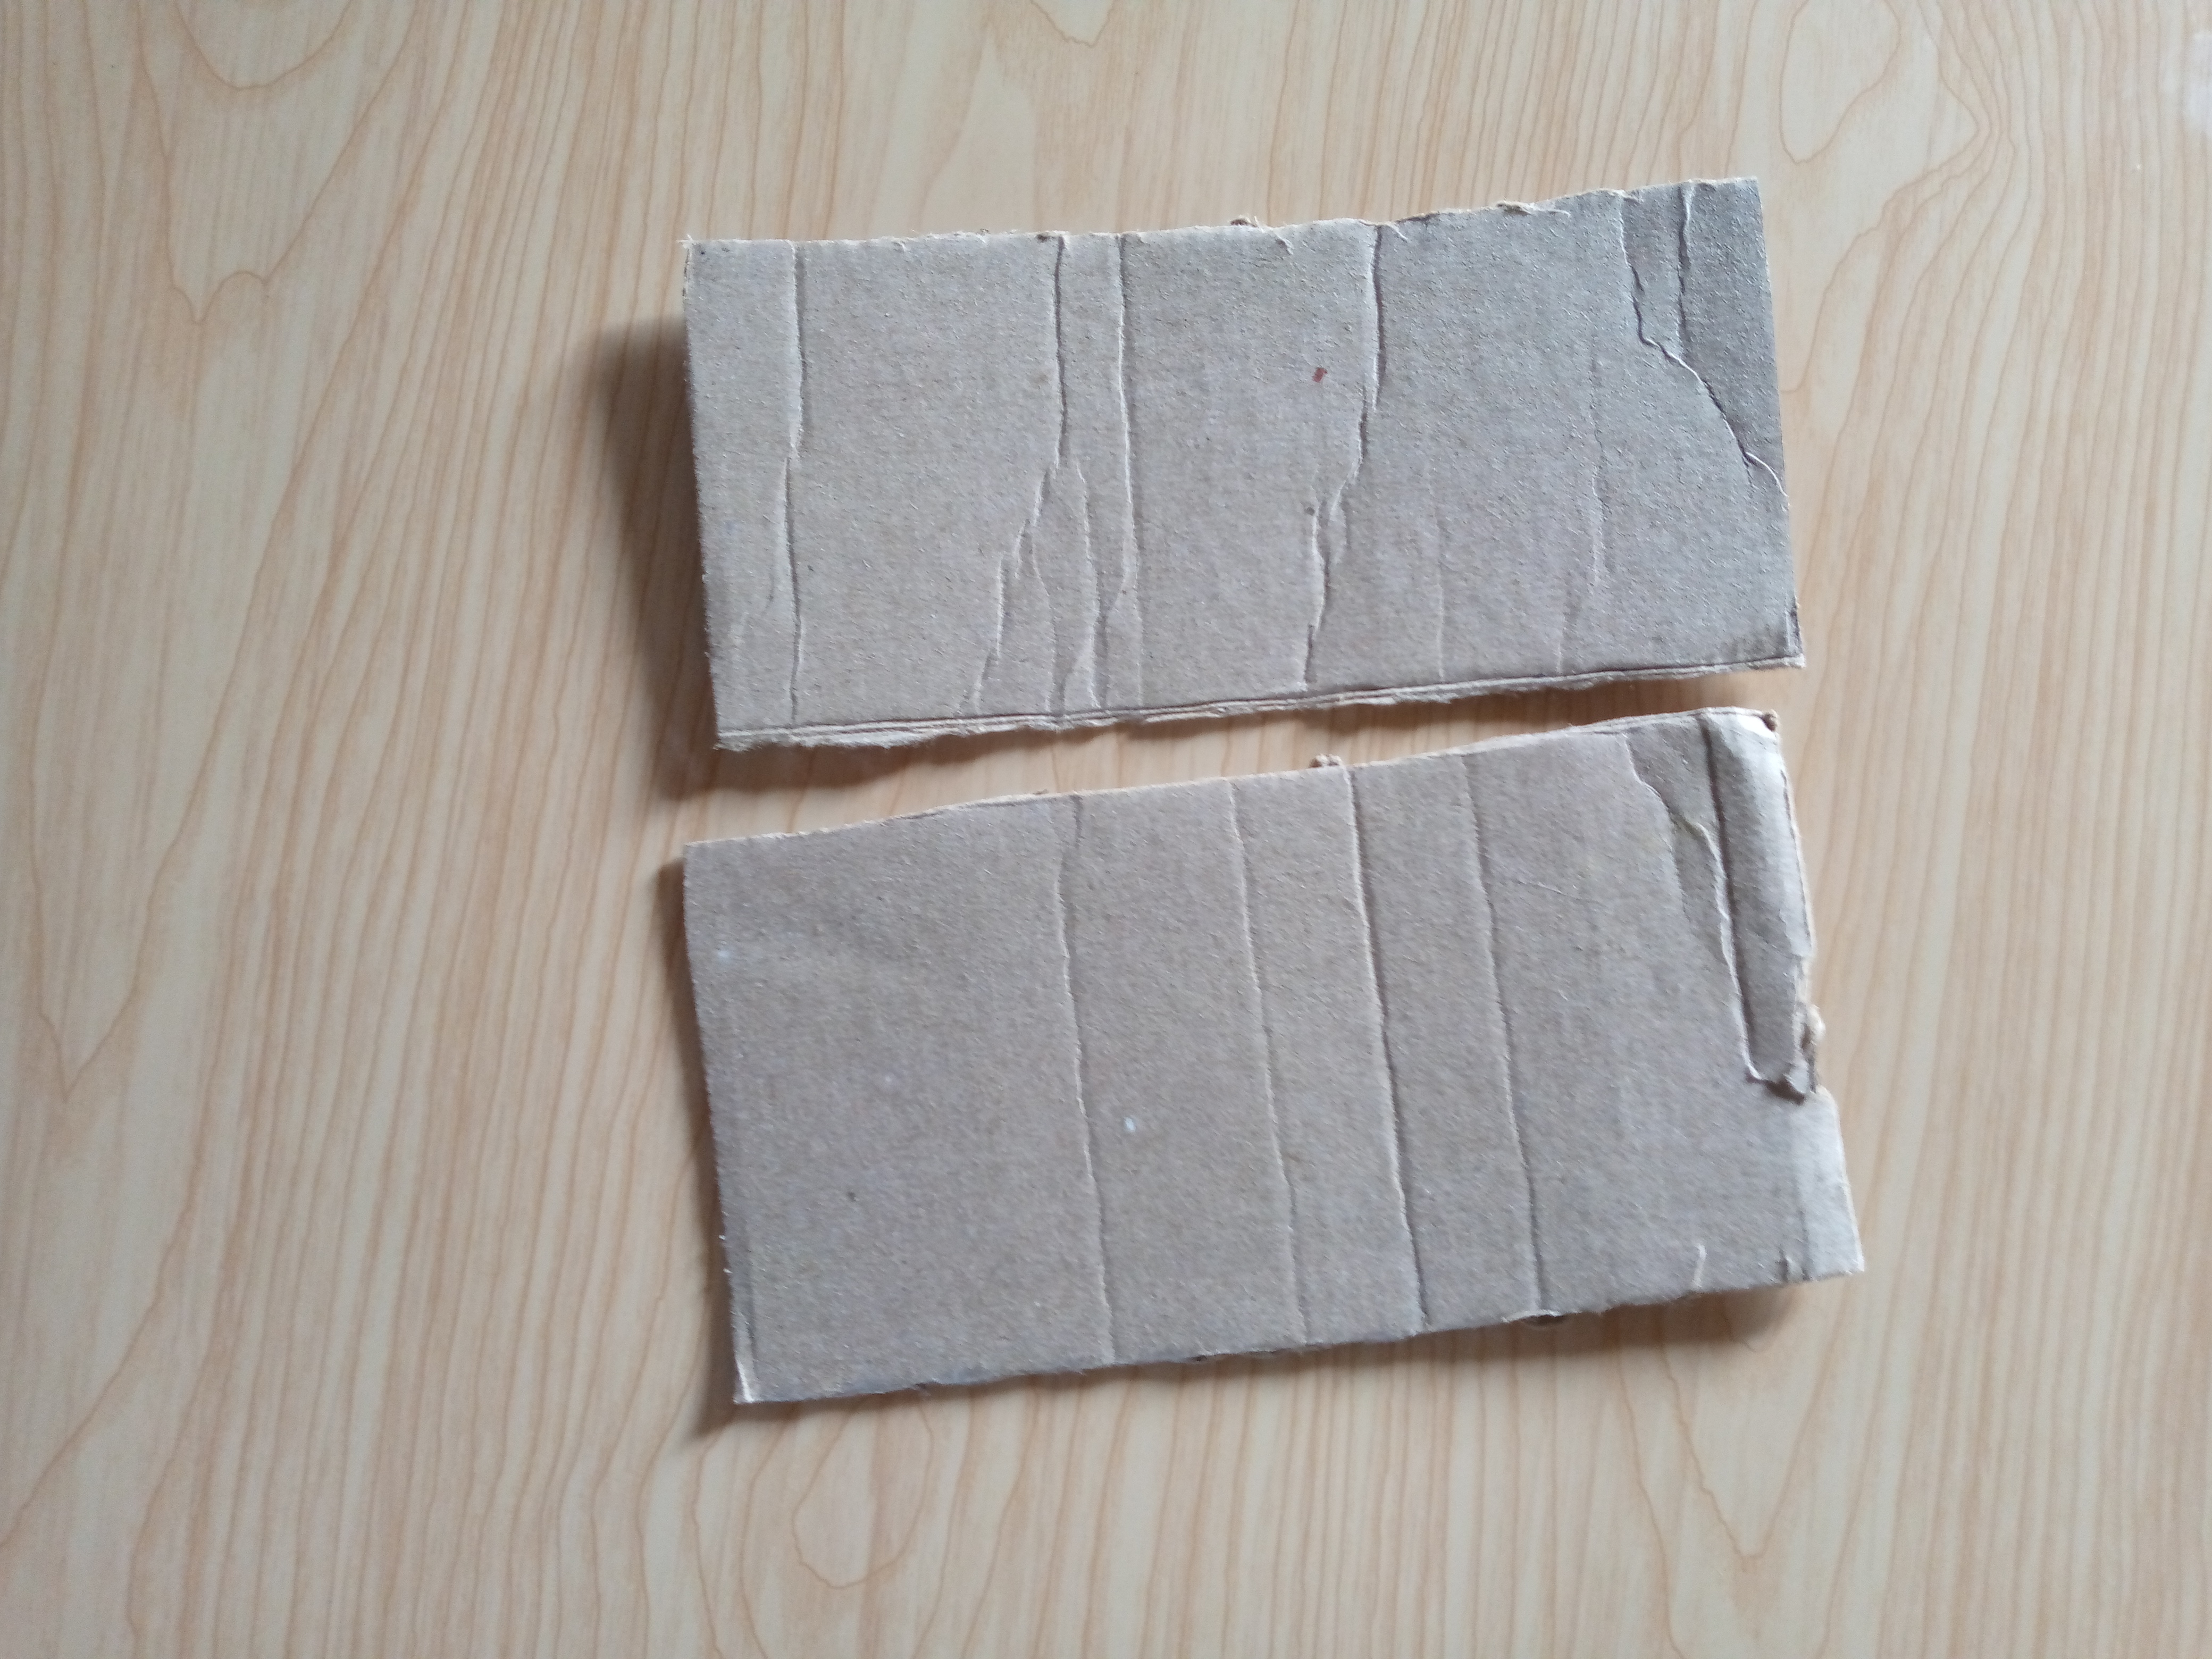
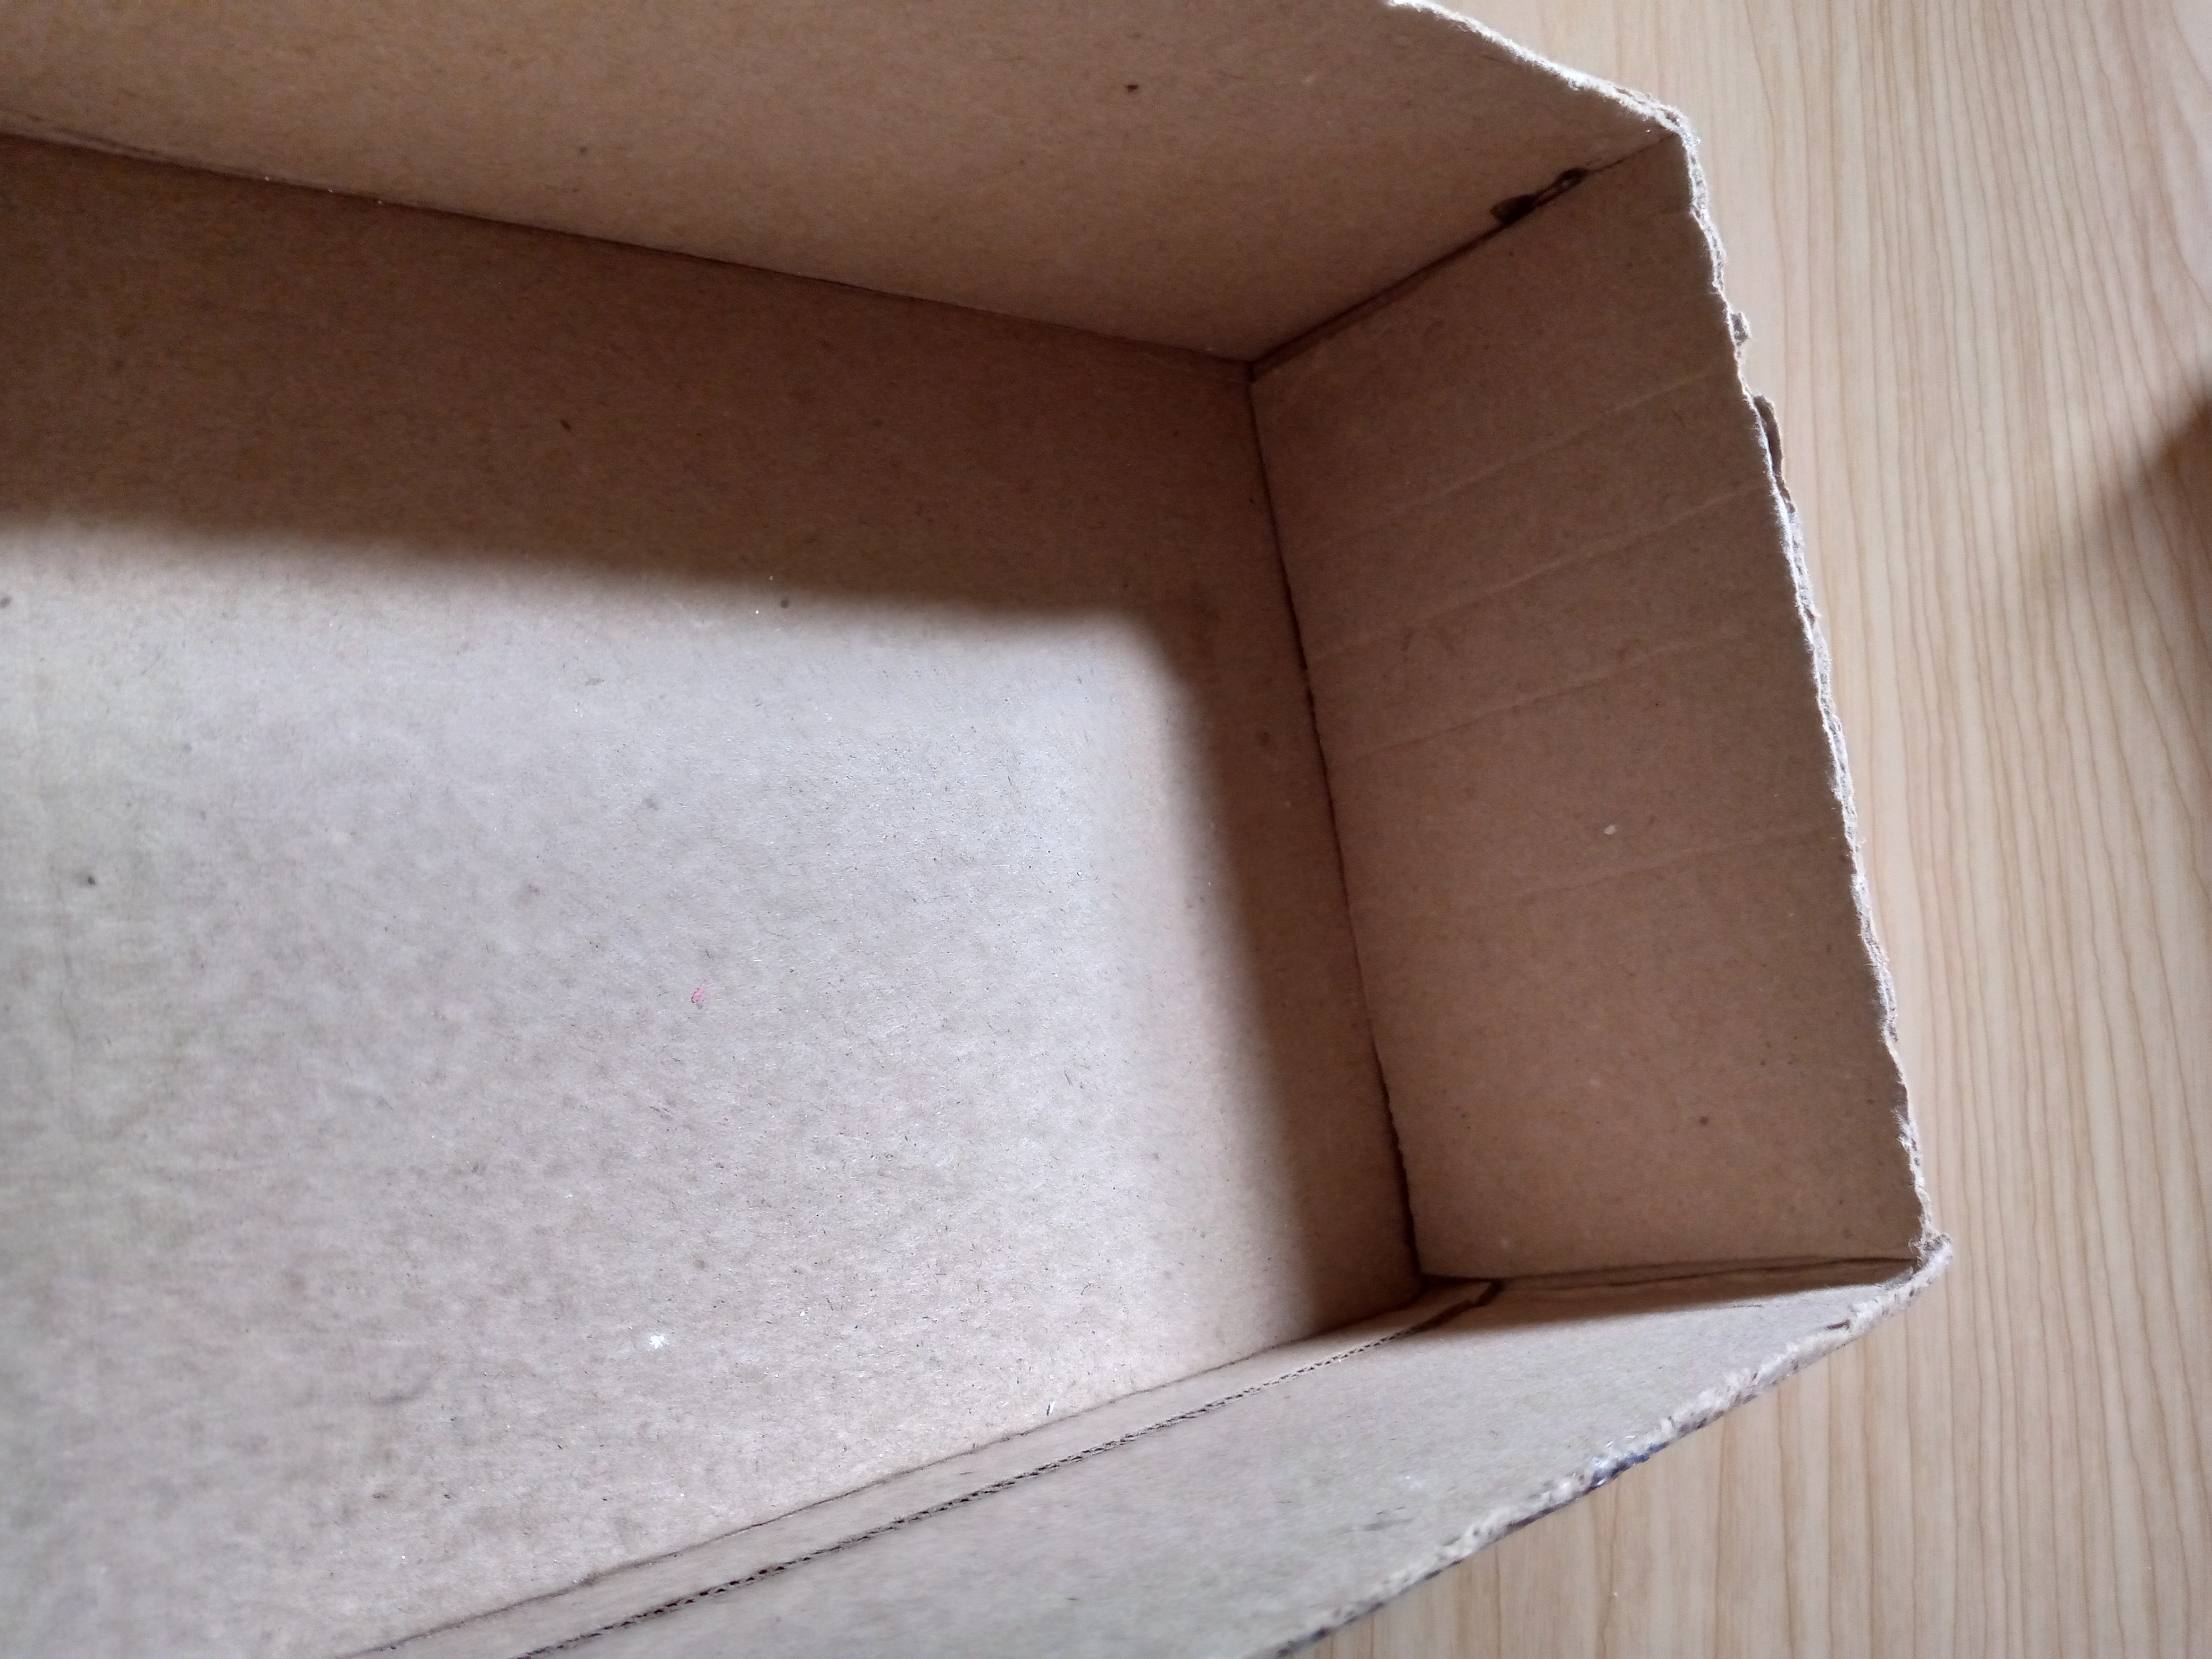
The next step is to cut strips from my white cardboard sheet. We will cut strips 5 cm long or less. Then we will cut two more pieces of cardboard to reinforce the box on the smaller sides, which as you can see there looks weak, so we will glue those cardboard pieces with hot silicone on both sides of the box. We use this silicone because it sticks super fast.
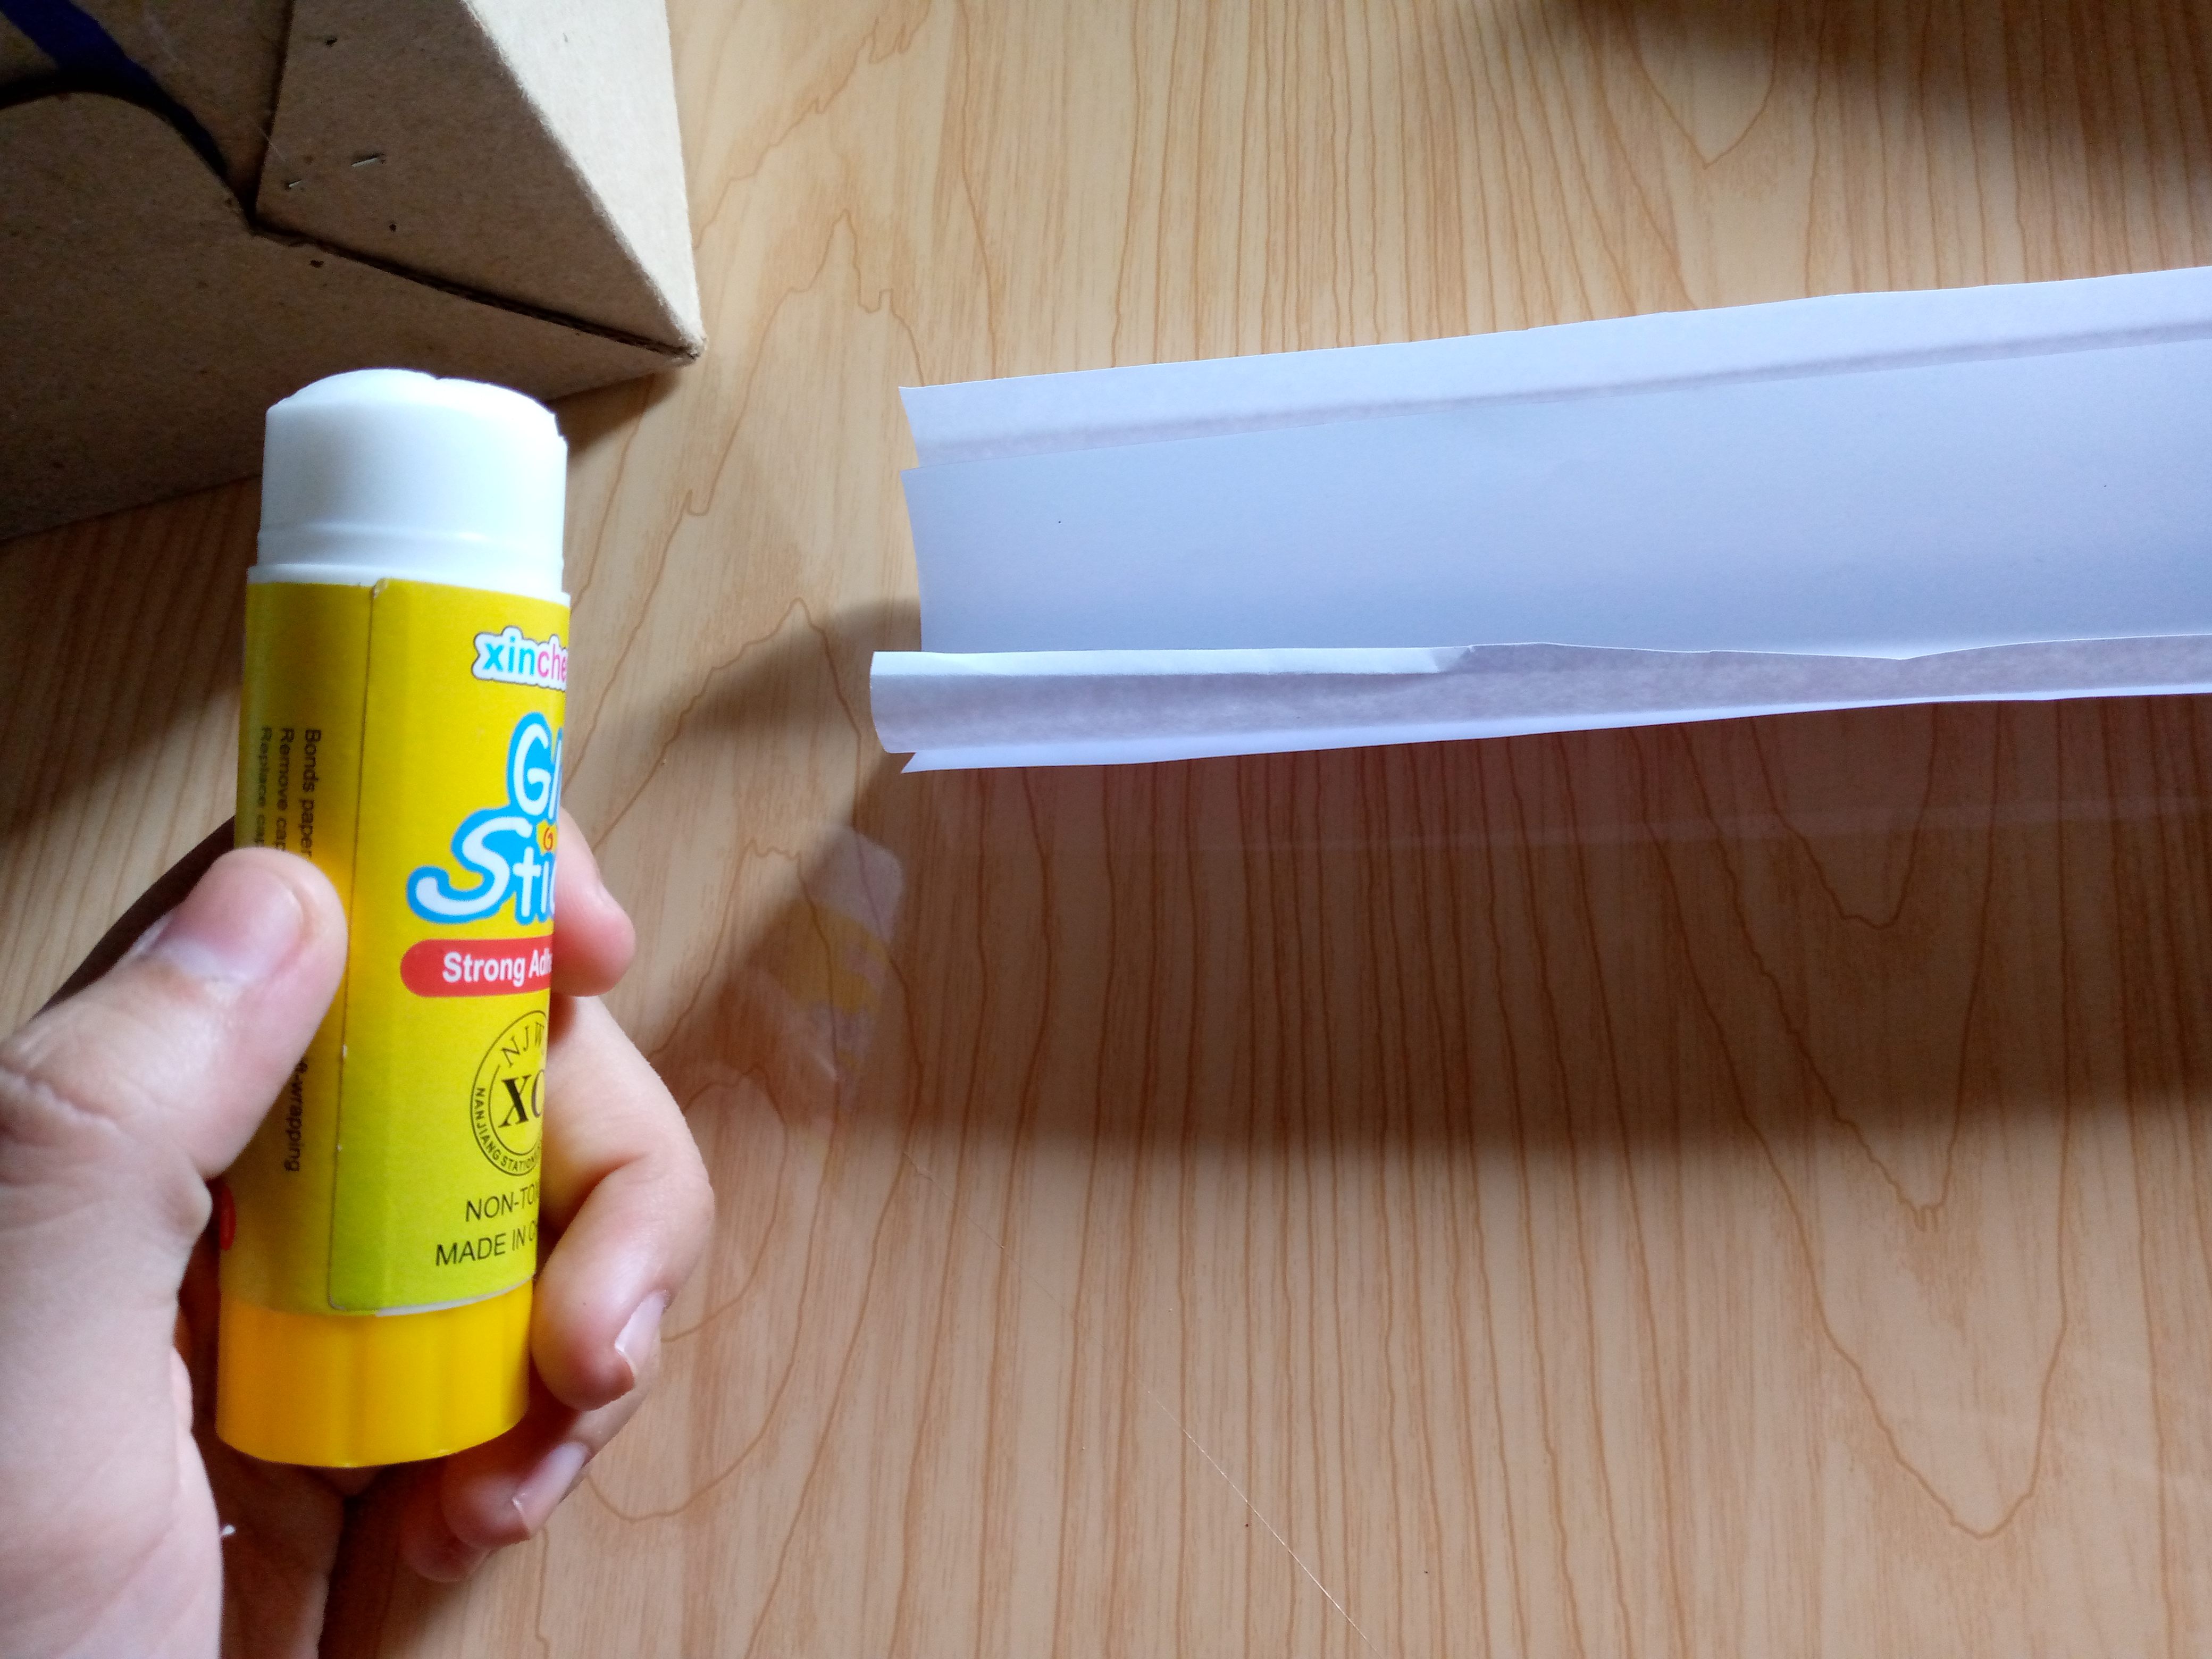

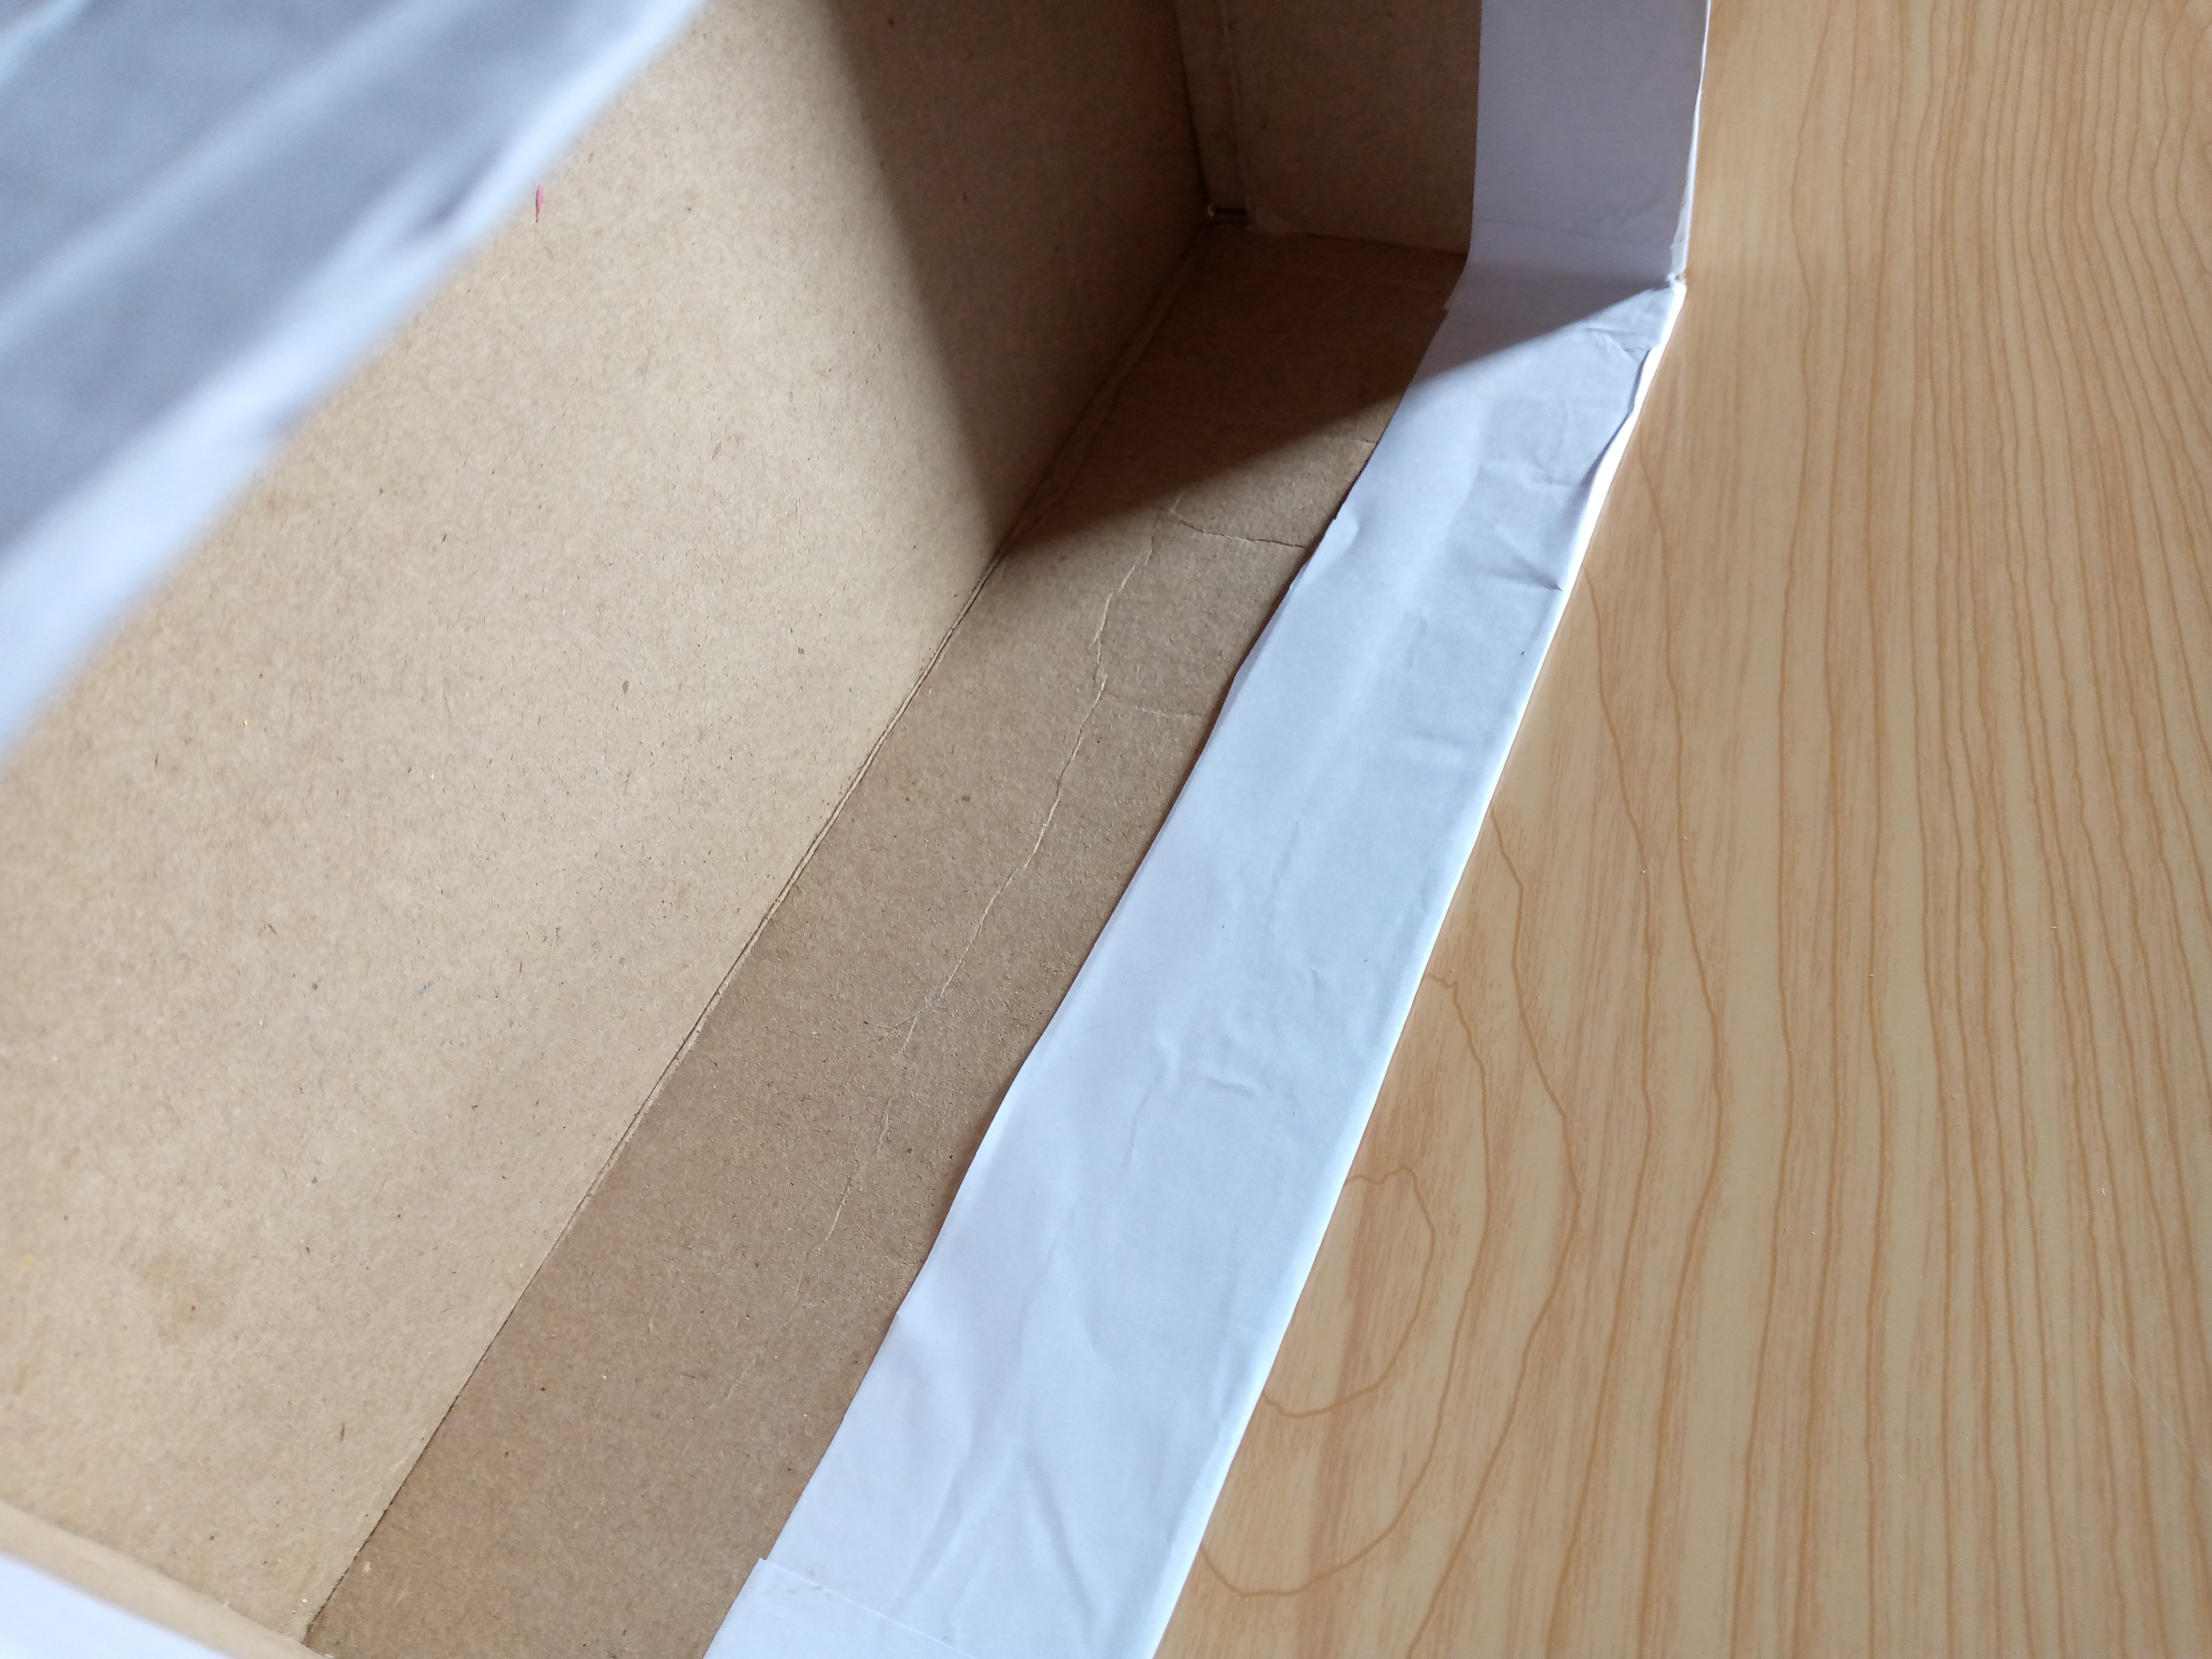
Step 03
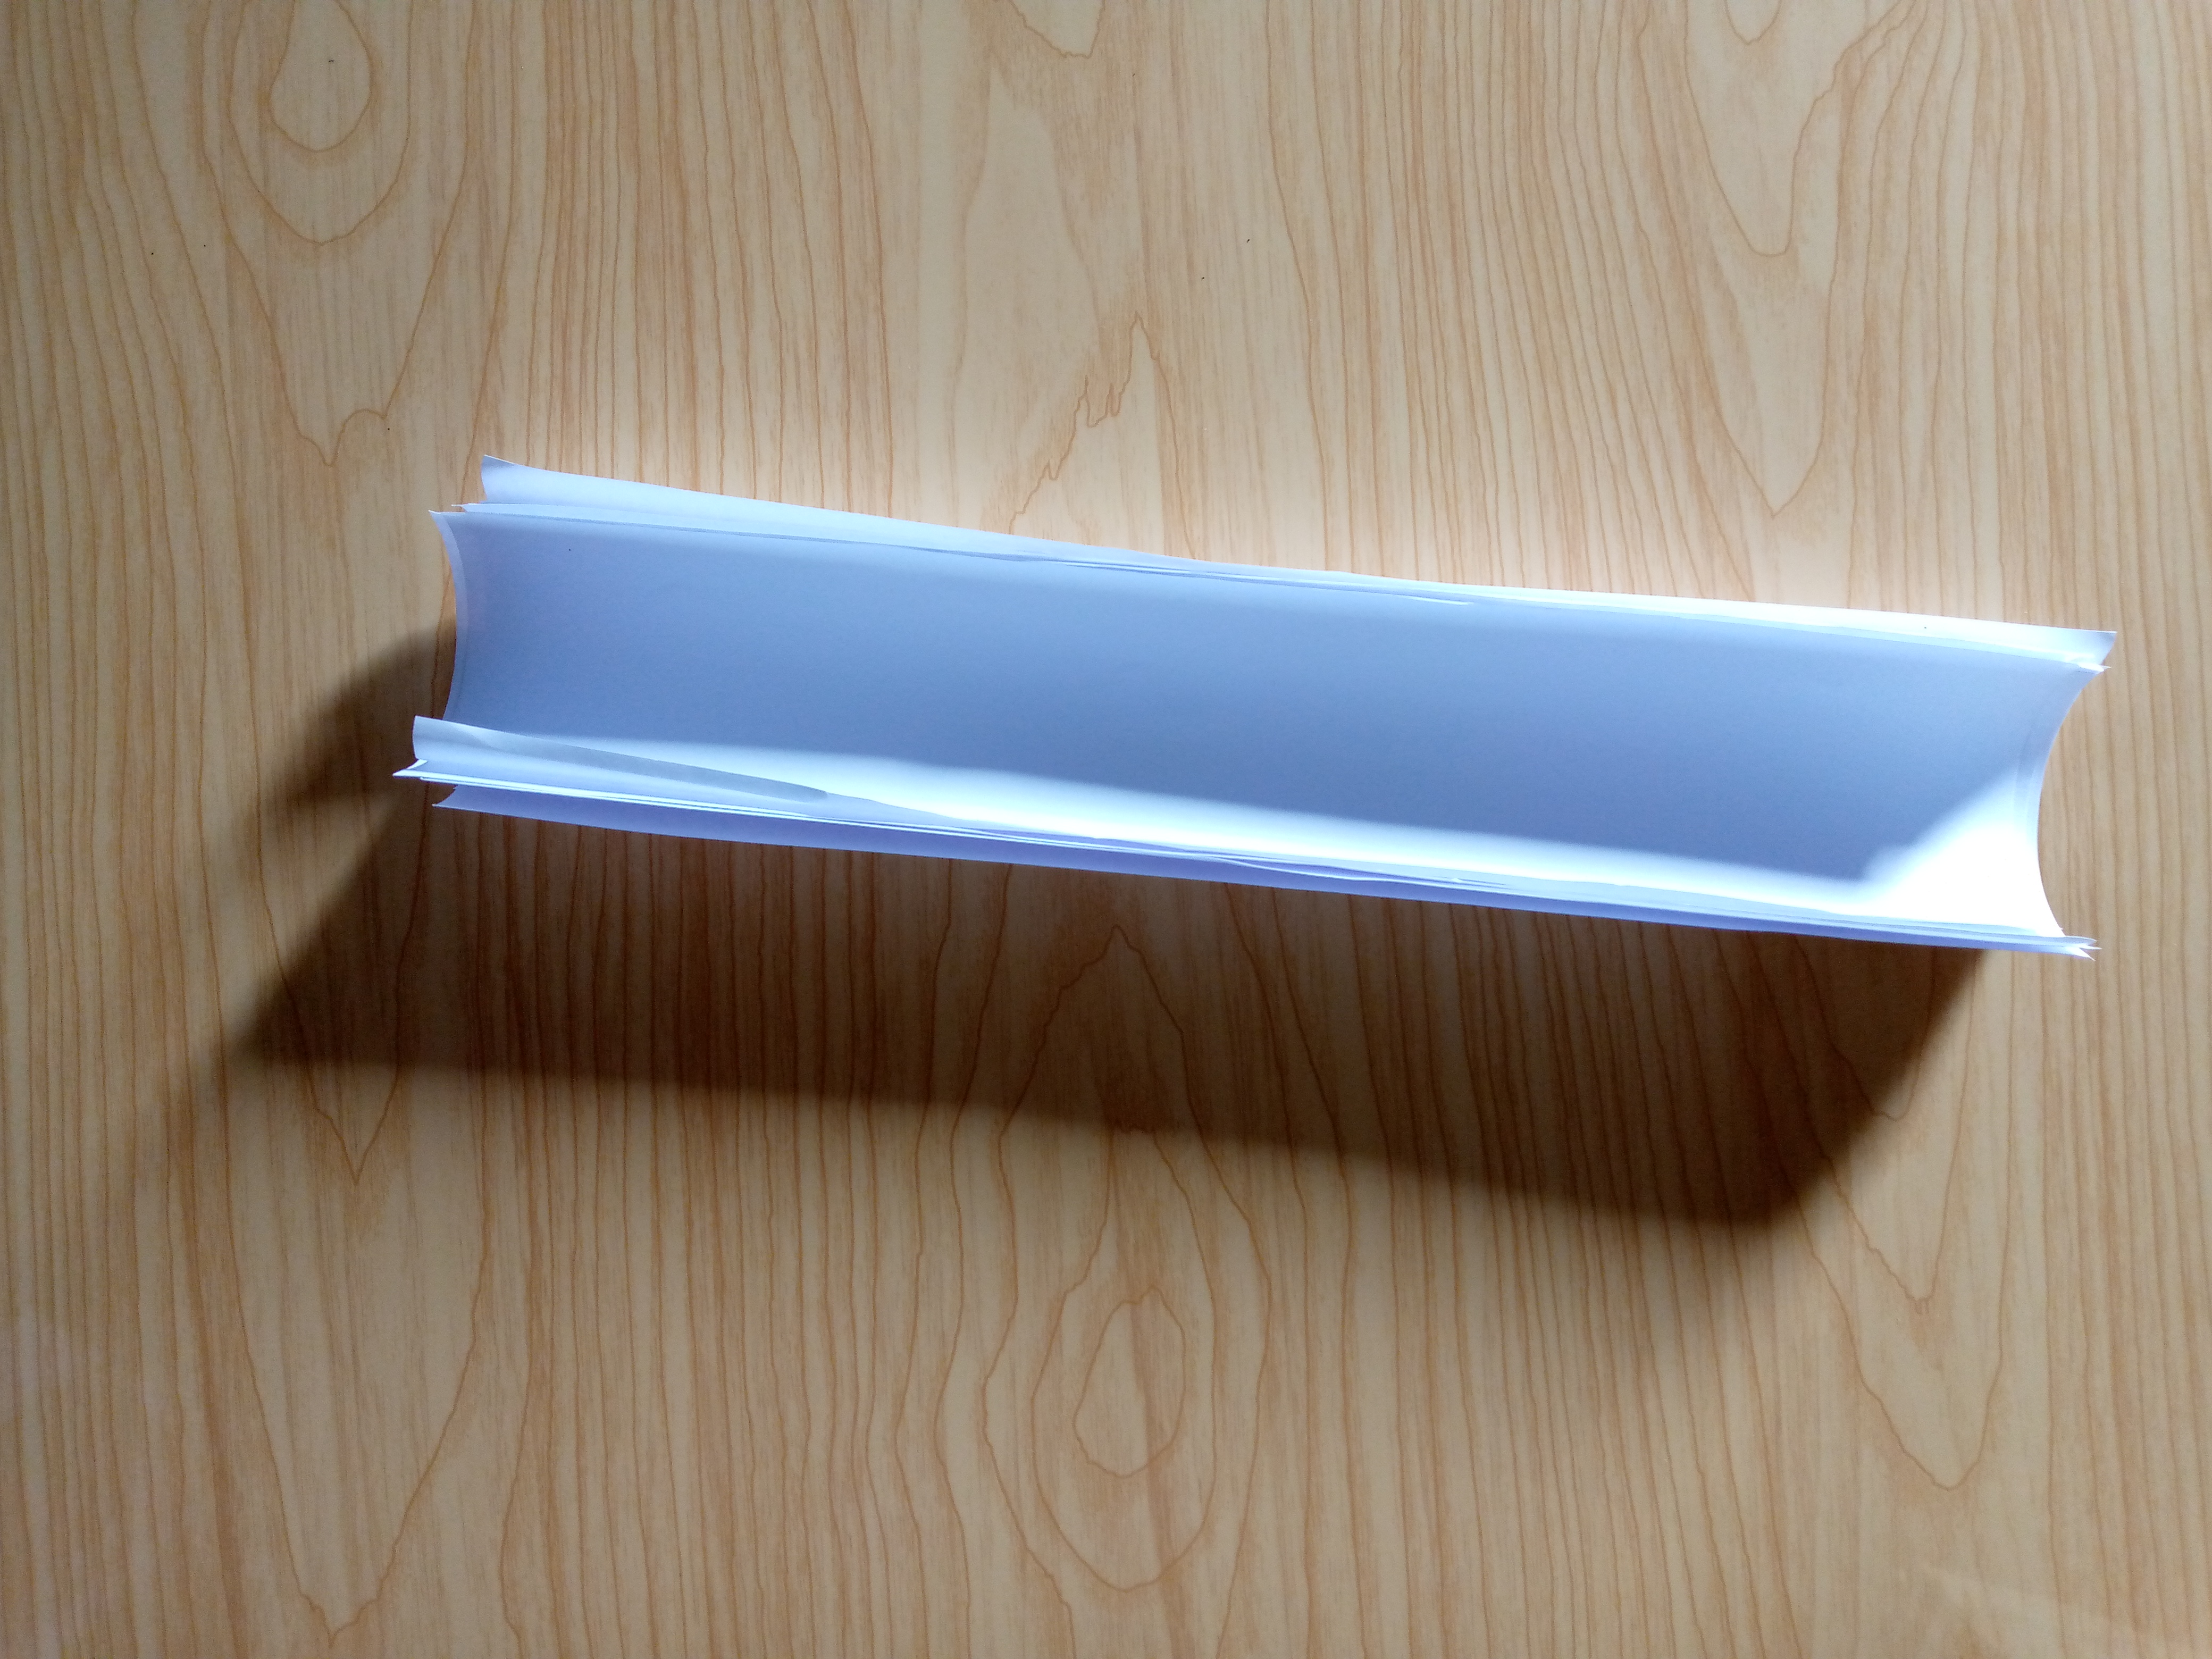
With the strips of paper from the sheet that we made and cut out previously, we will be joining each one together and then we will glue this strip around the entire outline of my box, placing the strip of paper in the middle so that on both sides, outside and inside, the paper can be seen. We will be gluing it with a glue stick so that the sheet is smooth.

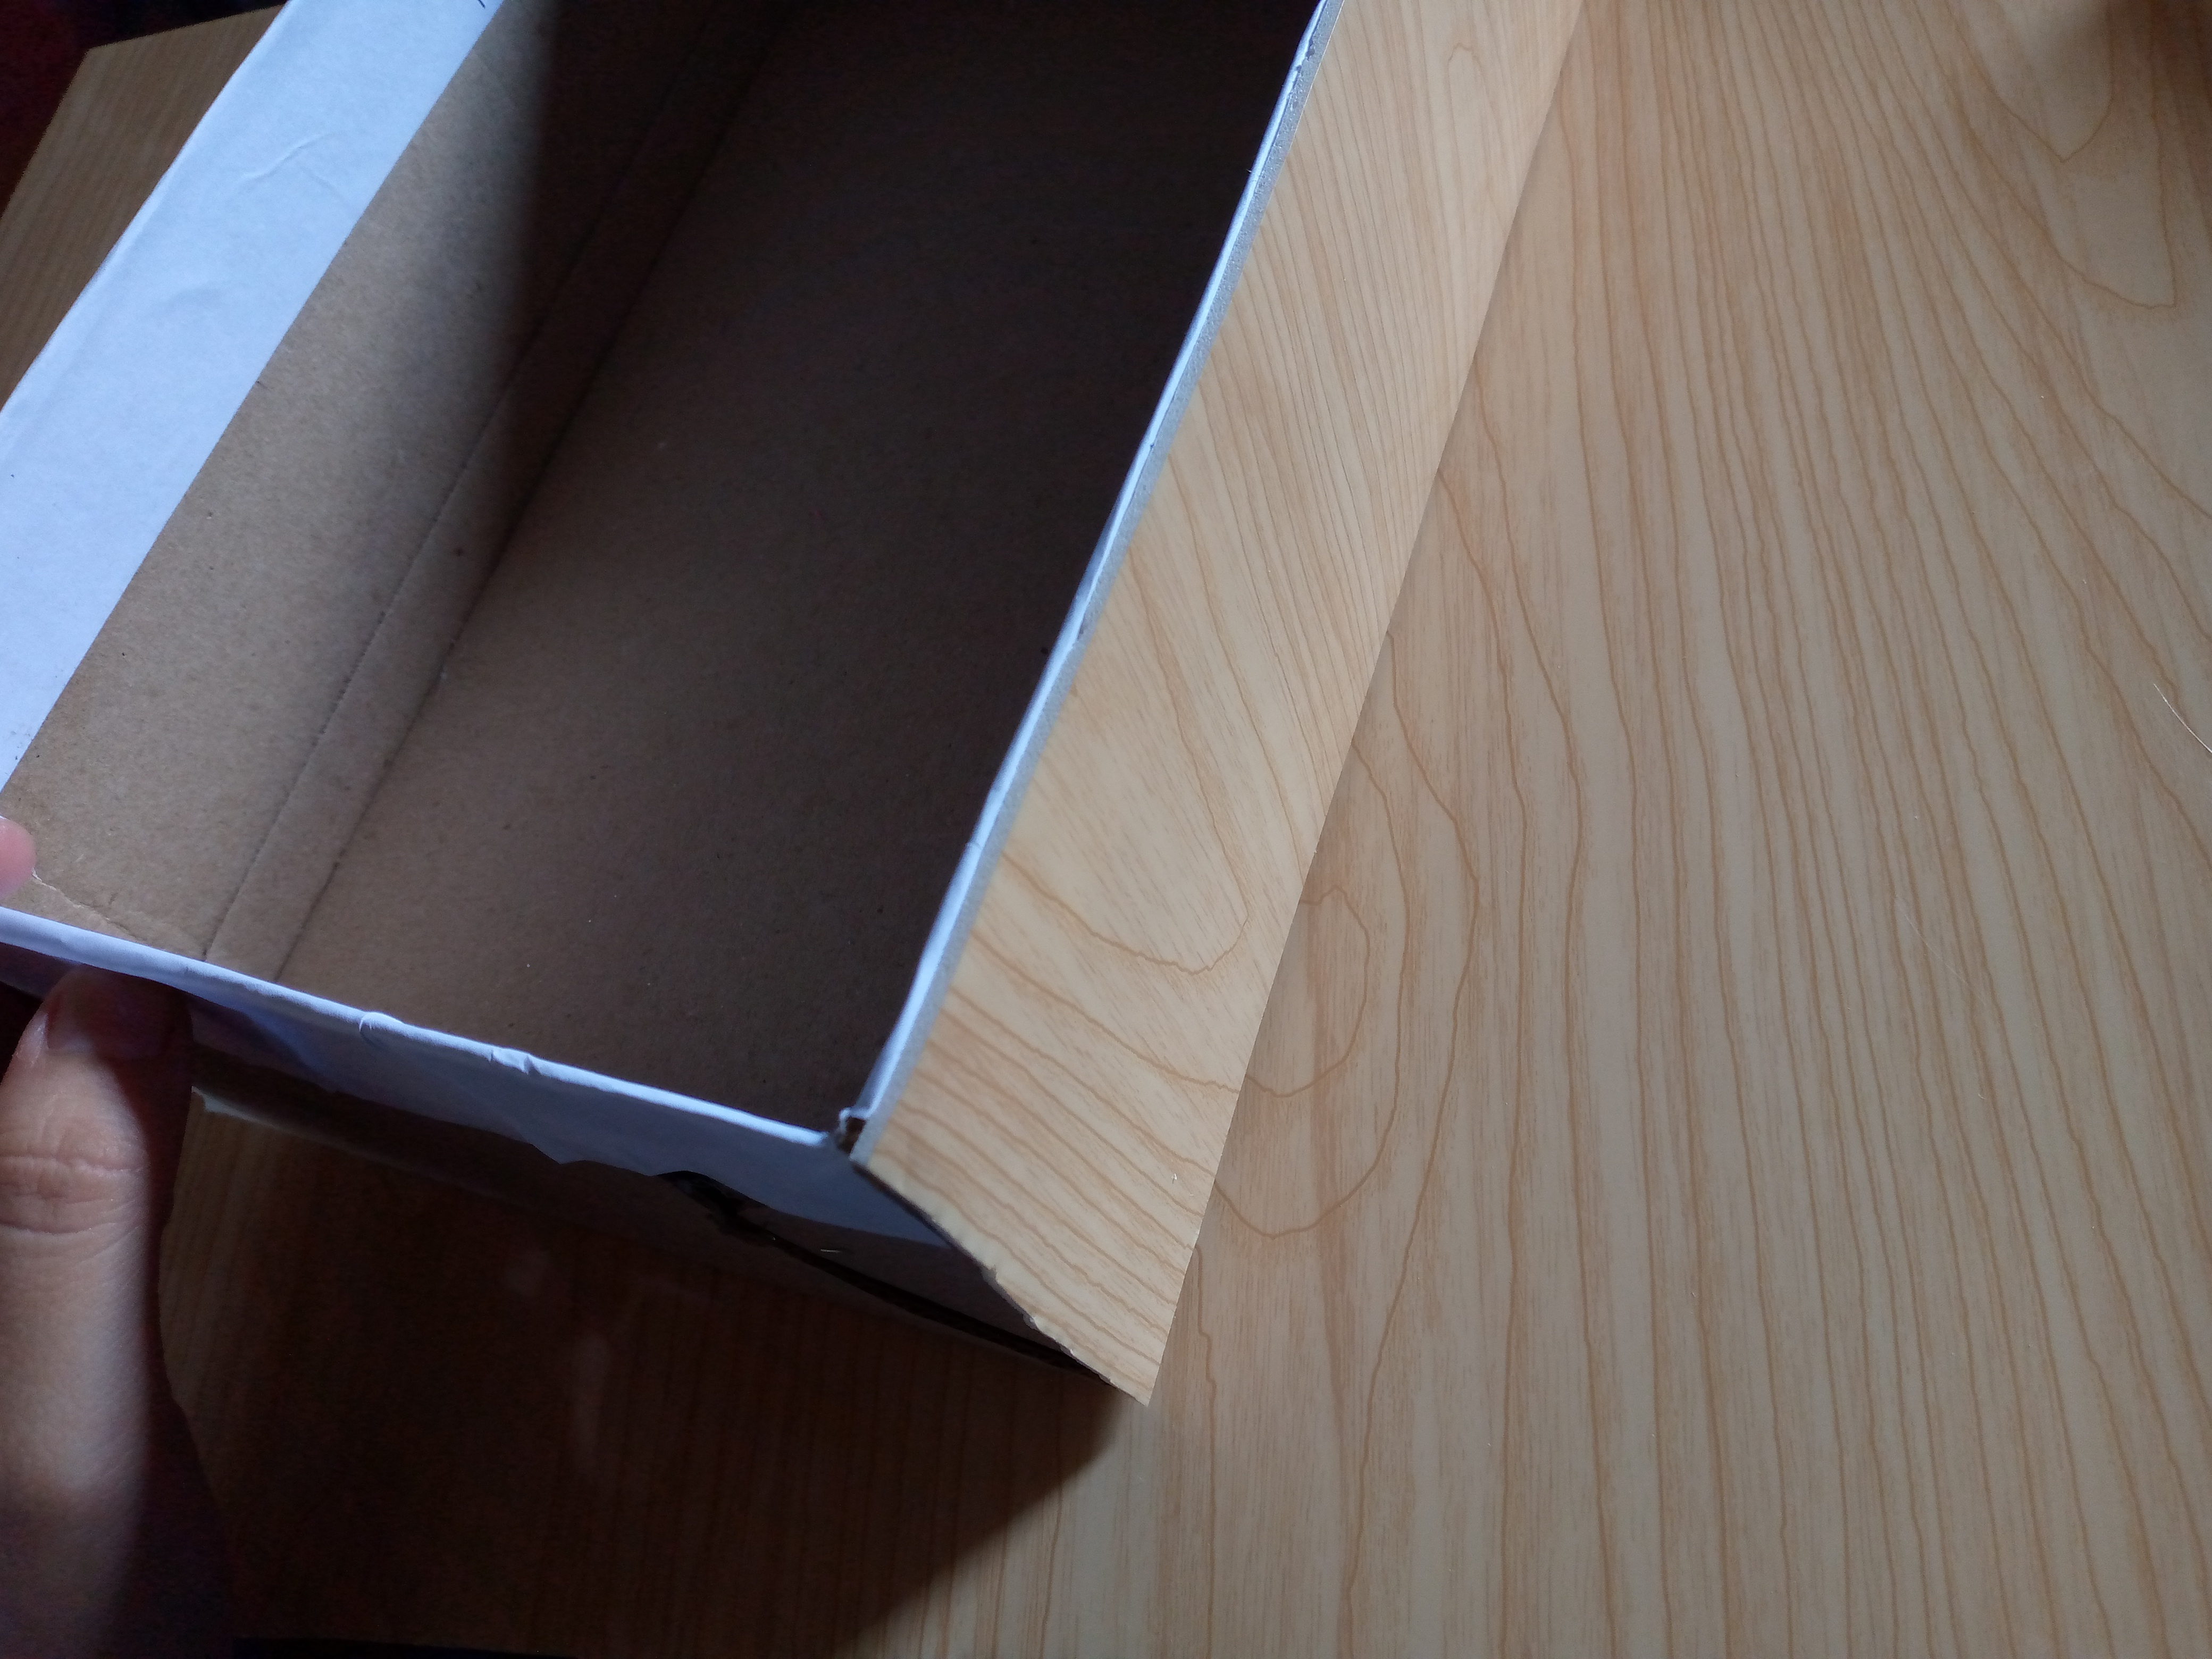
Paso 04
We finish by removing the paper that has the adhesive. Little by little we will stick and remove the paper, we stick it from one end to the other and press with small touches, thus completely covering our beautiful box around the edges and thus we finish.
Resultado//Result:
My friends this is how it has turned out, I hope you liked this easy and simple idea to organize the things you want, you can even use it to place things in the bathroom, make a smaller one however you want to do it here the important thing is to recycle the material and make something beautiful with it, I hope you are encouraged to use this adhesive paper that is being trend these days, of course it is to line the spaces but with it we cover anything else that we want to make look very pretty, just like this little box turned out, this is how we finish this blog and this step by step we will see you in another upcoming blog where I will be showing you how to make your own frames at home easy and simple, don't miss it, see you and have a beautiful afternoon.

Creating things with love 🌷❤️
🦋✨ All the images in this publication are my author ,📱taken with my TecnoSpark8C cell phone |📸Photos edited in PicsArt and Canva. Text translated in Google Translate.
Follow me for more content 📌
Te paso como a mi, una vez que conocí a las chicas quede enamorada de la linda bienvenida y lo mas lindo es el apoyo que hay en la comunidad hacia el contenido que compartimos todas. Llegaste a una muy linda comunidad. Me parece muy oportunidad tu sugerencia de restauración de la caja, yo tengo varias y me pareció una idea muy fácil y útil. Nuevamente bienvenida. Te dejo un abrazo grandototote ☺️
Muchas gracias hermosa me alegra tu comentario 😊así es totalmente de acuerdo con eso,espero te sirva muchísimo para esta y otras ideas.
Saludos!!👋🏻
Congratulations @anne002! You have completed the following achievement on the Hive blockchain And have been rewarded with New badge(s)
Your next target is to reach 900 comments.
You can view your badges on your board and compare yourself to others in the Ranking
If you no longer want to receive notifications, reply to this comment with the word
STOPCheck out our last posts:
De verdad que es muy útil, me gusta bastante como se ve todo organizado.
Muchas gracias 👋🏻
Hola amiga, gracias por pasarte por la comunidad y compartir con nosotros tus ideas para el hogar, sin embargo queríamos comentarte que aunque puedes presentar proyectos decorativos o de utilidad en casa como los que nos has traído a la comunidad, los tutoriales en sí deben ser publicados en comunidades como Hive Diy, Diy Hub y similares, ya que son comunidades que tienen ese nicho específicamente.
Ahora bien, cómo pudieses ajustar tu contenido a la comunidad? Presentando la idea por ejemplo de cómo convertir una caja en un organizador, puedes comentar qué opciones aparte de la técnica que usaste se pueden emplear y mostrar donde la ubicas y cuál es su utilidad, pero el paso a paso y el tutorial por favor compártelo en las comunidades especializadas en ese tipo de contenido.
Linda noche
Feliz noche gracias por aclarar un poco este tema ya que no sabia exactamente si podía o no compartirlo acá porque es algo que también usamos mucho en el hogar y que no puede faltar,pero aclararme esa duda con respecto a compartir o no tutoriales aquí lo agradezco gracias equipo @home.solutions ☺️
Así es, son cosas que usamos en casa, y si lo enfocas de la forma en que te comentamos arriba es una publicación perfecta para la comunidad, pero si se trata de un paso a paso es preferible que sea en las comunidades que ya existen para eso. Es una idea súper útil y sencilla de mantener el orden en casa. Esperamos verte pronto en la comunidad.
Abrazos ♥️
Muchas gracias con el favor de Dios estaré aquí pronto ☺️