ESPAÑOL
Buenos días, hermosa gente de #makeuppower. Les doy un saludo y de nuevo me aparezco por aquí para traerles otro maquillaje que si bien es sencillo sigue siendo muy elegante y bonito.
Últimamente me ha provocado probar colores vibrantes como el azul o el fucsia y en esta ocasión decidí tomar el rojo como color principal en lo que se llama un maquillaje ahumado que es muy popular por cierto y que casi nunca utilizo. Espero que les guste y sin más que agregar pasemos a lo principal.
ENGLISH
Good morning, beautiful people of #makeuppower. I give you a greeting and again I show up here to bring you another makeup that although it's simple is still very elegant and pretty.
Lately it has been provoking me to try vibrant colors like blue or fuchsia and this time I decided to take red as the main color in what is called a smokey makeup which is very popular by the way and that I almost never use. I hope you like it and without more to add let's move on to the main thing.
Maquillaje ahumado Rojo || Smokey Red Makeup
Nota: Antes de comenzar a maquillarme primero lavé mi rostro con jabón facial y quite los residuos usando agua micelar limpiadora, por último aplique una crema hidratante y bálsamo labial.
Note: Before starting to apply makeup I first washed my face with facial soap and removed residues using micellar cleansing water, then applied a moisturizer and lip balm.
Procedimiento || Procedure
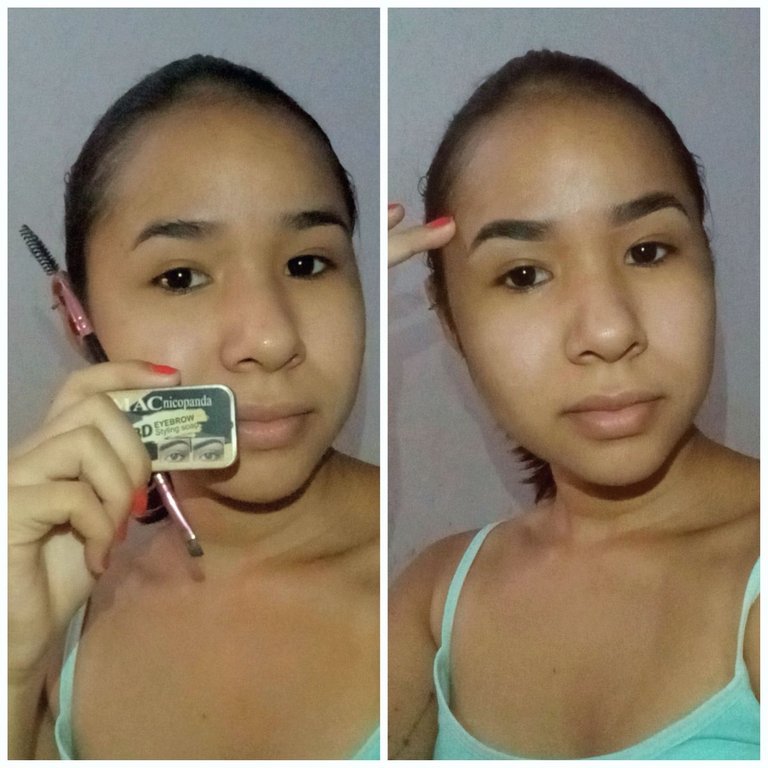
- Primeramente comencé arreglando mis cejas, lo hice de manera "semi-organica" usando el jabón orgánico y un cepillo de cejas les di la forma que quería.
- Con un poco de sombra negra (pero solo un poco) sombree mis cejas para dar el efecto de tenerlas más pobladas y con un poco de corrector y un pincel delgado perfeccione la línea de cada una para luego difuminarlo.
- First I started by grooming my eyebrows, I did it in a "semi-organic" way using the organic soap and an eyebrow brush to give them the shape I wanted.
- With a little black shadow (but only a little) I shaded my eyebrows to give the effect of having them fuller and with a little concealer and a thin brush I perfected the line of each one and then blurred it.
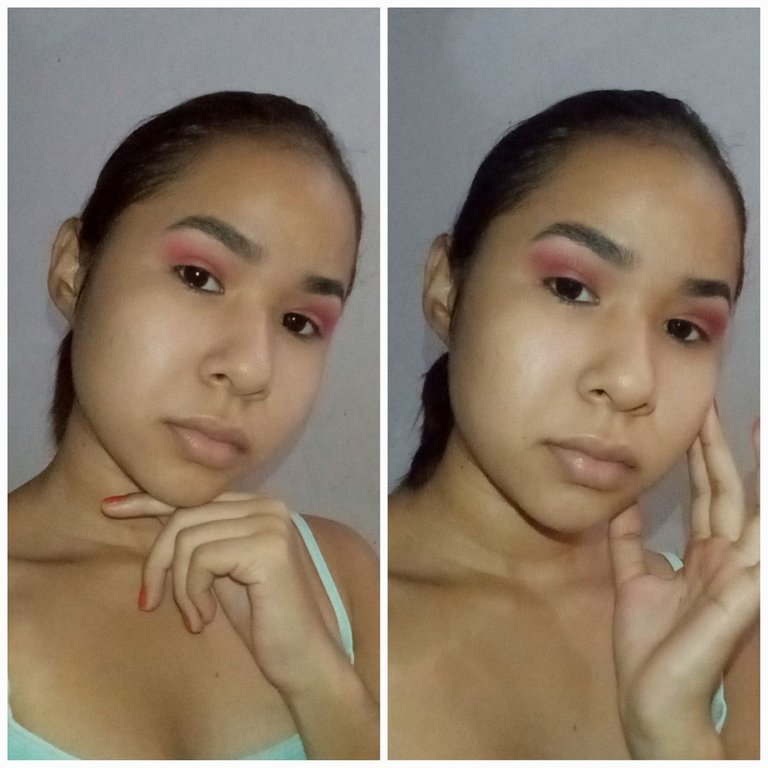
- Para los ojos primero me coloque corrector en los párpados y lo difumine, de esta manera el color se ve más intenso. Y con sombra roja y un pincel redondo me maquille toda la cuenca del ojo hacia arriba usando una cantidad generosa del tono rojo.
- Luego usé un tono marrón satinado y lo coloque por encima de la sombra roja hasta que se mezclaran y de esa manera quedara más profundo el tono.
- For the eyes I first applied concealer on the eyelids and blended it out, this way the color looks more intense. And with red eye shadow and a round brush I used a generous amount of the red shade on the eye socket upwards.
- Then I used a satin brown shade and placed it on top of the red shadow until they blended together to deepen the tone.
- Con corrector realice lo que le llaman un cut crease, coloque corrector en todo mi párpado móvil hasta la línea de la cuenca de manera limpia y luego cubrí bien toda esa área.
- Con un pincel angular y sombra negra hice una pequeña línea inclinada inclinada final de mi ojo de la manera en que lo hago para los delineados normales.
- With concealer I did what they call a cut crease, I put concealer all over my eyelid up to the socket line cleanly and then covered that area well.
- With an angled brush and black shadow I made a small slanted slanted line at the end of my eye the way I do for normal eyeliners.
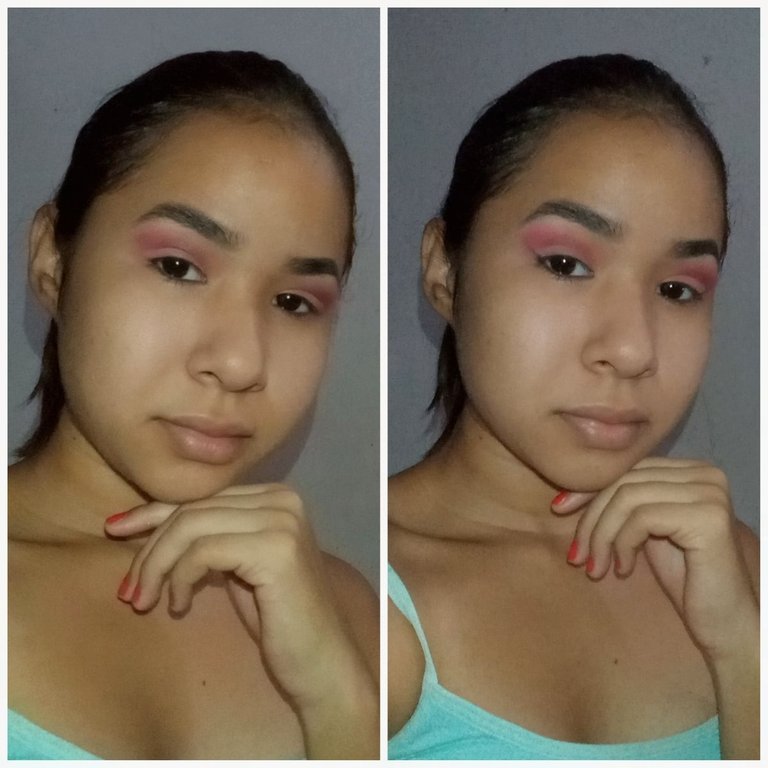
- Con un pincel (o con el dedo también) comencé a pigmentar de sombra negra la línea de las pestañas siguiendo la pequeña línea que hice antes y difuminando en la parte de arriba para evitar que se vea marcado.
- Con un pincel redondo seguí esta secuencia pero hasta llegar a la cuenca del ojo y difuminando hacia adentro, de manera que quedara un degradado de negro a rojo al final de mi ojo y aplicando pequeños toques de sombra negra hasta tener la intensidad que quería. Con corrector perfile la línea final del maquillaje y por último coloque sombra negra en las pestañas inferiores.
- With a brush (or with my finger as well) I started to pigment black shadow on the lash line following the small line I did before and blurring on the top to avoid it to look marked.
- With a round brush I followed this sequence but until I reached the eye socket and blending inwards, so that there was a gradient from black to red at the end of my eye and applying small touches of black shadow until I had the intensity I wanted. With concealer I outlined the final line of the makeup and finally I applied black shadow on the lower lashes.
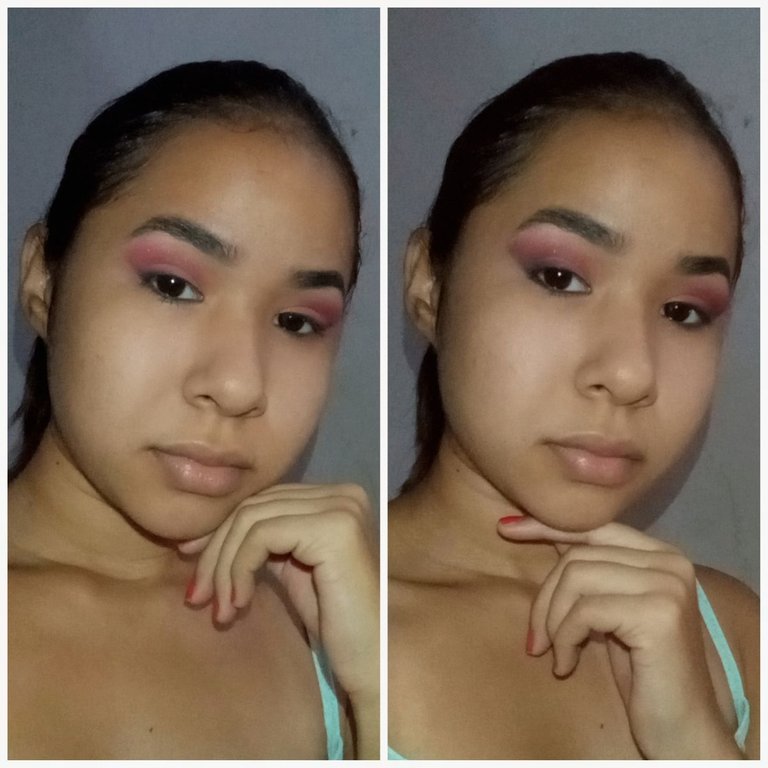
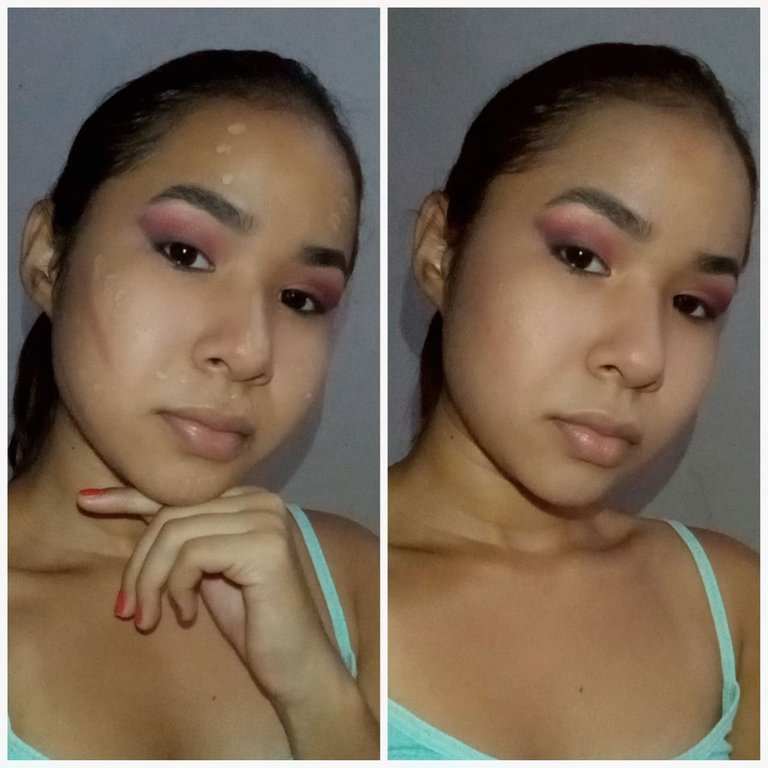
- Para culminar el maquillaje me realicé un perfilado en el rostro usando base, corrector claro y corrector marrón conforme a la forma de mi rostro.
- Procedí a difuminar bien con una esponja y como toques finales coloque iluminar encima de mis pómulos y en la punta de mi nariz.
- To finish the makeup I outlined my face using foundation, light concealer and brown concealer according to the shape of my face.
- I proceeded to blend well with a sponge and as final touches I placed highlight on top of my cheekbones and on the tip of my nose.
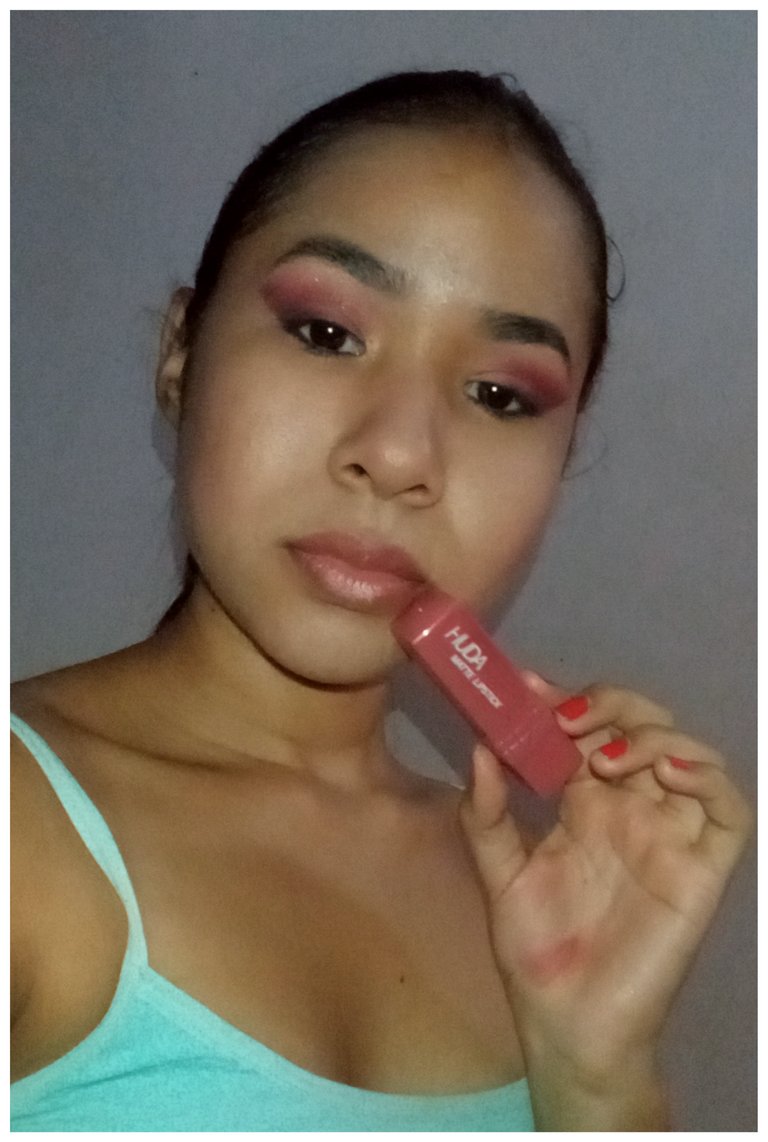
- Como último detalle, pinté mis labios con un labial rosa delicado. No quise usar un tono muy fuerte porque sentí que le quitaría protagonismo a los ojos.
- As a last detail, I painted my lips with a delicate pink lipstick. I didn't want to use too strong a shade because I felt it would take away from the eyes.
Resultado || Result
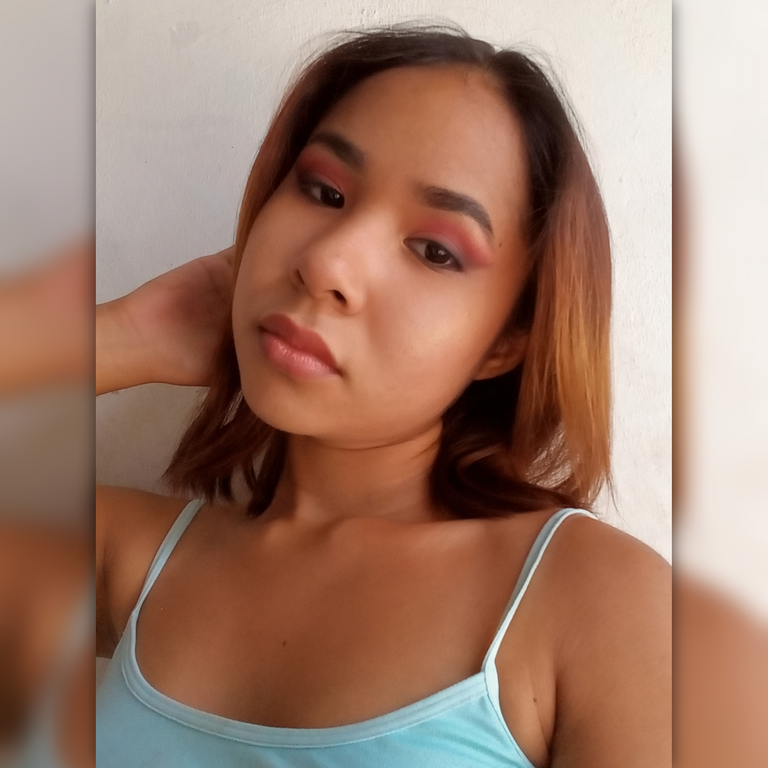
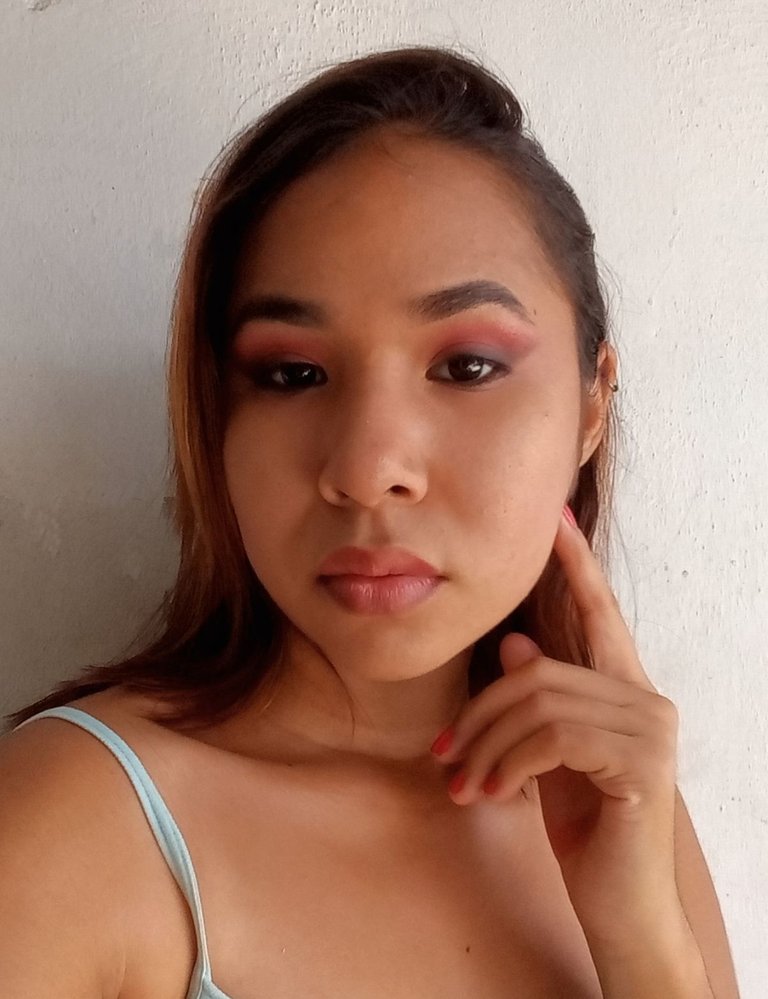
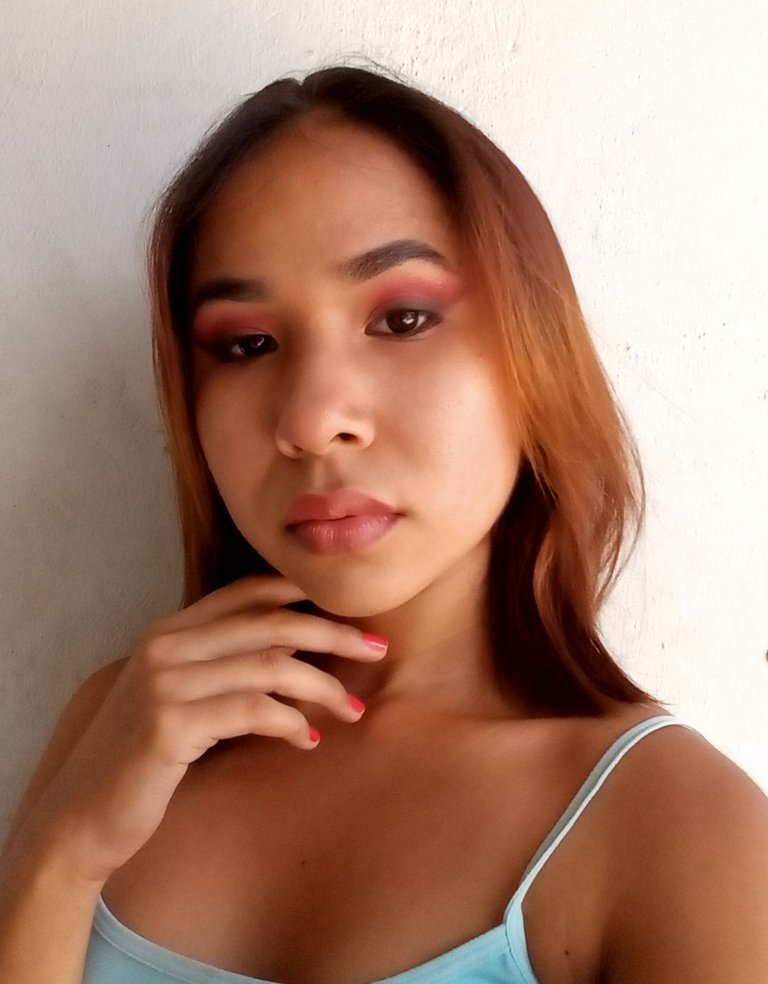
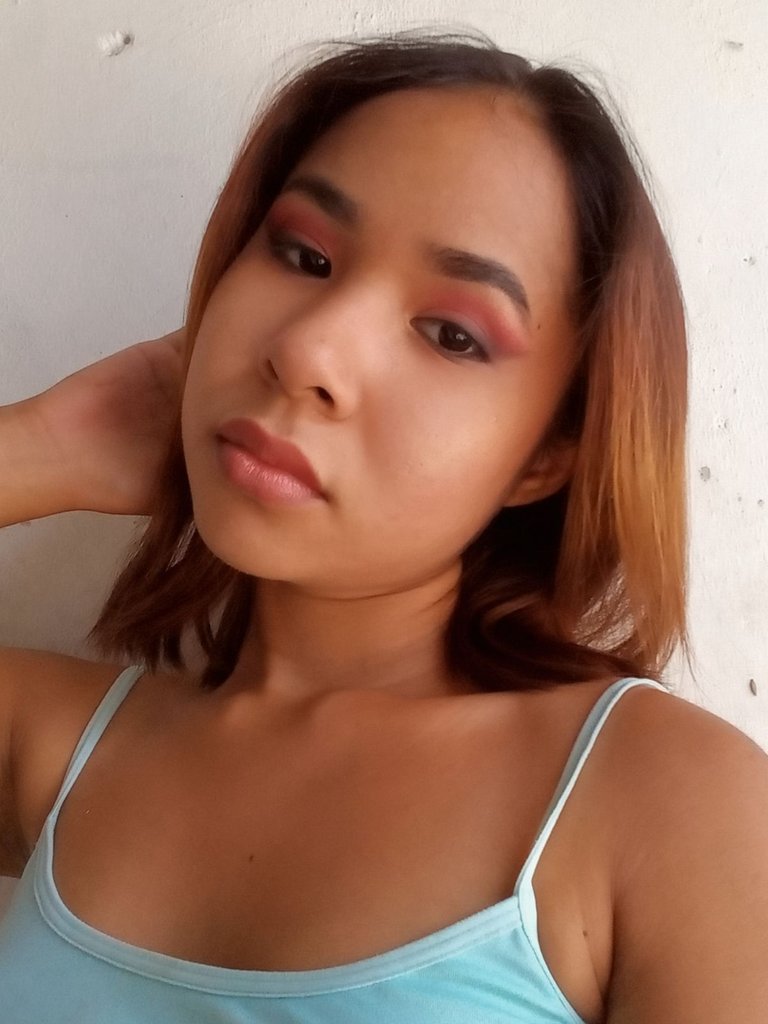
Y aquí tienen el resultado de todo el procedimiento anterior.
Si se preguntan porque la piel se me ve diferente es muy simple: las fotos del Procedimiento las tomé en mi cuarto usando flash para captar los detalles y las fotos del resultado las tomé usando luz natural sin flash.
And here you have the result of all the above procedure.
If you are wondering why my skin looks different it's very simple: the procedure photos were taken in my room using flash to capture the details and the result photos were taken using natural light without flash.
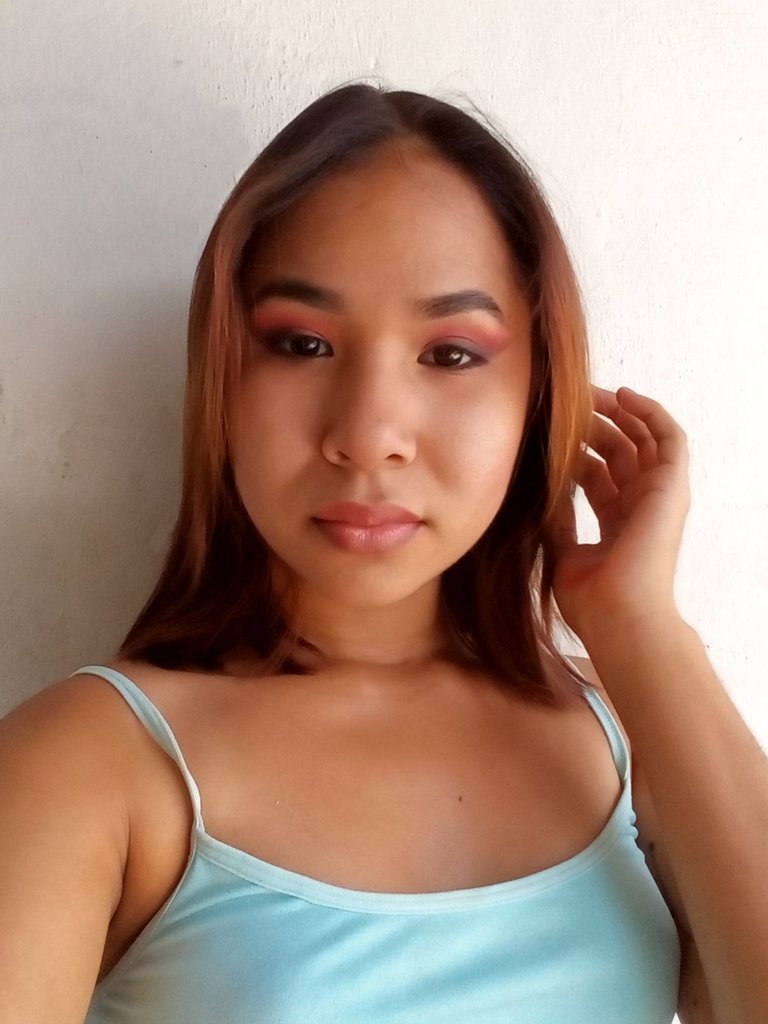
El perfilado no es muy notorio porque no lo aplico para que sea tan evidente, me gusta que sea sutil y más aún porque lo que debe resaltar aquí son los ojos.
The outlining is not very noticeable because I don't apply it to be so evident, I like it to be subtle and even more so because what should stand out here are the eyes.
Muchas gracias por leer, nos vemos pronto! || Thank you so much for reading see you son!

~Yoha