Hello friends of #hiveblog I hope you are super well, I missed sharing my work with you, but I am absent for a few days due to internet reasons, but I am back with all of you.
Hola amigas de #hiveblog Espero se encuentren super bien, extrañaba compartir mi trabajo con ustedes, pero me ausente unos días por motivo internet, pero ya estoy devuelta con todos ustedes.
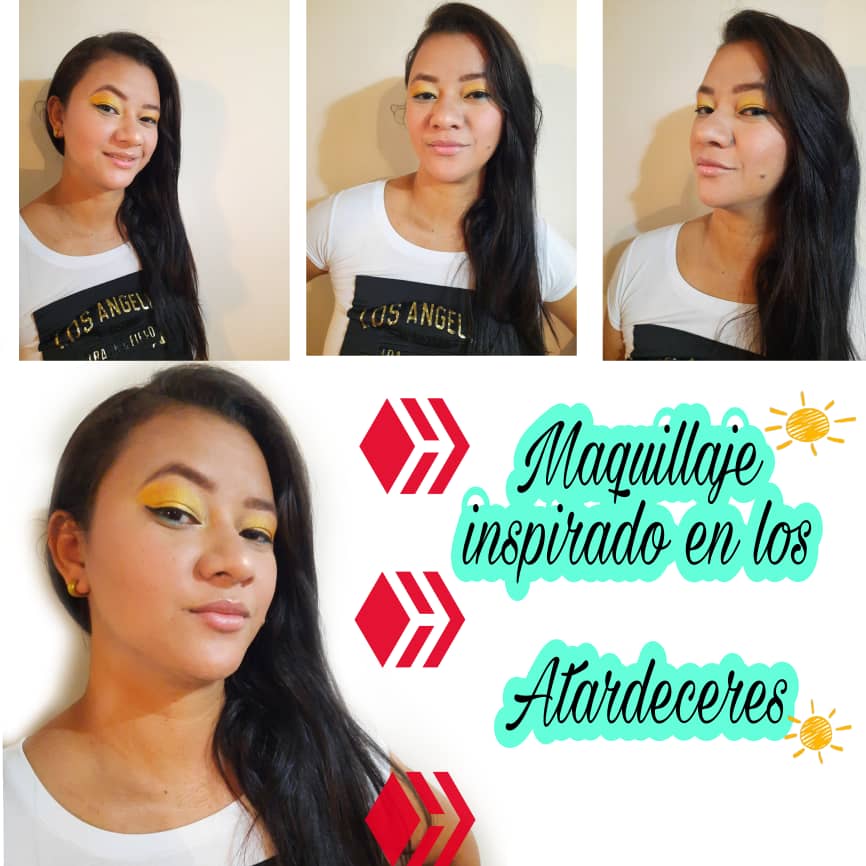
En esta Oportunidad les traigo un maquillaje inspirado en los atardeceres, me caracterizo por ser amantes de ellos y el mirar la fusion de sus colores me inspiro a realizarles este sencillo y maravilloso maquillaje, espero lo disfruten
In this Opportunity I bring you a makeup inspired by sunsets, I am characterized by being their lovers and looking at the fusion of their colors inspired me to make this simple and wonderful makeup, I hope you enjoy it
Maquillaje/Makeup
Maquillaje/Makeup
❤️ PASOS❤️
Paso 1:
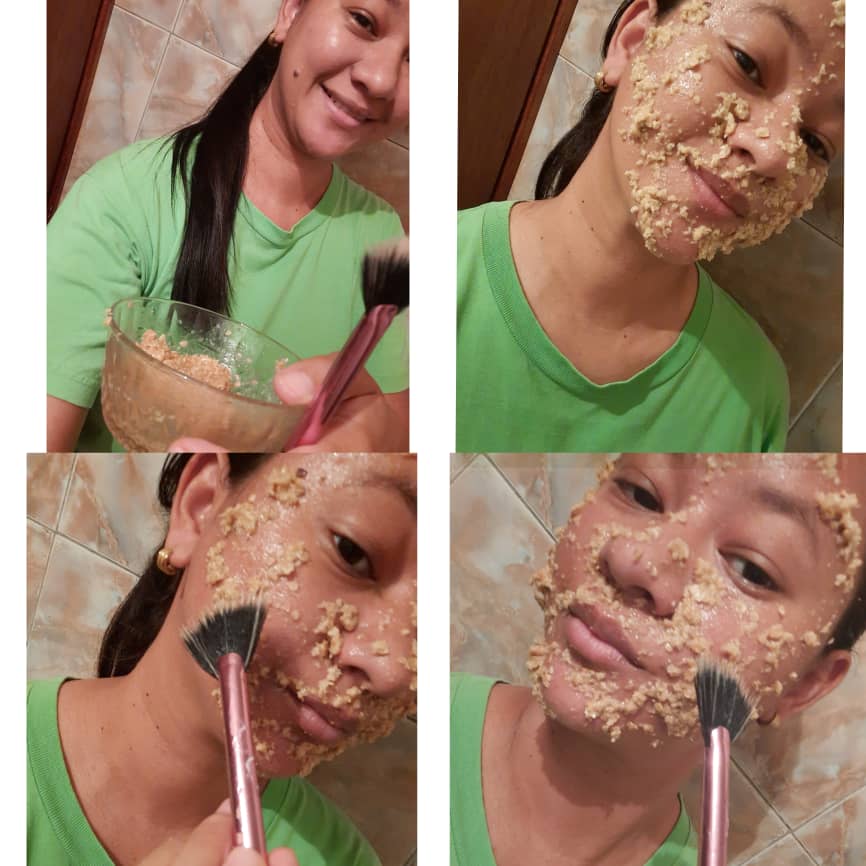
antes de aplicarnos cualquier productos de maquillaje es importante tener nuestro rostro limpio, por esa razón lo primero que realice fue, lavar muy bien mi rostro y me aplique una mascarilla de avena con miel, ya que esta mascarilla combate las impurezas y reduce la grasa de la piel sin resecarla, también es es muy buena combatiendo el acné y ademas de ello nos dejara el rostro mucho mas facil de trabajar.
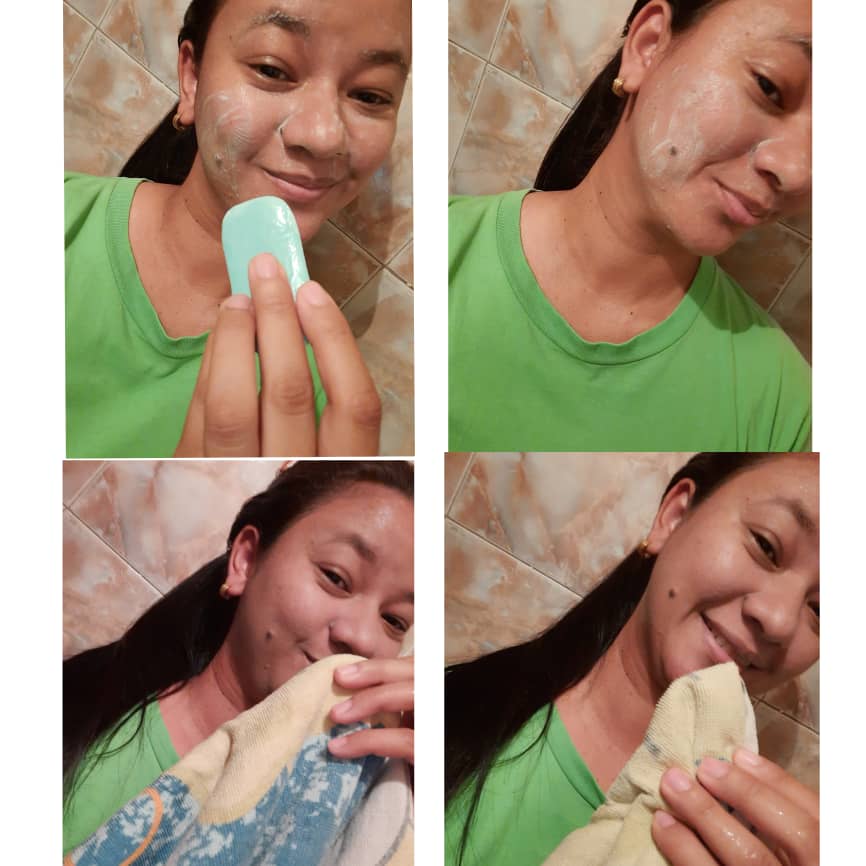
Step 1:
before applying any makeup products it is important to have our face clean, for that reason the first thing I did was wash my face very well and apply an oatmeal mask with honey, since This mask fights impurities and reduces skin oil without drying it out, it is also very good at fighting acne and, in addition, it will make our face much easier to work with.
Paso 2:
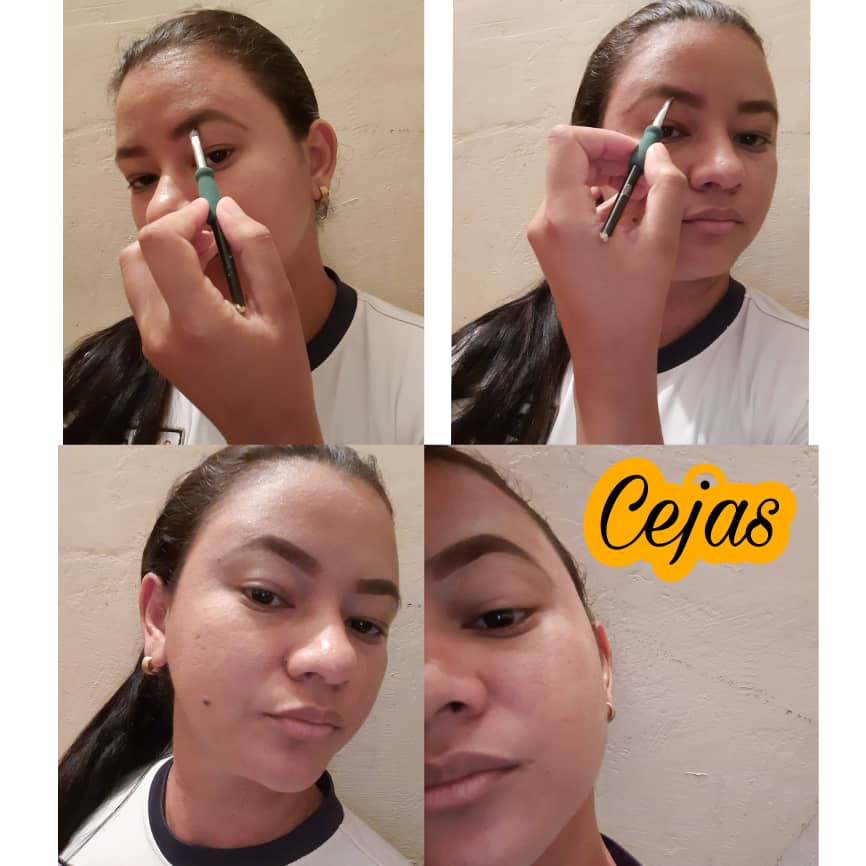
En este paso, marque el borde de la cejas con la pomada de Cejas Mac, y lo disfumine con sombras oscuras en tono marrón y negro. utilizar estas sombras como relleno hace que nuestra cejas se vean más nuturales.
Step 2:
In this step, mark the edge of the brows with the Mac Brow Pomade, and fade it with dark shadows in brown and black. using these shadows as a filler makes our eyebrows look more nutural.
Paso 3:
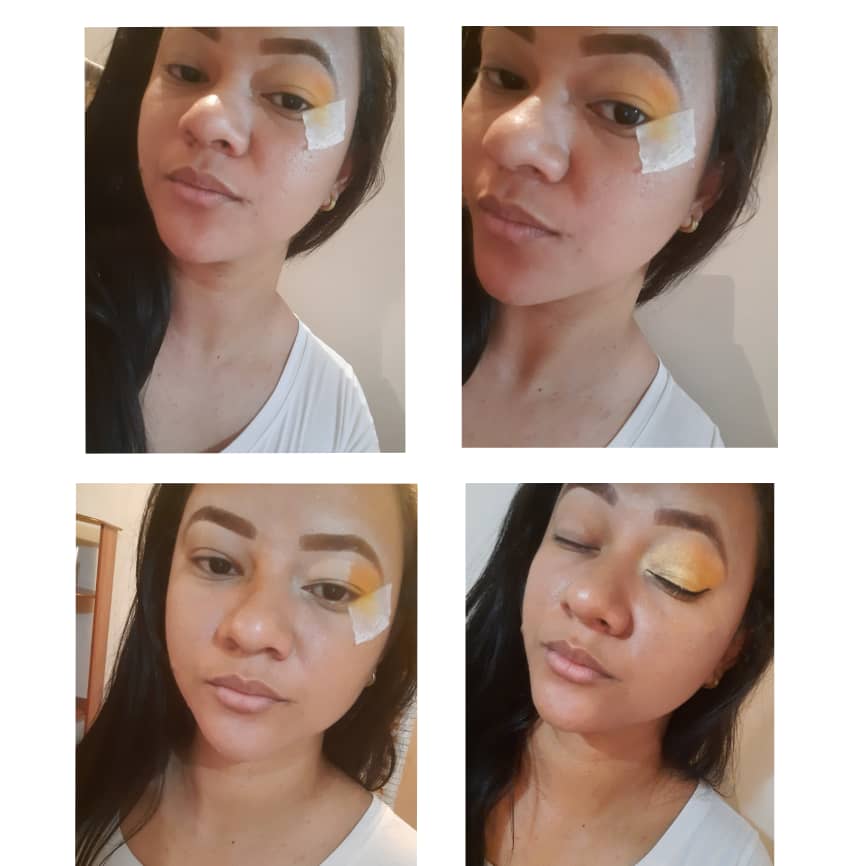
Aplique una cinta Plastia en el lagrimal del ojo con la finalidad de marcas muy bien las sombras, Con movimiento circular aplique en el tono amarillo luego aplicando sobre de este, un color narajando haciendo una línea en forma de gato, en el la mitad del párpado añadí un poco de corrector para luego aplicar el tono dorado.
Step 3:
Apply a Plastia tape in the tear duct of the eye in order to mark the shadows very well, With a circular motion apply in the yellow tone then applying on it, an orange color making a line in cat shape, in the middle of the eyelid I added a little concealer and then applied the golden tone.
Paso 4 :
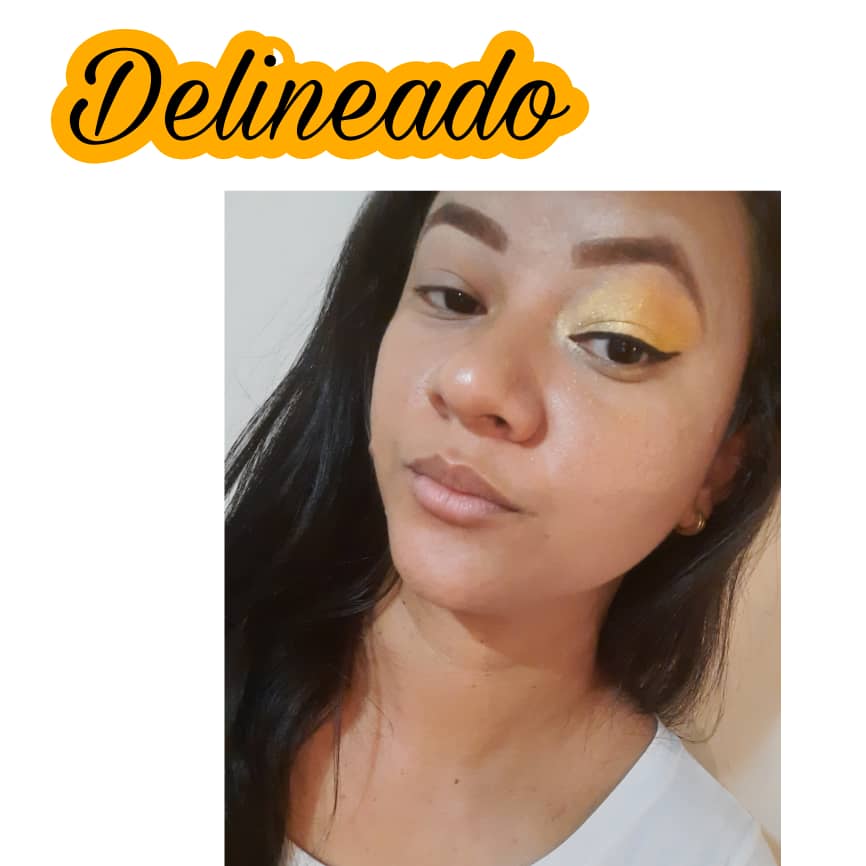
con delineador líquido hice una línea en forma de gato, para darle ese toque especial a nuestro maquillaje, esto con el objetivo de intensificar la mirada mediante el trazado de esa línea. En este paso también aplique máscara de pestaña (marca Mac) este producto hace que nuestra pestaña se oscurezca y que sea más alargada y le da ese efecto de ( pestaña postiza)
Step 4:
with liquid eyeliner I made a line in the shape of a cat, to give that special touch to our makeup, this in order to intensify the look by drawing that line. In this step also apply eyelash mask (Mac brand) this product makes our eyelash darker and longer and gives it that effect of (false eyelash)
Paso 5:
continúe con el otro ojo para avanzar un poco más rápido, mientras realizaba los mismo pasos.
Step 5:
continue with the other eye to move forward a little faster, while performing the same steps.
Paso 6:
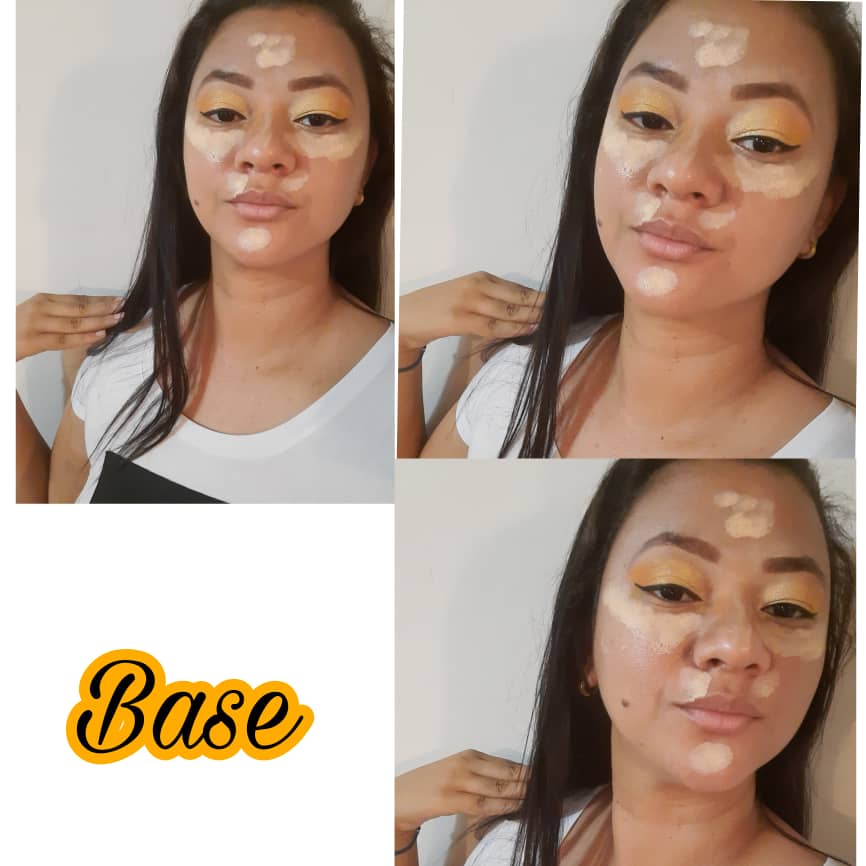
listo los dos ojos, pase aplicarme la base (marca Mac) la aplique en la zona donde tengo marquitas de la acné, y en las parte rojas y lo disfumine muy bien con una esponja (Beauty Blender)
Step 6:
both eyes ready, pass on the base (Mac brand) apply it in the area where I have acne marks, and in the red parts and blur it very well with a sponge (Beauty Blender)
Paso 7:
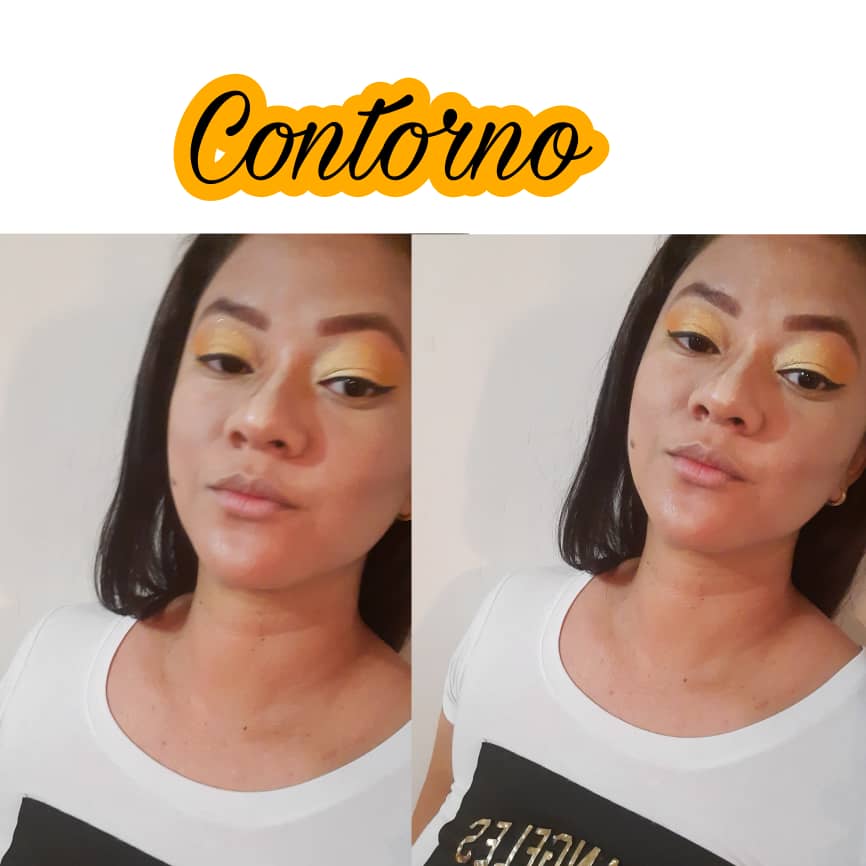
Esta es mi parte favorita, hacerme el contorno,me gusta mucho poque me ayuda a refinar mi rostro ya que soy de cara redonda. Aplique correcto en tono marrón en la parte de las mejillas y lo llevé hasta la cien, con la misma esponja ( Beauty Blender) procegui a disfuminar.
Step 7:
This is my favorite part, doing the outline, I really like it because it helps me refine my face since I have a round face. Apply correct in brown tone on the part of the cheeks and I took it up to one hundred, with the same sponge (Beauty Blender) I proceeded to blur.
Paso 8:
con un polvo suelto, selle todo los productos y seguidamente marque mis labios con un lápiz en color rosa vieja, aplique rubor en la mejillas, y para finalizar aplique iluminado en el arco de cupido y en el lagrimal.
Step 8:
with a loose powder, seal all the products and then mark my lips with an old pink pencil, apply blush on the cheeks, and finally apply illuminated in the cupid's bow and in the tear.
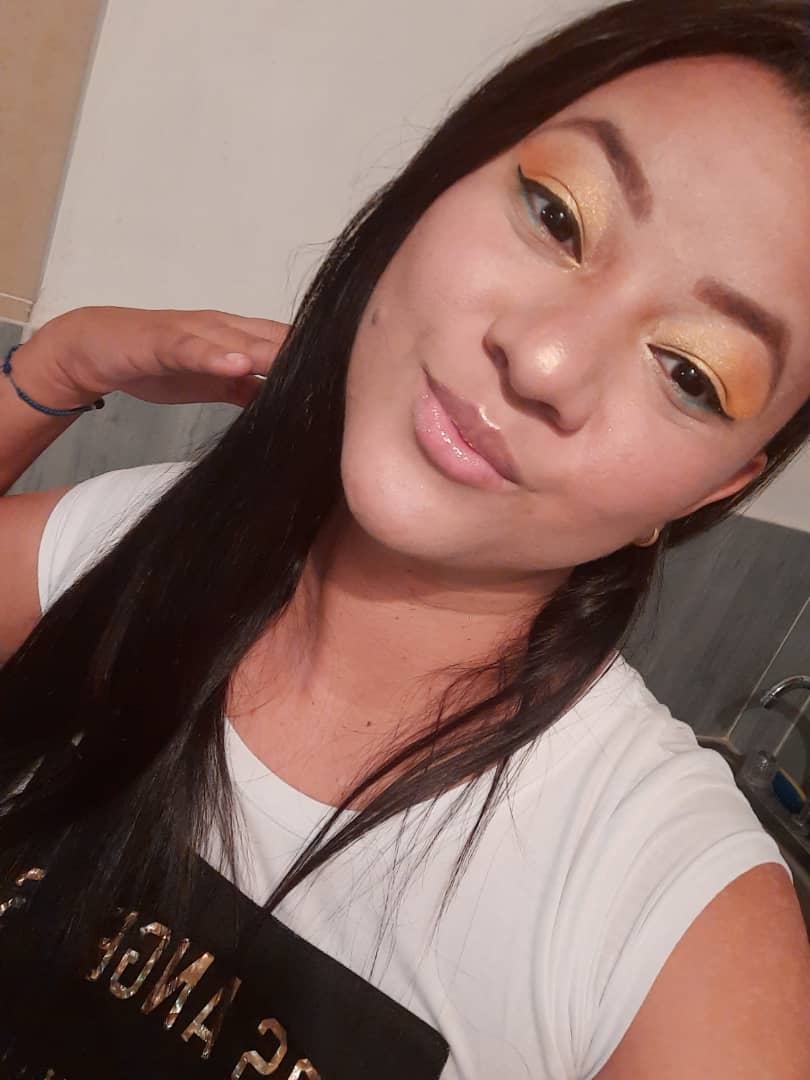
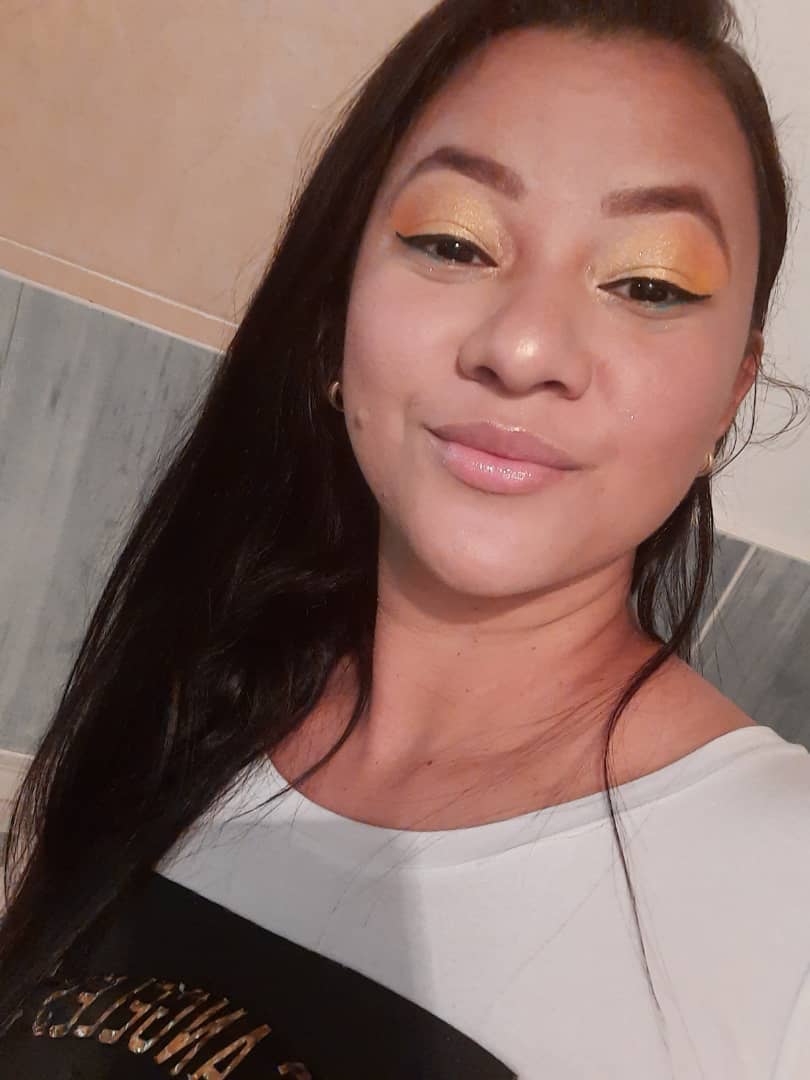
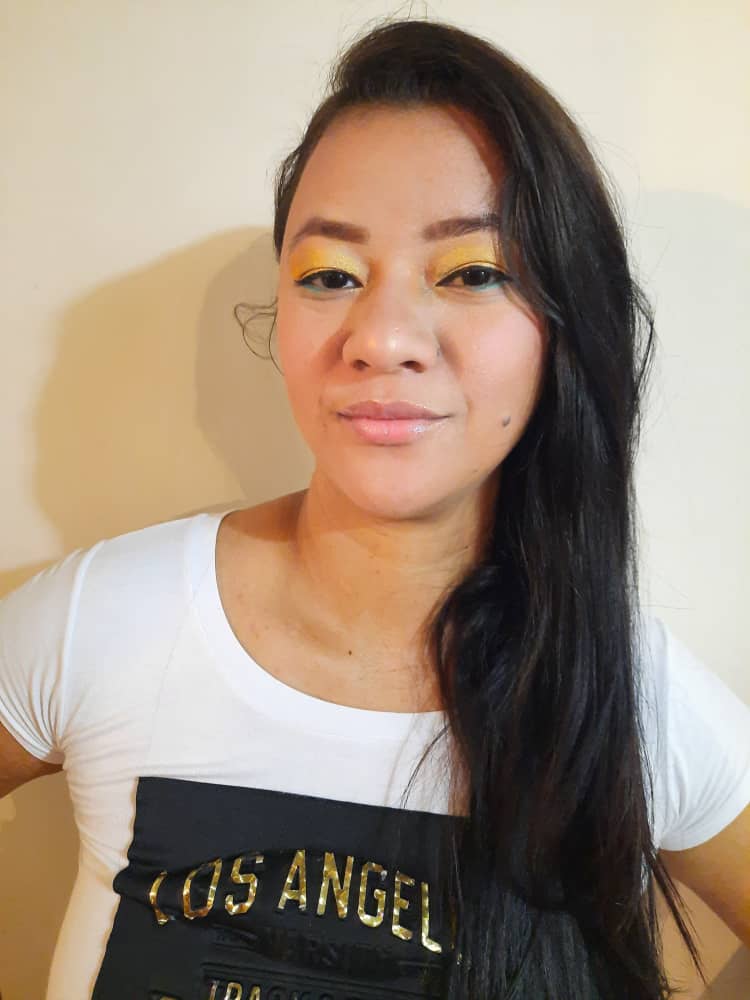
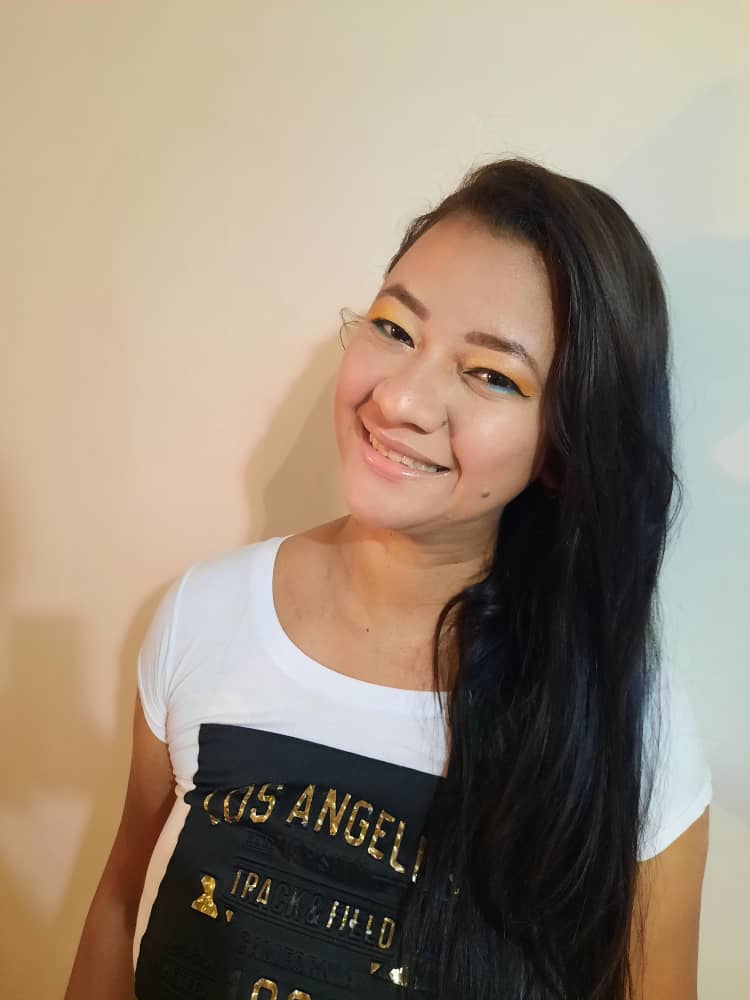
RESULTADO FINAL/FINAL SCORE
RESULTADO FINAL/FINAL SCORE
- Mascarilla de Avena y miel
- picel de Cejas y pomada
- Base Mac
- Paleta de sombra salome
- Paleta de corrector Mac
- Delineador y máscara de pestañas Mac
- Brochas
- Polvo compacto Mac
- Iluminador
- Beauty Blender
- Oatmeal and Honey Mask
- Eyebrow picel and pomade
- Base Mac
- Salome shadow palette
- Mac concealer palette
- Mac eyeliner and mascara
- Brushes
- Mac compact powder
- Illuminator
- Beauty Blender