Hola a todos! Espero que hayan pasado muy bien las recientes festividades, aquí mi primer post del 2022... YEI.
He dejado de lado por mucho tiempo la idea de compartir uno de mis hobbies como lo es el maquillaje, me sentía cohibida al respecto, sin embargo desde hace un tiempo le he tomado más práctica a este mundo y es algo que realmente disfruto hacer para mí y otras personas, así que, quizá sea la magia de año nuevo o el propósito de salir un poco de mi zona de confort pero tomé ánimos y me decidí en participar en esta comunidad.
Hello everyone! I hope you had a great time over the recent holidays, here my first post of 2022.... YEI.
I have left aside for a long time the idea of sharing one of my hobbies like makeup, I felt self-conscious about it, however for a while now I have taken more practice in this world and it's something I really enjoy doing for myself and other people, so, maybe it's the magic of the new year or the purpose of getting out of my comfort zone but I took courage and I decided to participate in this community.
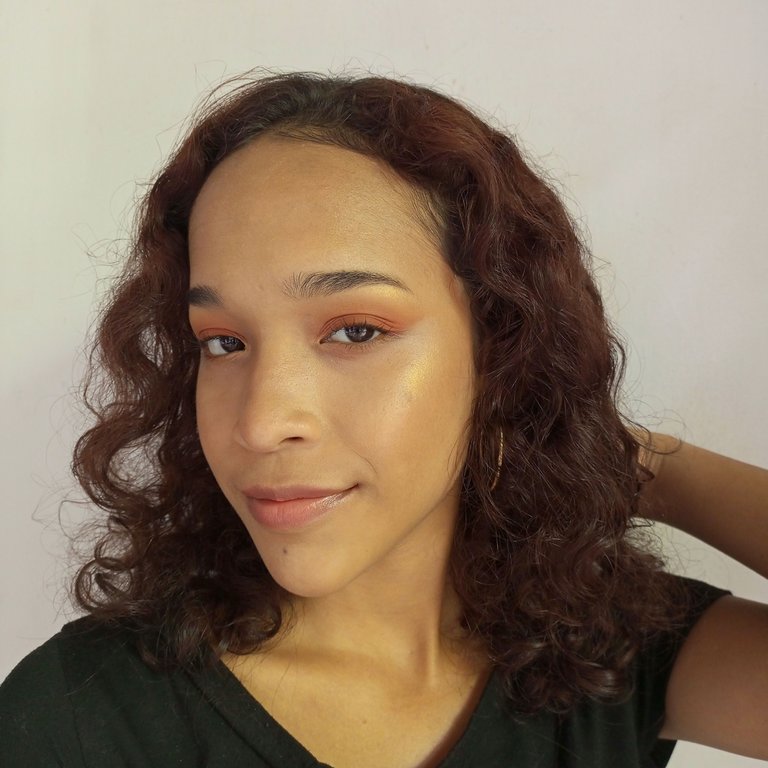
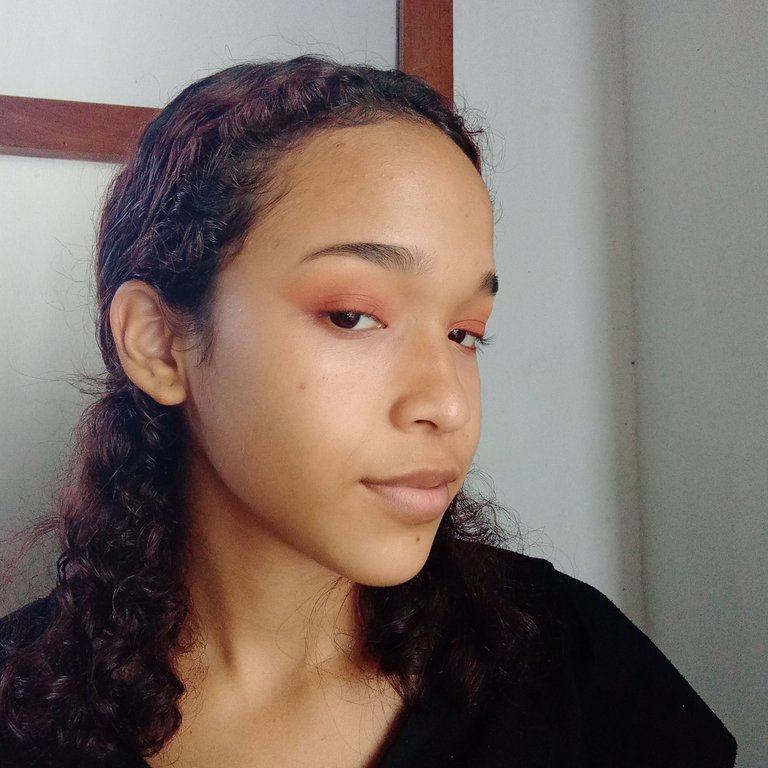
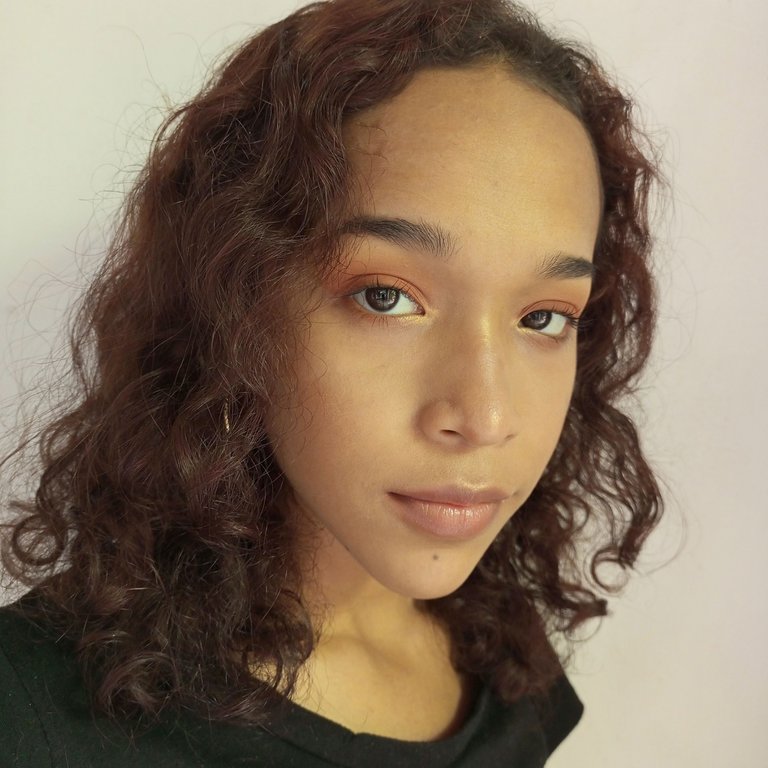
El maquillaje que he escogido compartir es uno en tonos cálidos, da un aspecto natural, sencillo y fresco, además es muy fácil de hacer, requiere el uso de dos colores de sombras.
The makeup I have chosen to share is one in warm tones, it gives a natural, simple and fresh look, it is also very easy to do, it requires the use of two colors of shadows.
Proceso:
Process:
 |  |
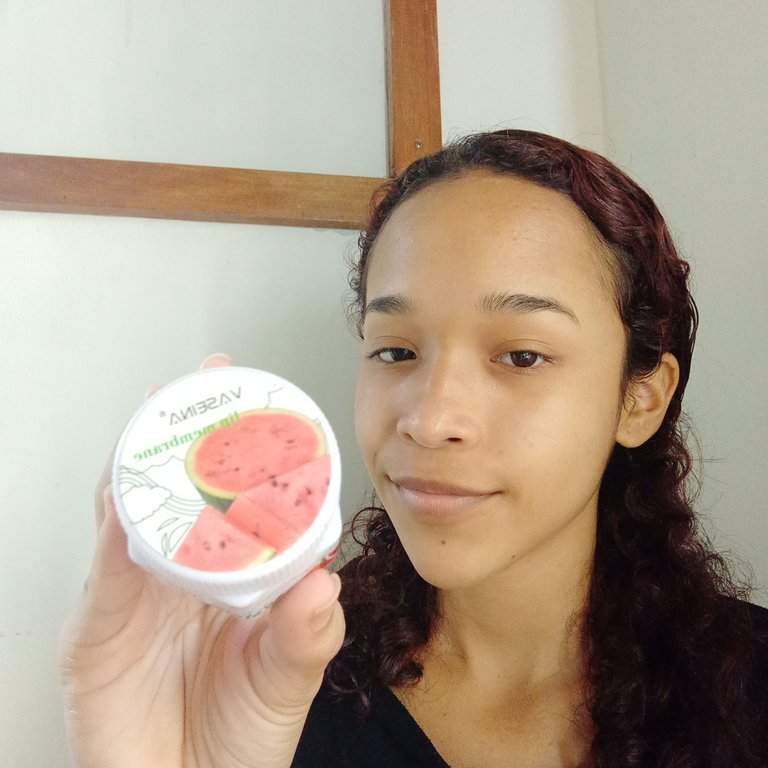 | 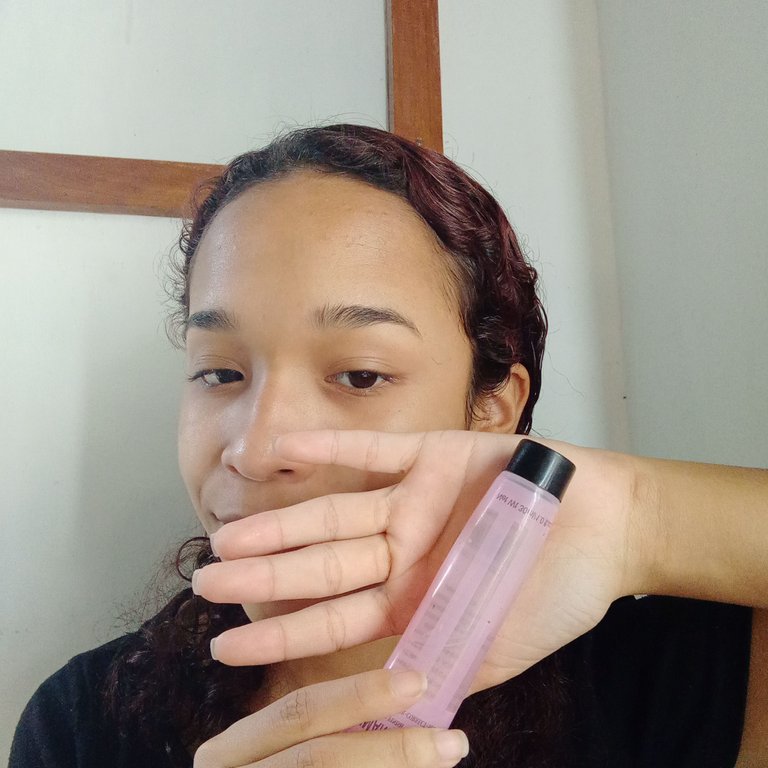 |
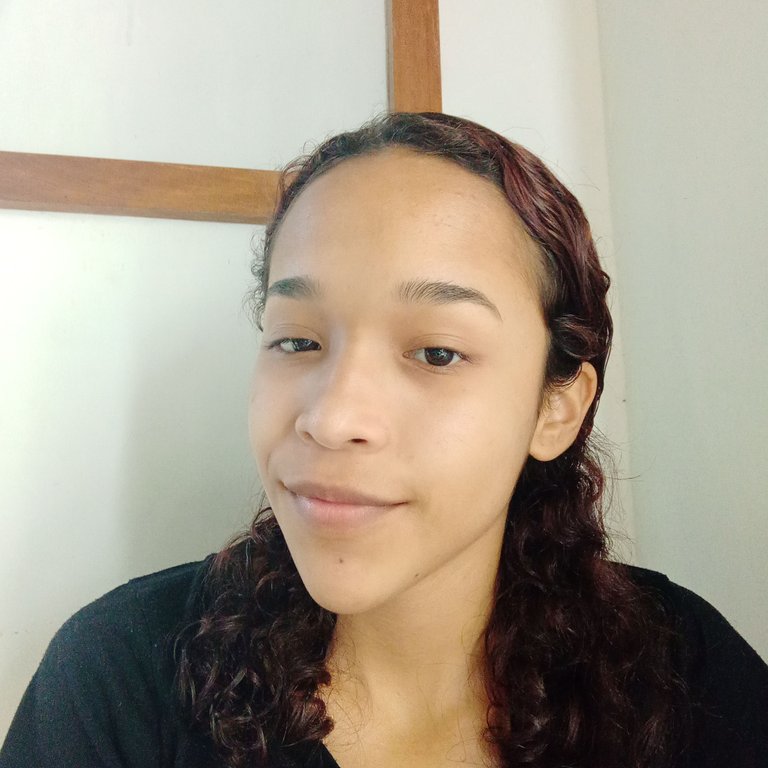
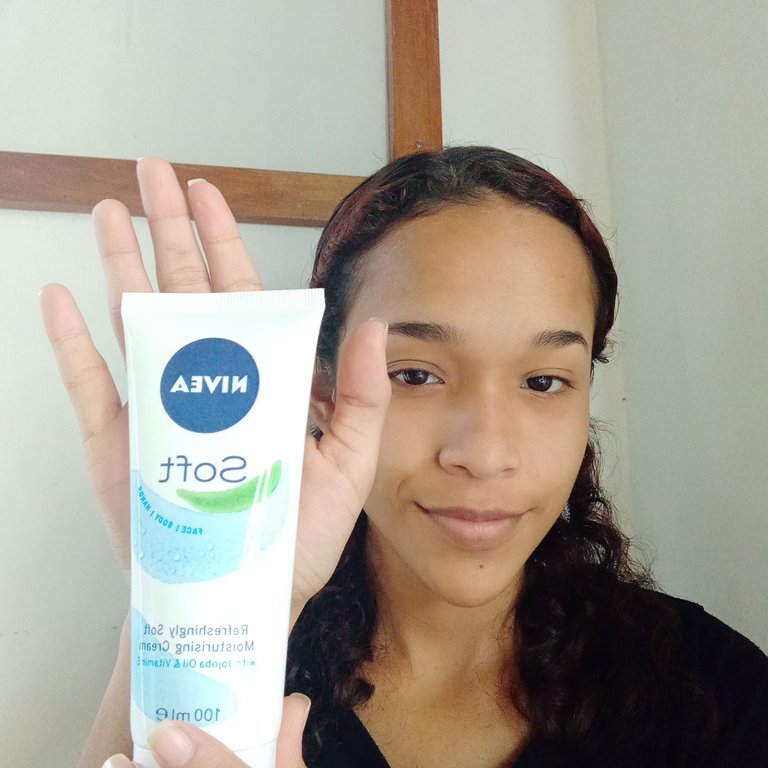
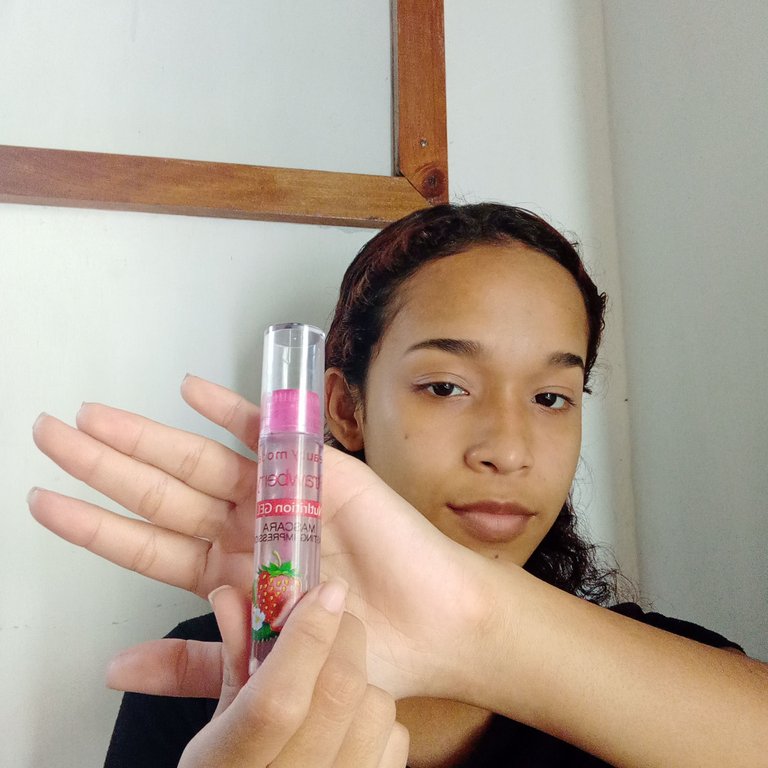
To start this whole process I washed my face and after drying it I applied a moisturizer with small touches, I let my skin absorb it for a while before applying the primer and I also moisturized my lips with a watermelon-scented balm that I love with all my heart.
 |  |
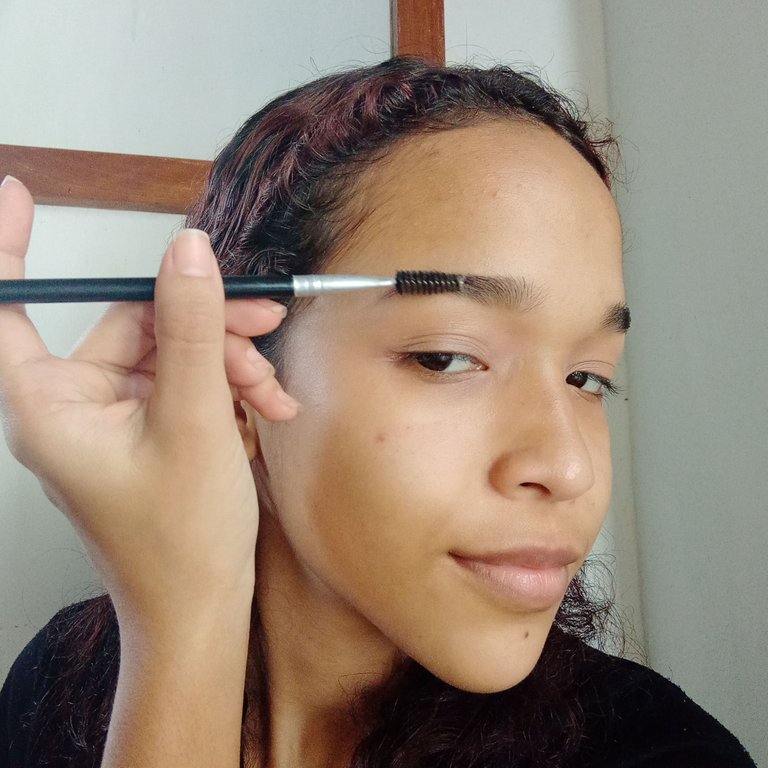 |  |
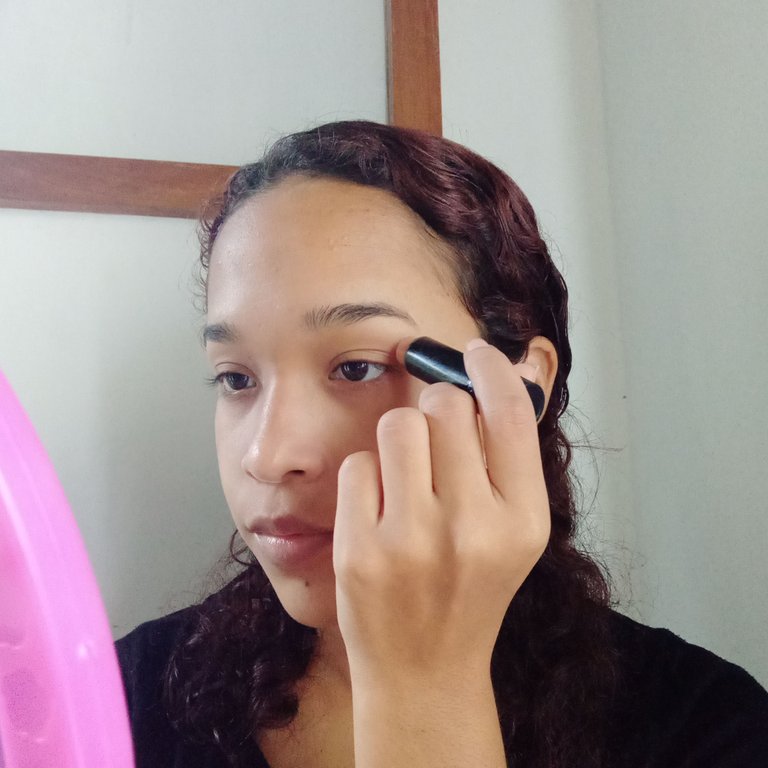
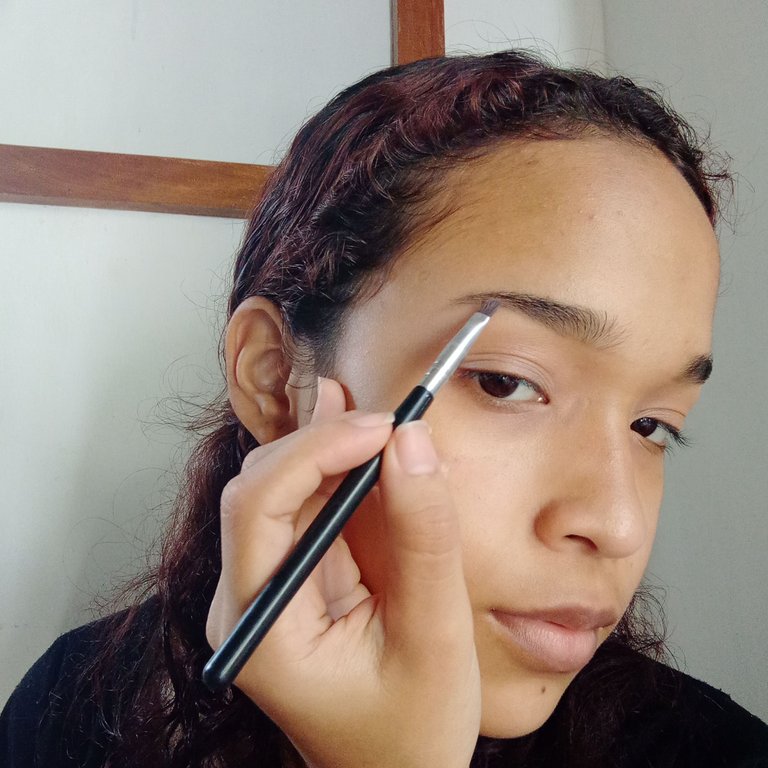
As a second step I started to prepare my eyes to apply the shadow by using a concealer stick on the eyelids and sealing with a little pressed powder. Then I defined the brows with a small angled brush and a couple of brown shadows to get the right shade, blended this shadow and finished by setting the brow hairs a bit with a clear mascara (I tend to use it more for brows than for lashes, as I like the natural look it gives on them).
 |  |
 |  |
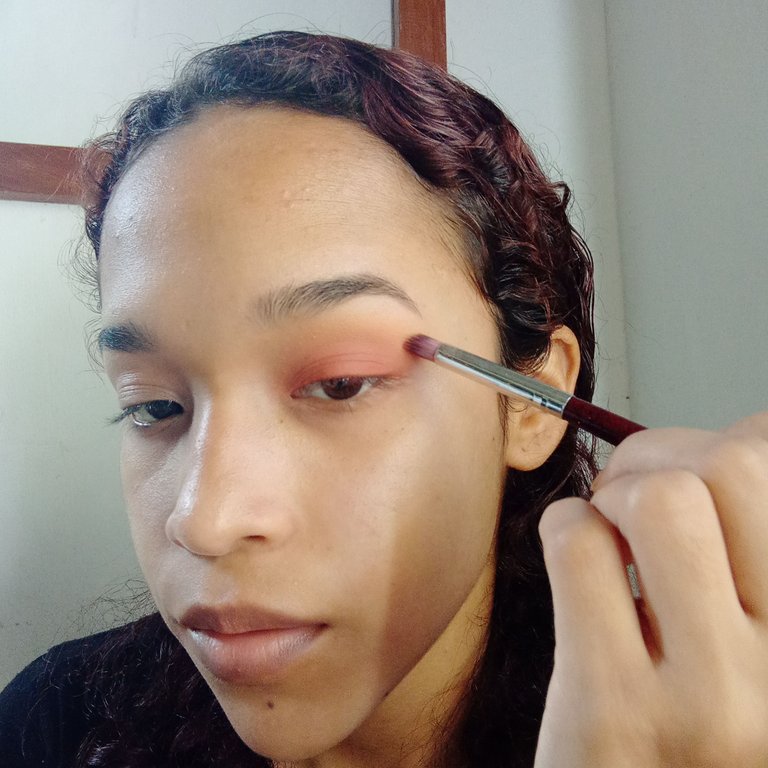
Con una brocha para difuminar (bueno, en mi caso, no cuento con esta, así que usé una más pequeña), tomé una sombra color amarillo mostaza y apliqué en la zona externa de la cuenta, a la vez que difuminé el color naranja que apliqué la primera vez, de este modo creé un degradado de tonalidades que hace que el look se vea natural.
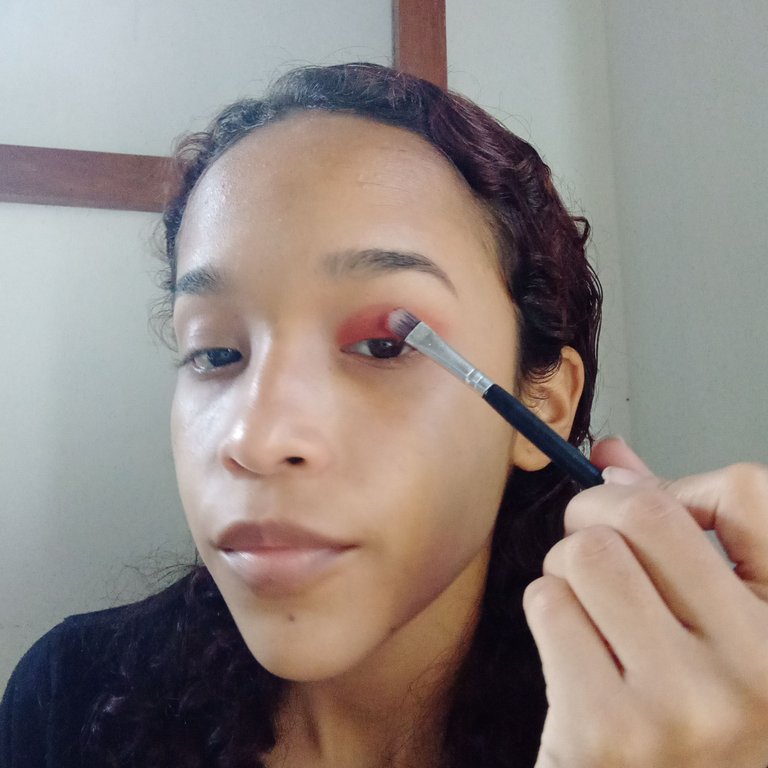
Now I apply the shadow on the eyes, I start by applying an orange shadow on the mobile eyelid with small touches with a flat brush so that the color is well impregnated on the eye, the edges don't have to be so neat, because then we will blend it.
With a blending brush (well, in my case, I don't have this one, so I used a smaller one), I took a mustard yellow shadow and applied it on the outer area of the bead, at the same time I blended the orange color I applied the first time, this way I created a gradient of shades that makes the look look look natural.
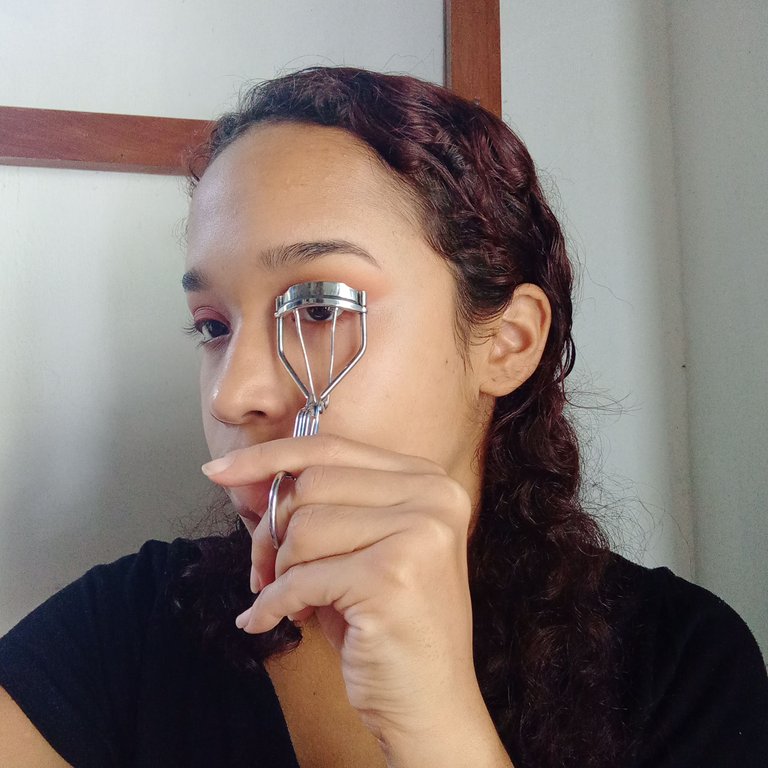 | 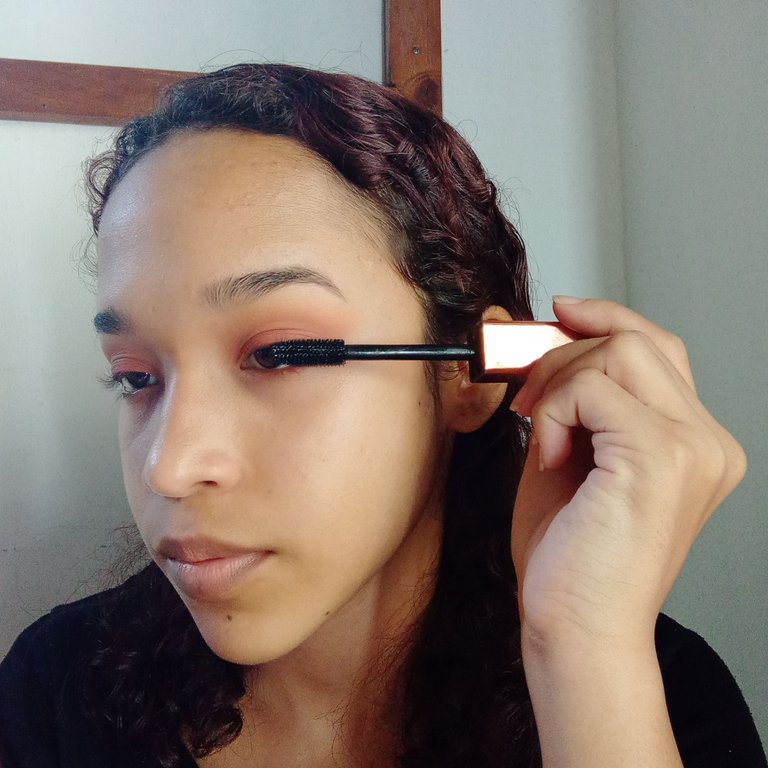 |
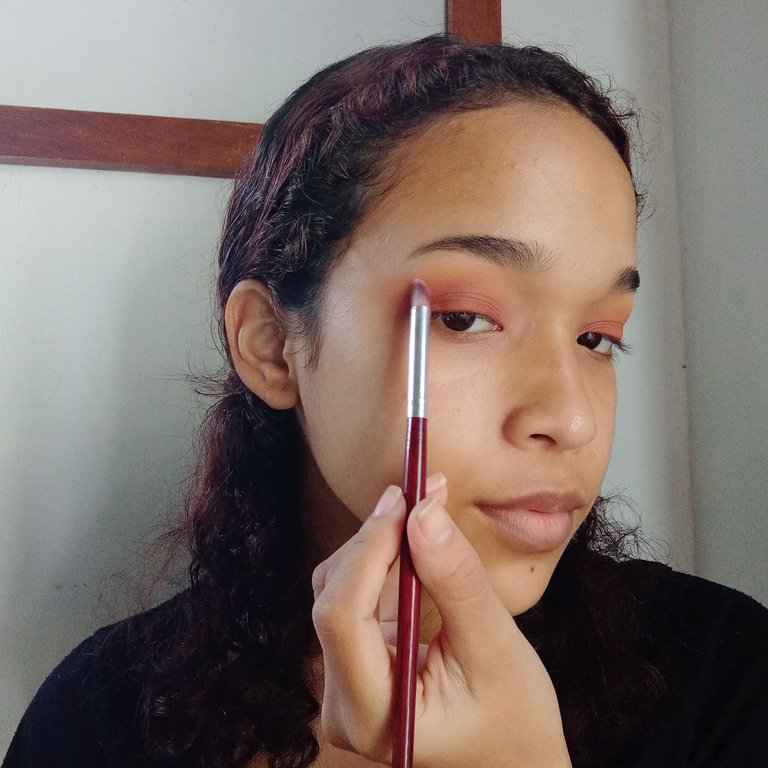
Lastly I used the same flat brush from the beginning and placed a small layer of orange shadow on the lower part of the eye, curled my lashes with the eyelash curler and applied mascara carefully so as not to smudge the eye.
 |  |
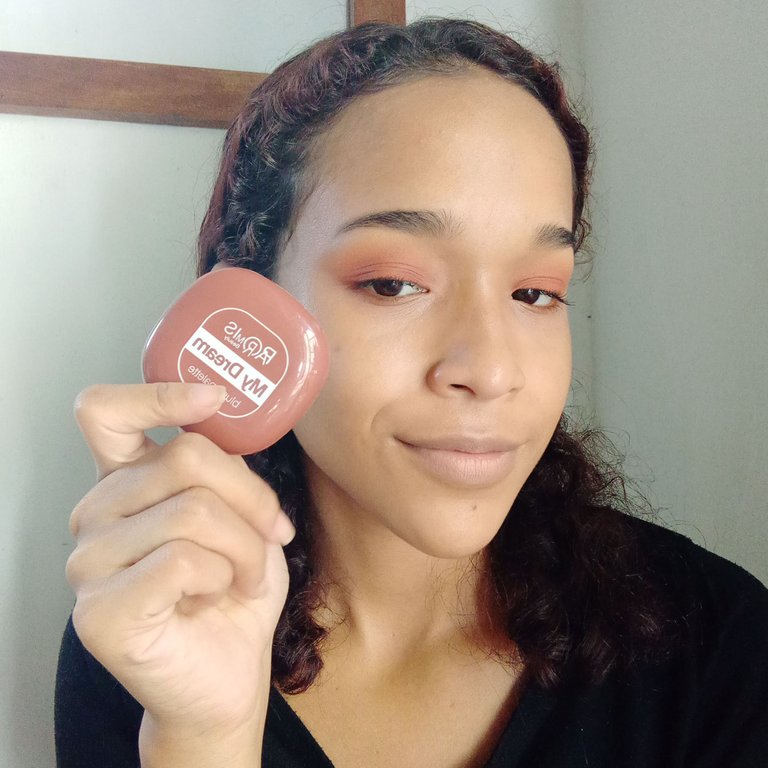 | 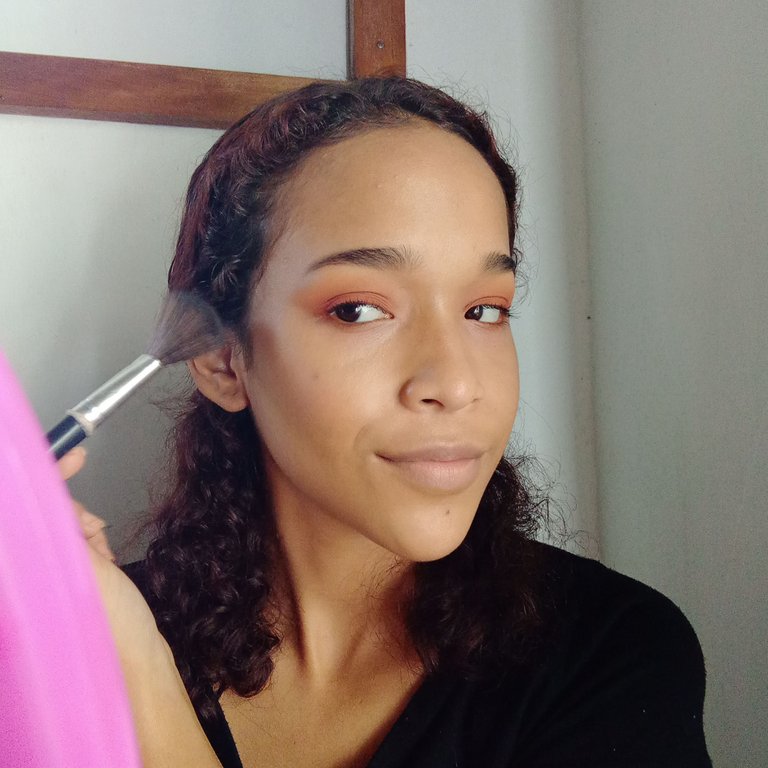 |
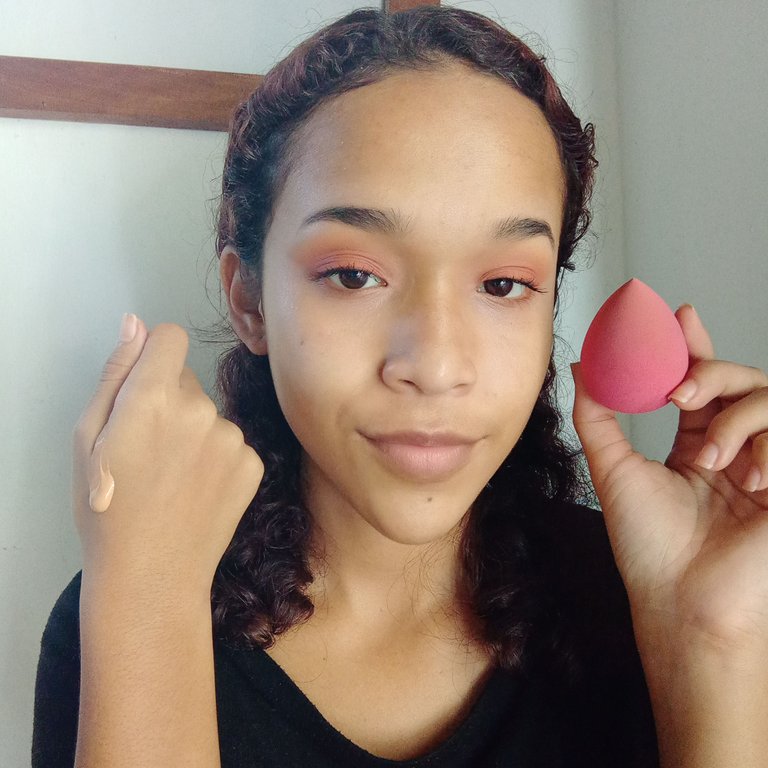
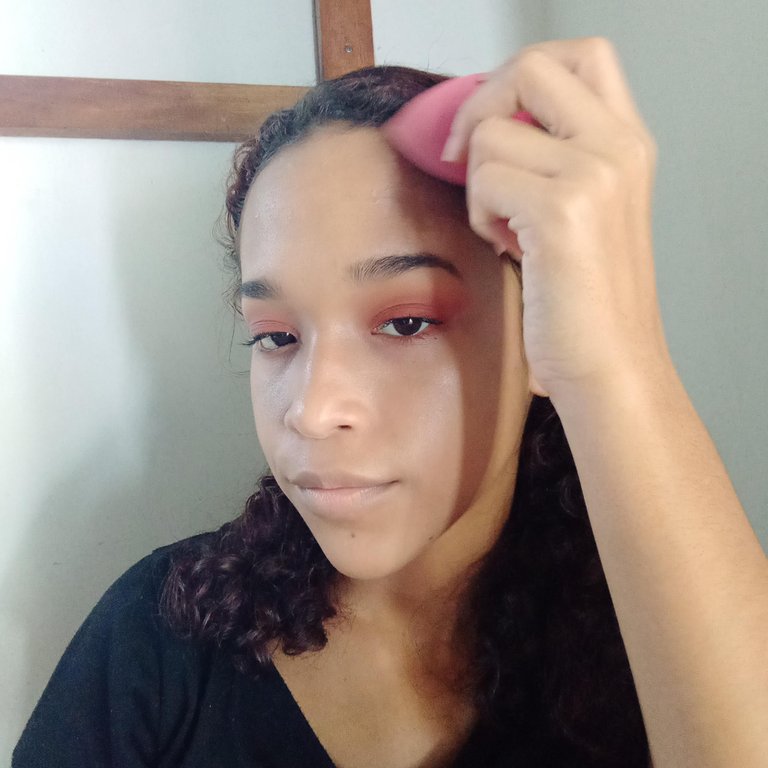
Continuing with the skin, I applied foundation with the help of my sponge making soft touches all over my face and with the remaining foundation I applied it on my neck. I took a blush in a color that contrasted with my skin tone and applied it in upward movements on my cheeks with small touches with the brush.
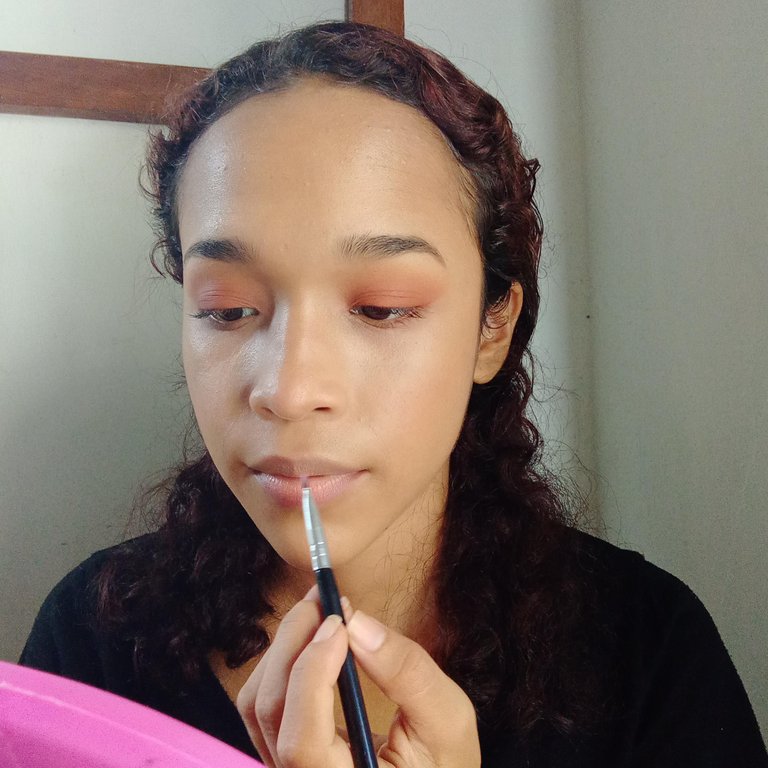 | 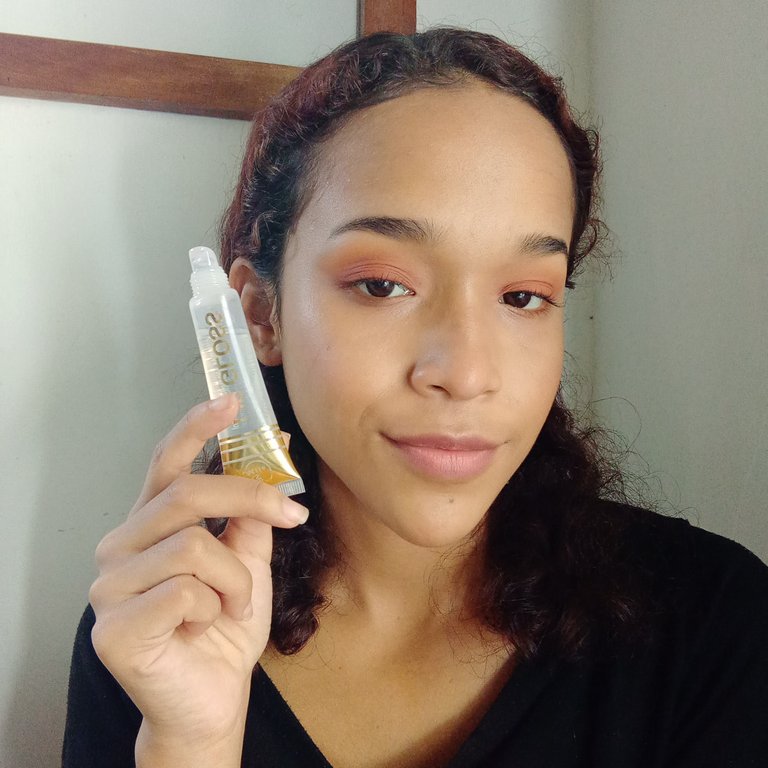 | 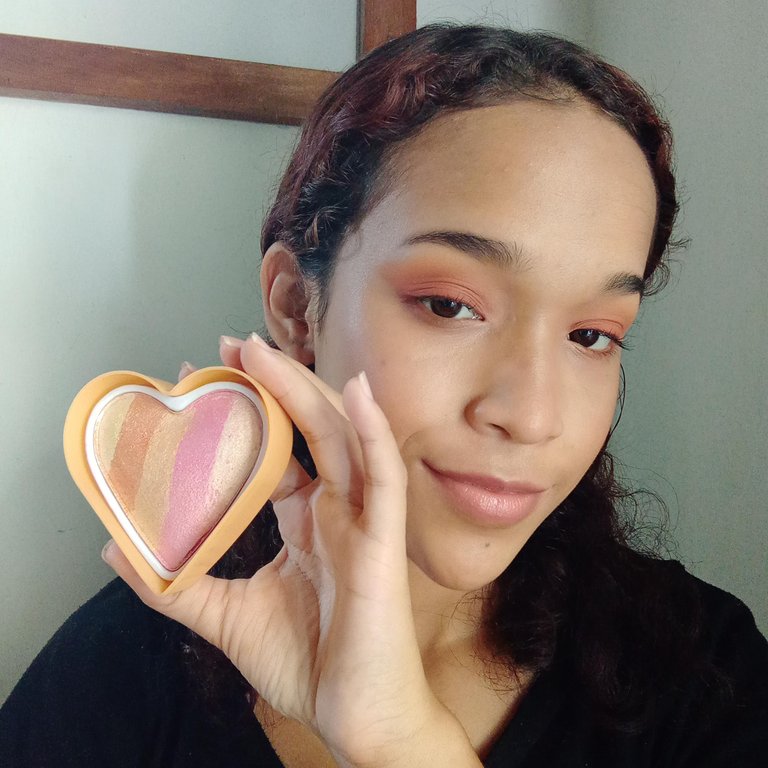 |
I applied pressed powder to seal the foundation and followed with lipstick and a bit of gloss to make my lips stand out more, and to finish, I used my fingers to pick up highlighter and apply to points like the tear trough, the high cheekbone area and the tip of the nose.
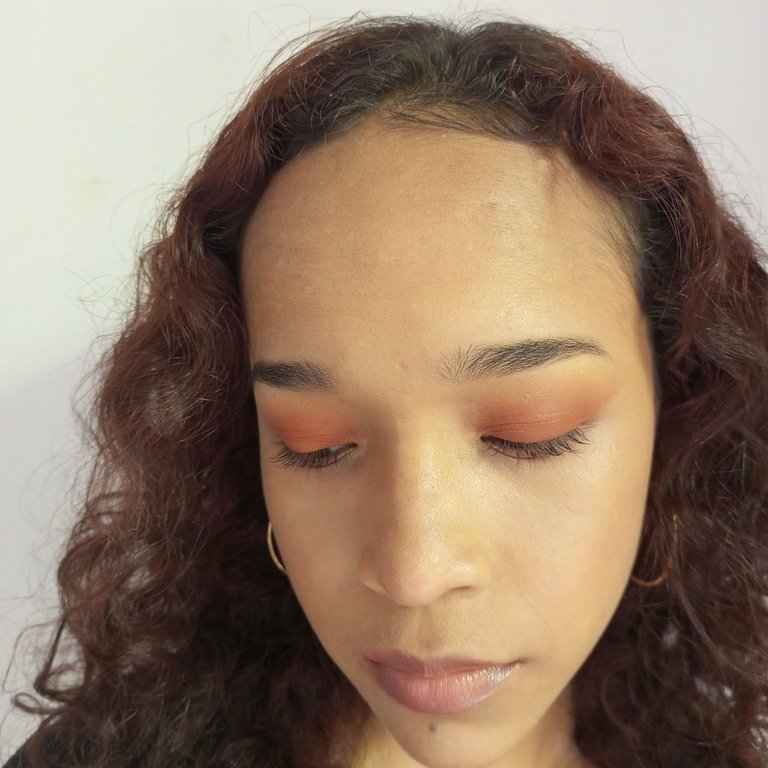
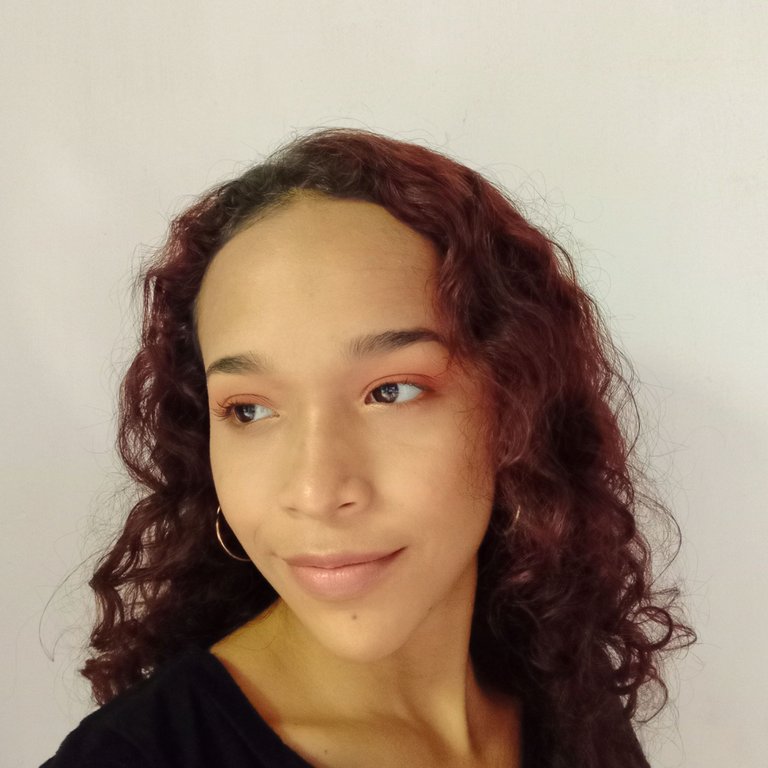
Este fue el resultado final:
Final result:
Es todo por hoy, espero que hayas disfrutado este post tanto como yo disfruté haciéndolo. Nos vemos en la próxima.
¡Adiós!
There are many people who don't like the color orange, however I think it's a color that looks great, especially in summer, when it's hot and the events are outdoors. As you saw in the procedure, it's a very easy makeup to do, therefore it's also quick, which is ideal if you ran out of time one day but want to add some color to your face.
That's all for today, I hope you enjoyed this post as much as I enjoyed doing it. See you next time.
Bye!
Your level lowered and you are now a Red Fish!
Check out the last post from @hivebuzz:
Support the HiveBuzz project. Vote for our proposal!
Looking so cute..