¡Hola, queridas amigas de Makeup Power! Después de unos cuantos días bien coloridos, hoy les comparto este hermoso maquillaje social glam que puede ser tanto de día como de noche, dándole un poco más intensidad y que además, es bastante sencillo de hacer así que sin más, comencemos💞💖
Hello, dear friends of Makeup Power! After a couple of colorful days, today I want to share with you this beautiful social glam makeup that might be useful for a daytime or nighttime special occasion and that is also really easy to achieve, so let's start right now with the pictorial💞💖

💖 Paso a paso | Step by Step 💖
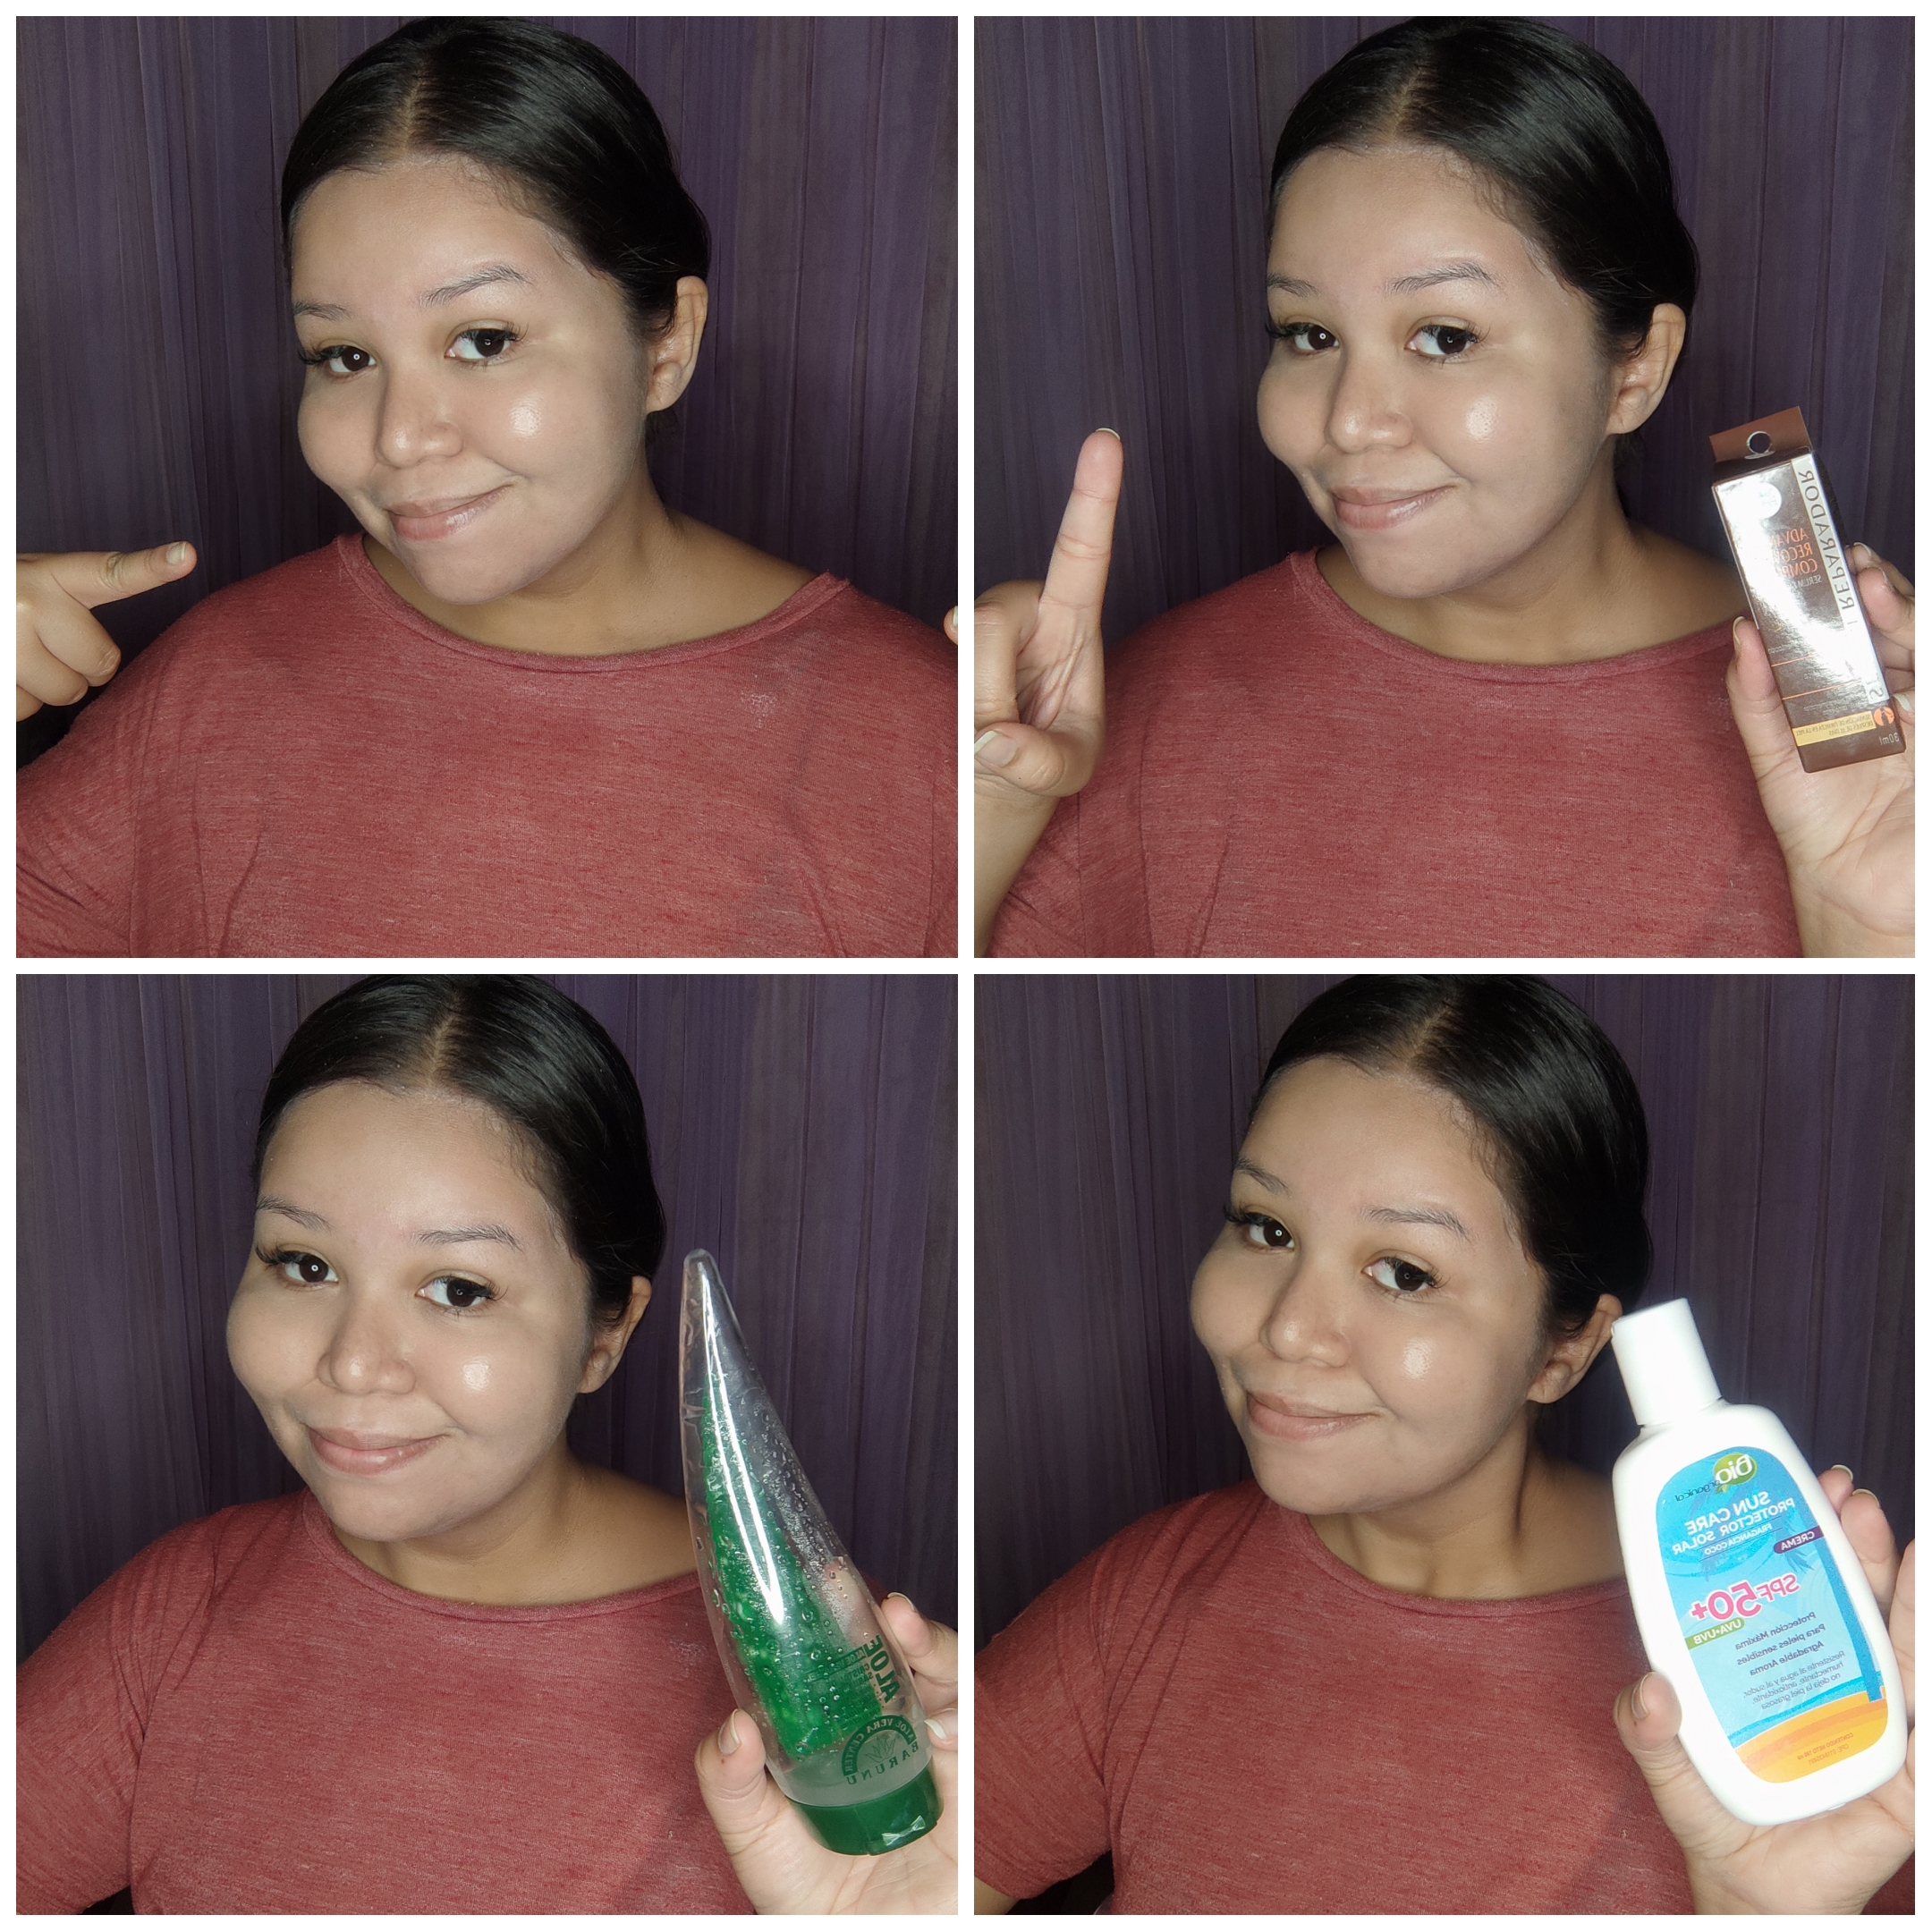
Con nuestra piel limpia empezamos a prepararla, aplicando un serum de vitamina c, hidratante y protector solar ya que estoy realizando este look para una ocasión de día, pero de ser de noche podemos simplemente hidratar y con eso será suficiente:
With a clean face we start to prepare it, applying a vitamin c serum, moisturizer and sunscreen basically because I'm doing this look for a daytime ocassion, but if it was at night with moisturizer would be enough:
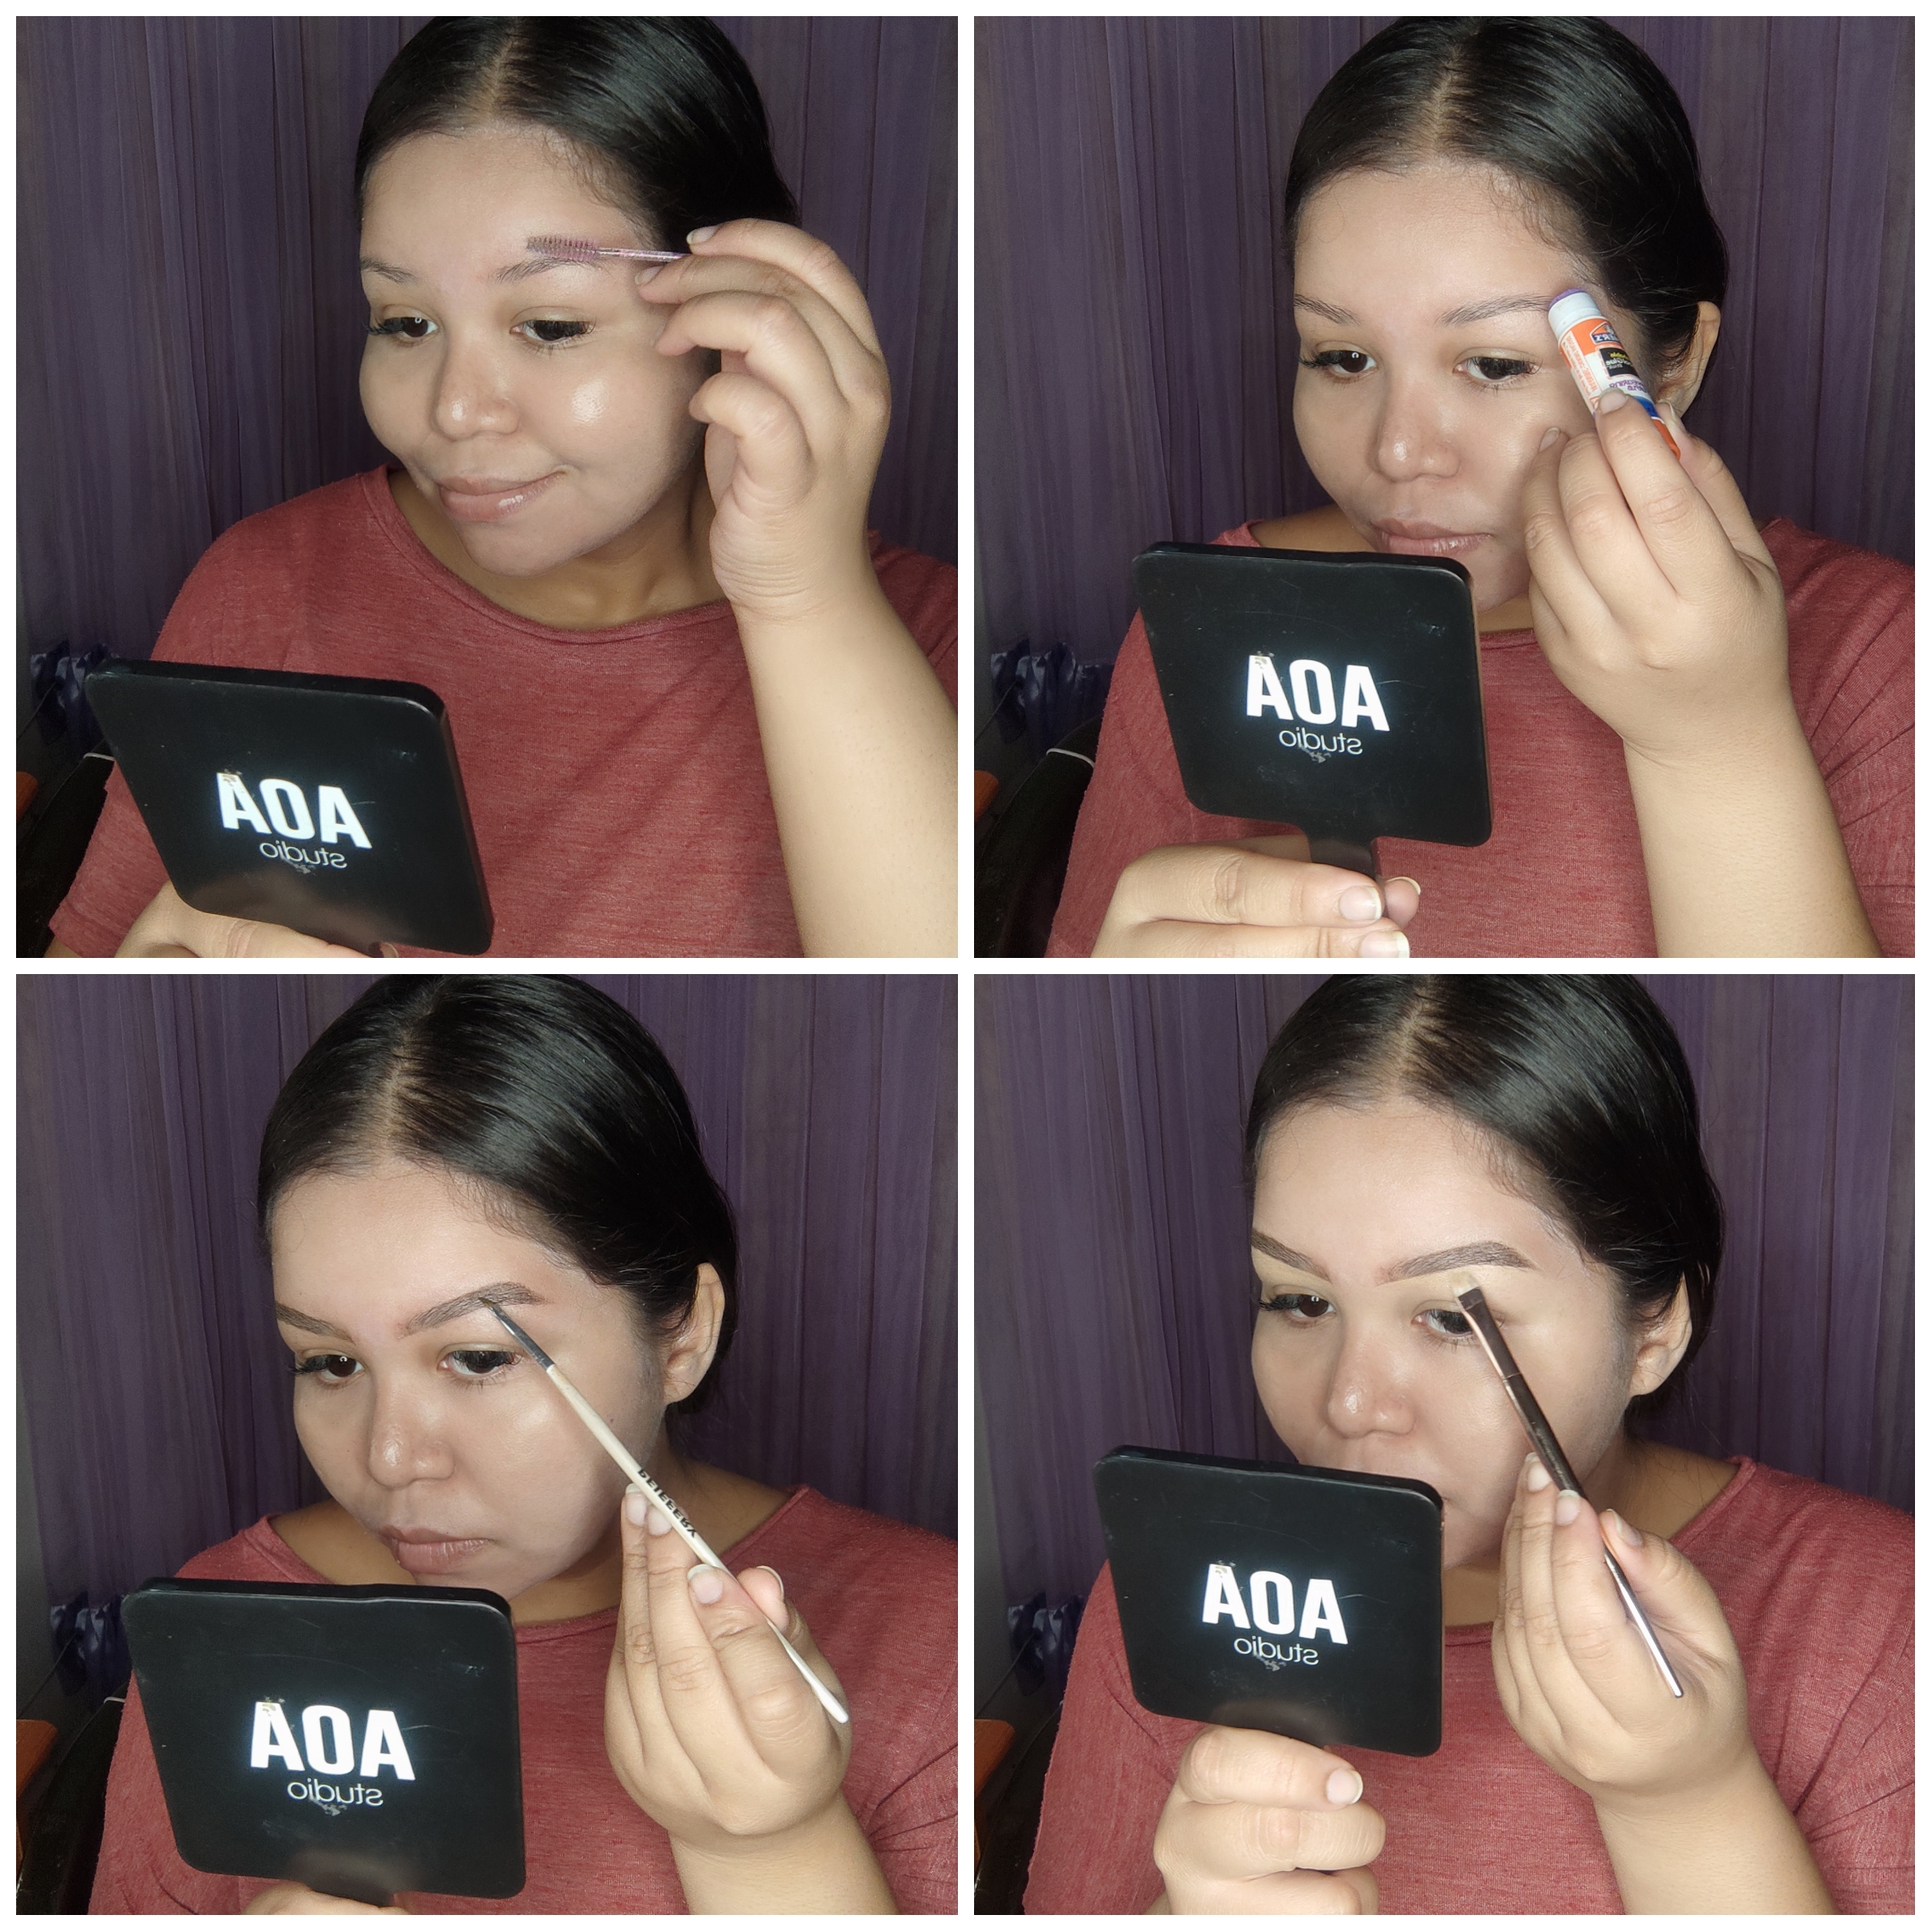
Ahora realizamos nuestras cejas peinando y fijando nuestros vellitos, dando forma con pomada y definiendo con corrector:
Now we're doing our brows brushing and placing our little hairs, giving a nice shape with pomade and defining them with concealer:
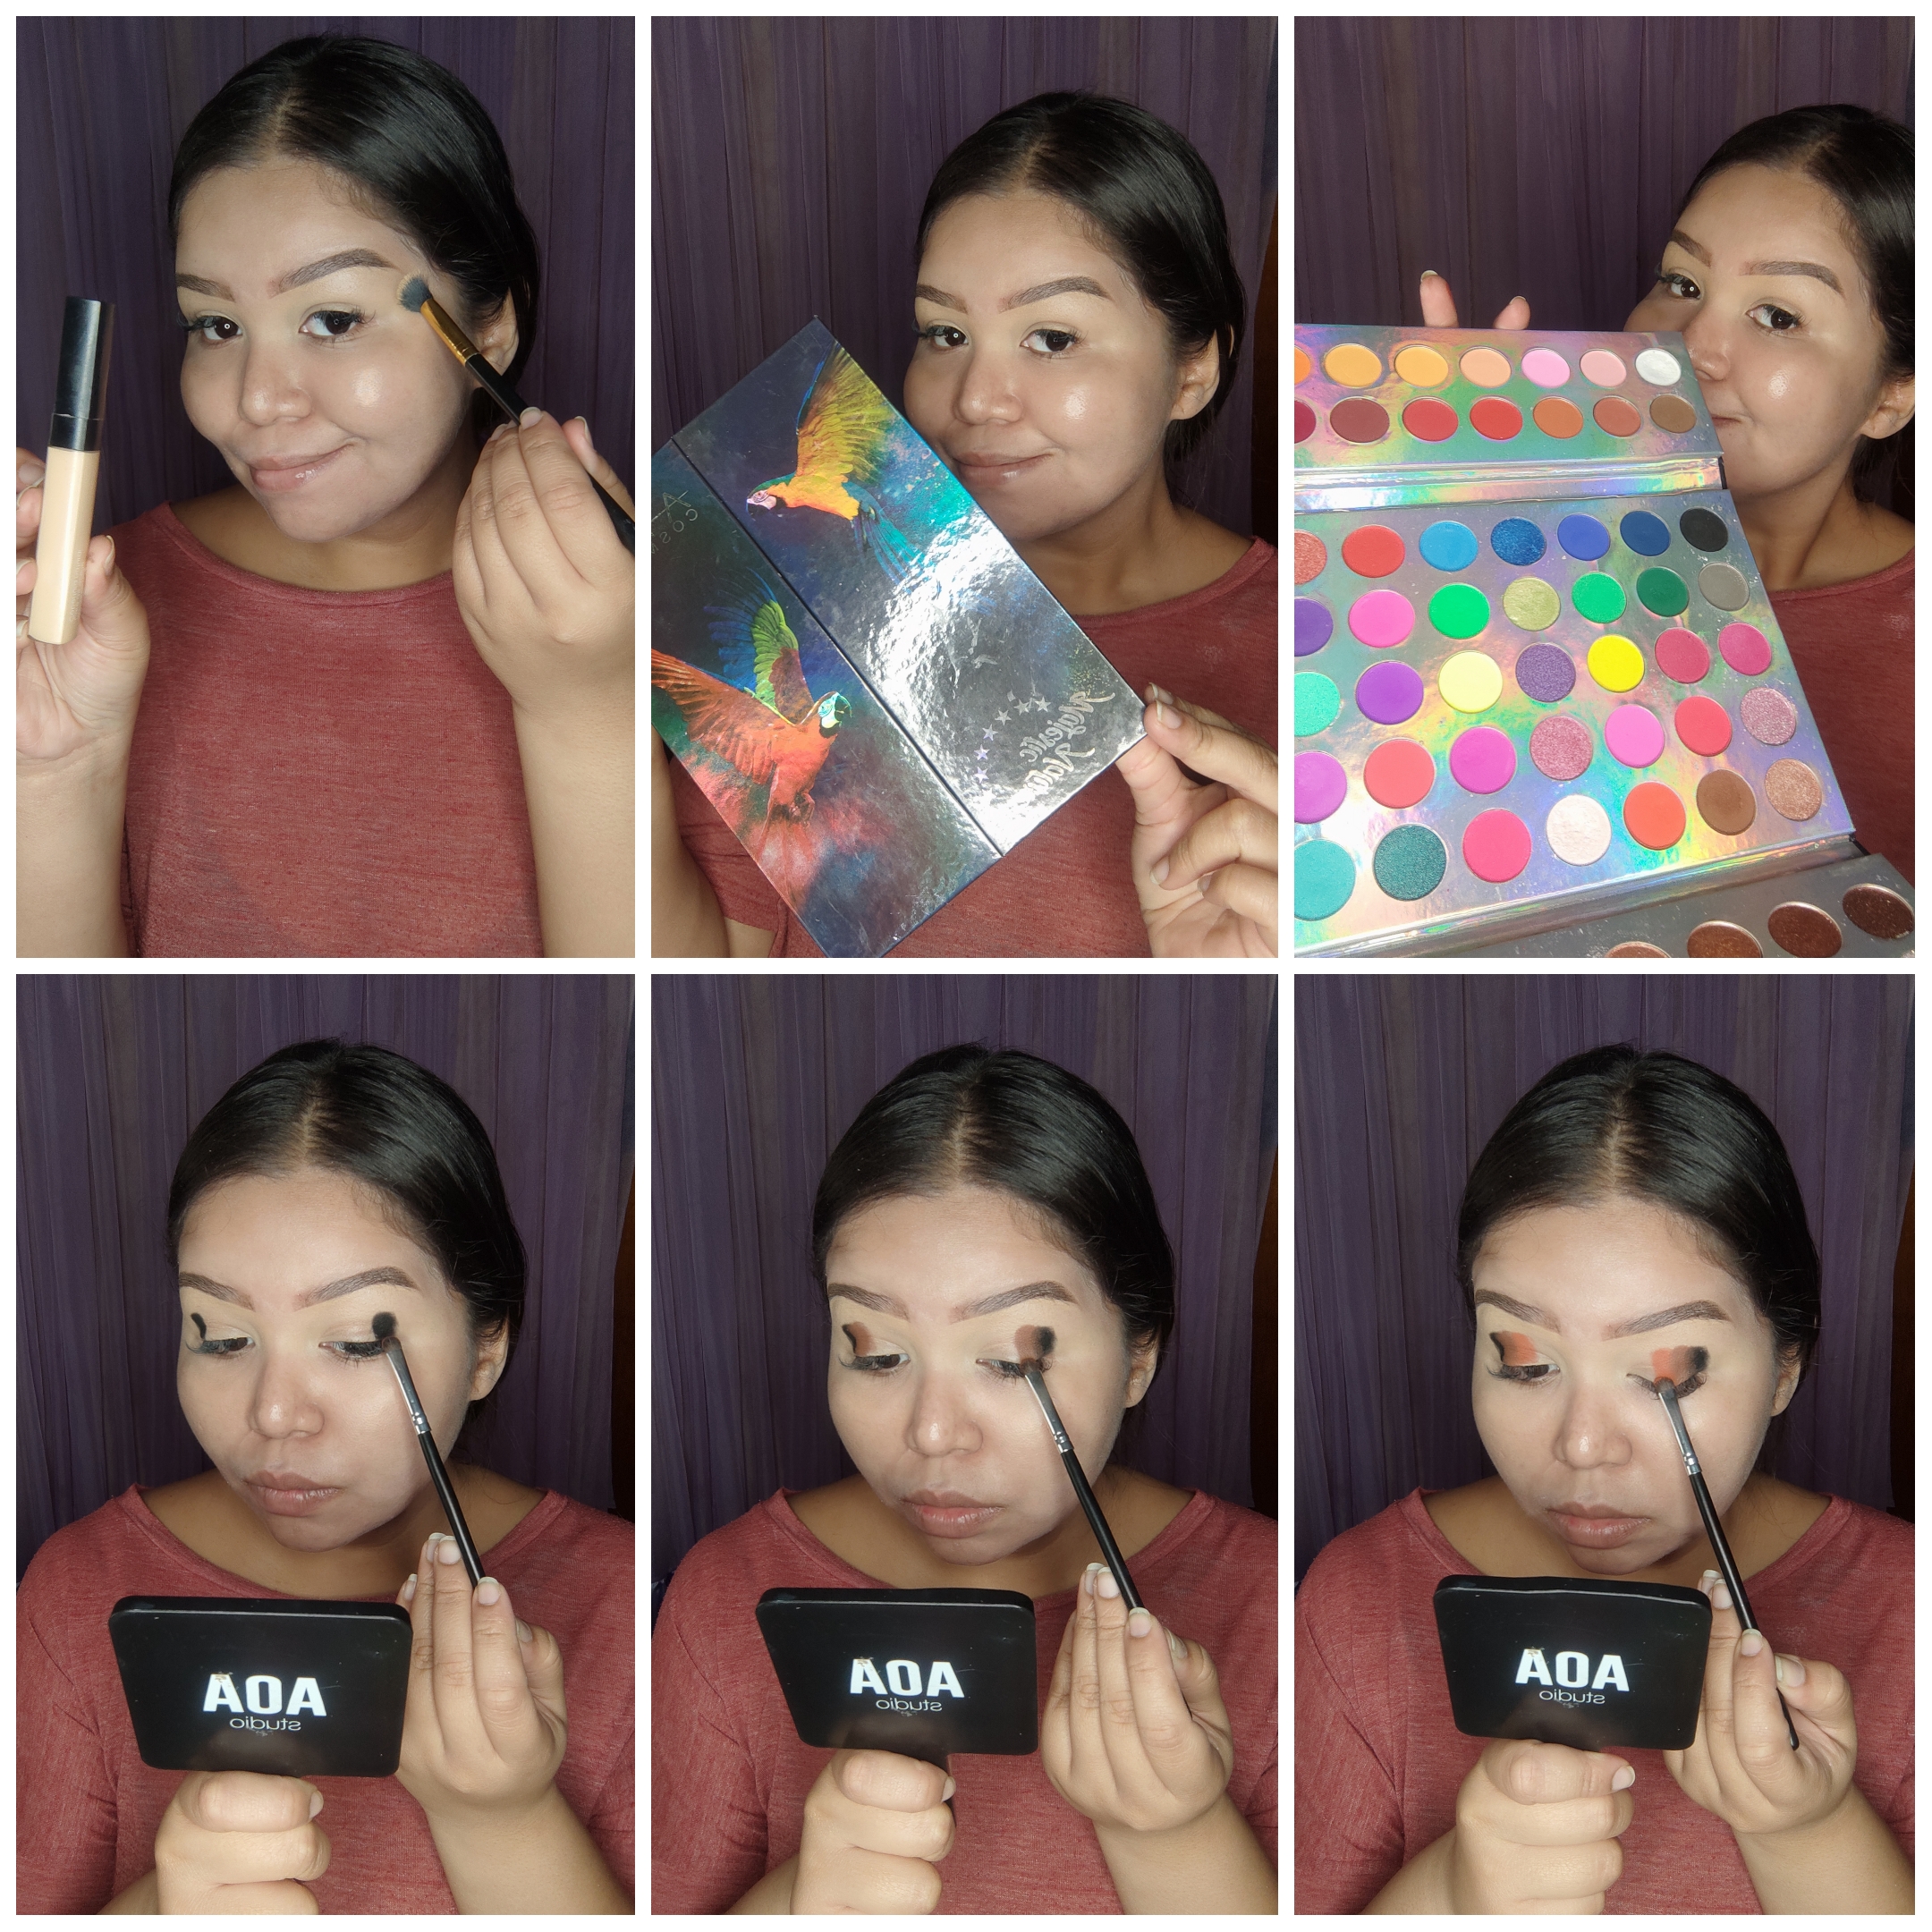
Pasamos a nuestros ojos preparando nuestros párpados con corrector, para empezar a aplicar de adentro hacia afuera sombra negra, marrón y naranja:
Let's do our eyes now preparing our lids first with concealer, to start applying from the outer corner a black, brown and orange eyeshadow:
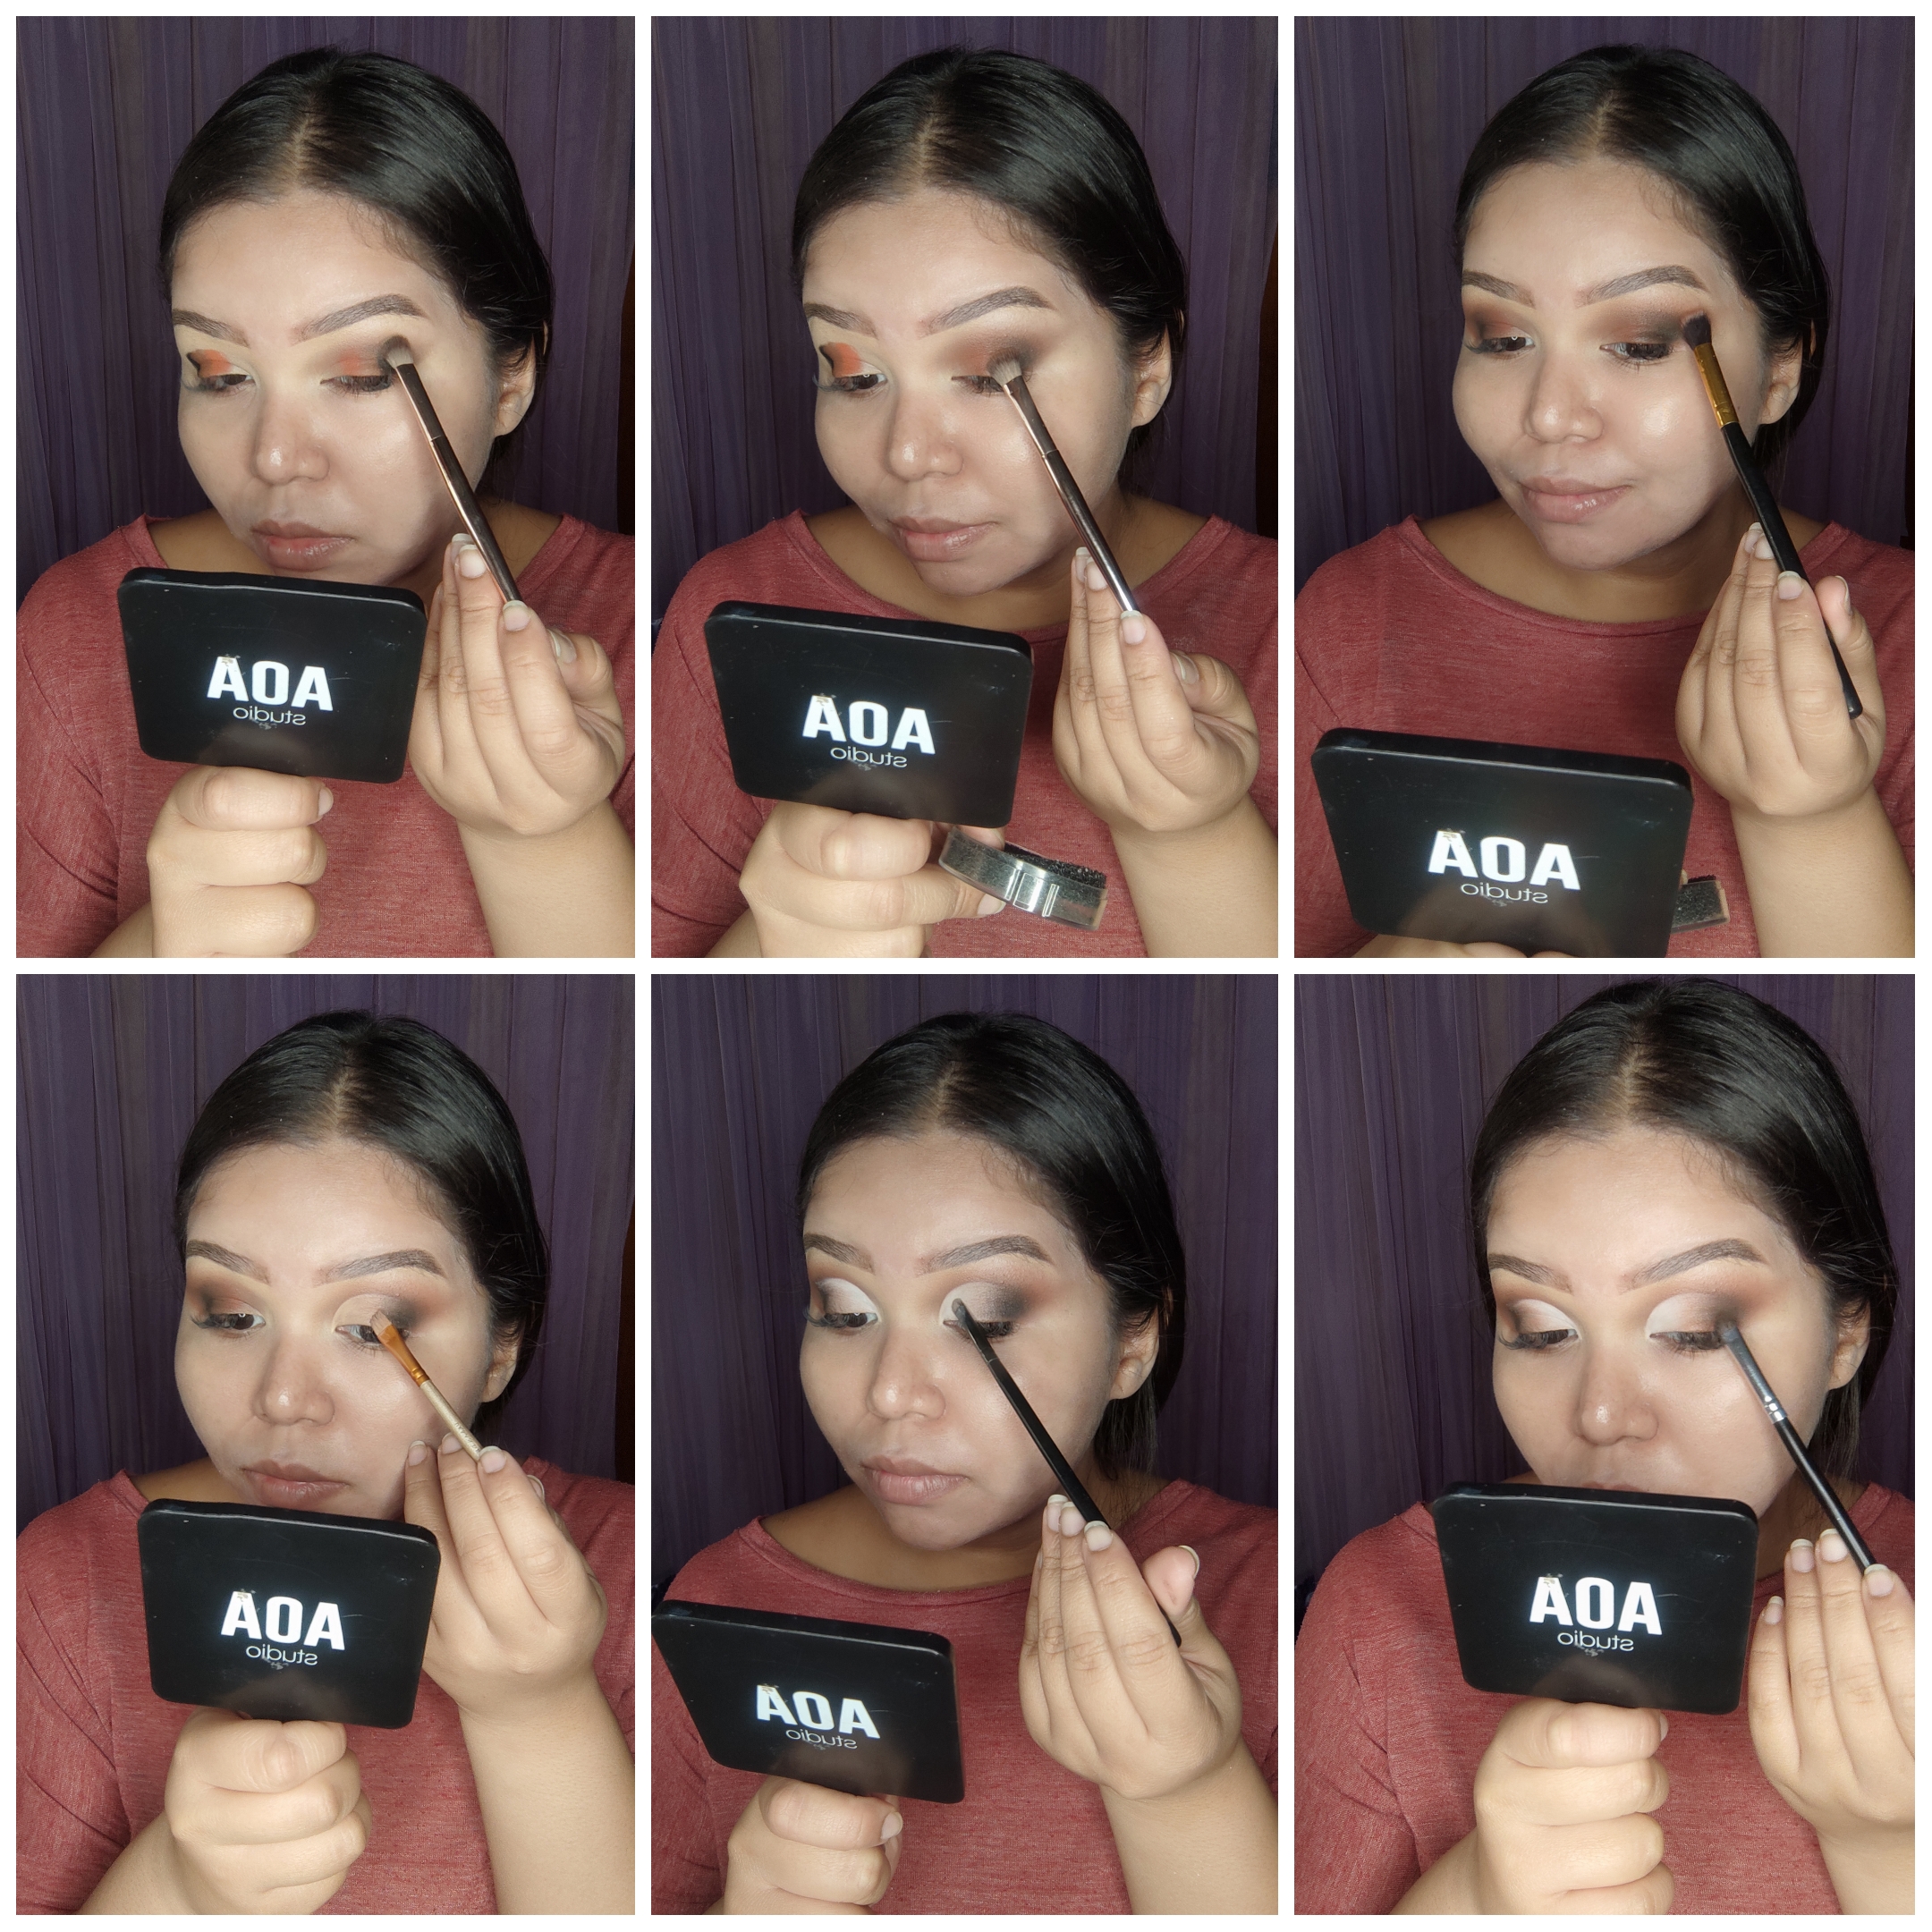
Con una brocha de difuminar empezamos a difuminar las sombras previamente aplicadas hasta lograr el resultado deseado, para luego realizar un corte de cuenca, que sellaremos con sombra blanca y uniremos el final del corte con el resto del ojo, con un poco de sombra naranja:
With a blending brush we start to blend the eyeshadows that we just applied till get the desired results, to then do a cut crease that we're going to set with a white eyeshadow, and at the end of the cut, with a orange eyeshadow:
Pasamos a realizar nuestra piel y para ello mezclé dos correctores para ser usados como base ya que quería un acabado más ligero, luego apliqué otro corrector sobre mi contorno de ojos, sellé todo con polvo y apliqué mi bronceador, rubor e iluminador para dar vida a mi rostro:
We're passing to our skin mixing two concealers to be used as foundation because I wanted a lightweight finish and then, I applied another concealer over my undereye area and set everything with a loose powder, to then apply bronzer, blush and highlighter to give some life back to our skin:

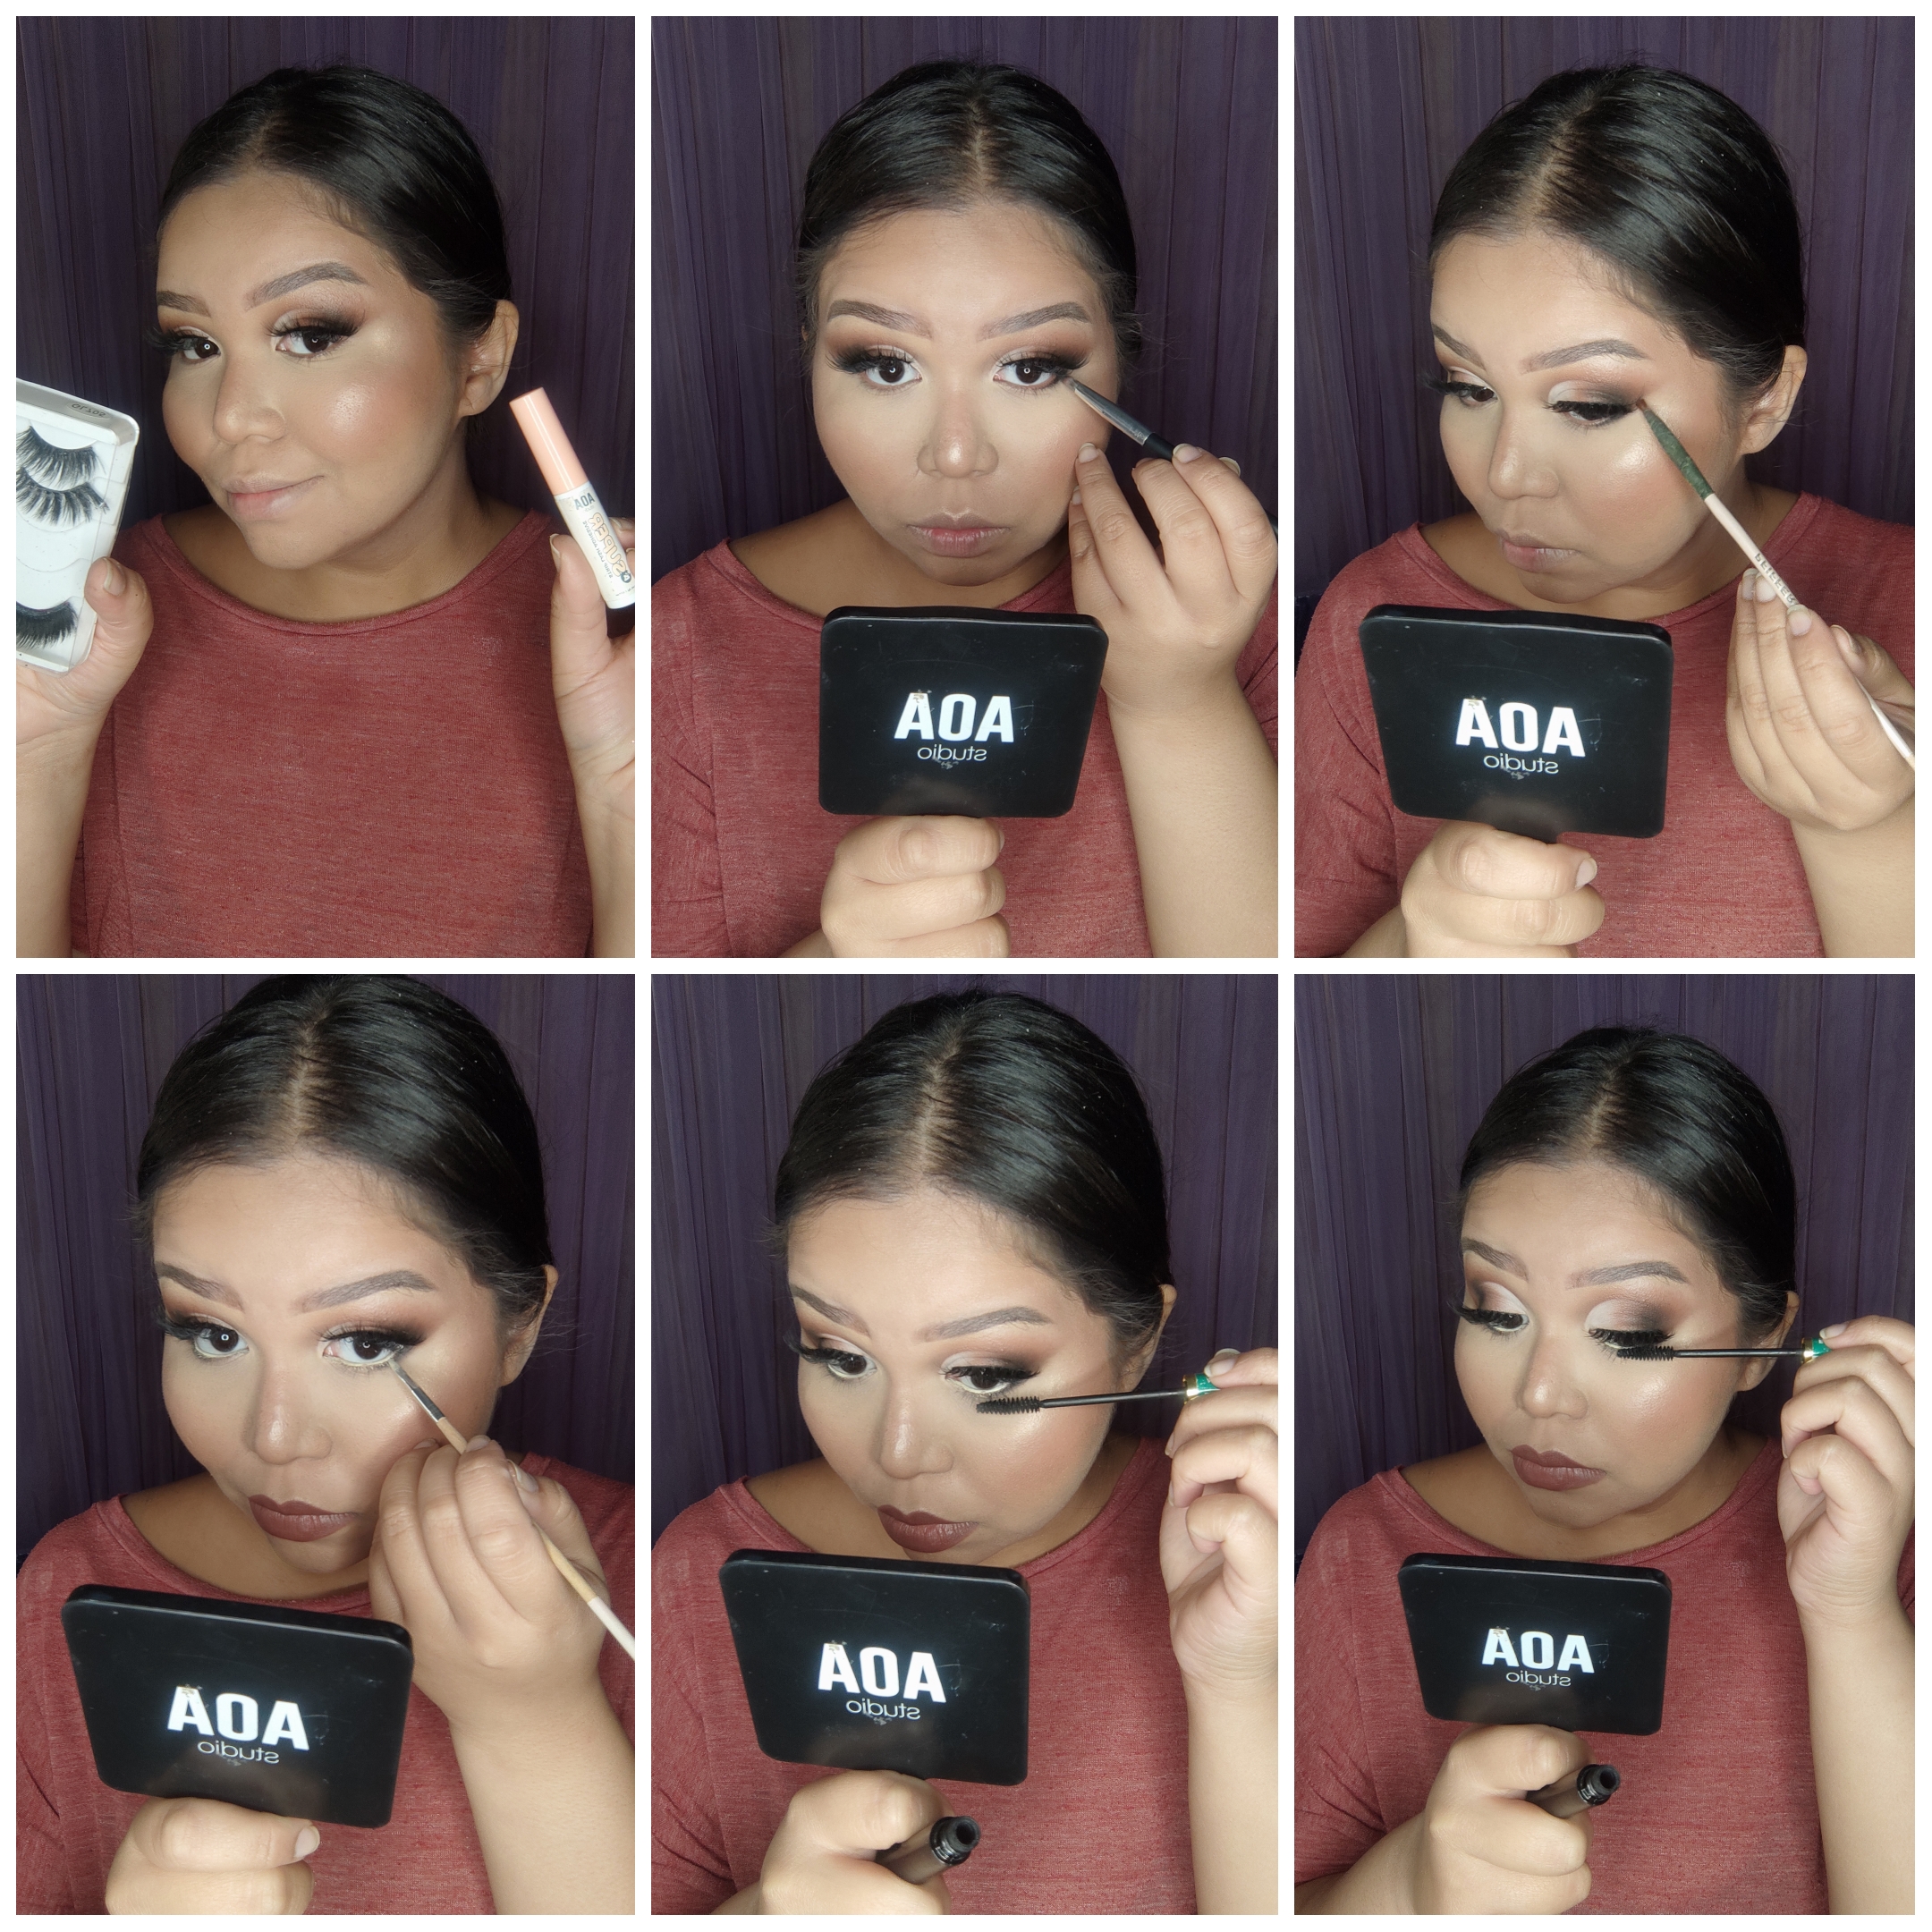
Finalizamos nuestros ojos agregando pestañas postizas, sombra negra al final del párpado inferior, corrector beige en nuestra línea de agua y máscara de pestañas:
We're ending with our eyes applying fake lashes, black eyeshadow at the end of our lower lid, beige concealer over our water line and lash mascara:
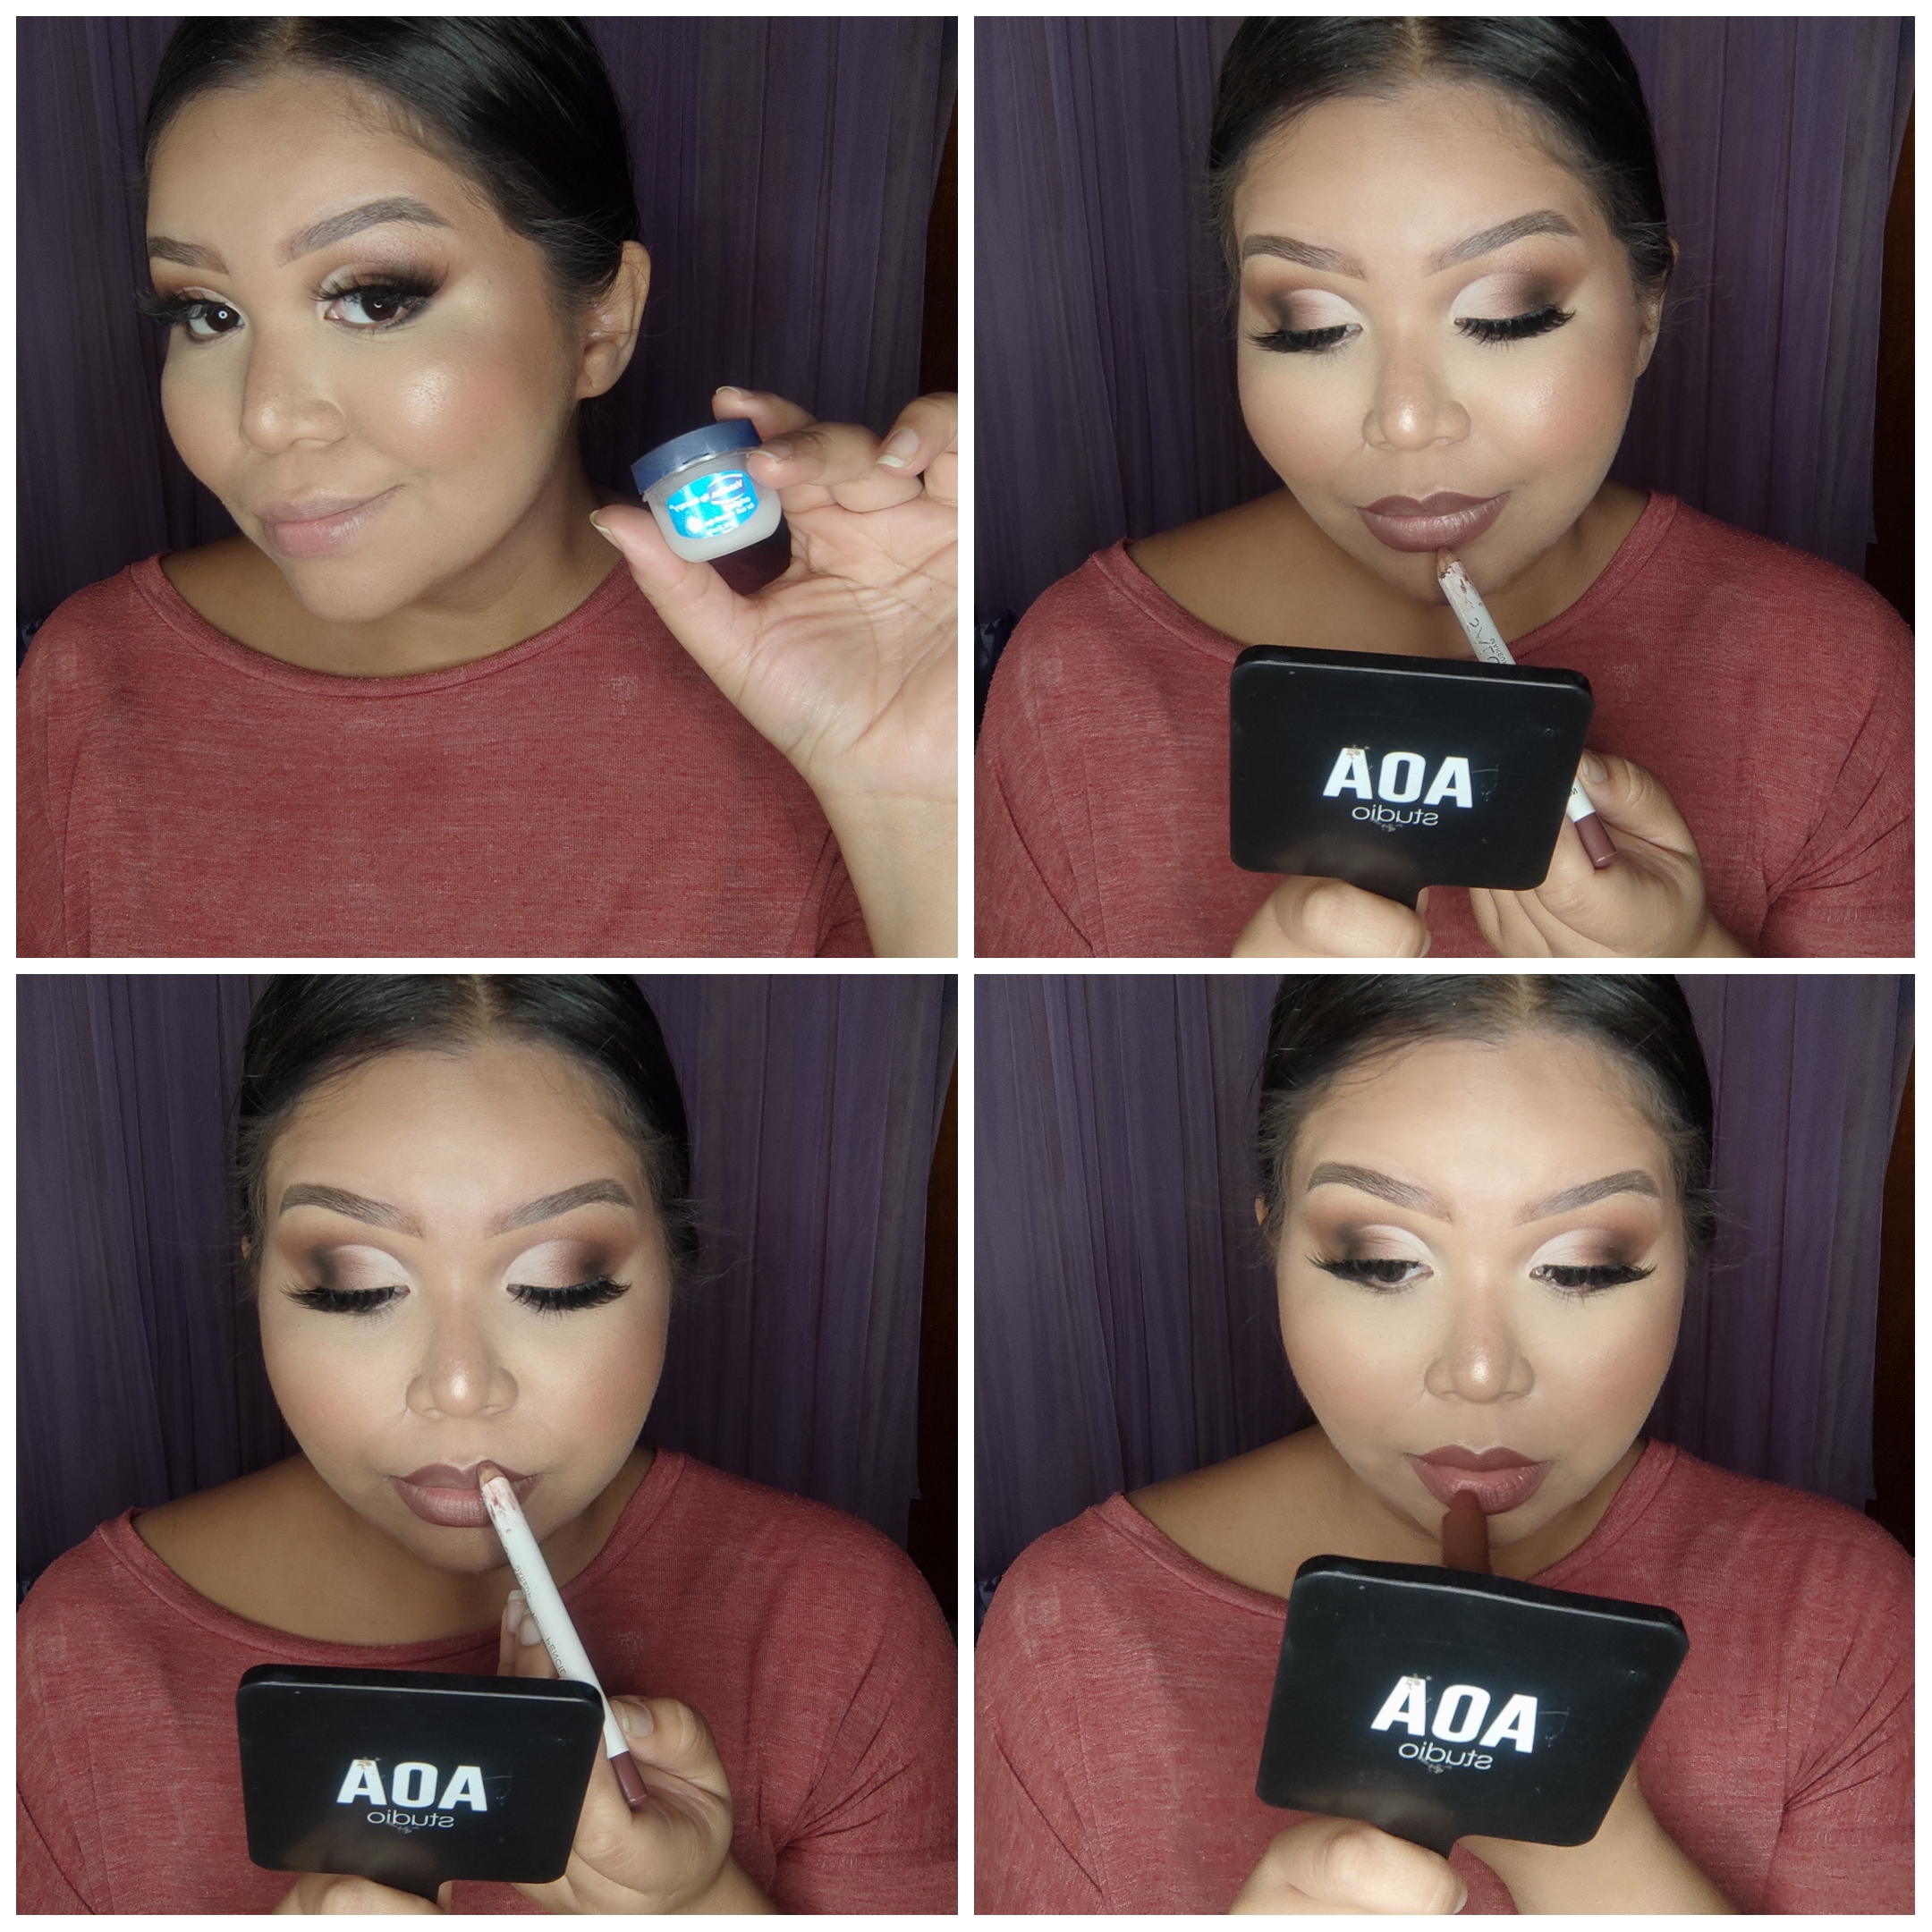
Finalizamos el look con nuestros labios hidratando, definiendo con lápiz marrón y rellenado con un labial marrón cálido:
We're going to finish this look with our lips moisturizing, defining with a brown pencil and filling them in with a warm brown lipstick:
Nuestro look está listo, así que ya podemos salir a lucirlo y tomar unas lindas fotos💖
Our look is done now, so we can go out and rock it, and take some nice pics💖


Espero les haya gustado mucho este tutorial pero sobre todo, que hayan aprendido algo nuevo o diferente💖Yo como siempre, estoy muy contenta de compartirles este contenido que tanto disfruto realizar 😁 Nos vemos en el próximo 💞
I hope you enjoyed this tutorial but most of, I hope you learned something new or different. I'm, as always, really happy about sharing this content that enjoy to create 😁 See you in the next one💖
The rewards earned on this comment will go directly to the person sharing the post on Twitter as long as they are registered with @poshtoken. Sign up at https://hiveposh.com.
Congratulations @marilegny! You have completed the following achievement on the Hive blockchain and have been rewarded with new badge(s):
Your next target is to reach 2500 upvotes.
You can view your badges on your board and compare yourself to others in the Ranking
If you no longer want to receive notifications, reply to this comment with the word
STOPCheck out the last post from @hivebuzz:
So cute..