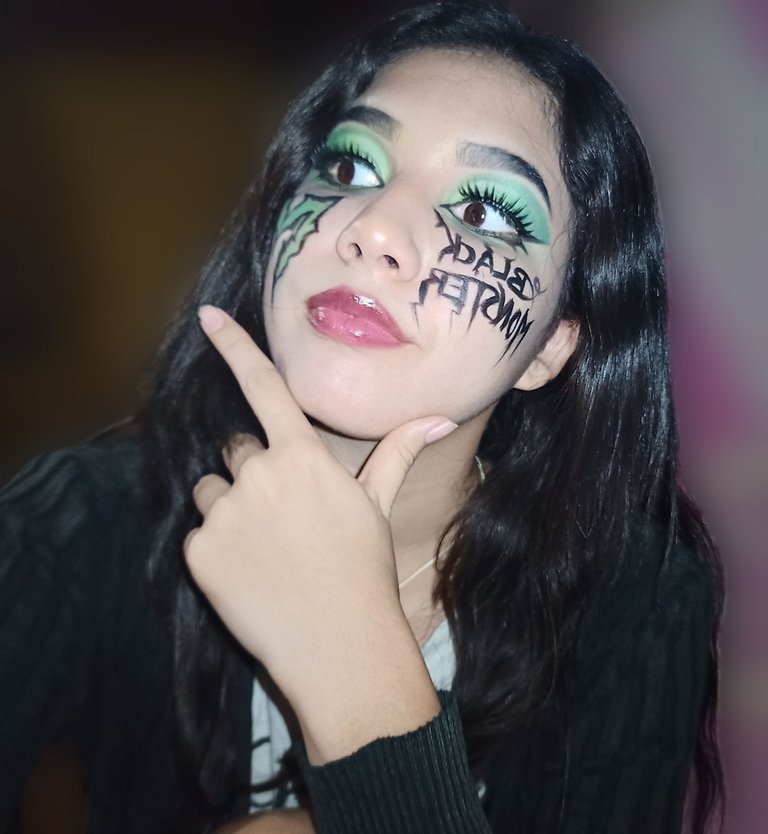

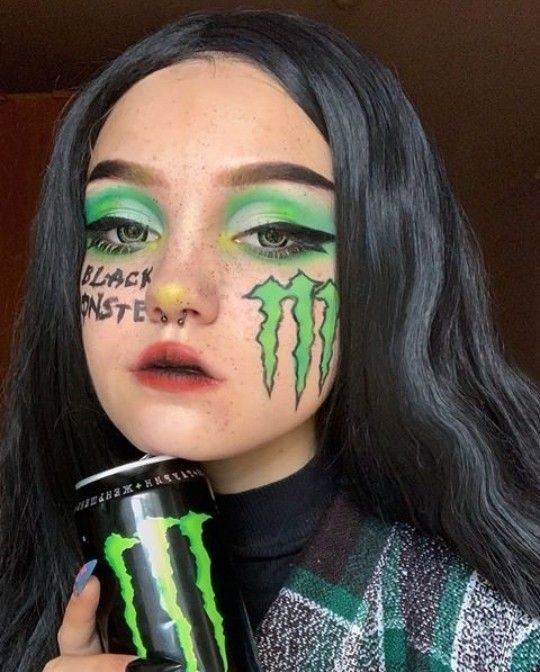
Hello friends! I hope you are very well, today I want to share a nice artistic makeup of a famous and very rich drink called monster, this recreation of the makeup I found it digging on the pinterest platform, I called my attention because I love the monster, I hope you like it very much and without more to say, let's start....
image
Acompáñenme por este hermoso makeup.
Come with me for this beautiful makeup.
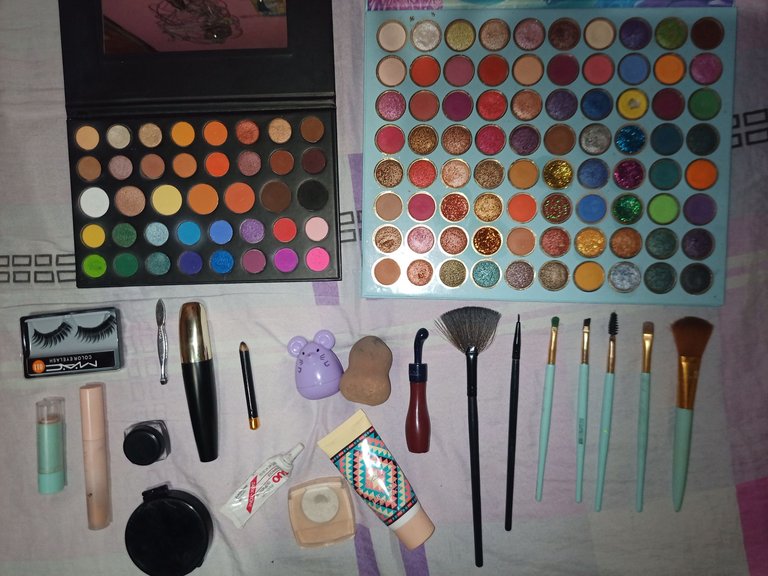
ELEMENTOS A USAR// ELEMENTS TO BE USED:
- Base.
- Sombras verdes ( agua, manzana destellante, oscuro, pasto brillante), amarillo y negro.
- Iluminador.
- Pestañas postizas.
- Delineador negro.
- Pomada para cejas.
- Esponja.
- Etc.
- Base.
- Shades of green (aqua, sparkling apple, dark, bright grass), yellow and black.
- Illuminator.
- False eyelashes.
- Black eyeliner.
- Eyebrow ointment.
- Sponge.
- Etc.
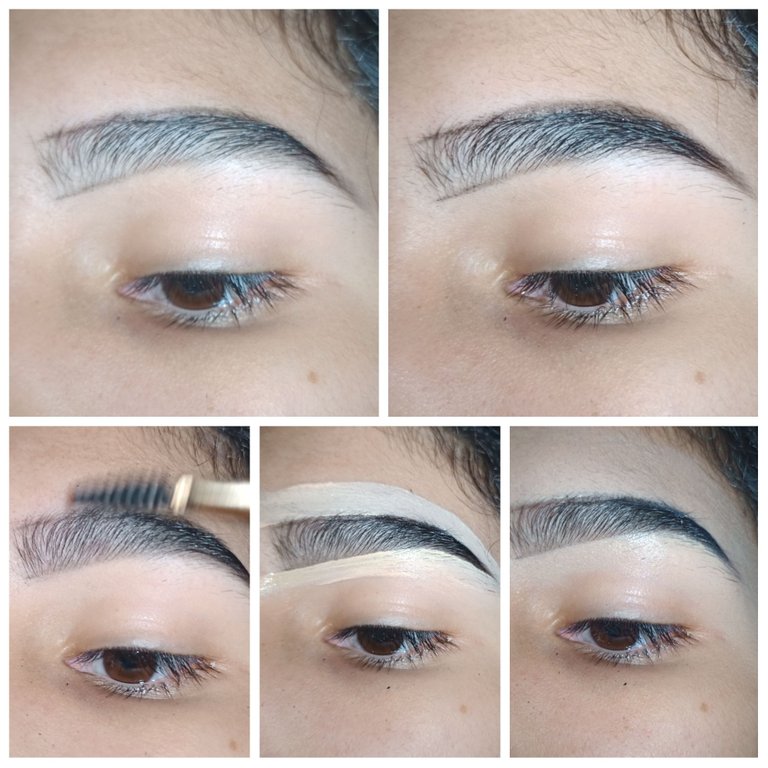
1 PASO: CEJAS// 1 STEP: EYERBROWS
We start by doing our line, above and below our eyebrows, we paint from the middle to the end, after that we will blur the lines well by combing up and down the eyebrows, we comb a little at the beginning and finish with our base blurring it very well.
2 PASO: MAQUILLAJE// 2 STEP: MAKEUP
Let's go with our makeup, we apply a little concealer and distribute it well all over the eyelid area and outside of it as well, we compact with powder, we apply dark green all over the eyelid, after this we apply the yellow at the beginning of the eyelid up to the socket and distribute the base separating the colors, we compact the base adding apple green shadow (or flashing green hehe) just where the base ends, after this we spread a navy green with round touches, to darken the makeup we apply a grass green from the side of the eyelid to where the other colors start, and we finish with black on the tip blending very very well, on the back of our eyelid we distribute the green and light green shadow, mixing a little the colors, finally finishing with yellow illuminator on our tear.
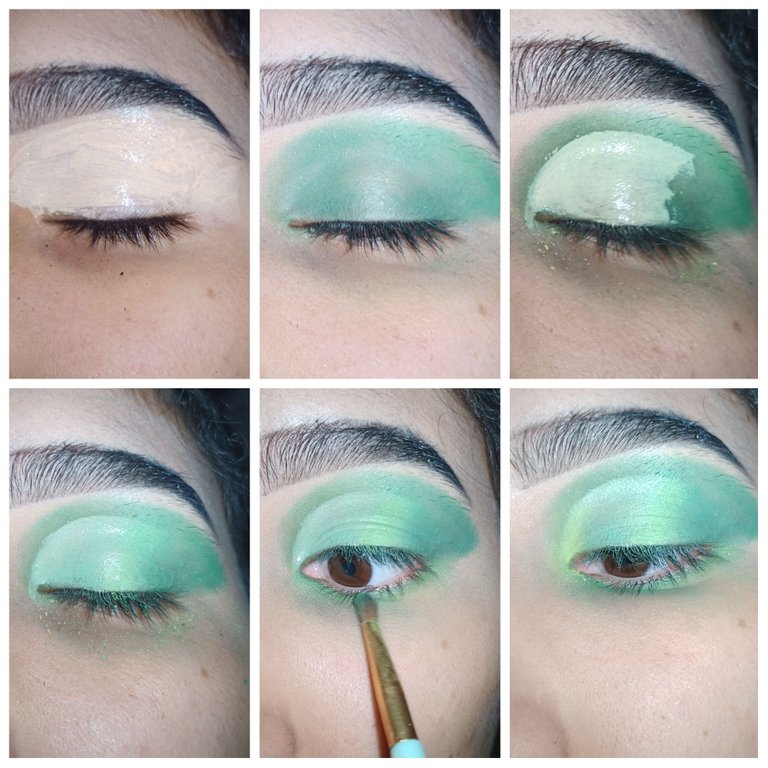
3 PASO: DELINEADO // 3 STEP: DELINEATION.
Almost finished friends, with our eyeliner we do the eyeliner, here a little step by step. (These eyeliners are for droopy eyelids).
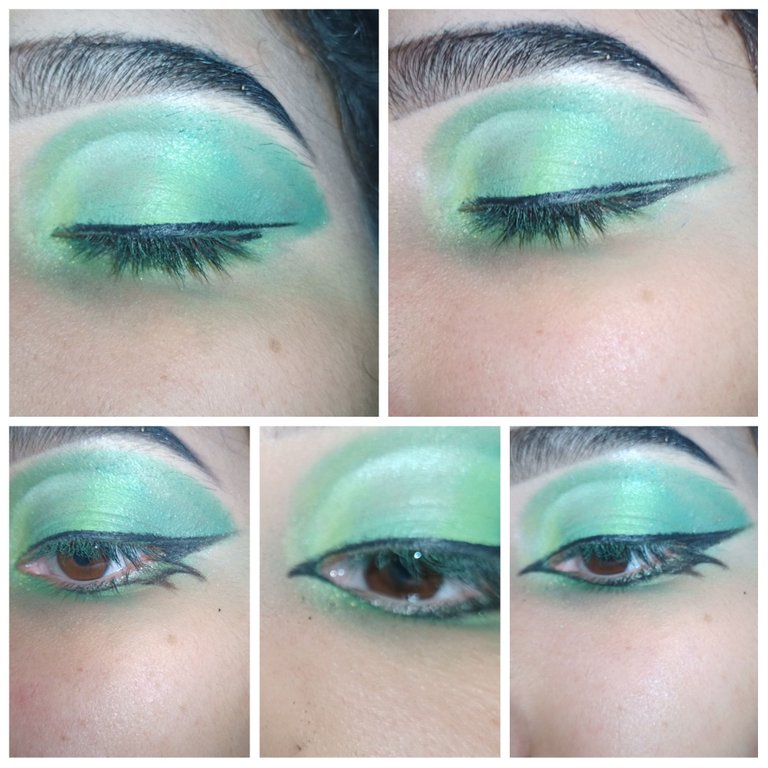
4 PASO: PREPARACION DE LA CARA Y TOQUE ARTISTICO. // 4 STEP: FACIAL PREPARATION AND ARTISTIC TOUCHED.
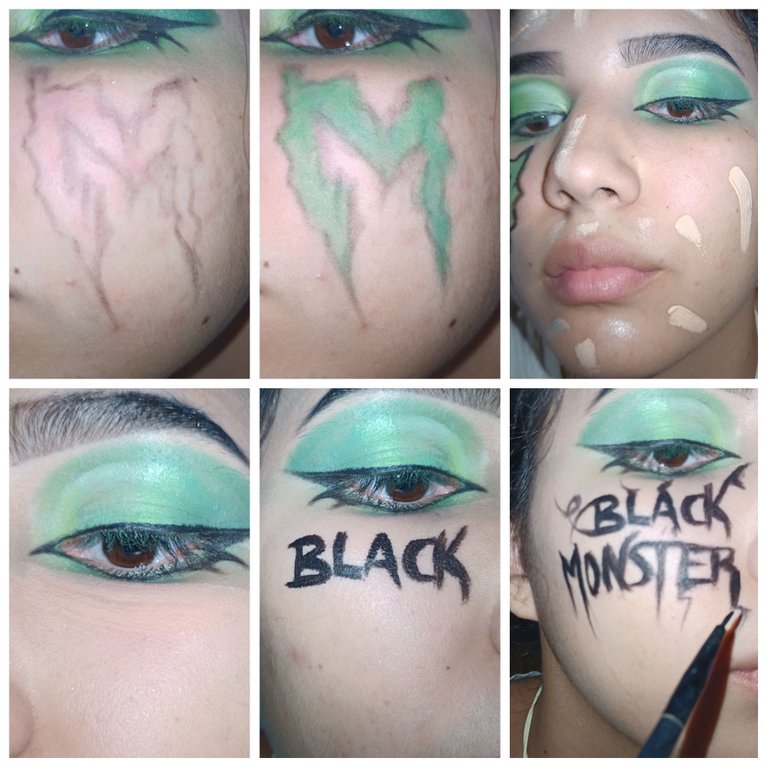
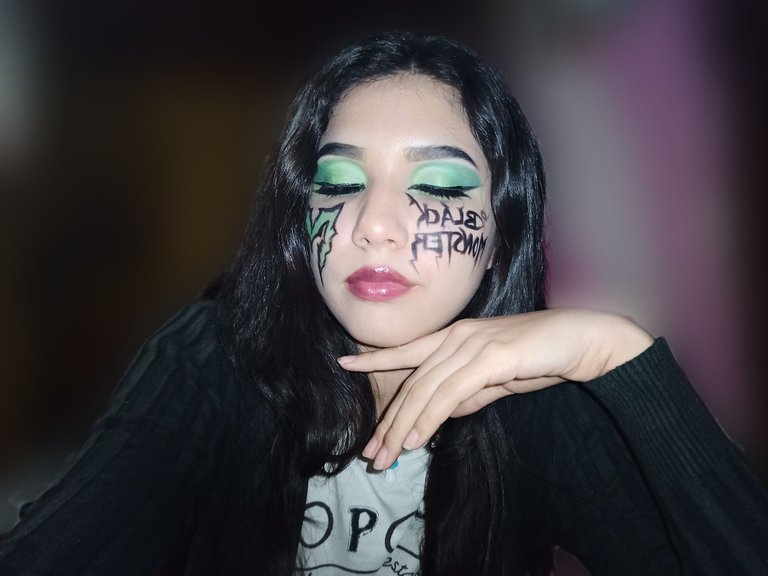
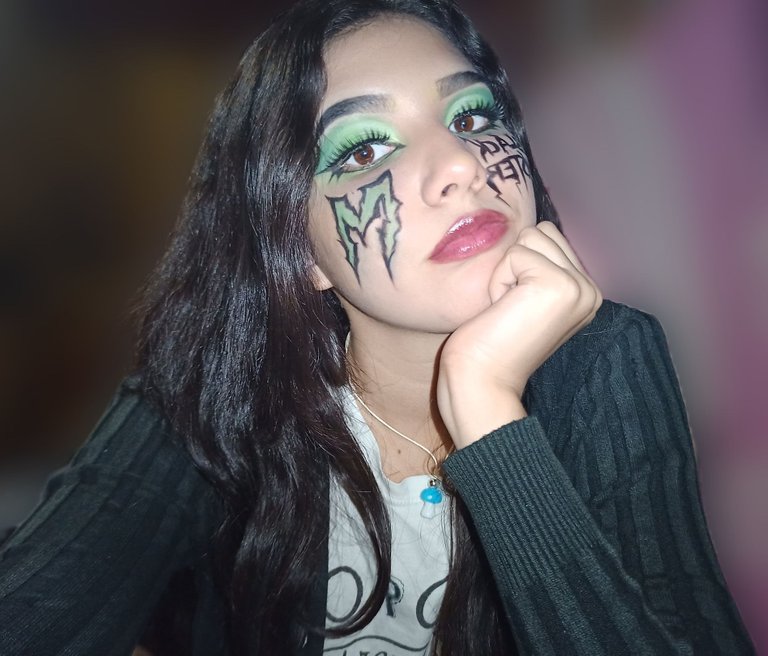
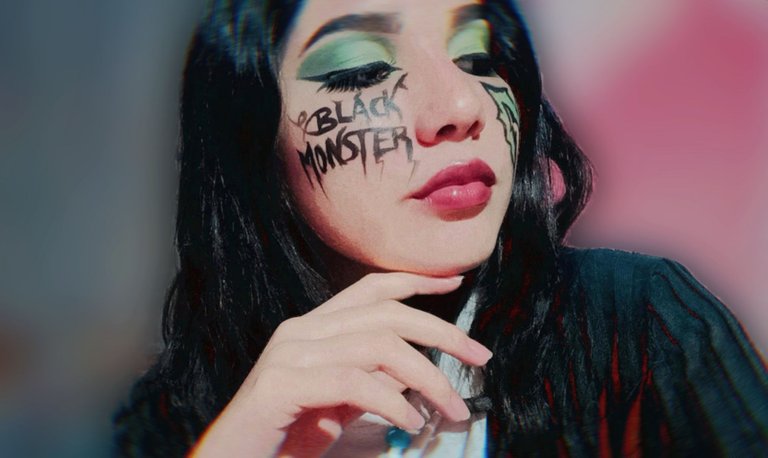
We prepare our face with foundation, concealer and powder (to compact), and we started to draw, on one side of my face I drew the "m" of monster (by the way I made a little mistake in the m, I designed it capitalized and it was lowercase hehehe) and on the other side I wrote the words "black monster" and decorated hehehehe.
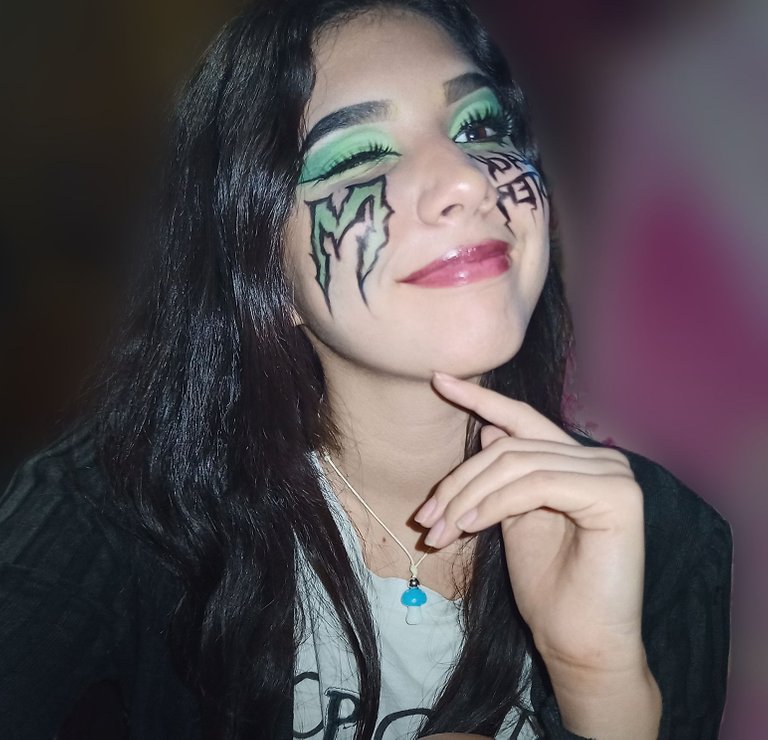
este fue nuestro resultado.
This was our result.
RESULTADO// RESULT:

Gracias por acompañarme en este recorrido espectacular, espero lo hayan disfrutado tanto como yo, que se hayan divertido mucho, que tengan un hermoso día y sin más que decir me despido. Adiós.!!
Thank you for joining me on this spectacular tour, I hope you enjoyed it as much as I did, that you had a great time, that you had a beautiful day and without further ado I say goodbye. Goodbye!
Hola, aunque te hayas equivocado al colocar la letra m en mayúscula siendo minúscula, igual te quedó hermoso y muy similar al modelo que indagaste por la web, saludos.
Hola amigo, muchas gracias ☺️ un saludo! 👋🏻😁