Chiquis, yo sé que ustedes aman dormir y que la faena a veces no los deja. Yo soy experta en quedarme dormida y andar con un corre corre. Que si la arepa, que si el café, que si acomodar todo... Muchas veces sacrifiqué mi aspecto porque bueno, tenía que agarrar el bus de las 5 am y sólo me quedaban 10 o 5 minutos. ¿Pero saben qué? yo me estoy formando como investigadora, está en mis venas, así que yo les he servido de conejillo de indias para este experimento... Lo que les voy a mostrar a continuación, es un pequeño tutorial de un maquillaje rápido que estoy casi casi segura que podrán hacer rapidito, Yo me tardaré más explicando el proceso 😜.
Chiquis, I know that you love to sleep and that work sometimes keeps you awake. I am an expert in falling asleep and running around. What if the arepa, what if the coffee, what if I have to arrange everything? Many times I sacrificed my appearance because well, I had to catch the 5 am bus and I only had 10 or 5 minutes left. But you know what? I am training as a researcher, it is in my veins, so I have served as a guinea pig for this experiment .... What I'm going to show you next, is a little tutorial of a quick makeup that I'm almost sure you'll be able to do quickly, I'll take longer explaining the process 😜.

Los materiales que vamos a utilizar son:
- Protector solar.
- Pincel para difuminar sombras, pincel plano para aplicar el corrector, brochas (kabuki) para el broncer y rubor.
- Polvo con buena cobertura (puede ser doble función).
- Labial en barra de color rojo o fucsia.
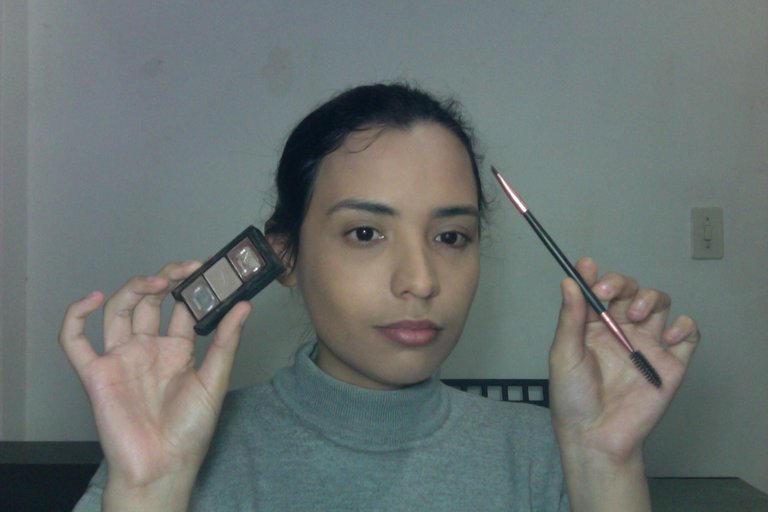
- Sombra para cejas y algo para fijarlas.
- Iluminador
- Bronzer
- Rimel.
- Prebase para sombras.
- Sombras para ojos.
- Esponja tipo Beauty Blender
The materials we are going to use are:
- Sunscreen.
- Brush to blend shadows, flat brush to apply concealer, brushes (kabuki) for bronzer and blush.
- Powder with good coverage (can be dual function).
- Red or fuchsia lipstick stick.
- Eyebrow shadow and something to set the eyebrows.
- Highlighter
- Bronzer
- Mascara.
- Eyeshadow primer.
- Eye shadows.
- Beauty Blender.
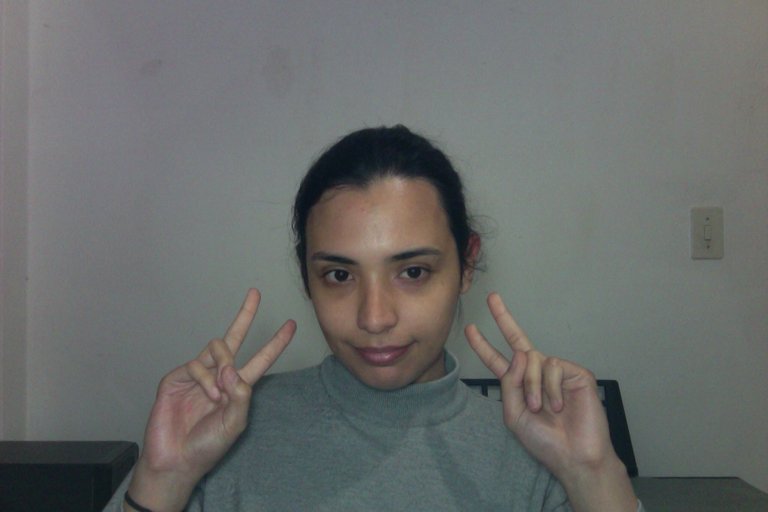
Lo primero, es lavarse la cara y colocar protector solar. Súper importante salir siempre con protector solar así no esté muy soleado afuera.
First, wash your face and apply sunscreen. It's super important to always go out with sunscreen even if it's not very sunny outside.
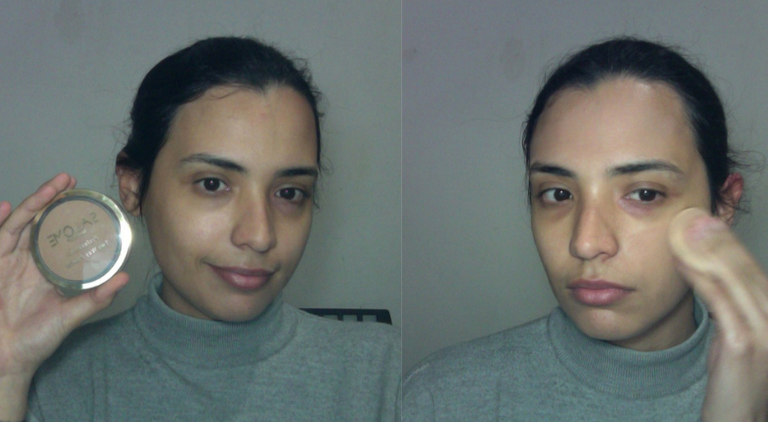
Luego, buscamos nuestro polvo más cubriente y lo colocamos en todo el rostro. Yo siempre uso polvos doble función, ya que están hechos para humedecerlos, lo cual aporta más cobertura.
Next, we look for our most covering powder and apply it all over the face. I always use double duty powders, as they are made to moisturize, which adds more coverage.

Yo las peino hacia arriba y relleno espacios, y luego lo mismo pero peinándolas hacia abajo. Y luego las sello con máscara transparente.
I comb them up and fill in spaces, and then the same thing but comb them down. And then I seal them with clear mascara.
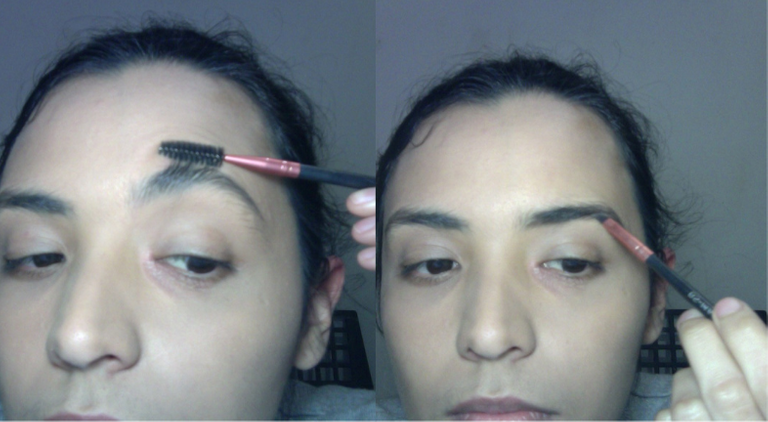
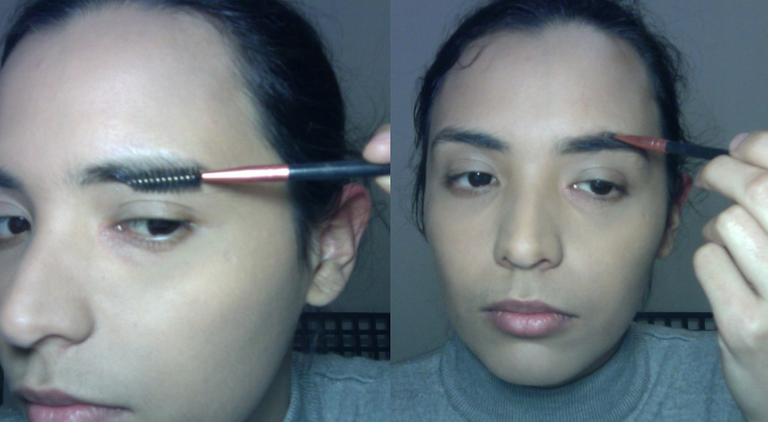
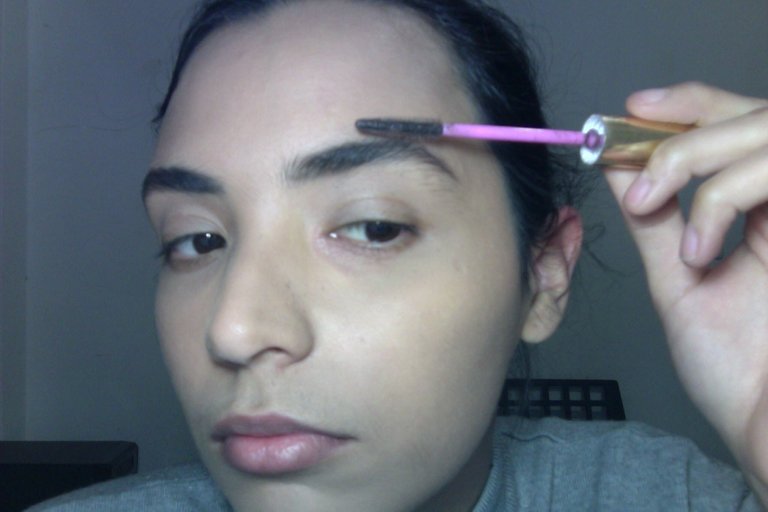
¡Listas las cejas!/Eyebrows ready!
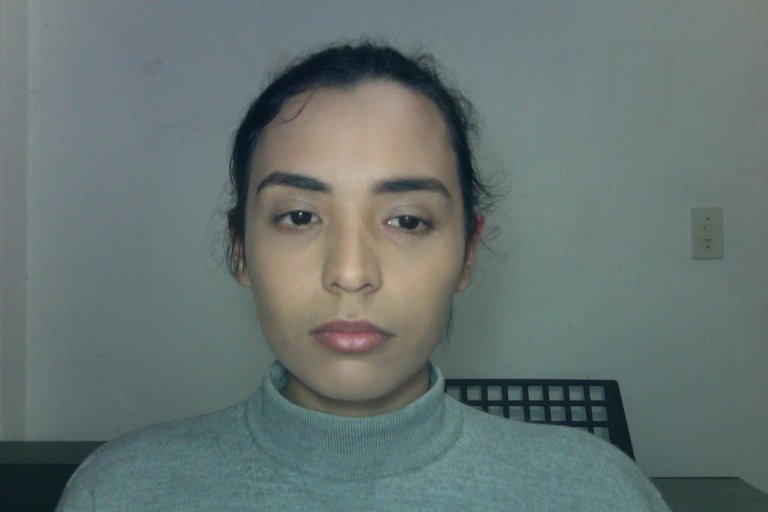

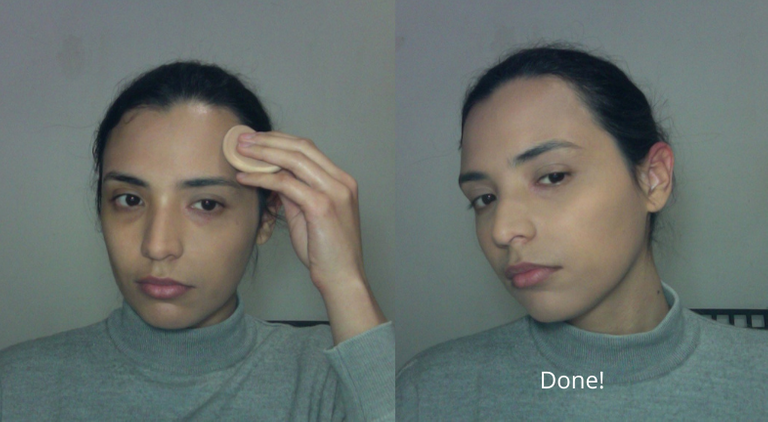
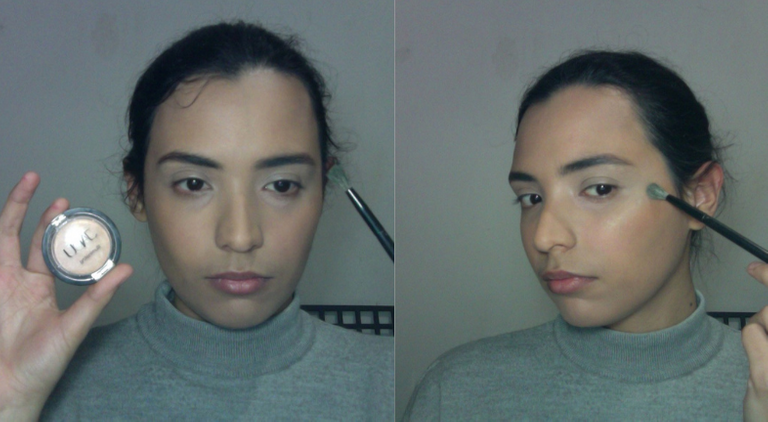
Luego, aplicamos corrector y prebase para sombras y los difuminé con una esponja tipo Beauty Blender. Anexo el proceso:
Then, we applied concealer and shadow primer and I blended them with a Beauty Blender. I attach the process:
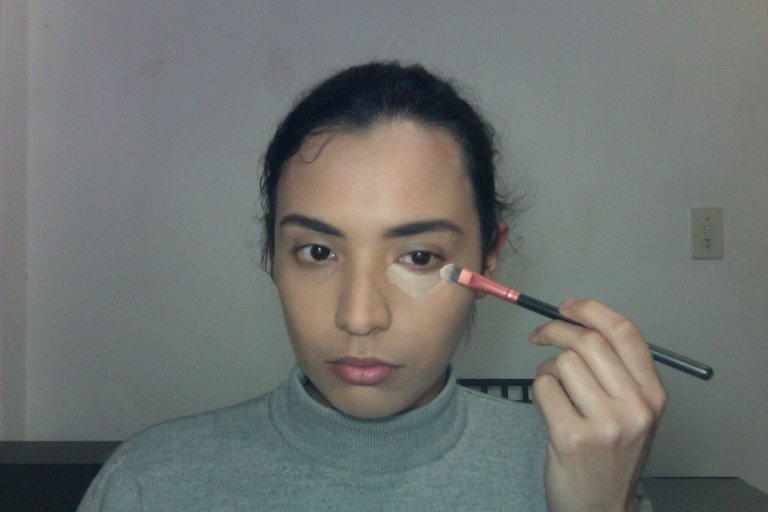
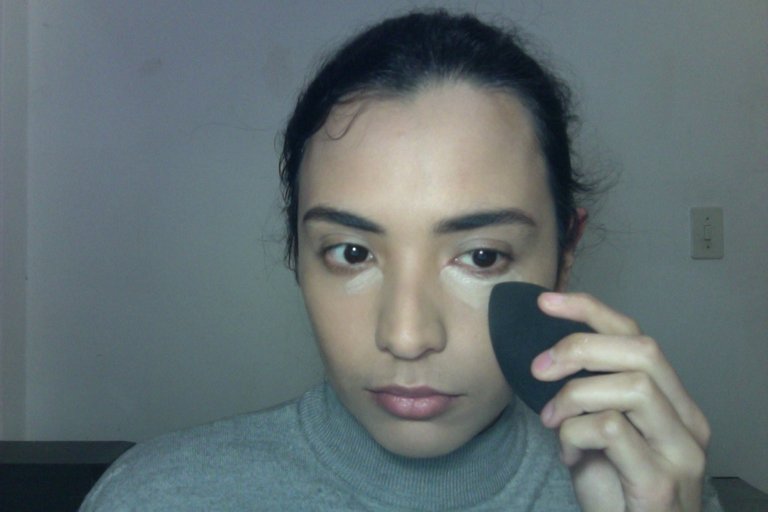
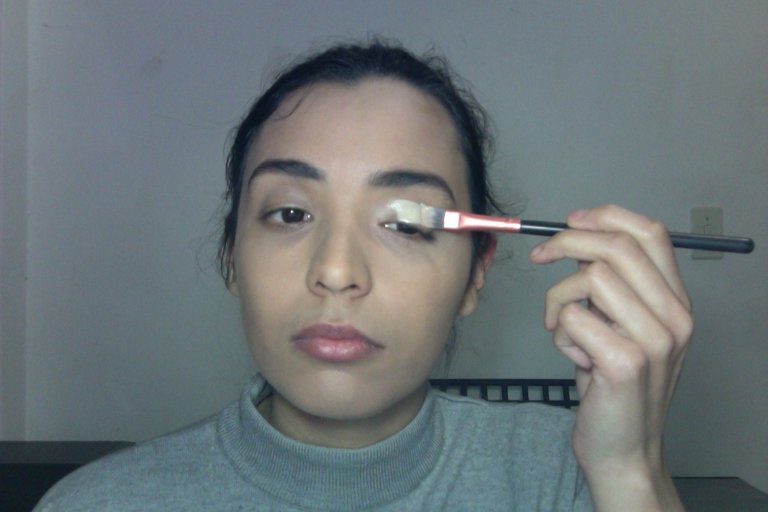
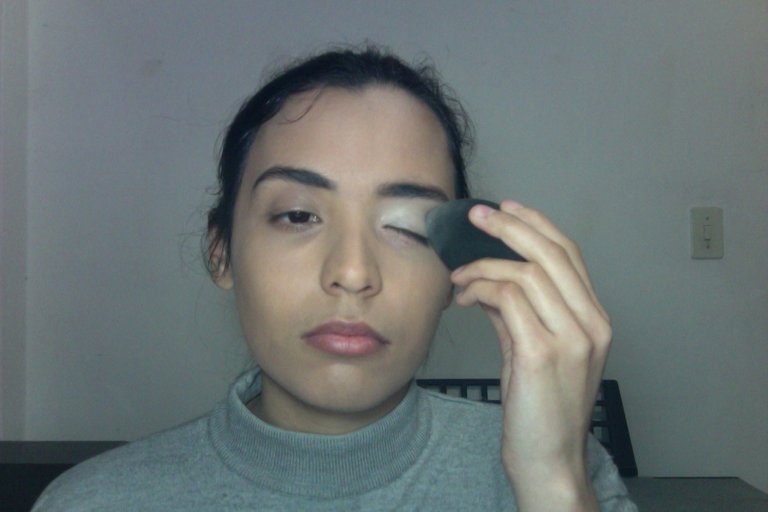
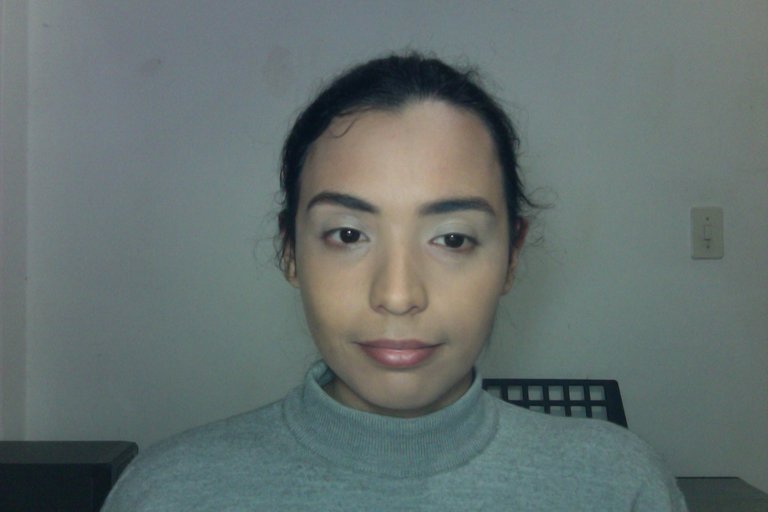
¡Listo!/ Done!

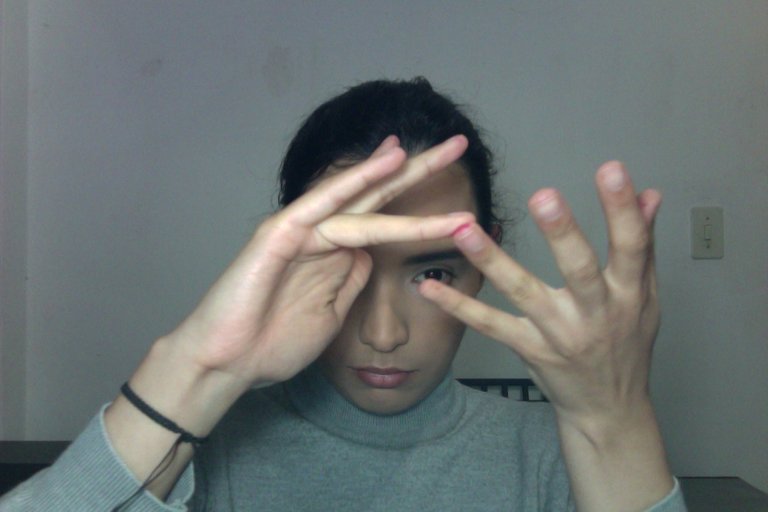
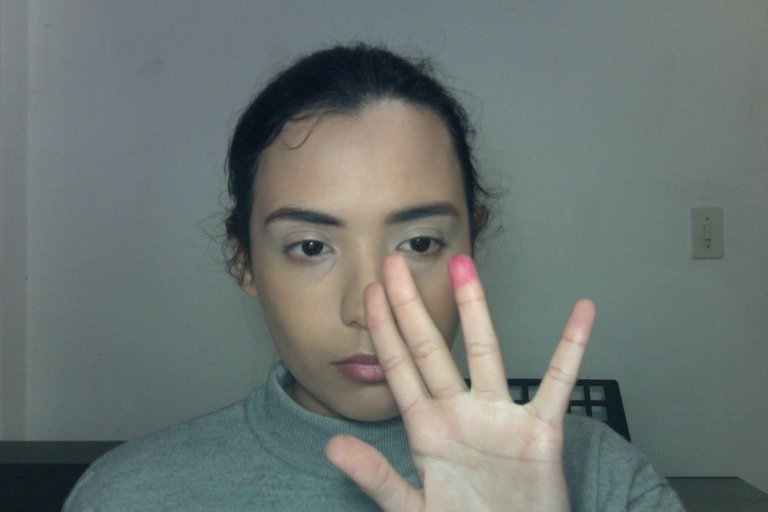
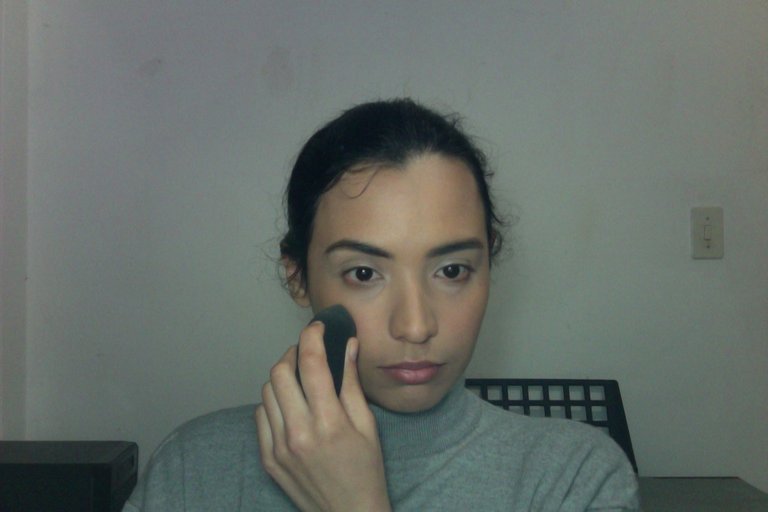
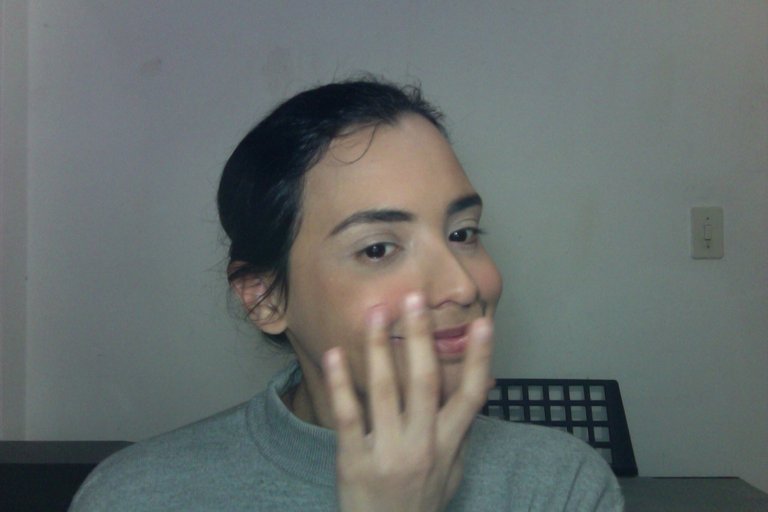
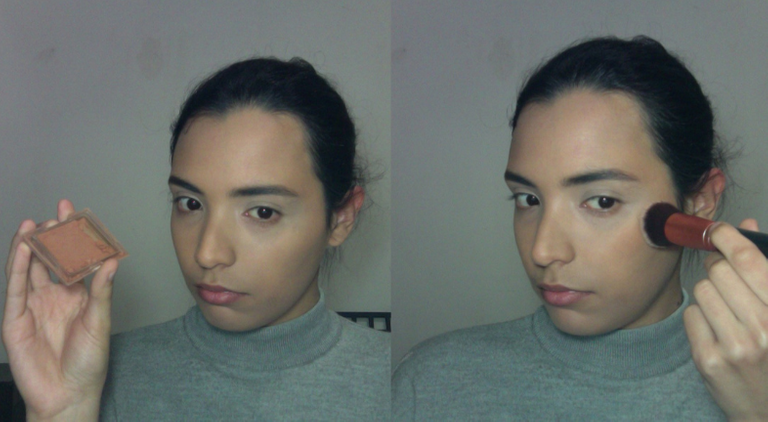
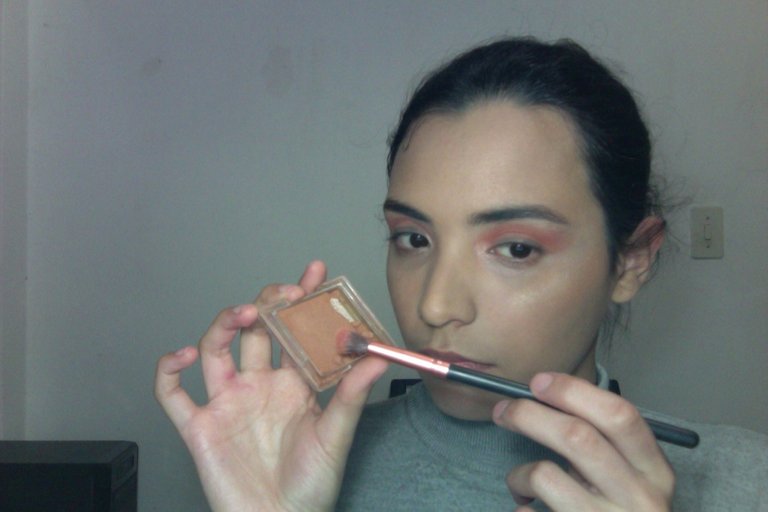
Ahora, aplicaremos el rubor, el bonzer y el iluminador. Yo uso un truco para el rubor, y es que utilizo un labial rosa o rojo. El efecto lo vamos a conseguir colocando muy poquita cantidad de labial en los dedos, difuminar un poco antes de aplicar, y mientras sonreímos vamos colocando con pequeños toques hasta tenerlo integrado. Al final, termino de difuminar con la esponja. Anexo el ejemplo:
Now, we will apply the blush, bonzer and highlighter. I use a trick for the blush, and that is that I use a pink or red lipstick. The effect is achieved by placing a very small amount of lipstick on the fingers, smudge a little before applying, and while smiling, apply it with small touches until it is integrated. At the end, I finish blending with the sponge. I attach the example:
Then, we applied concealer and shadow primer and I blended them with a Beauty Blender. I attach the process:
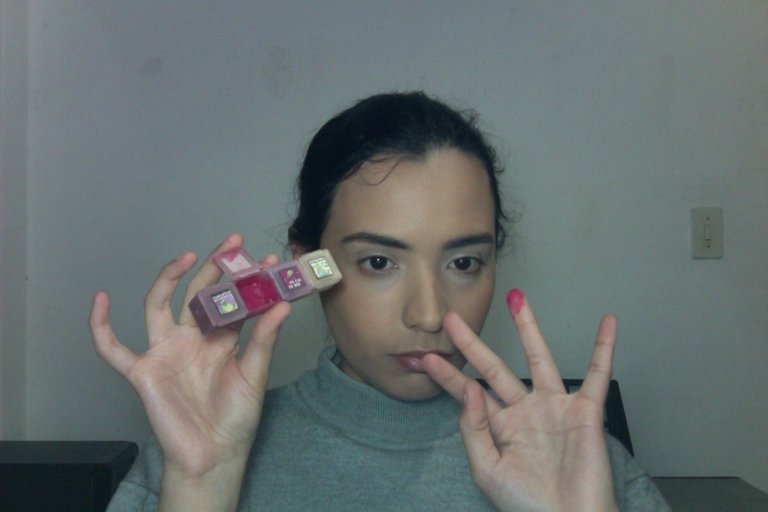
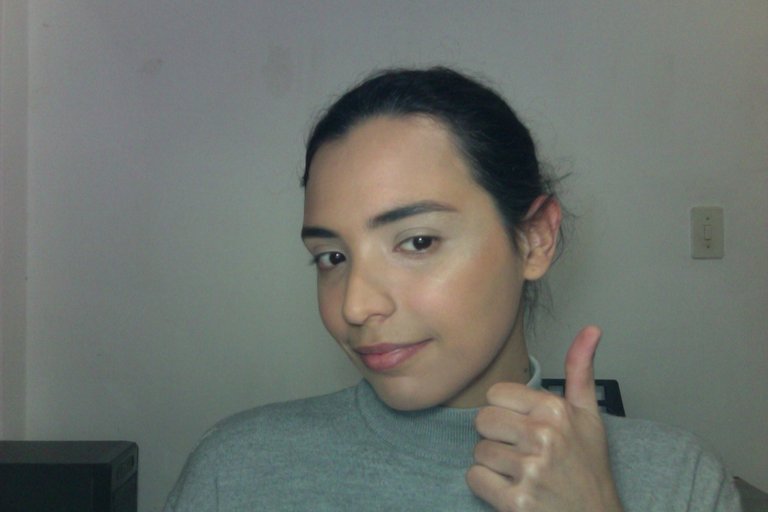
¡Listo! ya nos vemos más despiertos/Ready! See you more awake!

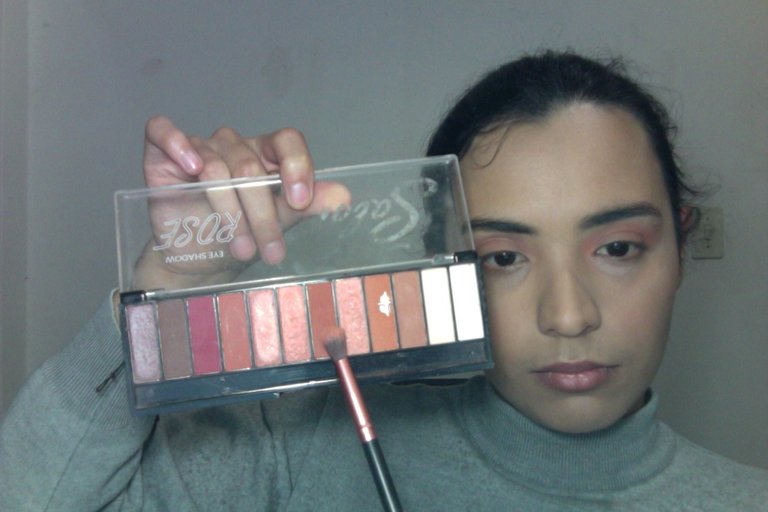
Ya con el resultado de arriba, podemos aplicar un poco de máscara de pestañas, labial y salir. Pero si tienes ese extra de tiempo, puedes jugar un poco con las sombras. En esta ocasión, yo uso sombras en colores rojizos y naranjas, empezando por el color que indico en la imagen:
With the result above, we can apply a bit of mascara, lipstick and leave. But if you have that extra time, you can play a little with the shadows. On this occasion, I use shadows in reddish and orange colors, starting with the color I indicate in the image:
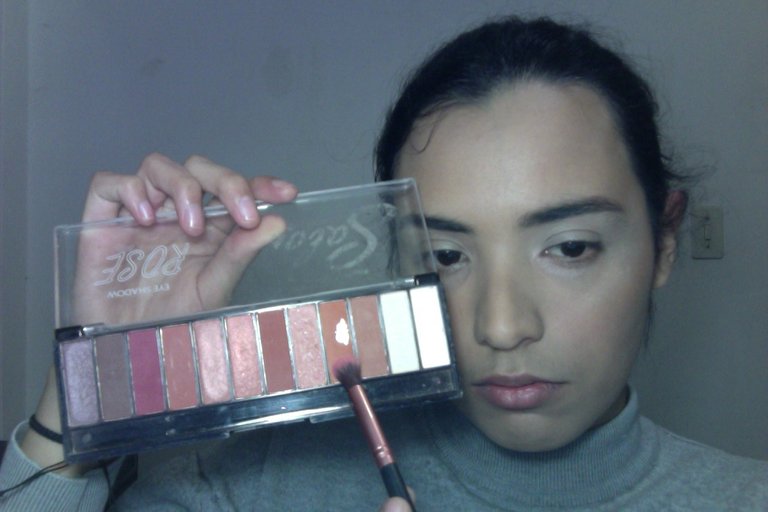
Se nota que uso mucho esa sombra/ You can tell I use that shade a lot
Vamos a ir aplicando en el párpado fijo en movimientos circulares y de parabrisas:
We are going to apply on the fixed eyelid in circular and windshield movements:

Luego, utilizamos un tono un poco más oscuro para dar profundidad. Esta vez, lo aplicamos en la cuenca.
Next, we used a slightly darker shade to give depth. This time, we applied it in the socket.

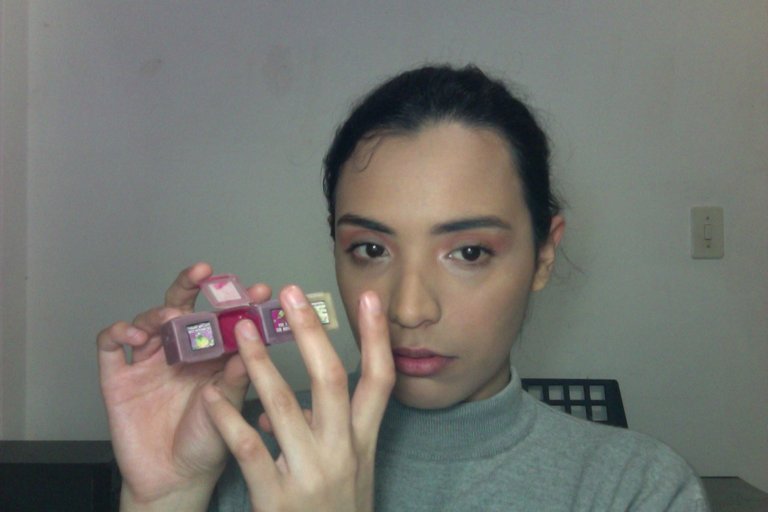
Ahora, lo que quedan son pequeños retoques. Por ejemplo, aplicar un poco de iluminador en el lagrimal, delinear y difuminar un poco con sombra, e inclusive, aprovechar que nos vamos a aplicar el labial para colocar un poco en los párpados:
Now, all that's left are small touch-ups. For example, apply a bit of highlighter on the eyelid, outline and blend a bit of shadow, and even take advantage of the fact that we are going to apply lipstick to place a bit on the eyelids:






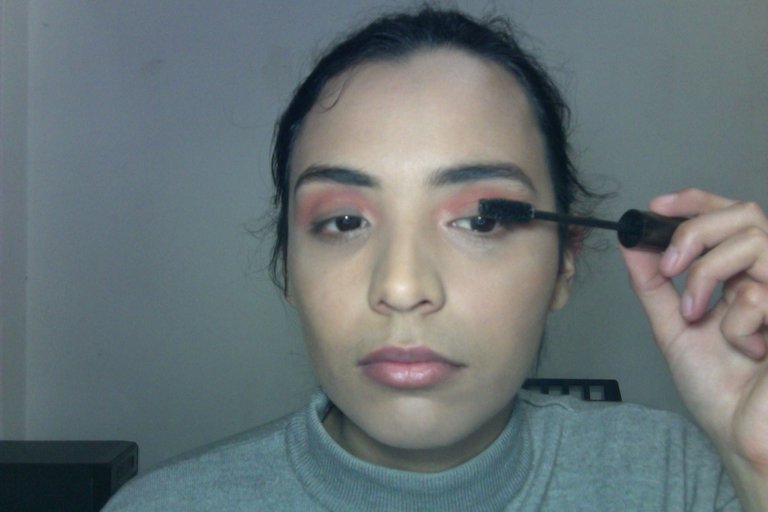

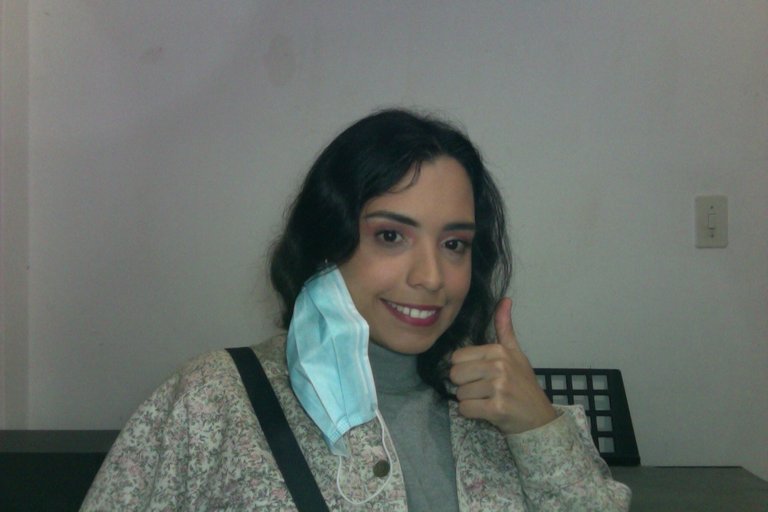
¡Terminamos! ya estaríamos listos para salir a la calle. Sé que la mitad de la cara estaría cubierta con el tapabocas, pero uno nunca sabe cuando un puesto de empanadas se nos puede cruzar en el camino 😁.
And that's it! We would be ready to hit the streets. I know half of my face would be covered with the face mask, but you never know when an empanada stand might cross our path 😁.
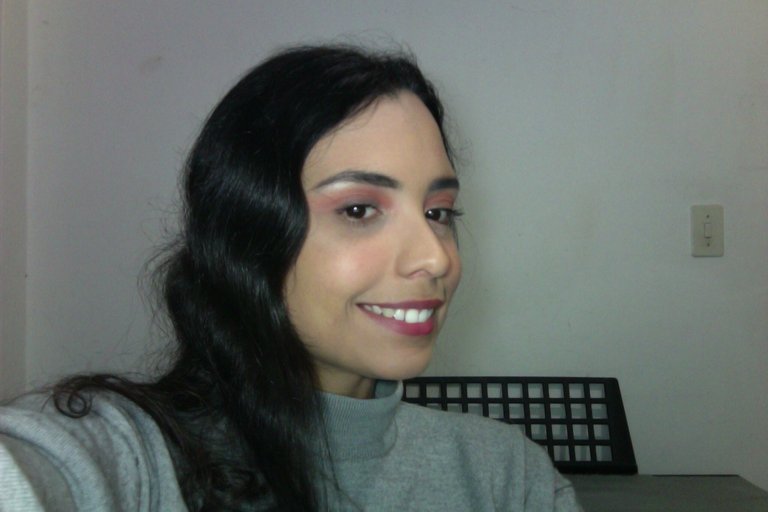
Muchas gracias por leer, espero te haya gustado mi tutorial. Aquí les dejo una foto donde se aprecia mejor el maquillaje 😊:
Thank you very much for reading, I hope you liked my tutorial. Here I leave you a picture where you can better appreciate the makeup 😊:

¡Gracias por leer!
Thanks for reading!

