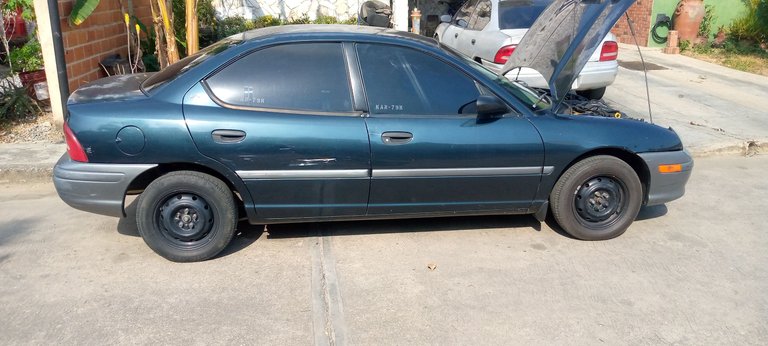
Hola Hivers, buenos Días, Tardes o Noche depende de la hora que me estés leyendo, espero estén bien y gracias de antemano por darme su atención, en esta oportunidad les traigo el cambio de rótulas de dirección terminales y los llamados lápices de la barra estabilizadora del tren delantero de un neón año 98 para este trabajo realmente es bueno tener una herramienta para sacar las rótulas que en algunos casos y algunos mecánicos no la utilizan utilizando lleves de tubos y otras herramientas, pero yo recomiendo tenerla, en mi caso yo la hice ya hace un tiempo con un tubo de 2 pulgadas de diámetro con una tuerca soldada y un tornillo para su ajuste, y así facilitó mucho el trabajo por qué el resto de las herramientas son convencionales, llave 22 mm, 19 mm, 17 mm, 14 mm y 13 mm.
Hello Hivers, good Morning, Afternoon or Evening depends on the time you are reading me, I hope you are well and thank you in advance for giving me your attention, in this opportunity I bring you the change of terminal steering ball joints and the so-called pencils of the stabilizer bar of the front axle of a neon year 98 for this job really is good to have a tool to remove the ball joints that in some cases and some mechanics do not use it using pipe leads and other tools, but I recommend to have it, in my case I did it some time ago with a 2 inch diameter tube with a welded nut and a screw for adjustment, and thus facilitated the work a lot because the rest of the tools are conventional, wrench 22 mm, 19 mm, 17 mm, 14 mm and 13 mm.
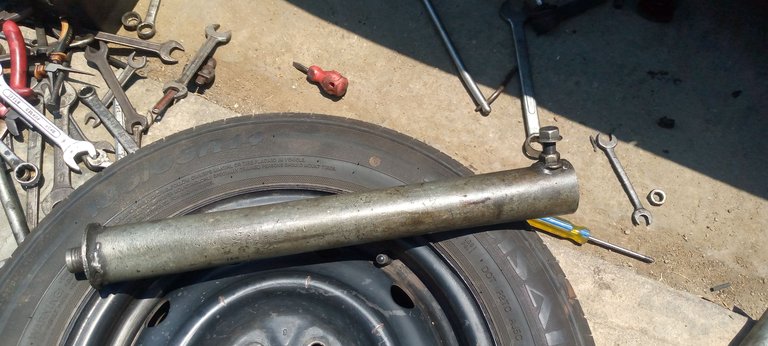
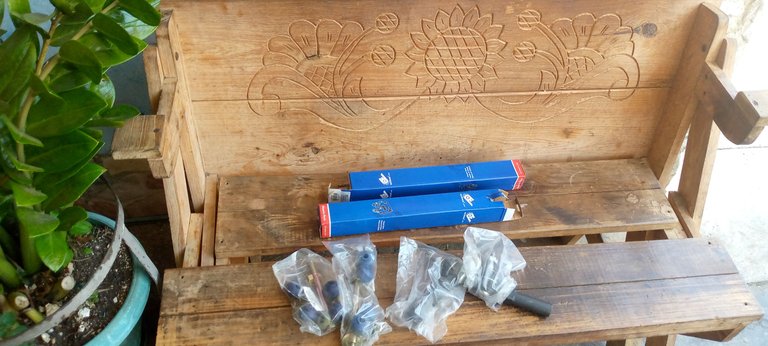
Foto tomada desde mi Android

En el cajetín de dirección en los extremos es donde se ubican las rótulas y los terminales para llegar al ellos tenemos que sacar las ruedas delanteras y por supuesto para esto tenemos que levantar el vehículo y dejarlo en torres, para así tener acceso y poder empezar con el desarmado.
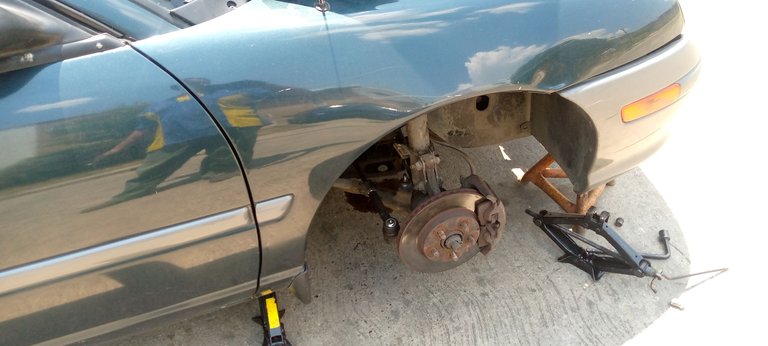
In the steering box at the ends is where the ball joints and terminals are located to get to them we have to remove the front wheels and of course for this we have to lift the vehicle and leave it in towers, so we have access and can start with the disassembly.
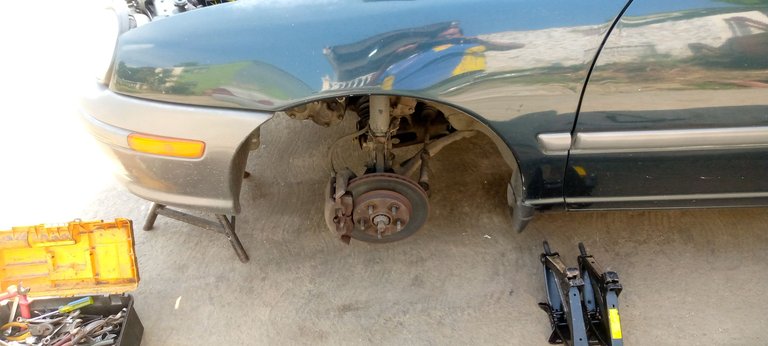
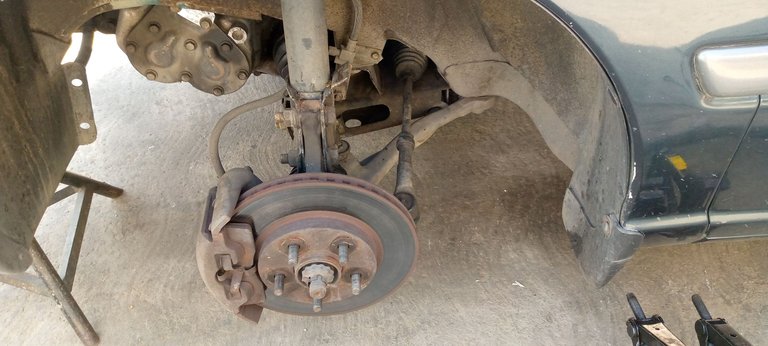
Foto tomada desde mi Android

Tenemos que sacar primero los terminales del mozo eso sale con la llave 17 mm y se le da un golpe para que separe (sé que hay una herramienta para extraerlo, pero yo no la tengo) después de sacarlo del mozo se saca el terminal con la llave 22 mm y la 19 mm primero girando la tuerca de tranca y así es que es posible desatornillar el terminal de la rótula, para sacar la rótula utilice la herramienta que arriba les comenté, por dentro del tubo uno coloca la rótula ajusta el tornillo y gira hasta que salga, el desarmado de eso realmente es fácil, pero requiere hacer mucha fuerza y aún mucho más para retirar los lápices de la barra estabilizadora, dichos lápices son unos tornillos que tienen cada uno 4 gomas para mantener la barra no tan rígida, pero si fija al tren delantero, para facilitar el trabajo es conveniente tener el vehículo levantado en la parte de adelante para aflojar en la llave 13 mm y 14 mm retirar los viejos y volver a montar, al montar ir apretando casi simultáneos los dos y así no requiere de hacer mucho esfuerzo.
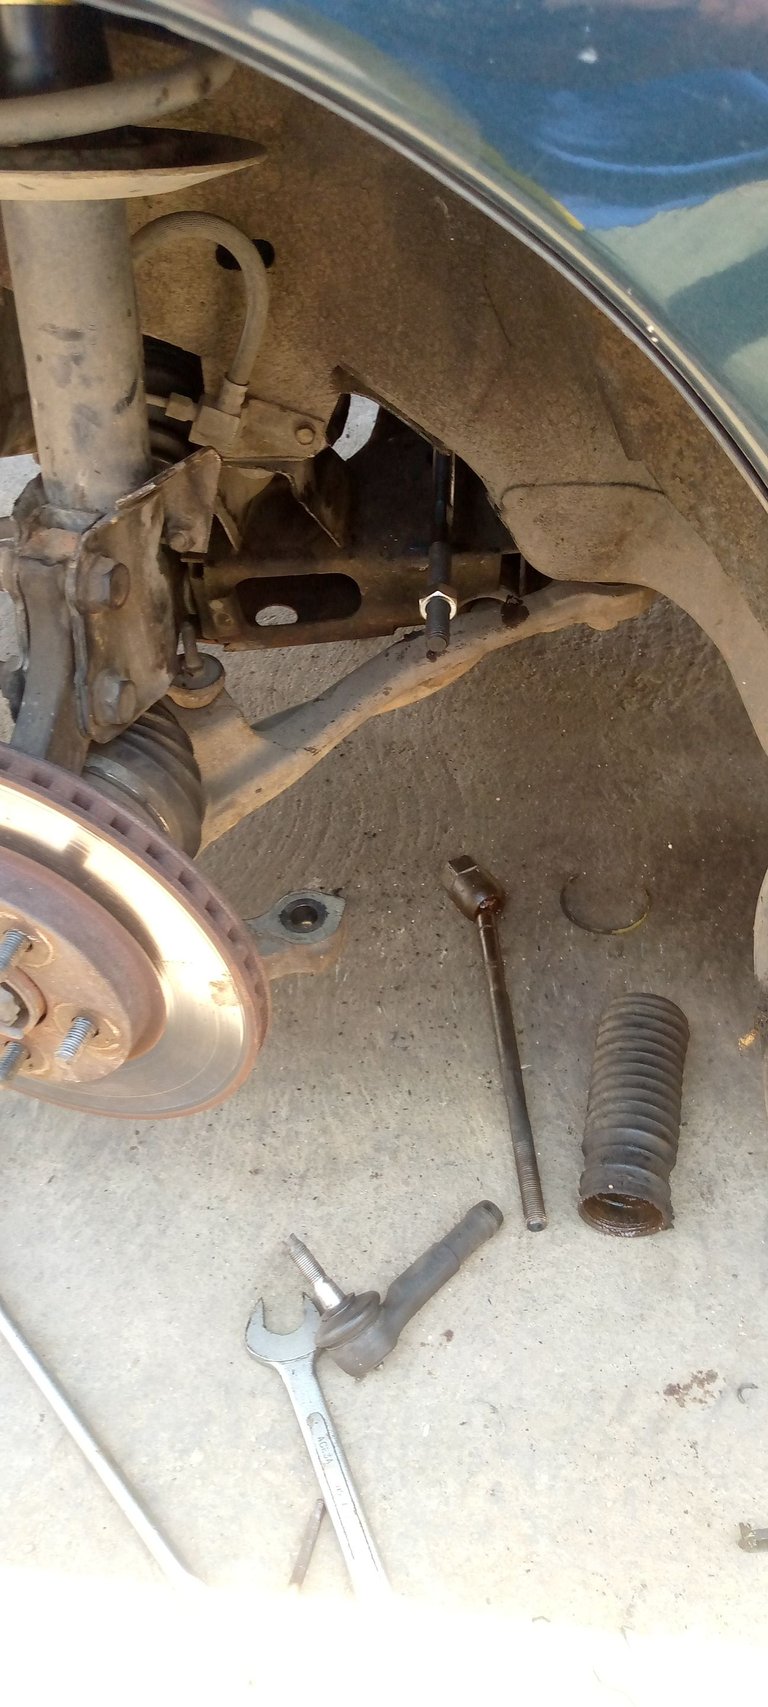
We have to first remove the terminals of the waiter that comes out with the key 17 mm and is given a blow to separate (I know there is a tool to remove it, but I do not have it) after removing it from the waiter the terminal is removed with the key 22 mm and 19 mm first turning the lock nut and so it is possible to unscrew the terminal of the ball joint, to remove the ball joint use the tool that I told you above, inside the tube one places the ball joint adjusts the screw and turns until it comes out, the disassembly of that really is easy, but requires a lot of force and even more to remove the pencils of the stabilizer bar, these pencils are screws that each have 4 rubber bands to keep the bar not so rigid, but if fixed to the front axle, to facilitate the work is convenient to have the vehicle raised in the front to loosen the key 13 mm and 14 mm to remove the old ones and reassemble, to assemble almost simultaneously go tightening the two and thus does not require much effort.
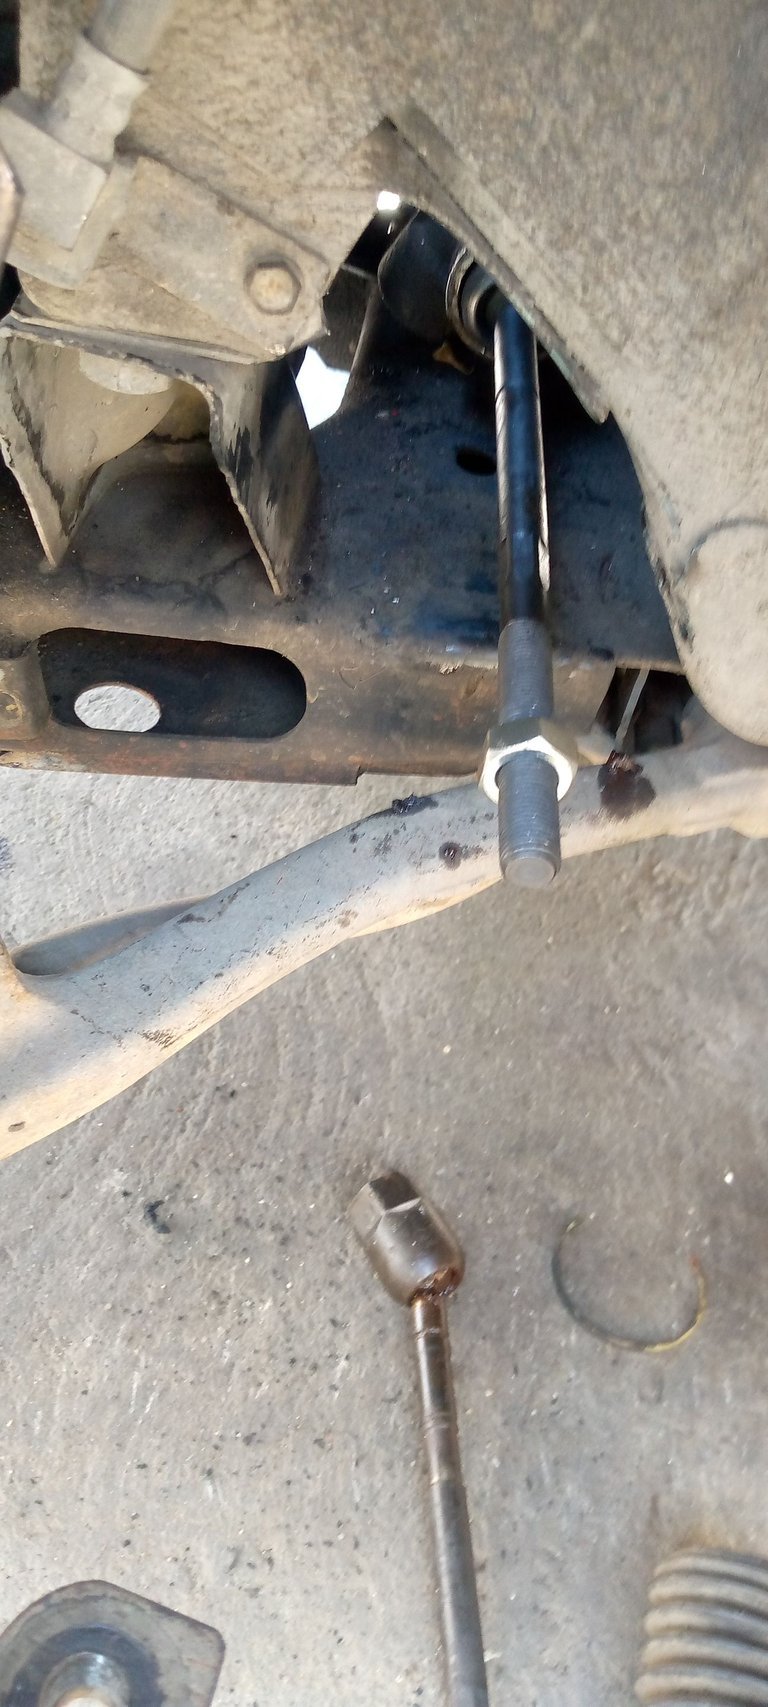
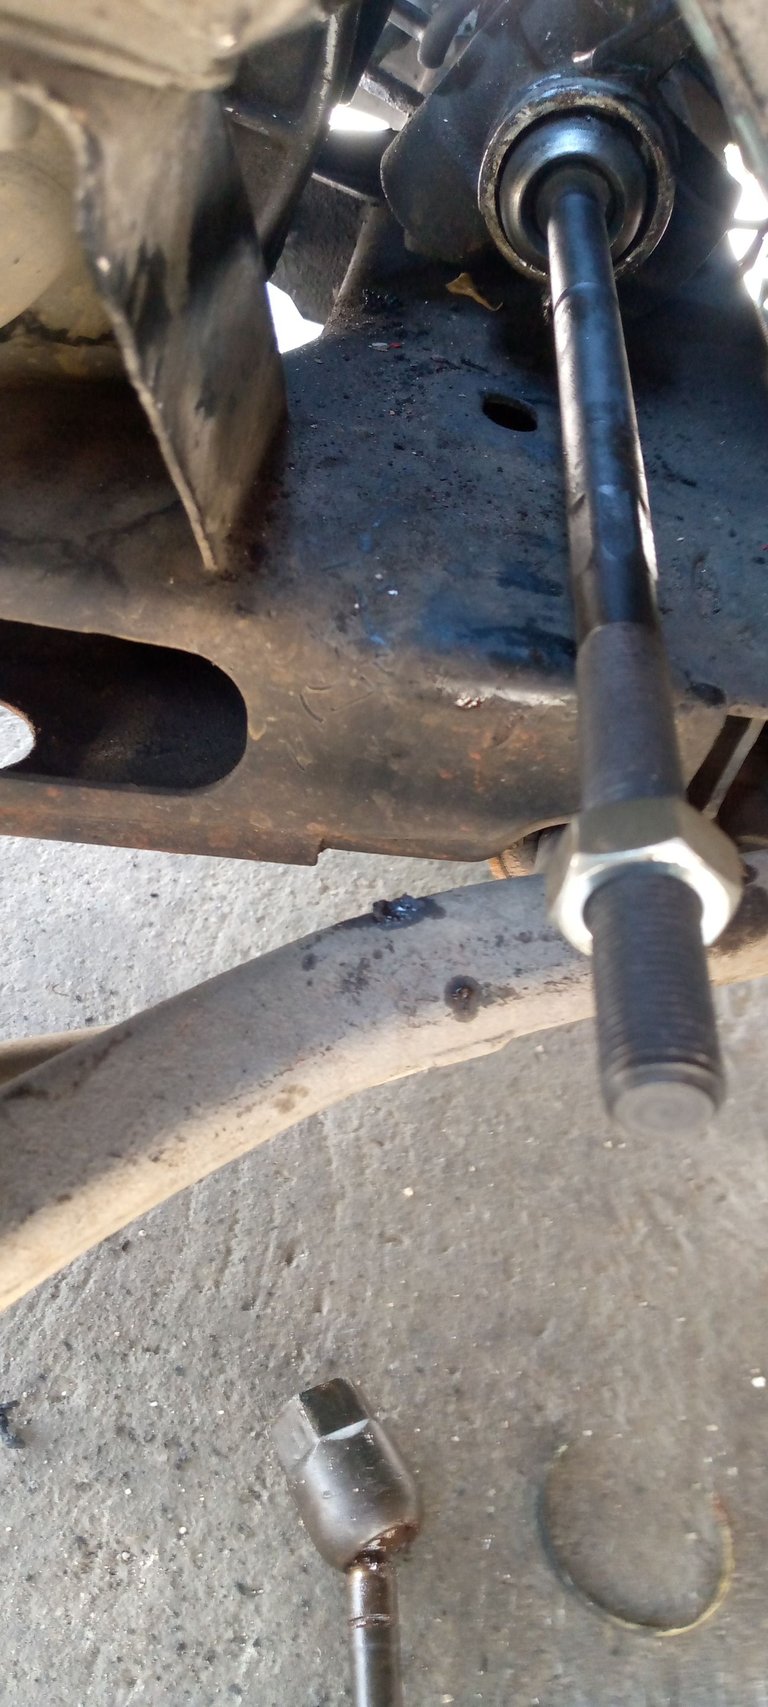
Foto tomada desde mi Android

Para el armado es casi el mismo proceso, pero a la inversa, utilizando las mismas herramientas con la diferencia que tenemos que alinear lo más cercano posible para poder rodar el vehículo hasta un lugar de alineación, para alinear lo que tenemos es que colocar el volante lo más centrado posible verificar que las vueltas de giros estén igual para los dos lugares y girando la rotulas dejar las ruedas lo más centrado posible yo recomiendo utilizar una cuerda o algo parecido para saber si las ruedas están centradas, este paso se me olvidó tomarles fotos, pero les prometo que en otra publicación cómo está le dedicaré a explicar cómo lo hago, ya que mi sorpresa el llegar al lugar de alineación me dijeron que el vehículo estaba alineado, de todos modos es mejor hacer el chequeo después de hacer este trabajo para no dañar los cauchos. Sin más que agregar me despido y le doy las gracias por interesarse en este tipo de contenido.
For the assembly is almost the same process, but in reverse, using the same tools with the difference that we have to align as close as possible to roll the vehicle to a place of alignment, to align what we have to do is to place the steering wheel as centered as possible to verify that the turns of turns are equal for the two places and turning the rotulas leave the wheels as centered as possible I recommend using a string or something like that to see if the wheels are centered, I forgot to take pictures of this step, but I promise that in another publication I will explain how I do it, since my surprise when I arrived to the alignment place I was told that the vehicle was aligned, anyway it is better to do the check after doing this work to avoid damaging the tires. Without more to add I say goodbye and thank you for your interest in this type of content.
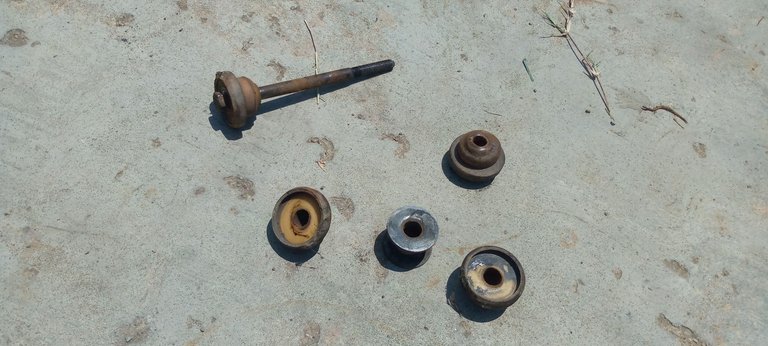
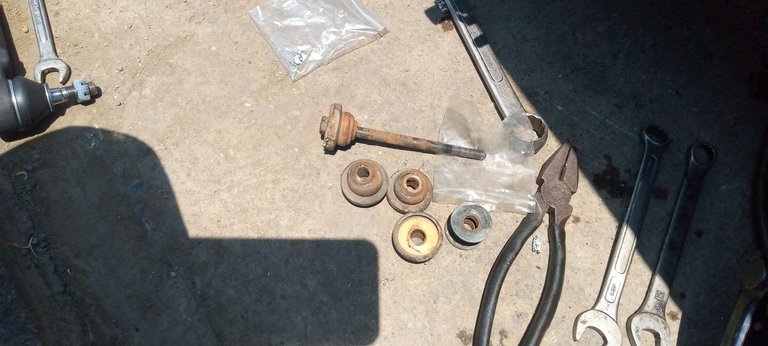
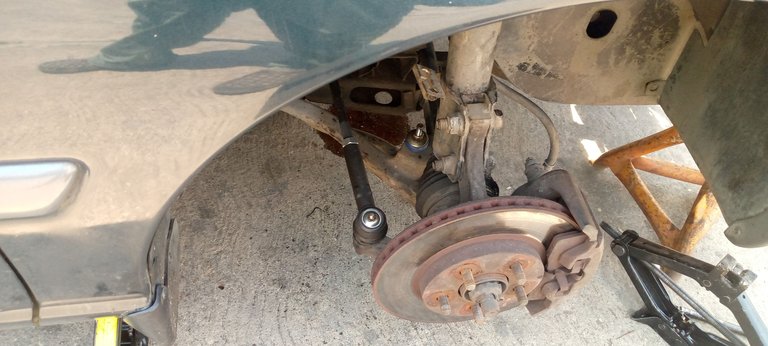
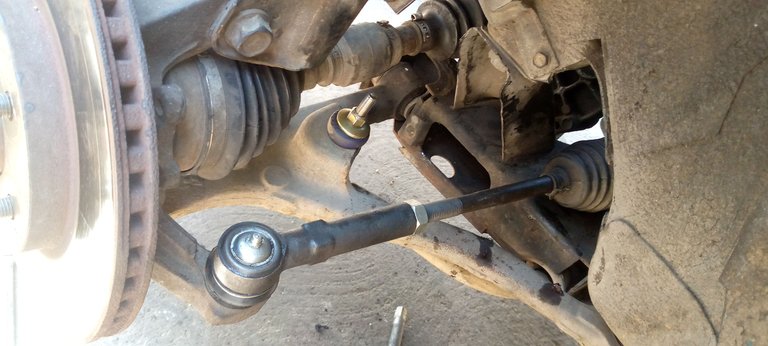
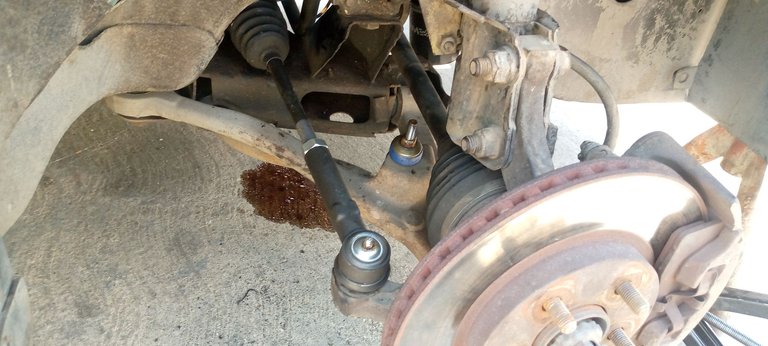
Foto tomada desde mi Android

(versión gratuita)
Translated with www.DeepL.com/Translator
(free version)


Wilfredo García
@wilfredojgf

Saludos amigo @wilfredojgf hiciste ver ese procedimiento muy sencillo, pero yo lo intente una vez y no lo fue, claro era mi primera vez.
Hola amigo @leanpoqui Teniendo la herramienta para sacar las rotulas el trabajo es sencillo, teniendo en cuenta cada paso que debemos realizar para hacer este trabajo creo que sí es sencillo
Eso es correcto amigo @wilfredojgf con la herramienta adecuada se hace sencillo.
La herramienta de sacar los terminales que mencionas es algo de la mecánica moderna creo que casi nadie la tiene jejeje, por otra parte si cuentas las vueltas del terminal al sacarlo de la rotula vieja evitas el rato de verificar la alineación ya que por más que uno intenté con esos métodos caseros la computadora que alinea es mucho más precisa
@soychalbed si realmente no pongo en duda que sea moderna, pero como es útil y más en los vehículos compactos, en otras ocasiones lo de contar las vueltas no me a funcionado muy bien por eso utilizo este metodo, pero no es que no esté bien, solo seguro yo no lo hago bien je je je je, definitivamente concuerdo con que la alineación por computadora es mucho más precisa
Congratulations @wilfredojgf! You have completed the following achievement on the Hive blockchain And have been rewarded with New badge(s)
Your next target is to reach 40 posts.
You can view your badges on your board and compare yourself to others in the Ranking
If you no longer want to receive notifications, reply to this comment with the word
STOPTo support your work, I also upvoted your post!
Check out our last posts:
Support the HiveBuzz project. Vote for our proposal!