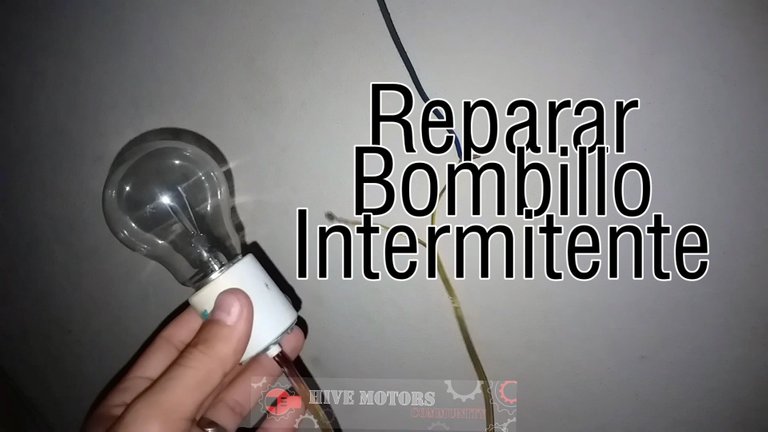
Hola, comunidad de HiveMotors! Mi nombre es Daniel 👋 y estoy encantado de compartir contigo consejos sobre cómo reparar un bombillo de forma segura y eficiente. Sabemos que trabajar con electricidad puede ser complicado, pero si sigues los pasos correctos, puede salir bien.
Hello, HiveMotors community! My name is Daniel 👋 and I'm happy to share with you tips on how to repair a light bulb safely and efficiently. We know that working with electricity can be tricky, but if you follow the right steps, it can work out just fine.
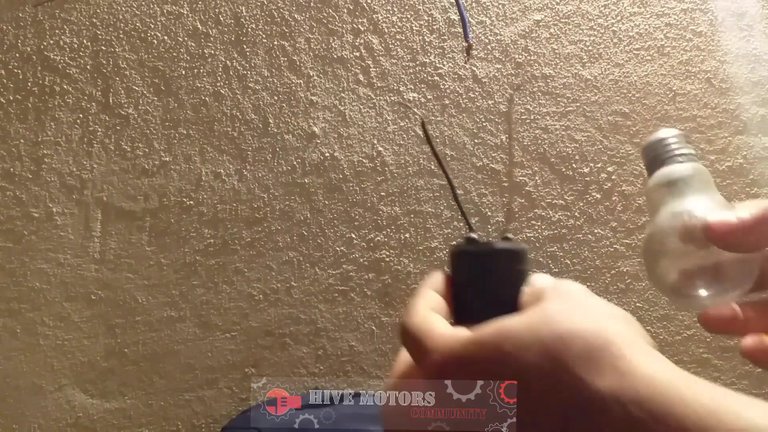
En este blog, te enseñare a liberar un enchufe desconectando la corriente de tu casa, retirando la lámpara y su base, haciendo palanca para sacar el enchufe de su sitio, retirando el adhesivo que cubre la conexión del cable y, a continuación, rompiéndolo. También te mostrare cómo comprobar el enchufe con un multímetro y cómo limpiar o sustituir el enchufe si es necesario.
In this blog, we'll show you how to free a socket by disconnecting the power to your home, removing the bulb and its base, prying the socket out of place, removing the adhesive covering the cord connection, and then breaking it. We'll also show you how to test the plug with a multimeter and how to clean or replace the plug if necessary.
Espero que estos consejos te resulten útiles y te ayuden a ahorrar tiempo y dinero en futuras reparaciones eléctricas. Recuerda anteponer siempre la seguridad cuando trabajes con electricidad y seguir cada paso correctamente ¡Pongámonos manos a la obra! ⚡️🔧
I hope you find these tips useful and that they will help you save time and money on future electrical repairs. Remember to always put safety first when working with electricity and follow each step correctly Let's get to work! ⚡️🔧

Desconecta la corriente de tu casa 🔌 Lo primero que debes hacer antes de empezar cualquier trabajo con electricidad es desconectar la corriente de tu casa. Esto es importante para evitar accidentes y garantizar tu seguridad.
Disconnect the power to your home 🔌 The first thing you should do before starting any work with electricity is to disconnect the power to your home. This is important to avoid accidents and ensure your safety.
Desenchufa la bombilla del portalámparas 💡 Una vez que estés seguro de que es seguro hacerlo, puedes desenchufar la bombilla del portalámparas. Para ello, debes girar la bombilla en el sentido contrario a las agujas del reloj hasta que quede suelta y desenchufada.
Unplug the bulb from the socket 💡 Once you are sure it is safe to do so, you can unplug the bulb from the socket. To do this, you must turn the bulb counterclockwise until it is loose and unplugged.
Extracción de la bombilla del portalámparas 🛠️ Una vez que haya extraído la bombilla, deberá extraerla del portalámparas. Para ello, afloje el tornillo que sujeta la bombilla y extráigala con cuidado.
Removing the bulb from the bulb holder 🛠️ Once you have removed the bulb, you will need to remove it from the bulb holder. To do this, loosen the screw that holds the bulb in place and carefully remove the bulb.
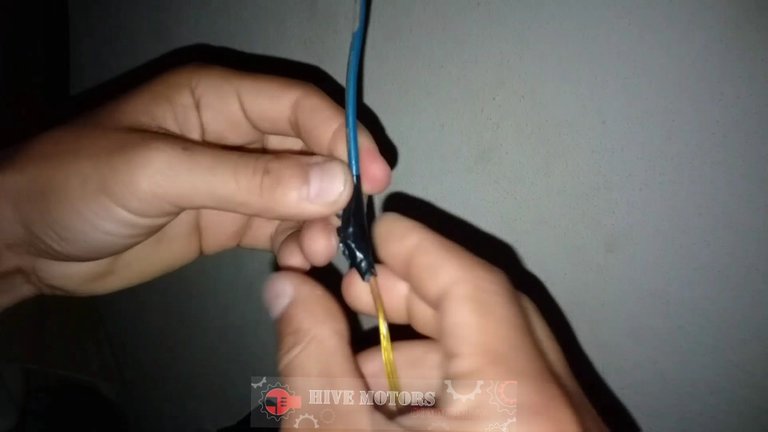
Retire el pegamento que cubre la conexión del cable y desconecte esta conexión para eliminar la pelusa: 🤏 Una vez que haya retirado la pelusa, deberá retirar el pegamento que cubre la conexión del cable y desconectar esta conexión para eliminar la pelusa. Esto te permitirá trabajar de forma más cómoda y eficiente.
Remove the glue covering the cable connection and disconnect this connection to remove the lint: 🤏 Once you have removed the lint, you will need to remove the glue covering the cable connection and disconnect this connection to remove the lint. This will allow you to work more comfortably and efficiently.
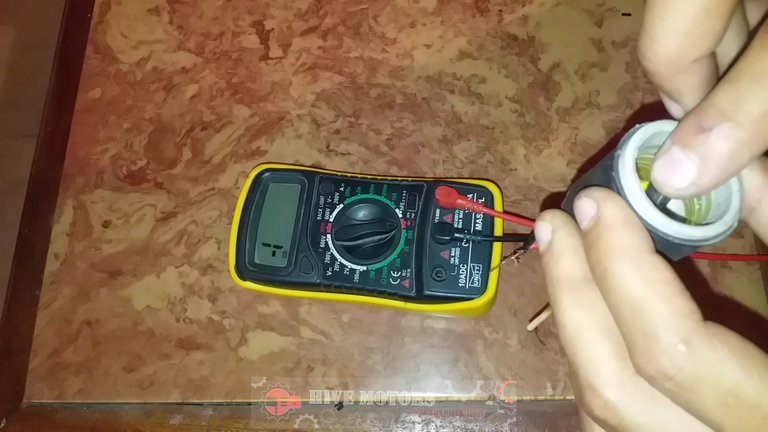
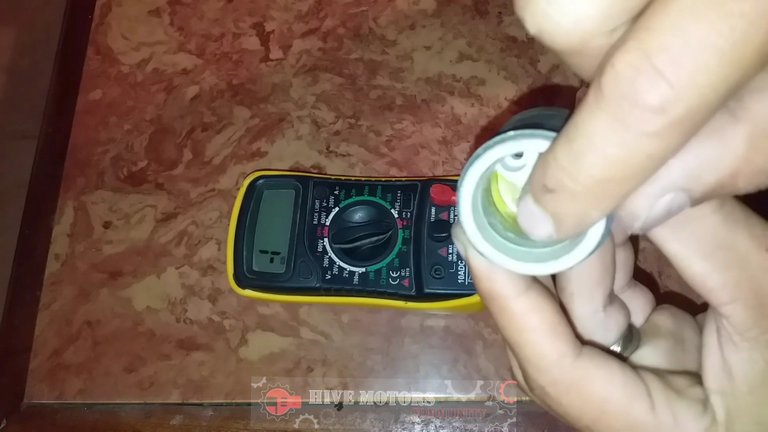
Utiliza un multímetro para comprobar que los contactos internos del enchufe y los extremos cortados de los cables están limpios: 📀 Antes de empezar a reparar el enchufe, tienes que comprobar su funcionamiento con un multímetro. Para ello, debes comprobar la continuidad de los
contactos internos de la toma y los extremos cortados de los cables desconectados.
Use a multimeter to check that the internal contacts of the plug and the cut ends of the cables are clean: 📀 Before you start repairing the plug, you need to check its operation with a multimeter. To do this, you have to check the continuity of the internal contacts of the socket and the cut ends of the disconnected wires.
Tras comprobar su funcionamiento, si el soked está en buenas condiciones, basta con limpiarlo para eliminar cualquier resto de polvo o residuo que pueda afectar a su rendimiento.
After checking its operation, if the soked is in good condition, simply clean it to remove any dust or debris that may affect its performance.
Si el soked no está en buenas condiciones, deberá buscar uno nuevo: 🔎 Si el fumigador no está en buenas condiciones después de comprobar su funcionamiento, tendrá que buscar uno nuevo y sustituirlo. Es importante asegurarse de que la nueva toma es compatible con su sistema eléctrico.
If the soked is not in good condition, you will need to find a new one 🔎 If the sprayer is not in good condition after checking its operation, you will need to find a new one and replace it. It is important to make sure that the new outlet is compatible with your electrical system.
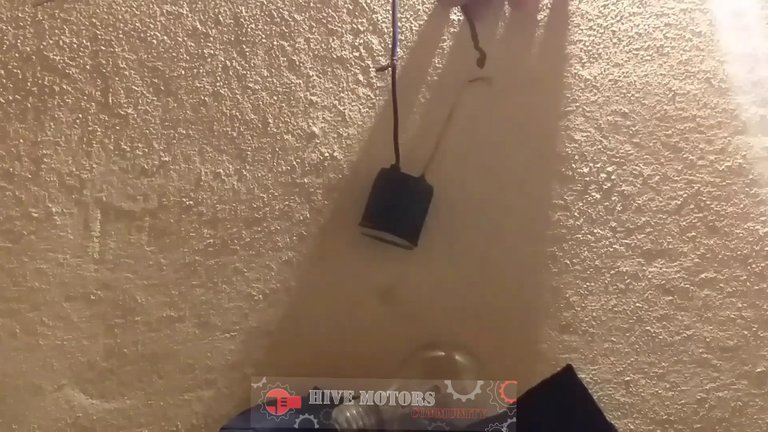
Conecta los extremos de los cables, aplica un pegamento especial y vuelve a colocar la bombilla en su sitio 🔌💡 Una vez que hayas reparado o sustituido tu fumigador, tendrás que conectar los extremos de los cables, aplicar un pegamento especial y volver a colocar la bombilla en su sitio. Es importante que te asegures de que todo está bien sujeto antes de volver a conectar la corriente.
Connect the wire ends, apply special glue and put the bulb back in place 🔌💡 Once you've repaired or replaced your fumigator, you'll need to connect the wire ends, apply special glue and put the bulb back in place. It's important to make sure everything is securely fastened before turning the power back on.
Gracias, comunidad de Hive Motors, por leer nuestros consejos sobre cómo reparar luces eléctricas de forma segura y eficiente. Esperamos que estos consejos te hayan sido útiles y que te ayuden en tu próxima reparación eléctrica. Recuerda siempre anteponer la seguridad y seguir los pasos correctamente cuando trabajes con electricidad. Si tienes alguna pregunta o comentario, no dudes en compartirlo en la sección de comentarios - sigamos aprendiendo y creciendo juntos ⚡️🔧💪
Thank you, Hive Motors community, for reading our tips on how to repair electric lights safely and efficiently. We hope you found these tips useful and that they will help you with your next electrical repair. Always remember to put safety first and follow the steps correctly when working with electricity. If you have any questions or comments, feel free to share them in the comments section - let's keep learning and growing together ⚡️🔧💪
Venta pantallas netflix pago con hbd
Telegram
web
gift:
Guias
hive kaychain
Regitrarse en hive
Link de registro
Gana usando google

▶️ 3Speak
Esto que expones es una de las reparaciones mas comunes que vemos en casa, aunque no todos tienen un multímetro, muchos incurren en el error de no bajar la cuchilla o cortar la corriente y es un riesgo innecesario. Saludos @josuerr29
Saludos josuerr29, gracias por compartir.
Una curiosidad: el bombillo quedaba intermitente una vez que pasabas el interruptor o "switch" o era asi todo el tiempo, aun con el interruptor en "apagado" u "off". Lo pregunto ya que he visto casos en los cuales apagando el interruptor el bombillo queda con luz tenue y al medir se ha conseguido hasta 80 voltios.
Que estés bien....
Waooo 80 volta es demaciado. Bueno en este caso lo intermitente estaba cuando pasaba swish jejejejej era un sulfatado sucio por a la final lo monte en otro lado despues de limpiarlo otra ves nunca perdi la esperanza y agarro jejejej gracias por pasarte querido amigo