Welcome to my Blog.
Welcome to my Blog.
Bienvenidos a mi Blog.
Hola amigos de @Hivemotors un saludo muy especial para todos los que hacen vida en esta gran comunidad, les deseo un próspero y bendecido inicio de semana. Es mi primera vez aqui en esta gran familia, ya que no conocia la existencia de esta comunidad; Así que para hacer mi primera presentación quisiera compartir con ustedes la fácil y muy sencilla reparación de un Bombillo LED. Hoy en día son muy comunes este tipo de bombillo debido a su bonita iluminación y que son mas duraderos que los bombillos tradicionales los cuales salen a un precio más económicos pero suelen dañarse más rápido (Esos que alumbran amarillo), así que a continuación les voy a mostrar como reparo aqui en mi casa estos bombillos de una manera súper sencilla y con materiales que fácilmente puedes encontrar en tu hogar.
Hello friends of @Hivemotors, a very special greeting to all those who live in this great community, I wish you a prosperous and blessed start to the week. It is my first time here in this great family, since I did not know the existence of this community; So to make my first presentation I would like to share with you the easy and very simple repair of an LED Bulb. Nowadays this type of light bulb is very common due to its beautiful lighting and the fact that they are more durable than traditional light bulbs which come at a cheaper price but tend to damage faster (those that light yellow), so below I will to show how I repair these light bulbs here in my house in a super simple way and with materials that you can easily find in your home.
Materiales.
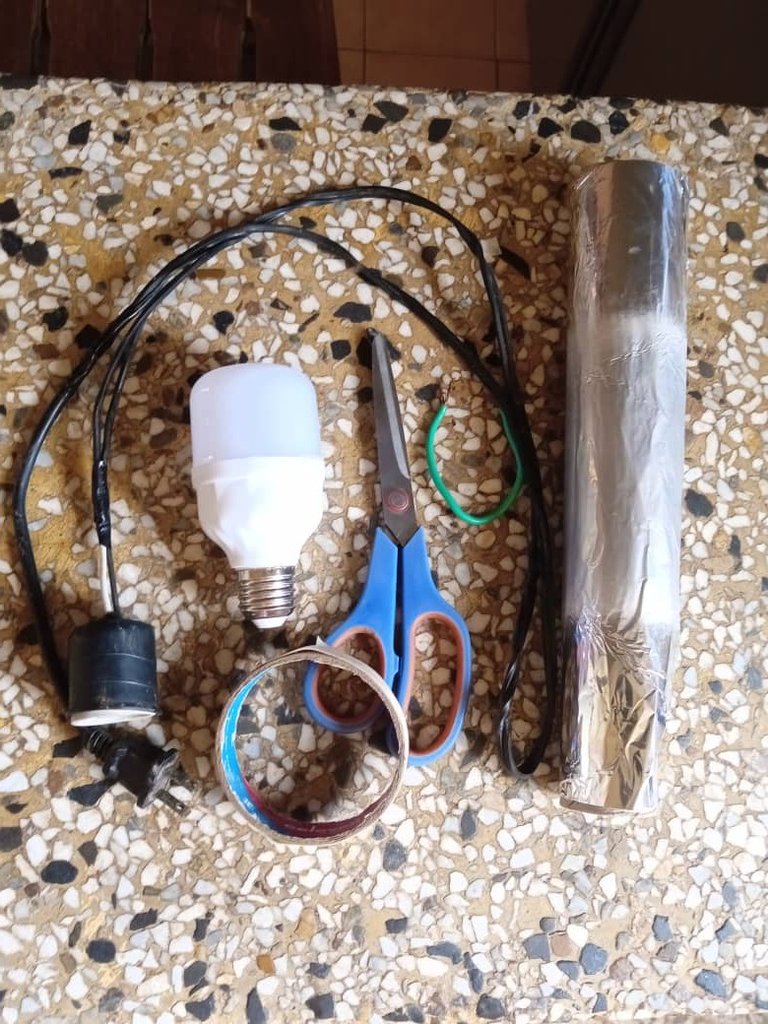
☑️1 bombillo LED dañado.
☑️Papel de Aluminio.
☑️Tijera.
☑️Celoven (teipe o Cinta adhesiva).
☑️1 Pequeño trozo de Cable de luz.
☑️1 extensión con socate y enchufe en sus extremos.
Materiales.
☑️1 damaged LED bulb.
☑️Foil.
☑️Scissors.
☑️Celoven (teipe or adhesive tape).
☑️1 Small piece of Light Cable.
☑️1 extension with socket and plug at its ends.
Step by Step.
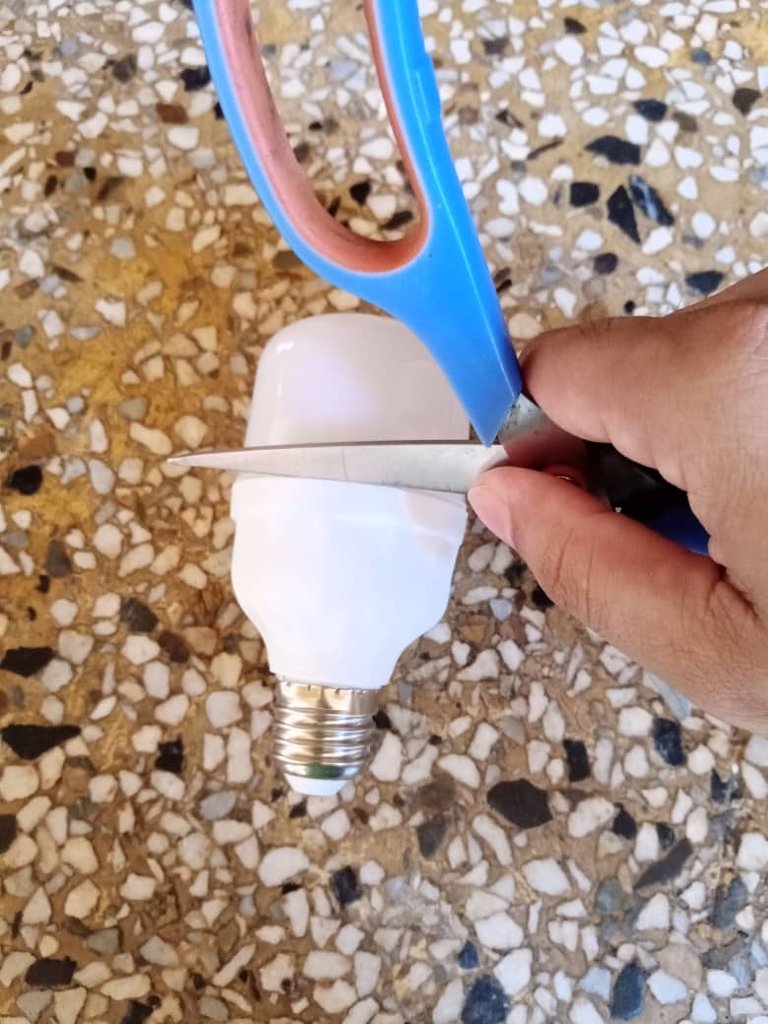
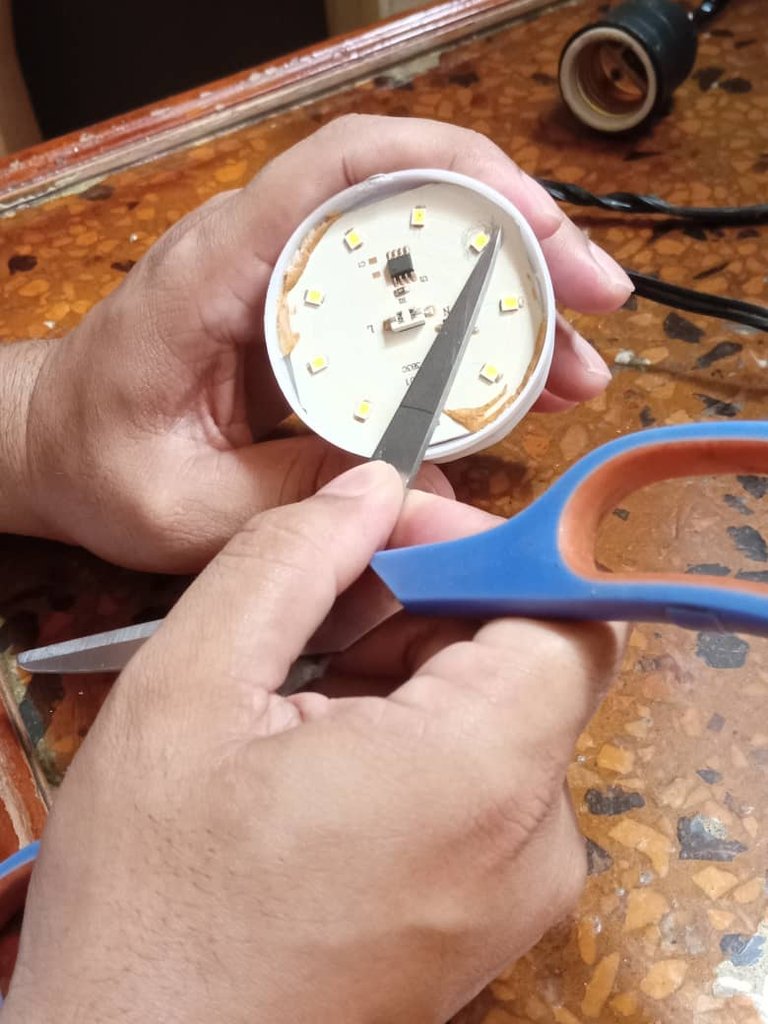
✓ Bueno queridos amigos como pueden observar este es nuestro bombillo dañado, asi que lo primero que haremos es con ayuda de la tijera cortar con cuidado como se muestra en la imagen la tapa de la bombilla para remover la pega que este trae por efectos del fabricante y poder proceder a examinarlo.
Well, dear friends, as you can see, this is our damaged light bulb, so the first thing we will do is, with the help of scissors, carefully cut the light bulb cover as shown in the image to remove the glue that it has due to the manufacturer's effects and be able to proceed to examine it.
✓ A continuación tomaremos la extensión de luz y la conectaremos a un toma corriente para de esta manera conectar el bombillo y poder examinar que se encuentra dañado.
Next we will take the light extension and connect it to a power outlet in order to connect the bulb and be able to examine whether it is damaged.
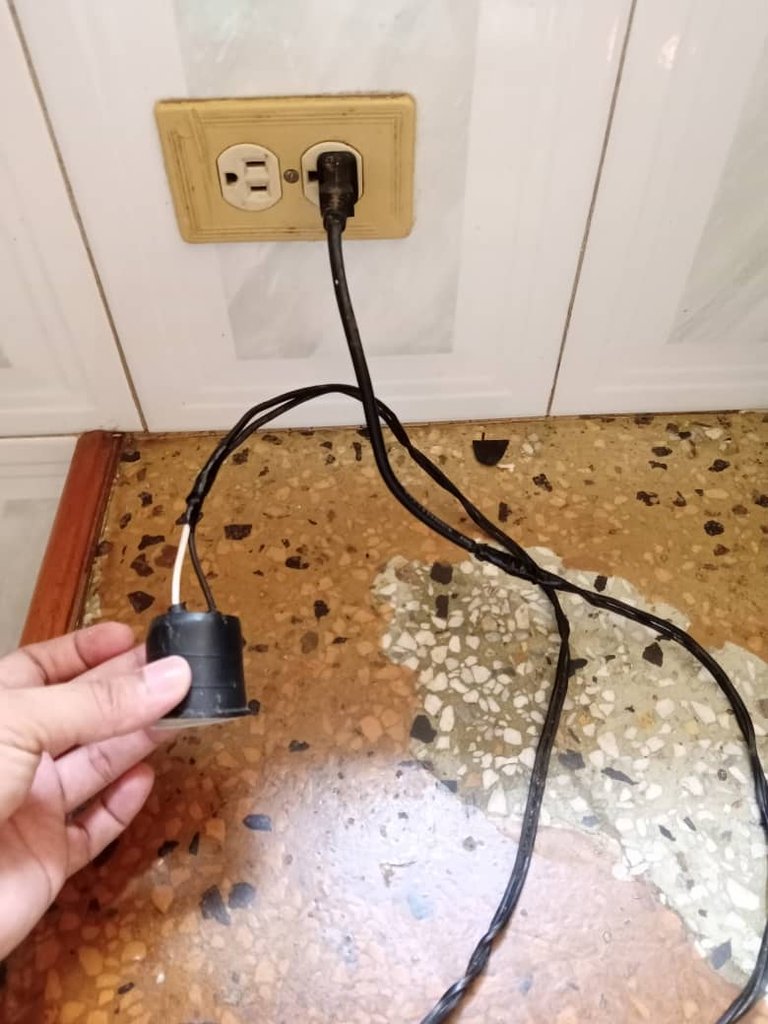
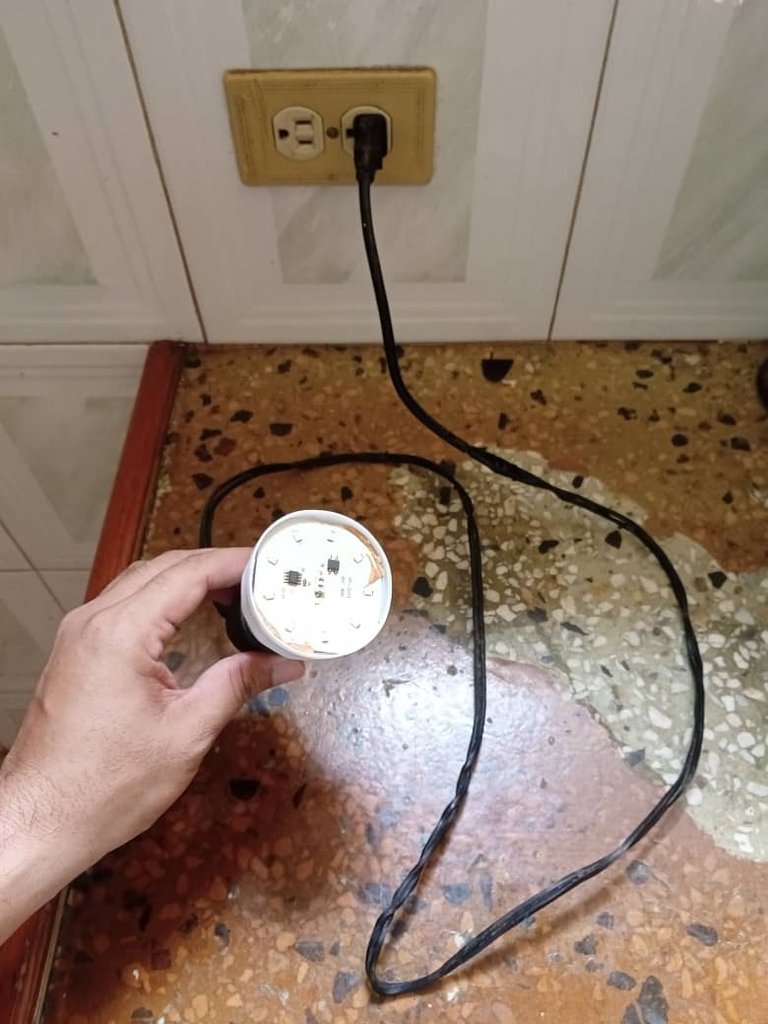
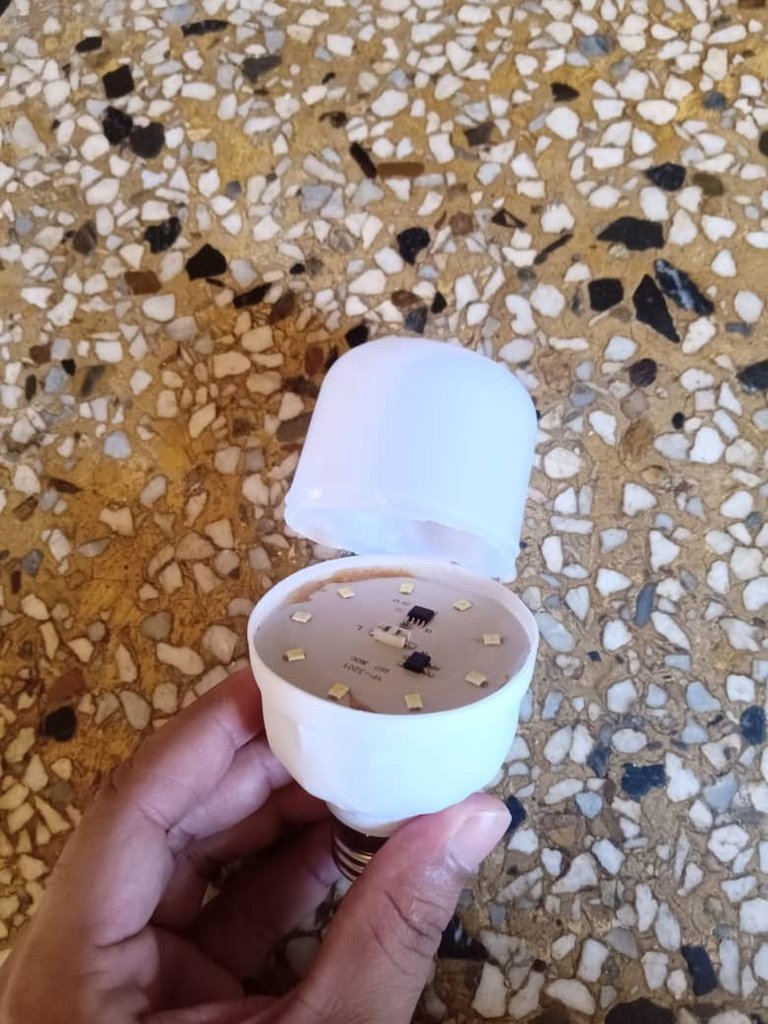
✓ Como pudieron observar en la imagen anterior el bombillo no encendió, en la mayoría de los casos esto se debe a que alguno de los LED que son esas pequeñas placas amarillas está dañado, y para saber cual no funciona utilizaremos el trozo de cable el cual vamos a colocar en los extremos de cada uno de los LED.
As you could see in the previous image, the light bulb did not turn on, in most cases this is because one of the LEDs, which are those small yellow plates, is damaged, and to find out which one does not work we will use the piece of cable which we are going to use. to be placed at the ends of each of the LEDs.
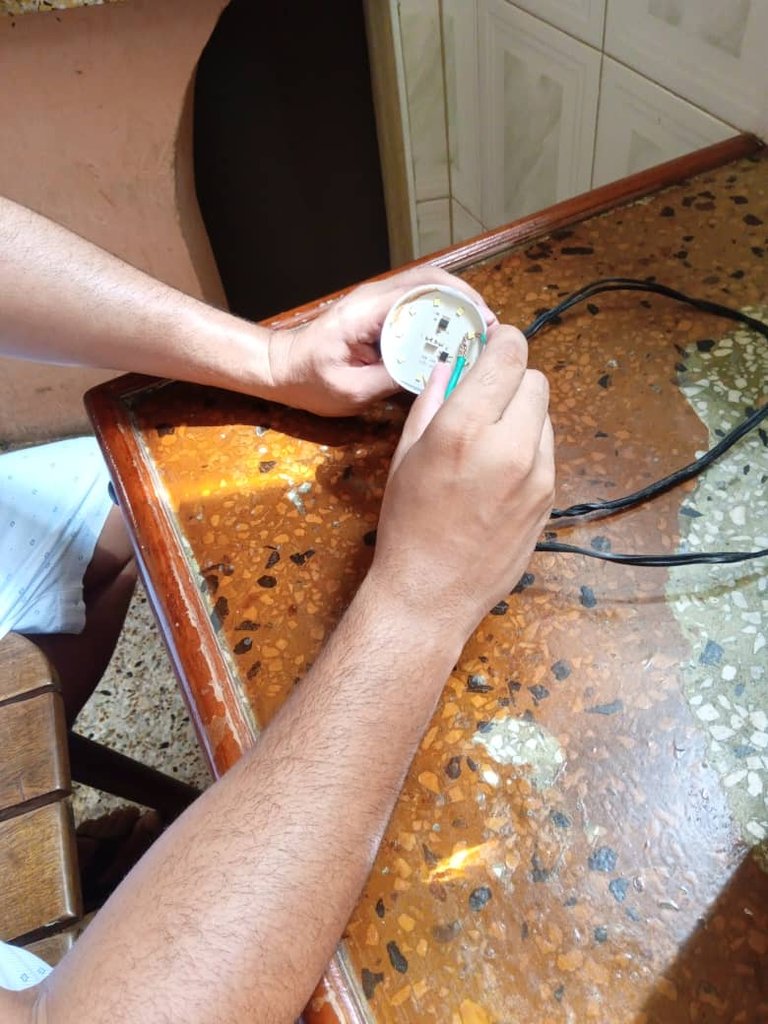
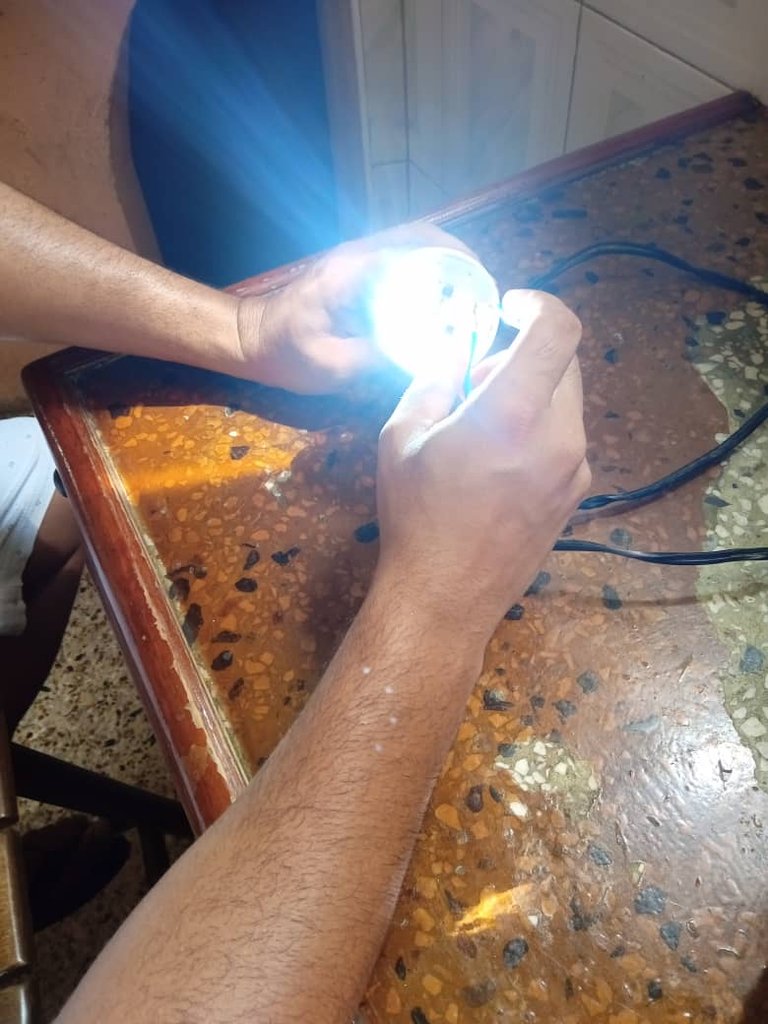
✓ Una vez lleguemos al LED que se encuentra dañado y coloquemos el cable en ambos extremos, este automáticamente hará que enciendan todas la luces como se muestra en la imagen a continuación y habremos dado con el problema.
Once we reach the LED that is damaged and place the cable at both ends, it will automatically turn on all the lights as shown in the image below and we will have found the problem.
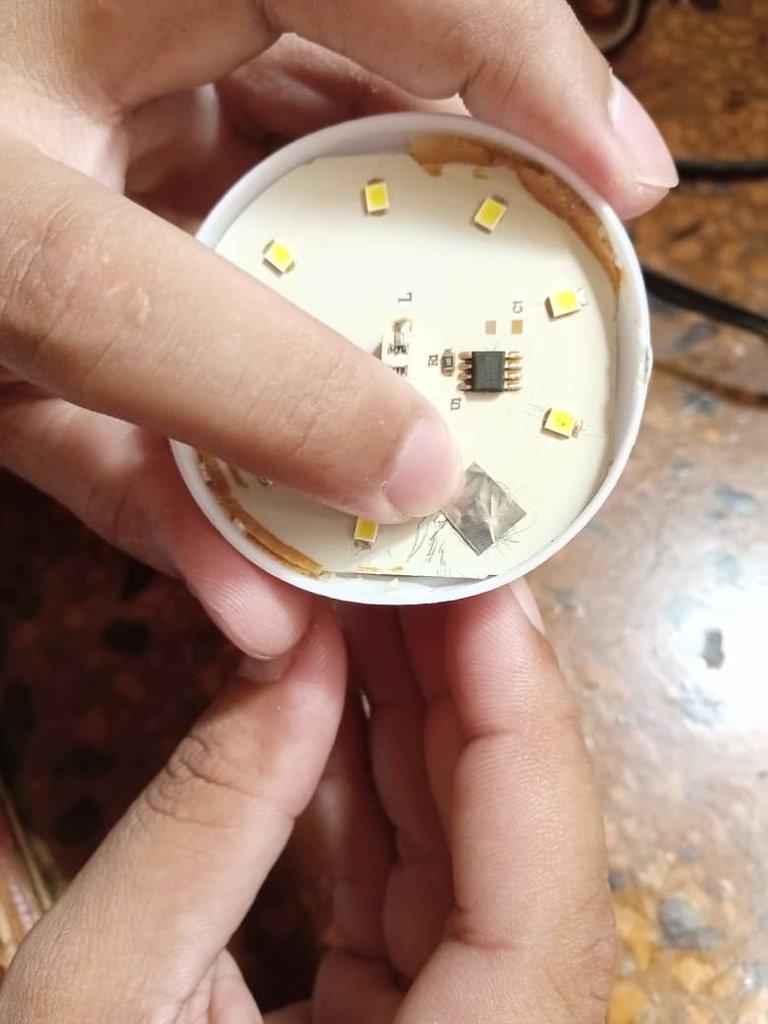
✓ Ya encontrada la falla marcamos el LED dañado y comenzamos el proceso de reparación el cual es sencillo. Con ayuda de la tijera y con sumo cuidado vamos a remover esa placa amarilla y limpiar muy bien para que no queden residuos.
Once the fault is found, we mark the damaged LED and begin the repair process, which is simple. With the help of scissors and with great care we are going to remove that yellow plaque and clean very well so that no residue remains.
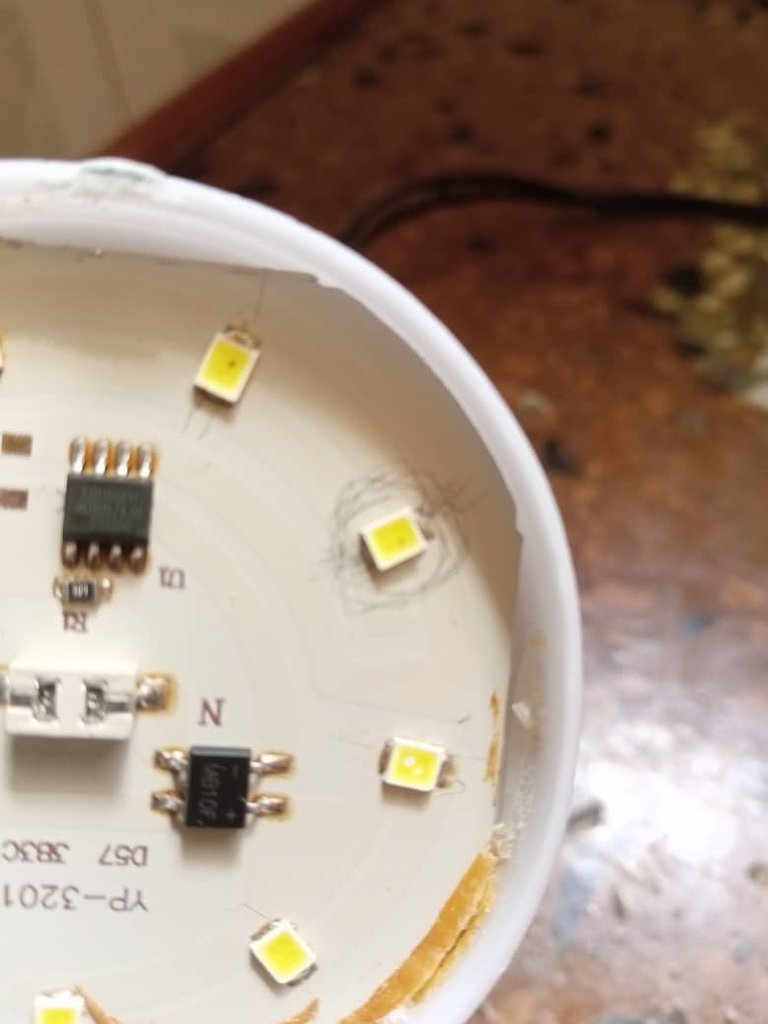
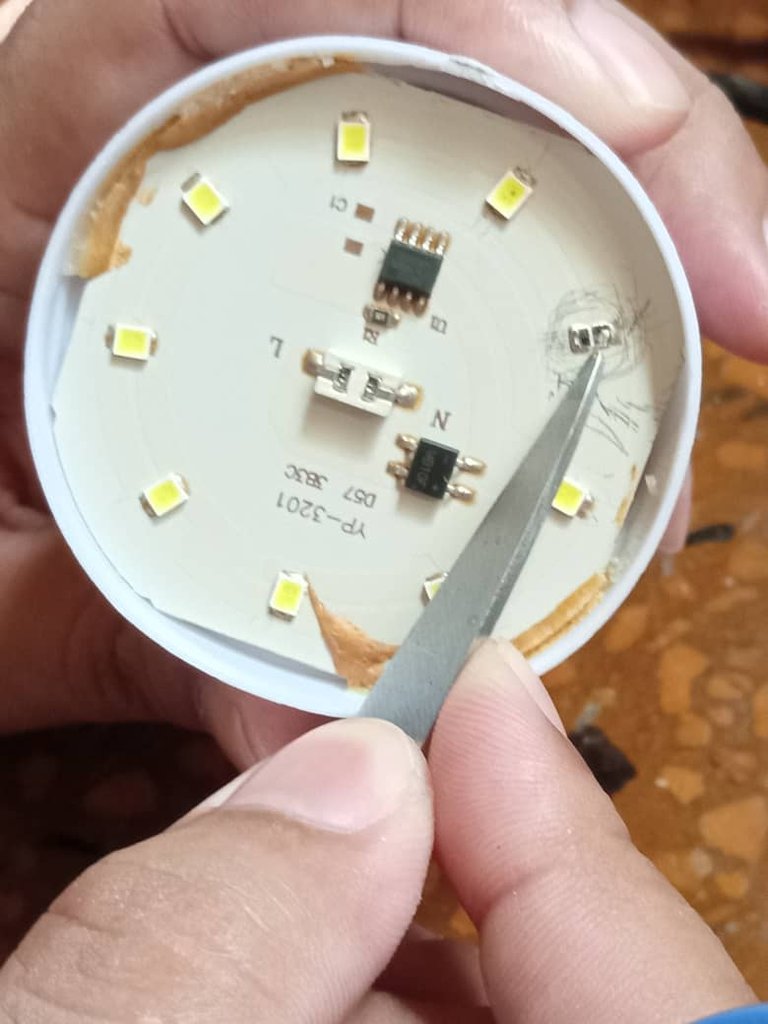
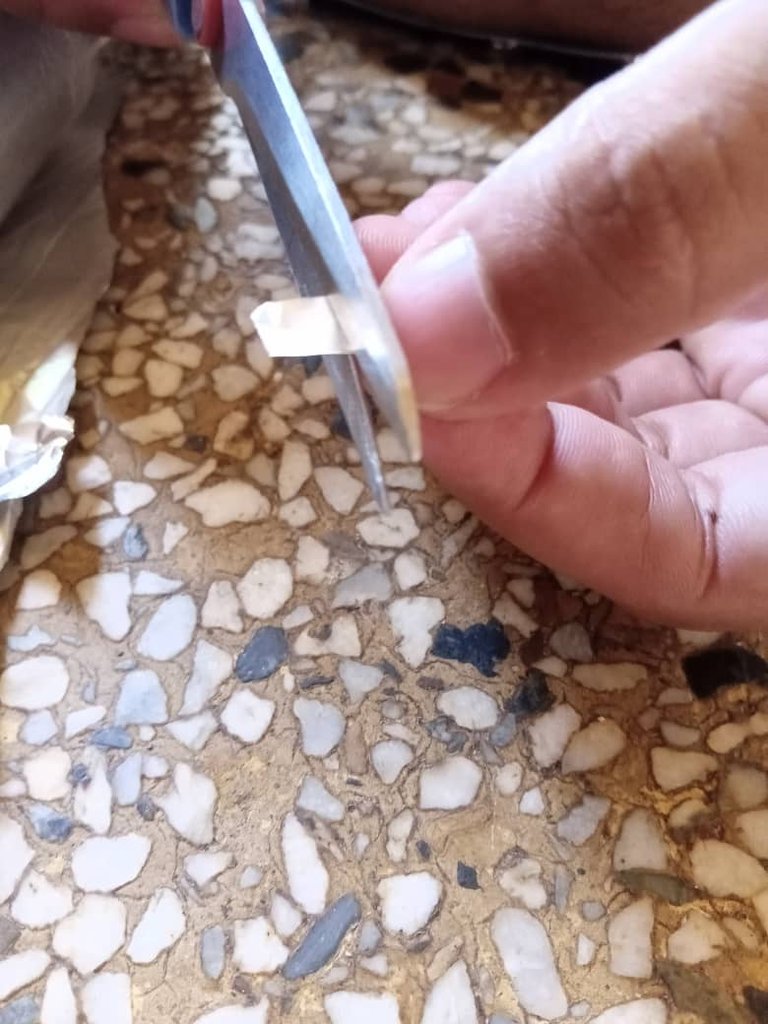
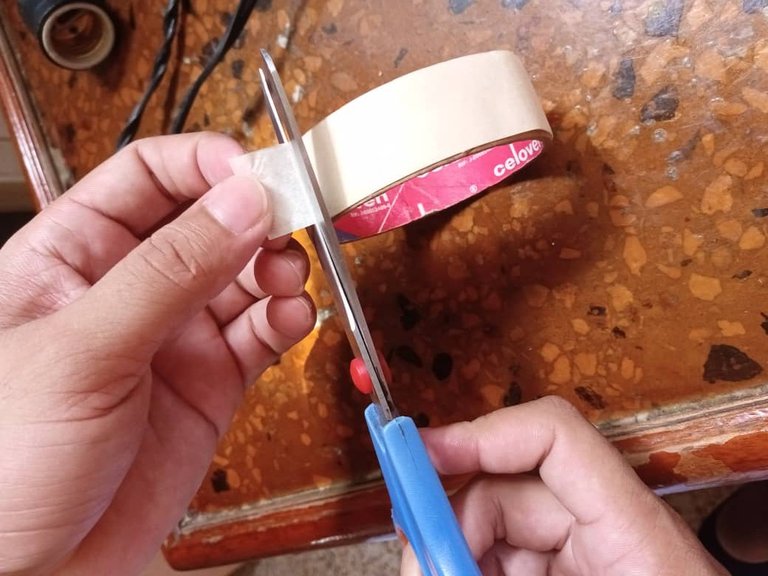
✓ Seguidamente vamos a cortar con la tijera un pequeño trozo de papel aluminio y lo vamos a colocar en el lugar donde removimos el LED dañado. De igual forma lo hacemos con la cinta adhesiva y presionamos bien para que quede pegado y no se despegue.
Next, we are going to cut a small piece of aluminum foil with scissors and place it in the place where we removed the damaged LED. We do it in the same way with the adhesive tape and press well so that it sticks and does not come off.
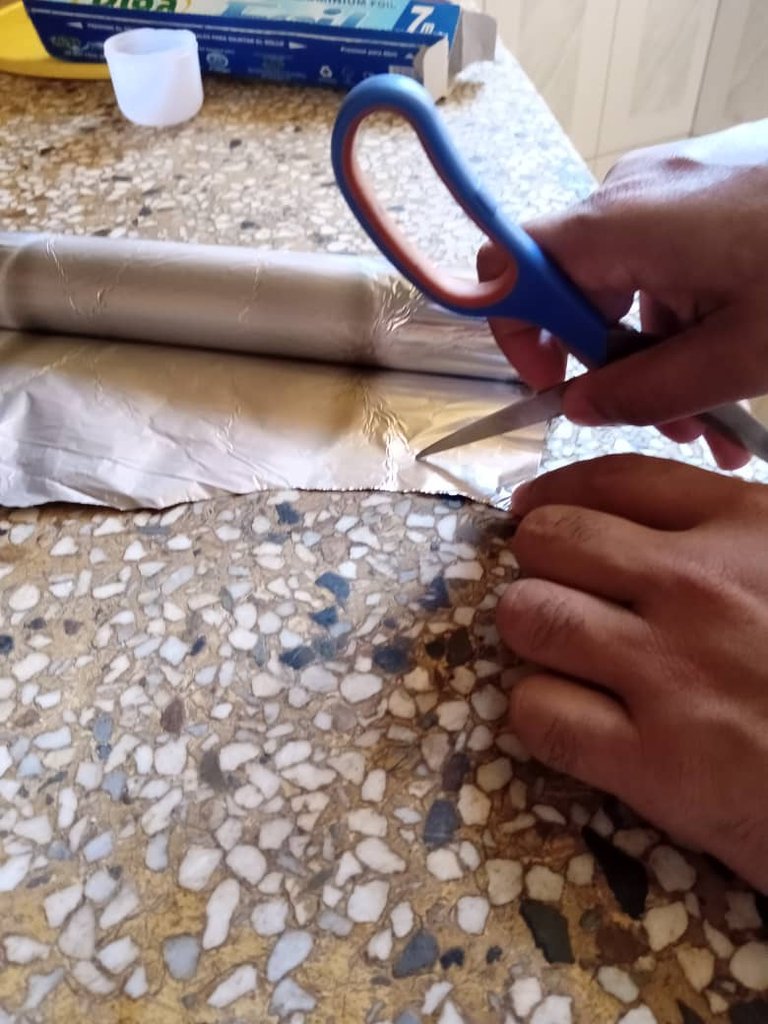
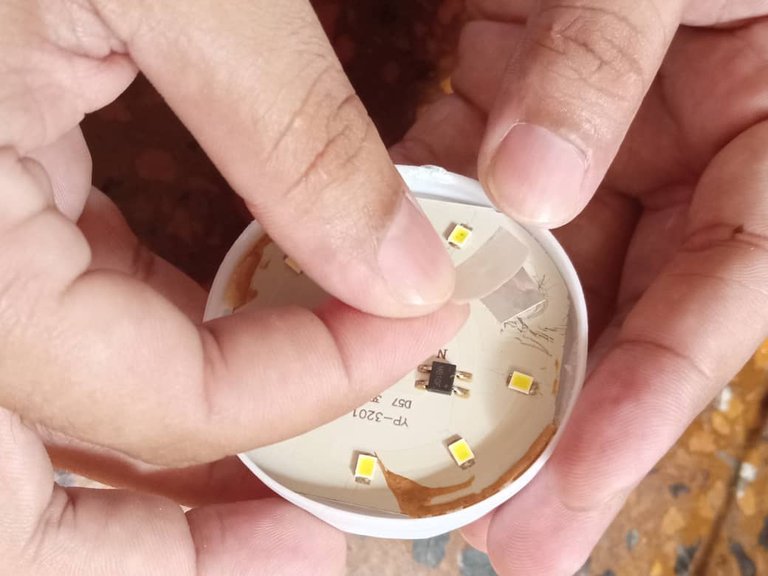
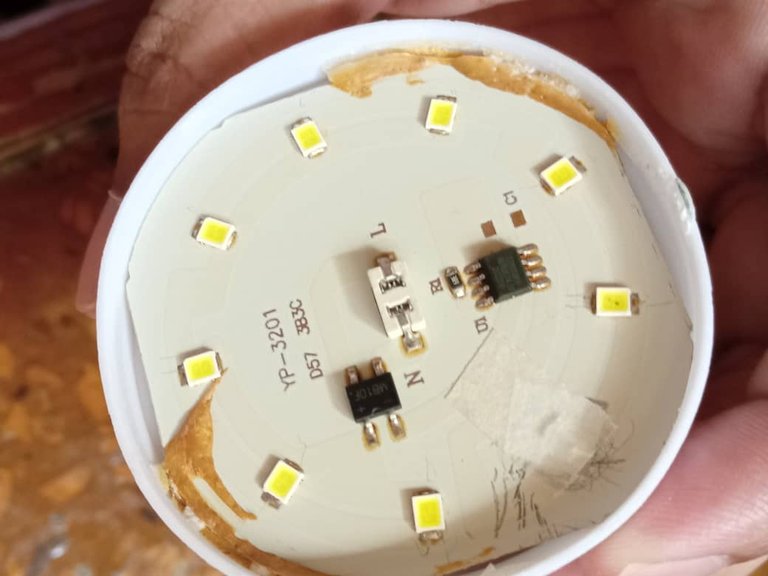
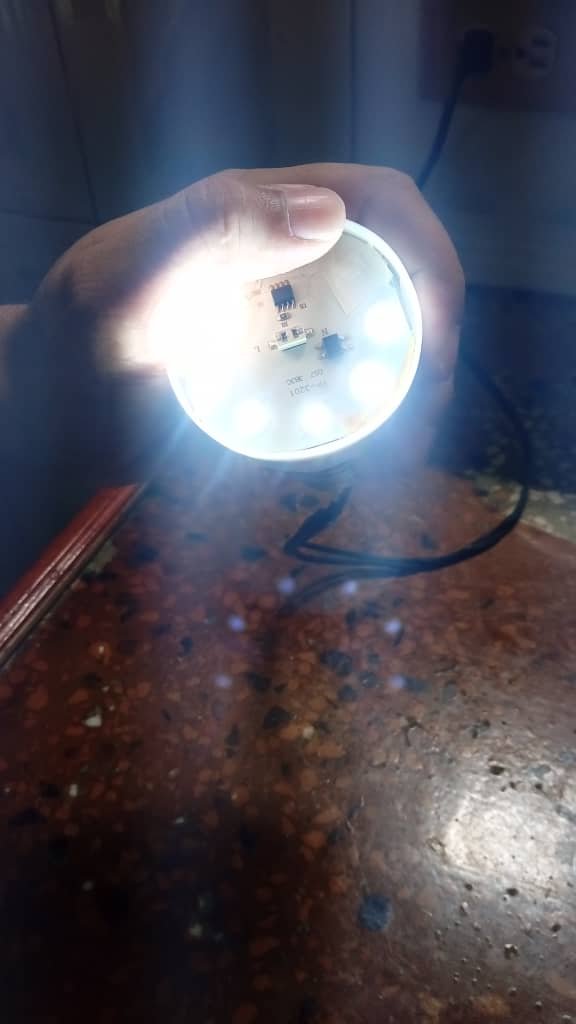
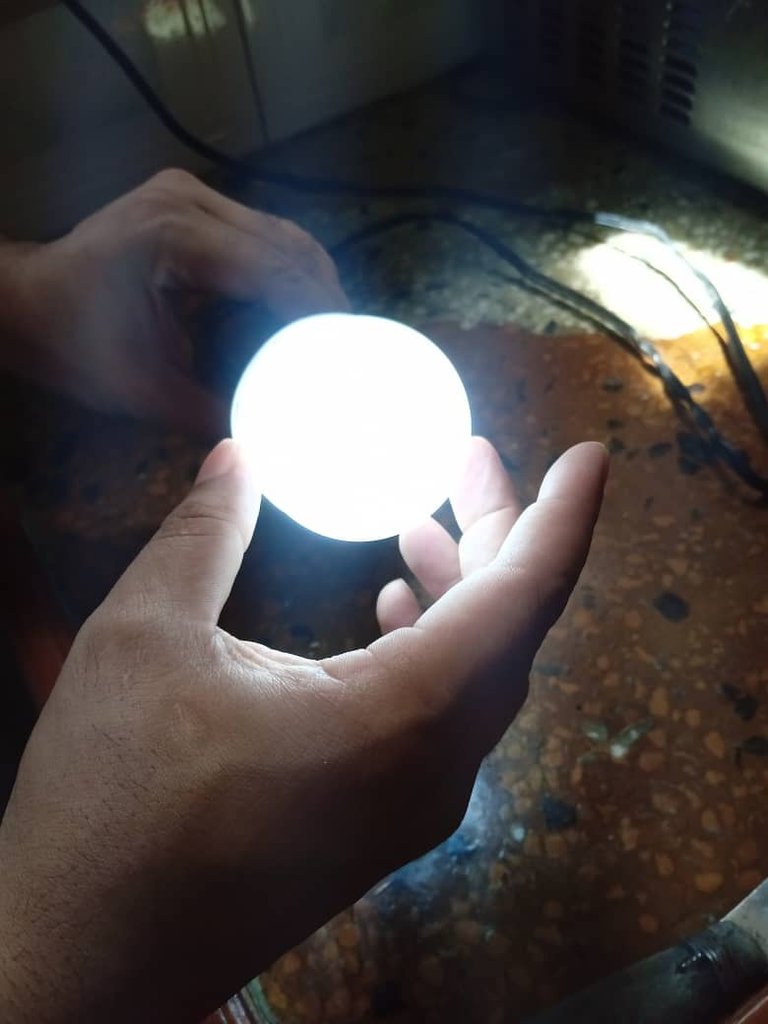
✓ Para finalizar conectamos nuevamente a la extensión de luz y listo amigos enciende de forma rápido, colocamos la tapa y hemos finalizado con la reparación. Recuerden preseionar bien la cinta adhesiva para que el papel aluminio haga buen contacto y logre encender sin problemas.
To finish, we connect it again to the light extension and voila friends, it turns on quickly, we place the cover and we are done with the repair. Remember to press the adhesive tape well so that the aluminum foil makes good contact and ignites without problems.
✓ Por ultimo quisiera darles algunos consejos:
La Reparación no durara por siempre es una manera de darle mas tiempo de utilidad a la bombilla.
Pueden seguir haciendo el mismo procedimiento a los demas LED si se daña algun otro, pero debe saber que la intensidad de luz irá disminuyendo.
Recuerden que trabajan con electricidad así que no deje esto al alcance de los niños y sea muy cuidadoso con los procedimientos.
Finally I would like to give you some advice:
- The Repair will not last forever, it is a way to give the bulb more useful time.
- You can continue doing the same procedure to the other LEDs if another LED is damaged, but you should know that the light intensity will decrease.
- Remember that they work with electricity so do not leave this within the reach of children and be very careful with the procedures.
Muchas gracias por visitarme, espero les sirva de ayuda.
Muchas gracias por visitarme, espero les sirva de ayuda.
Thank you very much for visiting me, I hope it helps you.
Todas las Fotos son de mi Propiedad Tomadas desde mi Teléfono Marca Alcatel 1S.

Bienvenido a la colmena, explicación detallada e interesante para aprender a reparar los bombillos led.
Hola amiga @ysamontenegro muchas gracias por visitarme y espero te sirva de ayuda esta información.
Bienvenido a Hive Motors, que bien explicado para ser una reparación sencilla. Un aporte para quien quiera hacer lo mismo.
Muchas gracias por el recibimiento, espero poder seguir aportando un poco más para el beneficio de la comunidad. Un abrazo.
Vaya!! Increíblemente súper sencillo aunque me da miedo la corriente 😅. Tengo quien haga ese trabajo, así que le mostraré a ver si no tiene conocimiento y aprenda. Gracia por compartir tu sapiencia. Saludos 🌹💐🌺🌹
Saludos amiga gracias por visitarme, la verdad hay que tenerle mucho respeto a la electricidad, pero con algo de paciencia y cuidado se puede realizar. Gusto en saludarle.