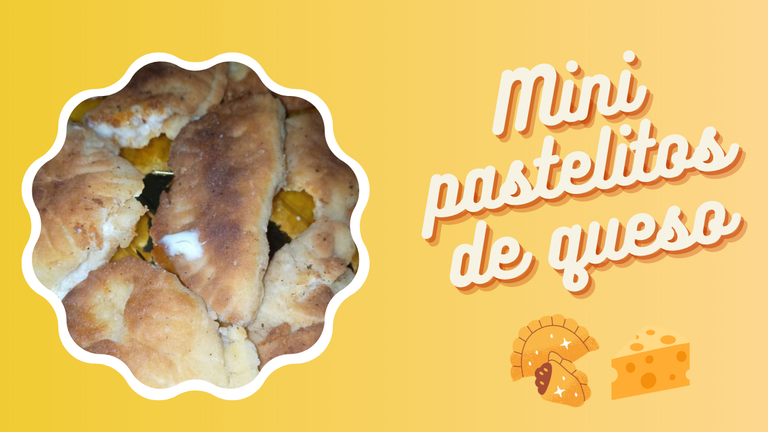
¡Feliz día amigos amantes de la comida! 😋
Si hay algo que realmente amo con todo mi corazón serían sin duda los pastelitos, la combinación del queso con esa crocante masa hace a muchos demasiado feliz, entre esos me incluyo jeje, les puedo decir que cada vez que los pruebo muero de alegría, por supuesto siendo una de mis comidas favoritas debo de saber cómo prepararlos por mi cuenta, es por eso que después de ver como mi mamá los hacía desde que era pequeño aprendí a prepararlos yo mismo de una manera bastante fácil y cómoda perfecta para aquellos que están iniciando en el mundo de la cocina como yo.
Aunque aún sea principiante haciéndolos, aproveche de que a mi familia se les antojaron para compartirles el divertido proceso de hacerlos, quédense para que vean como los preparo!
Happy day fellow food lovers! 😋
If there is something that I really love with all my heart would be undoubtedly the cupcakes, the combination of cheese with that crunchy dough makes many too happy, among those I include myself hehe, I can tell you that every time I try them I die of joy, of course being one of my favorite foods I must know how to prepare them on my own, that's why after seeing how my mom made them since I was little I learned to prepare them myself in a fairly easy and comfortable way perfect for those who are starting in the world of cooking like me.
Even though I'm still a beginner at making them, I took advantage of my family's craving for them to share with you the fun process of making them, stick around to see how I prepare them!
🔶 Ingredientes:
🔸 2 tazas de harina de trigo
🔸 2 cucharadas de mantequilla
🔸 1 huevo
🔸 1 cucharada de azúcar
🔸 1 cucharadita de sal
🔸 Media taza de agua
🔸 250 gramos de queso
🔶 Ingredients:
🔸 2 cups of wheat flour
🔸 2 tablespoons butter
🔸 1 egg
🔸 1 tablespoon sugar
🔸 1 teaspoon salt
🔸 Half cup of water
🔸 250 grams of cheese
🍴 Preparación/Preparation:
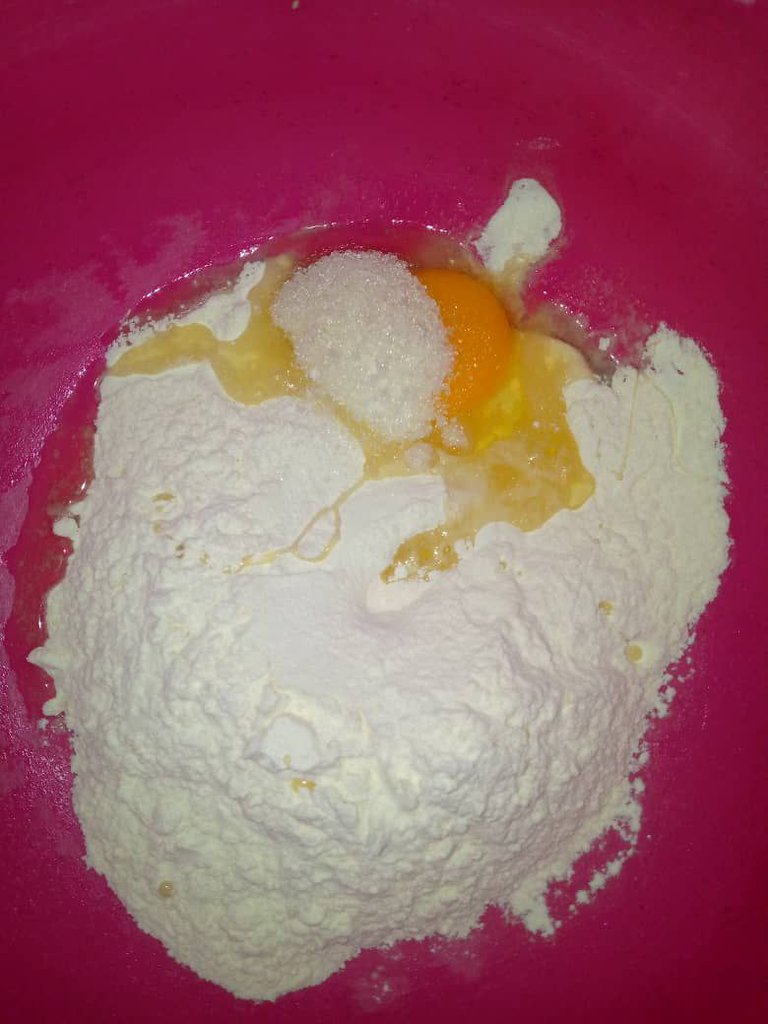
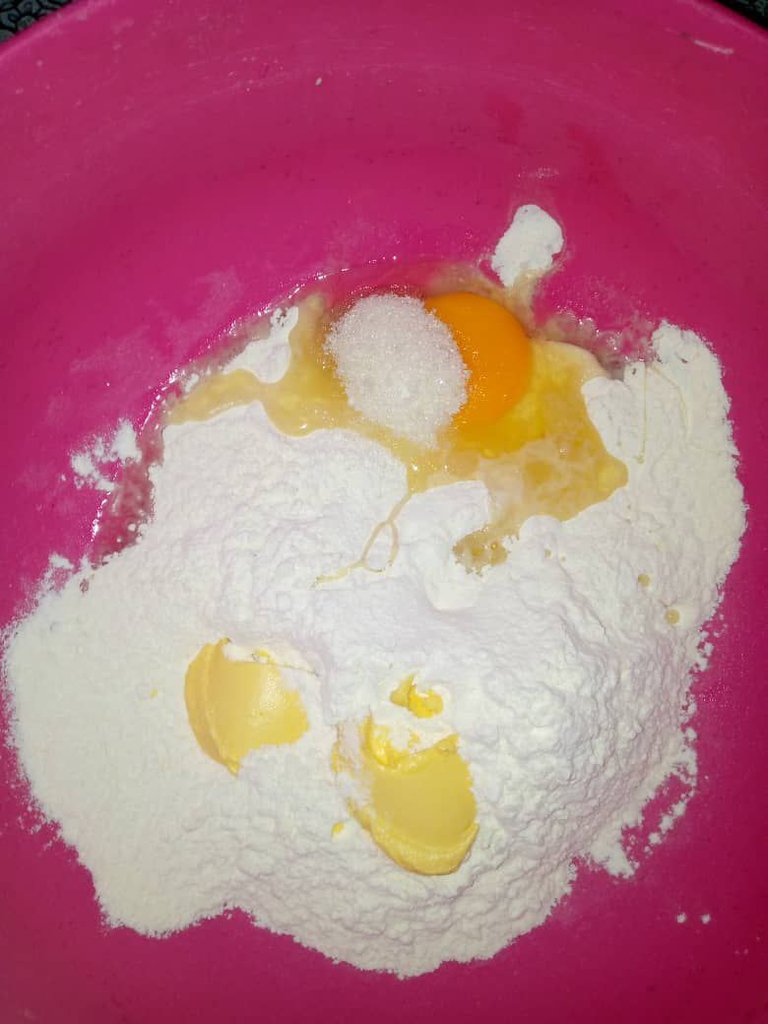
Para empezar con la preparación de estos deliciosos pastelitos eché las dos tazas de harina de trigo en el bowl, seguido de las tazas de harina agregué el huevo, asegúrense de partirlo primero en un envase a parte para evitar echar un huevo en mal estado, de igual manera iremos incorporando la cucharada de azúcar, la de sal y las dos de mantequilla.
To start with the preparation of these delicious cupcakes I poured the two cups of wheat flour in the bowl, followed by the cups of flour I added the egg, be sure to break it first in a separate container to avoid getting a bad egg, in the same way we will incorporate the tablespoon of sugar, salt and the two tablespoons of butter.
 |  |  |  |
|---|
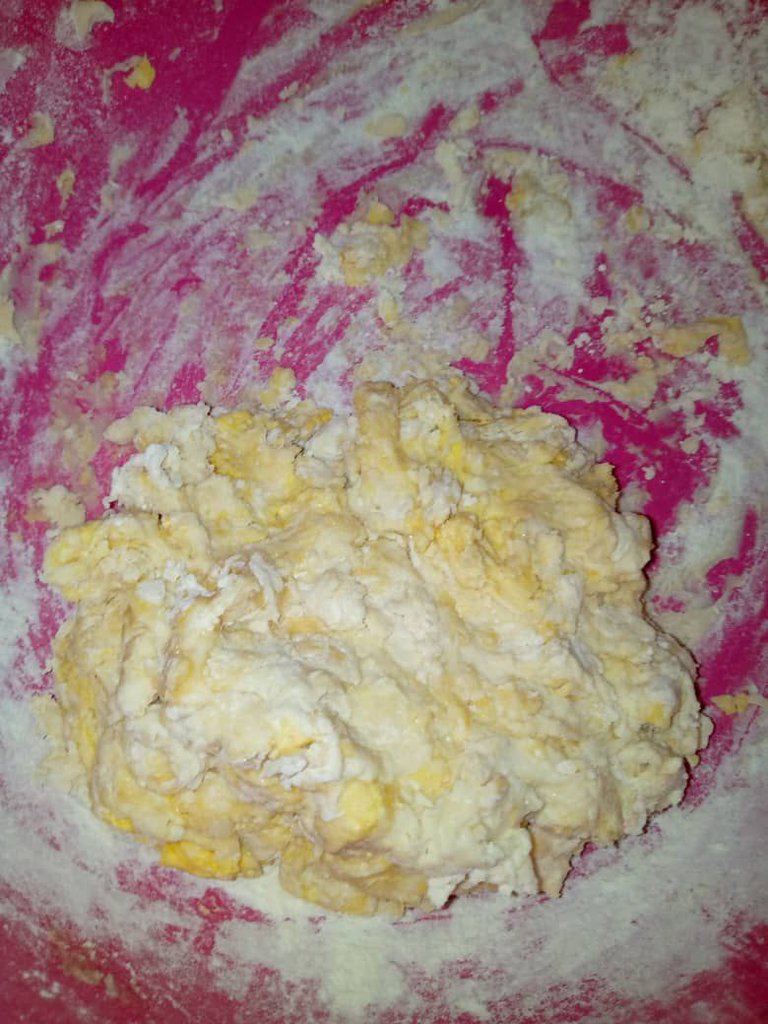
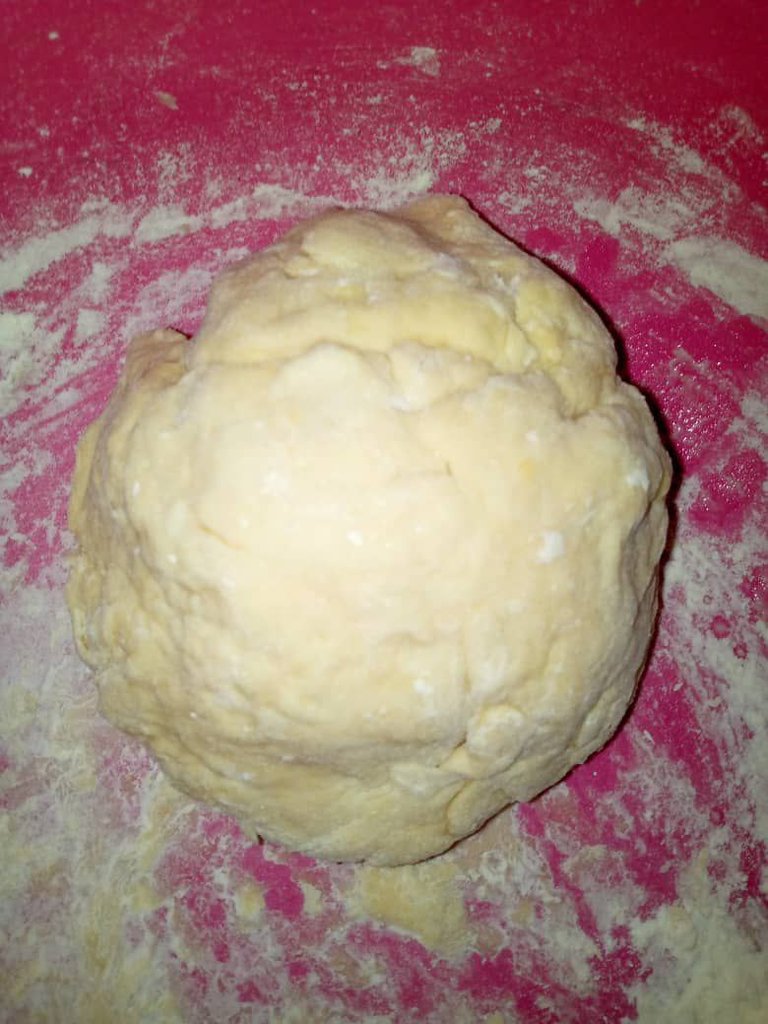
Luego de haber incorporado todos los ingredientes, será momento de integrar la media taza de agua, les recomiendo mezclar primero con una paleta hasta que se vaya formando la masa para que no se embarren tanto las manos jajaja, si se dan cuenta de que se pega mucho la masa le iremos agregando harina hasta que no se nos pegue. Cuando nos demos cuenta de que ya está más manejable, será momento de amasar en una superficie plana. Enharinamos nuestra superficie y amasaremos por 5 minutos, pasado el tiempo de amasado la dejamos reposar unos 20 minutos o una media hora, en mi caso la dejé reposar 5 minutos porque mi familia tenía hambre y no querían esperar jajaja.
After incorporating all the ingredients, it will be time to integrate the half cup of water, I recommend mixing first with a paddle until the dough is formed so that your hands do not get so muddy hahaha, if you realize that the dough sticks a lot we will add flour until it does not stick to us. When we realize that it is more manageable, it will be time to knead on a flat surface. We flour our surface and knead for 5 minutes, after the kneading time we let it rest for about 20 minutes or half an hour, in my case I let it rest for 5 minutes because my family was hungry and did not want to wait hahaha.
 |  |  |
|---|
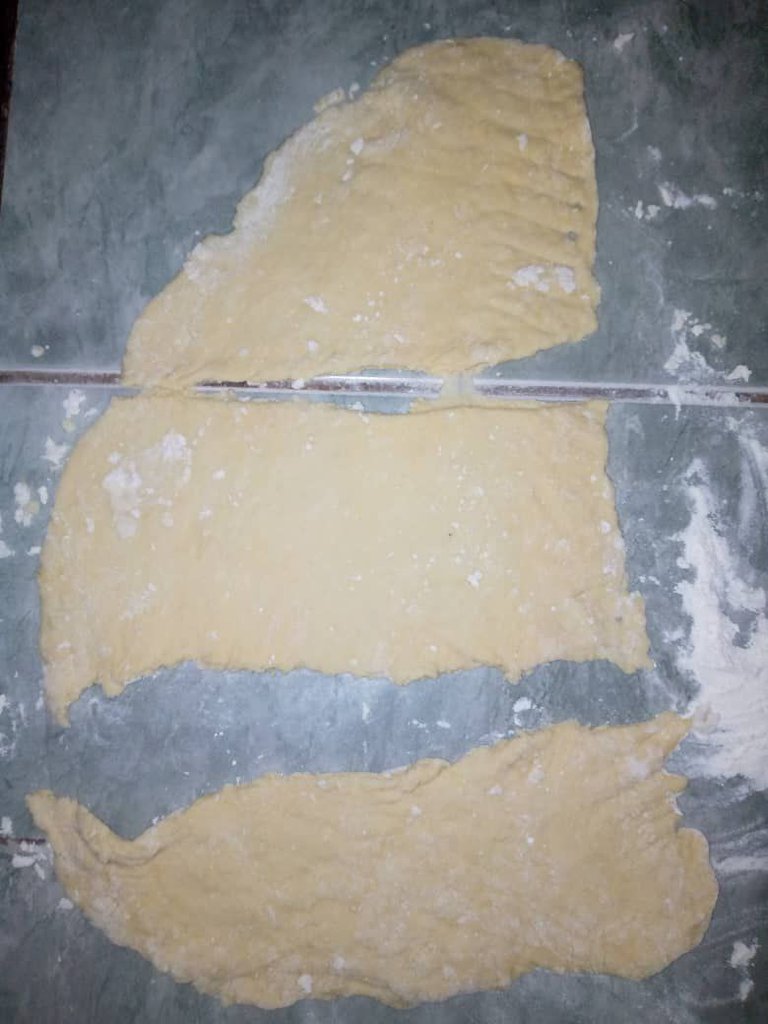
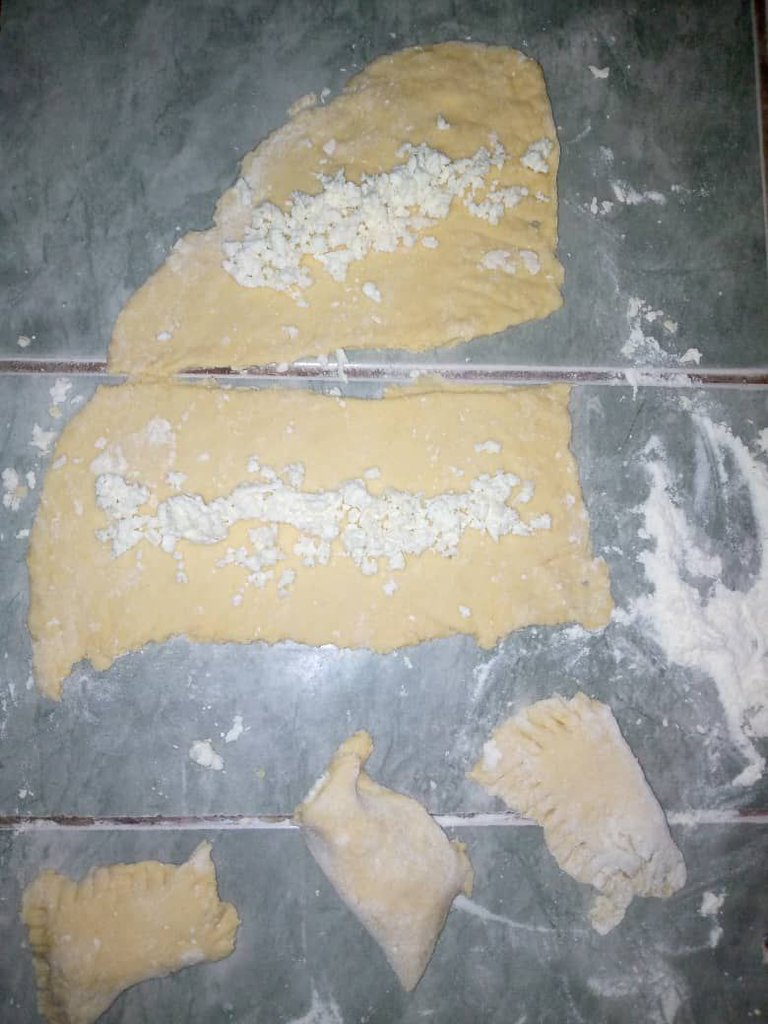
Ya pasado los minutos nuestra masa habrá crecido lo suficiente como para empezar a armar nuestros pastelitos, lo primero que hice fue dividir mi masa en 4 bolitas más pequeñas, luego con la ayuda de un rodillo fui extendiendo una bolita hasta dejarla finita, te recomiendo que extiendas bastante la masa para que quede crocante después de freírlas, usualmente los pastelitos no se cocinan por dentro y quedan crudos cuando la masa no se extiende bien. Teniendo nuestra masa extendida la dividiremos en tres partes con la ayuda de un cuchillo, estas partes las rellenaremos de queso en todo el centro, recuerda no agregar demasiado ya que la masa puede terminar rompiéndose por el exceso de cantidad, también puedes utilizar el tipo de relleno que desees, como carne, pollo, hasta pescado jejeje.
After a few minutes our dough will have grown enough to begin to assemble our pastries, the first thing I did was to divide my dough into 4 smaller balls, then with the help of a rolling pin I was extending a ball until it was thin, I recommend that you extend the dough enough to make it crispy after frying, usually the pastries are not cooked inside and are raw when the dough is not well extended. Having our dough rolled out we will divide it into three parts with the help of a knife, these parts will be filled with cheese throughout the center, remember not to add too much because the dough may end up breaking because of the excess amount, you can also use the type of filling you want, such as meat, chicken, even fish hehehehe.
 |  |
|---|
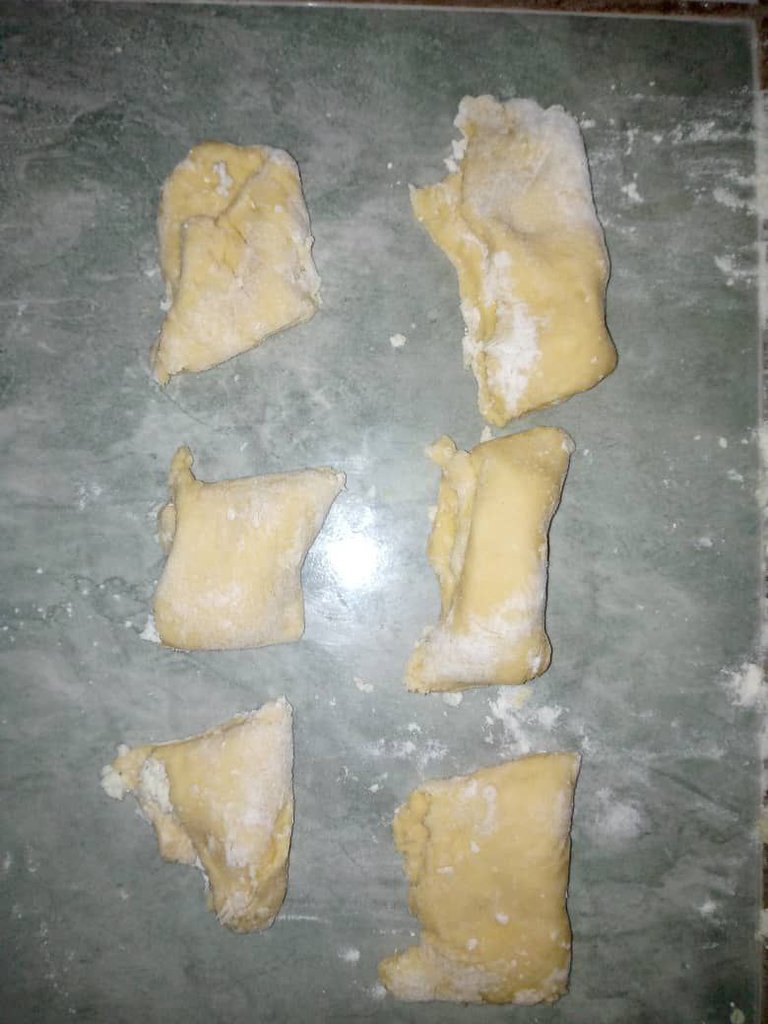
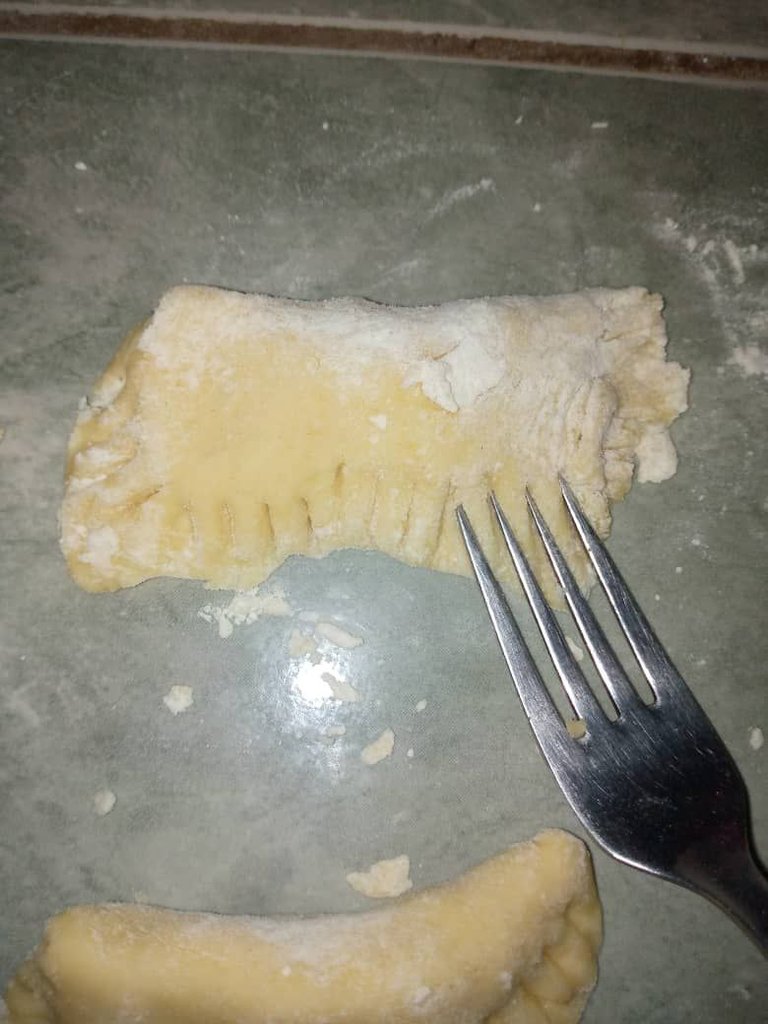
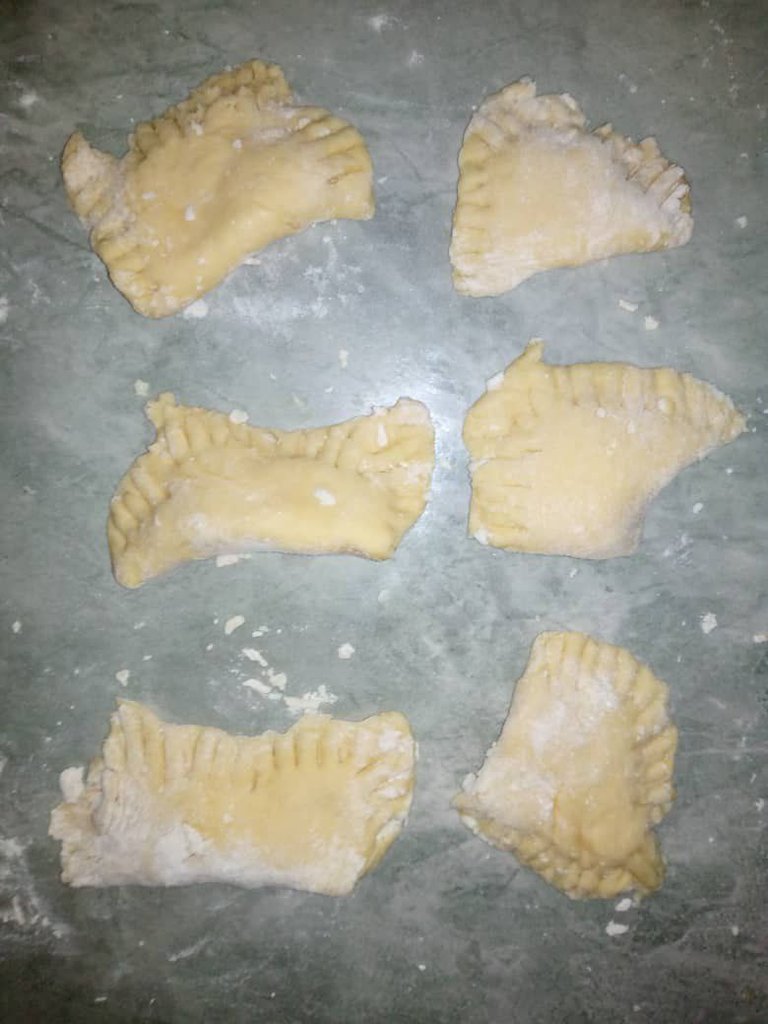
Ahora cerraremos el pastelito para sellarlo, aseguraremos el relleno que está adentro con la ayuda de un tenedor, lo iremos pasando por los bordes de las dos caras del pastelito, este proceso lo repetiremos una y otra vez para formarlos, recordemos: Extender masa hasta dejarla finita, rellenarlo y luego sellarlo con tenedor. Ahora solo quedará freírlo por unos 2 minutos, el tiempo en el que se freirán dependerá de a cuanta potencia esté tu cocina, en mi caso use fuego medio bajo.
Now we will close the pastry to seal it, we will secure the filling inside with the help of a fork, we will pass it around the edges of the two sides of the pastry, we will repeat this process over and over again to form them, remember: Extend the dough until it is thin, fill it and then seal it with a fork. Now you only have to fry it for about 2 minutes, the time in which they will fry will depend on how much power is your kitchen, in my case I used medium low heat.
 |  |  |
|---|
😋✨ Resultado final/Final result:
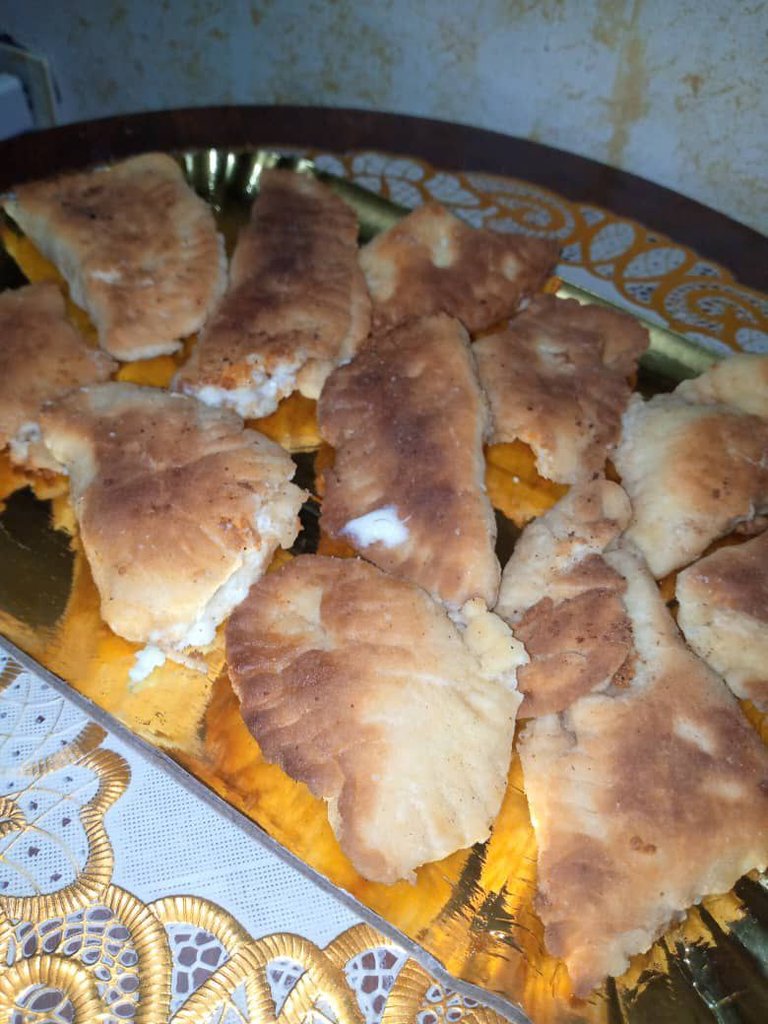
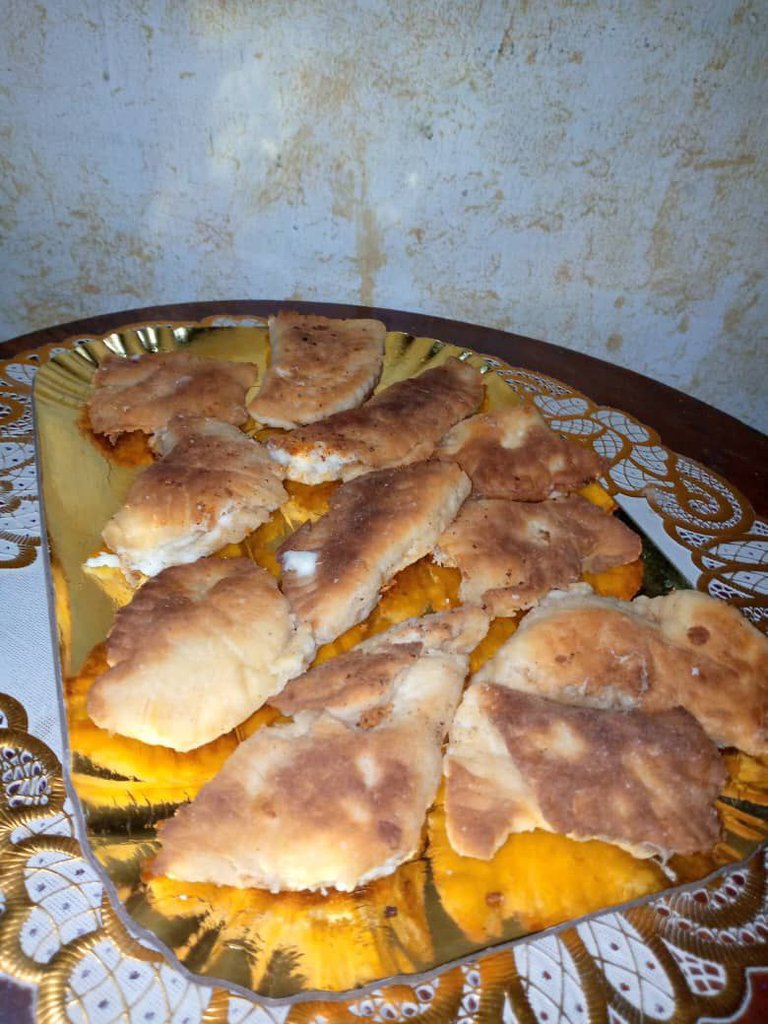
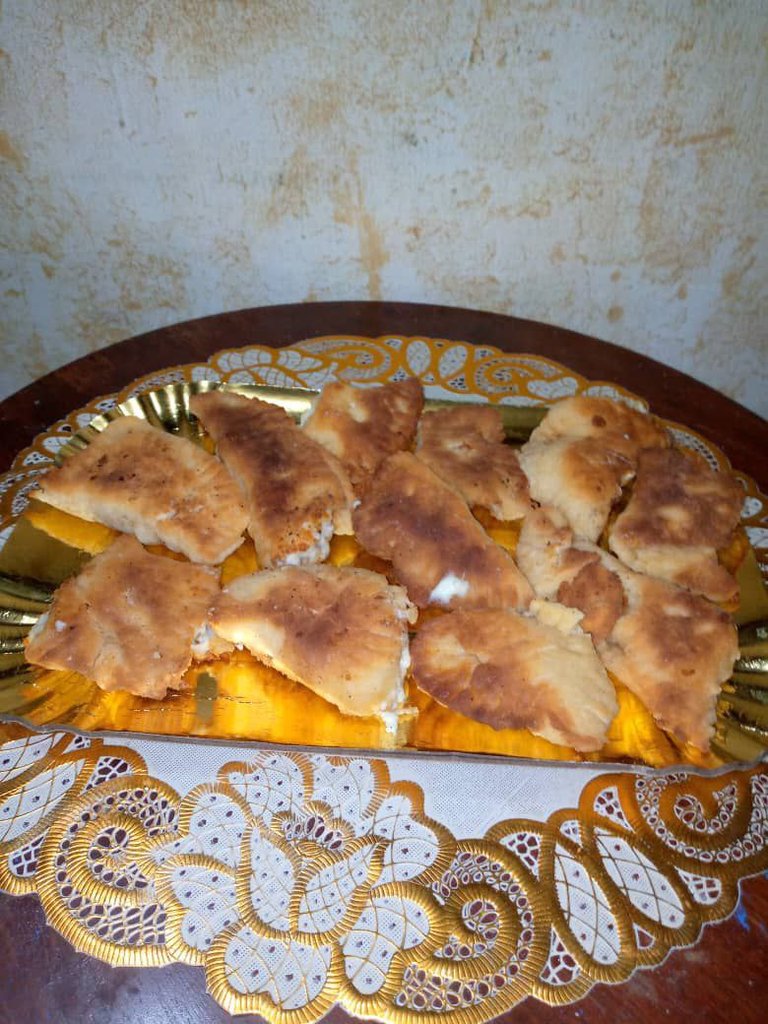
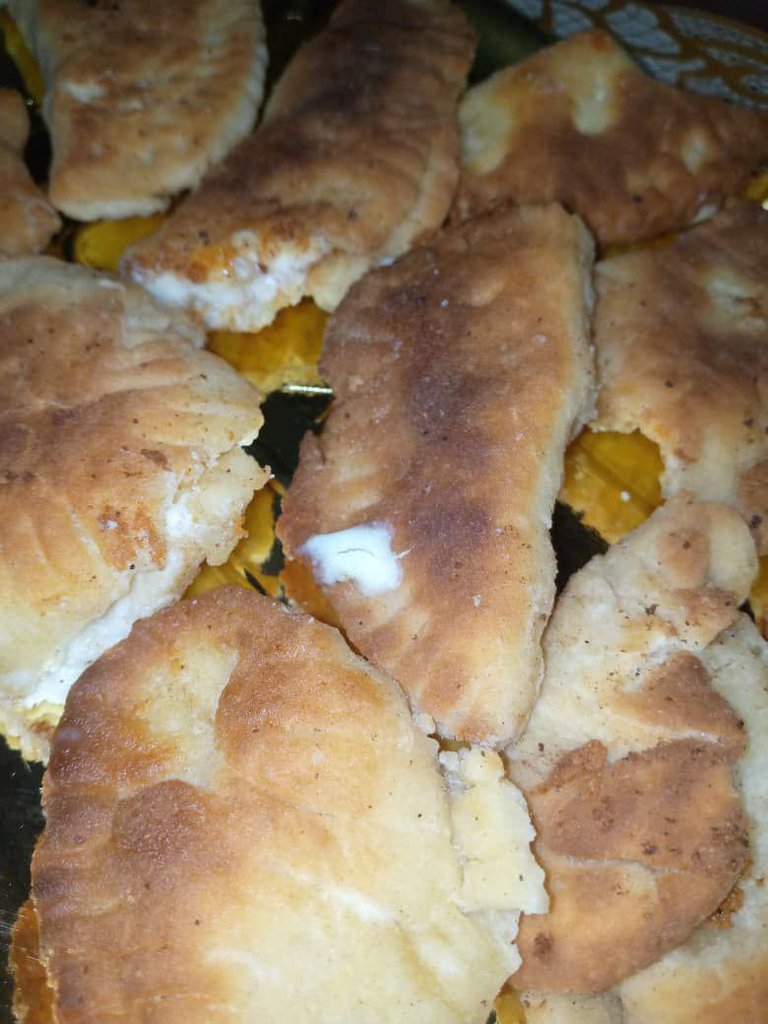
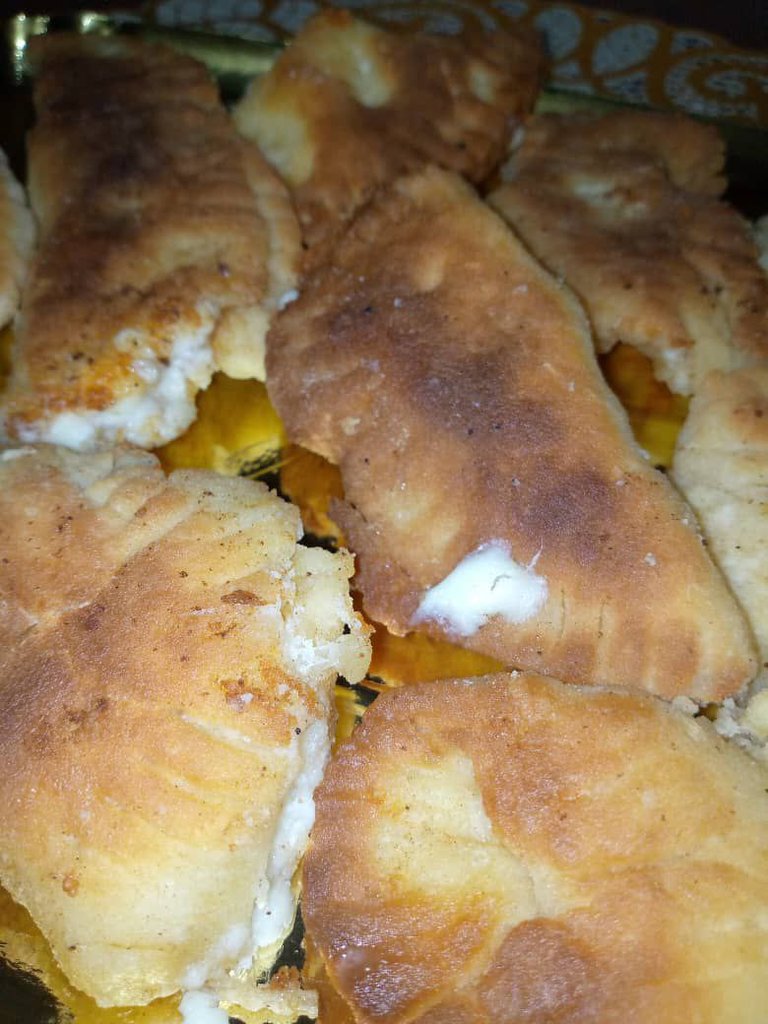
Al terminar de freír tendremos listos estos deliciosos pastelitos rellenos de queso, perfectos para comerlos en cualquier ocasión, si les soy sincero no me quedaron muy bonitos porque es una de las primeras veces que los hago solo, pero la verdad me emocionaba mucho mostrarles el proceso, y, ¿porque no aprovechar esta ocasión para hacerlo? Jejeje. La masa me quedó muy crocante, al momento de pegar el primer mordisco se deshacía en la boca de una manera impresionante, el truco para lograr esto es que nuestra masa quede muy finita como les comenté!
When the frying is finished we will have ready these delicious cheese filled pastries, perfect to eat on any occasion, if I'm honest they were not very nice because it is one of the first times I make them alone, but the truth is that I was very excited to show you the process, and why not take this opportunity to do it? Hehehe. The dough was very crunchy, when I took the first bite it melted in my mouth in an impressive way, the trick to achieve this is that our dough is very thin as I told you!
 |  |
|---|
Al final todos disfrutamos muchísimo como me quedaron, creo que estuvieron muy ricos porque los hice con mucho amor para mi familia jeje, sin duda ese es el ingrediente principal para que queden DELICIOSOS!!! Definitivamente vale la pena hacerlos ya que son muy sencillos además de ricos. Cuéntenme si los han preparado antes y si les gusta comerlos, para mí fue un placer compartirles esta delicia culinaria jajaja, nos vemos la próxima en otro post, adiós mis amigos lectores!
In the end we all really enjoyed how they turned out, I think they were very delicious because I made them with a lot of love for my family hehe, no doubt that is the main ingredient for them to be DELICIOUS! Definitely worth making them because they are very simple and delicious. Tell me if you have prepared them before and if you like to eat them, for me it was a pleasure to share with you this culinary delight hahaha, see you next time in another post, bye my reader friends!
 |  |
|---|
📌 Créditos/Credits:
Las fotos utilizadas fueron tomadas con mi celular, el primer gif fue extraído de Tenor, su respectivo link está dentro del post, el banner fue hecho en Canva.
The photos used were taken with my cell phone, the first gif was extracted from Tenor, its respective link is inside the post, the banner was made in Canva.

Este proceso es más genial porque la masa la hiciste tu, hay quienes optan por un trabajo más fácil al comprar las masas listas, pero así creo que quedan mejor. Me las imagino con diferentes rellenos, quedarían riquísimas.
Te agradezco por compartir la receta con todos nosotros.
Sii, comprar la masa te facilita el proceso 1000 veces, pero también es divertido aprender a hacerla nosotros mismos!!
Estos que hice de queso quedaron fantásticos, espero hacer pronto de otro relleno. Gracias por pasar por acá amiga @maitt87 😁😁