Torta marmoleada con una irresistible cubierta de buttercream ruso [ESP/ENG]
Que tal querida comunidad de hive, y a los amigos de @hive-food, amantes de la cocina y especialmente de los postres.
Nuevamente me encuentro con ustedes para enseñarles el paso a paso de una torta marmoleada, decorada con una delicada crema de buttercream Ruso. Su técnica de elaboración no es nada del otro mundo, es súper sencilla tanto la elaboración como la decoración, usando productos de calidad, económicos y fáciles de conseguir.
Es una torta con una miga muy tierna, húmeda y esponjosa, que para todo tipo de ocasión es muy funcional y les aseguro que será del agrado de grandes y pequeños.
Hello dear hive community, and friends of @hive-food, lovers of cooking and especially desserts.
Once again I am with you to show you the step by step of a marbled cake, decorated with a delicate Russian buttercream cream. Its preparation technique is nothing fancy, it is super simple both the preparation and decoration, using quality products, inexpensive and easy to get.
It is a cake with a very tender, moist and fluffy crumb, which is very functional for all kinds of occasions and I assure you that it will be enjoyed by young and old alike.
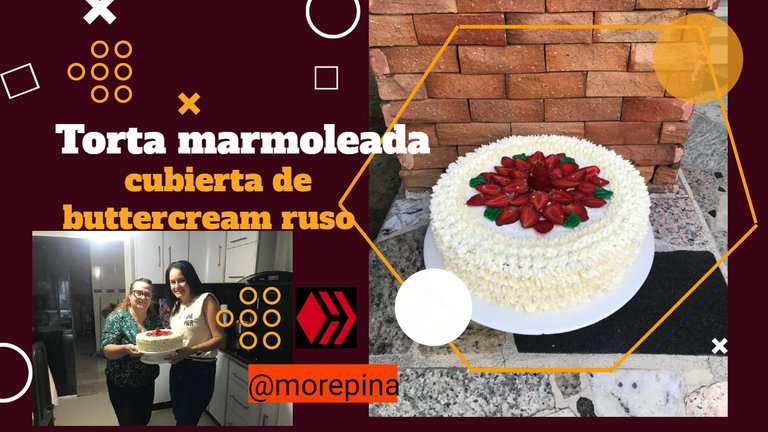
Como les he dicho en otras ocasiones, me gusta ir poco a poco innovando y probando cada una de mis recetas, para obtener finalmente mis propias fórmulas y trucos que no fracasen al momento de su elaboración.
Esta receta que hoy les traigo, es una de las formulas antiguas, que fui aprendiendo en varios cursos realizados desde hace unos cuantos años, más o menos unos 30 años atrás y que yo, poco a poco las he ido mejorando agregándole mi toque favorito.
Como estamos próximos al día de las madres, es propicia la ocasión para que se animen y se atrevan a prepararla, ya que con este paso a paso les quedará muy bien, ya no tendrán que gastar más dinero en la compra de tortas al momento que se les presente algún evento.
Como ya saben, cuento con una página personal en instagram que se llama "dulces.pinita" y toda la semana me encuentro elaborando diferentes tipos de tortas.
El viernes pasado me llamó una de mis clientes para ver si era posible hacerle una torta para el día domingo, ya que su hermana ese día celebraba su cumpleaños. Al día siguiente , me escribió por whatsapp y me envió dos modelos de tortas publicadas en mi página y me explicó que quería la decoración de una con el centro de la otra.
A continuación la receta:
As I have told you in other occasions, I like to go little by little innovating and testing each of my recipes, to finally get my own formulas and tricks that do not fail at the time of its elaboration.
This recipe that I bring you today, is one of the old formulas, which I learned in several courses taken a few years ago, more or less 30 years ago and that I, little by little I have been improving them adding my favorite touch.
As we are close to Mother's Day, it is the right time for you to dare to prepare it, because with this step by step tutorial it will look great, and you won't have to spend more money buying cakes when you have an event.
As you know, I have a personal page on instagram called "dulces.pinita" and all week I find myself making different types of cakes.
Last Friday one of my clients called me to see if it was possible to make her a cake for Sunday, since her sister was celebrating her birthday that day. The next day, she wrote me by whatsapp and sent me two models of cakes published on my page and explained that she wanted the decoration of one with the center of the other.
Here is the recipe:

Ingredientes: Bizcocho
(Aproximadamente para 25 A 30 comensales)
- 750 gramos de haría de trigo leudante = 6 tazas colmadas
- 730 gramos de azúcar refinada =3taza
- 50 gramos de cacao en polvo puede ser de la marca mantoro real o cualquiera de buena calidad= 10 cdas.
- 300 gramos de margarina repostera sin sal o la que se tenga
- 6 huevos medianos
- 2 tazas de leche líquida
- 1 1/2 cucharadas de vinagre blanco o jugo de limón (unir la leche y el vinagre para formar una butter milk o suero de leche)
- 1 cucharada de canela en polvo (opcional)
- 1 cucharadita de sal
- 1 cucharadita de vainilla
- 1 cucharadita de bicarbonato
- 1 molde de aluminio de 26 X 10 cm de alto
- 1 palillo o palito de altura o espagueti
Ingredientes: Cubierta
- 150 gramos de margarina sin sal
- 150 gramos de manteca o vegetalina
- 150 gramos de Azúcar pulverizada
- 100 gramos de leche condensada
- 2 cucharadas de esencia de nata
- 1 cucharada de vainilla transparente
- 4 cucharadas de leche líquida tibia
- 1 cucharadita de cremor tártaro
- 300 gramos de fresas naturales
- Pegamento (crema para la cubierta)
- Grajeas blancas
- Duya numero 1M
Ingredients: Cake
(Approximately for 25 to 30 people)
- 750 grams of leavening wheat flour = 6 heaped cups
- 730 grams of refined sugar =3 cups
- 50 grams of cocoa powder can be of the mantoro real brand or any other good quality cocoa powder = 10 tablespoons.
- 300 grams of unsalted pastry margarine or whatever you have.
- 6 medium eggs
- 2 cups of liquid milk
- 1 1/2 tablespoons of white vinegar or lemon juice (mix the milk and vinegar to form a butter milk or buttermilk)
- 1 tablespoon cinnamon powder (optional)
- 1 teaspoon salt
- 1 teaspoon vanilla
- 1 teaspoon of baking soda
- 1 aluminum mold 26 X 10 cm high
- 1 toothpick or height stick or spaghetti.
Ingredients: Cover
150 grams of unsalted margarine
150 grams of shortening or vegetable shortening
150 grams of powdered sugar
100 grams of condensed milk
2 tablespoons of cream essence
1 tablespoon of clear vanilla
4 tablespoons of warm liquid milk
1 teaspoon of cream of tartar
300 grams of natural strawberries
Glue (cream for the topping)
White sprinkles
Duya number 1M
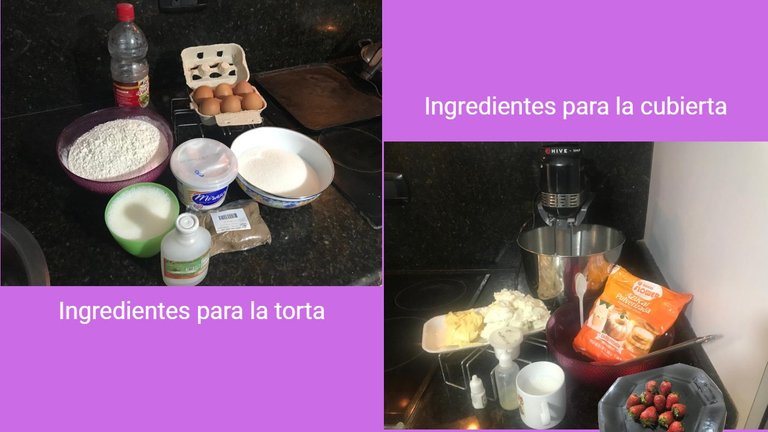

Preparación de la torta // Cake Preparation
1.Limpiar muy bien con una servilleta mojada en un poquito de vinagre el tazón o bol de aluminio, vidrio o plástico, el que tengamos y colocamos la harina cernida, el cacao cernido, el bicarbonato, la canela, sal y revolvemos en forma envolvente todos estos ingredientes secos para que se unan.
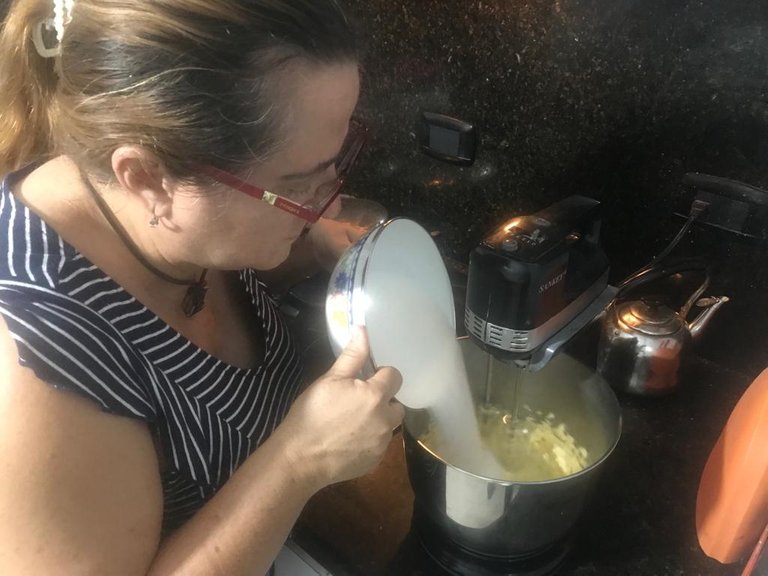
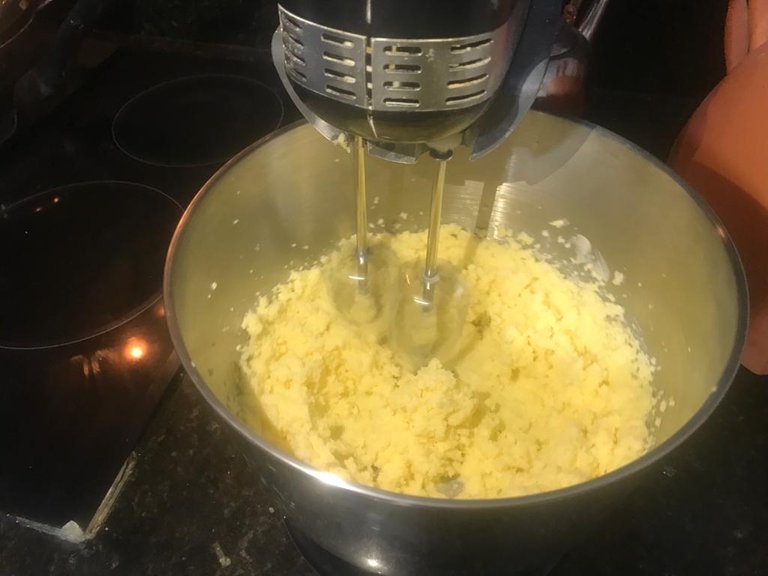
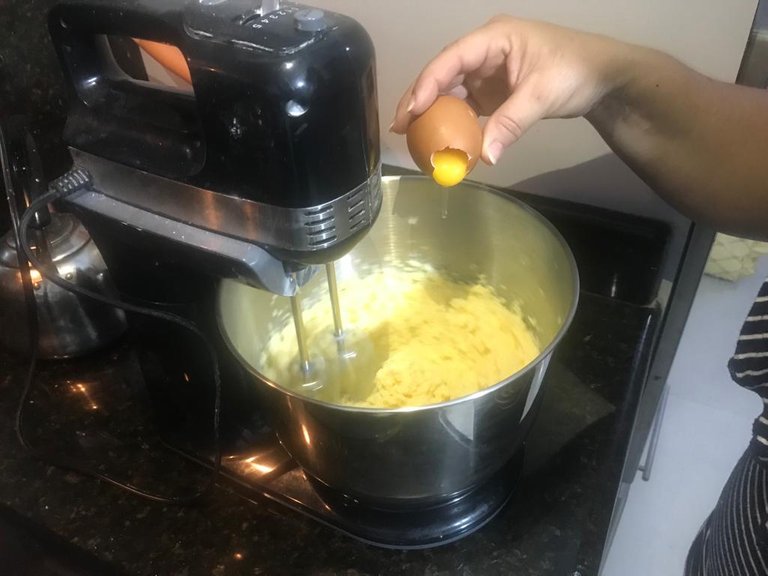
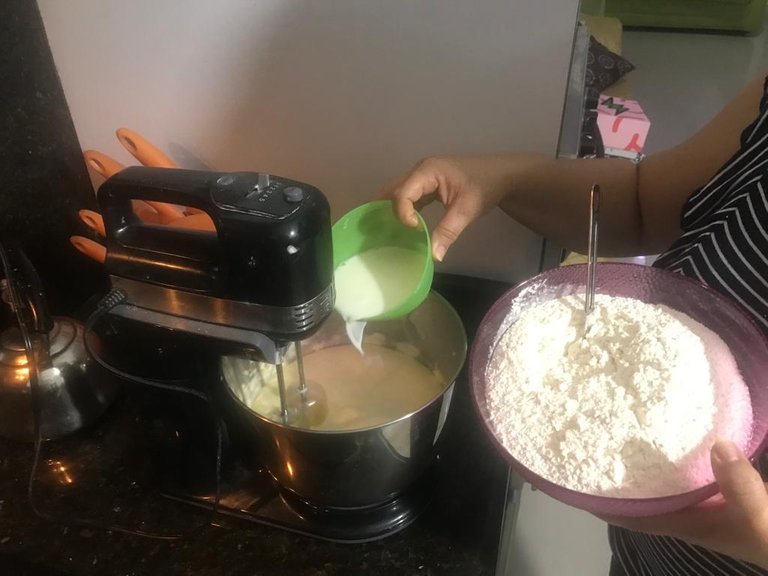
2.Cremar la mantequilla durante 3min, agregar el azúcar poco a poco y seguir batiendo por 5min más, colocar una a una las 6 yemas de huevo, seguir batiendo durante 5min, cuando ya tenga muy poco grumos, vamos agregando el butter milk al mismo tiempo con la harina, es decir una parte de butter milk y otra de harina y seguimos batiendo hasta terminar toda la harina y leche, este butter milk tiene la función de hacer el bizcocho mas esponjoso y jugoso.
1.Clean very well with a napkin dipped in a little vinegar the bowl or bowl of aluminum, glass or plastic, whichever we have and place the sifted flour, sifted cocoa, baking soda, cinnamon, salt and stir all these dry ingredients in an enveloping way so that they come together.
2.Cream the butter for 3 minutes, add the sugar little by little and continue beating for 5 minutes more, add one by one the 6 egg yolks, continue beating for 5 minutes, when you have very few lumps, add the butter milk at the same time with the flour, that is to say a part of butter milk and another part of flour and continue beating until finishing all the flour and milk, this batter milk has the function of making the cake more fluffy and juicy.
 |  |  |  |
|---|
3.En este momento precalentamos el horno arriba y abajo unos 20 min antes de colocar la torta entre 170 a 180 grados centígrados, esto va a depender del tipo de horno si es eléctrico o a gas. No se puede arrebatar de calor porque se quema la parte de arriba y le sale mucha barriga al pan.
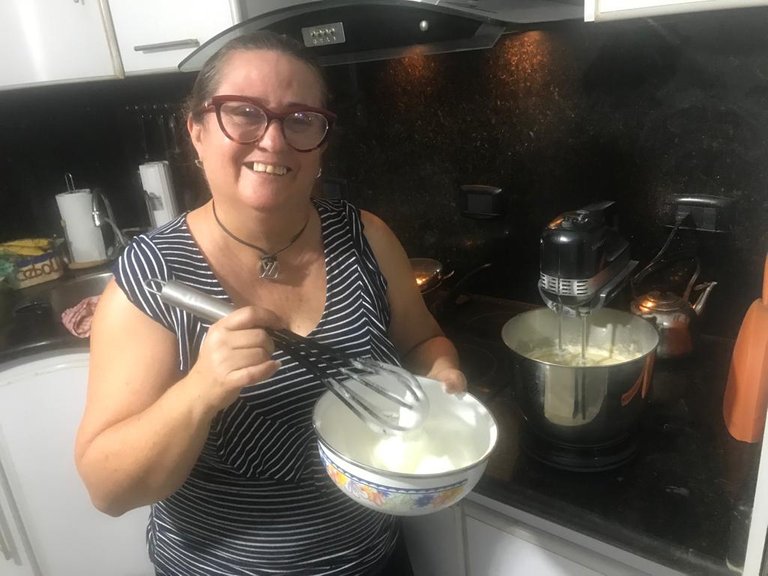
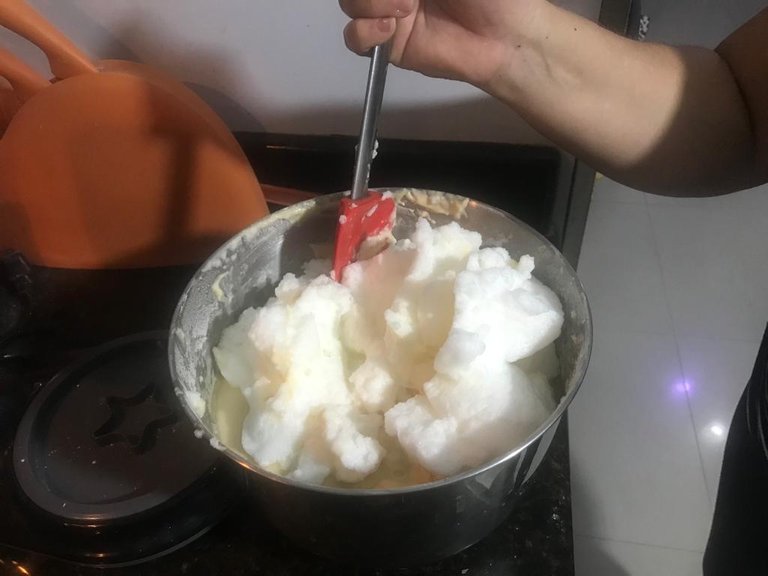
4.Batir las 6 claras de huevos, con batidora o con un batidor casero manual, cuando haga pico indica que ya está lista.
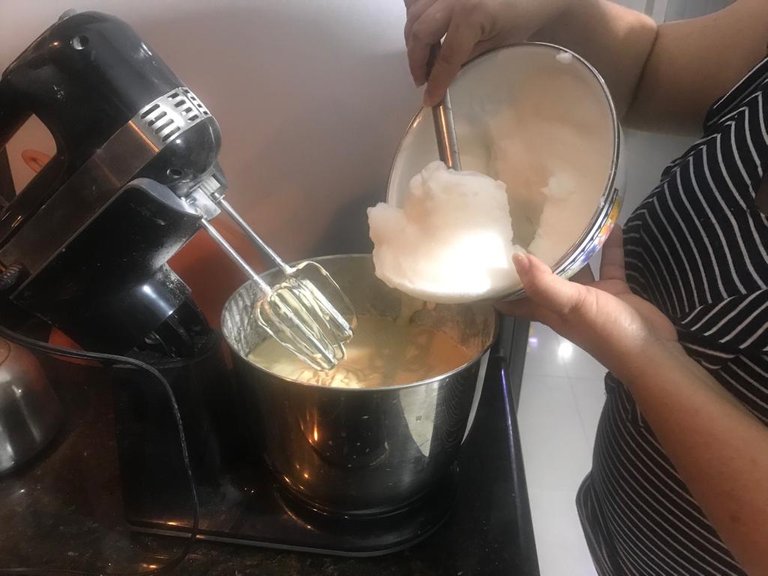
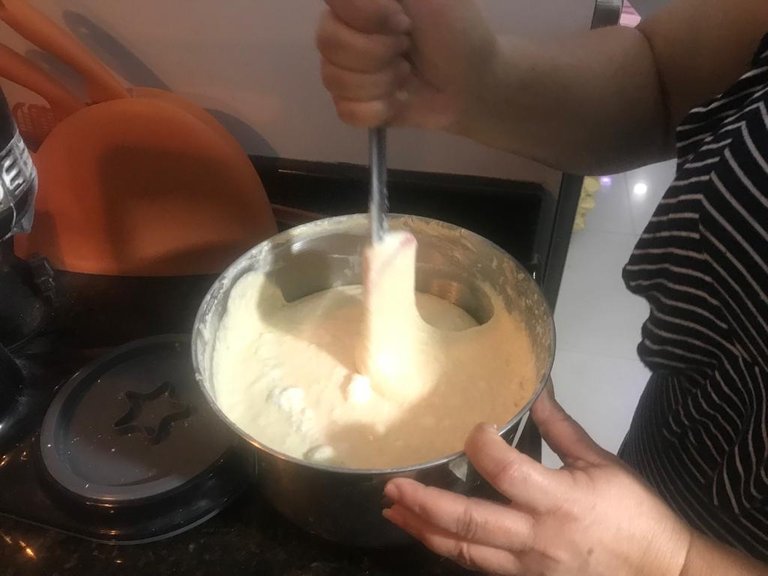
5.Unimos las claras batidas a la preparación que contiene la masa o sea al punto 2.
3.At this point preheat the oven up and down about 20 minutes before placing the cake between 170 to 180 degrees Celsius, this will depend on the type of oven if it is electric or gas. Do not overheat because it will burn the top and the bread will get a lot of belly.
4.Beat the 6 egg whites, with a mixer or with a homemade manual beater, when it makes a peak it indicates that it is ready.
5.Add the beaten egg whites to the preparation that contains the dough, that is to say point 2.
 |  |  |  |
|---|
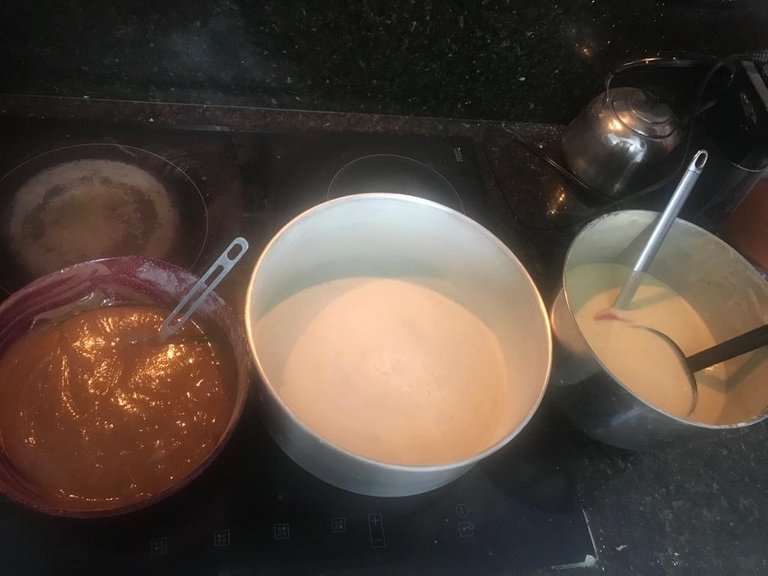
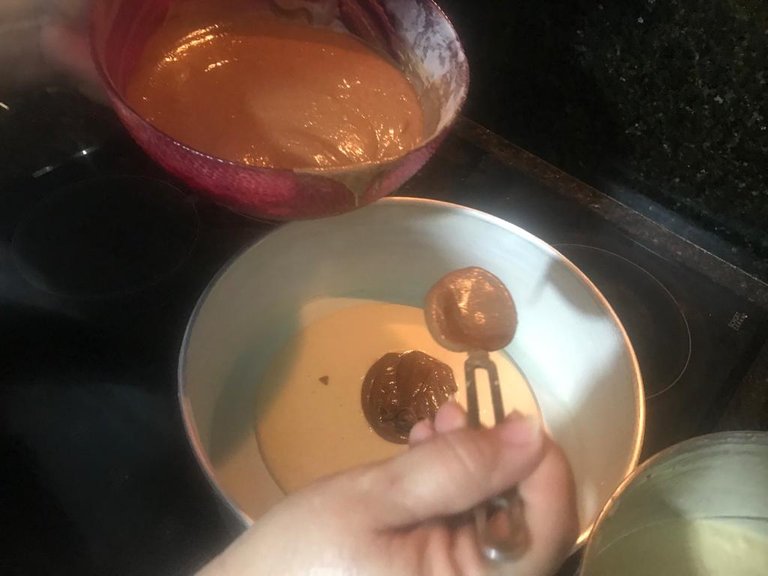
6.Dividir y pesar la masa en dos partes iguales o también se puede dividir al ojo, en dos envases, a uno le agregamos el cacao cernido y batimos en forma envolvente y reservamos.
7.Enharinamos todo el molde con un poquito de mantequilla y un poquito de harina.
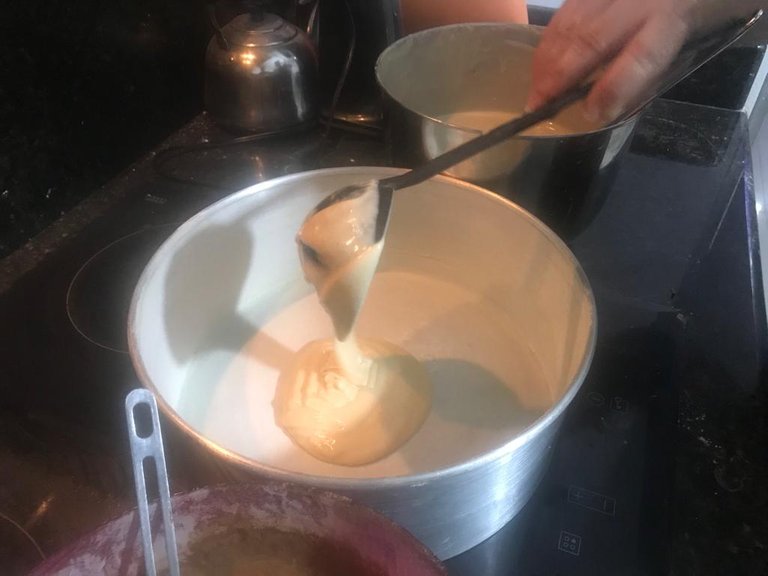
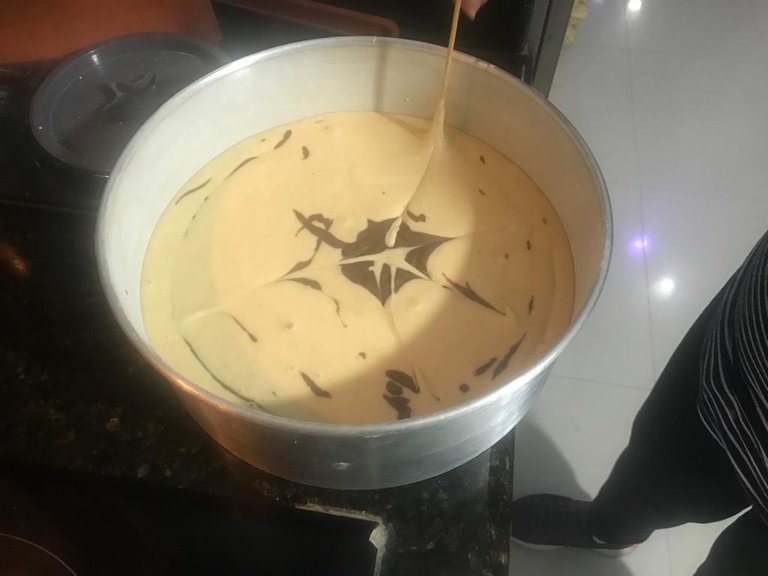
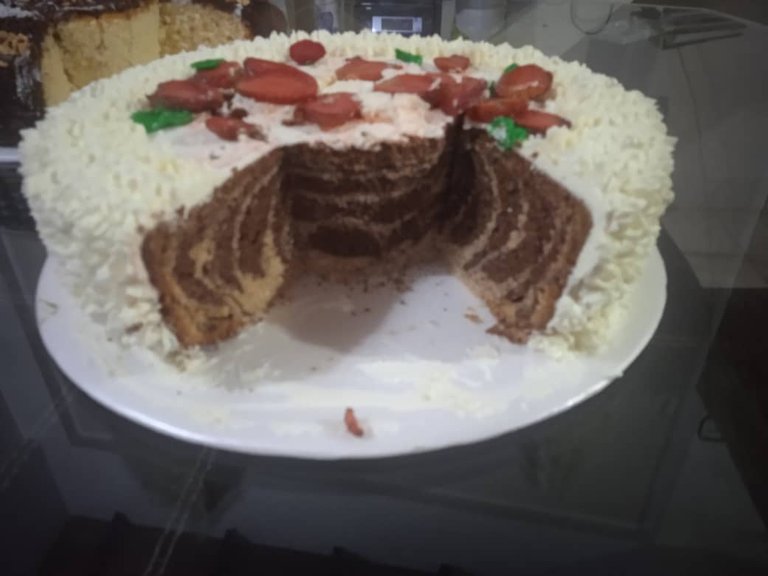
8.Vertemos poco a poco la mezcla en el molde, primero colocar dos cucharones de la mezcla de vainilla, luego agregar encima de esta mezcla un cucharón de la mezcla que contiene el cacao. Seguimos este procedimiento hasta que se termine la mezcla. Con el palito de altura, movemos la masa desde el centro hacia afuera en forma de estrella para para que al hornear el biscocho quede en forma de cebra. Llevar al horno x 1 hora y 20 min aproximadamente, dependiendo del horno. Al cumplir una hora de cocción podemos abrir el horno y pinchamos con el palillo o con un espaguetti, si sale limpio ya está, sino cerramos el horno, esperamos 20 min más y volvemos a abrir. Volvemos a pinchar, ya debe salir limpio el palillo porque ya ha cumplido el tiempo indicado o sea 1 hora y 20 min.
6.Divide and weigh the dough in two equal parts or you can also divide it by eye, in two containers, add the sifted cocoa to one and beat in an enveloping way and set aside.
7.Flour the entire mold with a little bit of butter and a little bit of flour.
8.Pour the mixture little by little into the mold, first place two ladles of the vanilla mixture, then add on top of this mixture a ladle of the mixture containing the cocoa. Continue this procedure until the mixture is finished. With the height stick, move the dough from the center outward in a star shape so that when baking the cake is in the shape of a zebra. Bake in the oven for approximately 1 hour and 20 minutes, depending on the oven. After one hour of baking we can open the oven and prick it with a toothpick or a spaghetti, if it comes out clean it is ready, if not we close the oven, wait 20 more minutes and open it again. If it comes out clean, the toothpick should come out clean because it has already completed the indicated time, that is 1 hour and 20 minutes.
 |  |  |  |
|---|
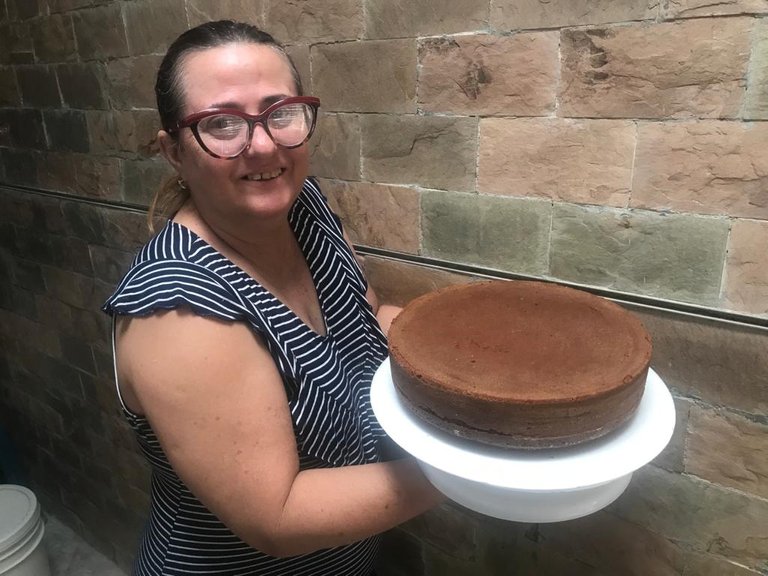
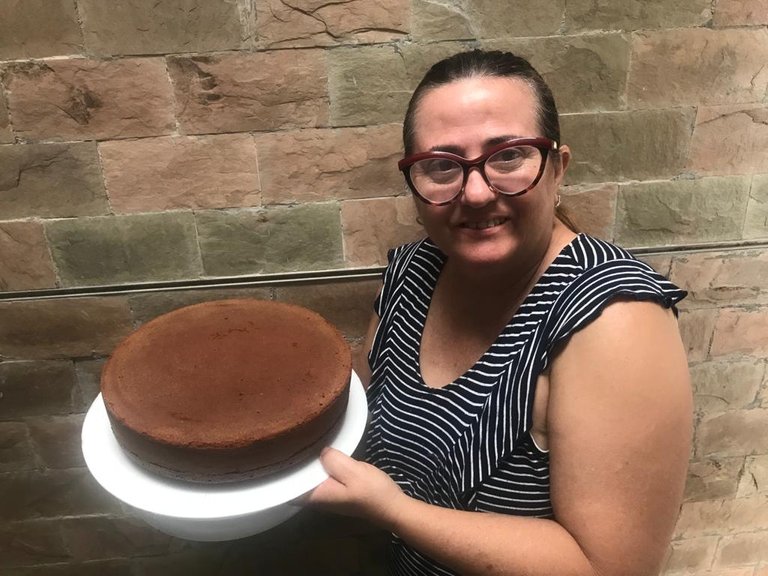
9.Sacamos del horno, le pasamos un cuchillo por los costados y damos golpecitos para que despegue bien, dejamos enfriar 15 min, y desmoldamos.
9.Remove from the oven, run a knife along the sides and tap the sides so that it takes off well, let it cool for 15 minutes, and remove from the mold.
 |  |
|---|

Preparación de la cubierta // Cover Preparation
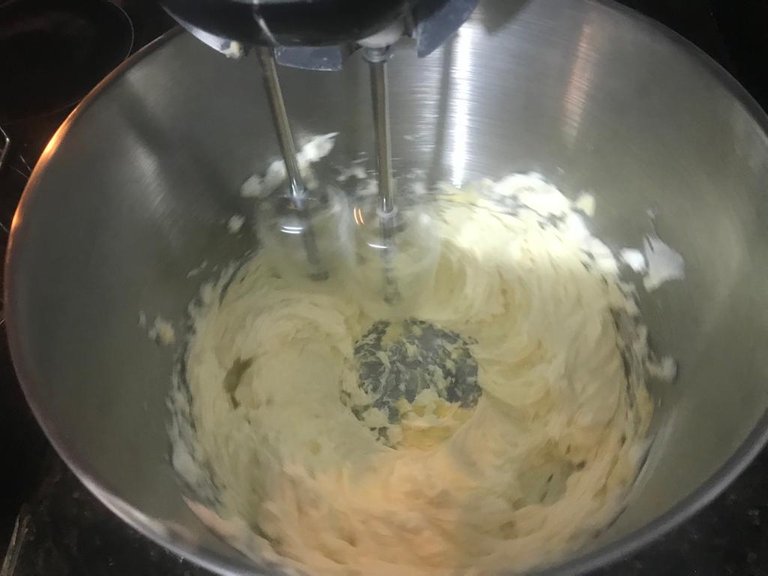
1.Colocar la mantequilla en el molde de la batidora y batir durante 3 min
2.Agregar la manteca y batir por 3 min más hasta que se unan
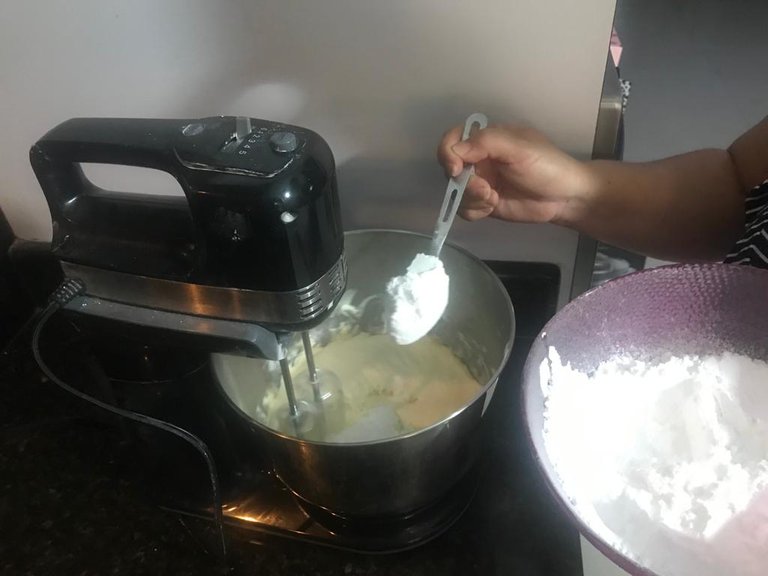
3.Agregar la nevazucar cernida poco a poco
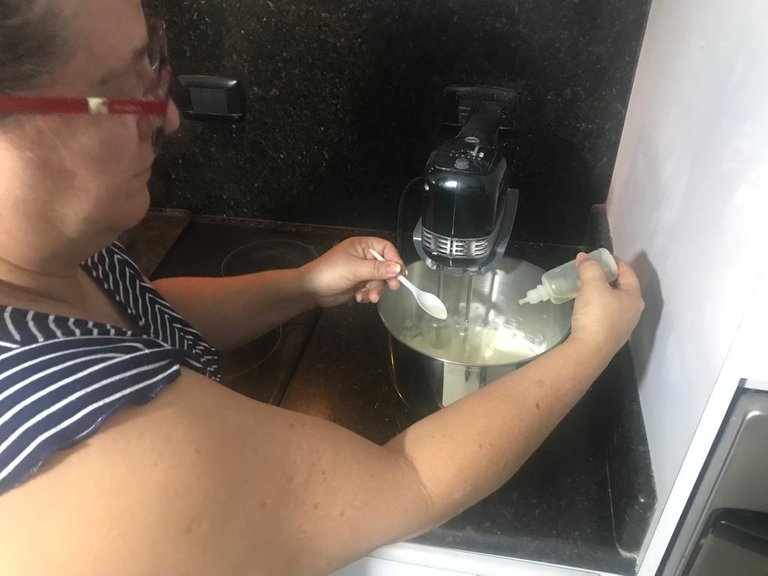
4.Agregar la leche condensada y seguir batiendo 2min mas
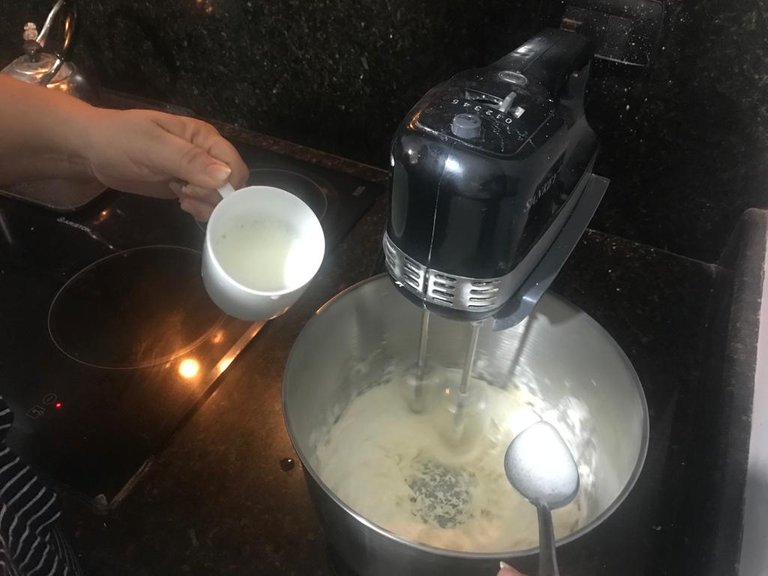
5.Agregarle poco a poco las cucharadas de leche tibia y seguir batiendo durante 5min hasta que la crema este sedosa y se puedan hacer surcos o figuras en la crema, indica que ya está lista.
1.Place the butter in the mixer bowl and beat for 3 minutes.
2.Add the butter and beat for 3 more minutes until combined.
3.Add the sifted sugar little by little.
4.Add the condensed milk and continue beating for 2 more minutes.
5.Add little by little the spoonfuls of warm milk and continue beating for 5 minutes until the cream is silky and you can make grooves or figures in the cream, indicating that it is ready.
 |  |  |  |
|---|
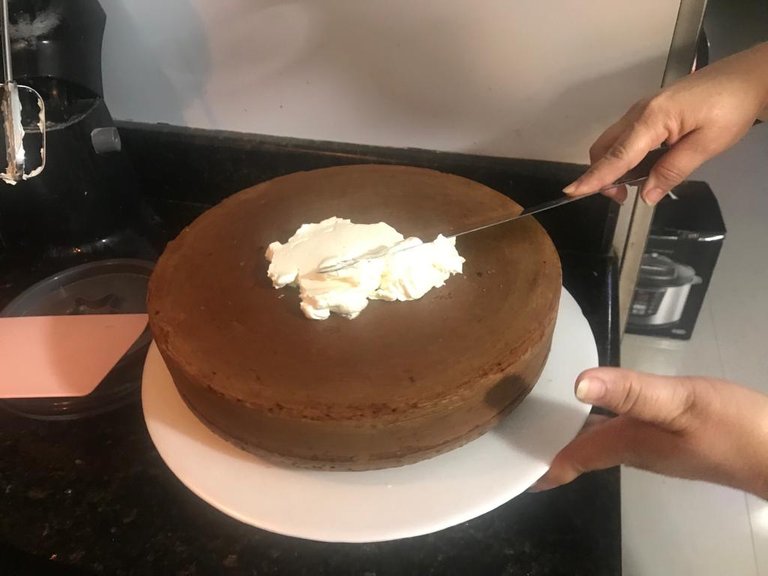
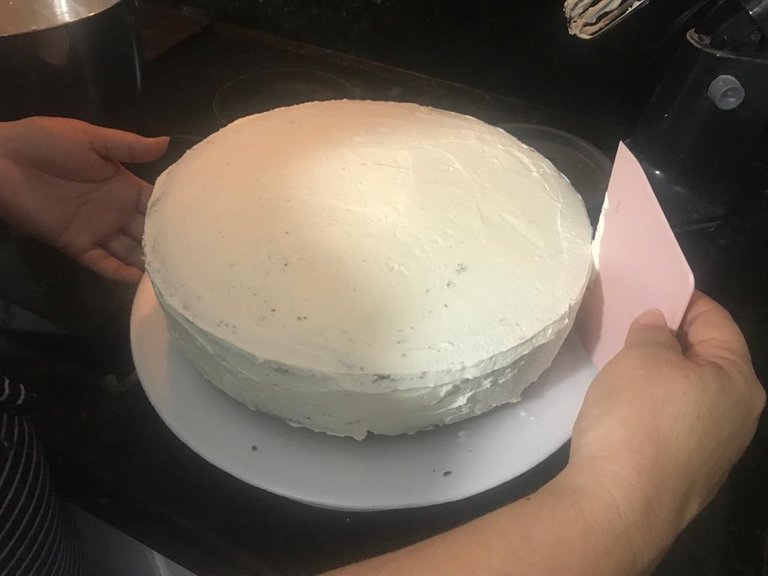
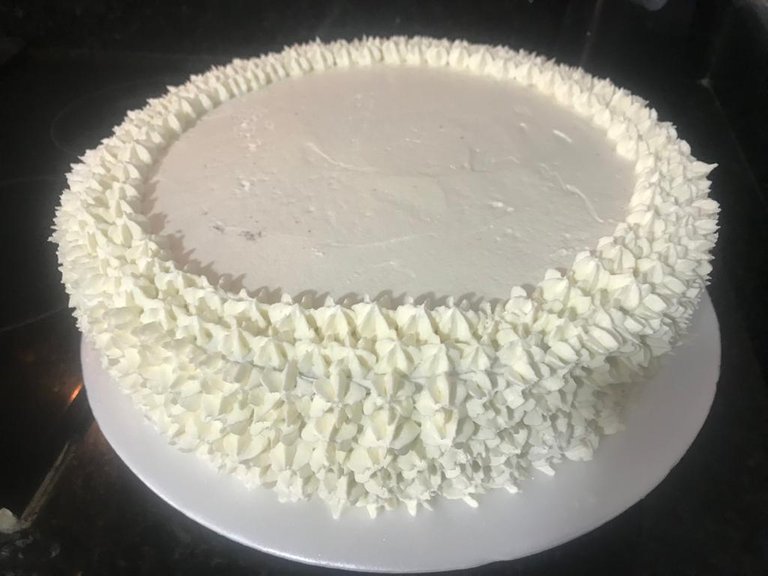
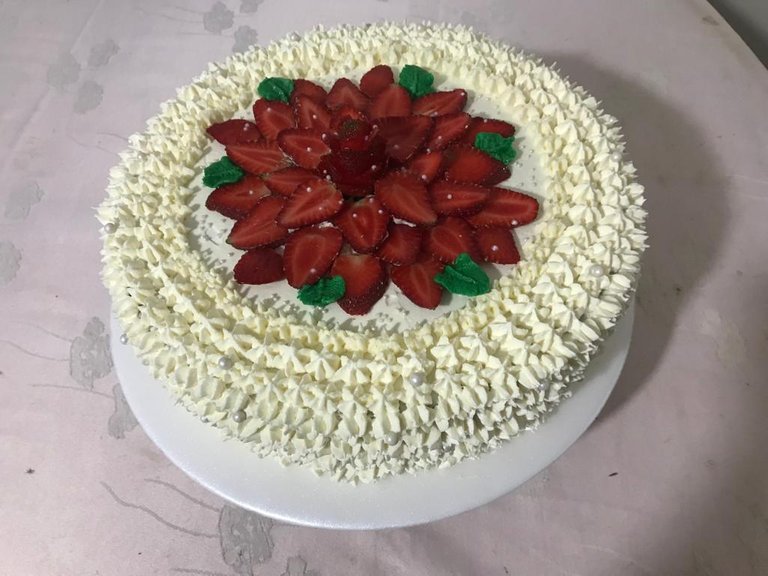
6.Aplicar la crema sobre toda la torta hasta que quede bien alisada. Con la manga y la duya 1M cubrir los costados y los bordes dejando el centro libre para colocar la flor de fresas.
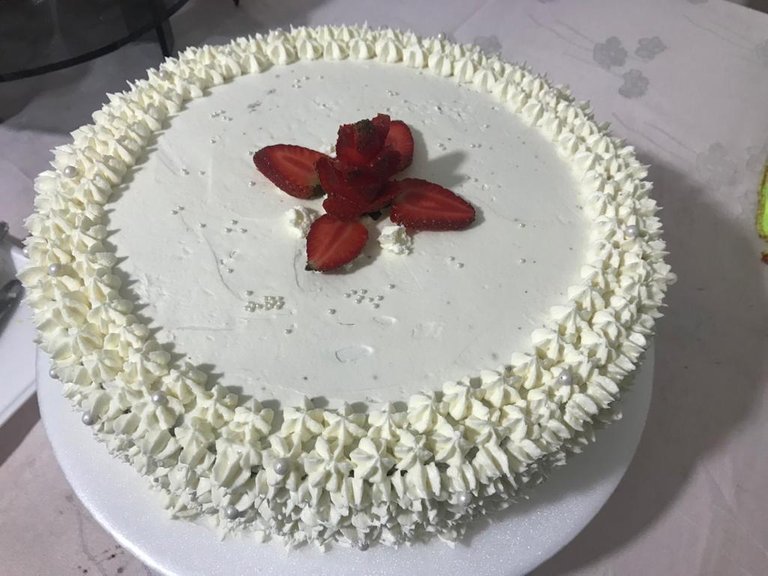
7.Lavar bien las fresas y secarlas con un pañito limpio, quitarle las hojas (opcional), tomar una fresa y cortarla con cuchillo afilado en forma de rosa, abrir los pétalos un poco, picar las otras fresas en forma de hoja para hacer los pétalos e ir haciendo el diseño de una flor en un plato.
8.Colocarlas encima de la torta con una pizca de crema de buttercream para pegarlas en la torta y decoramos como se quiera, en mi caso se hizo una flor en el centro del pastel.
6.Apply the cream over the entire cake until it is smooth. With the piping bag and the 1M duya cover the sides and edges leaving the center free to place the strawberry flower.
7.Wash the strawberries well and dry them with a clean cloth, remove the leaves (optional), take a strawberry and cut it with a sharp knife in the shape of a rose, open the petals a little, chop the other strawberries in the shape of a leaf to make the petals and make the design of a flower on a plate.
8.Place them on top of the cake with a pinch of buttercream cream to stick them on the cake and decorate as desired, in my case a flower was made in the center of the cake.
 |  |  |  |
|---|
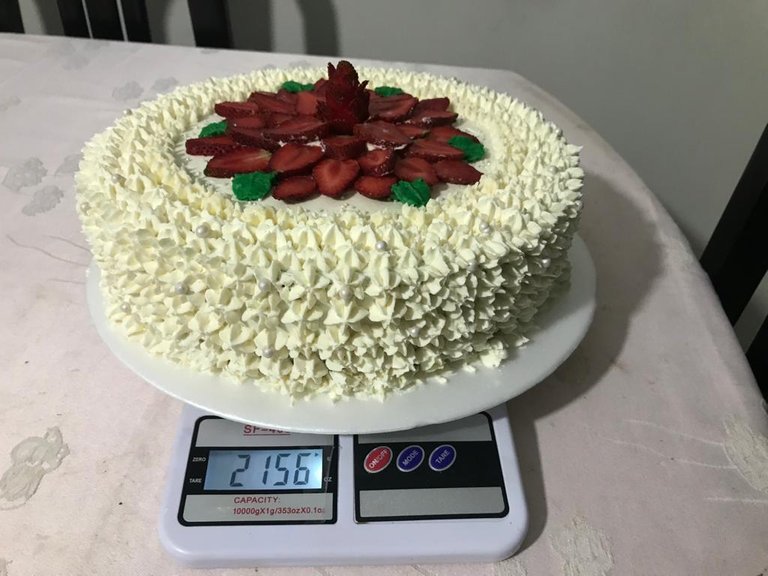
Esta torta en particular tuvo un peso después del decorado de 2156 gramos.
Me despido de ustedes hasta una próximo post, invitándolos a poner en práctica todo lo aprendido, y seria de mi agrado, si alguien intenta elaborar la torta y me lo hace saber en los comentarios, igualmente pueden consultarme cualquier duda que se les presente.
Hasta luego, chao...chao.
This particular cake had a weight after decorating of 2156 grams.
I say goodbye to you until a next post, inviting you to put into practice everything you have learned, and it would be my pleasure, if someone tries to make the cake and let me know in the comments, you can also ask me any questions you may have.
See you later, bye...bye.
 |  |
|---|
 |  |
|---|

Todas las fotos son de mi propiedad tomadas con mi Iphone 8 plus
Diseño de portada, separadores y footer realizados con polotno studio
Traductor usado: Deepl
All pictures are my own taken with my Iphone 8 plus.
Design of cover, separators and footer made with polotno studio
Translator used: Deepl
tu torta se ve demasiado buena. que ricooo ya me provocó. yo no sé hacer tortas. bueno en realidad no me he propuesto. una vez lo intenté siguiendo una receta y me quedo horrible. algo tuve que haber hecho mal lo cierto es que sabía a todo menos a torta🤣🤣🤣
Tranquila Nahiper, te recomiendo que practiques esta receta con la mitad de los ingredientes. Si sigues los pasos todo va a salir bien. Cuando yo empecé tampoco sabia mucho y poco a poco fui mejorando.
gracias. lo voy a intentar
Se ve espectacular esta torta... definitivamente quiero una 🤭.
Me llevo tu receta.
Bendiciones para ti y un abrazo infinito 😘💜
!LADY
View or trade
LOHtokens.@chacald.dcymt, you successfully shared 0.1000 LOH with @morepina and you earned 0.1000 LOH as tips. (2/4 calls)
Use !LADY command to share LOH! More details available in this post.
Te la recomiendo. Queda muy suave y sabrosa.Gracias por comentar.
WoW que decoración tan perfecta!! Eres una maestra! 😁
!discovery 32
Ya tengo varios años haciendo tortas, por eso ya he aprendido varios trucos. Todas las semanas trabajo en eso porque tengo pedidos en mi pagina de instagram @dulces.pinita. Ahí puedes ver todos los modelos que hago. Gracias por comentar
Congratulations @morepina! You have completed the following achievement on the Hive blockchain And have been rewarded with New badge(s)
Your next payout target is 500 HP.
The unit is Hive Power equivalent because post and comment rewards can be split into HP and HBD
You can view your badges on your board and compare yourself to others in the Ranking
If you no longer want to receive notifications, reply to this comment with the word
STOPTo support your work, I also upvoted your post!
Check out our last posts:
Support the HiveBuzz project. Vote for our proposal!
El bot estaba dormido....
!discovery 32
This post was shared and voted inside the discord by the curators team of discovery-it
Join our Community and follow our Curation Trail
Discovery-it is also a Witness, vote for us here
Delegate to us for passive income. Check our 80% fee-back Program
esa torta se ve demasiado rica, creo que la voy a contratar para mi cumpleaños
Ja,Ja. Gracias
La torta marmoleada nunca pasa de moda, esa crema se ve tan rica y ligera me encantan las tortas cubiertas con crema, gracias por compartir tus conocimientos.
Es cierto con la marmoleada nunca se queda mal
Qué técnica, la cubierta se ve sabrosa, no la he probado. Soy muy glotón con las tortas, al punto que prefiero comer de último para que no se note y evitar la vergüenza. El marmoleado le quedo hermoso. Se ve muy bien esta torta, felicidades.
La cubierta esta hecha con butter cream. Es una crema que queda muy suave y de sabor delicado. Gracias por tu comentario
Quedó preciosa