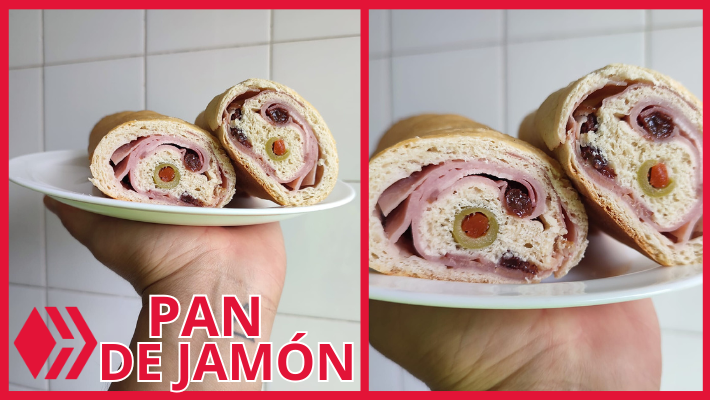
PAN DE JAMÓN
El Pan de Jamón es una comida típica venezolana, se come principalmente durante el mes de diciembre y también a comienzos de enero, donde se suele comer la comida que sobró de la navidad. También siguen presentes en el resto del año, se pueden conseguir mini panes de jamón en cualquier panadería.
Yo aprendí a hacerlo hace muchos años y de hecho cuando recién había llegado a Argentina, los vendí en una temporada cuando llegué y no tenía papeles todavía. Fue mi hermana Karen la que me enseñó a hacerlo y hoy les comparto cómo los hice ayer para compartir el 24 de diciembre. Es una receta para 4 panes de jamón.
Siempre los hago con harina de todo uso (0000) y con levadura, pero ayer salí a comprar todo cuando ya casi todo estaba cerrado y los hice con una harina para pizza que ya viene con levadura. Como ya la he probado antes y la he utilizado para hacer panes, sabía que iba a salir bien.
Ingredientes
Harina de trigo con levadura - 750 g
Agua - 200 ml
Leche en polvo - 20 g
Azúcar - 20 g
Sal - 10 g
Huevo - 1
Manteca - 50 g
Leche - 1 cucharada
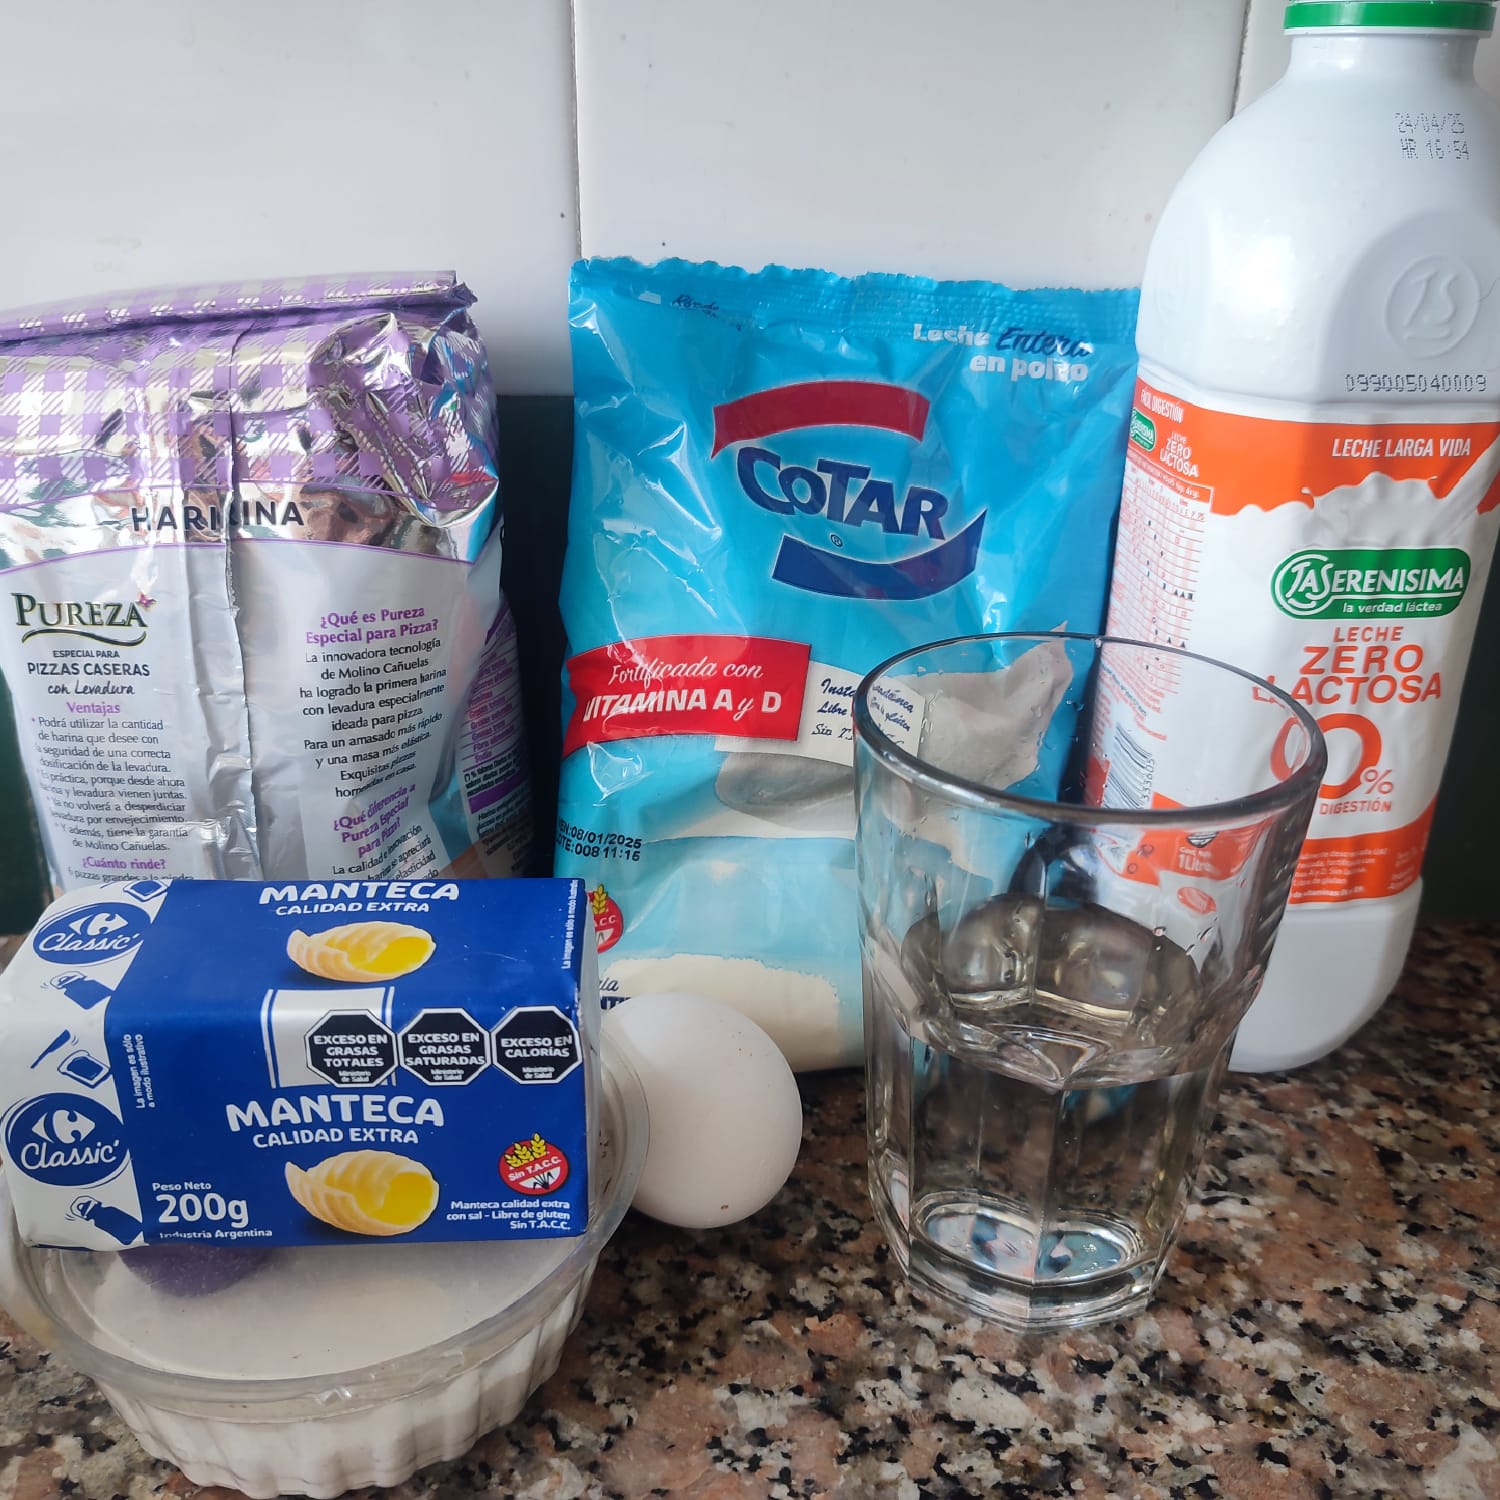
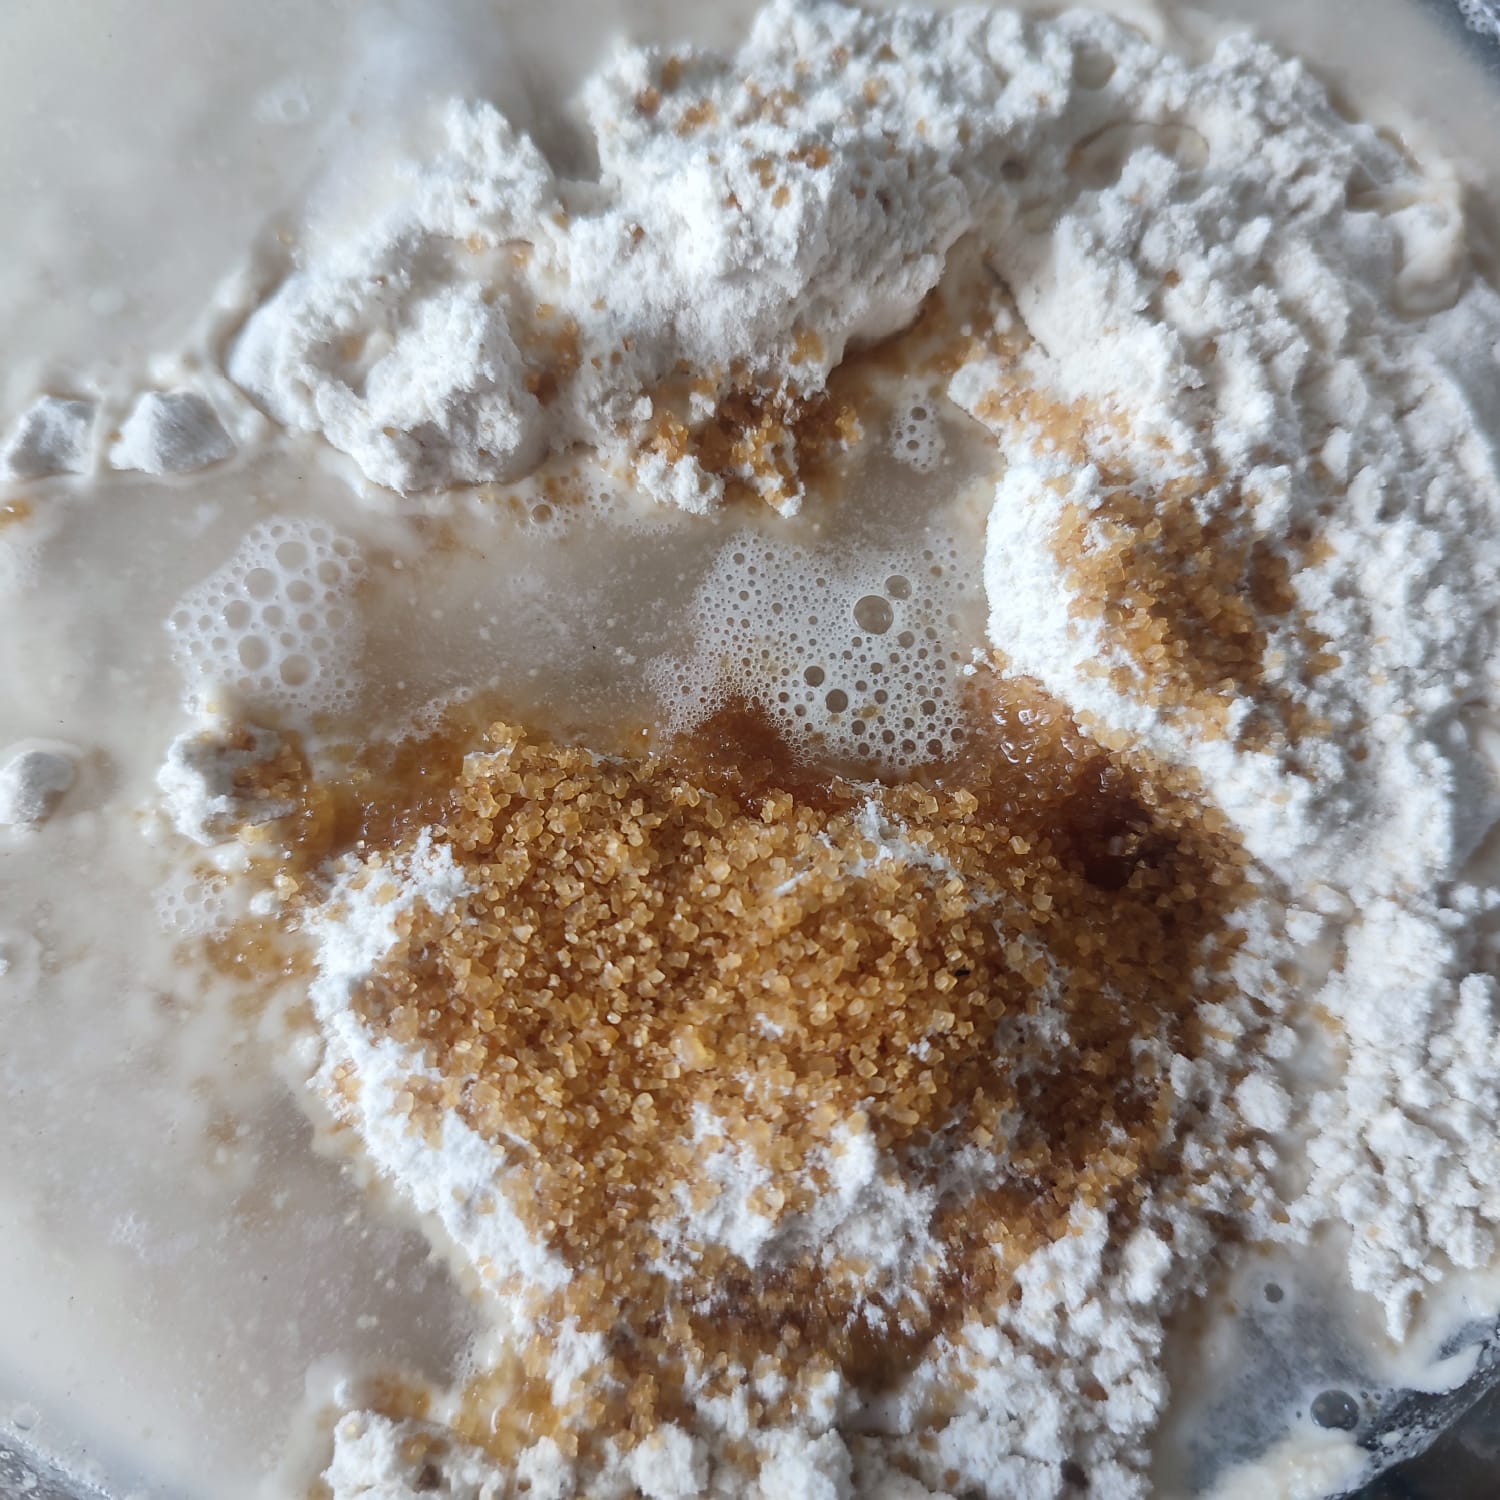
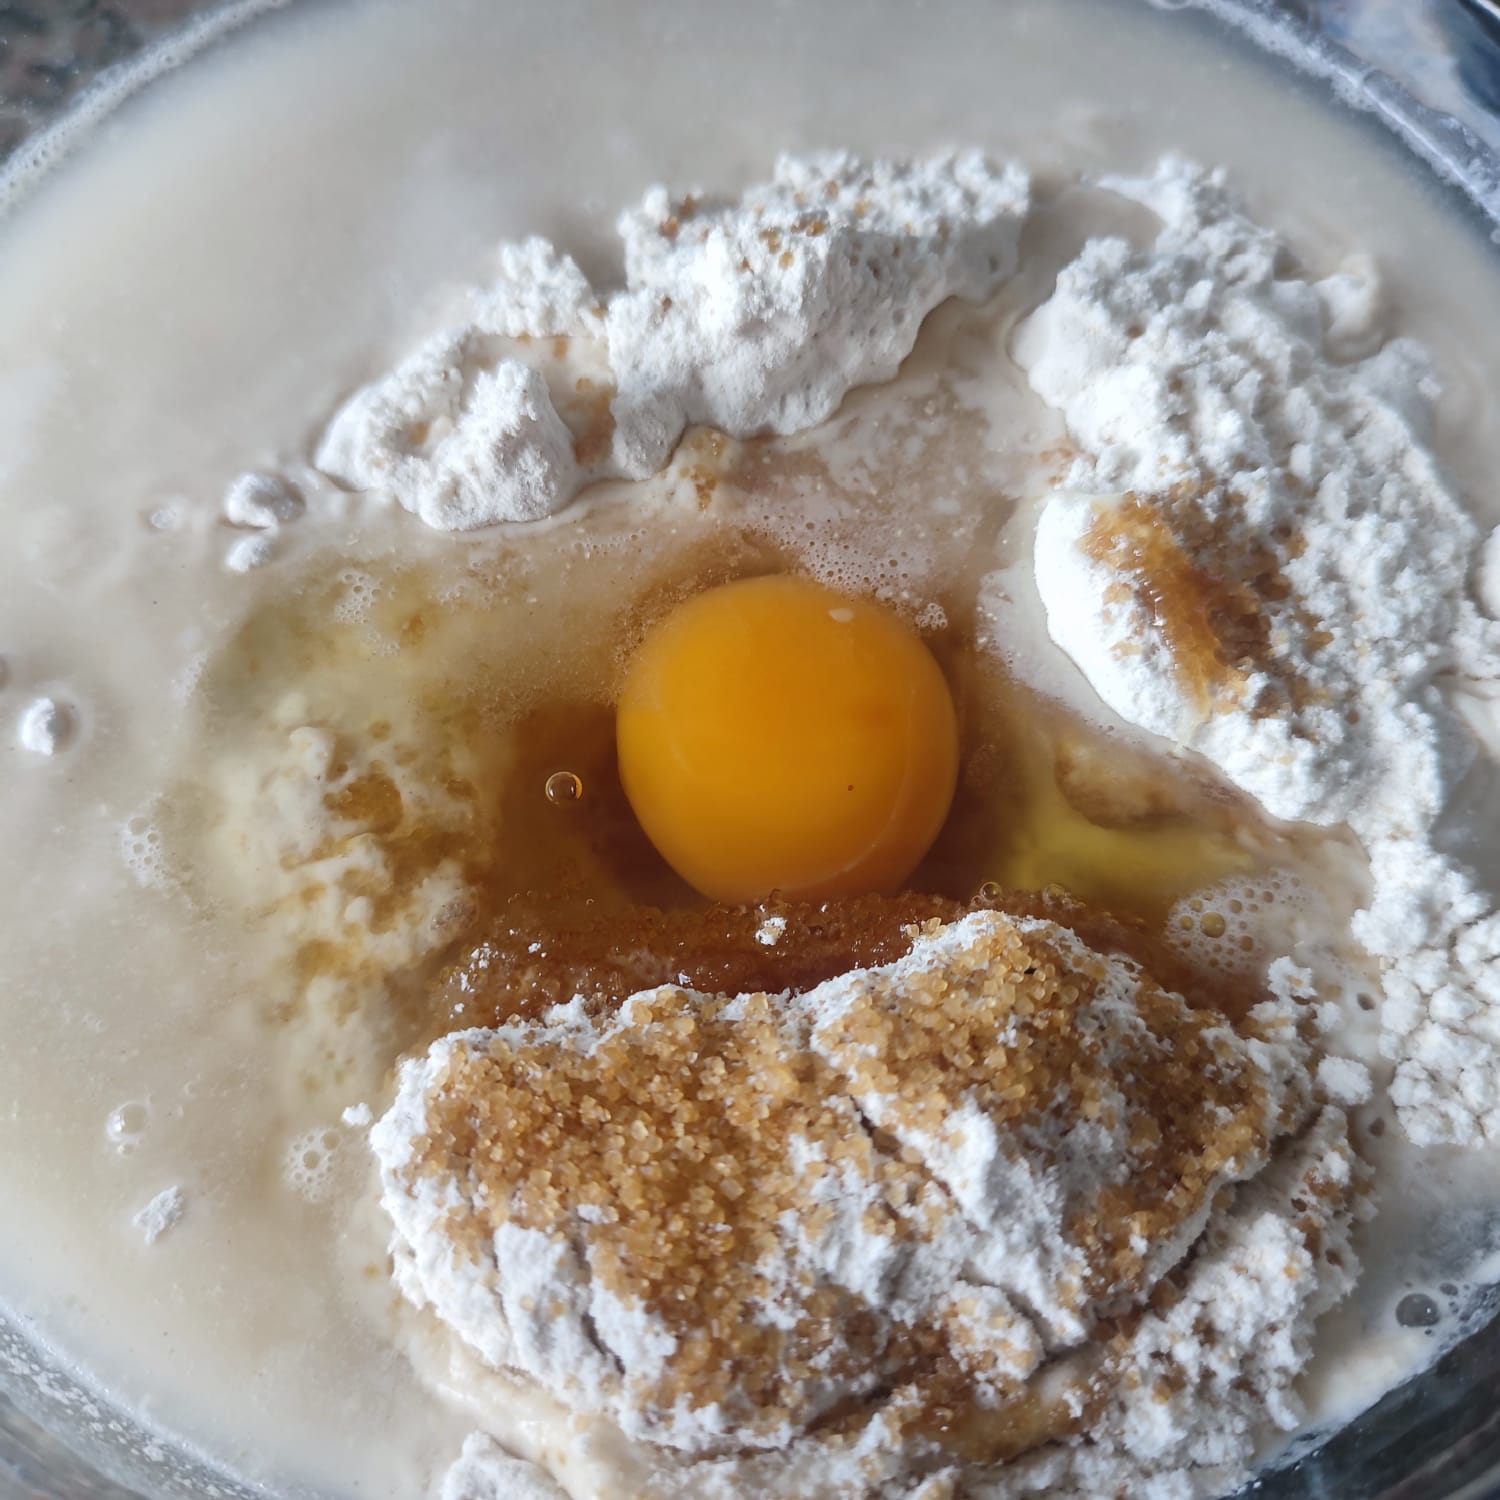
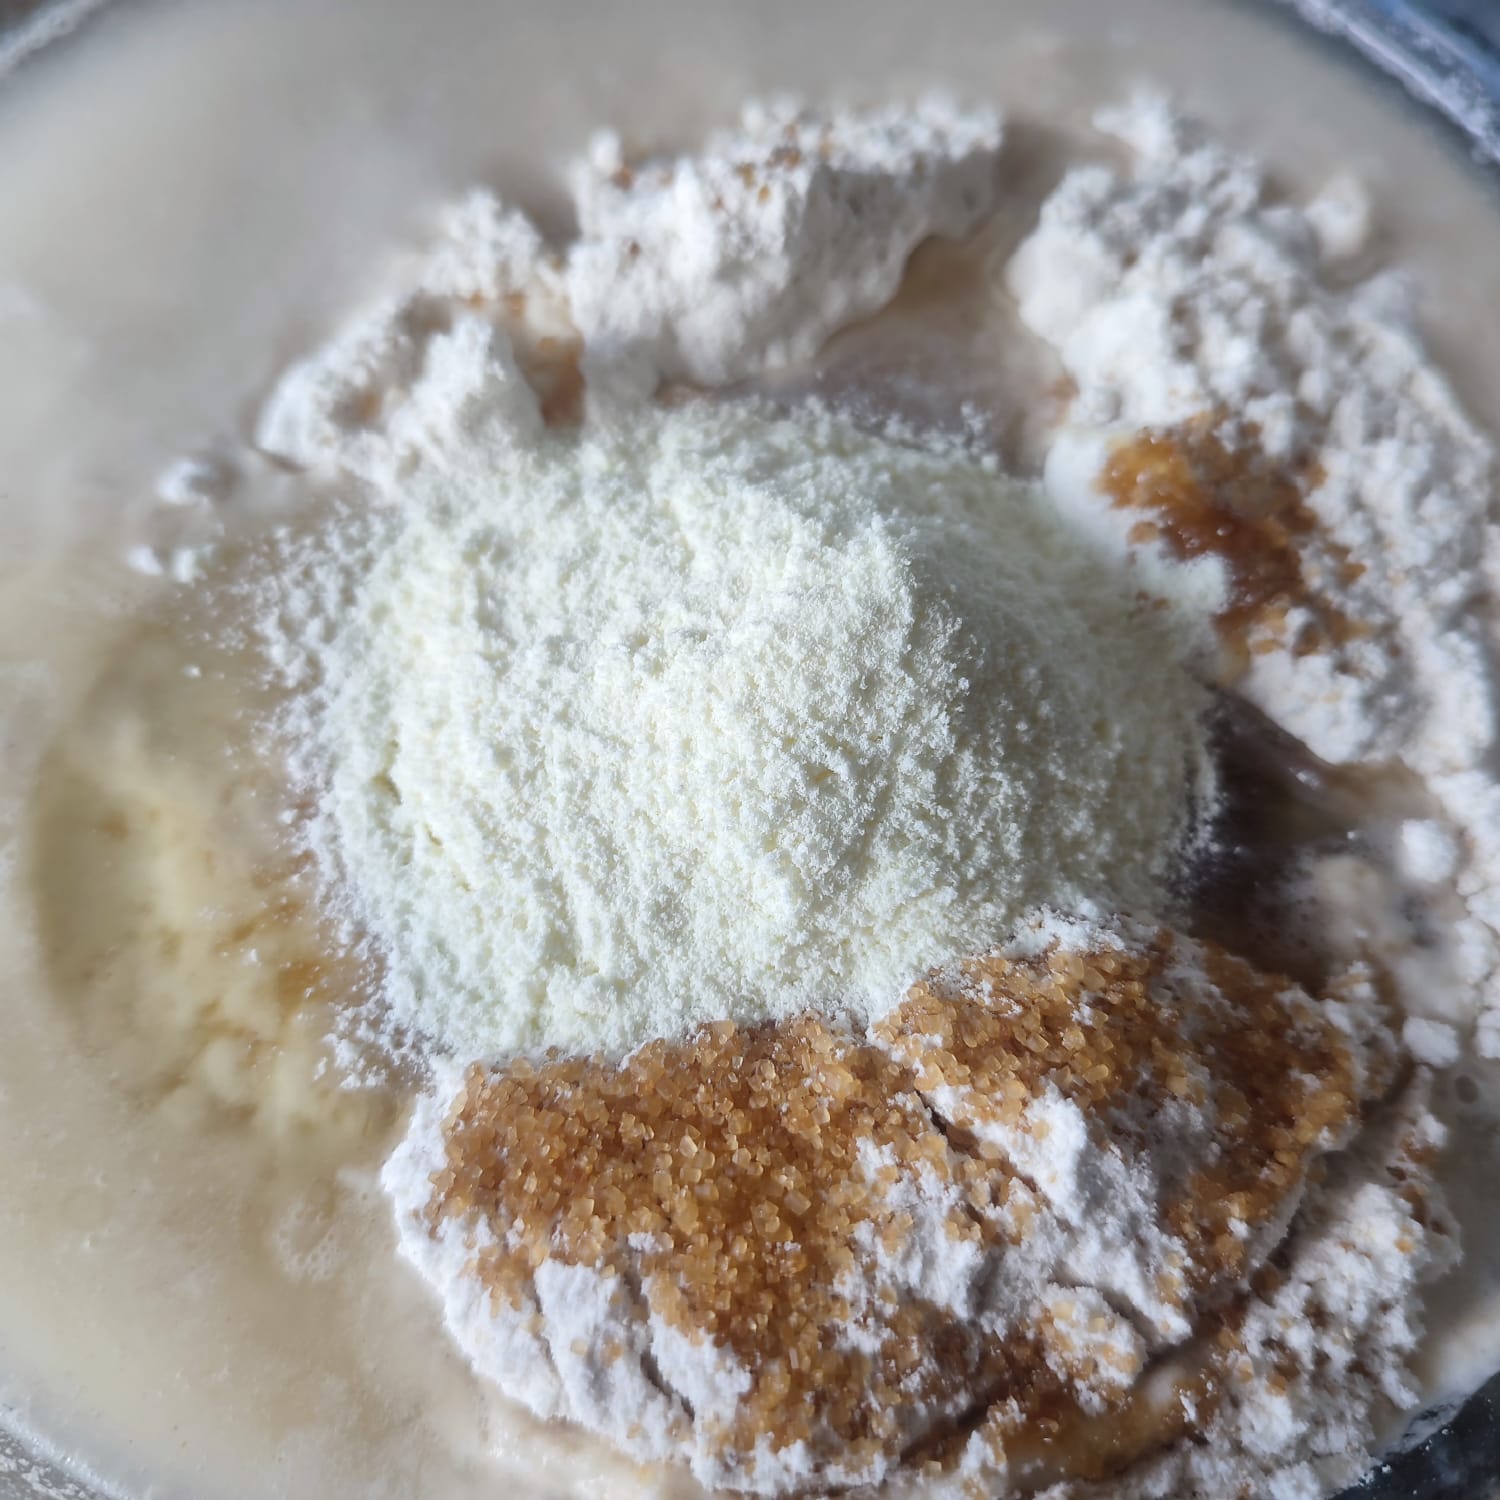
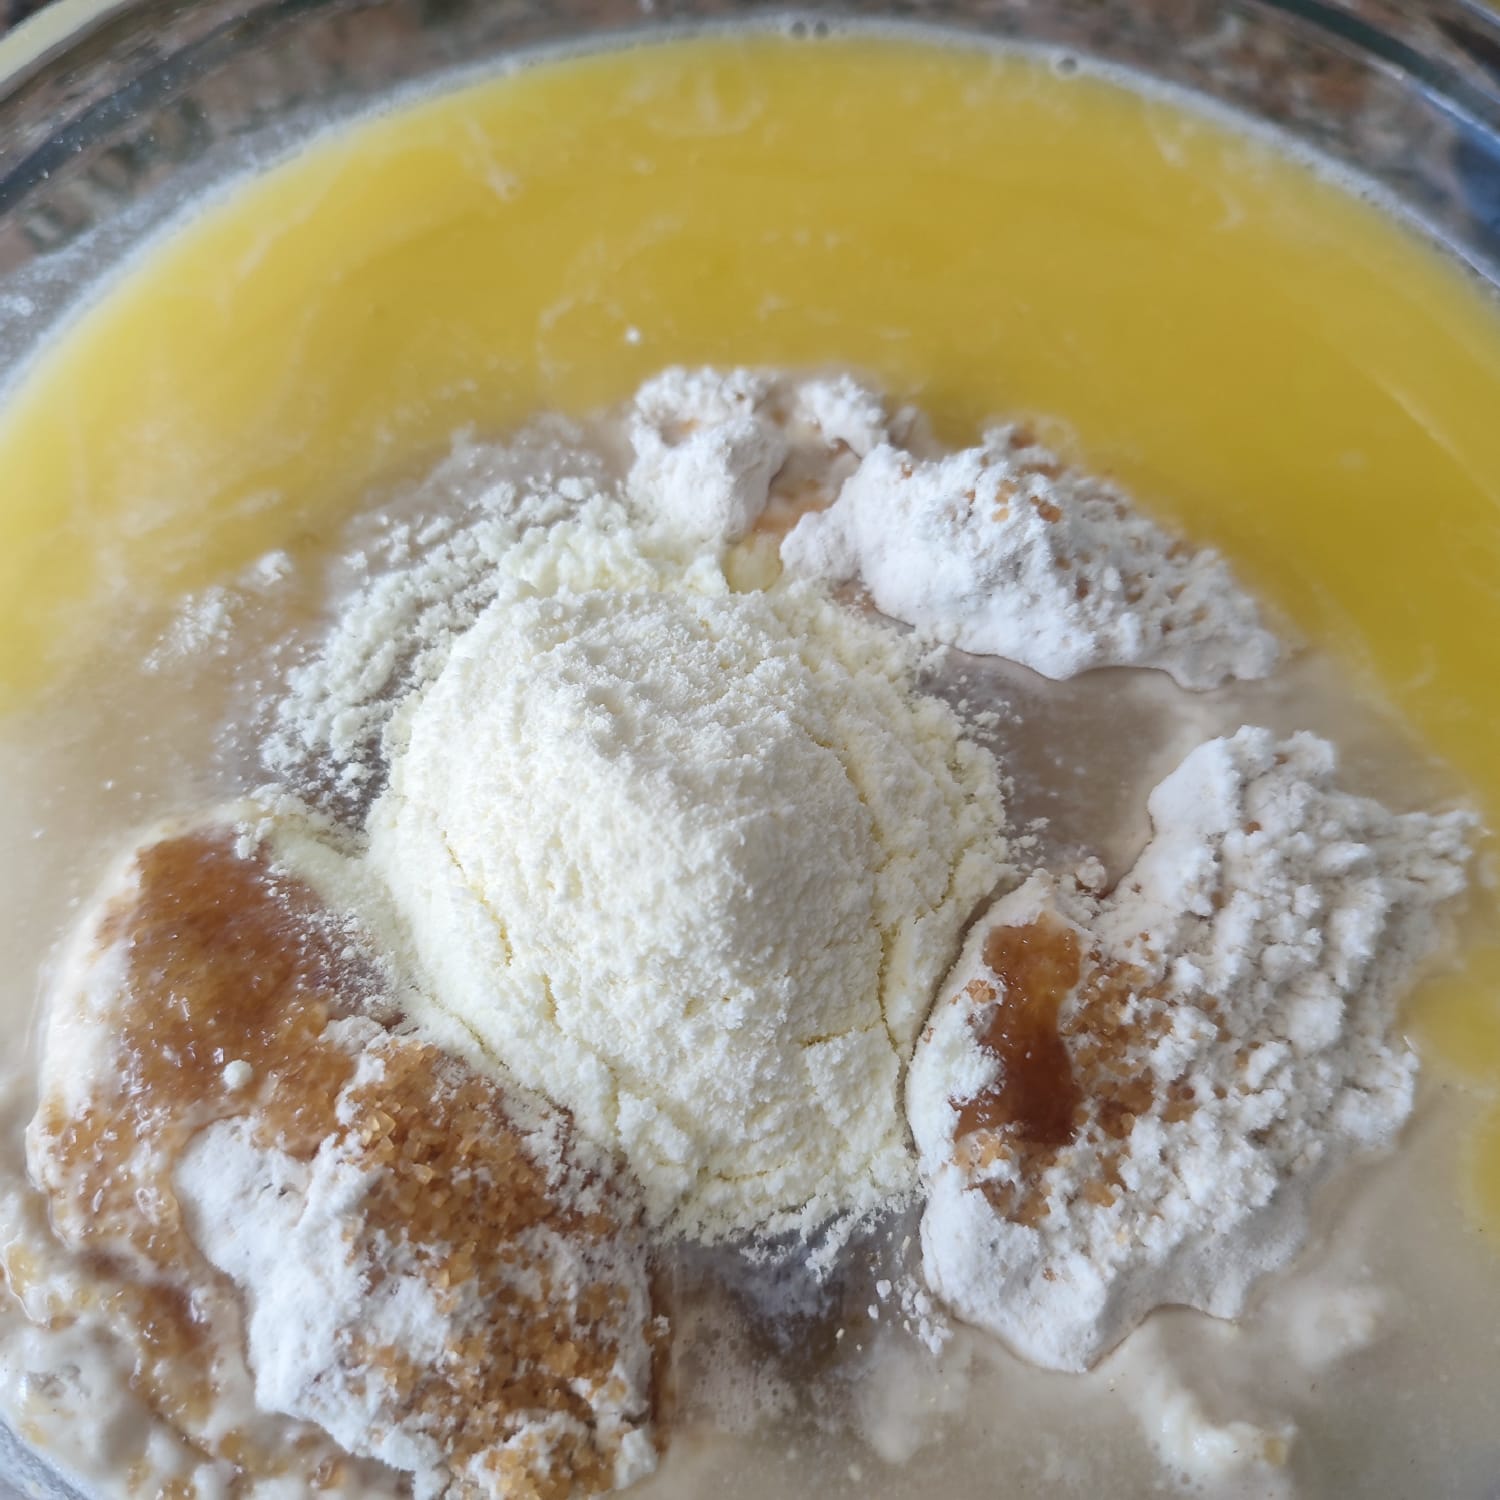
En un bol grande añadí la harina de trigo con levadura junto con el agua, la cual debe estar tibia, esto es importante para ayudar a que se active la levadura con mayor facilidad, no usar agua muy fría ni muy caliente. Añadí el azúcar, el huevo y la leche en polvo.
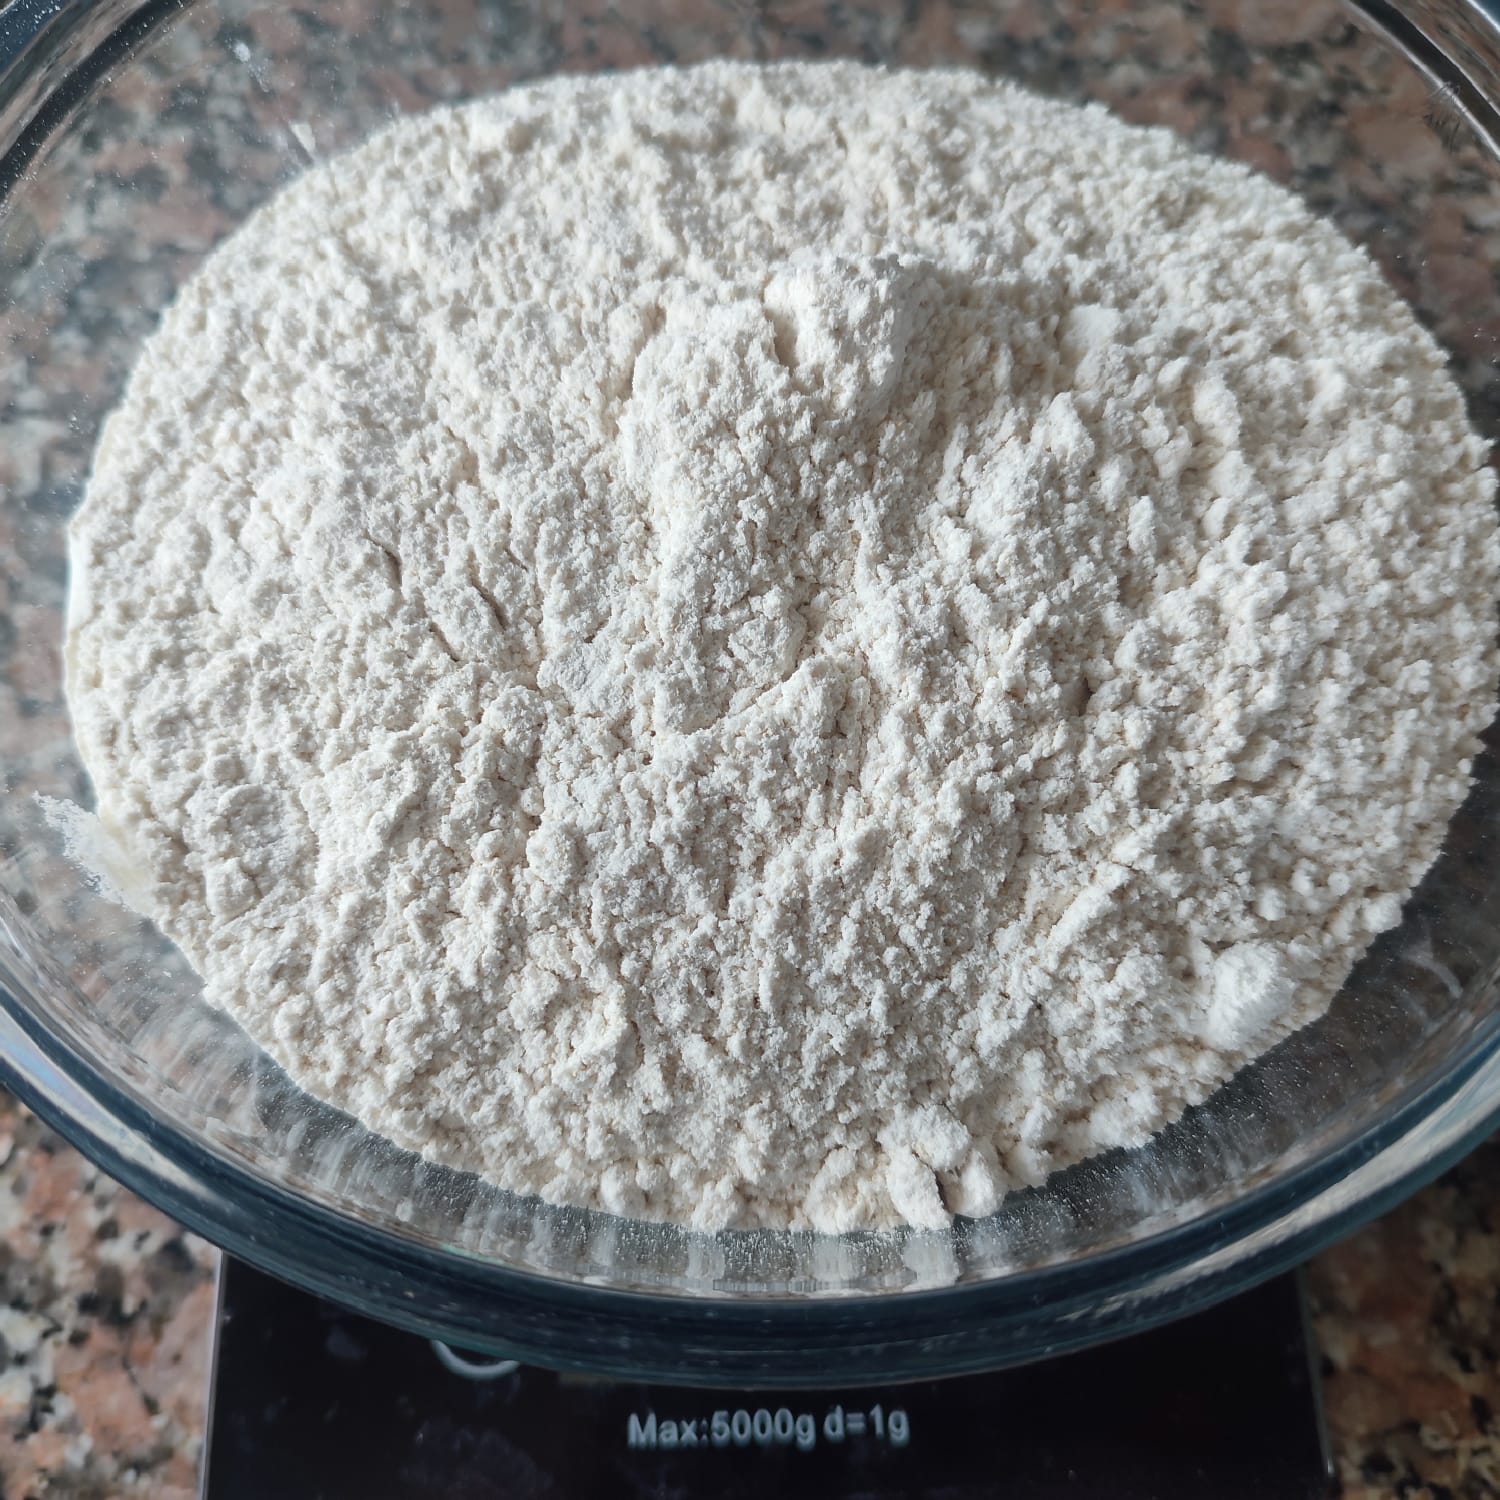
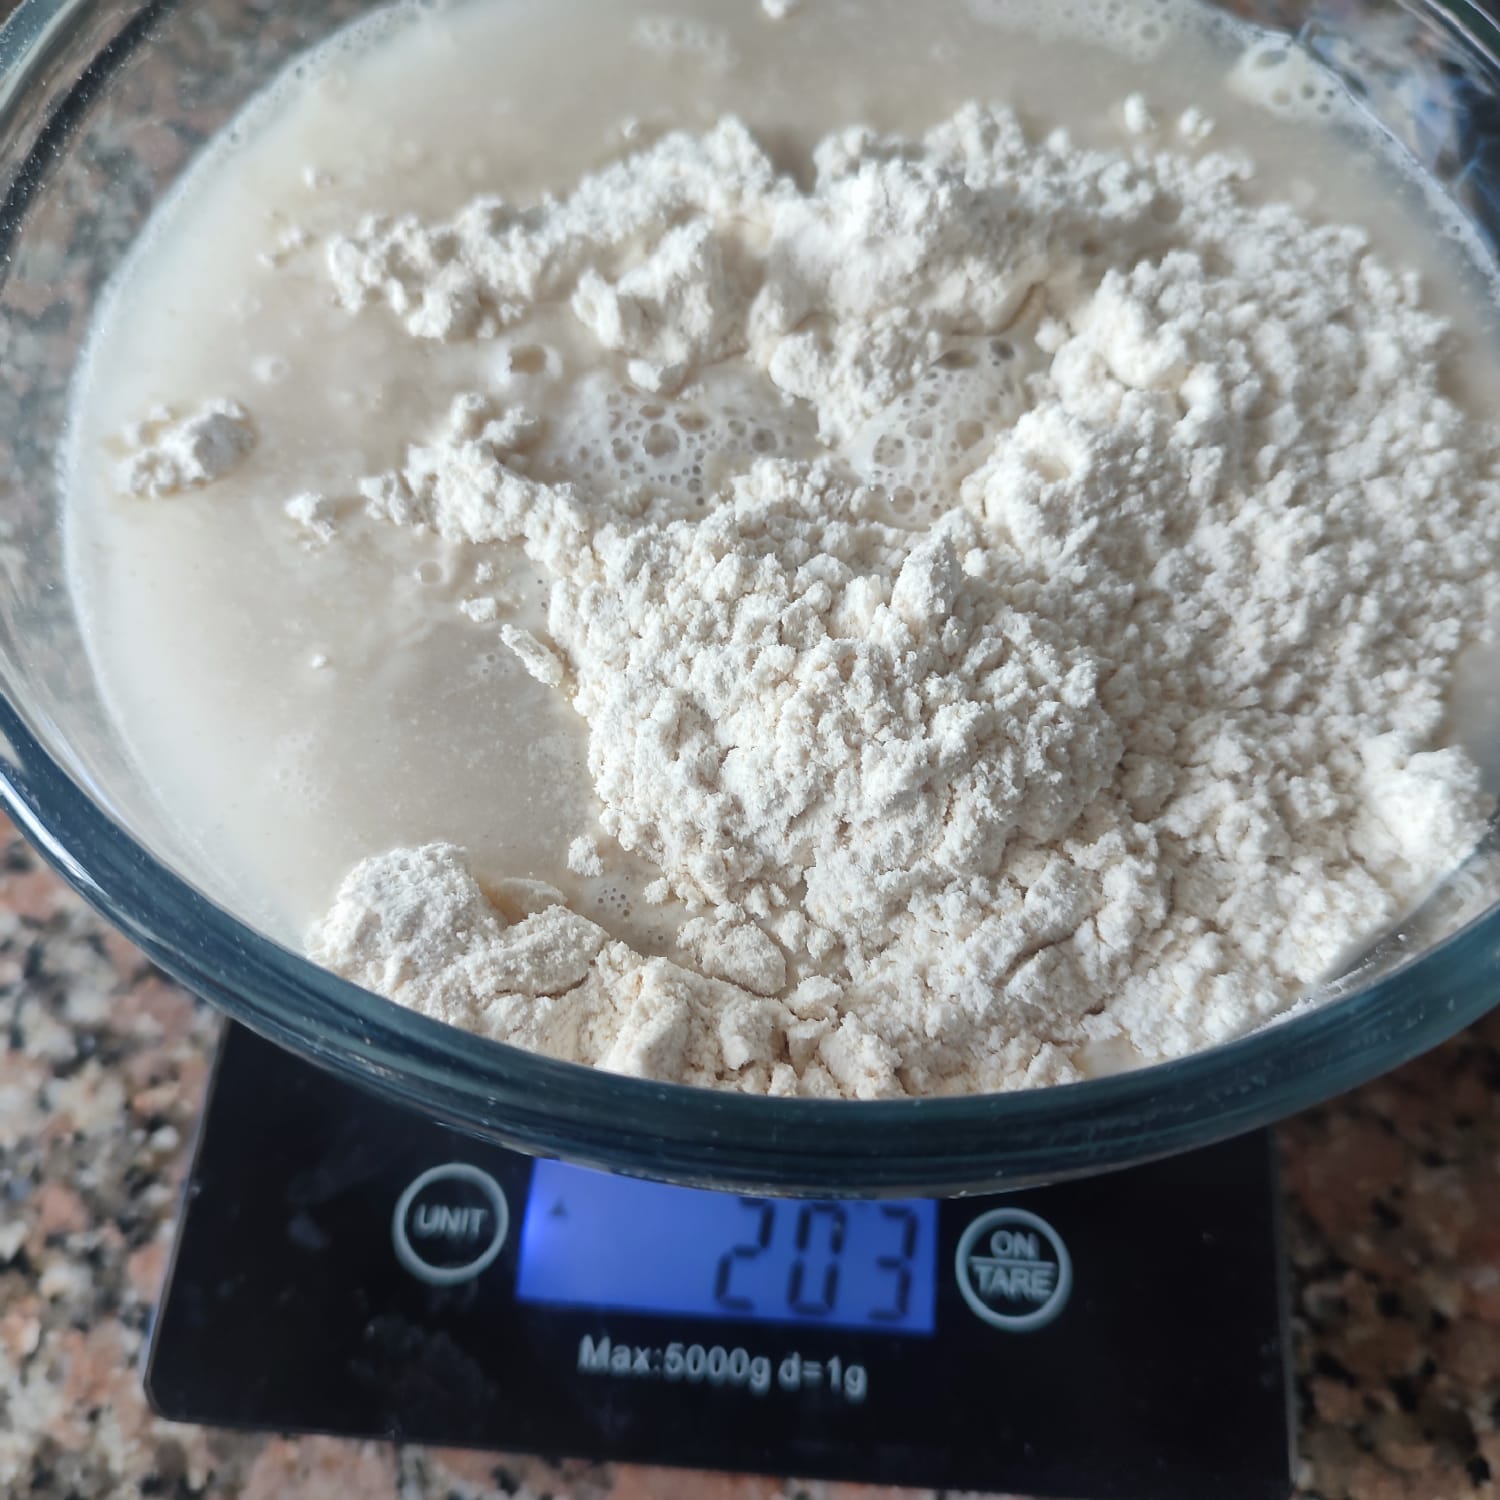
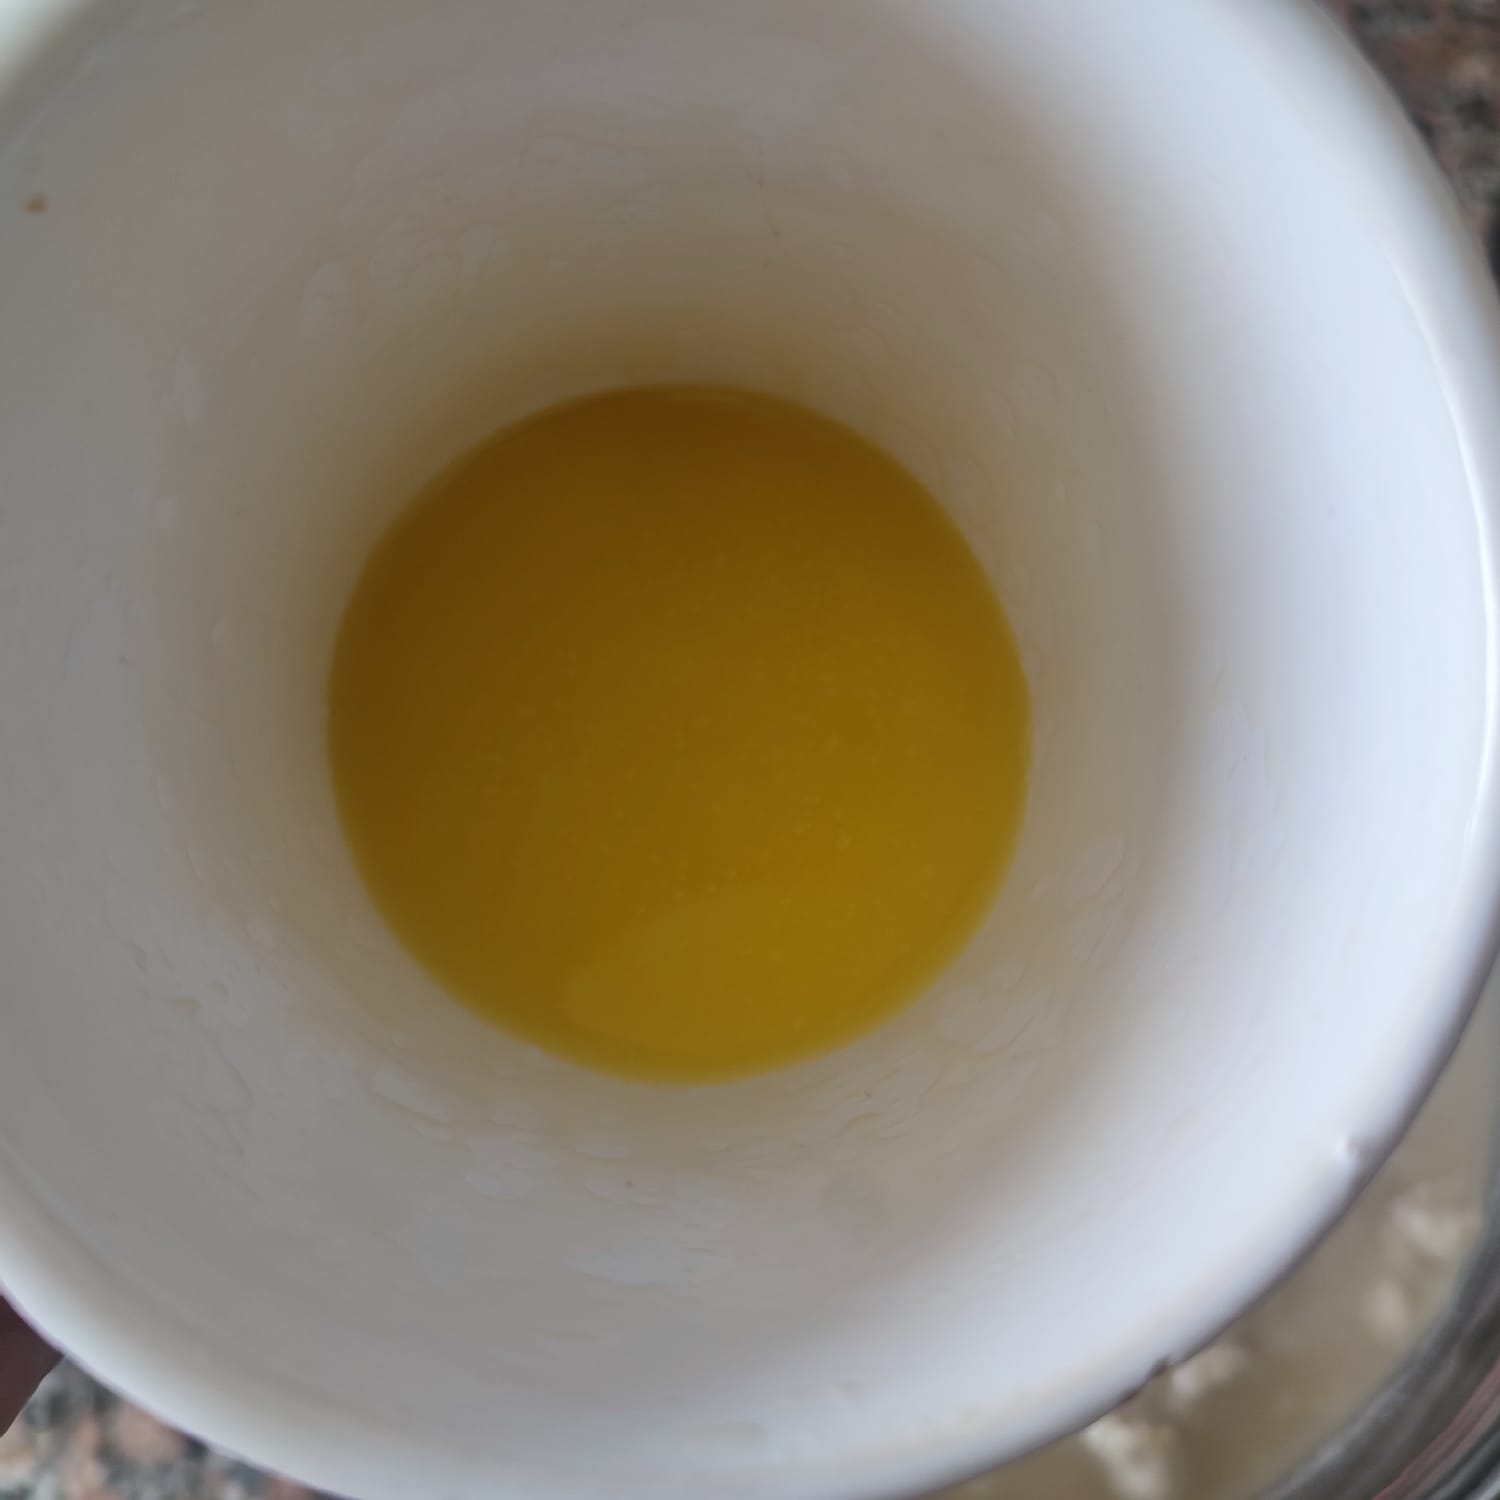
Derretí la mantequilla en el microondas porque no tengo batidora eléctrica. Si tienes batidora panadera, basta con que ya esté a temperatura ambiente. Esperé un par de minutos a que la mantequilla esté un poco más fría y lo añadí a la mezcla.
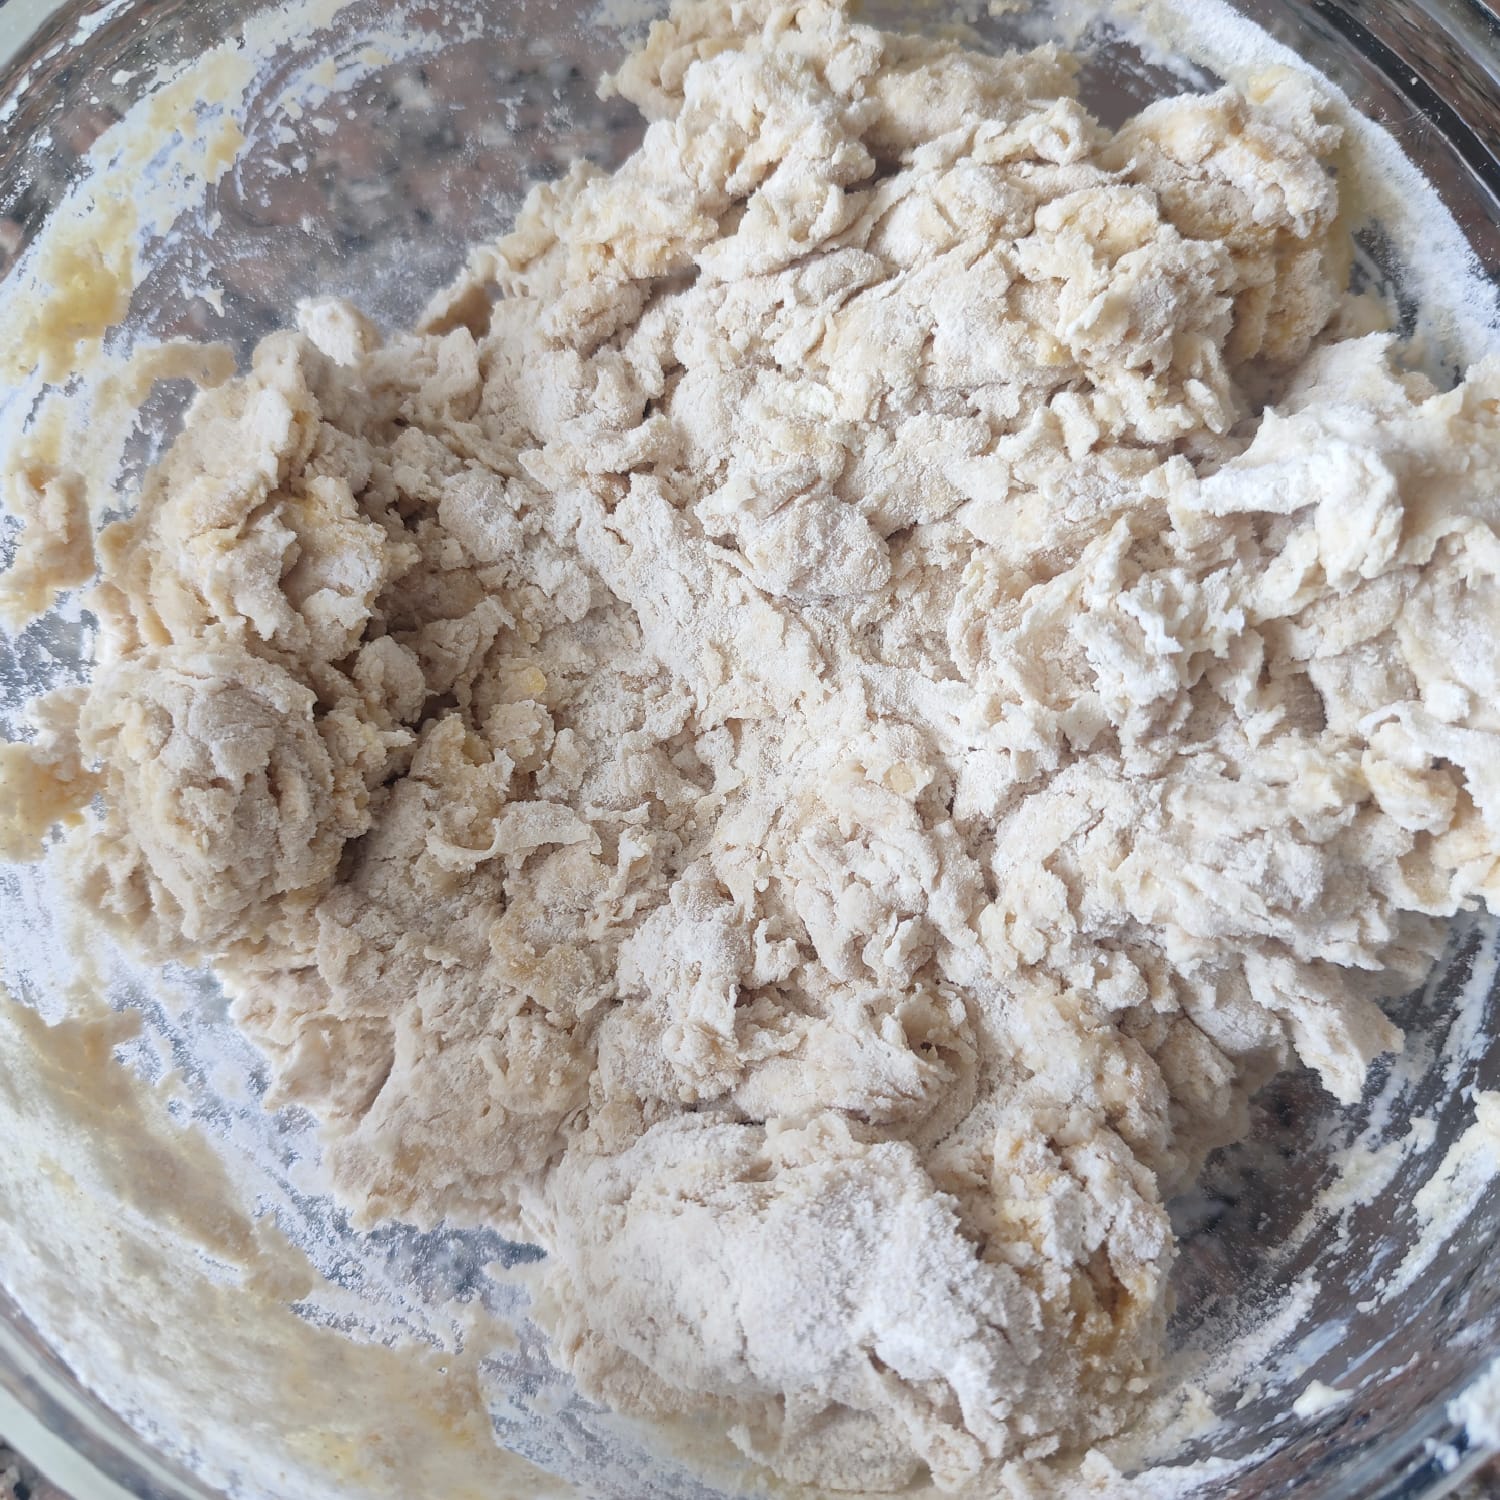
Amasé todo con mucha paciencia por varios minutos. Como la masa se me estaba pegando en los dedos, fui añadiendo de a poco harina de trigo y continué amasando hasta que la masa ya no quedaba pegada a mis dedos. Puede pasar justamente lo contrario y que la masa se sienta dura, en ese caso hay que añadir un poco de agua y continuar amasando.
Cada harina es diferente, por eso no hay manera de hacer una regla general.
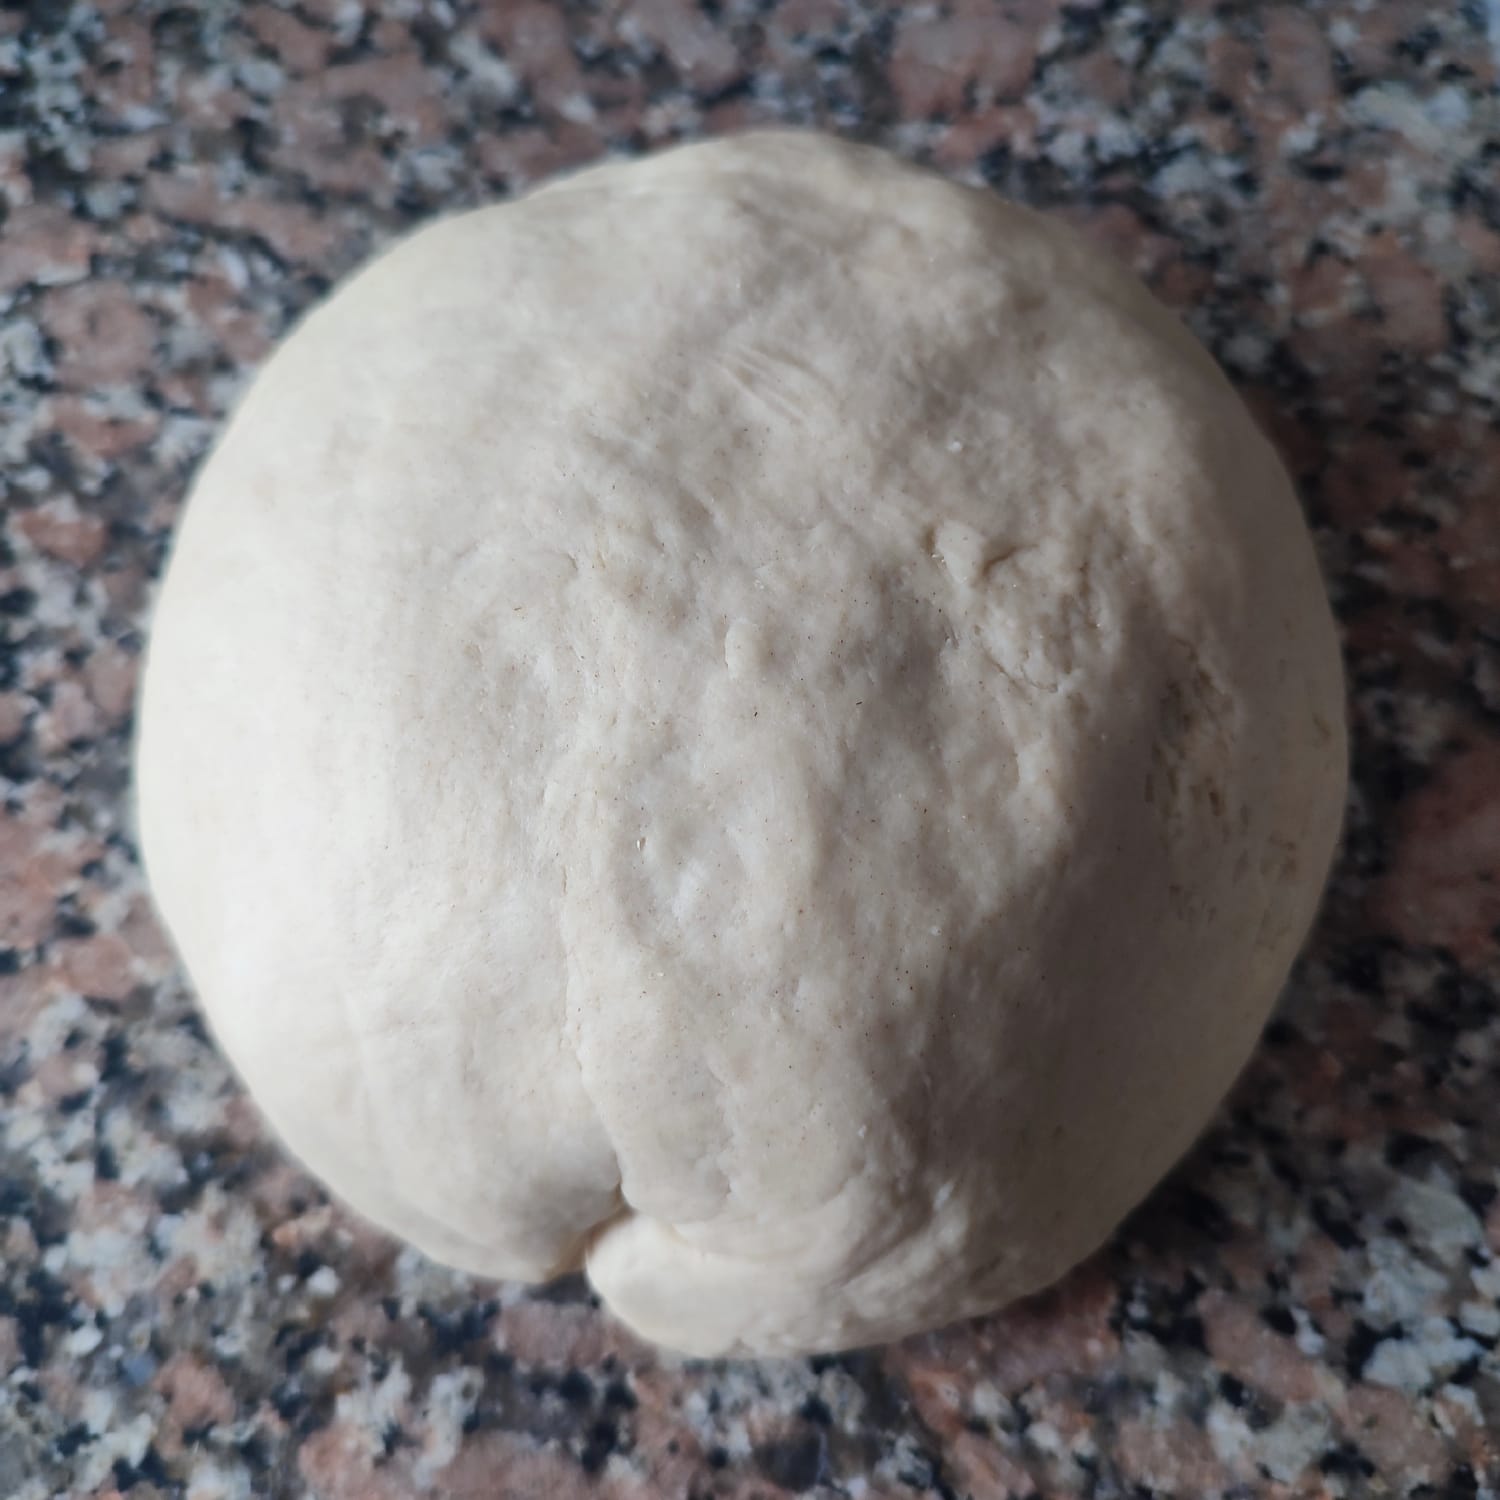
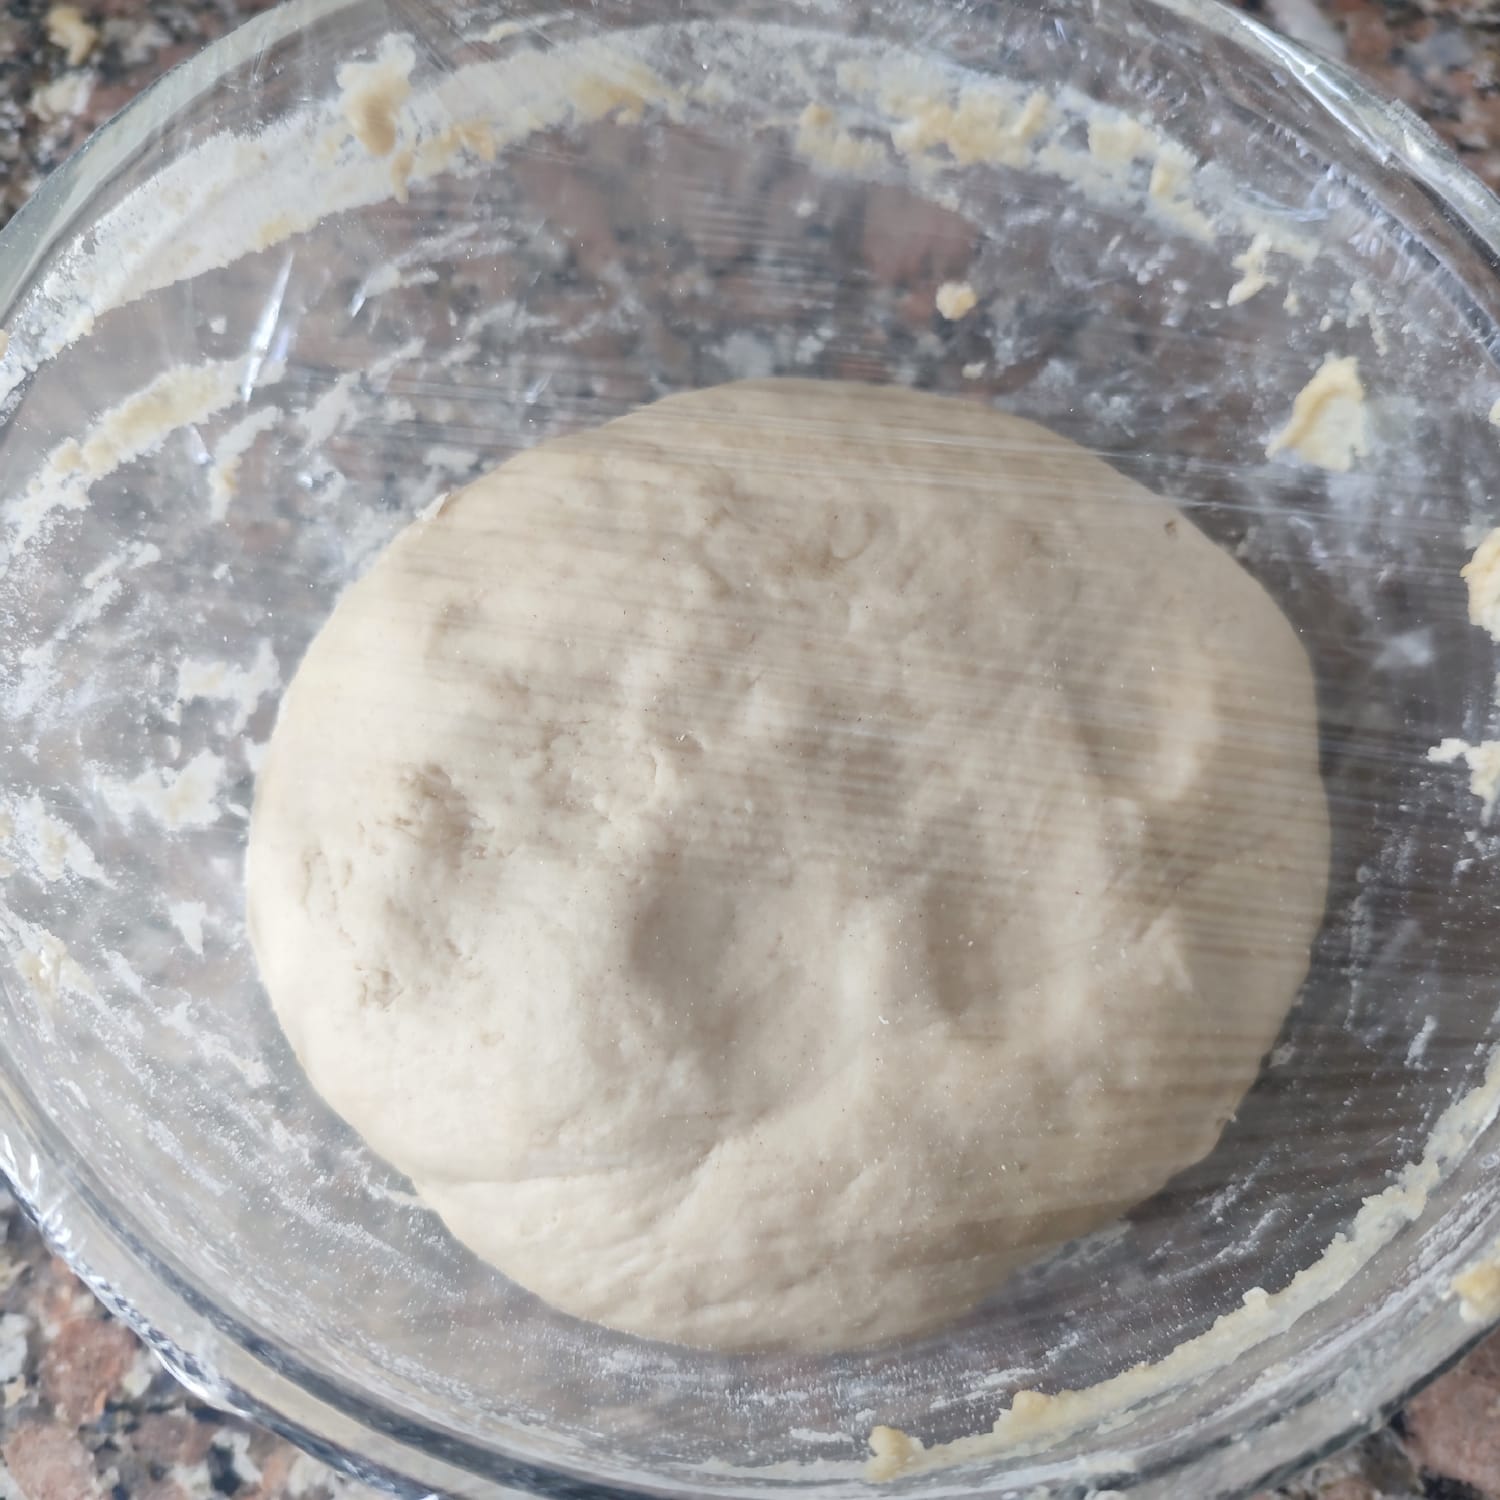
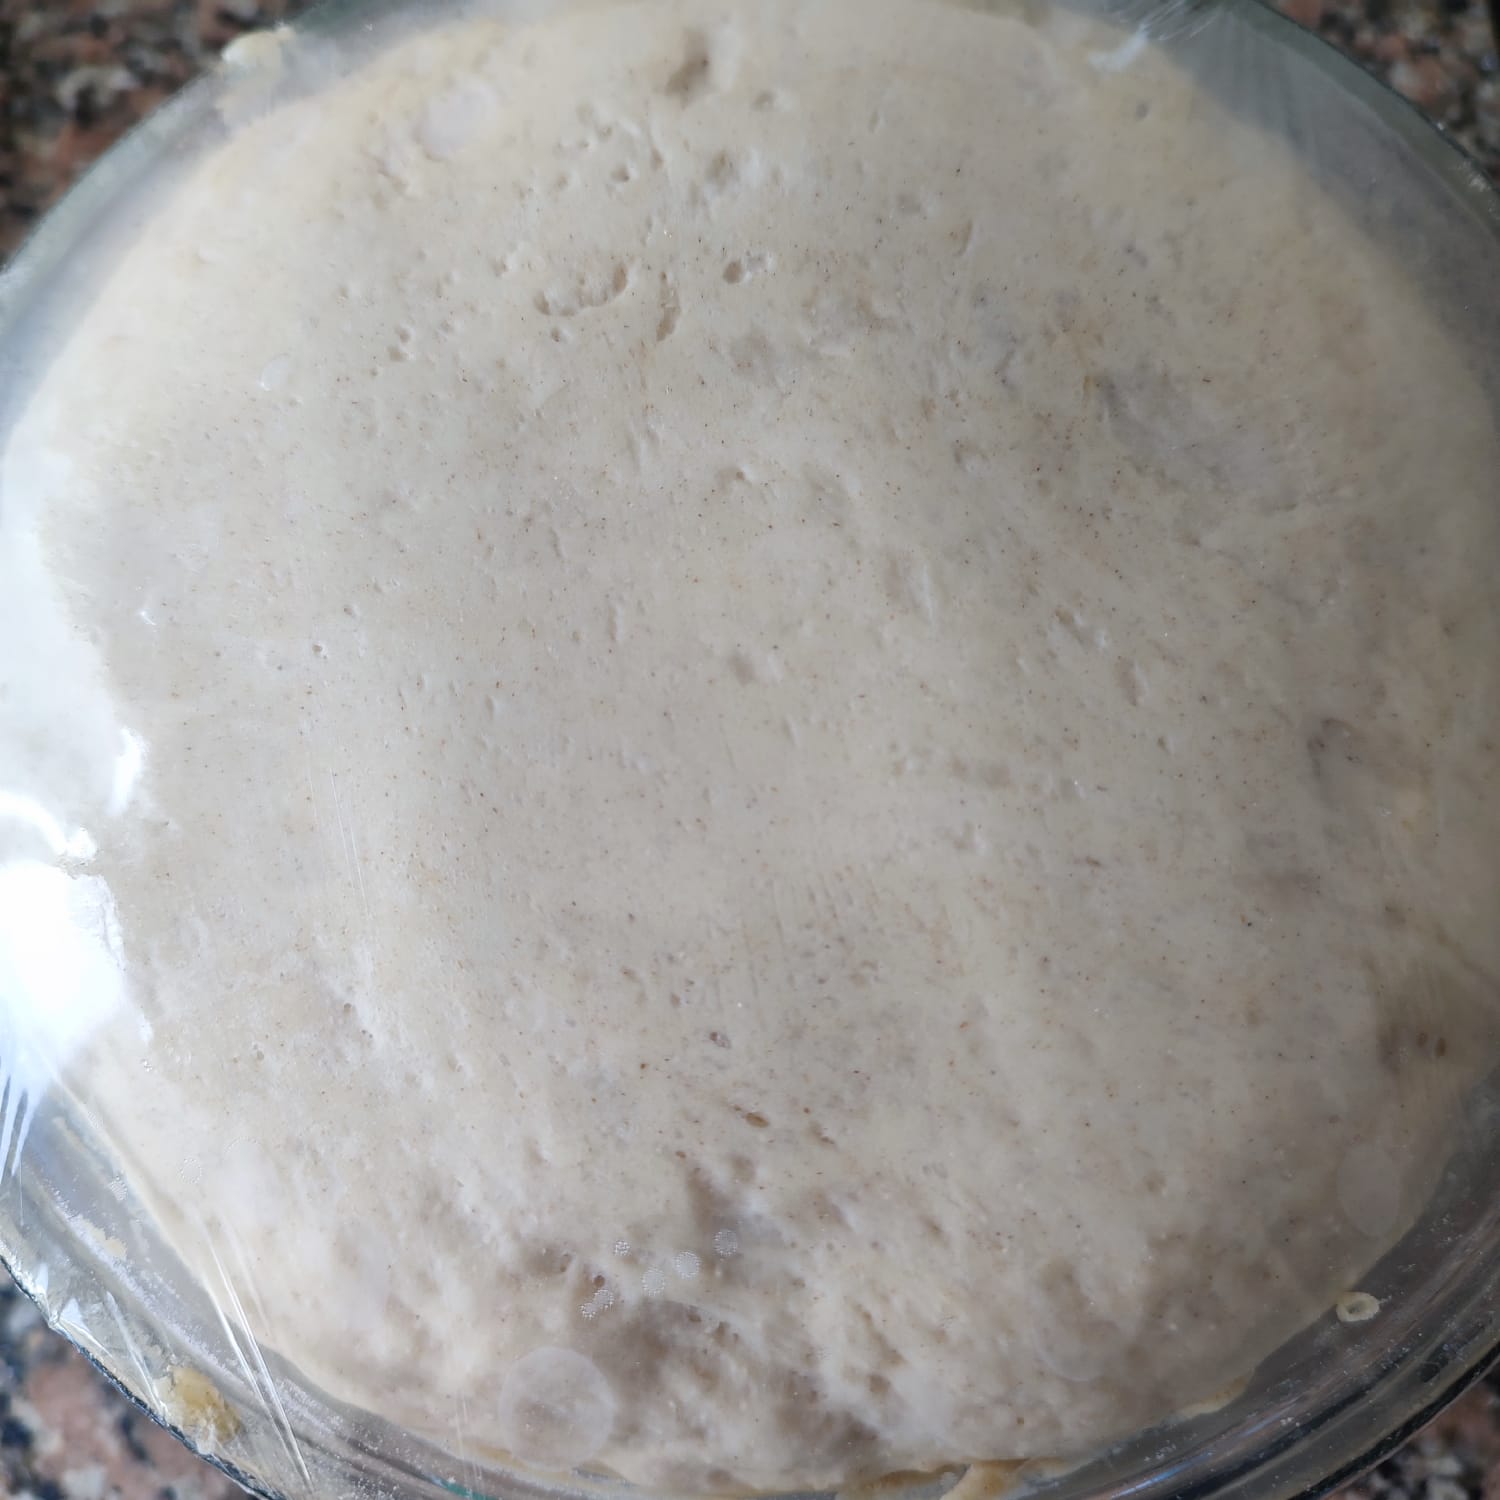
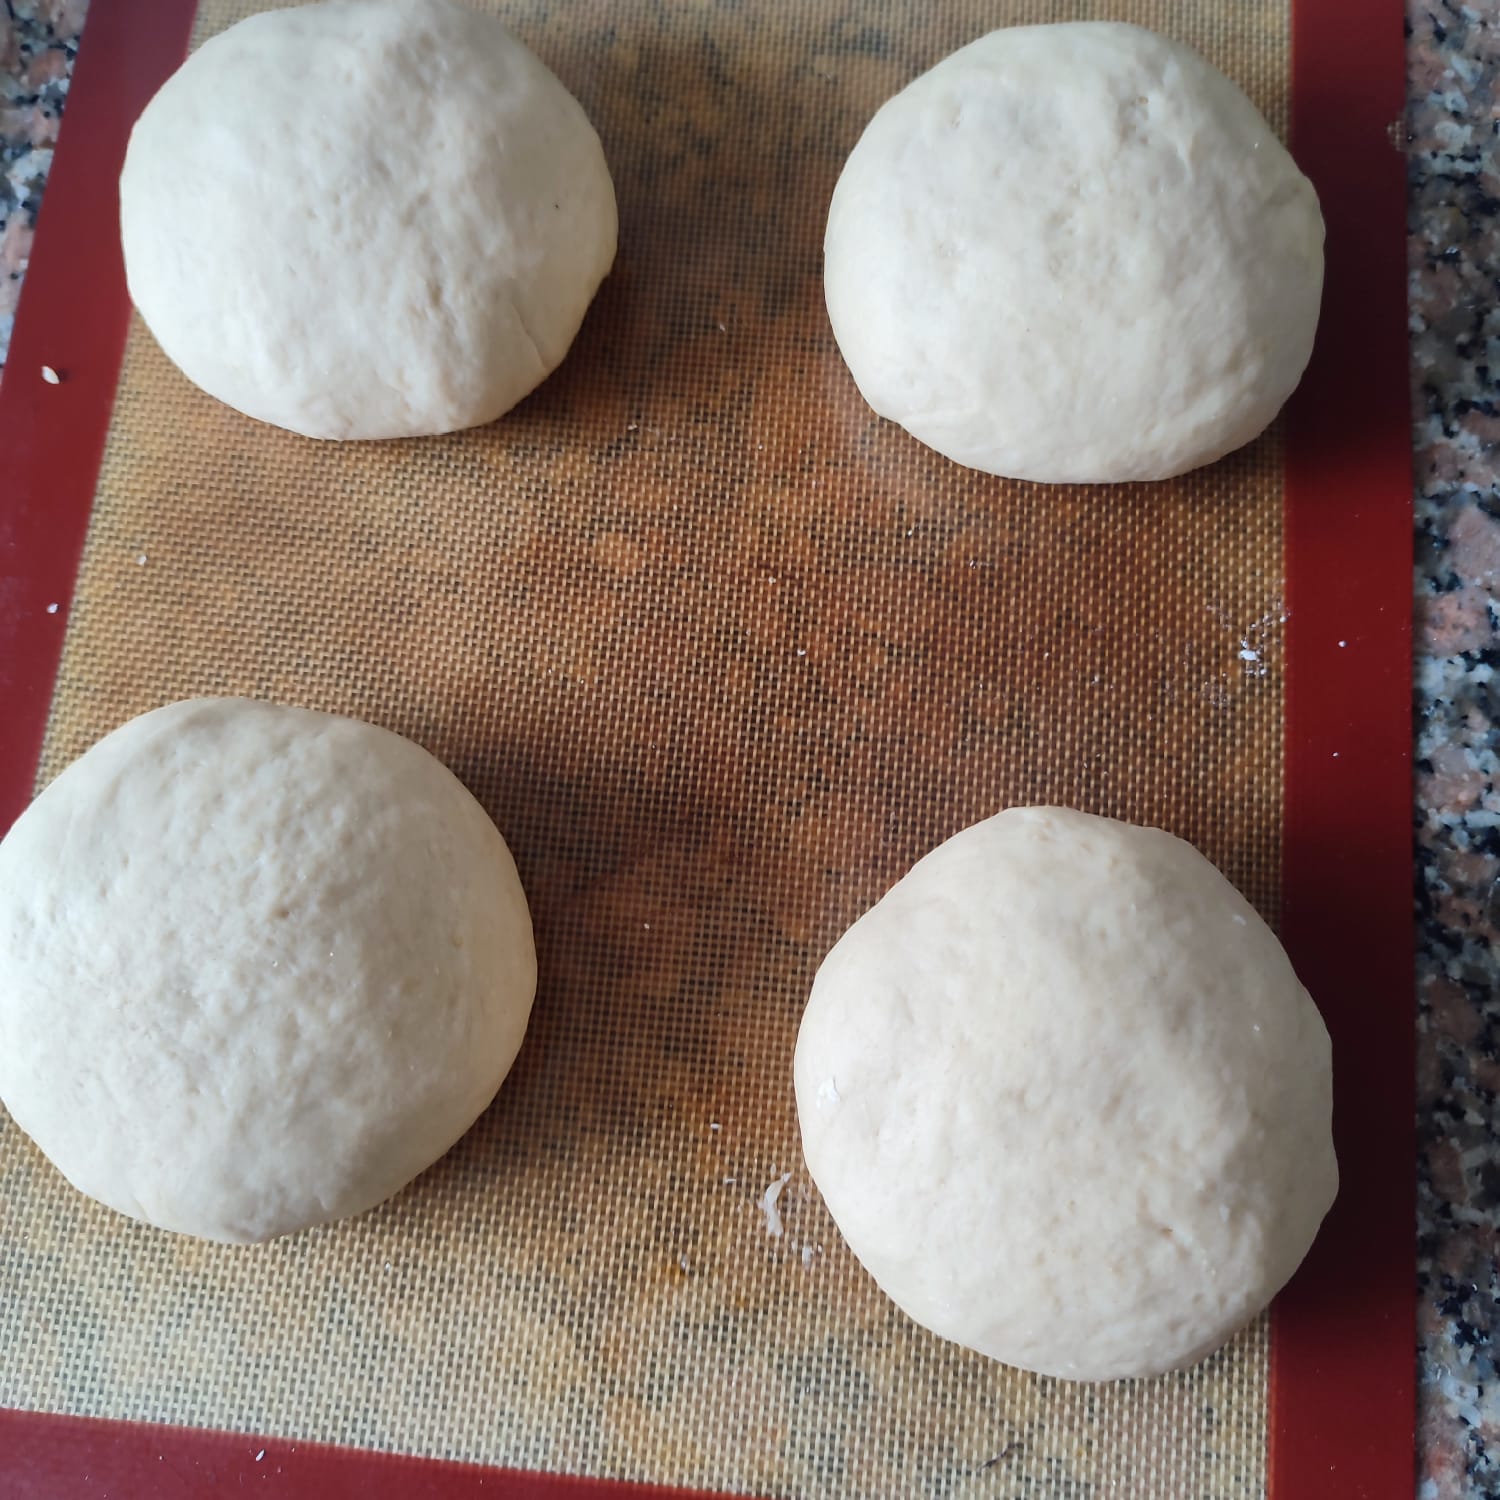
Una vez que se obtuvo una masa suave, fácil de estirar y que no se pega a los dedos, es el momento de dejarla reposar en un lugar cálido para que se eleve. Yo la dejé en el mismo bol que utilicé para mezclar todo y cubrí con papel film. Tardó aproximadamente 40 minutos en duplicar su tamaño. y una vez que eso ocurrió, la saqué del bol, le saqué los gasos con un delicado amasado y finalmente la dividí en 4 partes, ya que haría un total de 4 panes de jamón.
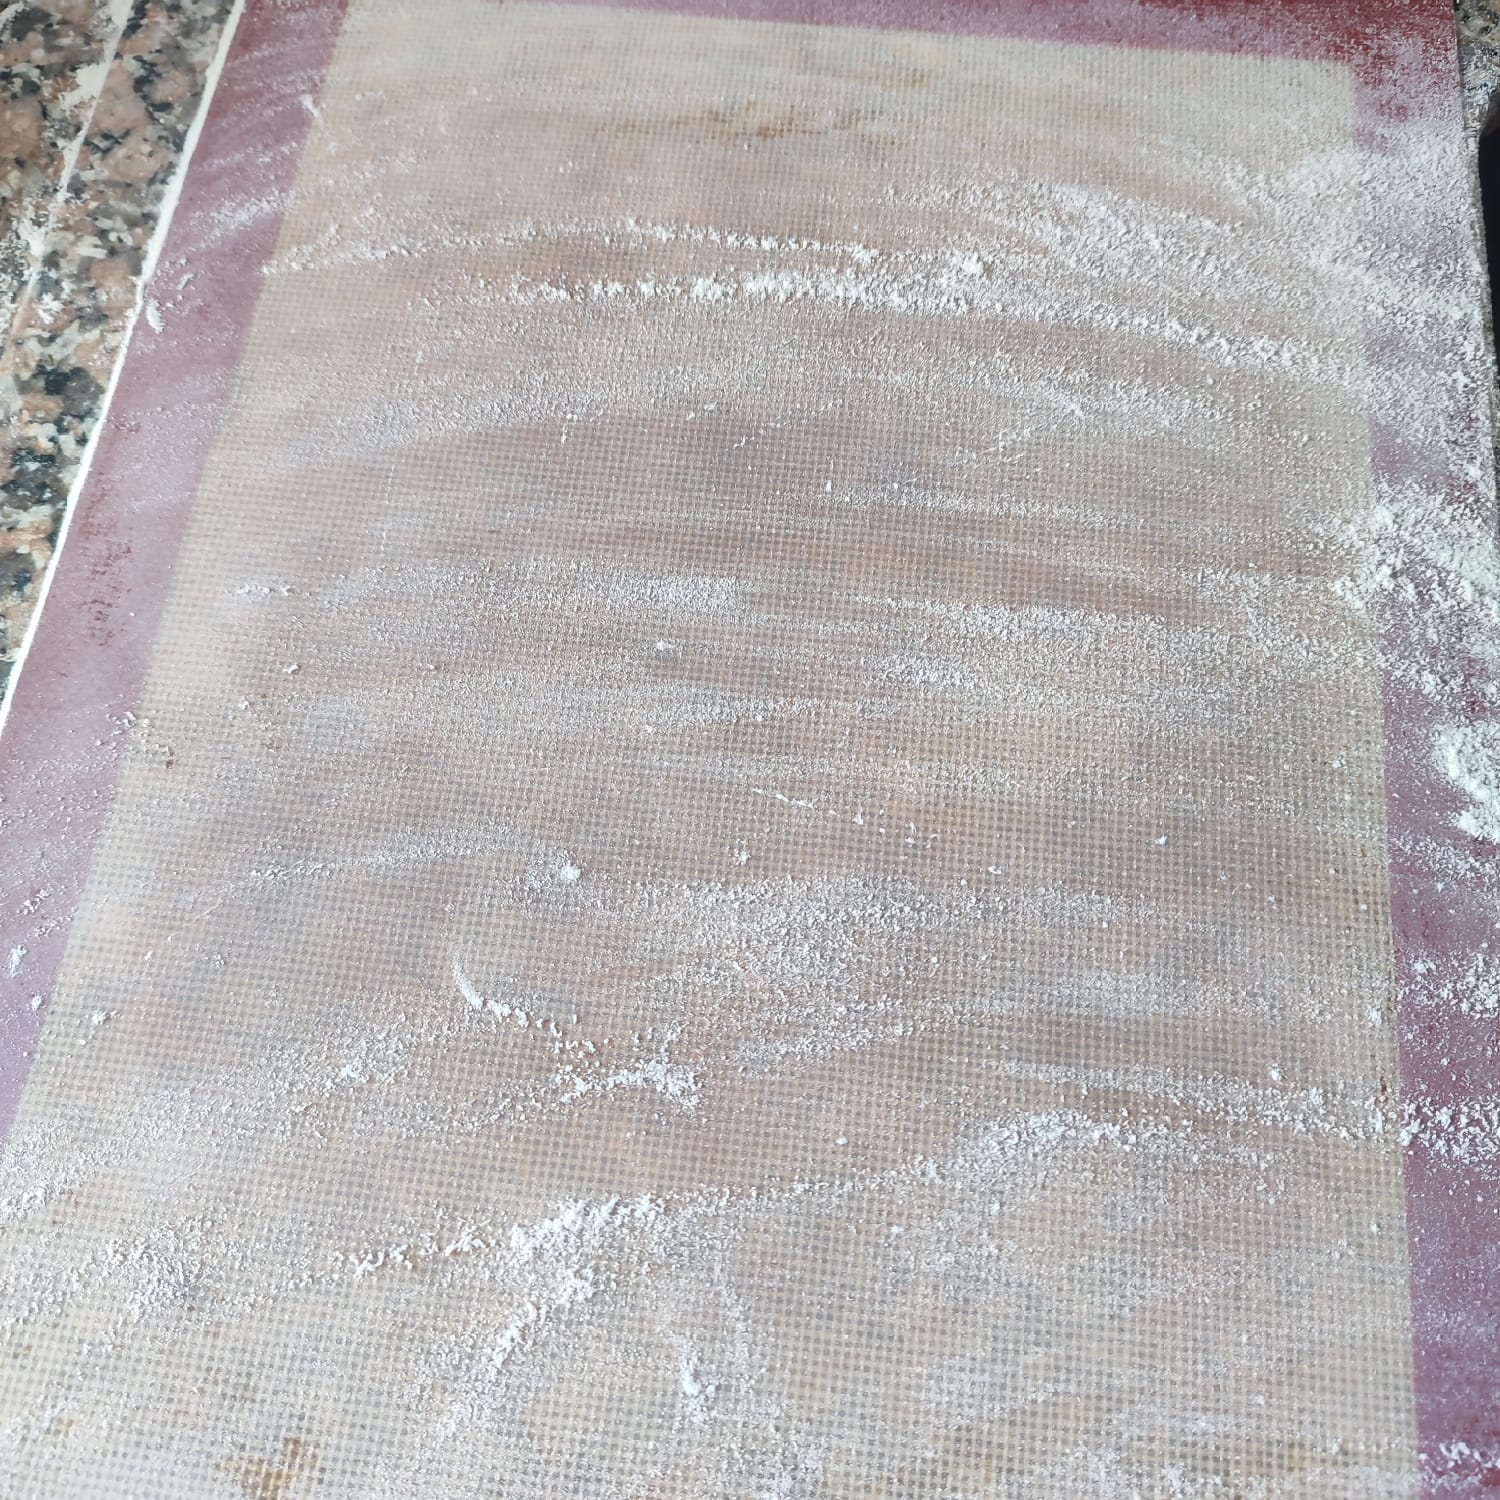
Coloqué en una placa de silicona una base de harina de trigo y la cubrí con harina, añadí la primera bola de harina y con la ayuda de un rodillo de cocina fui estirando hasta obtener un largo de aproxidamente 40cm y un grosor de 30cm.
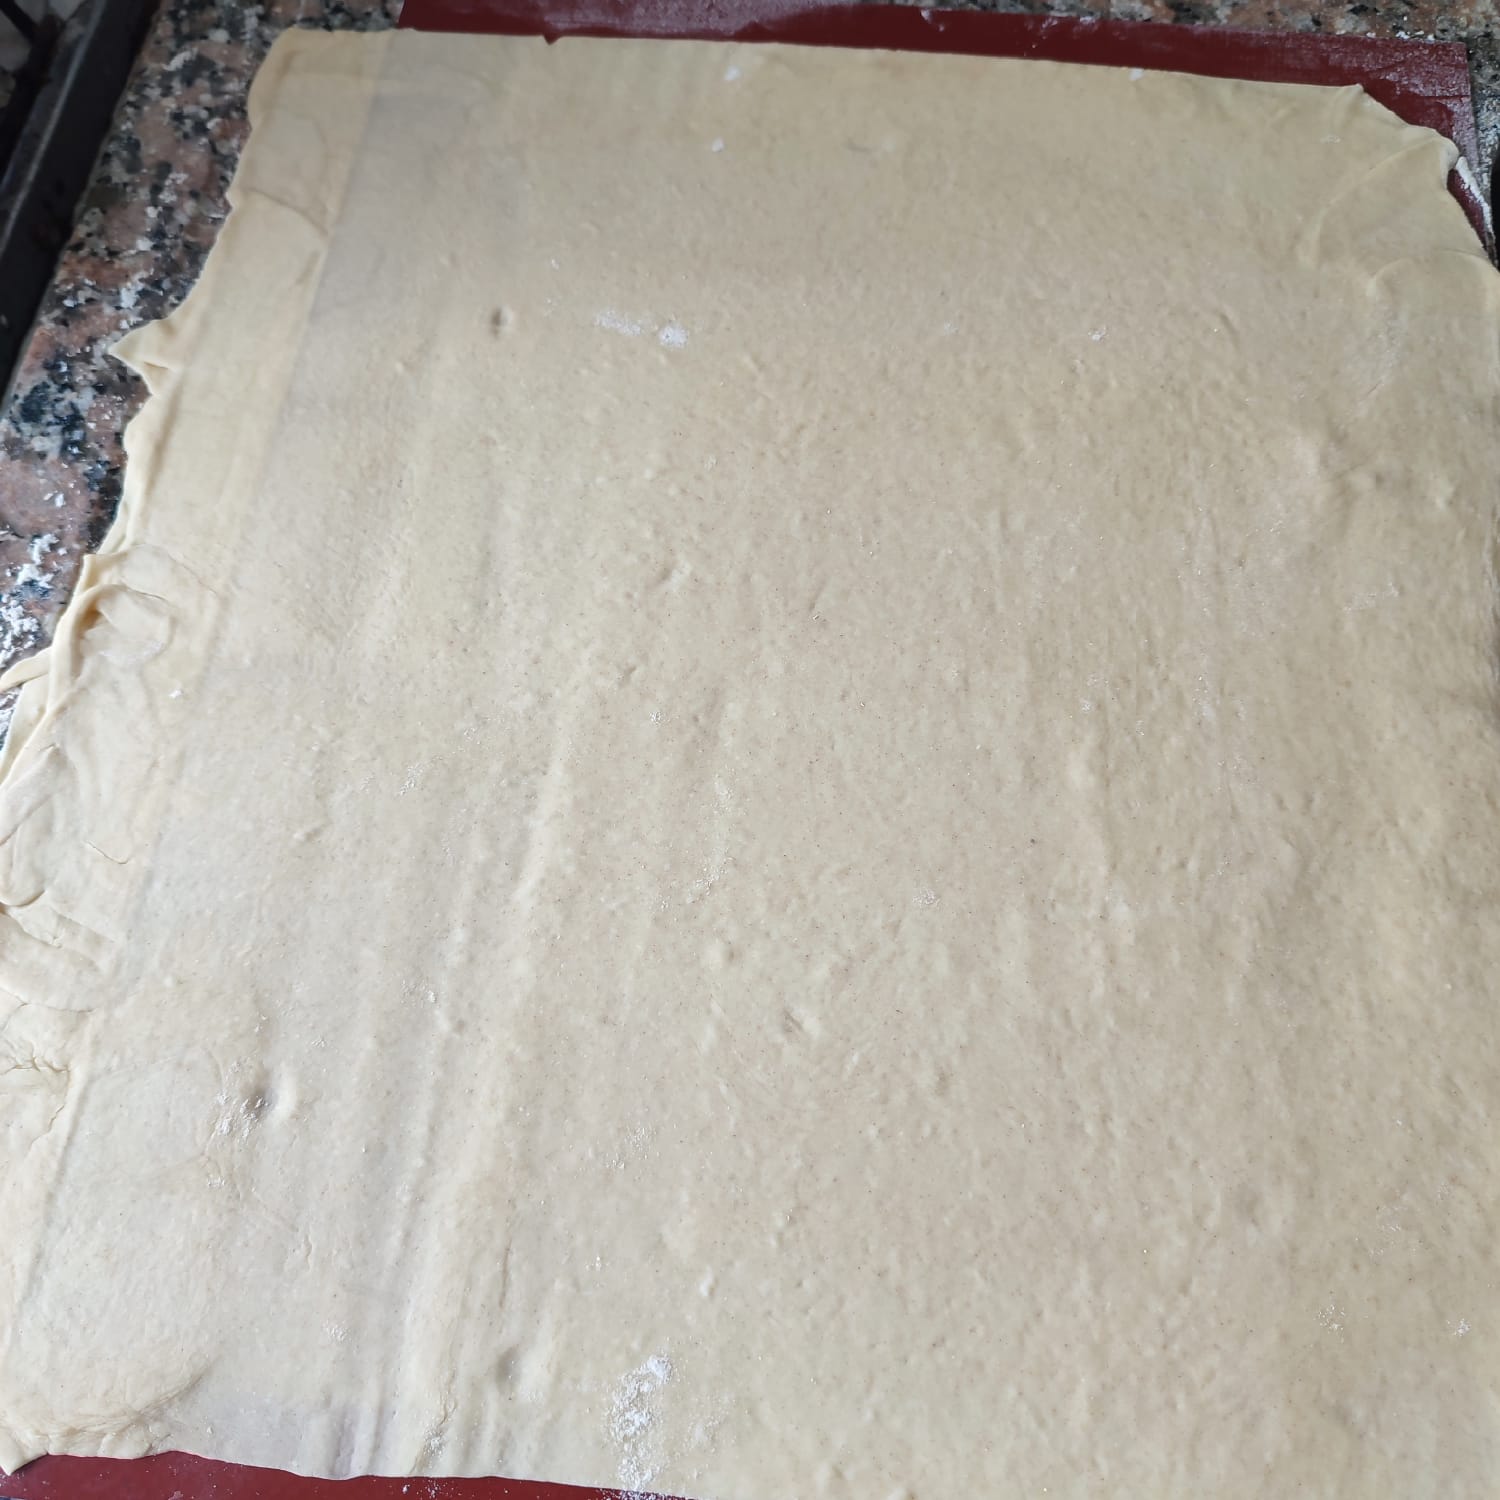
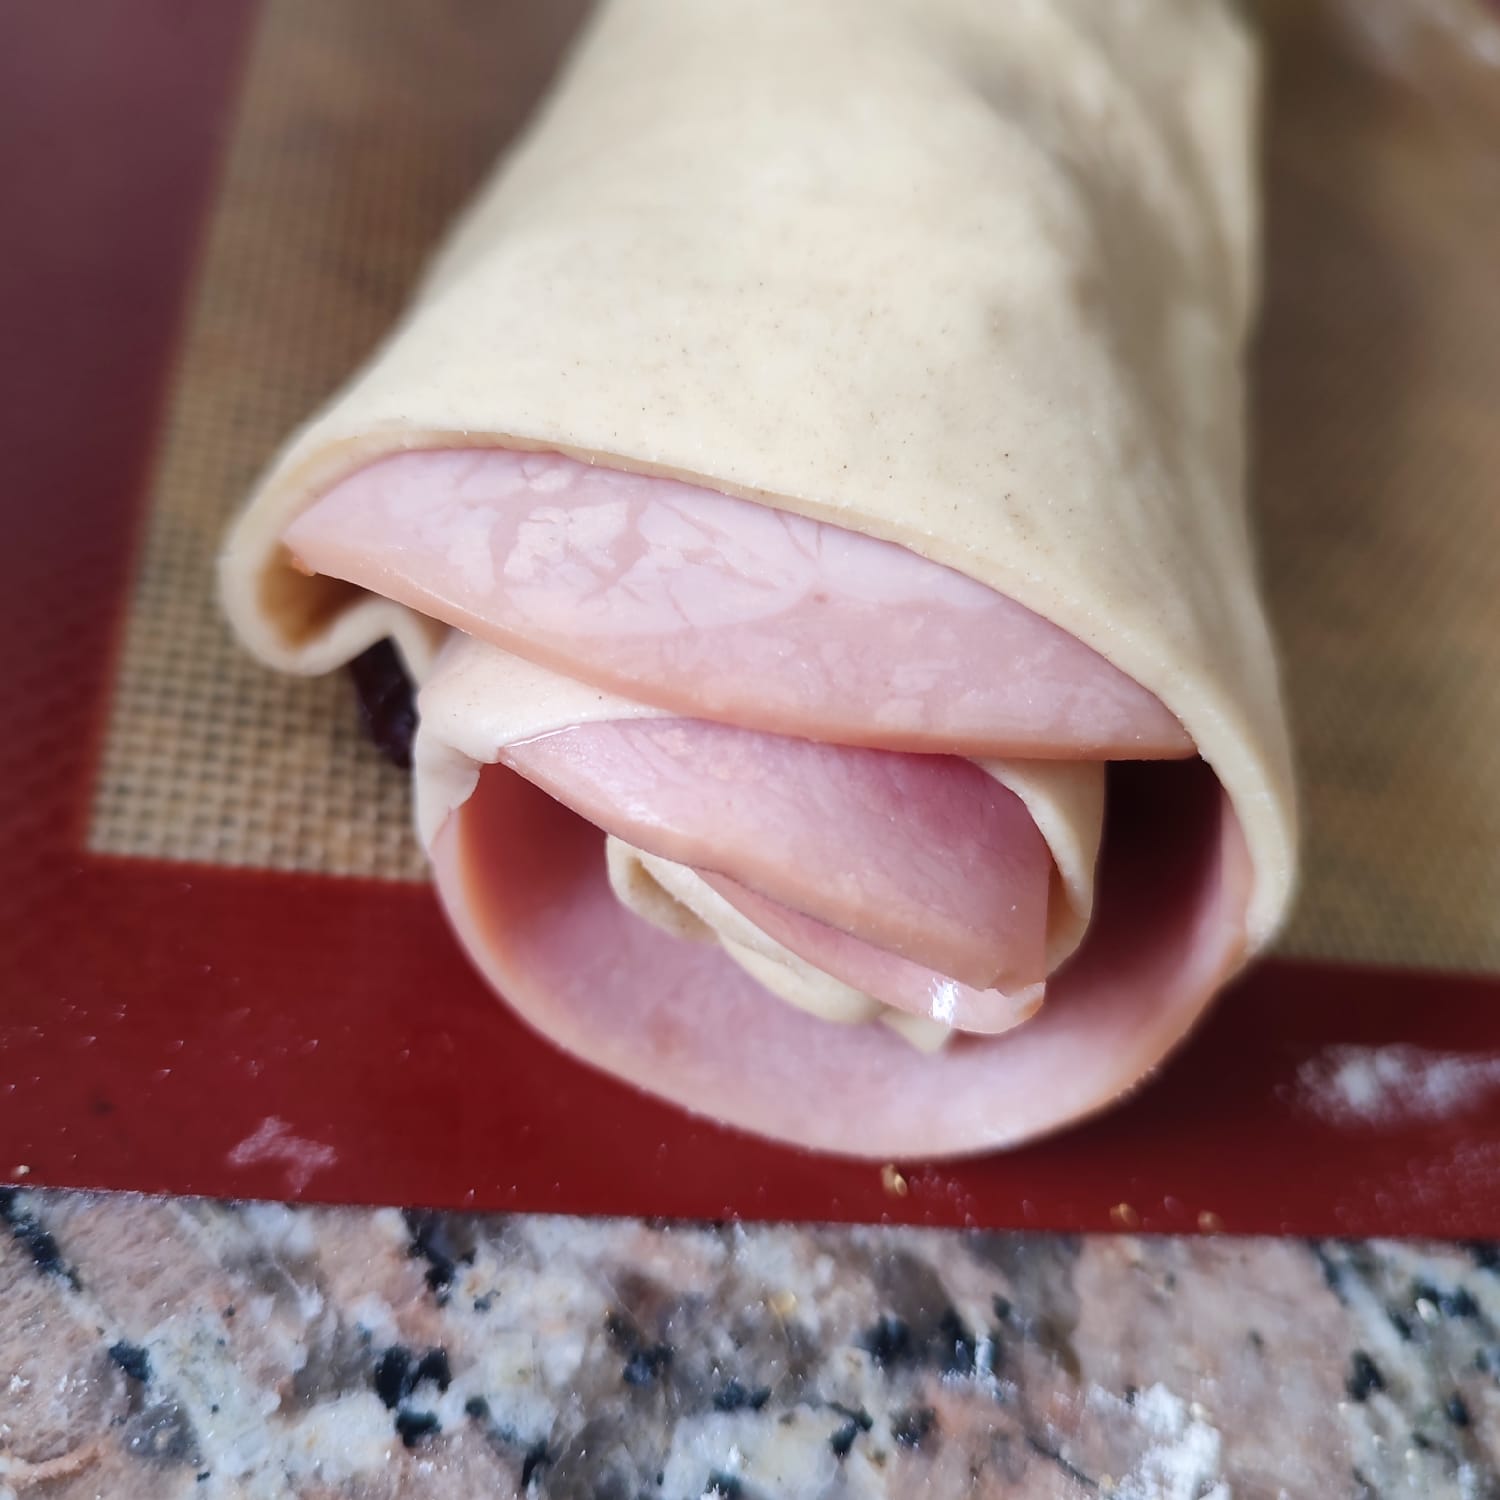
Ya con la masa estirada, en uno de los bordes se colocan las aceitunas y se cubren con la misma masa, tal como se muestra en las imágenes de abajo. El resto del proceso es bastante sencillo y consiste únicamente en ir colocando una capa de jamón ahumado, pasas y se repite este proceso cuantas veces guste, dependiendo de con qué cantidad de pasas y jamón te guste el pan. Luego se va enrrollando hasta que el último pedazo de harina quede debajo del pan.
Yo solo fotografié el primero que hice, pero había otro pan que tenía tocineta, otro pan tenía queso crema y otro quedo cremoso. Solo hice uno de estos para mí (el de la foto) los demás fueron para un primo que me pidió que le hiciera el favor para su cena navideña.
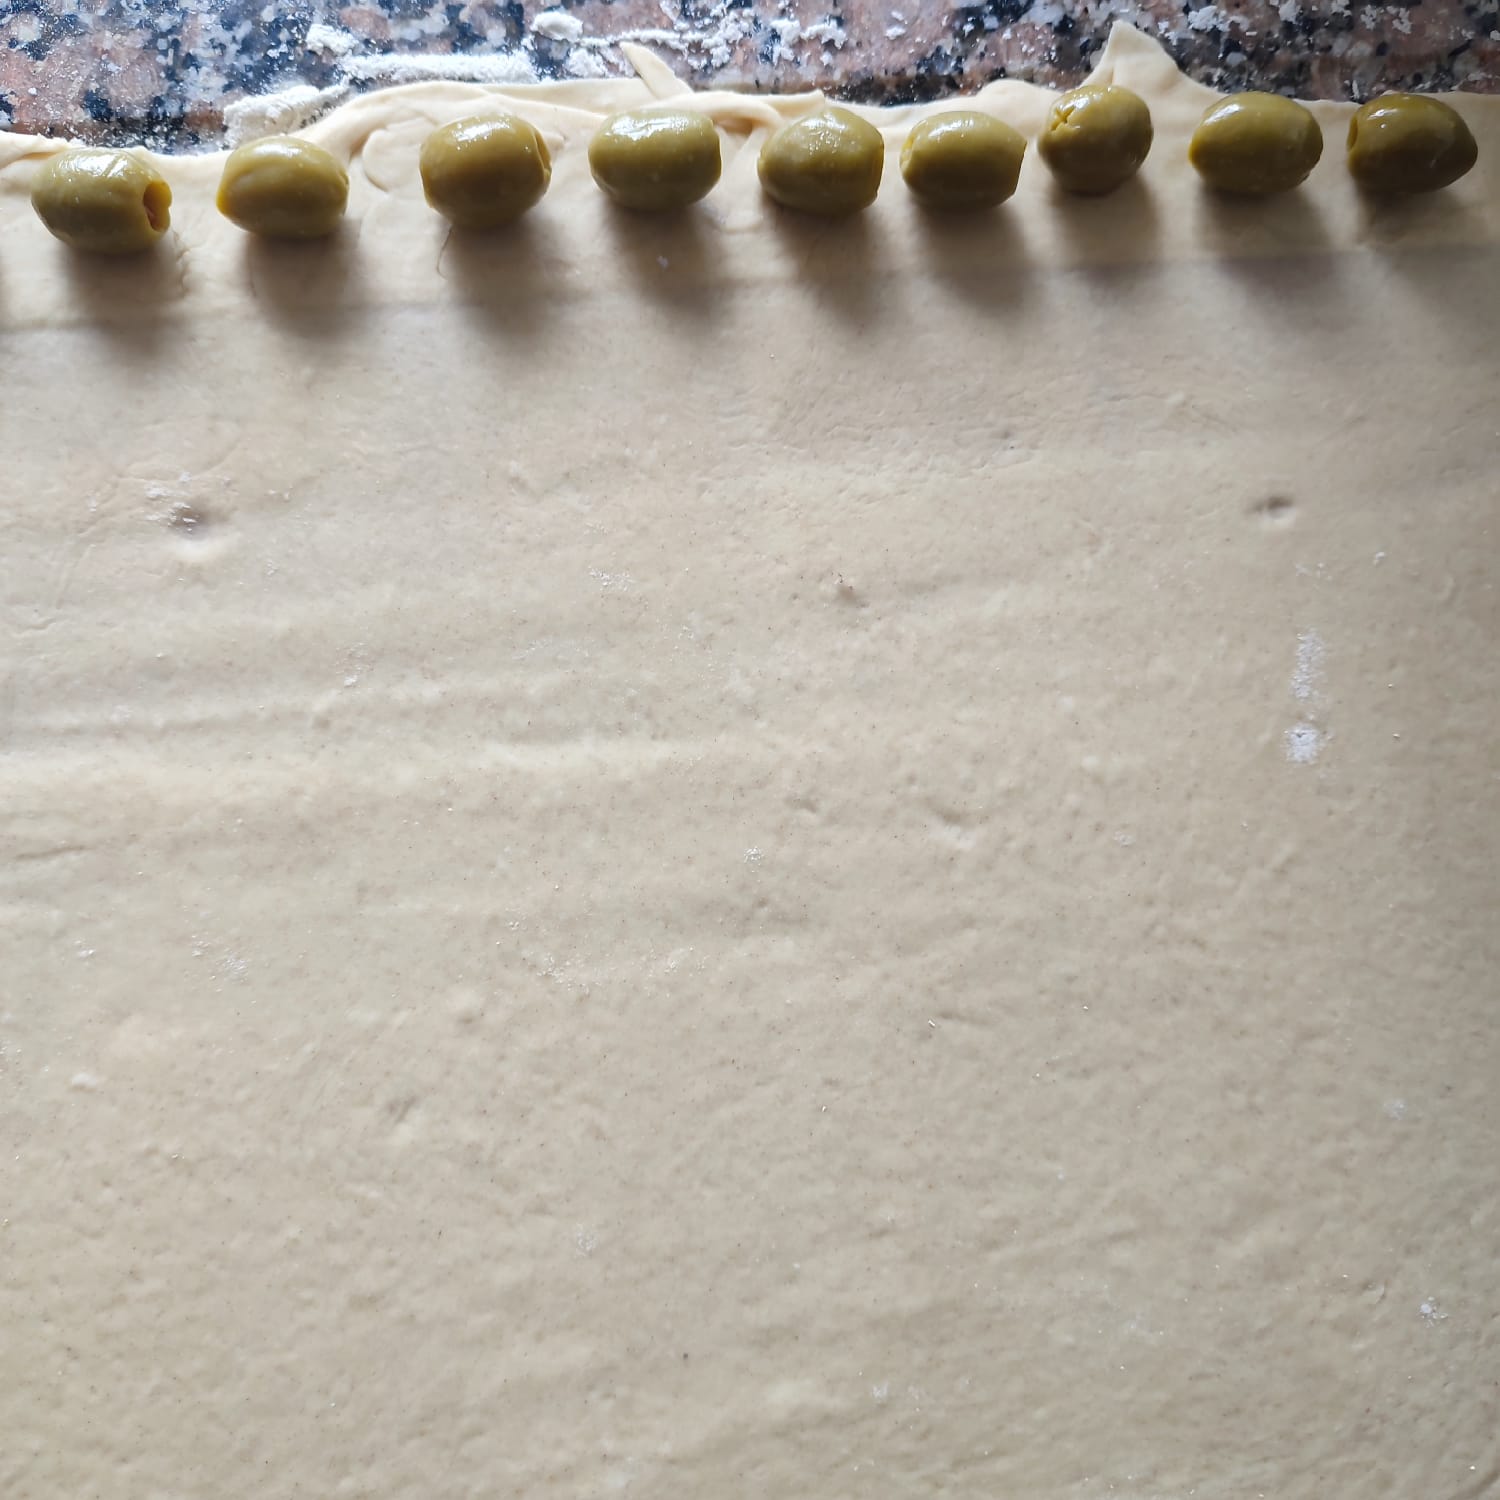
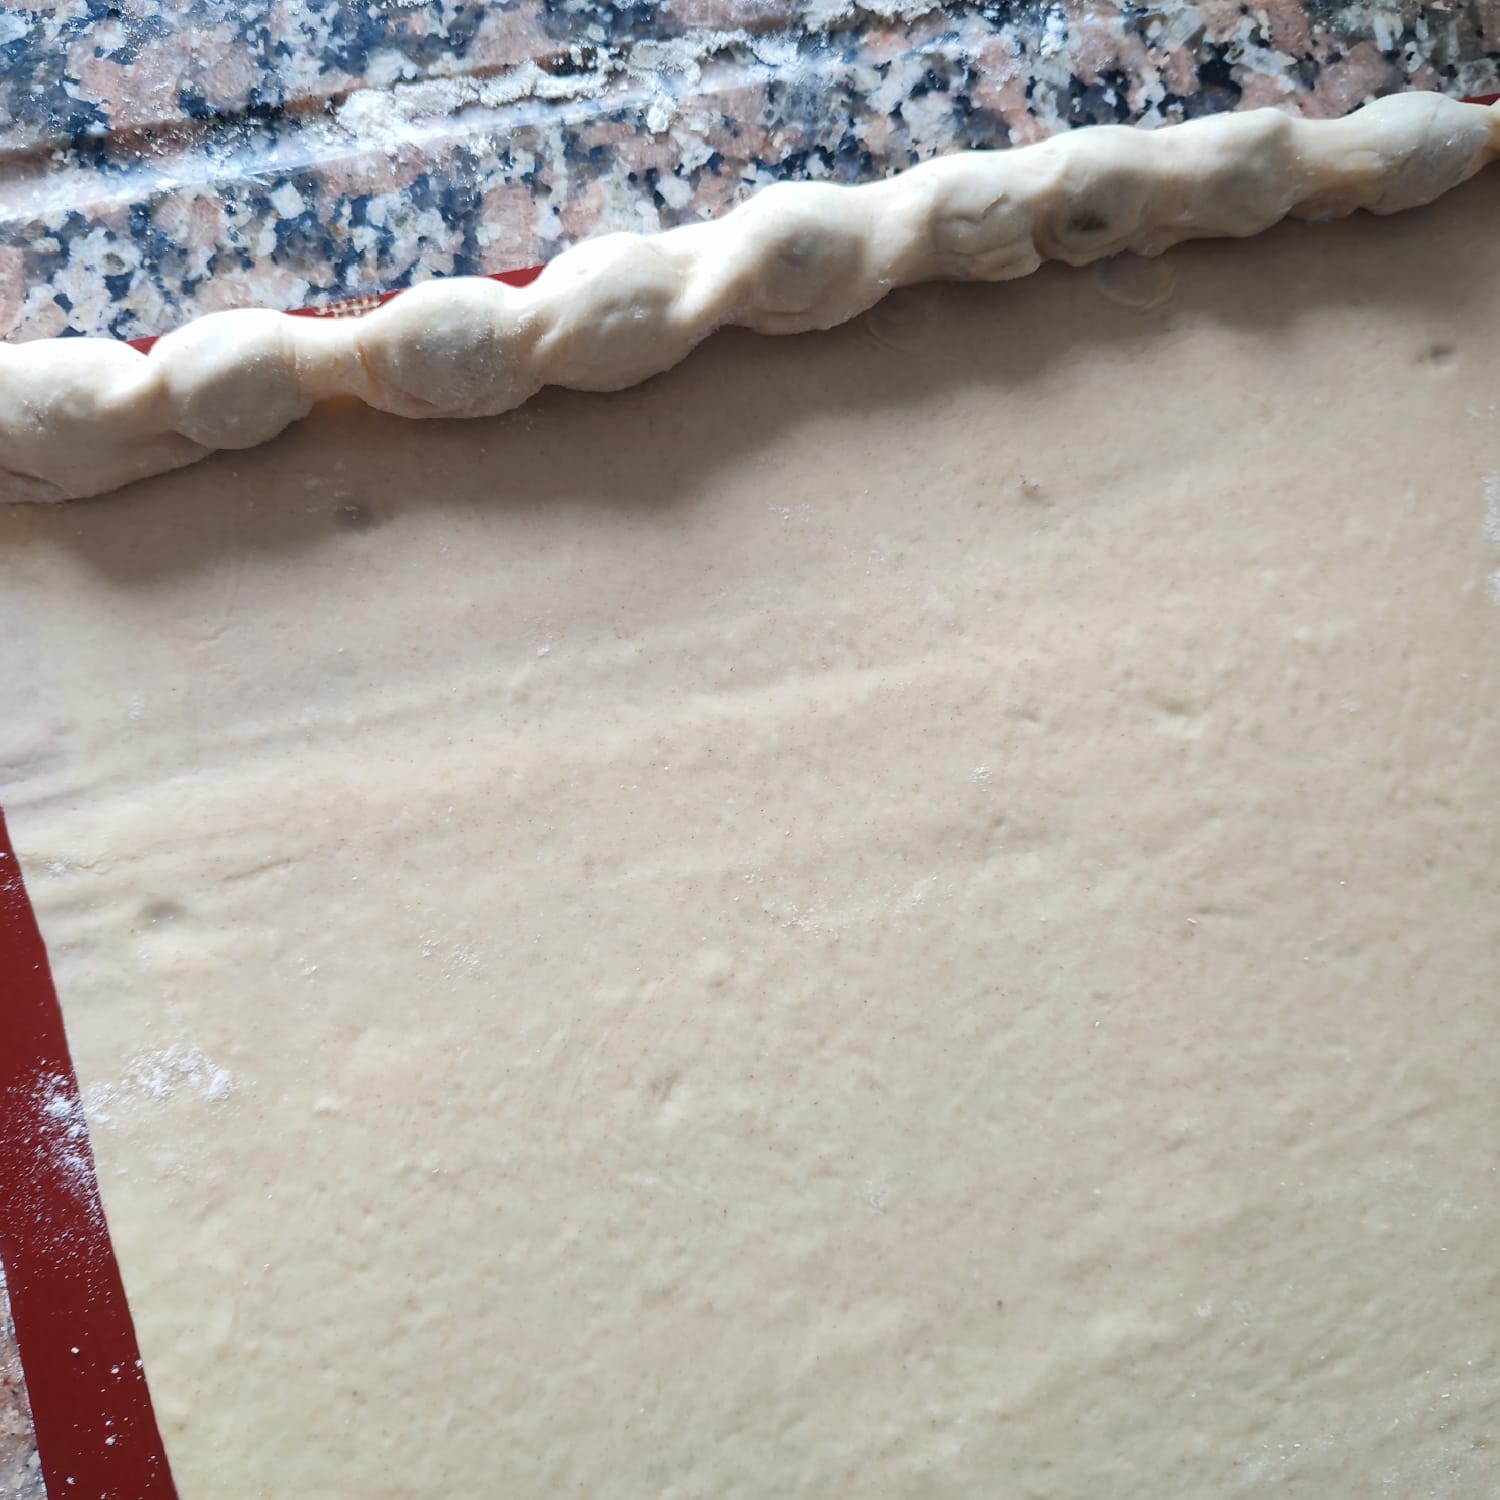
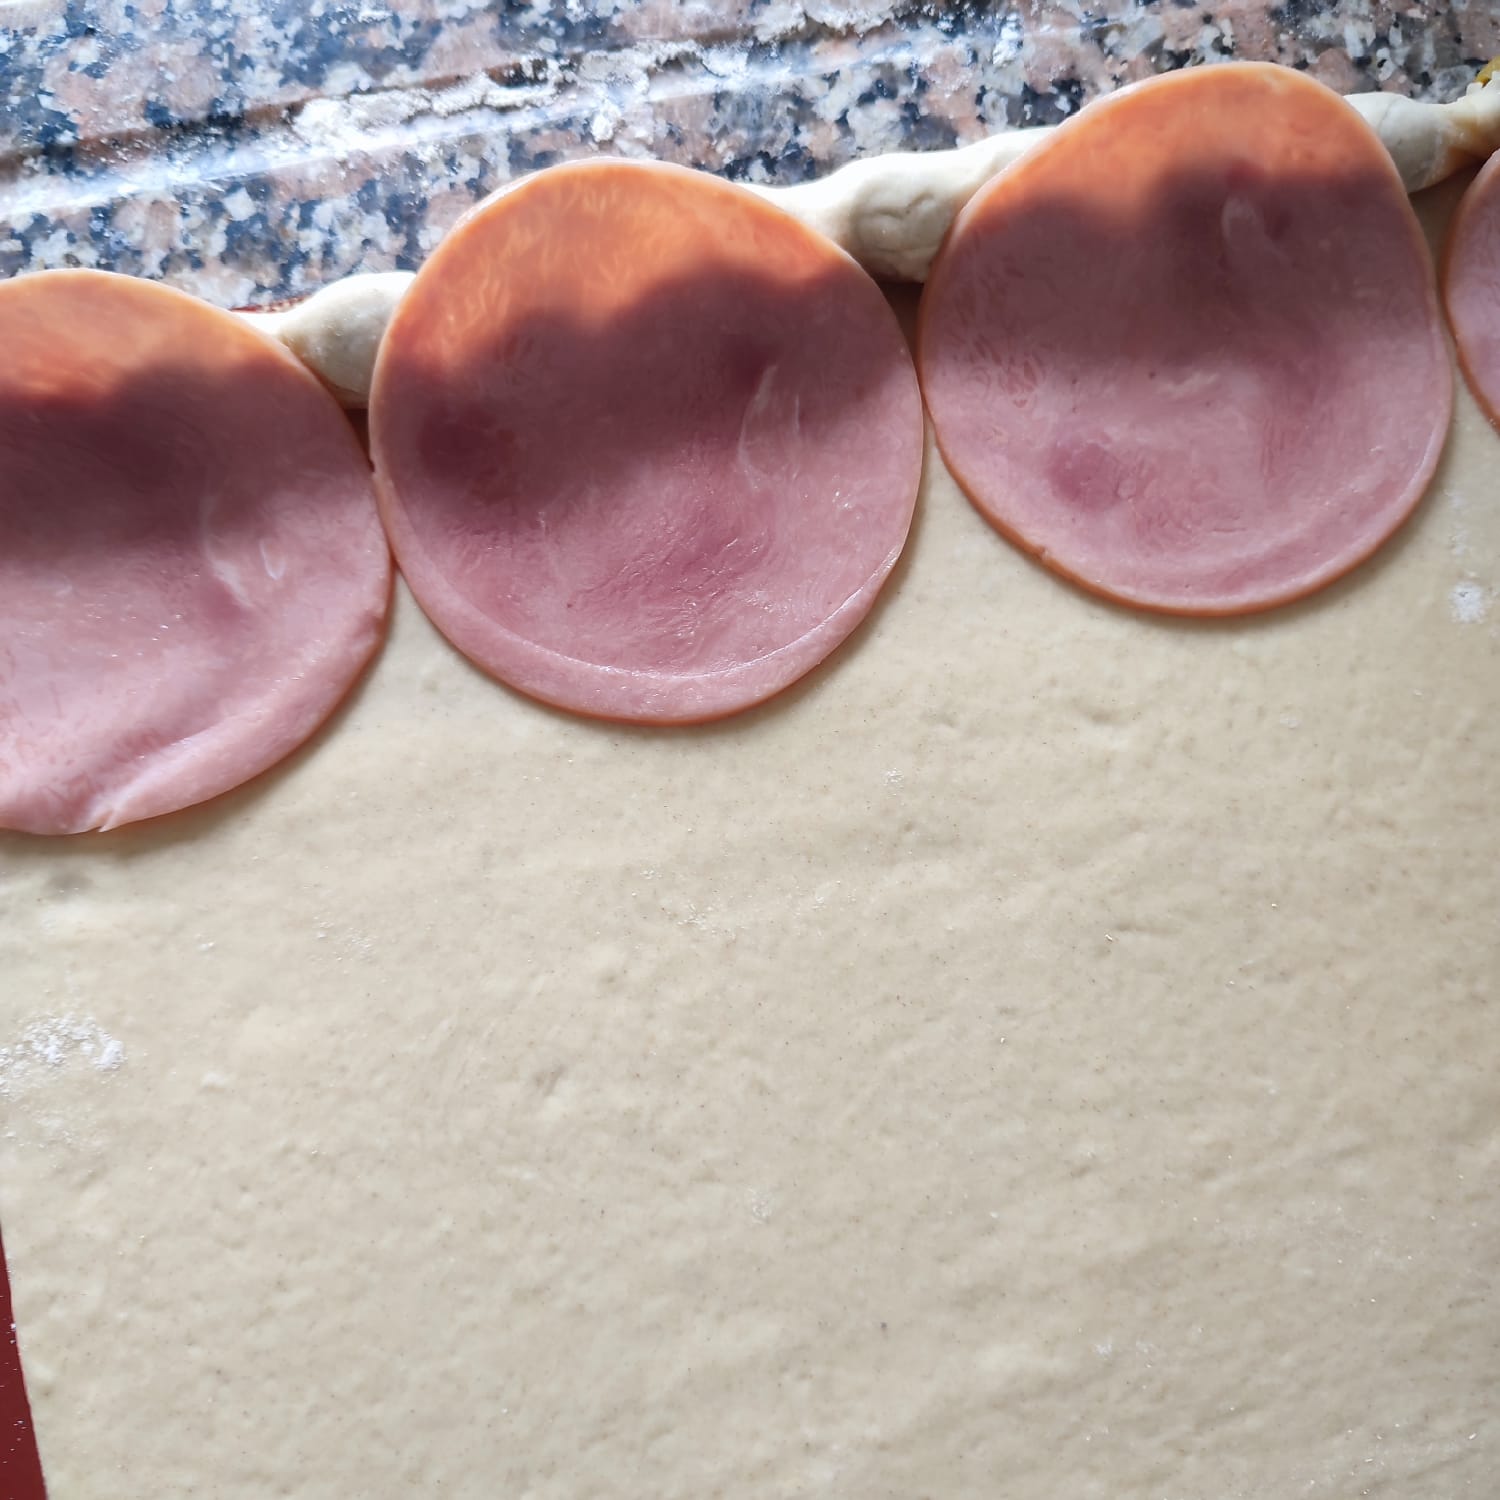
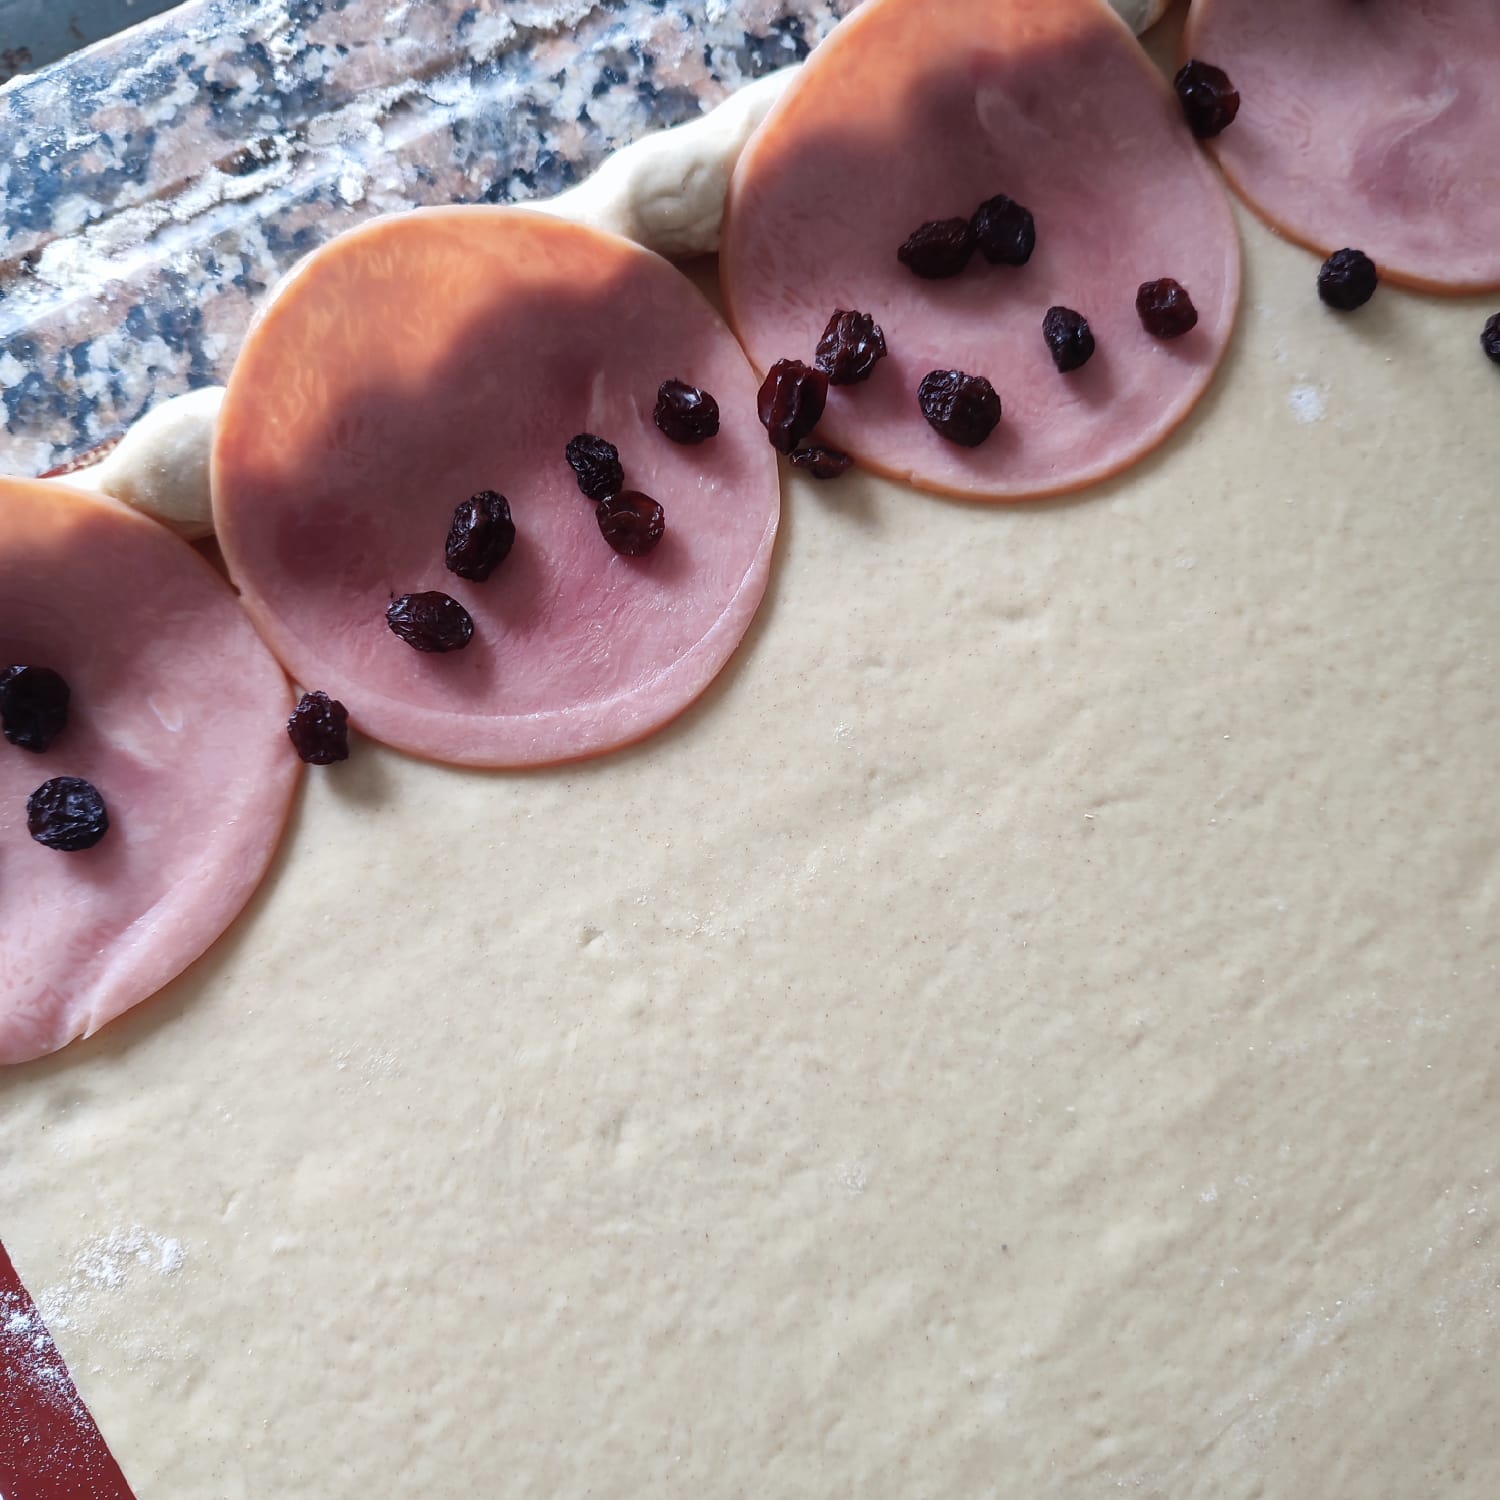
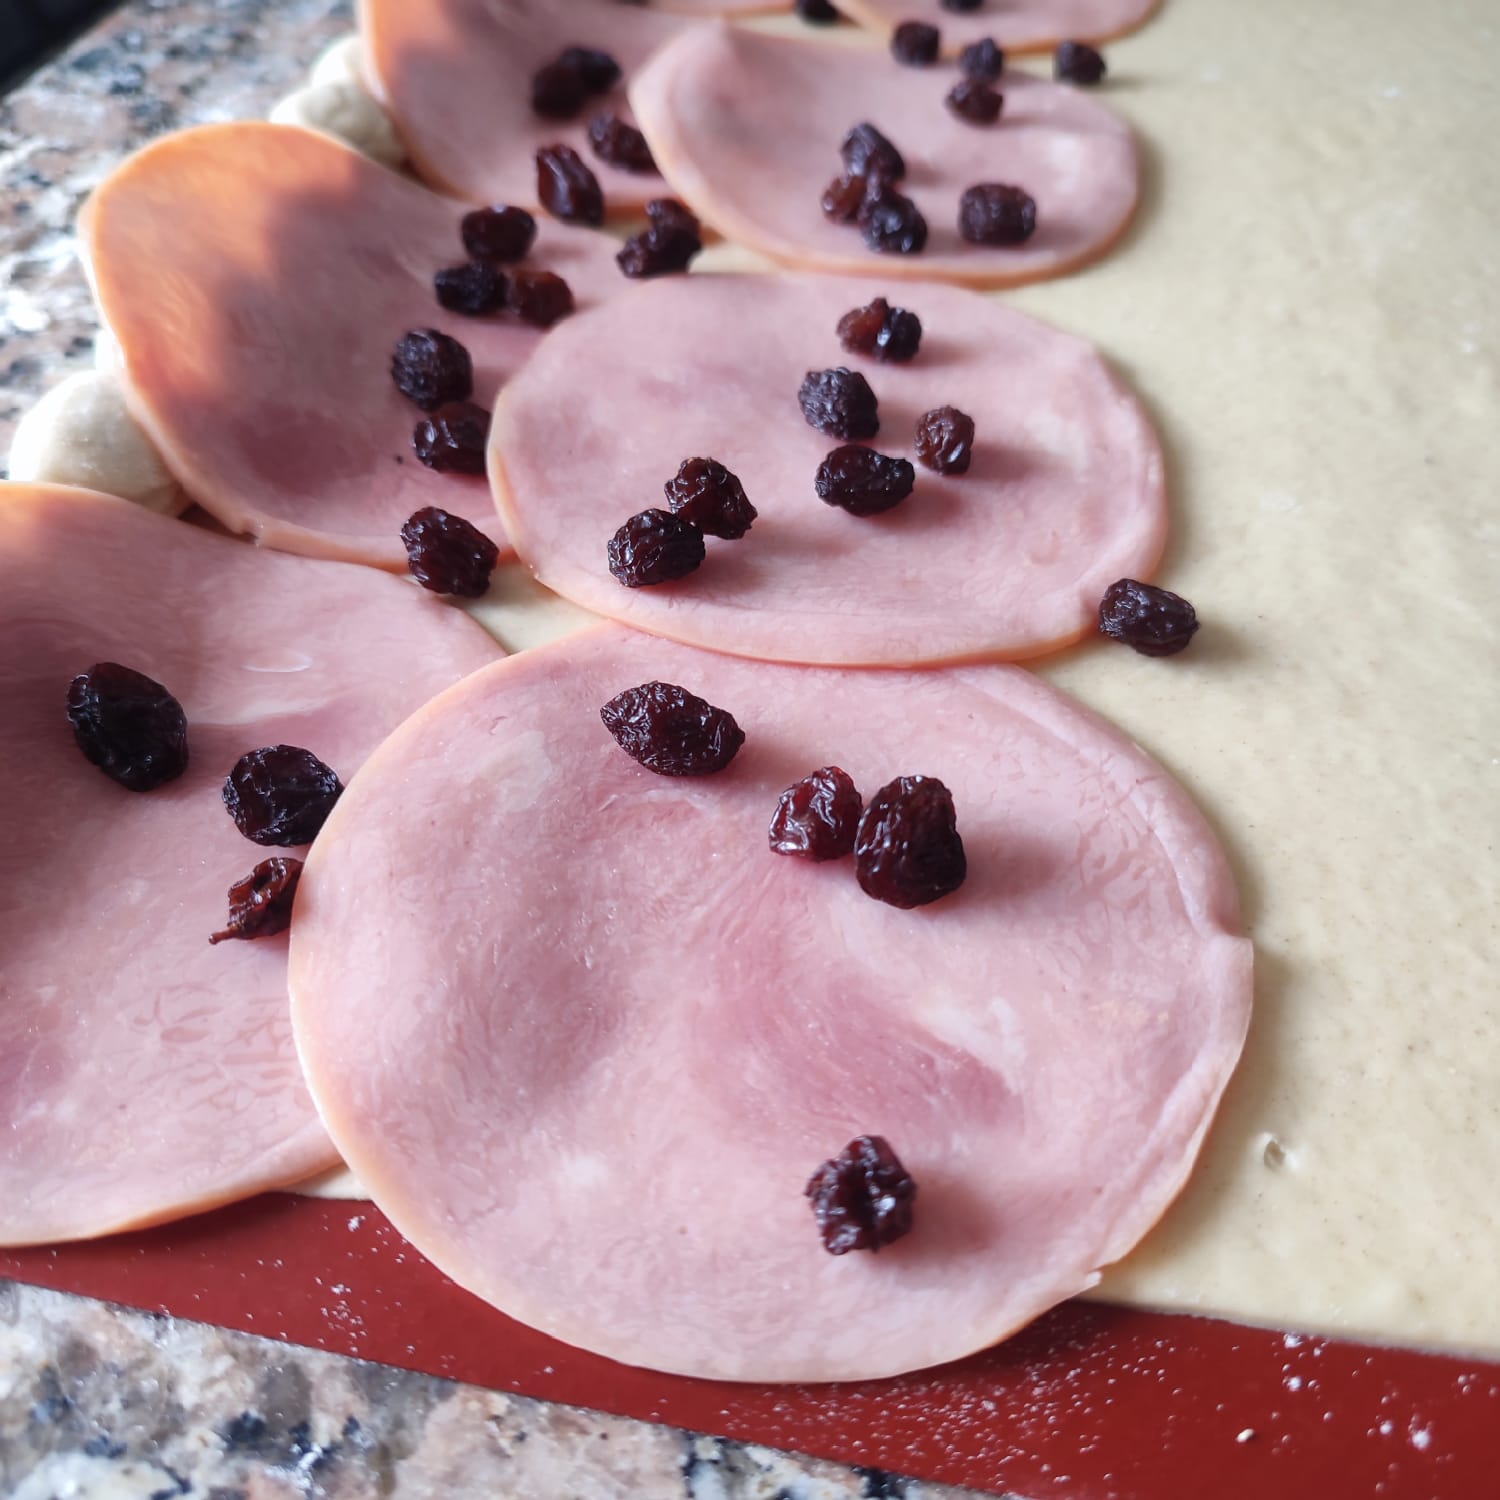
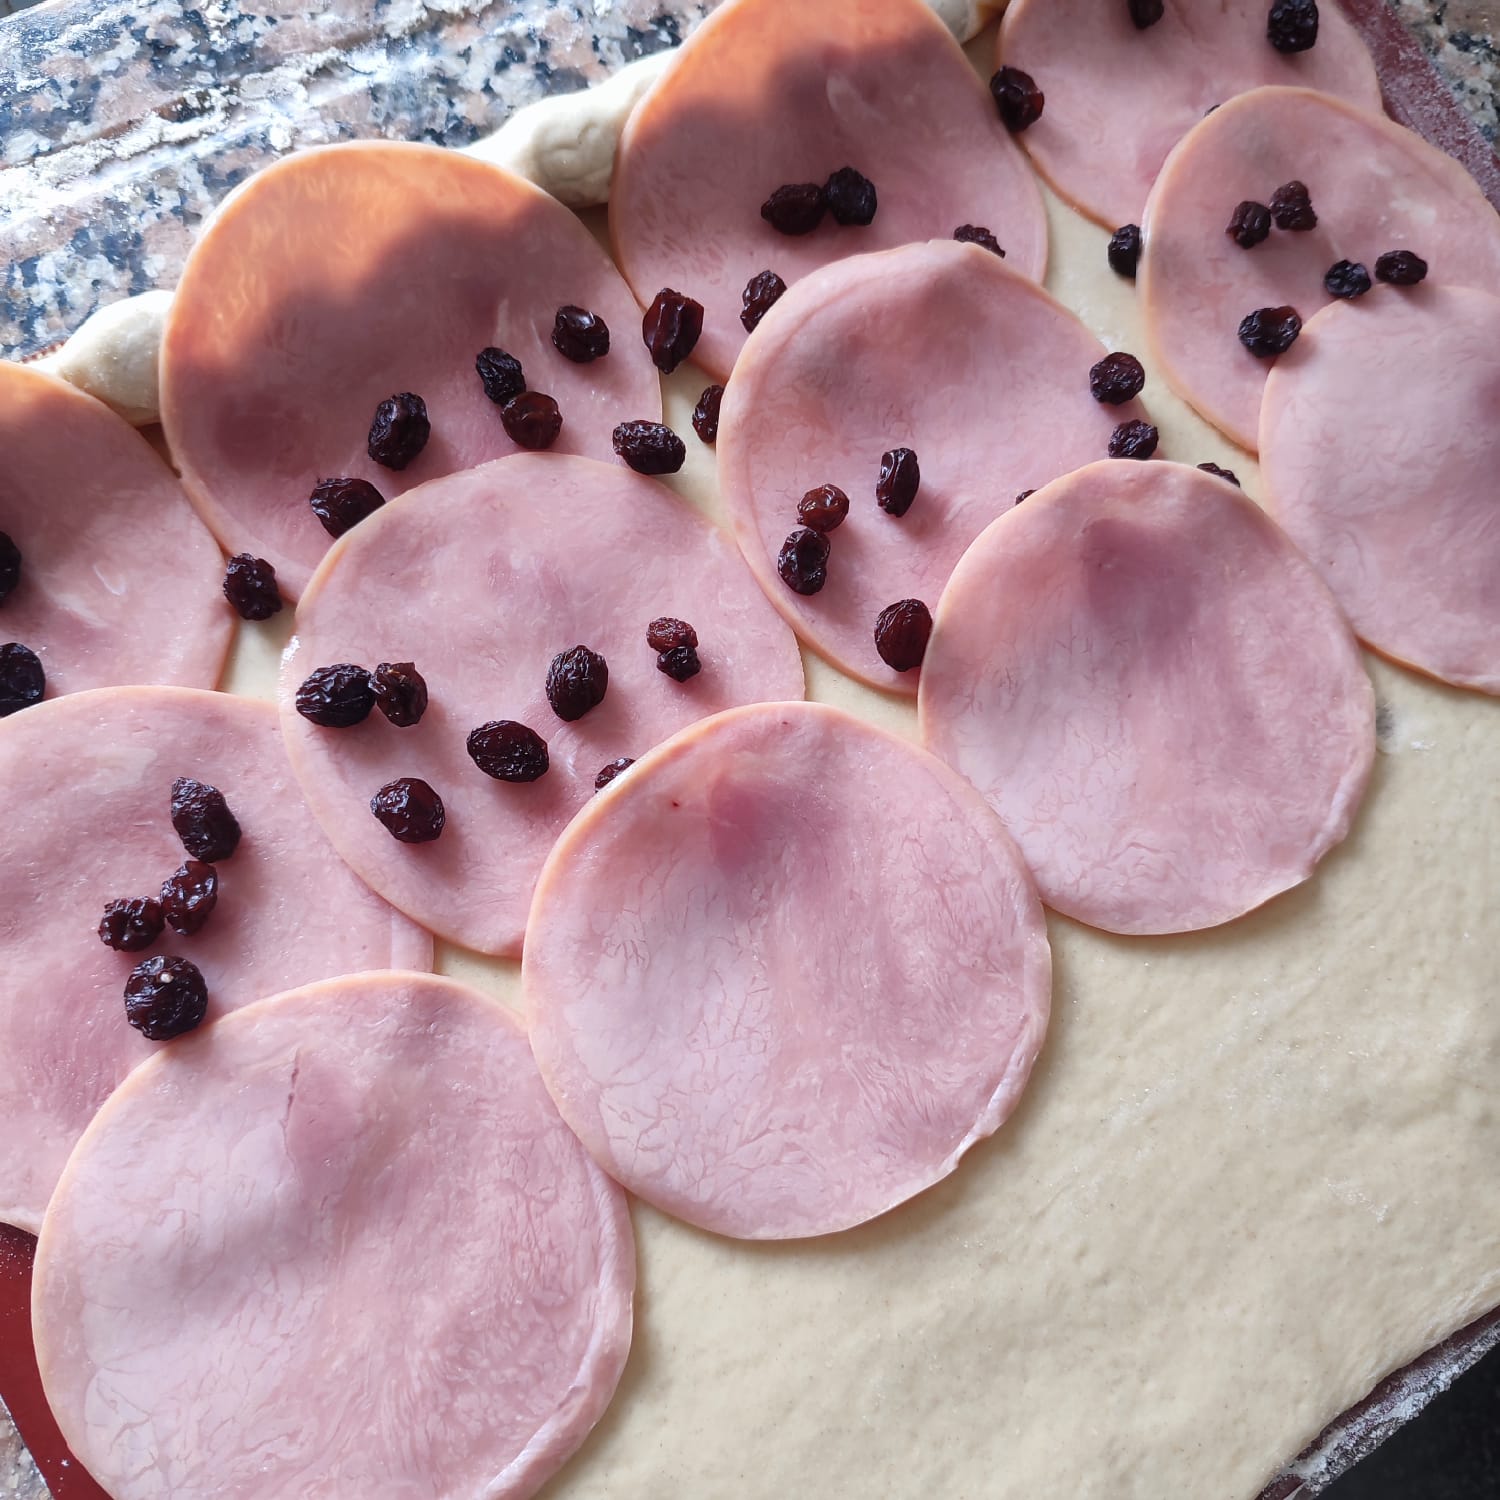
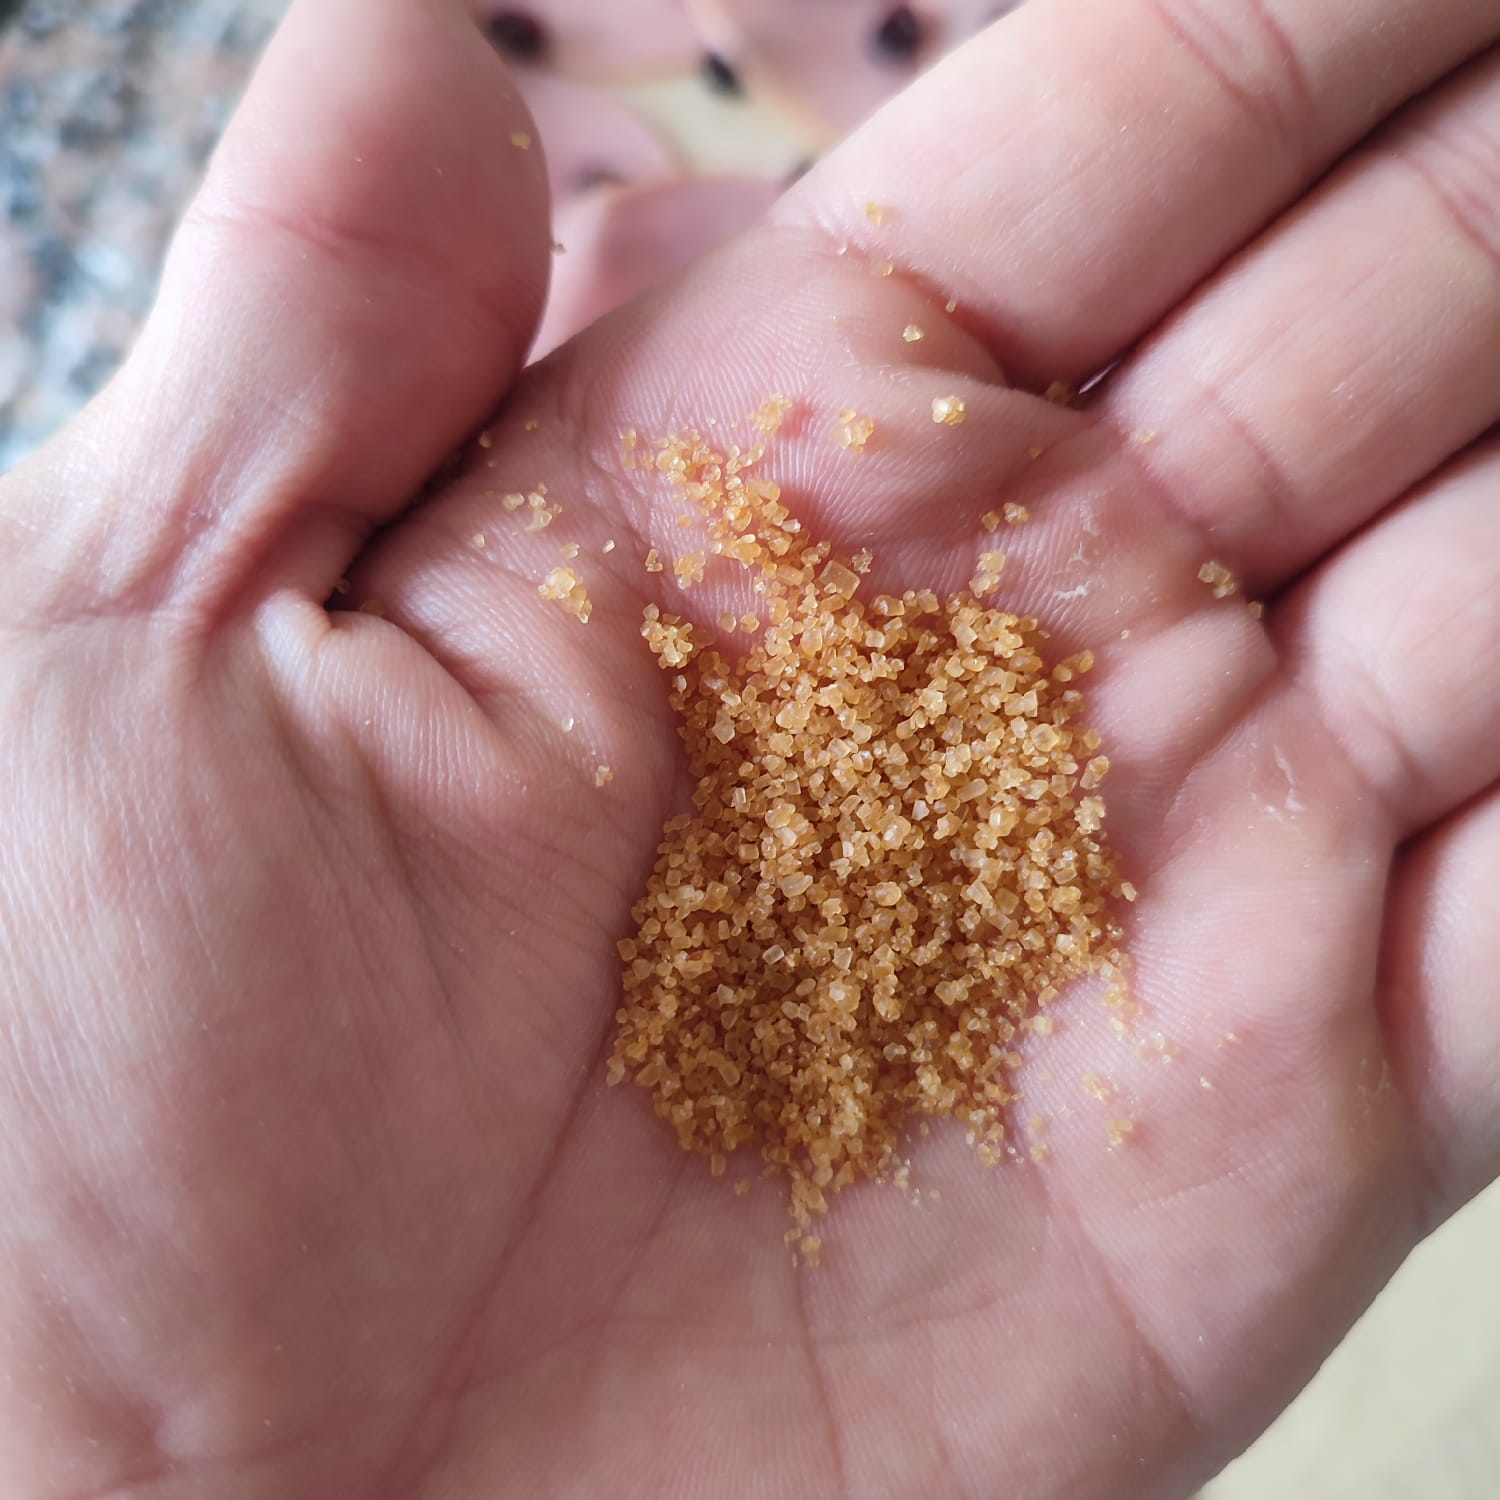
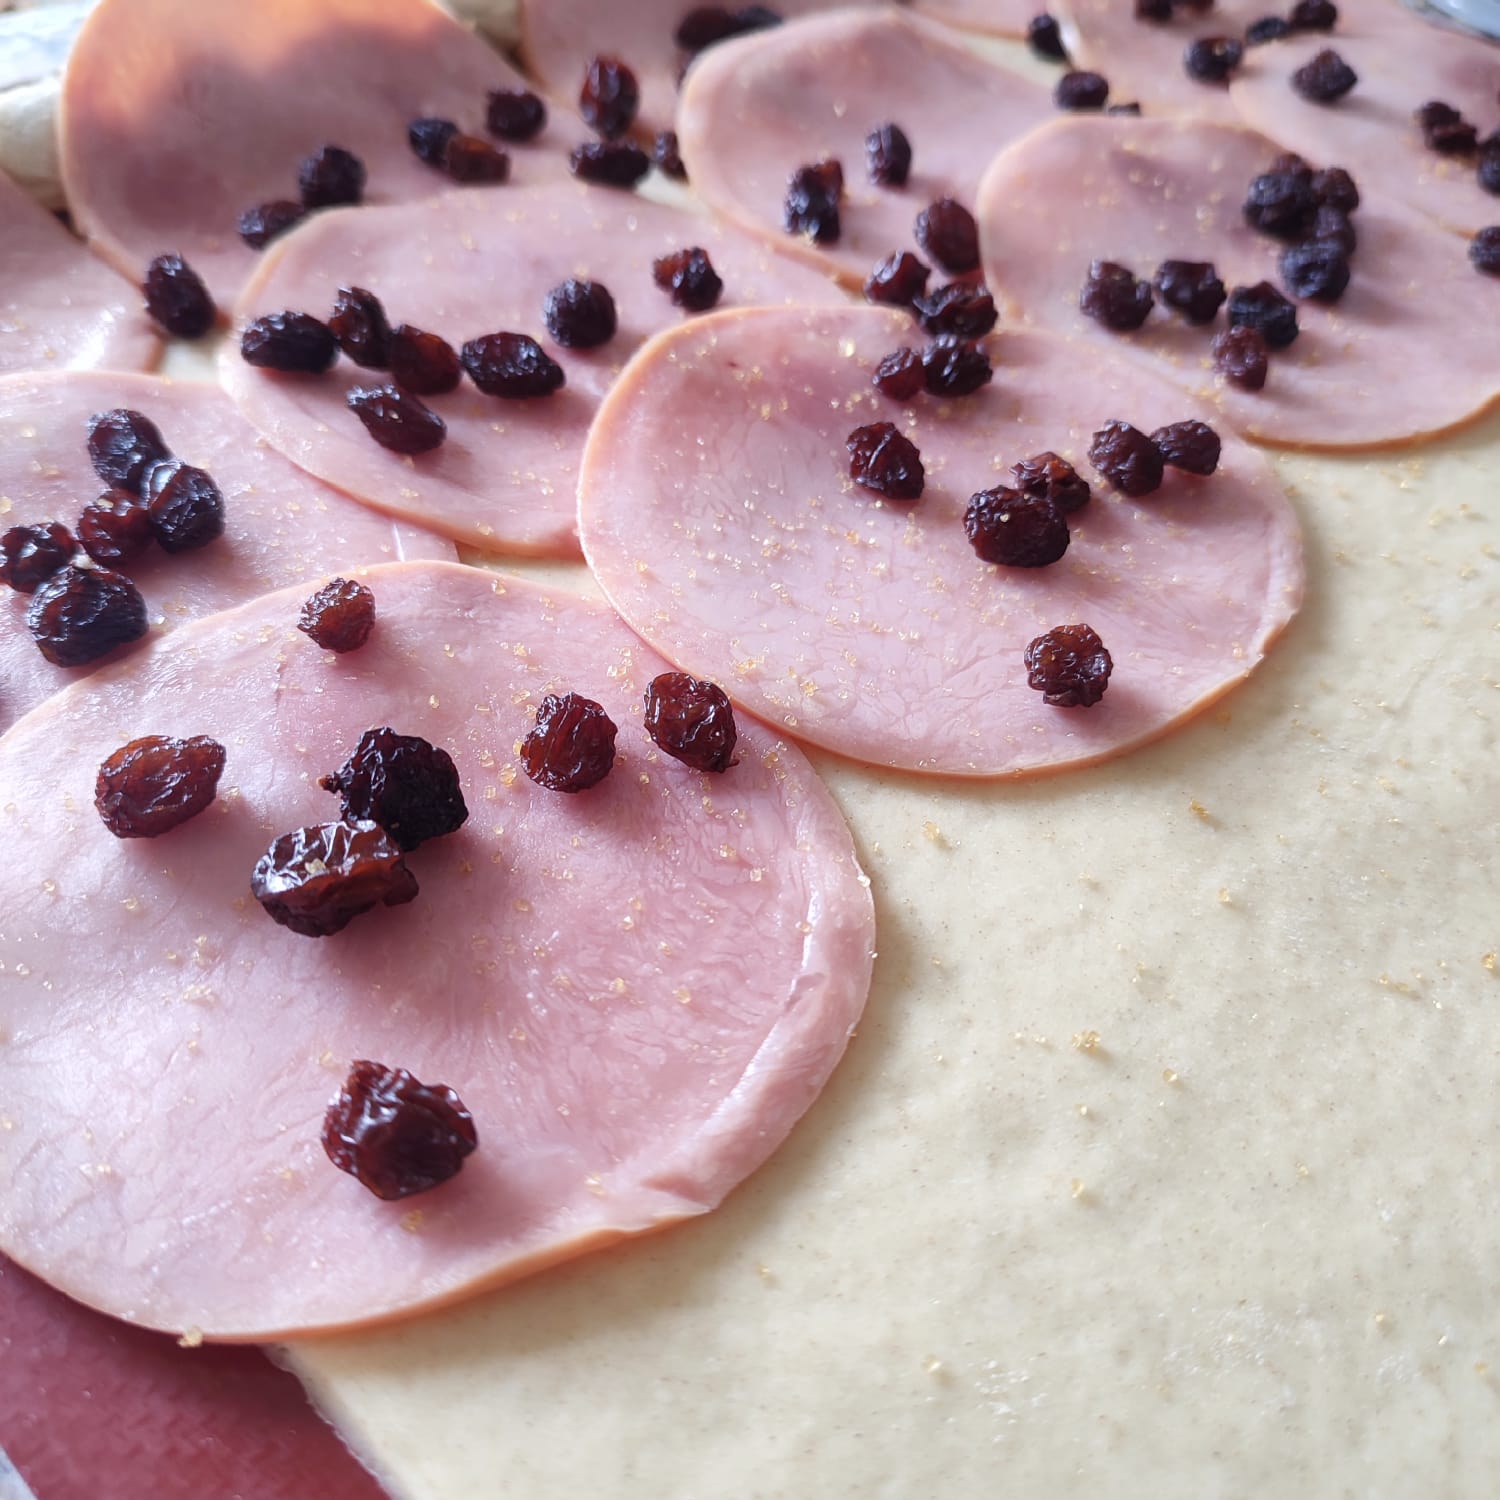
Yo opté por añadirle un toque de azúcar al pan, sobre el jamón, para resaltar el sabor del pan, pero esto es algo opcional, a muchas personas no les gusta hacerlo así.
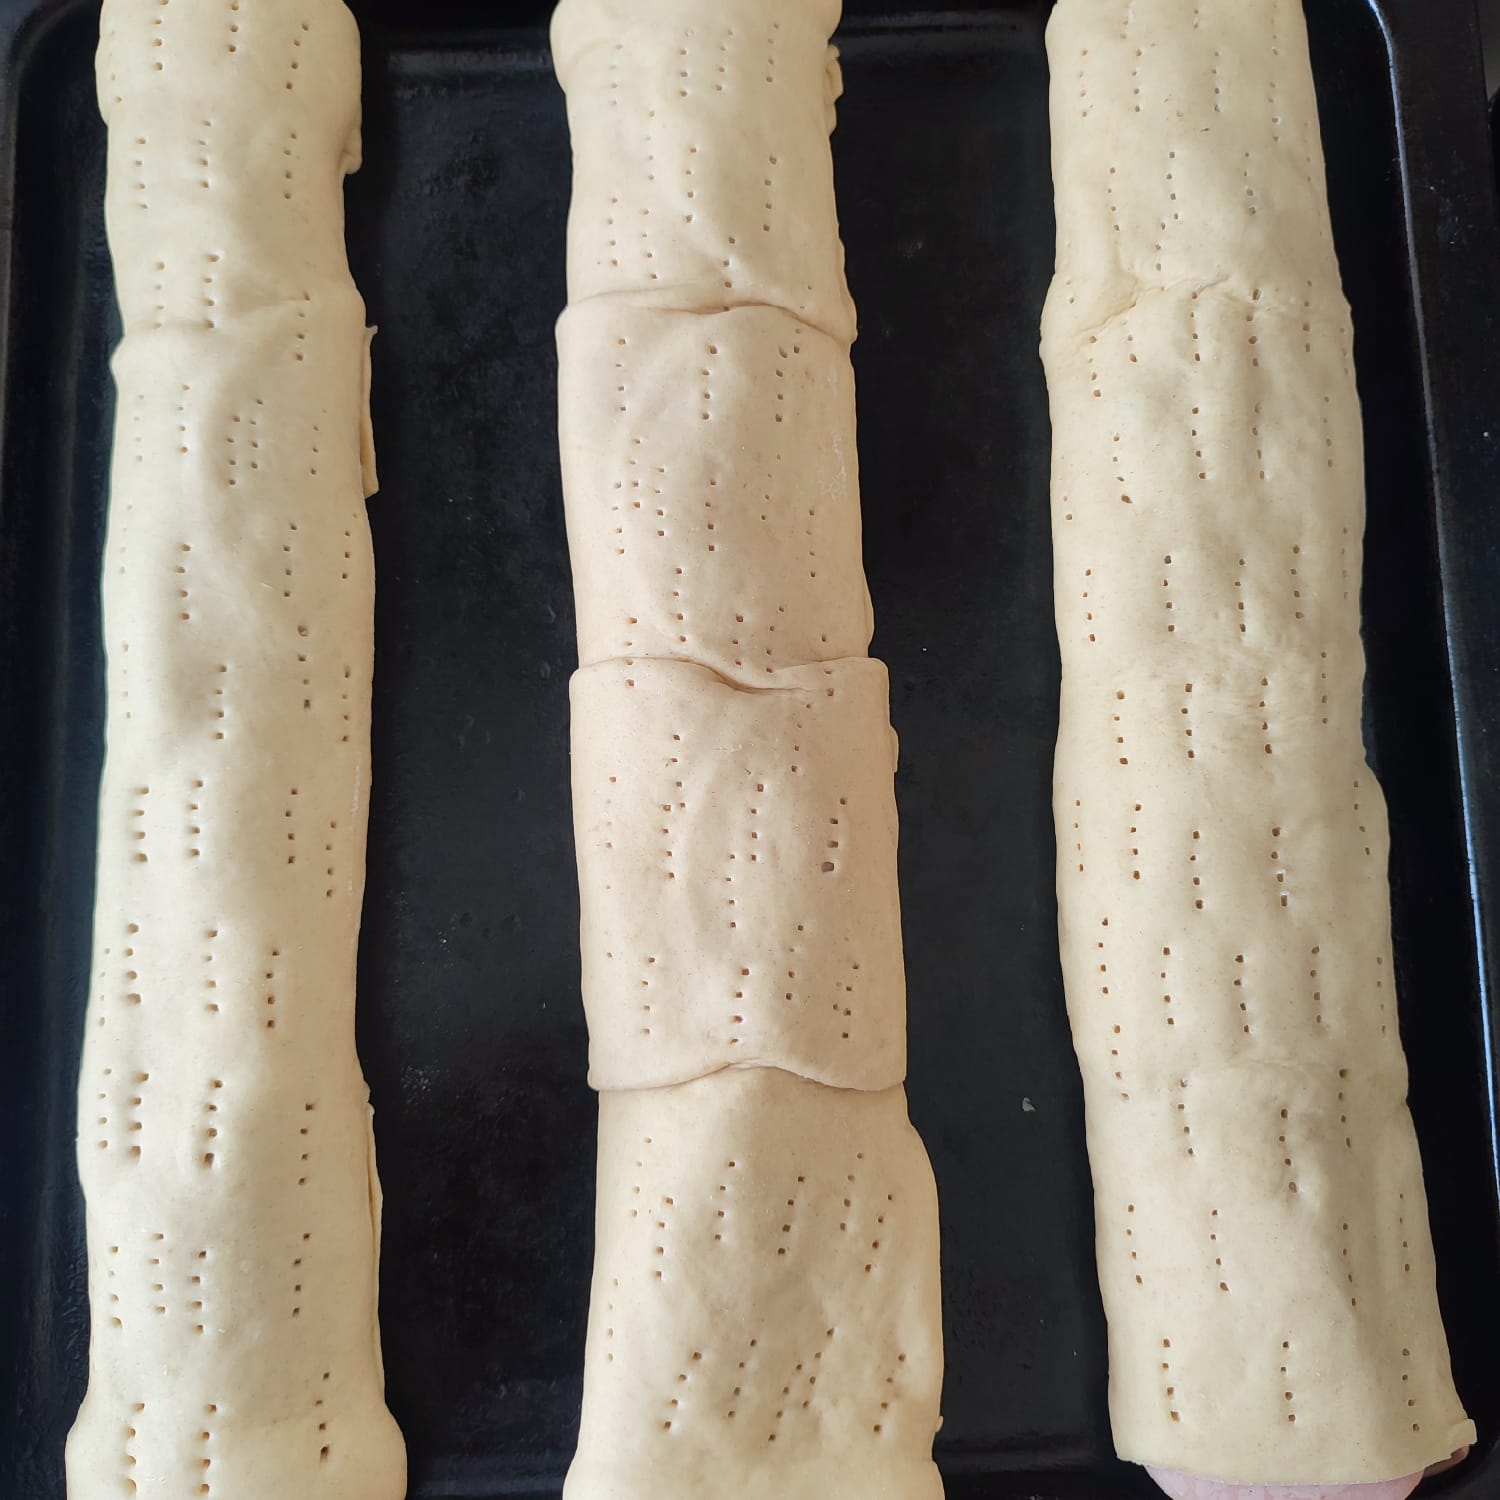
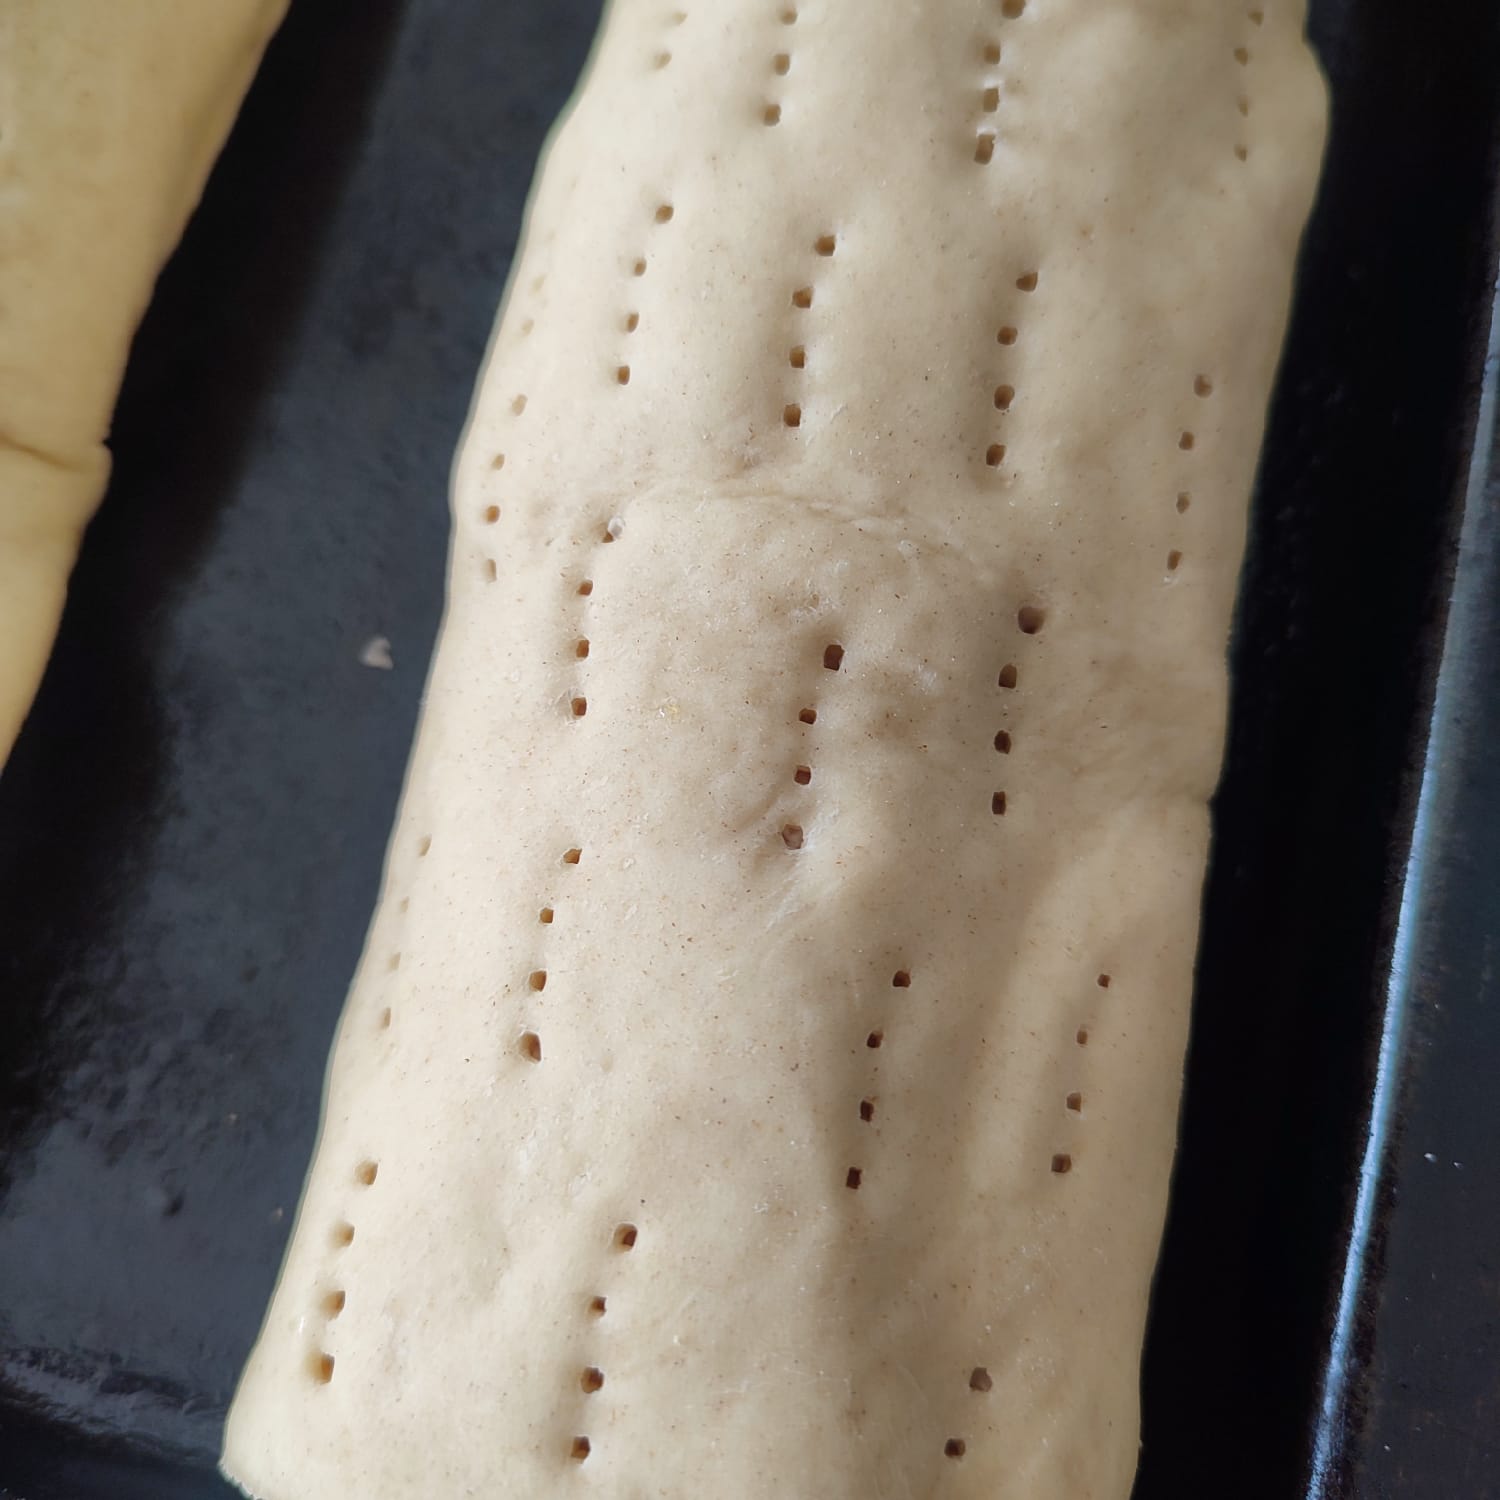
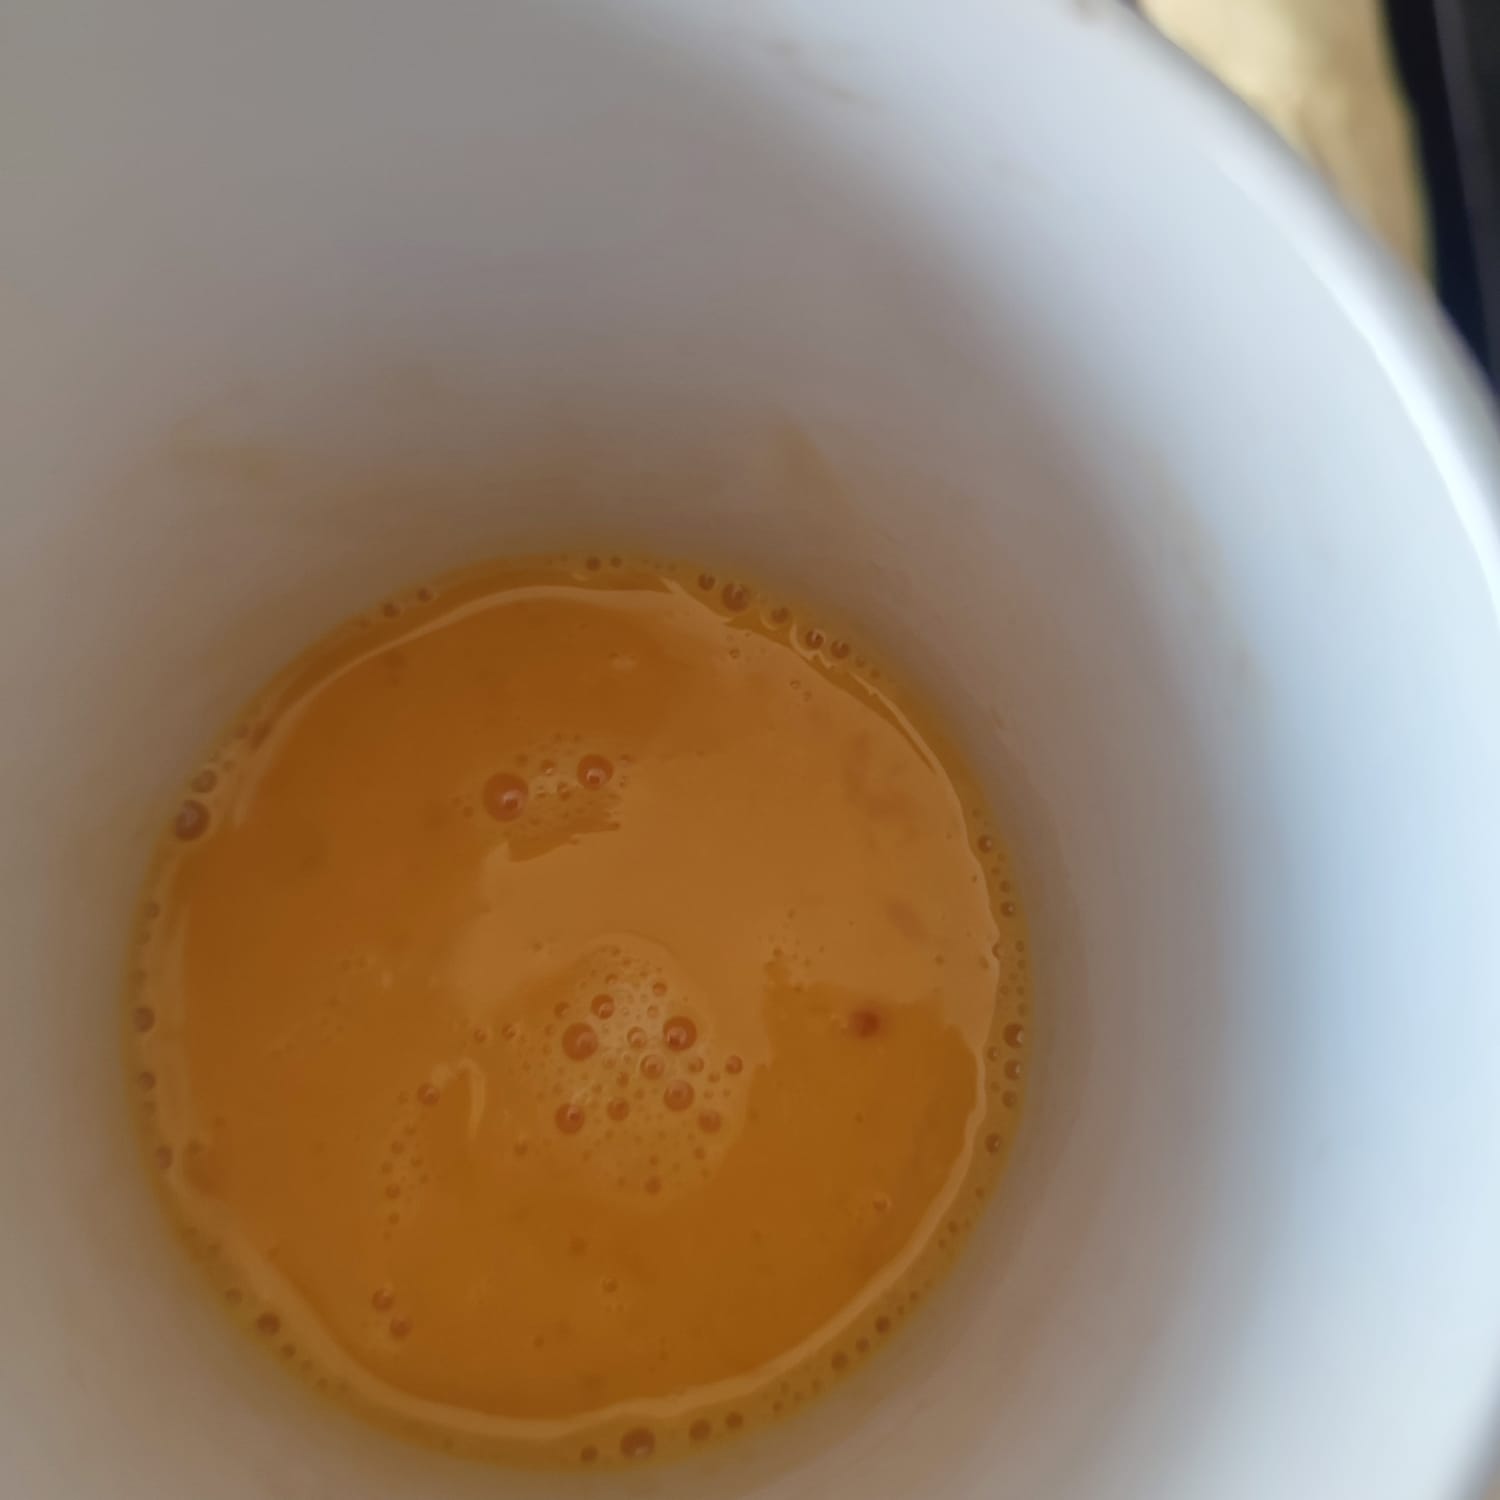
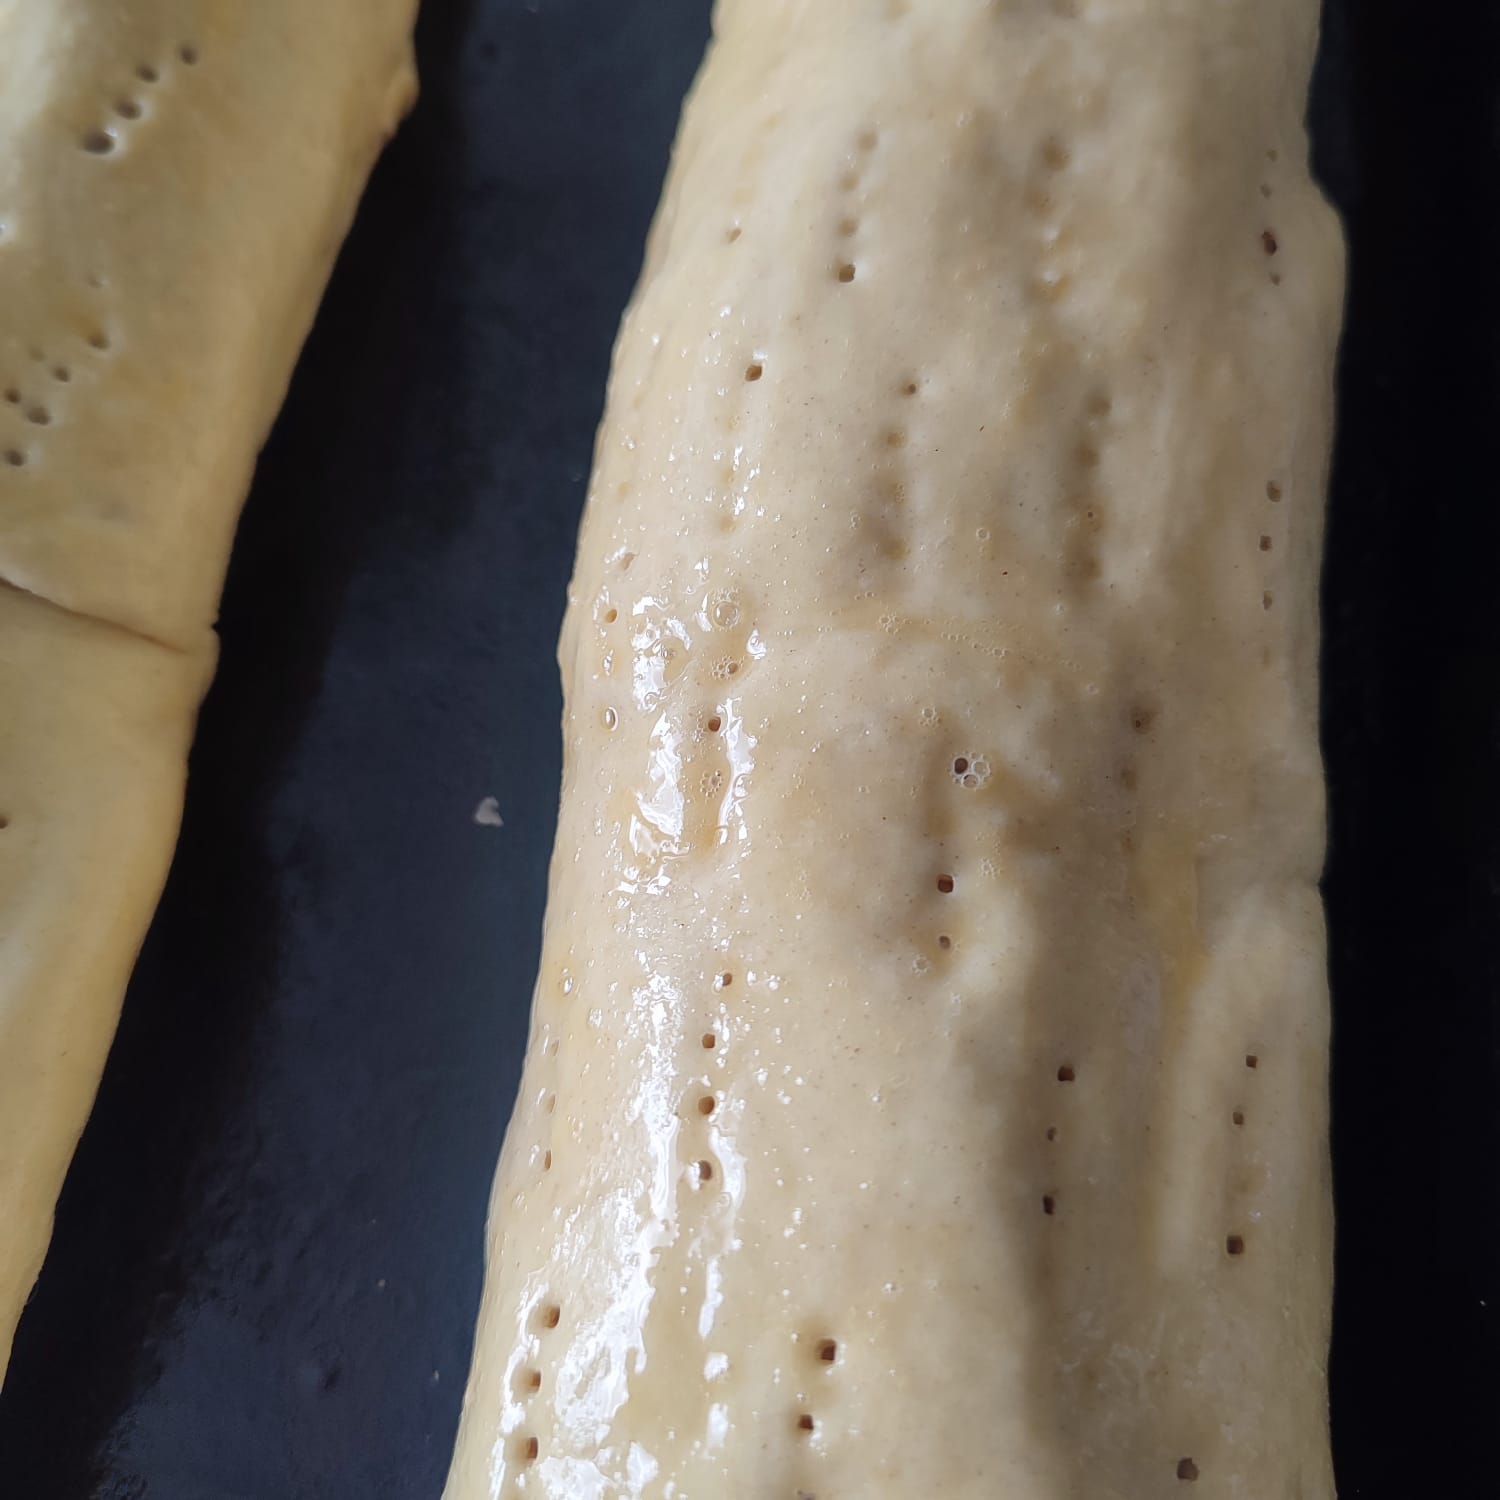
Luego de tener el pan ya listo sobre la bandeja, lo dejé reposar unos 30 minutos y luego con la ayuda de un tenedor le hice algunos huecos para que salgan los gases y cubrí con una mezcla de huevo con una cucharada de leche. Así los llevé al horno a unos 170 grados por aproximadamente 20 - 25 minutos. A mí no me gusta que se doren mucho, prefiero que queden blandos en todos lados.
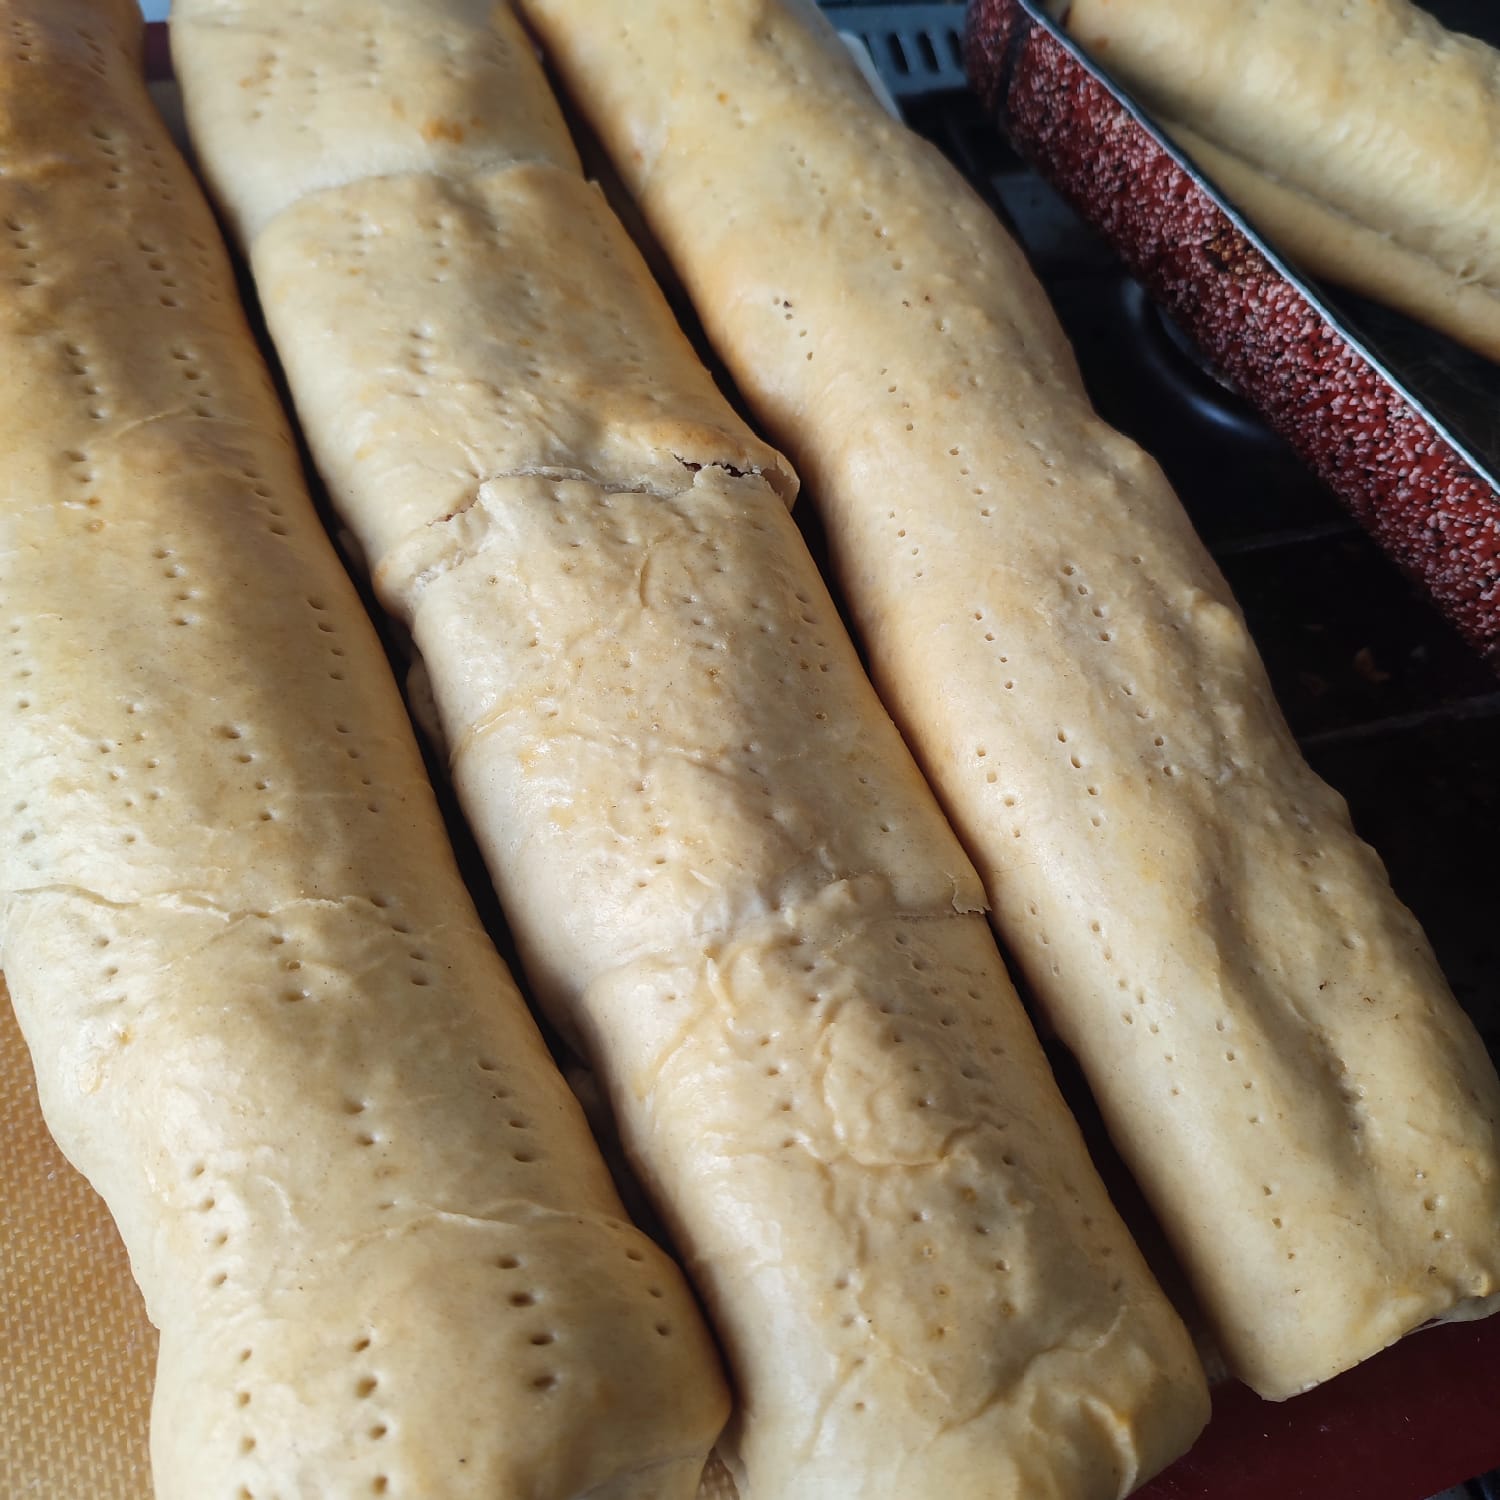
Ya pasados unos 25 minutos, el pan ya estaba listo e inmediatamente al salir del horno lo cubrí con una paca de mantequilla en toda su superficie, tanto por debajo como por encima.
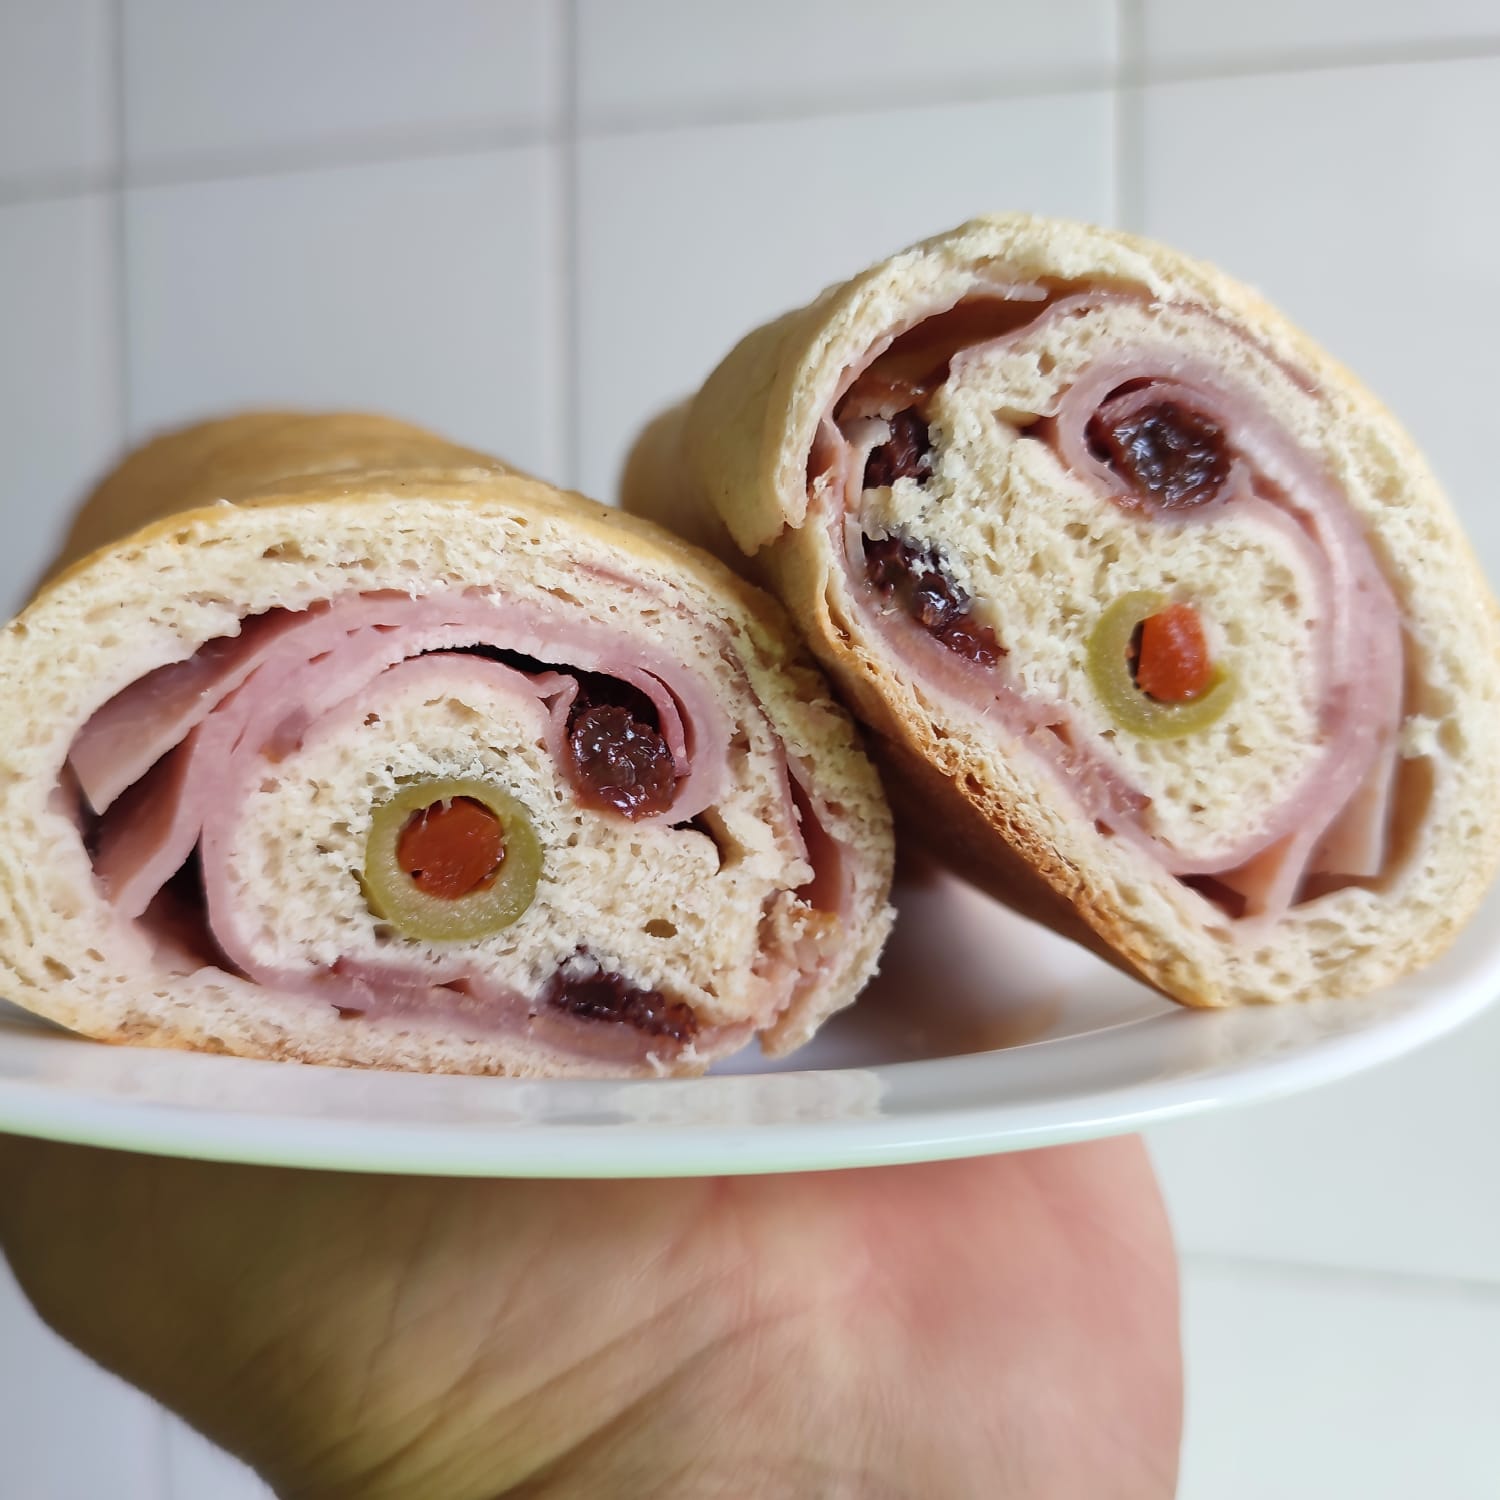
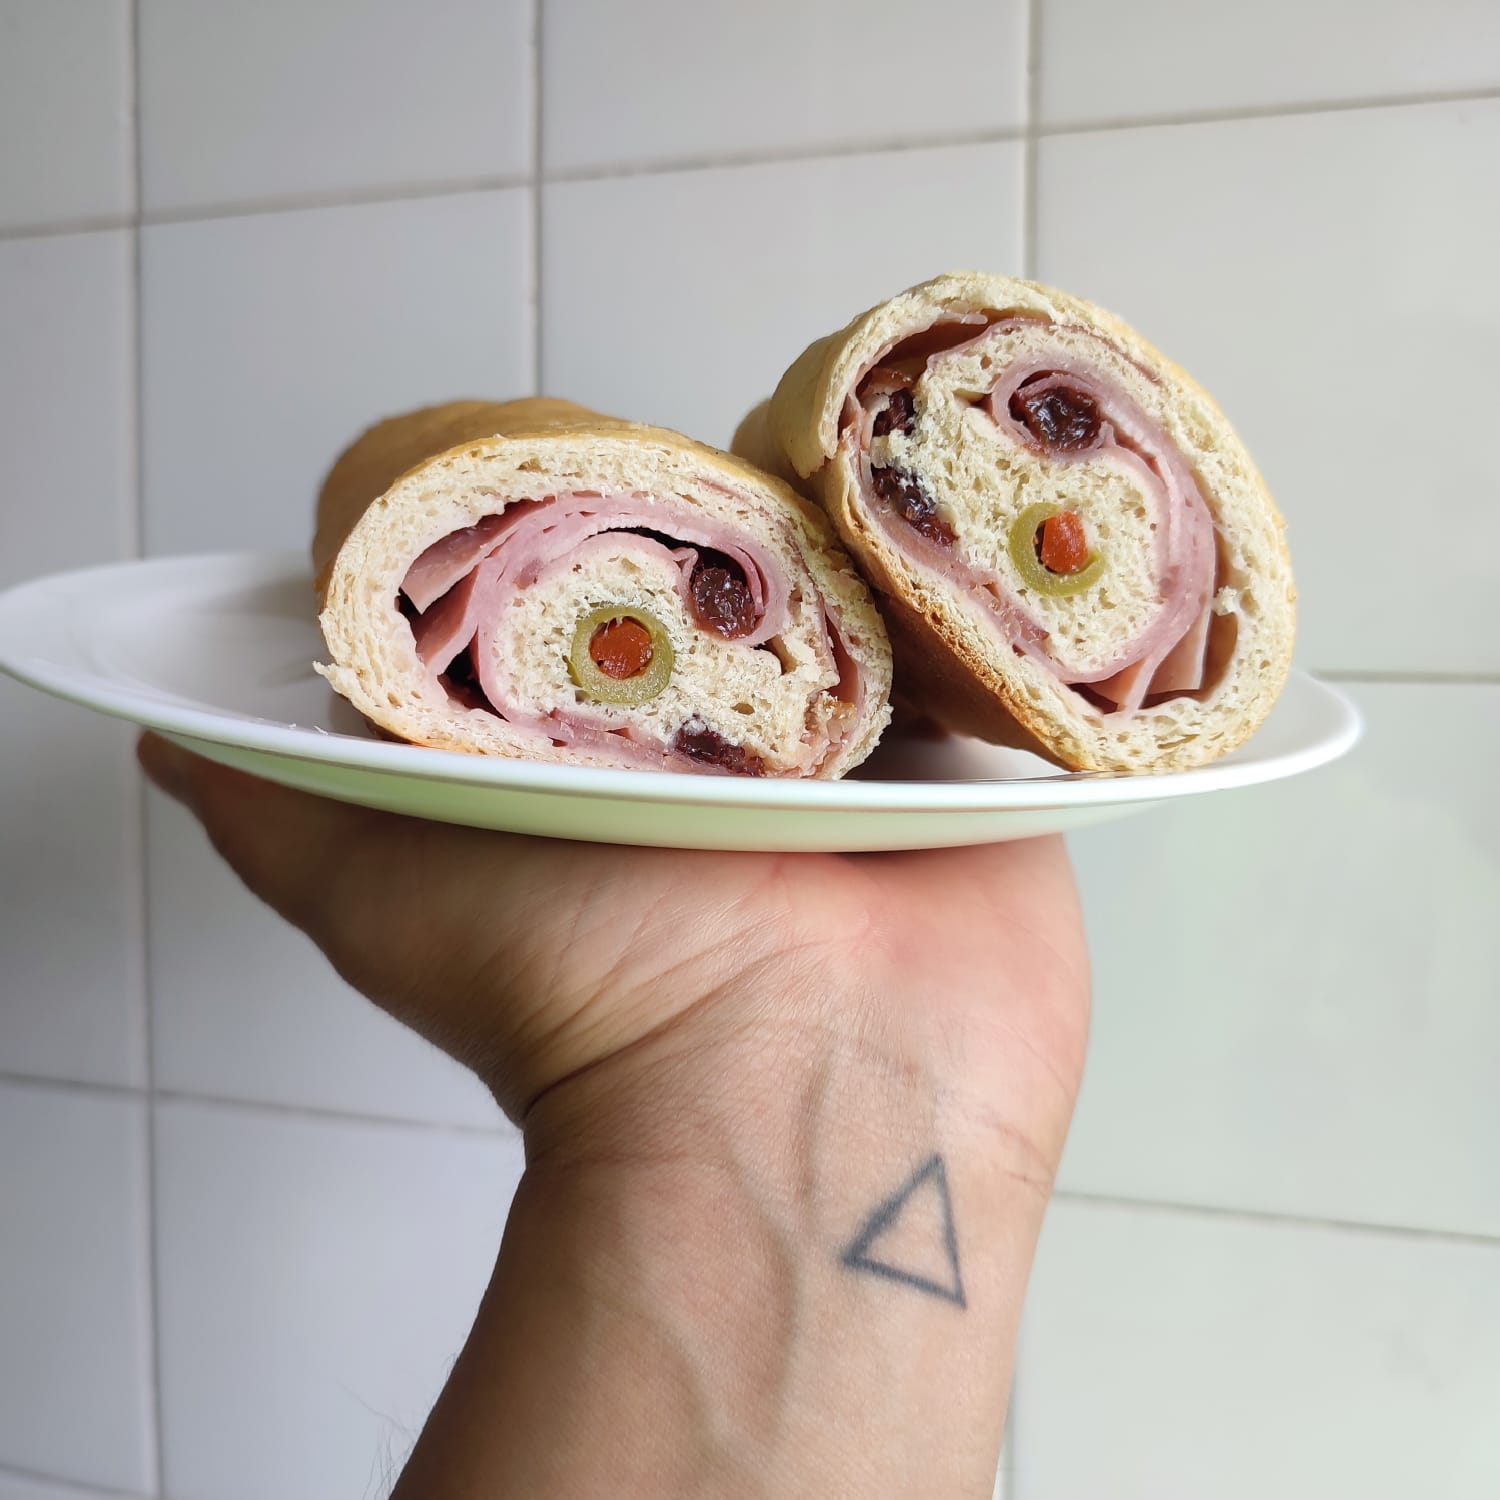
Pasados unos minutos lo corté por el centro para compartirte cómo quedó. Tiene una cantidad de jamón justa, como para que también resalte el sabor de la aceituna y las pasas. Es una de comidas favoritas de todos los tiempos. Cuando era pequeño le sacaba las pasas y ahora que estoy grande, no solo me lo como con pasas, sino que me como las pasas en el proceso de la preparación. Es una hermosa tradición que espero repetir por todo lo que me quede de vida.

Feliz navidad para todos, y si no celebras esta fecha, no importa, espero que todo lo que desees se haga realidad.

ENGLISH: HAM BREAD
Ham Bread (Pan de Jamón) is a traditional Venezuelan dish, typically enjoyed during December and early January, as leftovers from Christmas meals are consumed. However, it can also be found throughout the year, with mini Pan de Jamón available in most bakeries.
I learned how to make it many years ago, and when I first arrived in Argentina, I sold it for a season when I had just arrived and didn’t have my papers yet. My sister Karen taught me how to make it, and today I’m sharing how I prepared it yesterday to enjoy on December 24th. This recipe makes four Pan de Jamón.
I usually make them with all-purpose flour (0000) and yeast, but yesterday, since almost everything was closed, I used pizza flour that already contains yeast. Having used it before for bread, I knew it would turn out well.
Ingredients
Self-rising wheat flour: 750 g
Water: 200 ml
Powdered milk: 20 g
Sugar: 20 g
Salt: 10 g
Egg: 1
Butter: 50 g
Milk: 1 tablespoon

In a large bowl, I added the self-rising wheat flour along with the water, which should be lukewarm. This is important to help activate the yeast more easily—avoid using water that is too cold or too hot. I also added the sugar, the egg, and the powdered milk.


I melted the butter in the microwave because I don’t have an electric mixer. If you have a bread mixer, it’s enough for the butter to just be at room temperature. I waited a couple of minutes for the butter to cool slightly and then added it to the mixture.
I kneaded everything with a lot of patience for several minutes. Since the dough was sticking to my fingers, I gradually added more wheat flour and kept kneading until the dough no longer stuck to my fingers. The opposite can also happen, where the dough feels too stiff. In that case, you need to add a little water and continue kneading.
Each type of flour is different, so there’s no universal rule to follow.


Once the dough was soft, easy to stretch, and no longer sticky, it was time to let it rest in a warm place to rise. I left it in the same bowl I used for mixing and covered it with plastic wrap. It took about 40 minutes to double in size. Once that happened, I removed it from the bowl, gently kneaded it to release the gases, and then divided it into four portions, as I was making a total of four Pan de Jamón.
I placed a base of wheat flour on a silicone mat and dusted it with more flour. Then, I took the first portion of dough and, using a rolling pin, stretched it out until it measured approximately 40 cm long and 30 cm thick.


With the dough stretched out, place the olives along one edge and cover them with the dough, as shown in the images below. The rest of the process is straightforward: layer smoked ham and raisins, repeating the process as many times as you like, depending on how much ham and raisins you want in the bread. Then, roll the dough carefully until the last edge of the dough is tucked underneath the bread.
I only photographed the first one I made, but there were other variations: one had bacon, another had cream cheese, and another had a creamy filling. I only made one of these for myself (the one in the photo); the rest were for a cousin who asked me to make them for his Christmas dinner.


I decided to add a touch of sugar over the ham to enhance the bread's flavor, but this is optional, as many people prefer not to do it this way.
Once the bread was ready on the tray, I let it rest for about 30 minutes. Then, using a fork, I made a few holes to release any gases and brushed it with a mixture of egg and a tablespoon of milk. I baked them at approximately 170°C (340°F) for about 20-25 minutes. I prefer not to let them brown too much, as I like them to stay soft all around.


After about 25 minutes, the bread was ready. As soon as it came out of the oven, I brushed its entire surface, both top and bottom, with a generous layer of butter.
A few minutes later, I cut it in the middle to show you how it turned out. It has just the right amount of ham, allowing the flavors of the olives and raisins to stand out as well. This is one of my all-time favorite foods. When I was a kid, I used to pick out the raisins, but now that I’m older, not only do I eat it with raisins, but I also snack on them during the preparation process.
It’s a beautiful tradition I hope to continue for the rest of my life.


Merry Christmas to everyone! And if you don’t celebrate this holiday, that’s okay—I hope all your wishes come true.
Congratulations @lachg89! You have completed the following achievement on the Hive blockchain And have been rewarded with New badge(s)
Your next target is to reach 1750 upvotes.
You can view your badges on your board and compare yourself to others in the Ranking
If you no longer want to receive notifications, reply to this comment with the word
STOPCheck out our last posts:
Thank you so much @ewkaw @qurator ❣️❣️