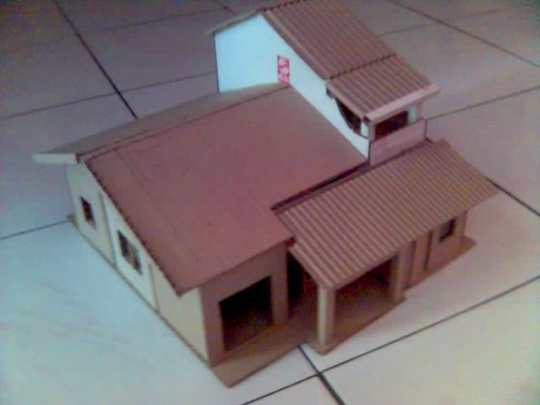
Hi all let me make a simple trit yes .. here I want to share how to make the creation of the home form of used cardboard .. this is it, let's get started ...!
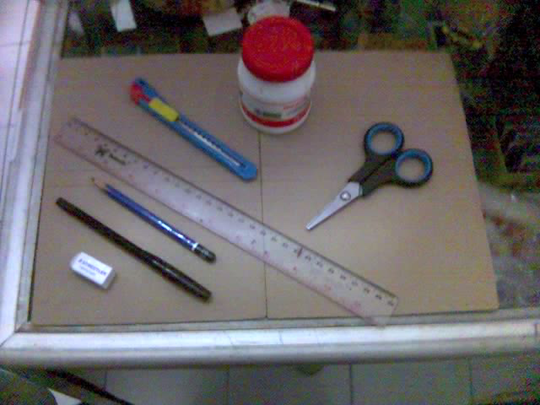
Tools as usual;
-Scissor.
-Cutter.
-Ruler.
-Pen.
-Pencil.
-Eraser.
-Wood glue.
Its ingredients;
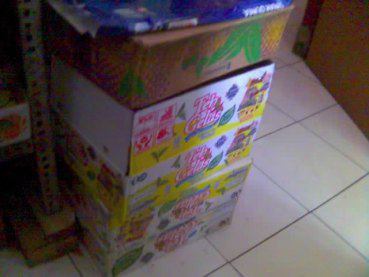
-The old box is still good (no wet, torn, folded and others)
-Plastic transparent. the amount depending on the number of windows want contrived.
Home Design Preparation Process (Scheme)
We can create a scheme from home our own or can we easily get by way of browsing images on the Internet. which is important we choose a rather complete picture with specifies the actual size. for example schematics as below.
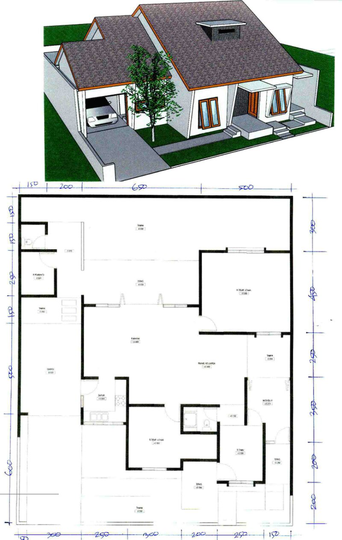
So the picture above will make it easier we to make our home creations so much easier. length and size the width of the room becomes our benchmark to determine the size of the cardboard we will use as part of base. do not forget, we may have to adjust the schema from the original also, as needed. example I created my home creations with using a 3: 100 scheme for size original scheme (6: 100). that means me it only takes 3cm long to replacement original size 100cm from yang should be 6cm for comparison 100cm. It is intended for save the material that we will Use. again, depending on how much the size we need for replacing its original size.
- For Wall Making.
Use a cutter knife with a blade which is really sharp. let's begin by preparing cardboard (for the scheme 3: 100) then cut the cardboard material into parts of the wall separately consisting of height and the width of the wall only.
- Gluing.
For this section use wood glue and do not forget ketelitan and neatness, because the level of equilibrium part- part of the room will be determined on this part.
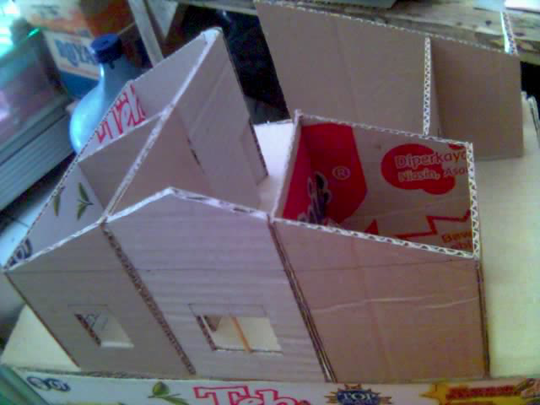
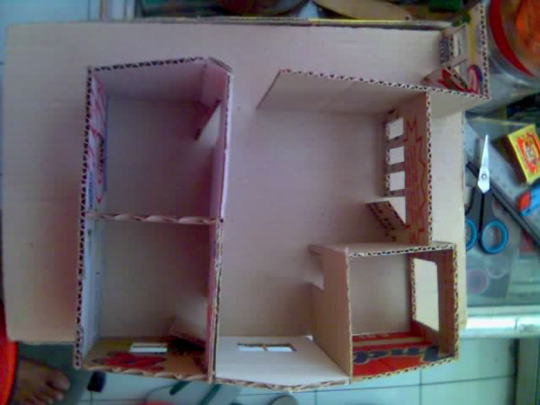
- Window and Door.
This part is also pretty difficult to beginner level. but if it keeps on try definitely can. Cut the plastic transparent-we used to use for presentation - according to size window. then paste on the part window carefully. this is for causing a window glass effect indeed. for the door part, cut cardboard with door size. then apply wood glue only on the part one side only, so the door can closed and opened.
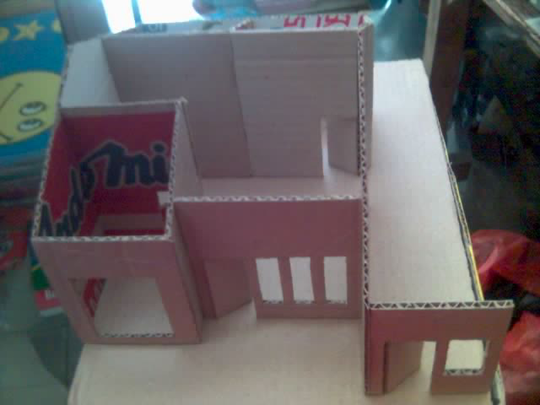
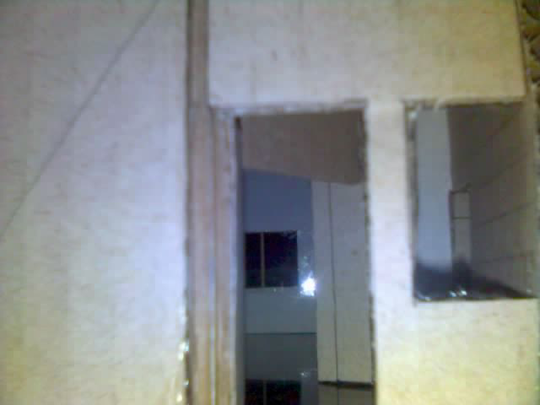
- Roof Part.
This section is actually the part that easiest. because almost the same with the process of decorating on unique books to create a precarious effect.
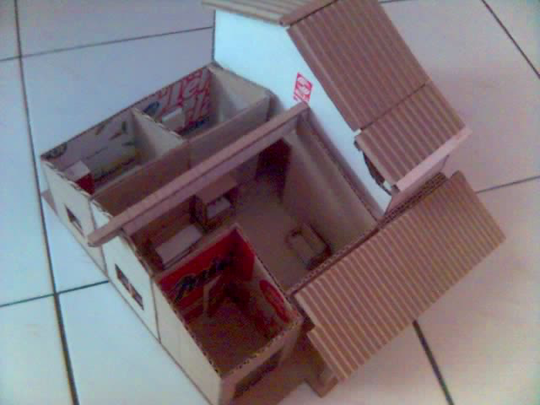

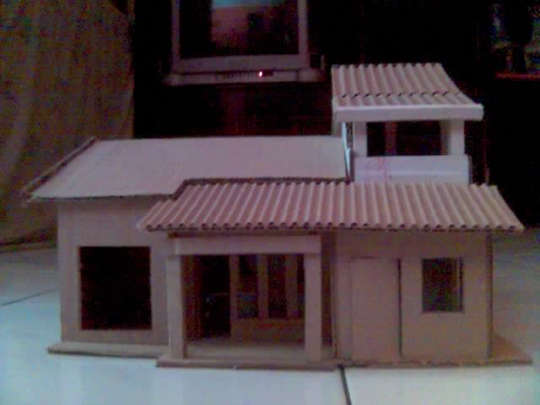
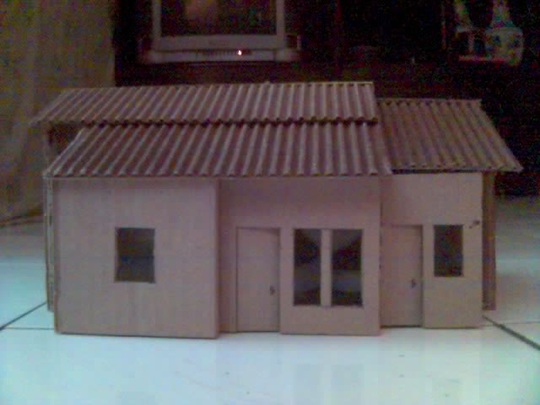
- Decorations.
This part we can input before all parts of the roof we live on permanent. indoor decoration can be shaped staircase, bathtub, chair, beds and more.
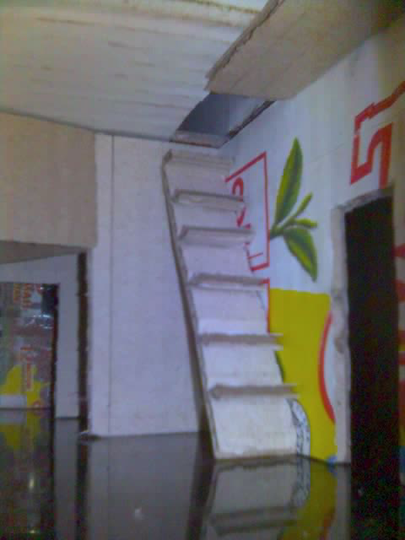
You can also make the roof is not permanent by creating structure a separate roof with walls home. as shown below:
- Finishing.
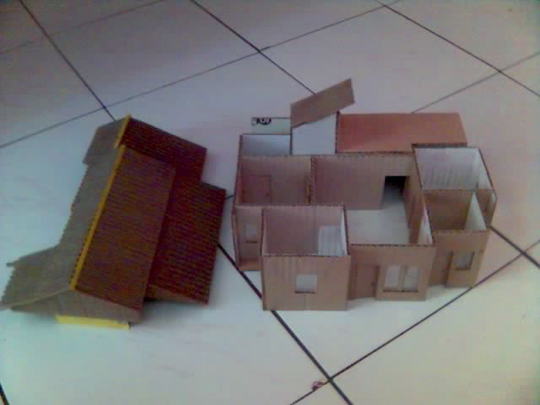
Well if all is felt ready, which left behind just painting process and additional decoration. painting can we use wood paint and to process additional decorations like grass, ours can use used carpet pieces green or for trees, dolls, shrubs and animals, us can buy in the decoration shop or shop cake ingredients at a very price cheap.
Congratulations! This post has been upvoted from the communal account, @minnowsupport, by sucindi from the Minnow Support Project. It's a witness project run by aggroed, ausbitbank, teamsteem, theprophet0, someguy123, neoxian, followbtcnews, and netuoso. The goal is to help Steemit grow by supporting Minnows. Please find us at the Peace, Abundance, and Liberty Network (PALnet) Discord Channel. It's a completely public and open space to all members of the Steemit community who voluntarily choose to be there.
If you would like to delegate to the Minnow Support Project you can do so by clicking on the following links: 50SP, 100SP, 250SP, 500SP, 1000SP, 5000SP.
Be sure to leave at least 50SP undelegated on your account.
wow excelent work