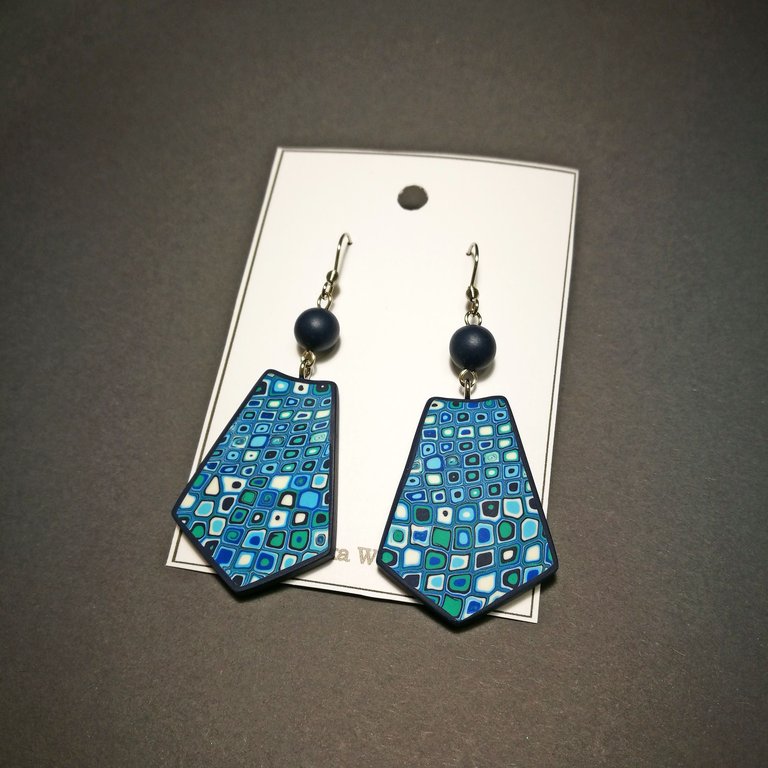
Hello, friends! Today I present to your attention a small master class. As a result, we should get such set made of polymer clay in extruder technique.
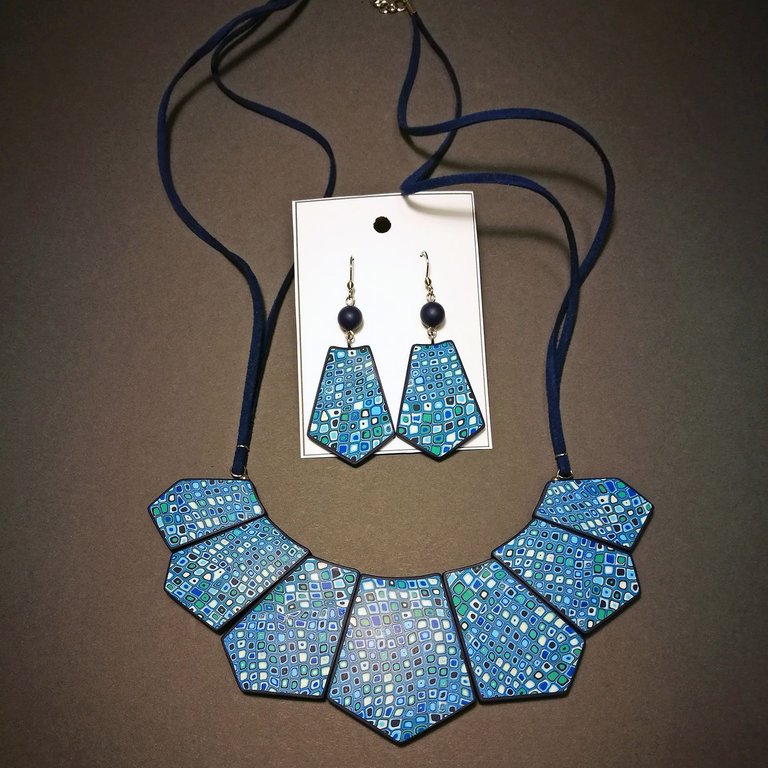
Fo first we need polymer clay FIMO or cernit... or something similar. You can use a similar color scheme, or choose those colors that you like best.Roll out the clay and cut out the same circles. These circles should correspond to the diameter of the extruder.
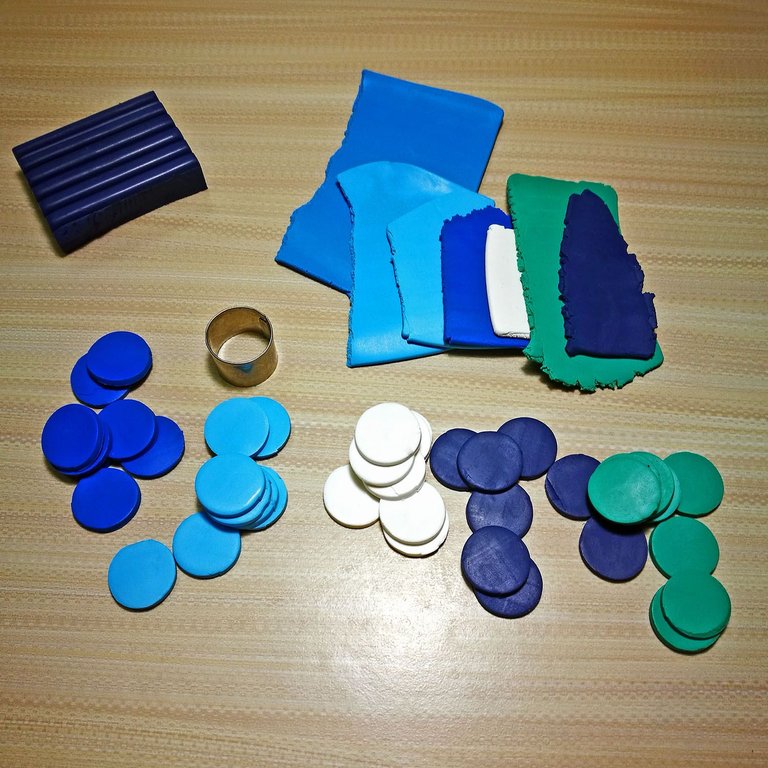
We make from the received circles "sausage", circles are located in a certain sequence (you can choose the sequence yourself.)
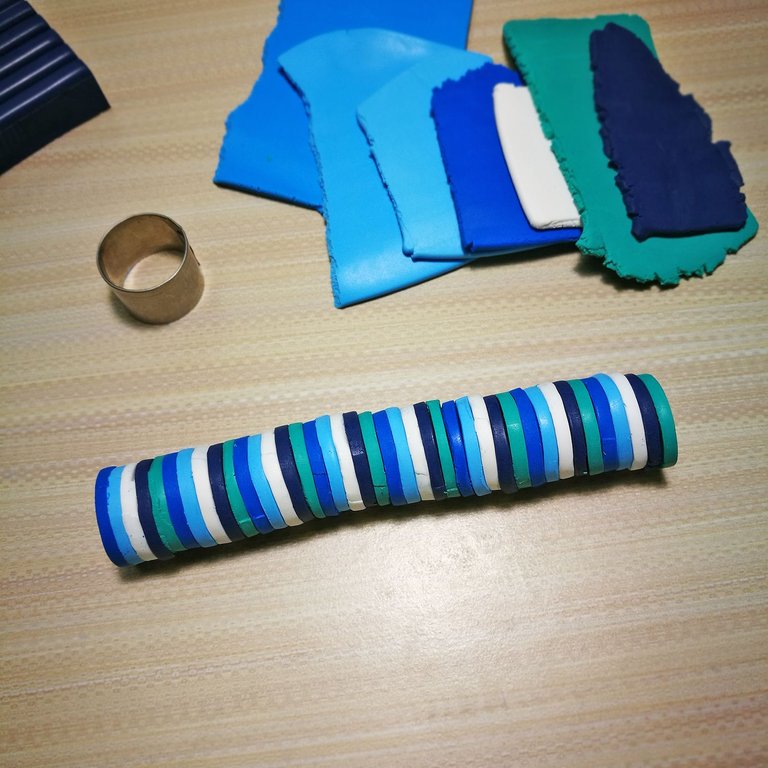
If the resulting cylinder is slightly larger in diameter, it should be slightly rolled up
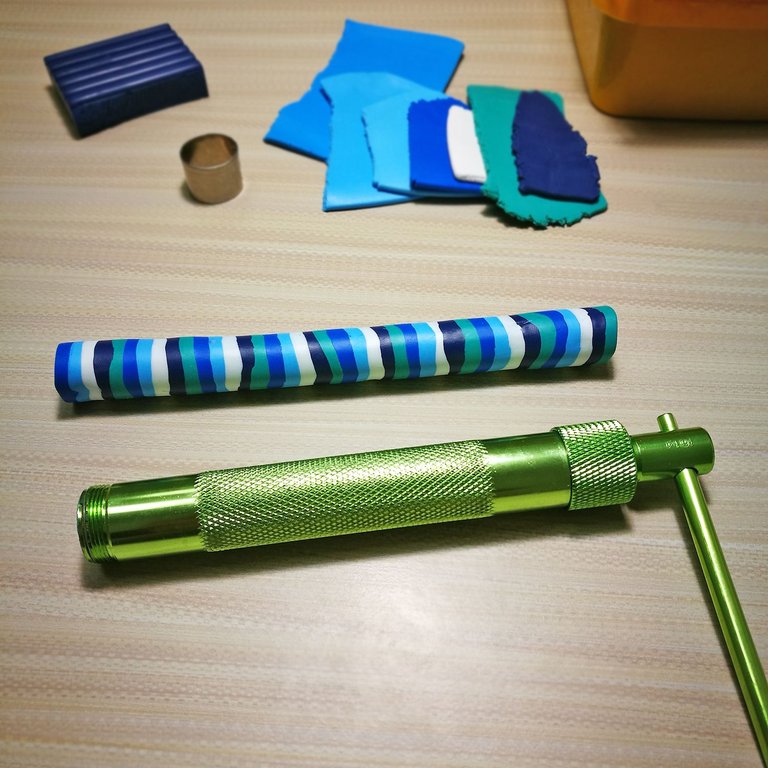
A round nozzle (3mm) is installed in the extender. Then just squeeze out all the polymer clay from the extruder.
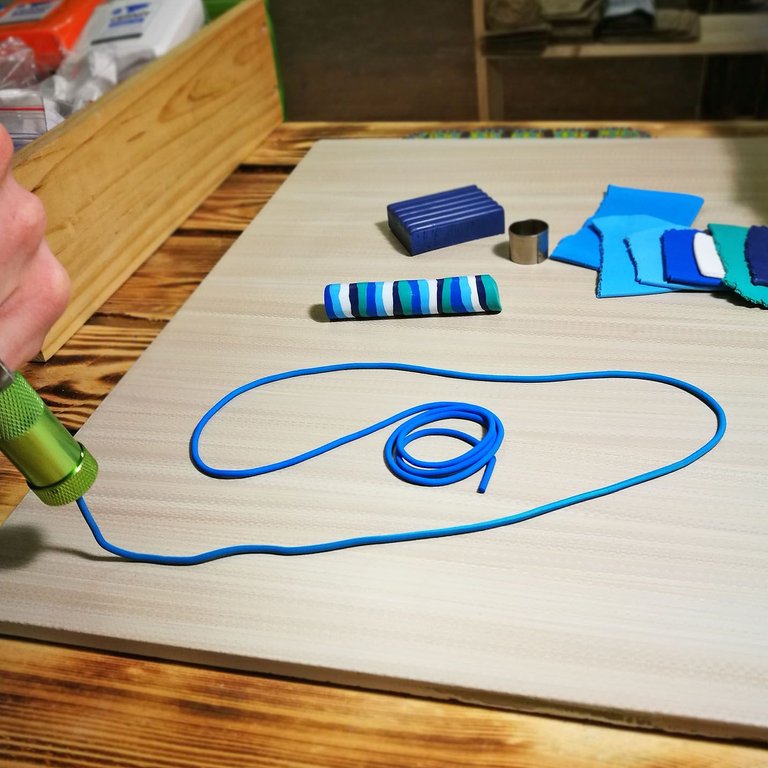
We cut the resulting "noodles" into the same pieces - about 20 cm.
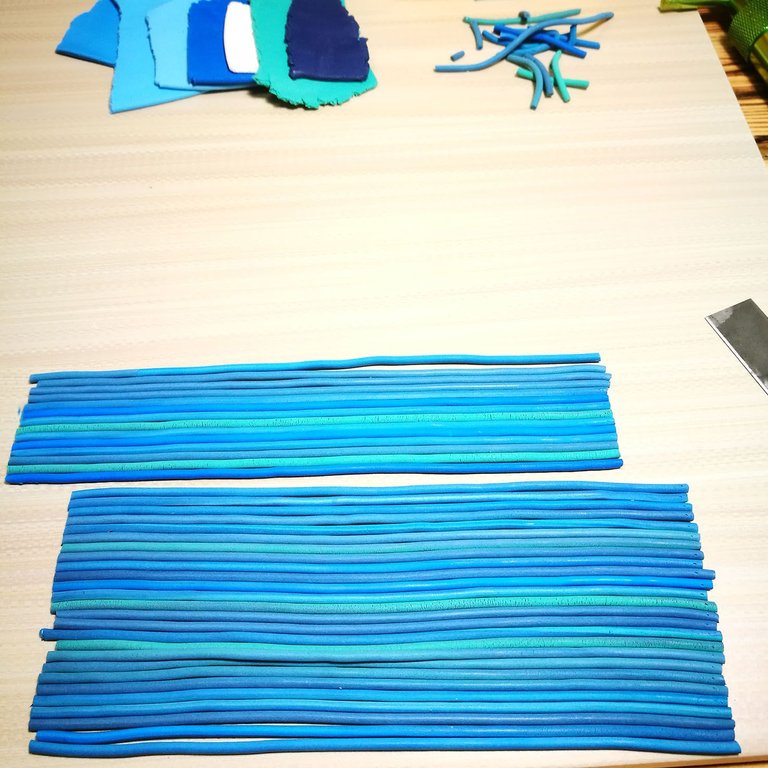
Stick 6 pieces together and rolled down with a rolling pin.
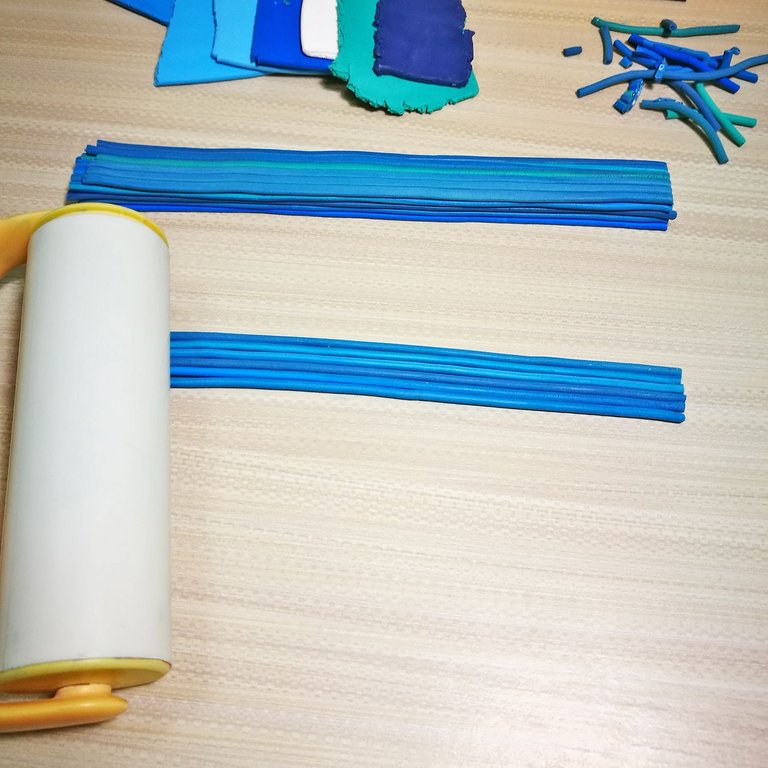
Then connect the resulting 6 "planes"
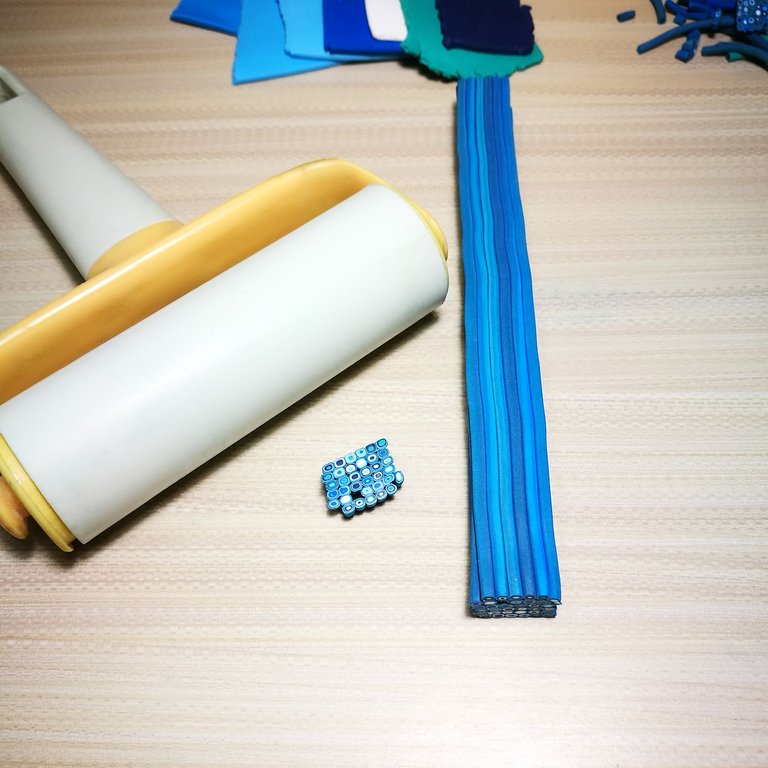
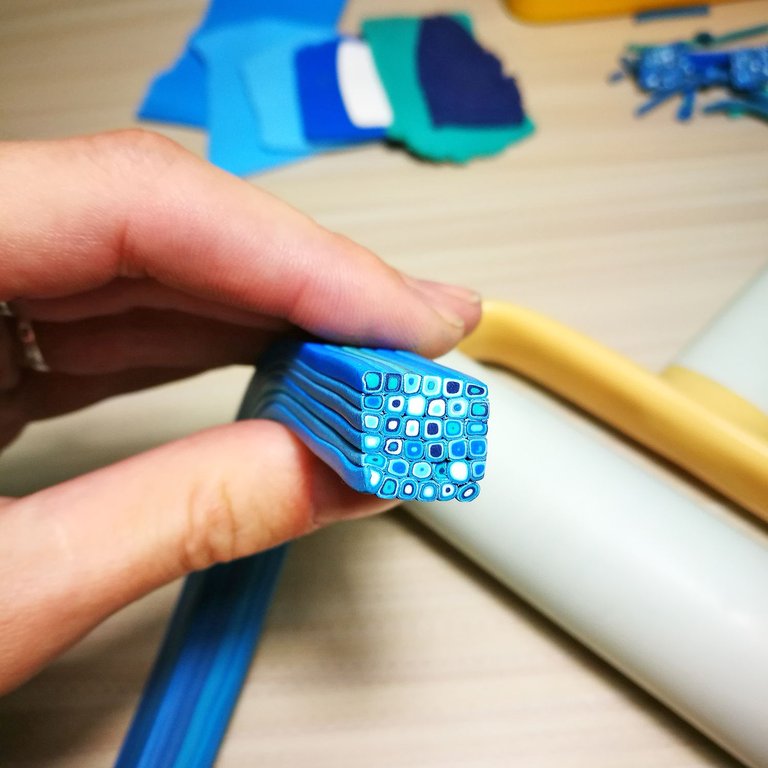
Here is an example of a cut, from the resulting blank. As you can see, inside the pieces are not connected properly, there is space between them. This should not be. Now we need to roll everything from the four sides to make a rectangle.
Next, take a layer of polymer clay, as a base and lay out on it sections (slices) from the rectangle.
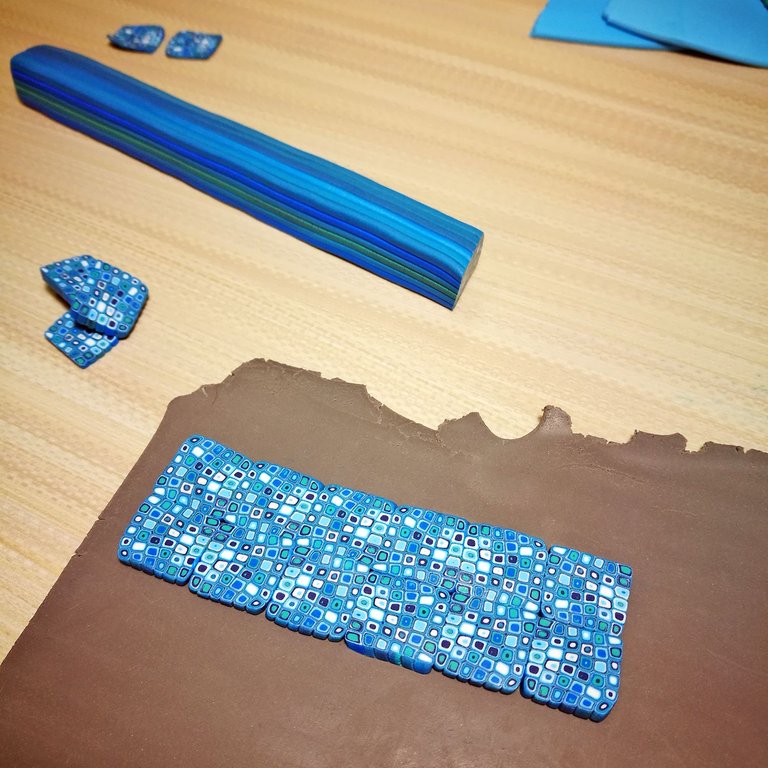
We roll the whole thing with a rolling pin or roll it out in a pasta machine. Then cut out the shape we need and make a border or do not do as you want :) After that, bake in the oven, following the instructions on the packaging of polymer clay. It remains only to drill the holes (use only manual drill!), and twist the pins and assemble the kit on the cord that you like! :)

We wish you creative success!
Sincerely, Terry Craft and his skillful wife :)
Wow, perfect! I like blue color
Thank :) I'm glad, that you like it :)
I seen a similar process using coloured straws and recycled material in the Philippines. Very impressive
Hole shit... So that is how these are made? XD Do you perhaps know what Polymer Clay is made of? Is it Polymers or Clay? Hahaha. Thanks for sharing!
It's all very simple, my friend! It's just a polymer... and clay Haha )
Mind = Blown XD
meep
Wow, how much will it cost..beautifully made. Good job
You know how to use pictures to illustrate you write up. See the step take to produce this. Keep it coming
These patterns are amazing!
Hello
That is an amazing piece of good craftsman
How much can you sell those for?
I am your new follower
Best Regards Andrei
Hello! Thank for kind words! Such kind of set ~ 35-40$
You are welcome
That is not too much considering the time it takes to make and the materials themselves
This reminds me of two things.
1 ) Advanced Play-doh crafting
2 ) Wood strip art
I saw this video of a man in Japan who puts different pieces of wood together to create a pattern and then he thinly slices the wood and the pattern becomes paper. He then makes boxes from those paper patterns. Cool stuff.
Thanks for the post.
WOW! I wanna see it! Gone google
Found it
The Fine art of Japanese Parquetry Using Razor Thin Slices of Wood
Thank you!
Wow that is so cool and amazing I love the colors and the pattern, beautiful! 🕊
Thank you! :)
Your very welcome:)))
nice tutorial, green one would be awesome :)
thx for sharing
hobby woodworker, lamp enthusiast, wooden rc boat model maker, wanna check my work, follow me @dantak
This is really cool and beautiful! I love the colors in this piece and the technique on how you create the log of polymer clay is creative! I have seen similar techniques before, but I really feel like you took it to another level. Great work! 😊
Wow !!! Cool work.
:)@terrycraft, can you come in here, please: https://chat.golos.io/direct/smolalit
This is so beautiful! It's an amazing jewellery. You are very skilled.