Hi guys!
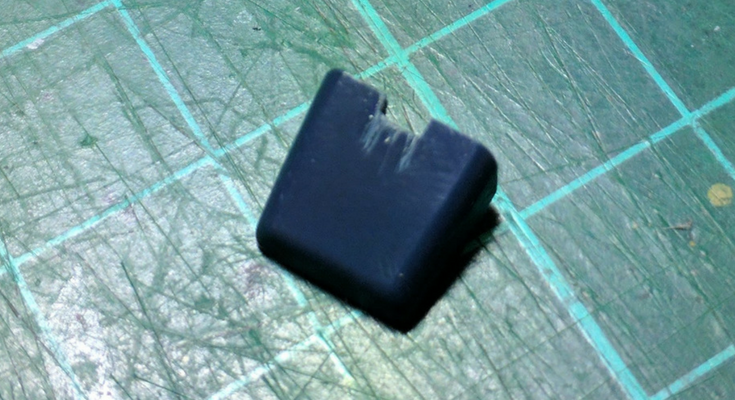
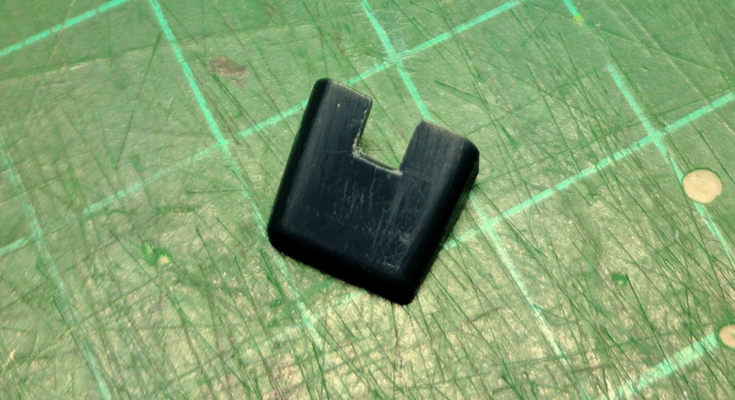
Today, I will trim the toe and try to make an inner frame while detailing it at the same time. So here are updates on Project Devil Gundam!
Today, I will trim the toe and try to make an inner frame while detailing it at the same time. So here are updates on Project Devil Gundam!
More Trimming


I need to make some space so that the inner frame can slide in easily. I'm planning on making the inner frame with 2 x 1 mm pla plates to give it some volume and strength at the same time.
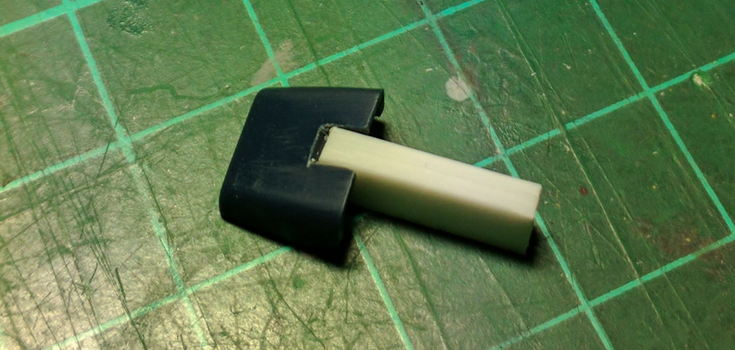
Inner Prototype


Next, I cement 2 pieces of 1 mm pla plates together and test it with the toe I just trim. After it fits nicely I reshape the pla plate a little bit.
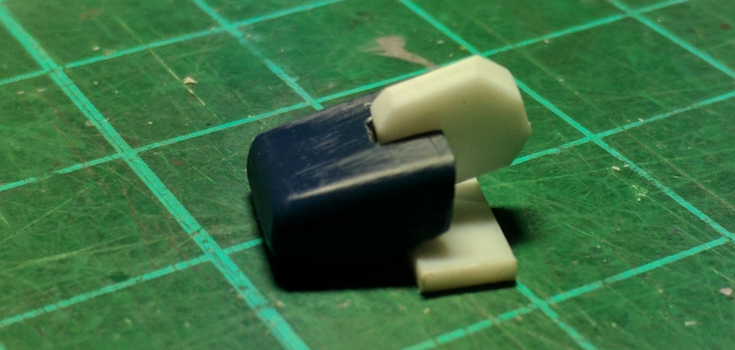
Adjusting the Inner Frame


Then I adjust the shape of the prototype and I will keep this one as a master copy.
Since I will be making a lot of this inner frame I need to make sure the measurement is spot on with the toe.
So these are my update on Project Devil Gundam for today.
Keep on steeming! Have a nice day!
Since I will be making a lot of this inner frame I need to make sure the measurement is spot on with the toe.
So these are my update on Project Devil Gundam for today.
Keep on steeming! Have a nice day!
Quick access tutorial:
- Fixing broken peg using gunpla runer and several tools.
- Fixing holes using cement and plastic scraps.
- Making C-Joints using pla plates.
Nice work.
I think for a small piece like this but you need to make 12 as you said (or 11 more), perhaps you can make a 1 sided cast in silicone and make resin castings of them very rapidly. For the silicone, you can get fancy and buy the real hobby stuff or you can buy silicone caulking (for bathtubs/sinks) + bakingsoda/cornstarch to make it less sticky for only a few dollars. Once the silicone is cured (but flexible) you can easily cast with resin.
Thank you!
Actually that is a great idea but I've completed all the scratch builds for this project. I think that's how other modelers make such a perfect copies. I saw that method being used on one of Japan GBWC entry last year.
This is also one of my to do list maybe in the next couple of years. I want to make a clear armor using this method since clear color P-bandai in my country is overpriced.
Are you doing any kit building?
I haven't really say anything substantial due to school, work and family. I've done a few straight HG builds with minor panel-line engraving and the usual seem removal and putty fill-ins but nothing of your caliber.
I do have the HG god-gundam which I've been working on for a few years, here and there, to add mechanical detail and improved joints similar to some of the work you are doing but not quite at your level of detail or precision. Hopefully I can find some time to really get back into it soon and maybe start posting here!
Keep up your great work and updates, I check them every day
Thank you! This is my first kitbash so I make a lot of errors but I get use to it after a while. But I will definitely take a break from HG after I finish this project.
This hobby always going to take up your time. Specially if you go for a custom build but the most important thing is to enjoy it while it last :)
You should share your work here since I don't think there is any gunpla community here. Let me know when you start sharing it. Cheers!
Just in case other readers are confused on what I'm talking about, take this video for reference (its in Japanese but you can get the idea). pZero uses a 2-part clay silicone to make 2 part molds for some pieces, using not resin buy polyester putty to make multiple parts (through 5 minutes or so).
Liquid form silicone is slightly more difficult to use but is able to get details to the 'T' as it flows onto the pieces you need. Unfortunately, its a bit more tedious to do, messy, and needs some practice/experience to do well. Generally, the clay mold is less accurate and probably needs more sanding afterwards but much easier to pull off.