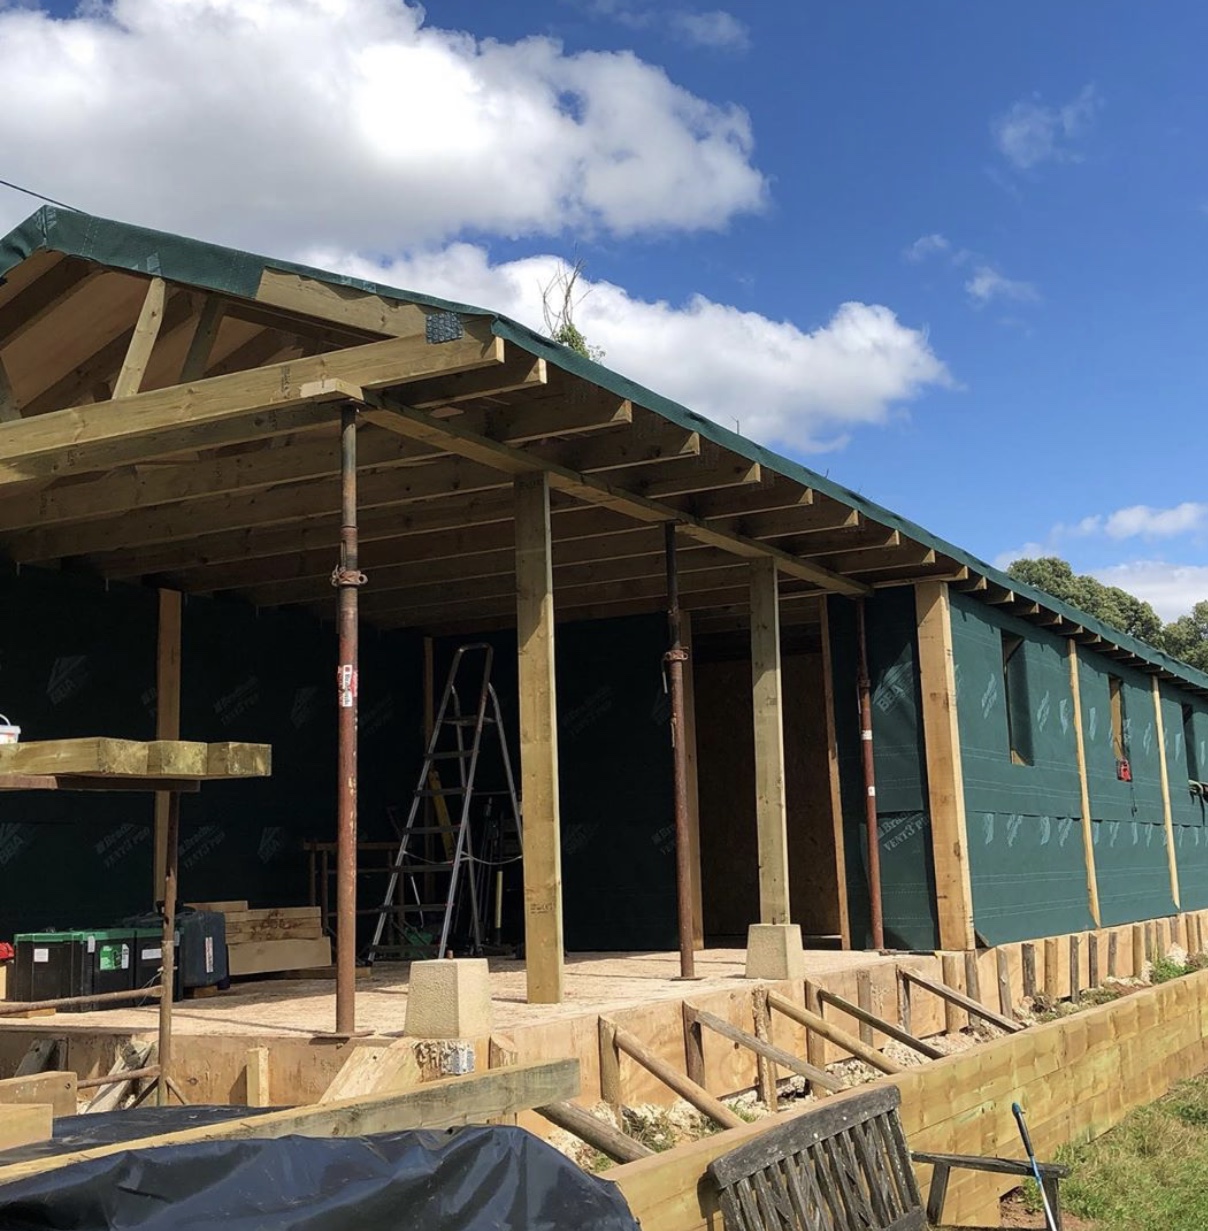
As we are landscape gardeners which usually involves paving, walling, groundwork’s, etc, this was quite an unusual project for us. We originally arrived at this job without this project on our contract, however, when the client shared with us a quote they had for the supply and installation of a flat packed barn, which resembled nothing more than a flashy shed, we told him that we could build a bespoke oak framed version for less money, so the ball started rolling. This gave our clients the option to incorporate things the other company couldn’t accommodate. Firstly, they wanted a roofed but open area at the end of the barn as a working area, a divide on the inside section which is very secure for valuable tools / equipment, and split stable doors for the option to keep animals in the future. For now it will just be a workshop and storage for large equipment. The only stipulations were that we had to keep within a desired size, and have a grey steel roof. Both of these were to keep within the planning stipulations that we’re previously put in place.
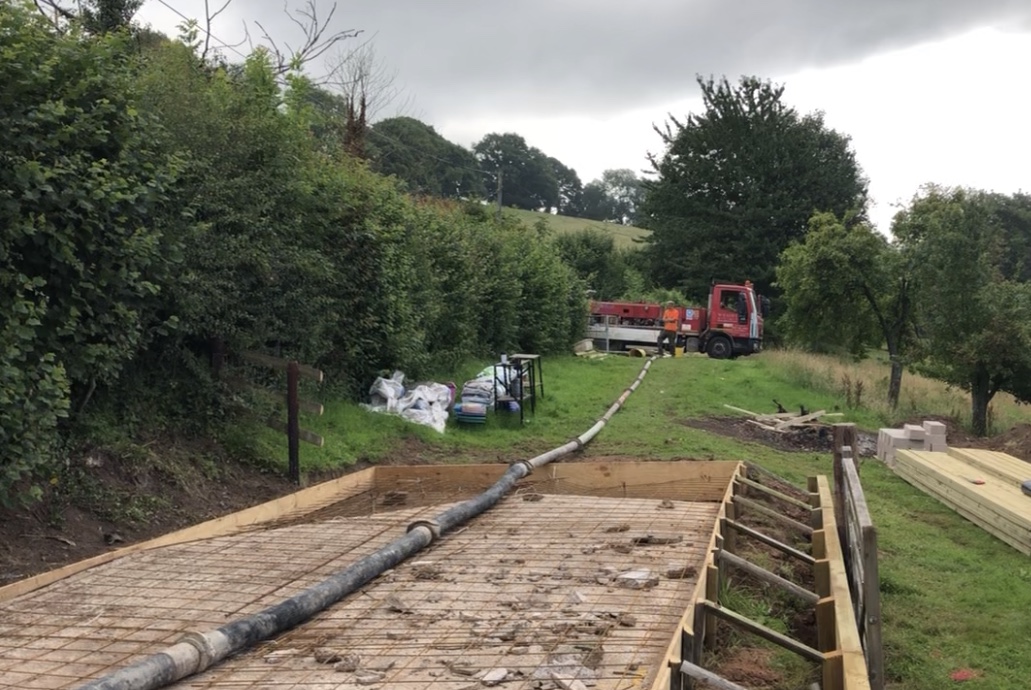
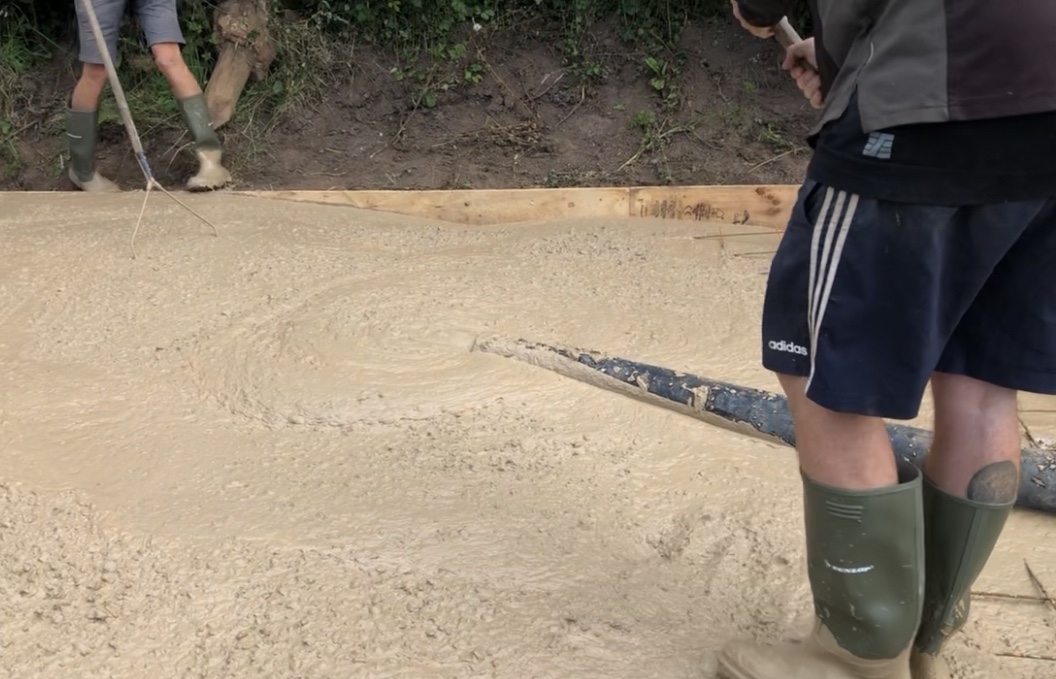
First job was to build the base. We had 16 cubic meters of concrete to pour, and as the access was very tight out in the welsh countryside, we opted to pump the concrete in. Pumping is actually an easy and surprisingly affordable way to bring concrete in. Only thing to recommend with this is to get the concrete supplier to arrange a pump for you. You can save a few pounds by going to 2 different companies, but if one lets you down for any reason, it can leave you in a world of trouble, and needing to still pay the other company. We shuttered the outside of the concrete pad with a variety of ply boards and scaffold planks, and used some old tree stakes to hold it all in place.
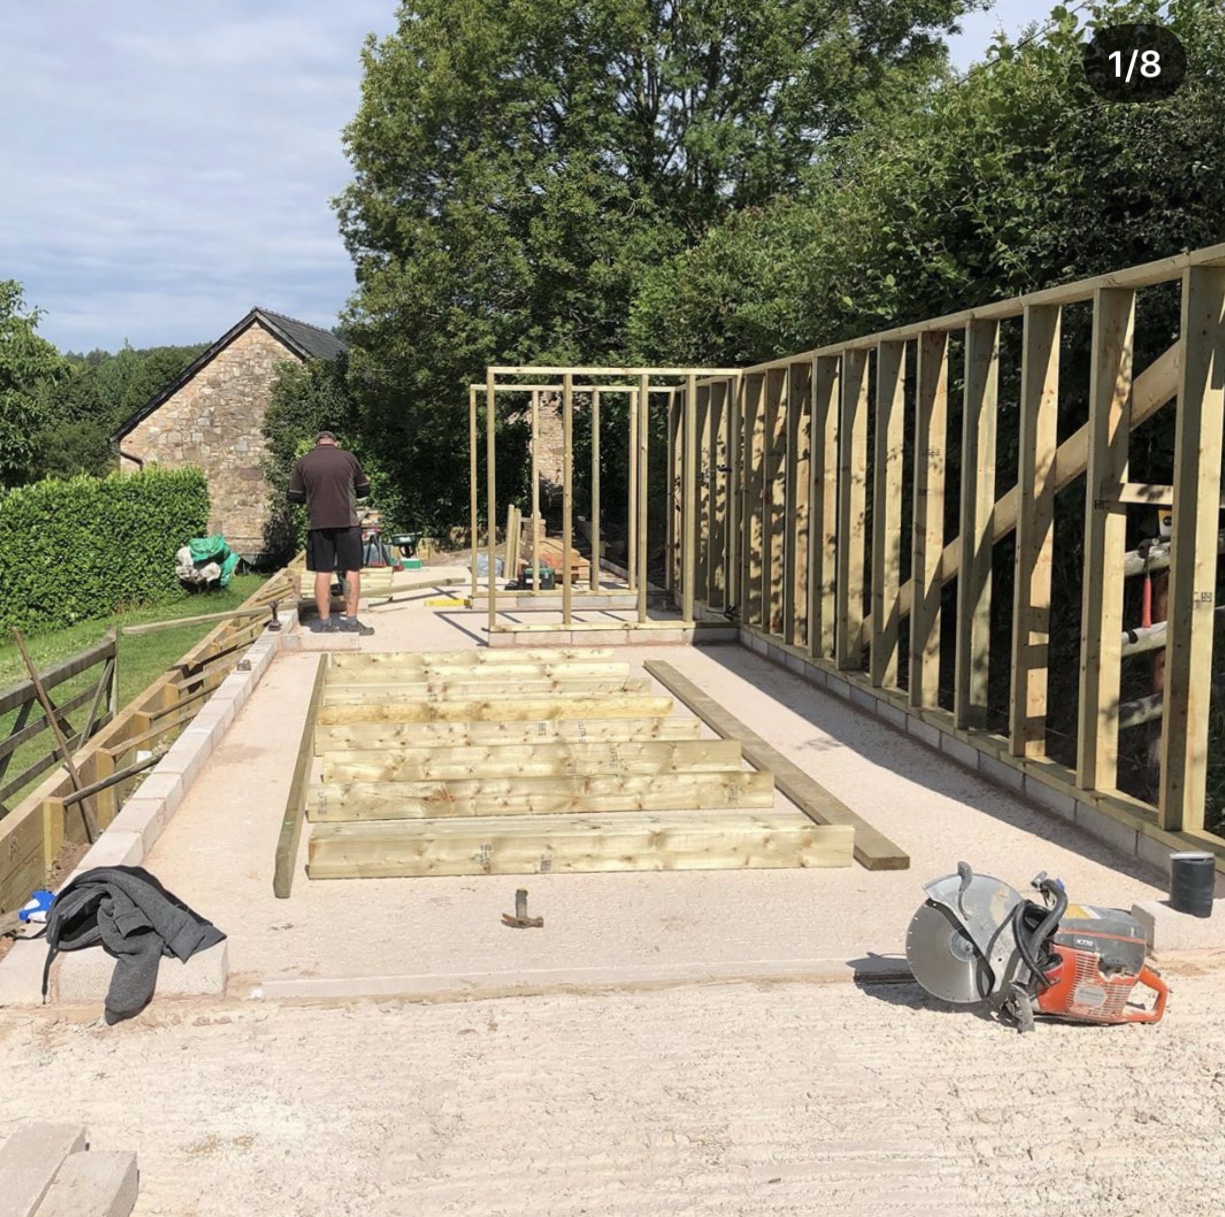
Once the concrete had set we built one corse of concrete blocks around the perimeter, and also where the dividing wall is going (minus the doorways). This is to keep the woodwork off the ground to stop the bottom rotting over time. Between the oak framework, we built a treated softwood studwork wall which will have hardwood tongue and groove planks on the outside, and plywood on the inside. Before attaching the tongue and groove planks, we attached a breathable felt to make the structure is completely watertight.
Unfortunately when the oak arrived we were 2 posts short. This didn’t hold the build up too much as we managed to use 2 acroprops in there place, until they arrived a week later.
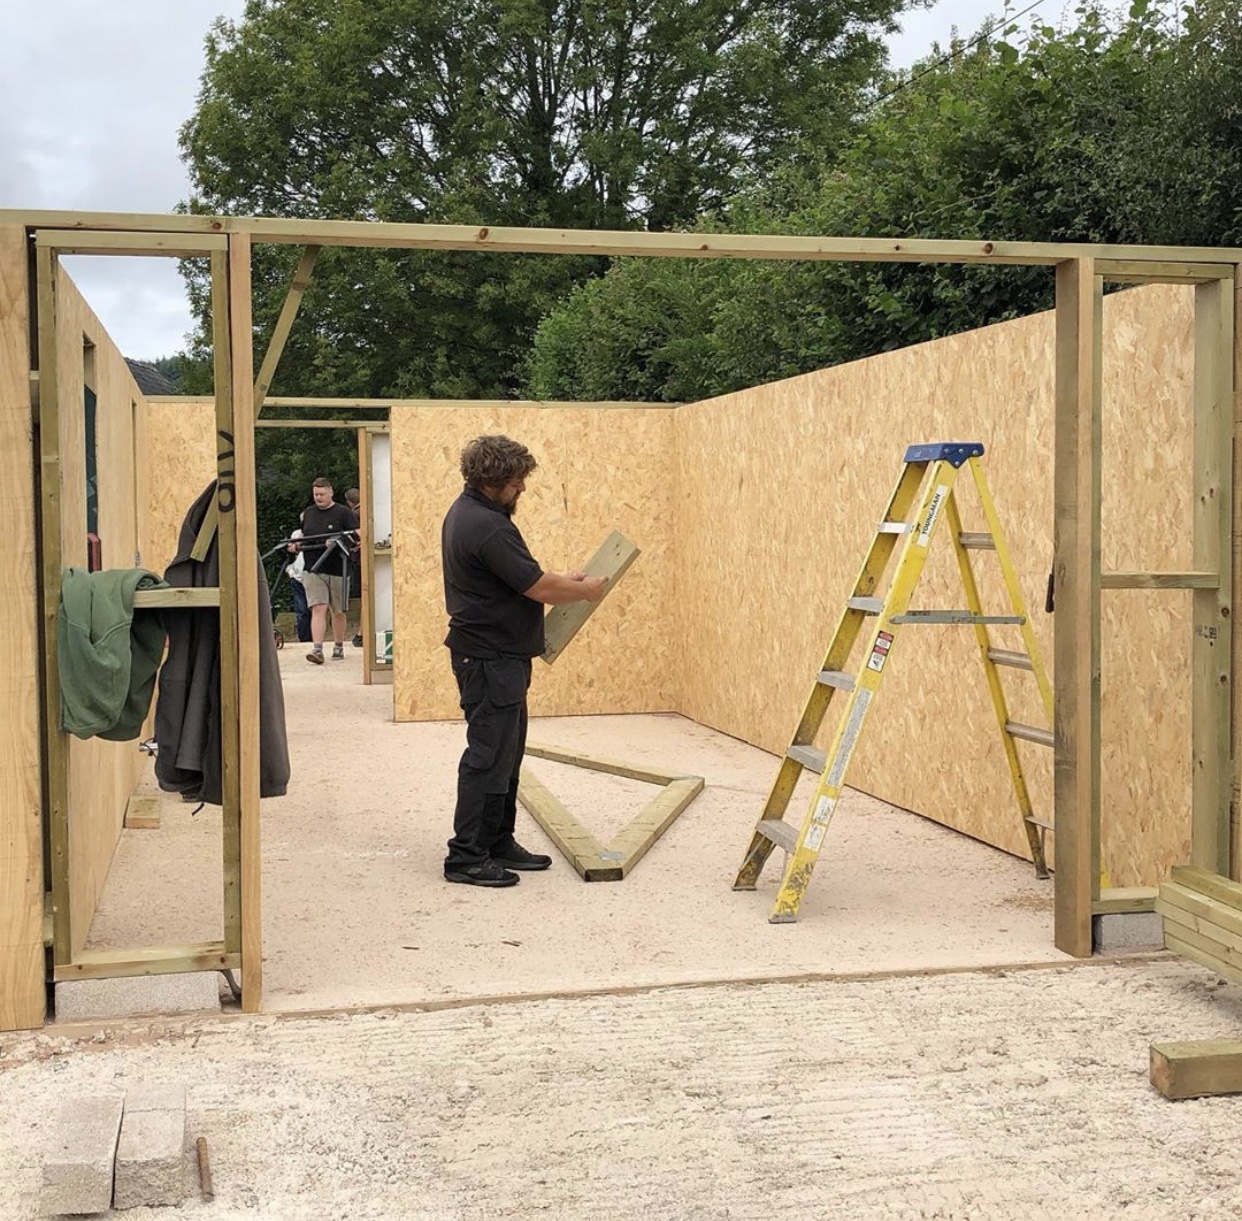
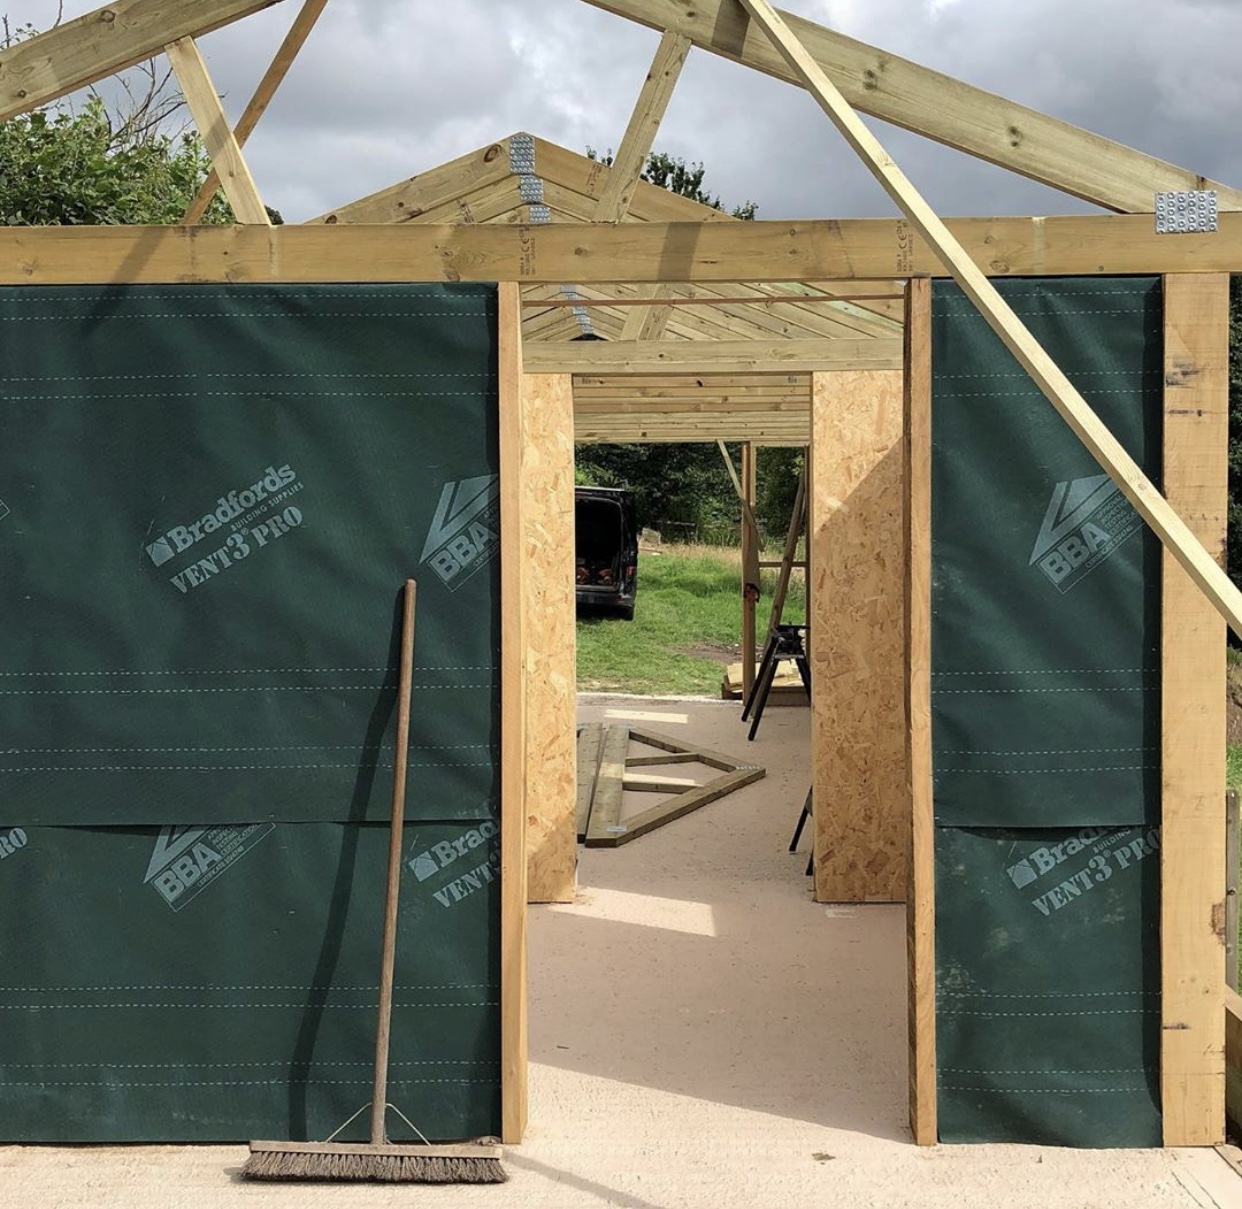
Then we started with the roof. 26 trusses had to by cut and assembled by hand. Luckily my trigonometry is on point, so the maths and cutting list was easy enough. However, myself and Alex had just shy of 2 days cutting and assembling all of these trusses. 130 lengths to cut with precise angles and lengths needed. I’m happy to say that only 1 cut was rejected. It then took us a further day to install them all into the outer walls.
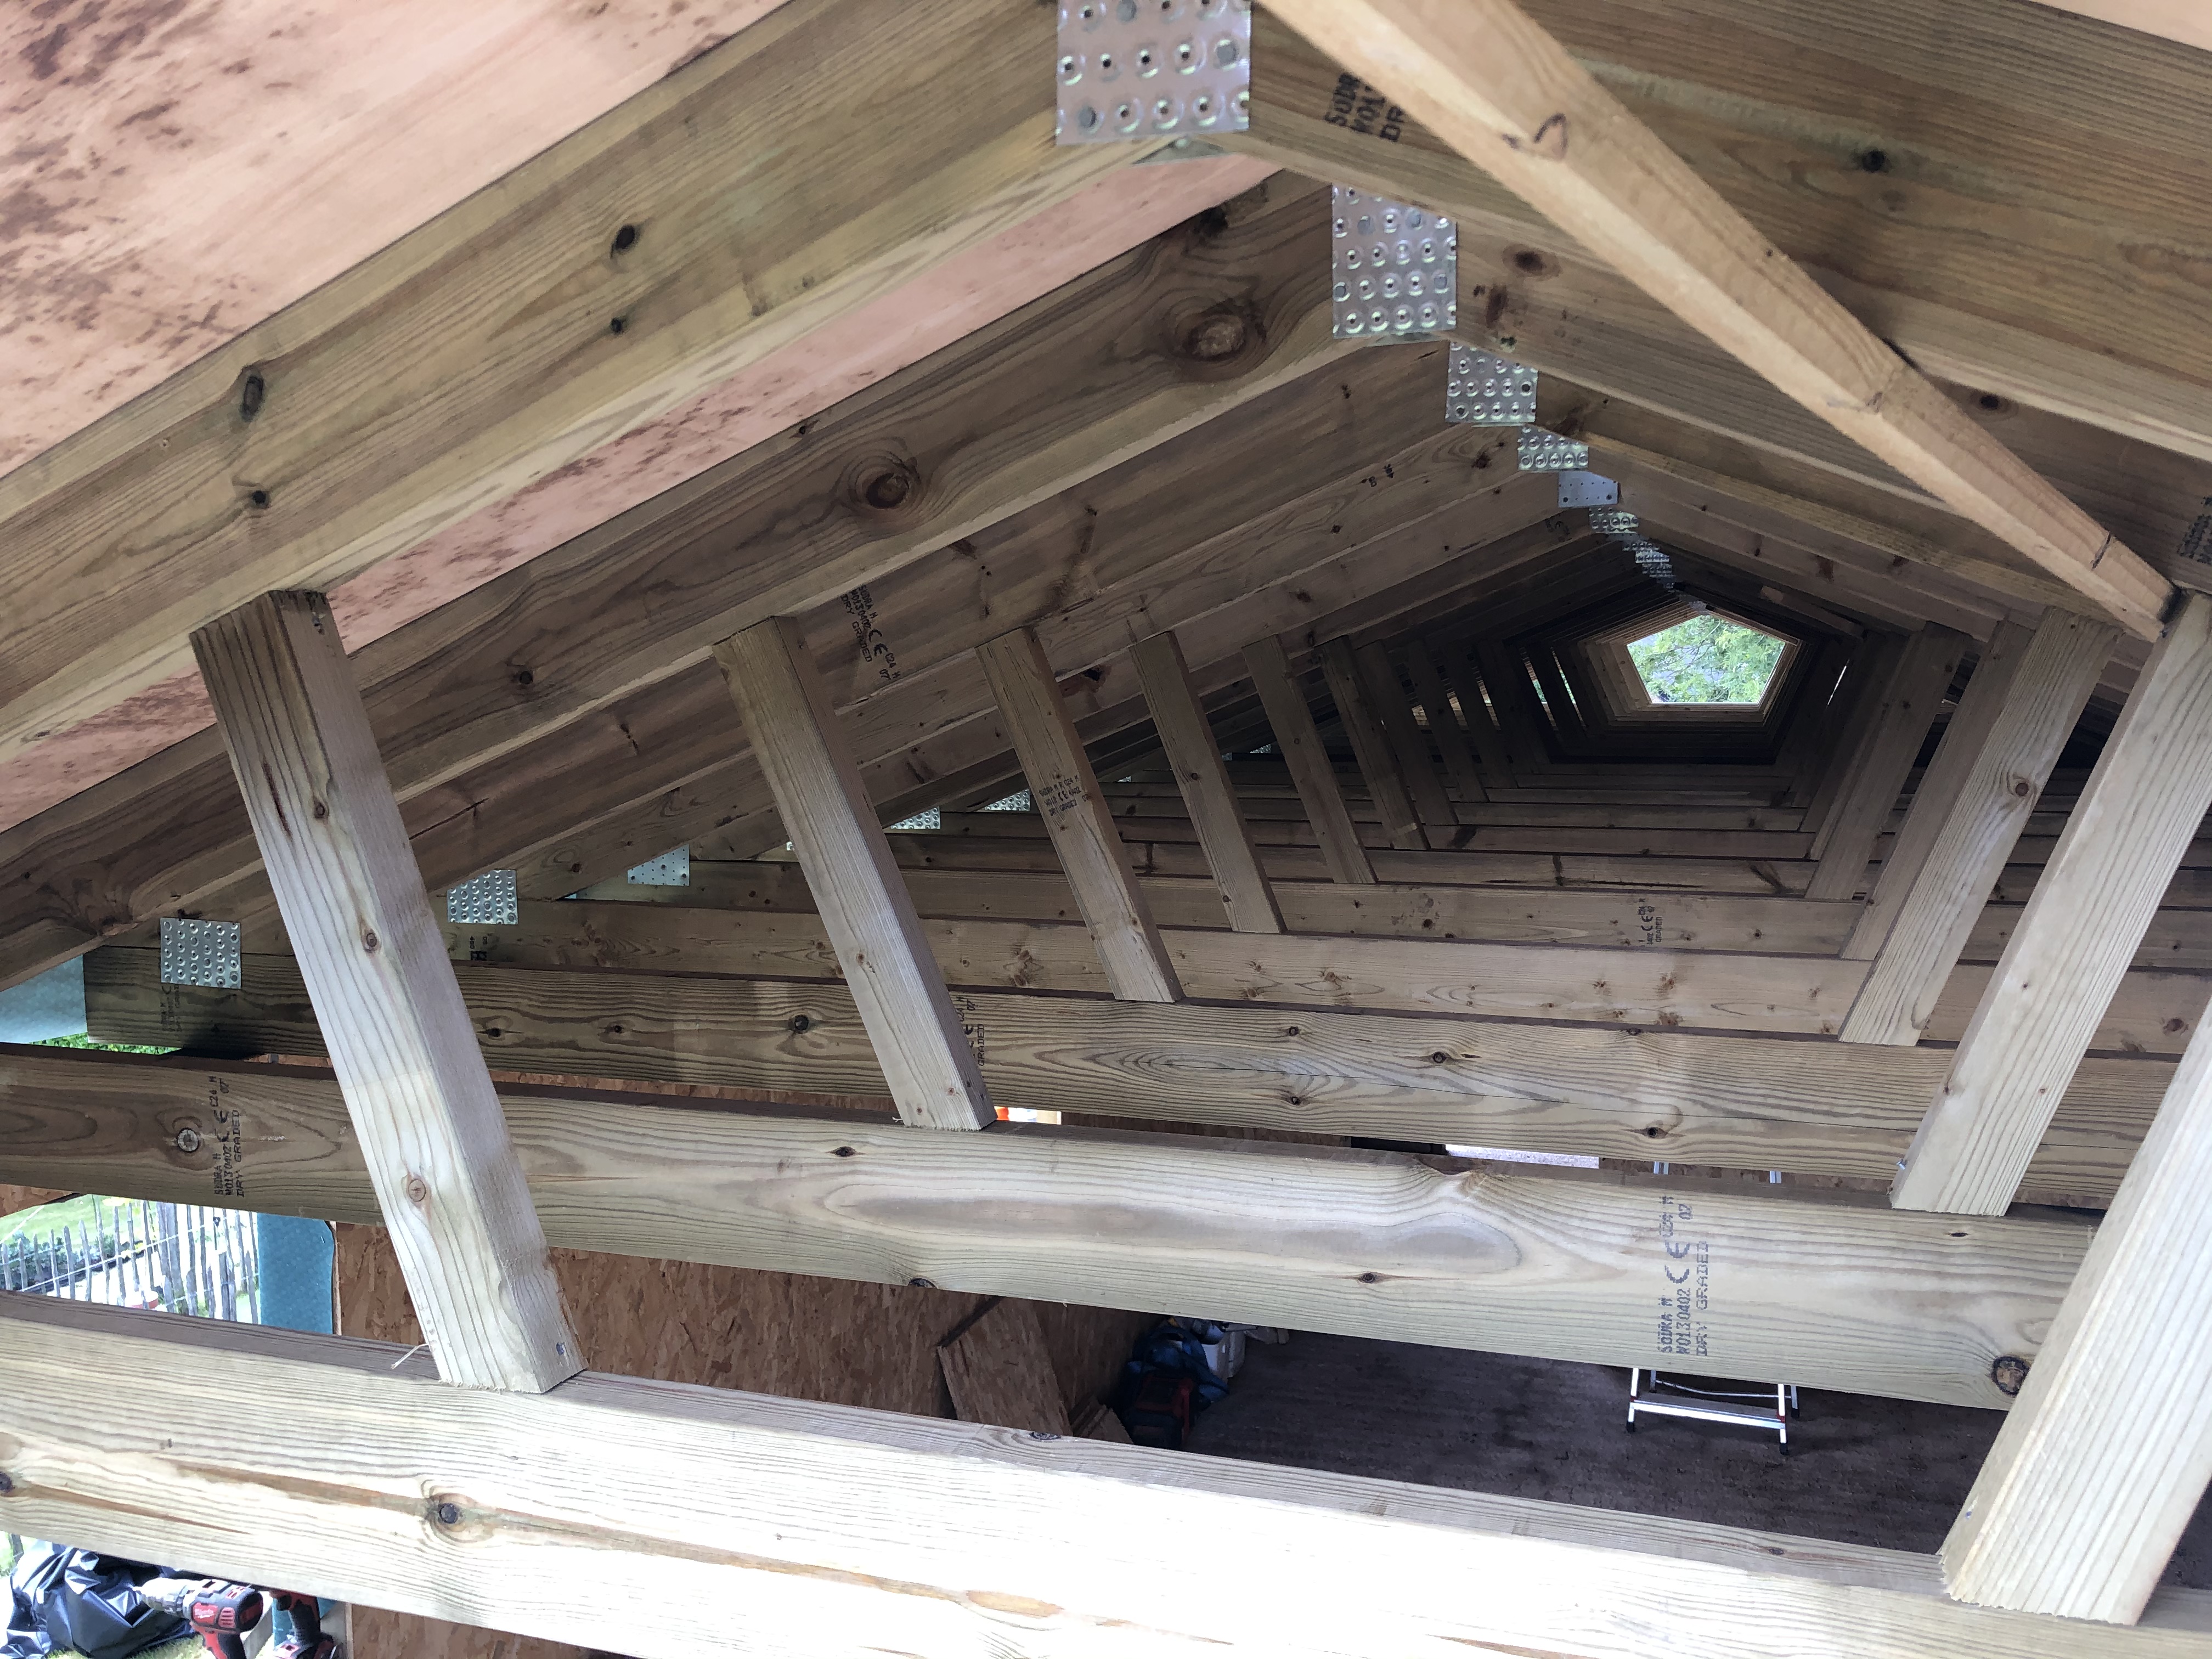
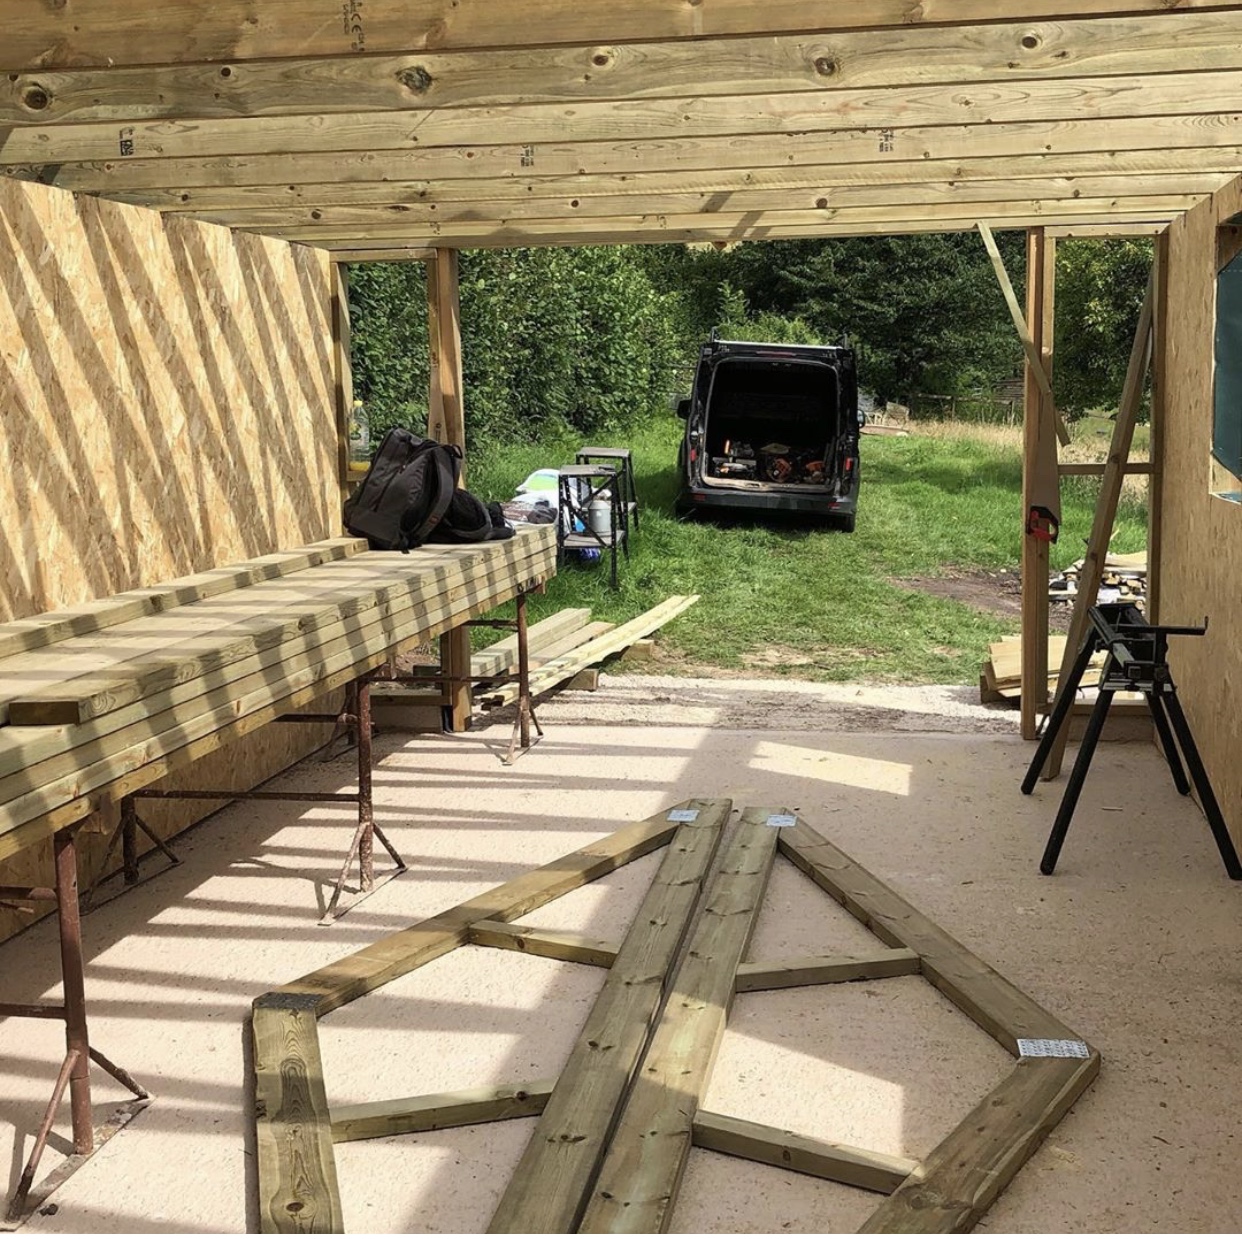
Next up was to finish all of the ply boards on the internal walls, and now onto the roof. Once this was done, we could felt the roof which meant we had a water tight structure (minus doors and windows)
You can see in this one picture where we had to use props in place of the missing posts.
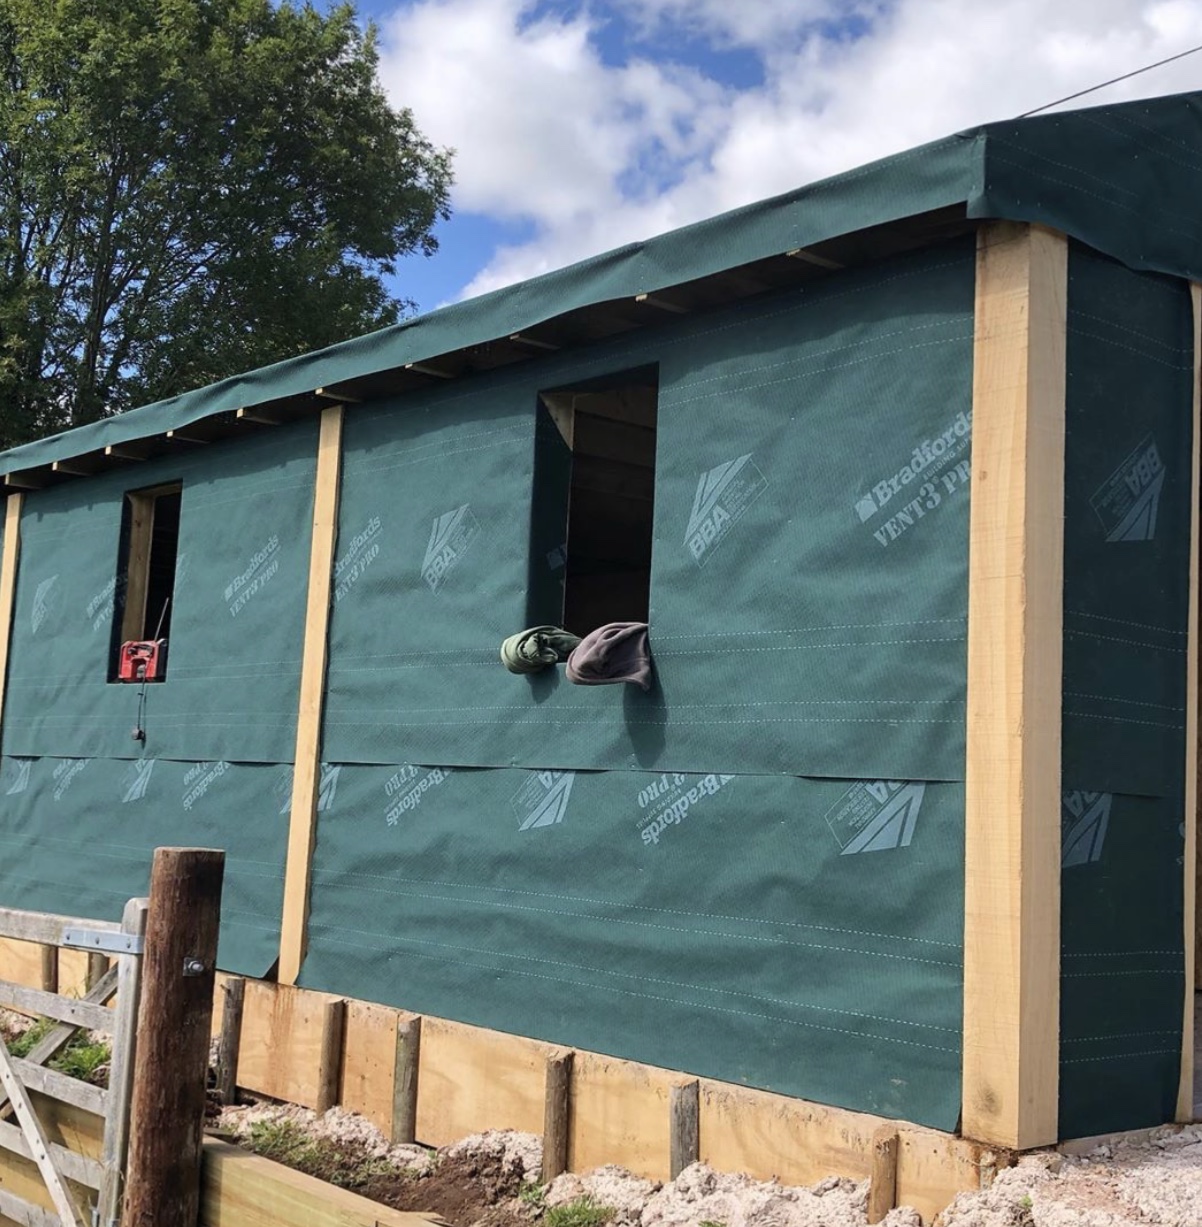
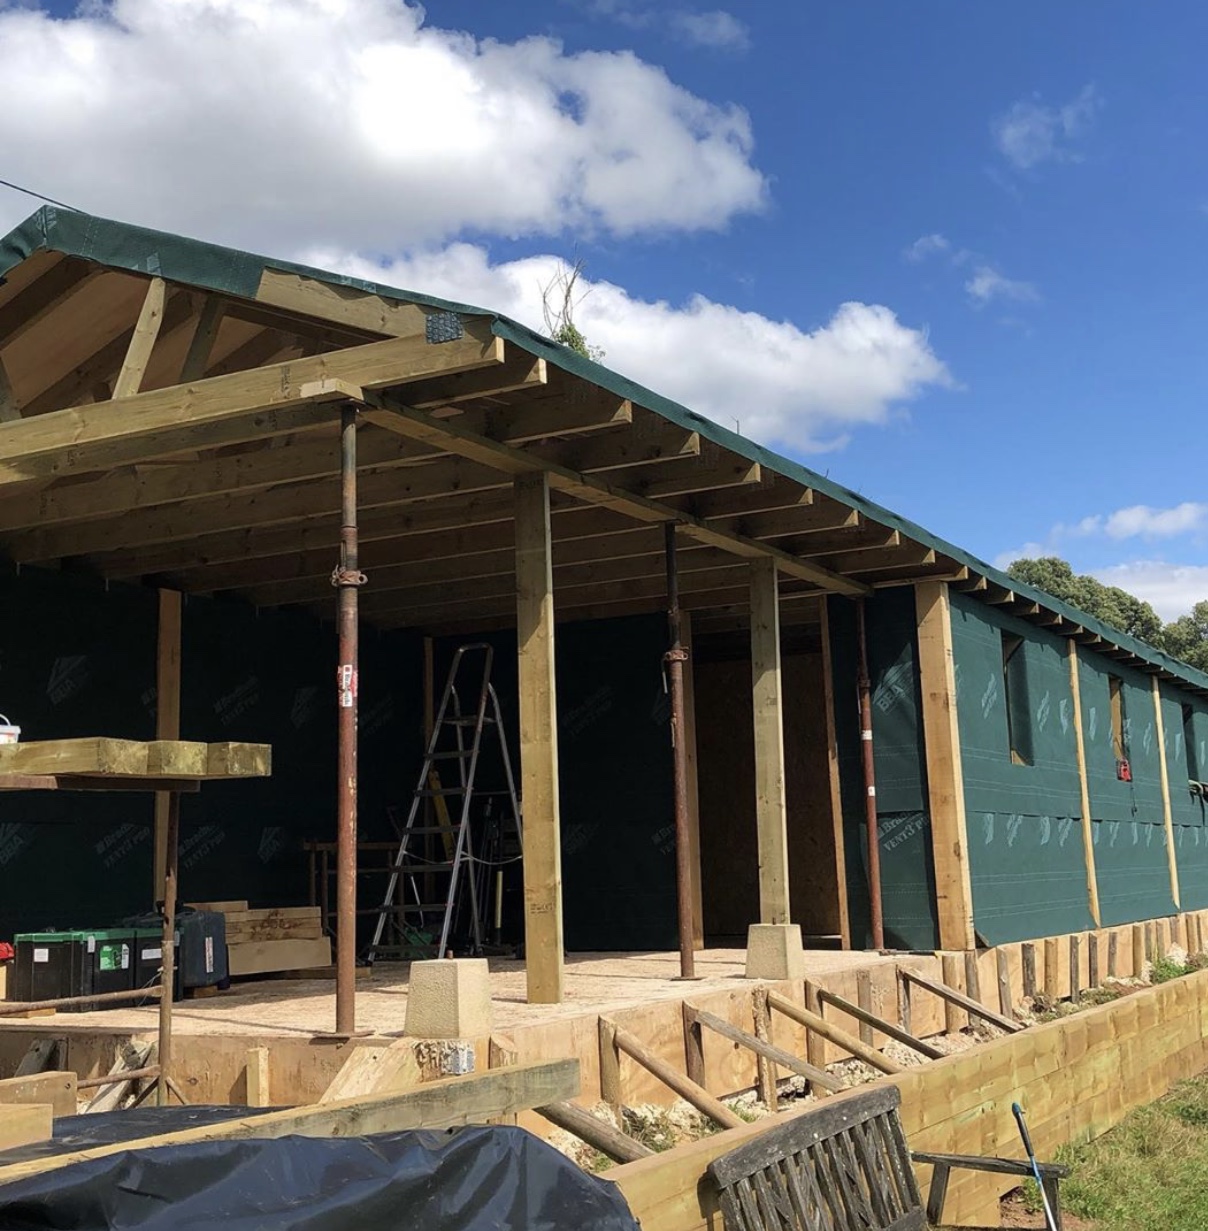
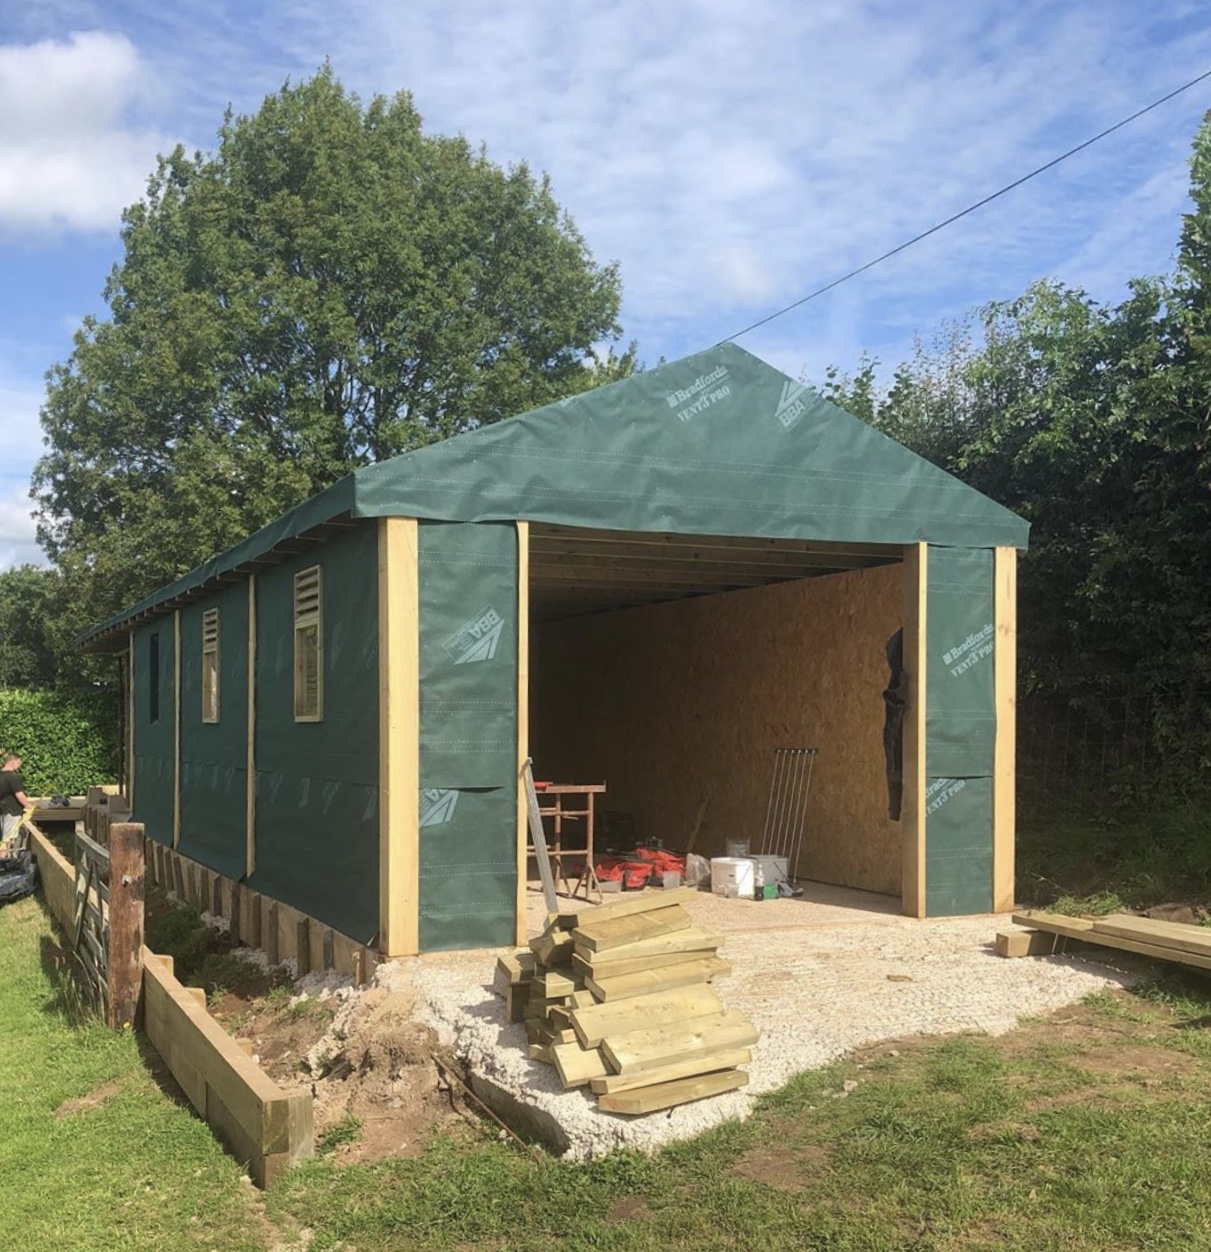
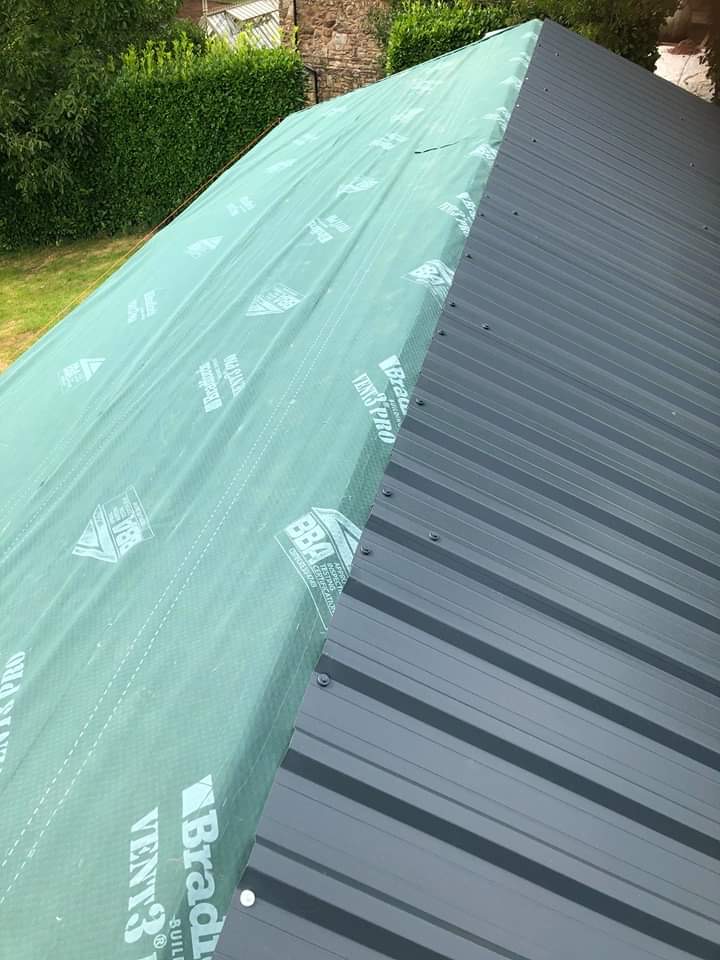
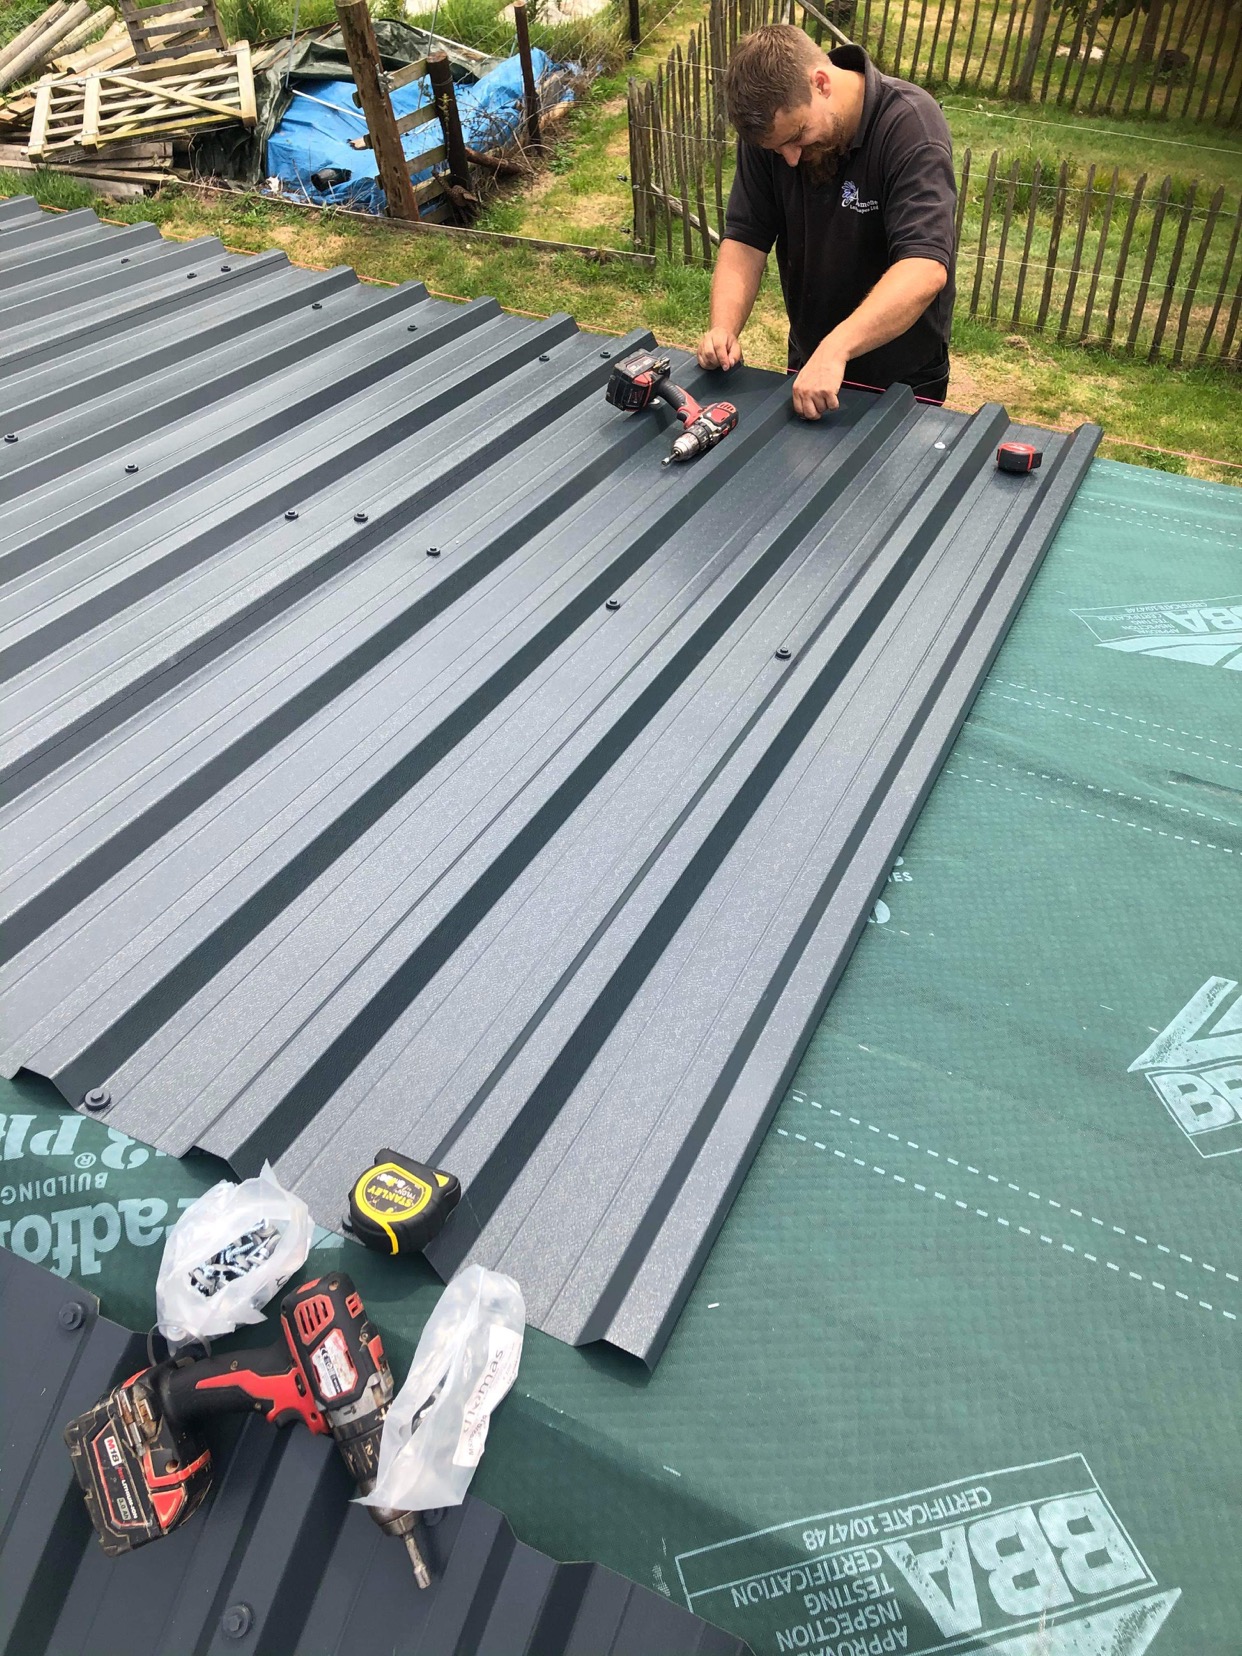
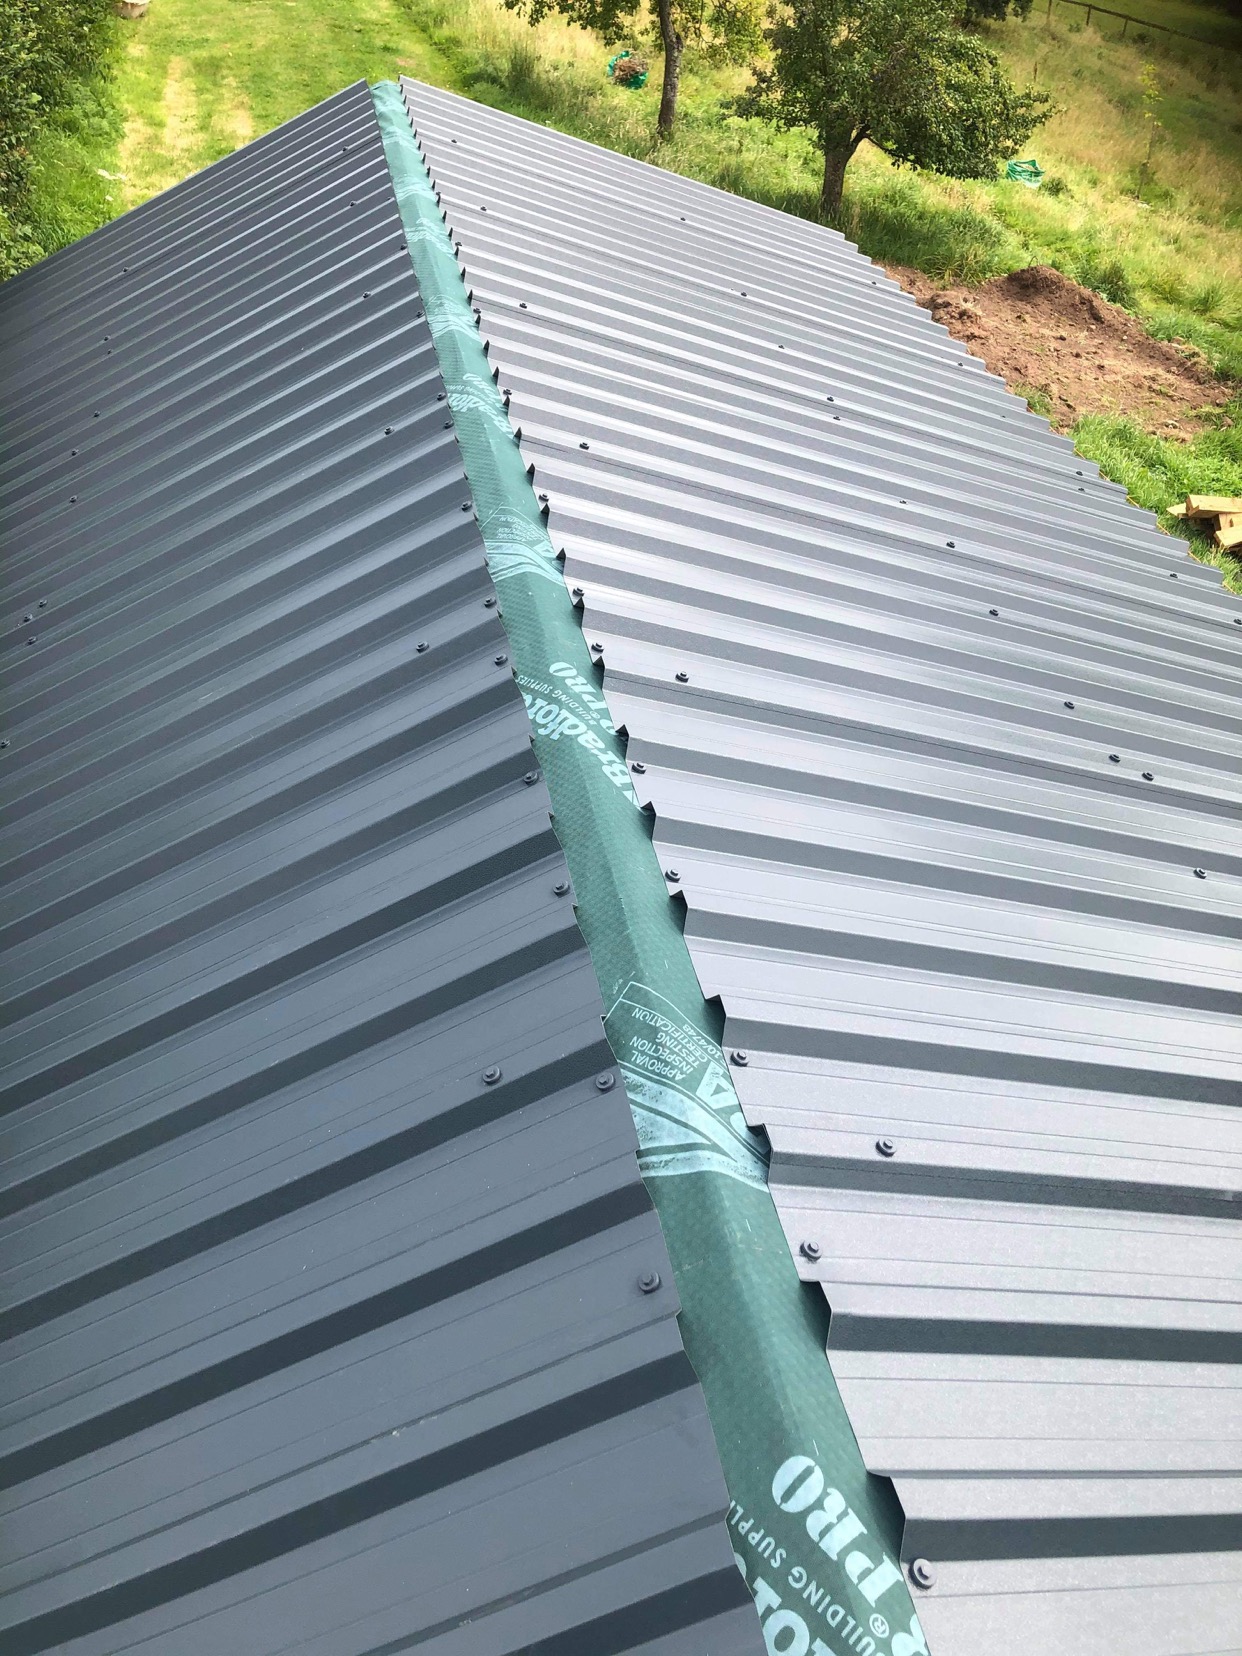
Once the wind and rain died down, we were then able to attach the steel roof. This wouldn’t have been my first choice, but it was a planning permission stipulation. However, it is a nice and easy way to do the roof, also very affordable.
Finally, the remaining 2 posts arrived so it was out with the props, and in with the posts, and it looked fantastic with the diagonal braces in. The open area looked very nice, and is a very good feature of the entire build.
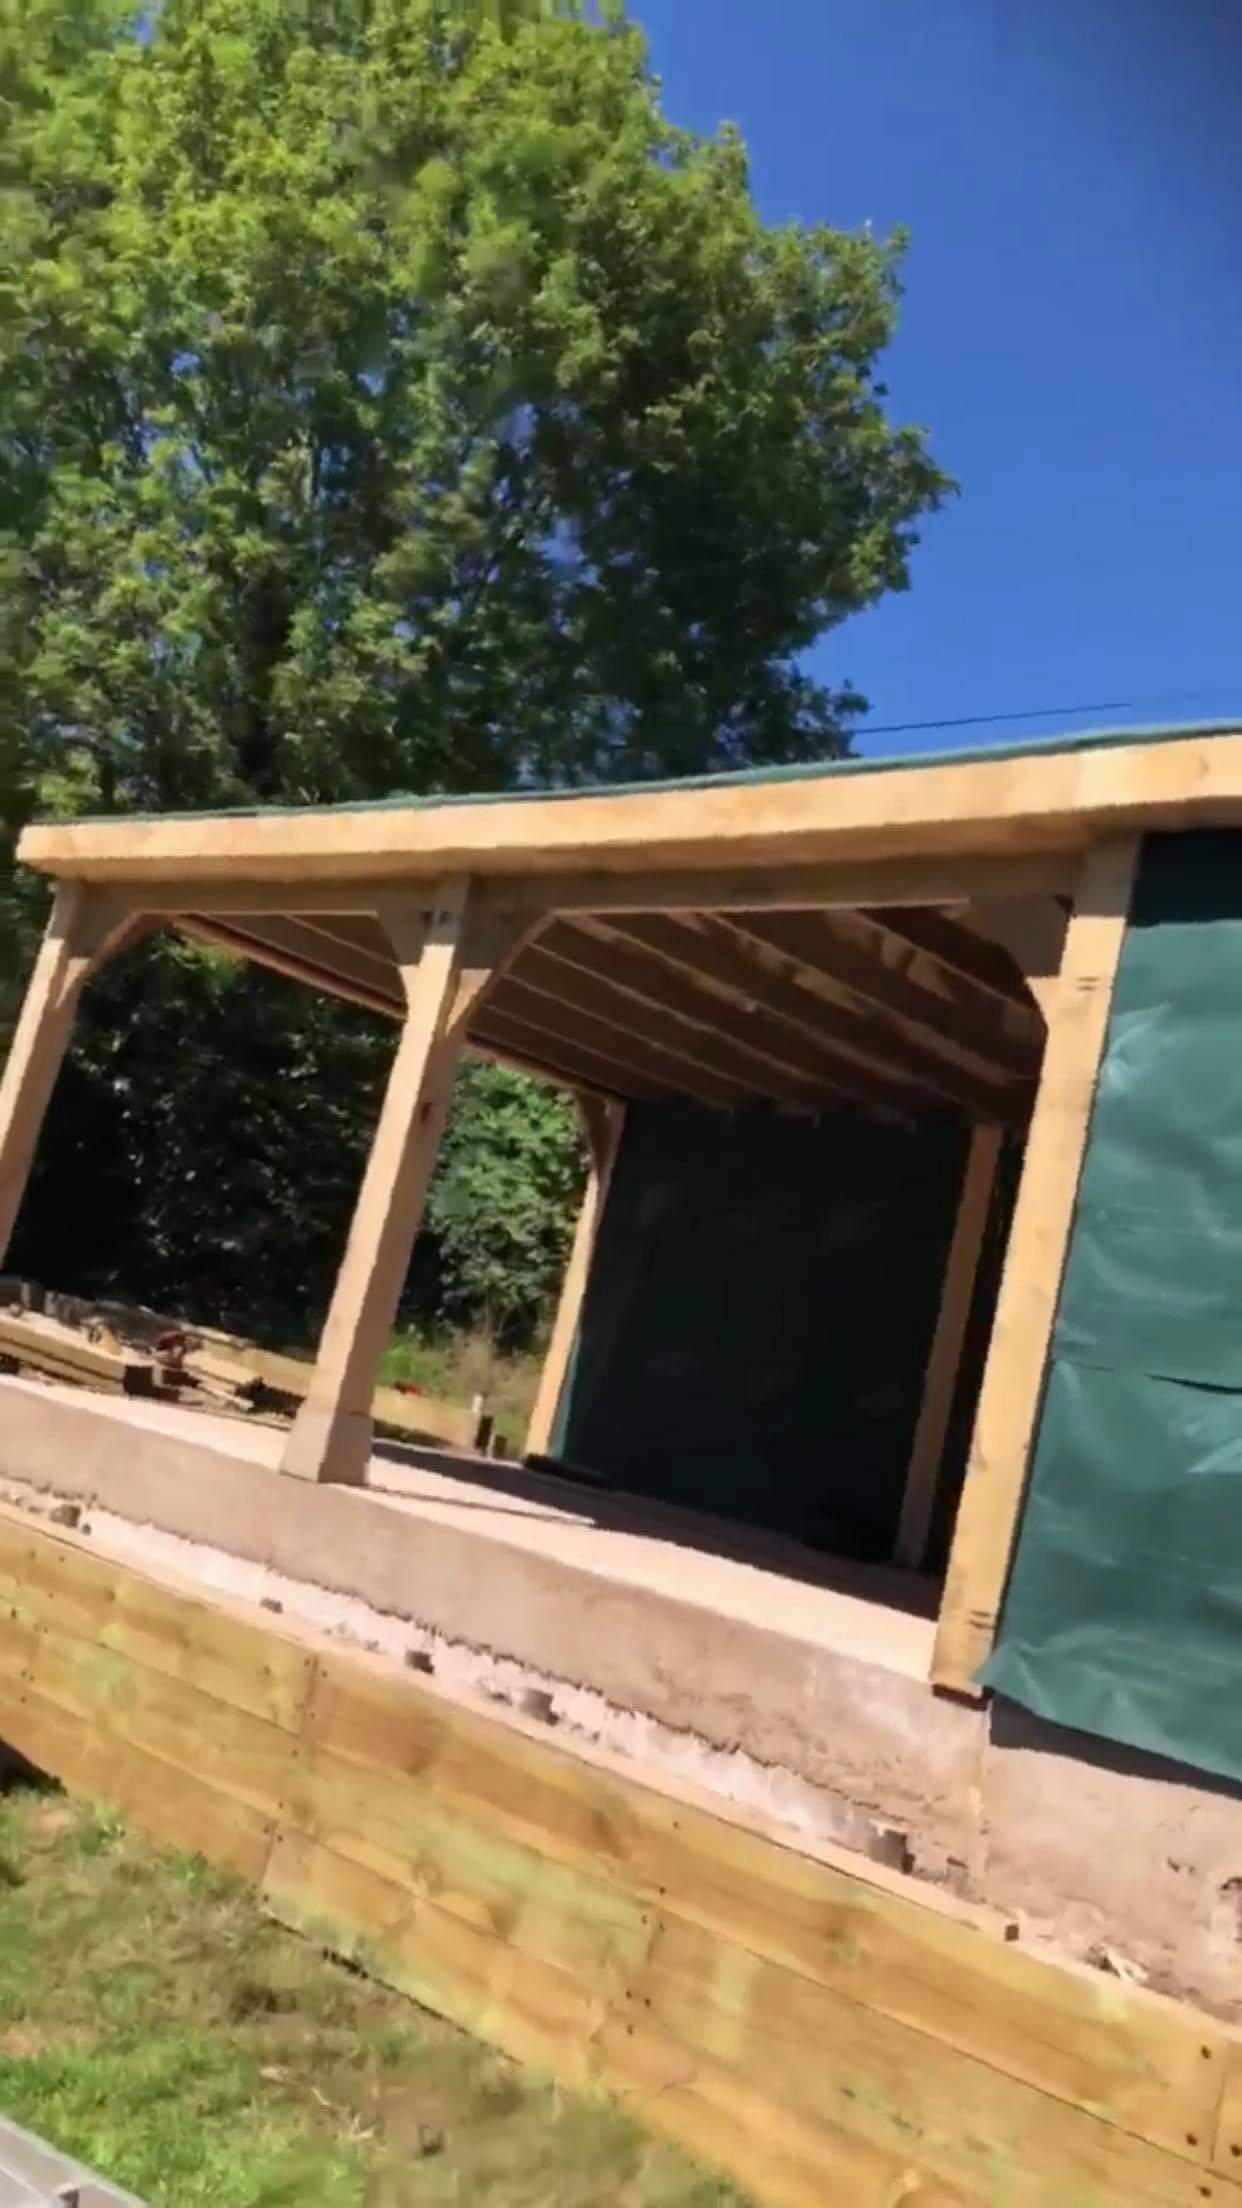
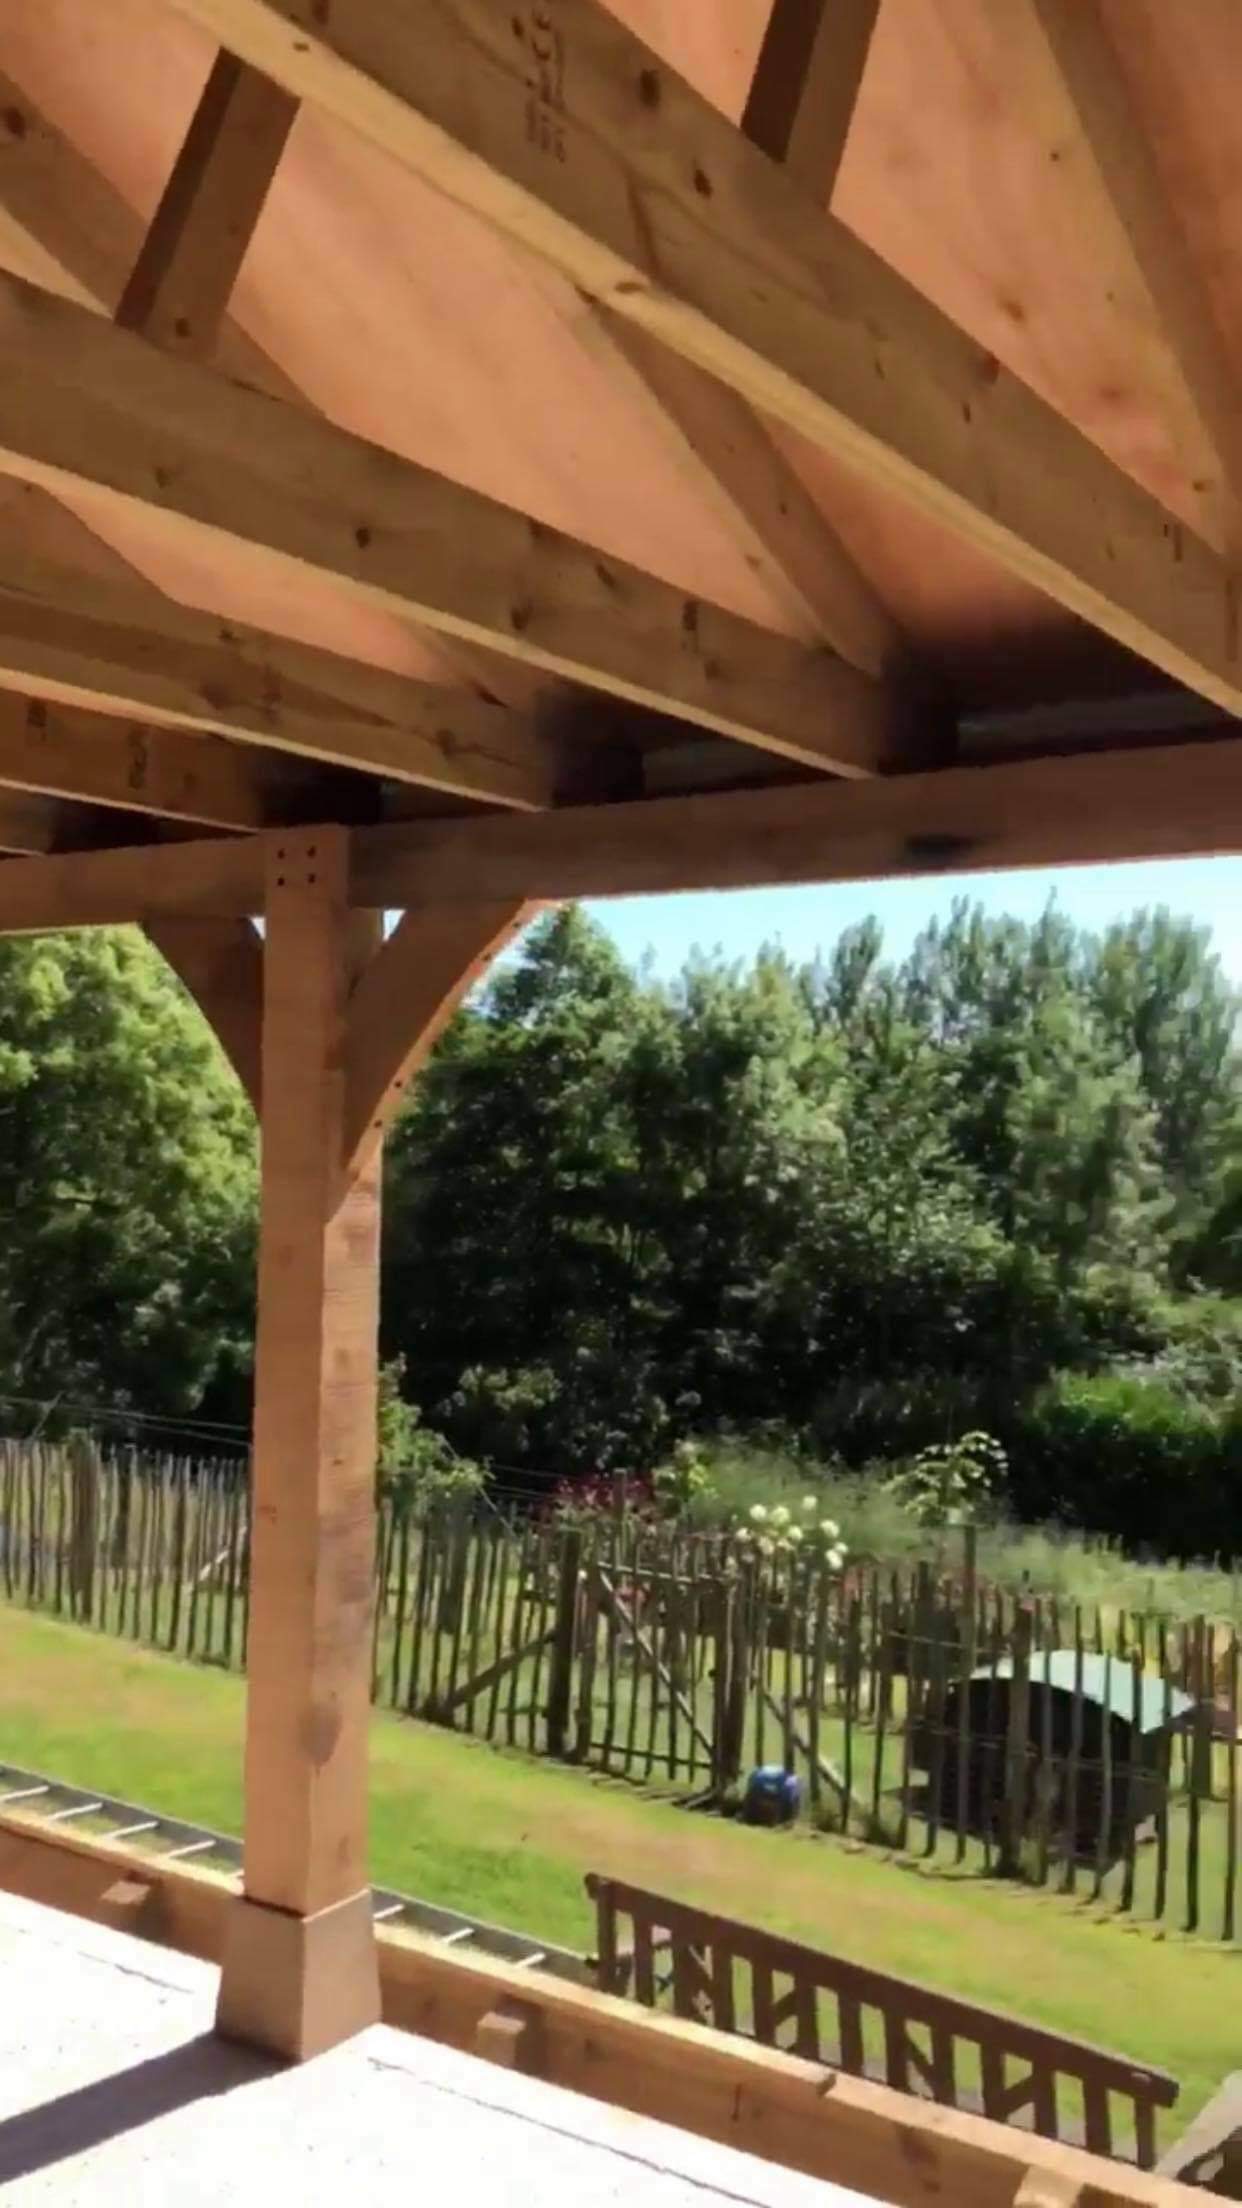
Although it seems like there is still a lot left to do, we’re just doors, windows, and cladding from being finished. The cladding will take some time, but I’d like to think 1 more week will finish it, once all the materials arrive. Then we hand it over to the electricians for their installation.
As always any questions, feel free to ask.
Thanks you for your interest, and I look forward to writing part 2 when we are finished.
Looks like a nice building. I have an appreciation of building with wood as our house is timber frame and was put up by two Canadians without any cranes or anything. Those guys worked hard.
Have a !BEER.
It’s a dying art I’m afraid. It’s been an enjoyable build. No grains here either, although we were only ever about 8 foot off the ground. Lol.
I’ve featured your post in The Lotus Garden newsletter, which will be published tomorrow.
Curated for #naturalmedicine (by @minismallholding) - join our community here.
The Lotus Garden is a newsletter supporting content relevant to Homesteaders & supported by Natural Medicine. Earn LOTUS & HIVE for your #homesteading content!
About II Discord II Community
Thank you
@tipu curate
Upvoted 👌 (Mana: 7/21)
Thank you @ewkaw and @tipu
You're very welcome :)
View or trade
BEER.Hey @leighscotford, here is a little bit of
BEERfrom @steevc for you. Enjoy it!Learn how to earn FREE BEER each day by staking your
BEER.Congratulations @leighscotford! You have completed the following achievement on the Hive blockchain and have been rewarded with new badge(s) :
You can view your badges on your board And compare to others on the Ranking
If you no longer want to receive notifications, reply to this comment with the word
STOPDo not miss the last post from @hivebuzz: