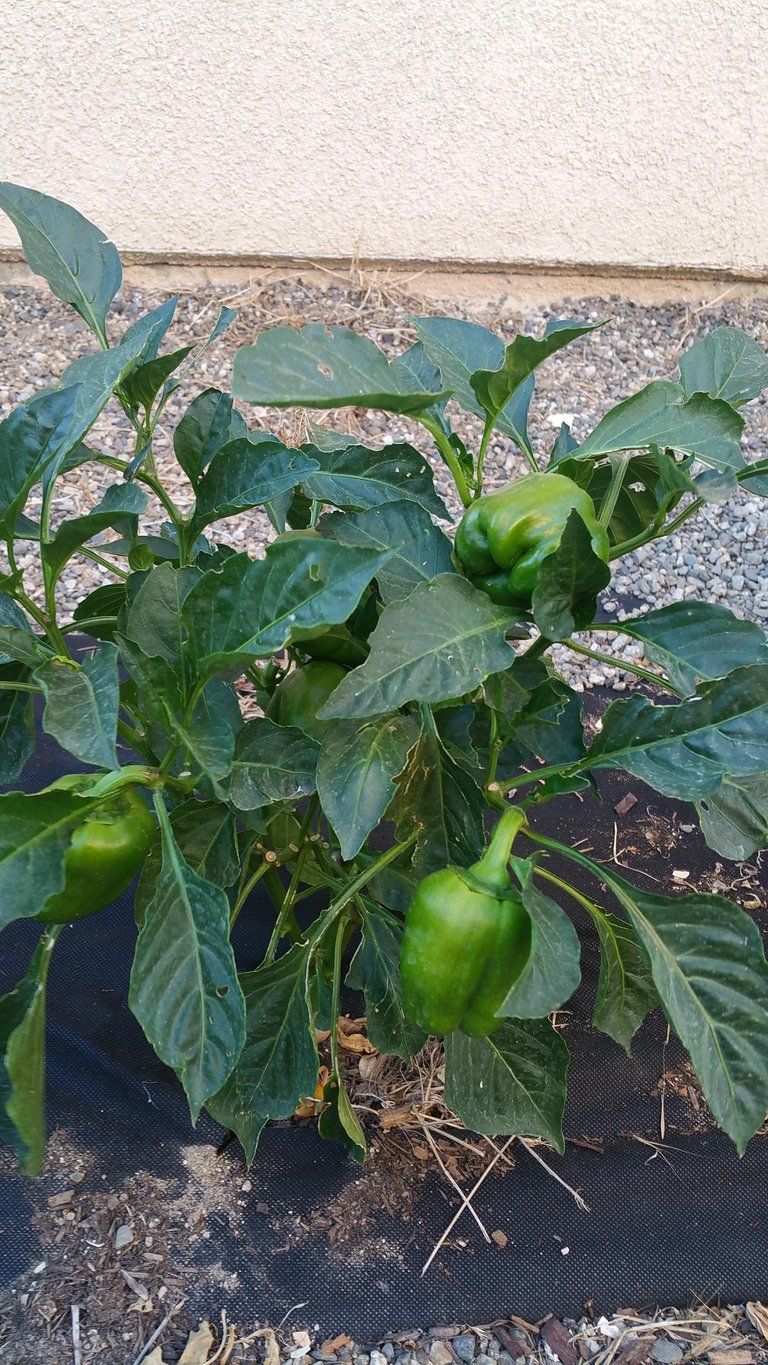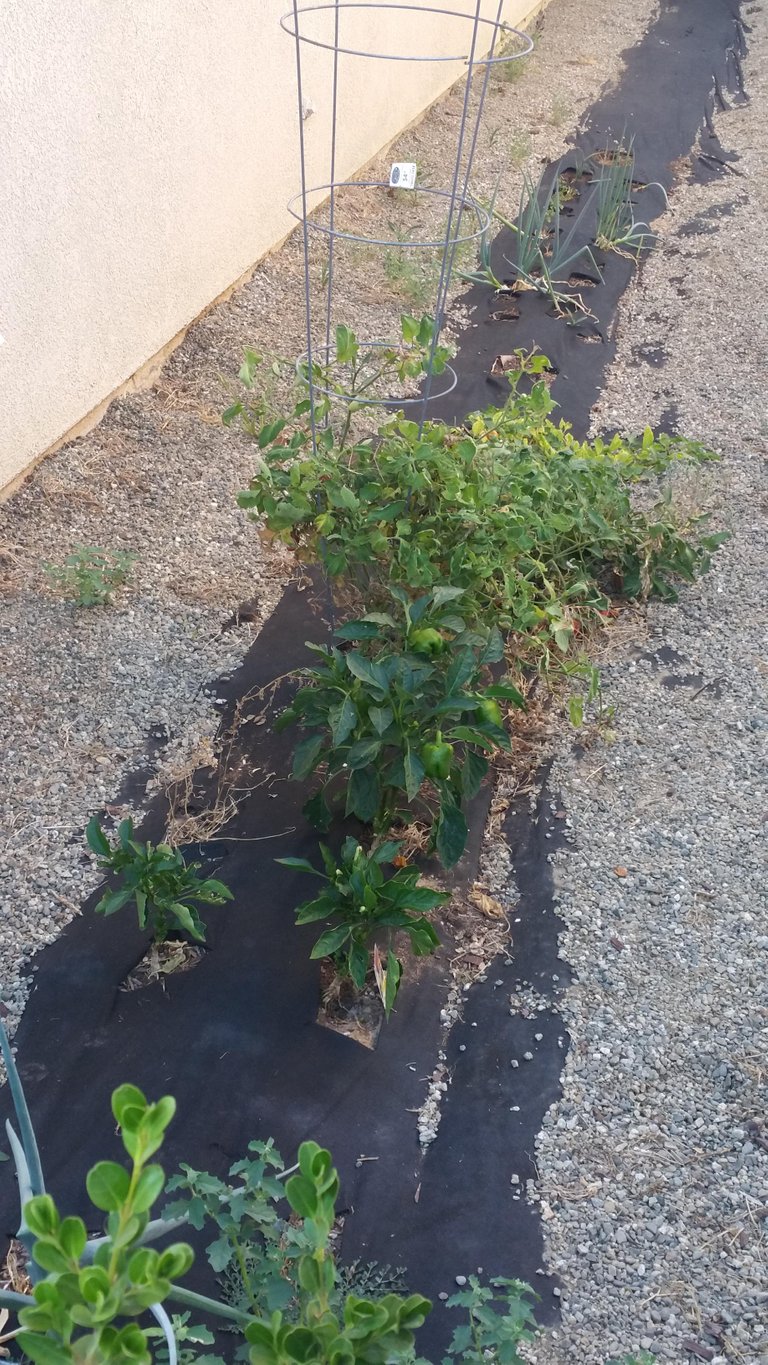
It's been a few months since we took on this project, but here's a little story about how we turned a pointless area of wasted space into a lush and satisfying garden project with very little money.
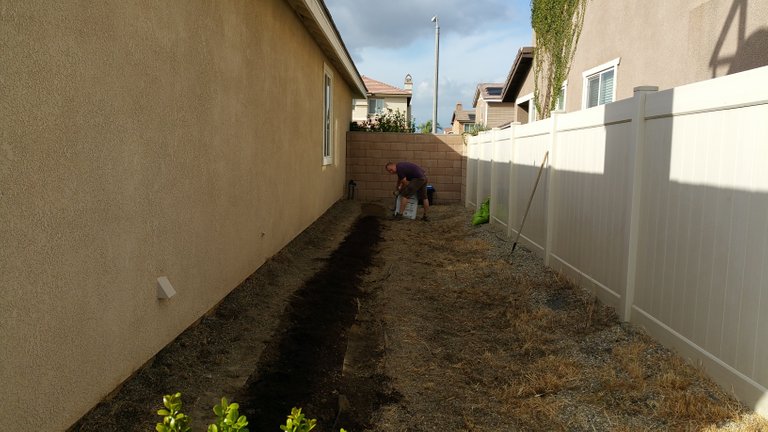
My wife and I had always wanted a garden. We had recently moved to a new place and now had a golden opportunity, yet little cash on hand to see it through. With a little planning and patience we were able to begin sketching out some rough plans and ideas on how it could be done.
Problem #1
Help! There's a bunch of pea gravel in the yard and nowhere to put it!
I had never really considered the issue until I was directly confronted with it. So, where do you put several hundred pounds of pea gravel that's just lying around? At this point, I didn't even have the means to transport it, but even if I did, it's not like you can just dump it on the side of the road (You actually probably could but for the sake of the argument we decided against it). "We could transport it to the local building supply." we thought, but no they probably wouldn't take it. "We could move it to another area of the yard." That wouldn't work either.
Hey, what about if we just moved it to the side, scraped down to bare mineral soil, put down some potting soil and covered it with weed block!!
We now had a solution and a plan in place. All that we had to do now was execute.
Procurement
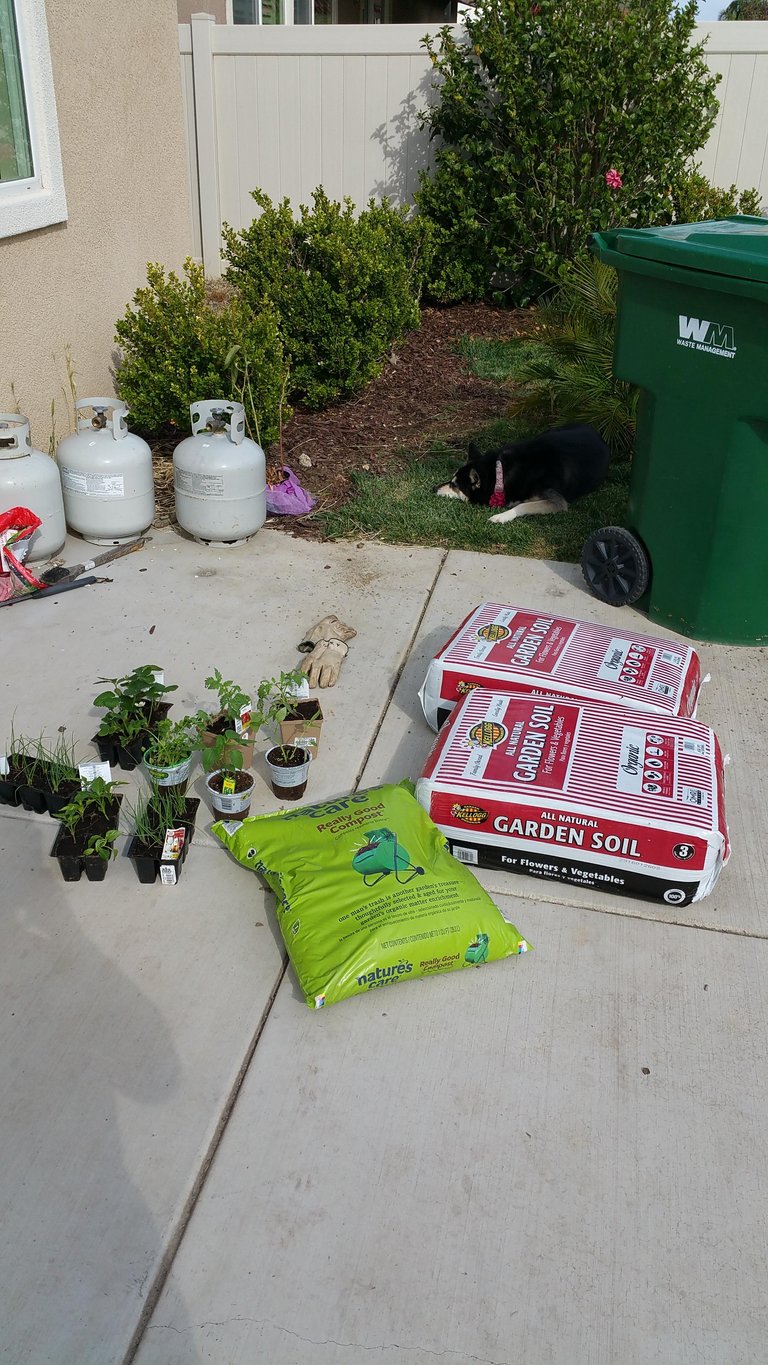
We took a quick inventory of some needed items and loaded up into the car for a trip into town. We came out 30 min later with some potting soil, chicken wire, plastic stakes and some small tomato plants, onions, cilantro, bell peppers and strawberries. When all was said and done we ended up spending around 70 bucks.
Time to go to work
The first order of business at this point was to start scraping away the layers of pea gravel to the sides. We used rock rakes and shovels and worked steadily until we reached the weed block underneath. All in all, this took around an hour and a half. Next, I took a box cutter and ran down the length of the weedblock, cutting out a strip down the length of the yard and exposing the mineral soil underneath. Then, because the exposed layer of dirt was so compacted, we actually had to till the earth. We felt like actual farmers when we did this.
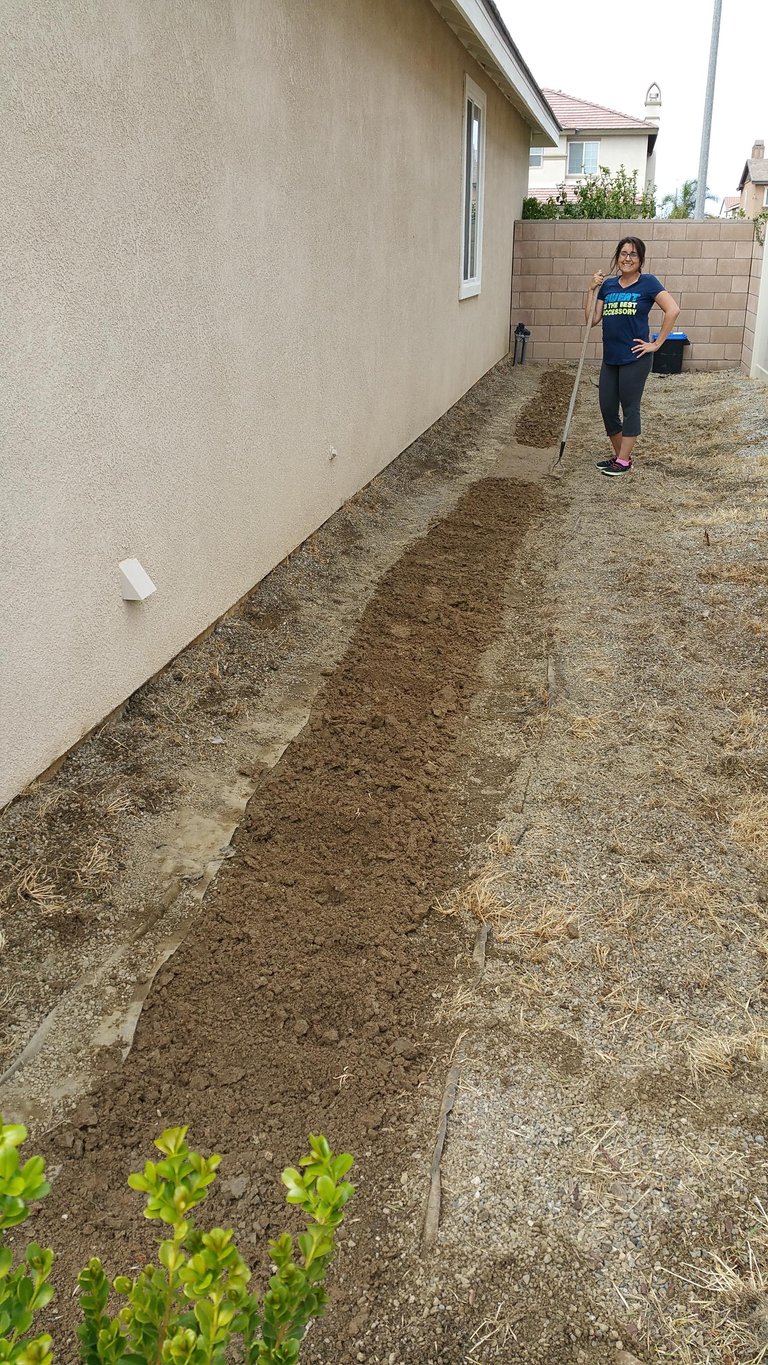
All we had to do now was to put down the potting soil and cover it with weedblock. The reason for this is because we live in an area where weeds grow like crazy. Our thinking was that we could put the weedblock on top of the potting soil and poke holes in the areas with the veggies. That way, there would be much less time spent pulling weeds when everythinig was said and done.
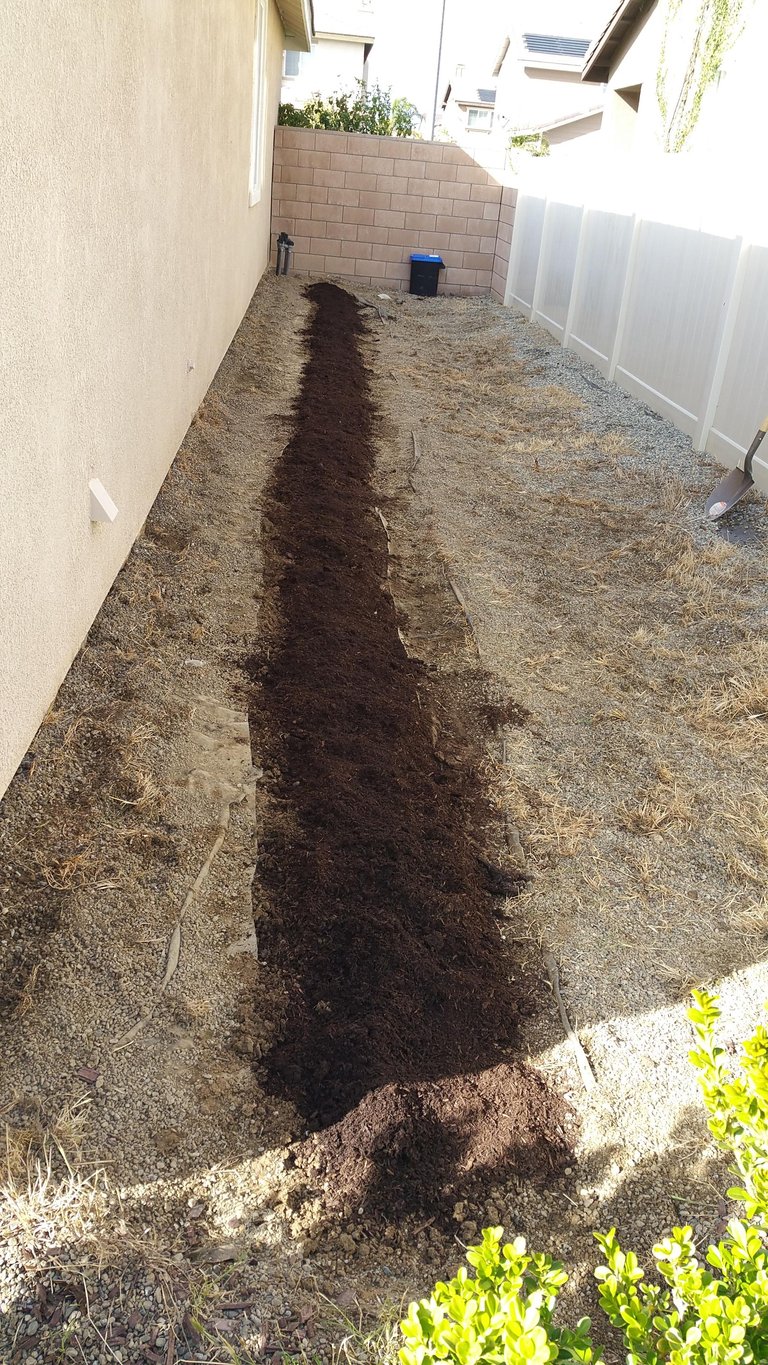
I then ran a strip of some of the weedblock that I had over the top of the strip and then carefully placed small amounts of pea gravel on the side edges to keep it in place and also improve the look. I took my box cutter and cut an "X" in the weedblock where each veggie would get planted. Then, finally as the sun was going down and it was getting hard to see, we carefully placed a plant in each X and then watered everything to see our completed project. All in all, this took around 6 hours of work when everything was said and done. I also left out that I put up some chicken wire to keep the dogs out.
3 MONTHS LATER
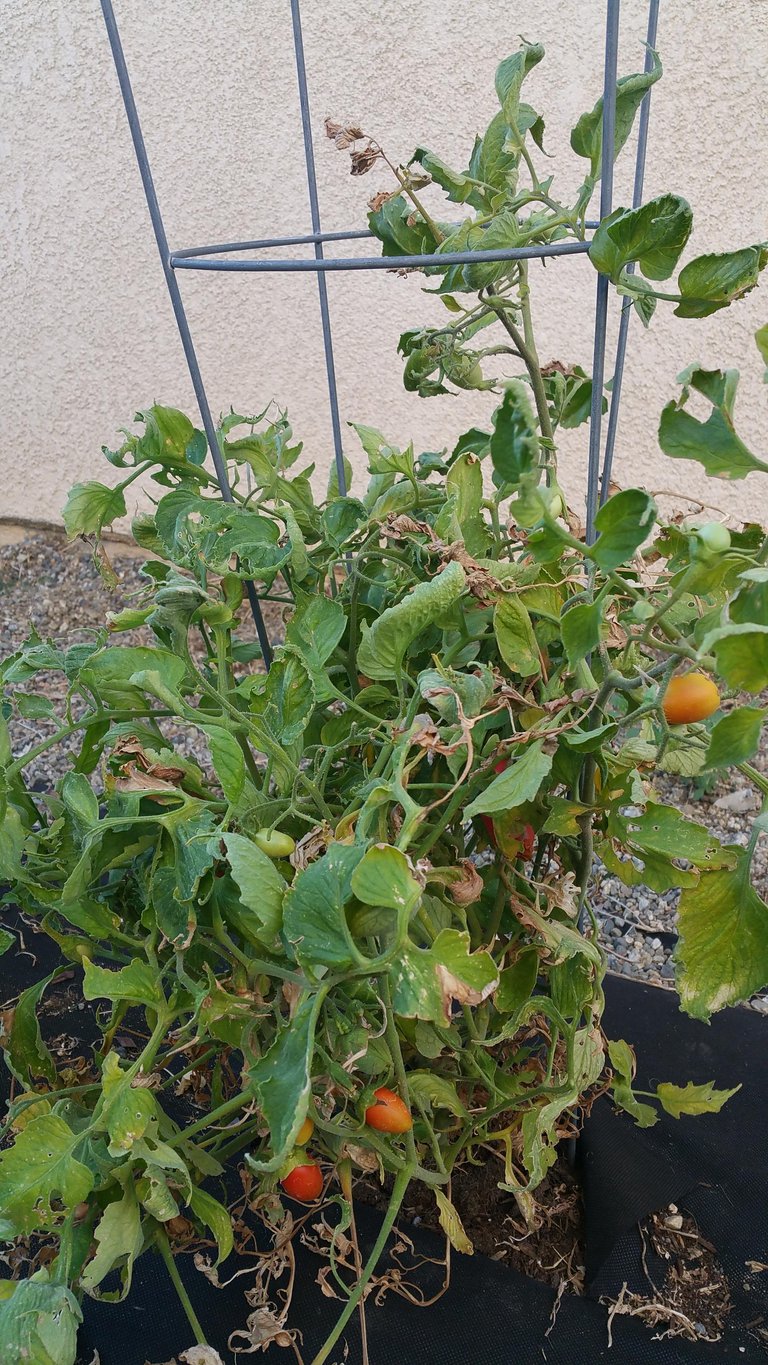
After daily watering we finally saw the fruits of our labor (actually, the strawberries ended up dying but everything else came out OK.) We now had fresh and organic tomatoes, peppers, cilantro and onions to enjoy with our salads and homemade salsa. All in all, I found that sometimes you just need to get creative to the solutions of some problems. If you can see the process unfolding in your mind and you see the actual process in advance, then that is half the battle. I also learned that gardening can be hard work, but it is actually worth it because it gives you a rewarding hobby with the added bonus of the sense that you can appreciate the process of where food comes from even though it's only a portion of our family's food.
