A step by step guide of how to grow your own potatoes in containers.
Topics are: -
Seed Potatoes
Chitting
Compost
Fertiliser
Watering Schedule
Harvesting
SEED POTATOES
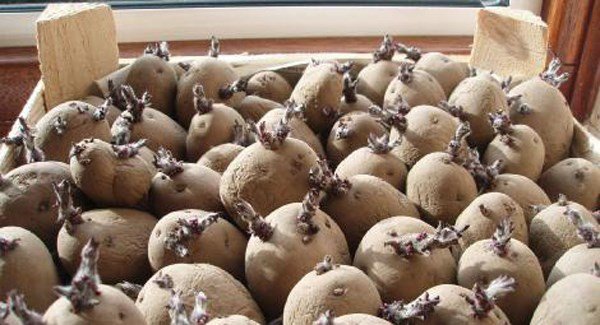
Selecting seed potatoes is the first step, making sure that they are in good condition, not soft and have eyes where the future sprouting will take place. When you purchase them, place them in a cool light place - BUT NOT DIRECT SUNLIGHT (I usually place them in a cardboard egg holder) with the eyes facing upwards as this will encourage the chitting phase.
CHITTING
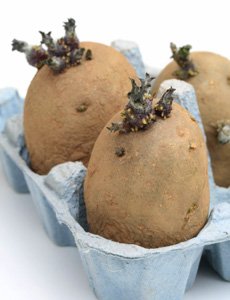
Stand the seed potatoes upright in your cardboard egg boxes and wait for strong, short green shoots to appear, about 3/4 inches long, from the eyes of the seed potatoes. Once they are now this long, your able to plant them into your containers.
COMPOST
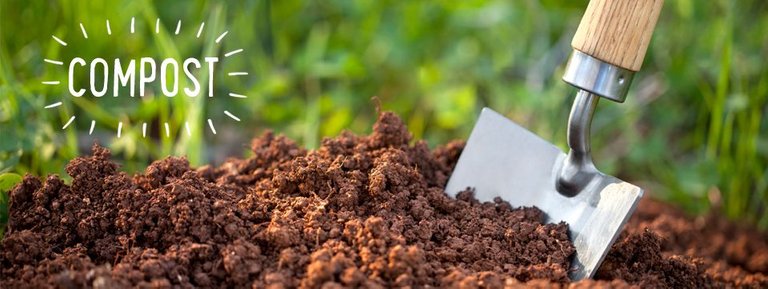
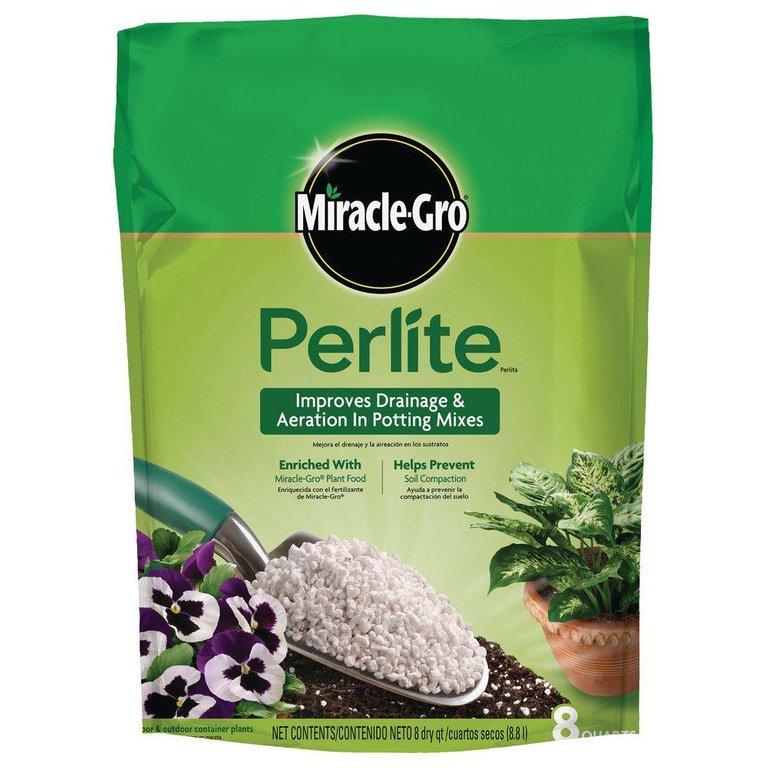
I use a multi purpose compost, and mix in my own home made goodies (spent coffee grounds, tea leaves, chicken pellets) as well as adding some perlite to just make the compost a little lighter and to help in not holding too much moisture when watering.
FERTILISATION
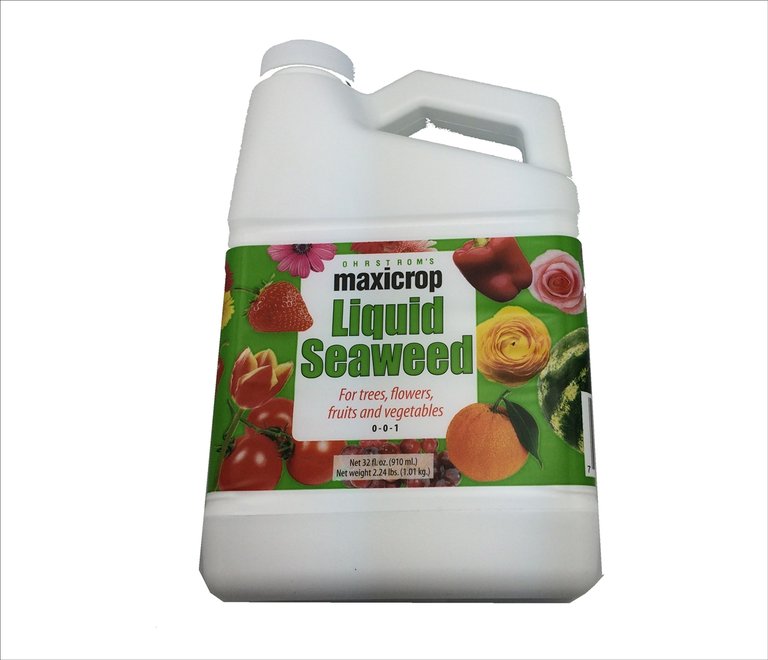

On a weekly basis, I add my own mixture, which consists of seaweed extract, nettle tea leaves, urine and comfrey tea. All of which I gather myself and wait for it to break down into liquid form. I add the mixture 1:10 so its not to powerful and burn the roots.
WATERING SCHEDULE
I always water my potatoes once a week. As they are grown in containers they are more likely to dry out quicker than if you were to grow them in the ground. I also add the above fertiliser to the watering process once a week too. In the summer months, I tend to water the potatoes twice a week, one of which will be with the feed that I have mentioned above, and the other just with regular rainwater.
HARVESTING
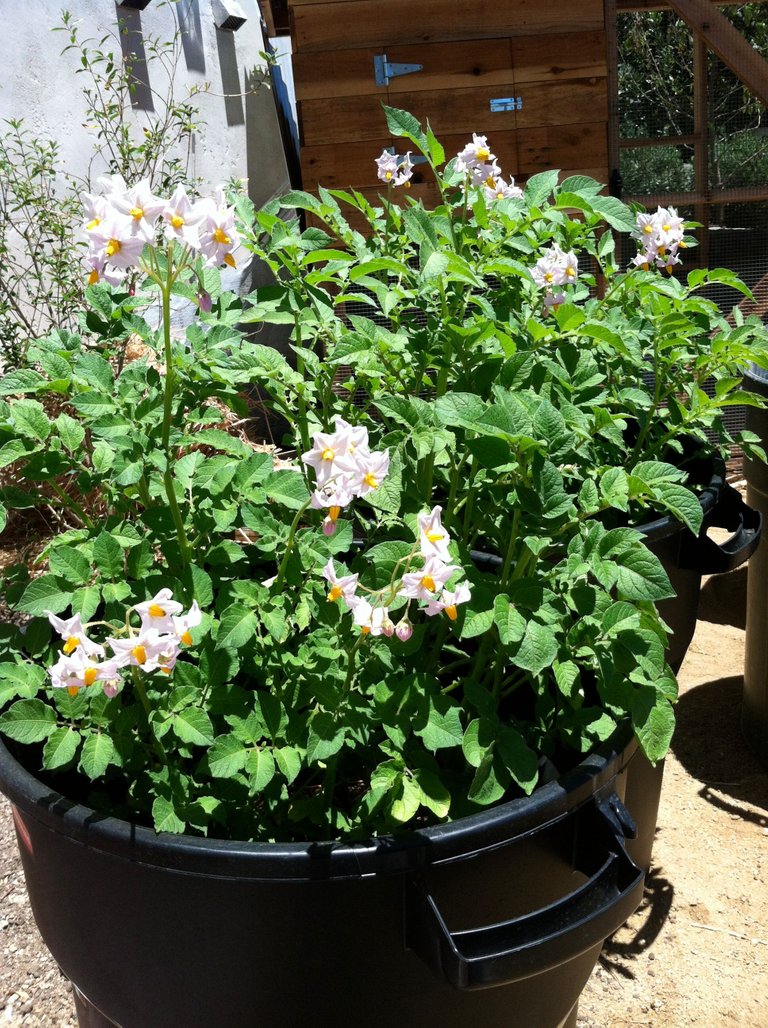
First early potatoes should be ready to lift in June and July, second earlies in July and August, maincrops from late August through to October. With earlies wait until the flowers open or the buds drop; the tubers are ready to harvest when they are the size of hens' eggs.