This post includes pictures.
Hello again to you all. This is the second of my many installments of my vegetable garden blog. In the first entry, I gave you a very brief introduction to myself and started talking about the preparation of my plot. I went with free shipping pallet wood and a lot of elbow grease to build the beds.
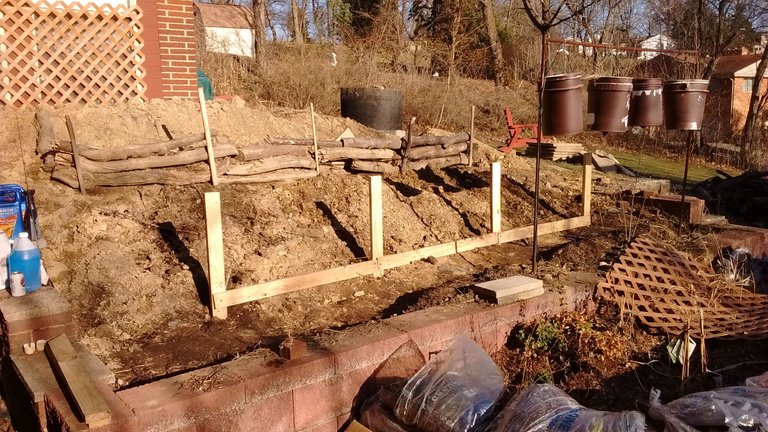
The last photo of the previous article shows the beginning construction of the lower long section of the bottom bed. Just to remind you I'll include that photo again.
!( )
)
As you can see in the background, I thought I might use logs and tree limbs to build the beds, but they didn't stack well and I didn't have too many of them.
Commencement of Construction
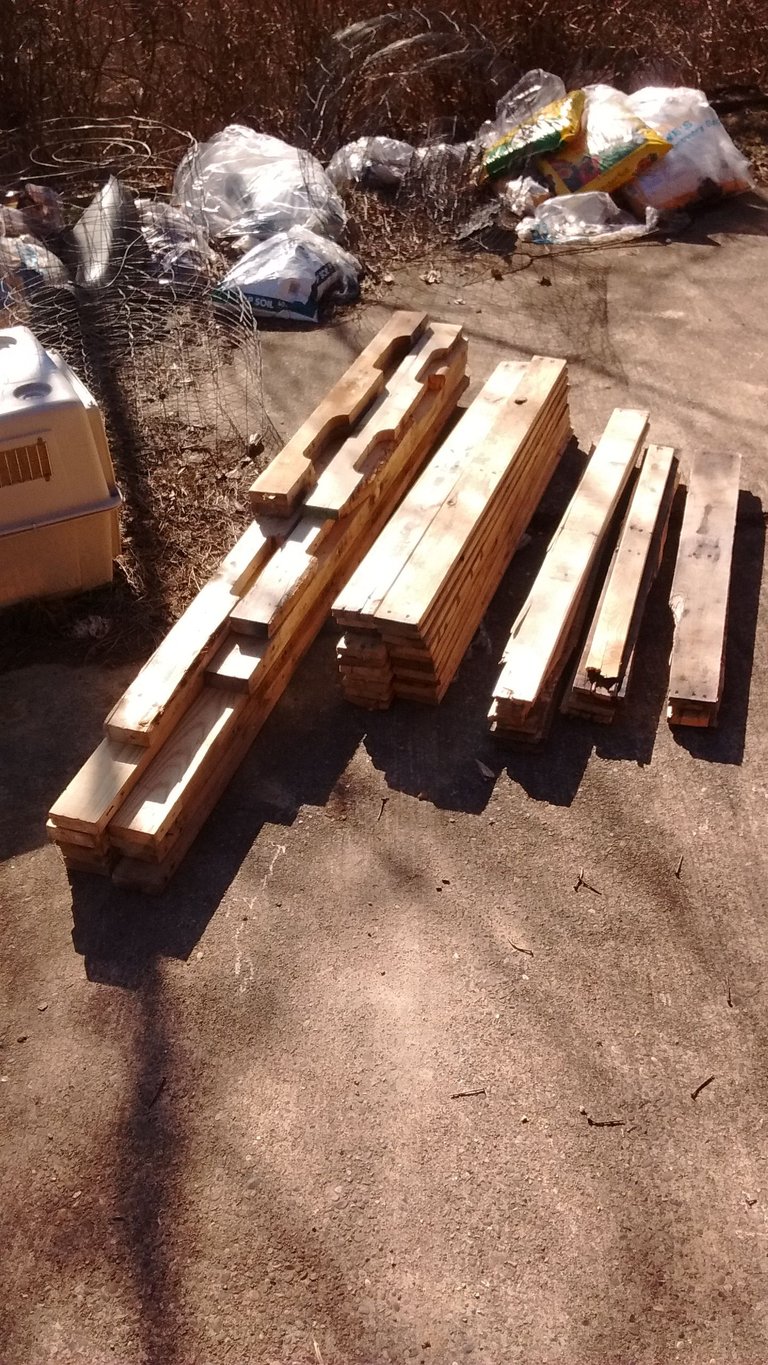
First of all, in order to get the wood I needed, I had to break the first batch of pallets down. I did this with a mini-crowbar and a hammer. Holy crap did this take forever...by the time I deconstructed them and then removed all the nails I could, it was two and half hours later and my arm was sore. This was just for 4 eight feet log pallets from Speedy Furniture. Not to mention my back getting tired from standing in a bent-over position for each one. Whew!
!( )
)
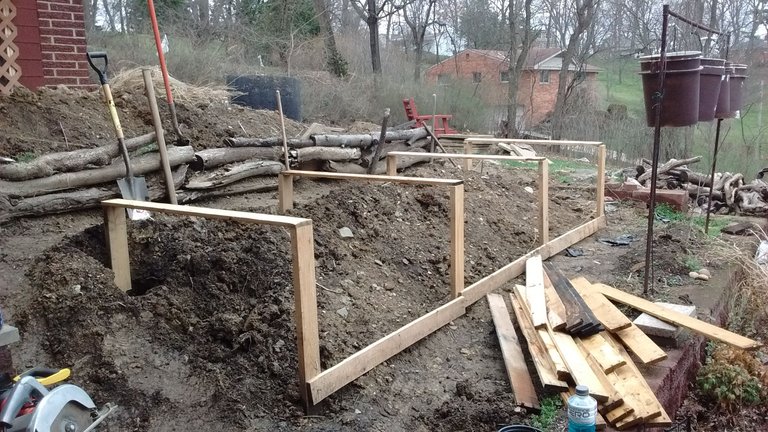
I used the inside top edge of the pink wall as a reference line for placing each of the four posts...roughly a 36 inch wide path. I'd have to say the most difficult step of this process was installing those posts. I dug a foot deep hole with a narrow sod shovel and set each post in. After double checking the measurement of the distance from the wall, I had to constantly take readings with my level as I filled in around the post. It took a long time, but it was important to ensure they were vertical front to back and side to side.
Once one post was set and soil heavily tamped down, I worked on setting the next one. I sorted all the wood I had by size and figured out which ones to use for the face of the wall. I temporarily secured one board to the first post and ran it down the length of the planned bed wall to determine where to set the next post. While positioning the second post, I centered the end of the board on it and temporarily secured that one as well...with screws. Only using approximately half the width of a post allows the next board in line to be attached.
I repeated this process until the four posts were installed. Then I partially removed the temporary screws, checked with my level the horizontal position of the board, and attached it using two screws in a vertical arrangement at each post.
Once these posts were set, I concentrated on the rear set of posts. These ones were a little bit more difficult in that I had a bunch more soil to dig. As I placed them, I used what were to be sidewall boards as measuring sticks. I placed a board on top of the two posts...front to back...and a level on top to make the top of the posts the same height in space. I initially set each post higher and used a small sledge hammer to adjust it for level.
!( )
)
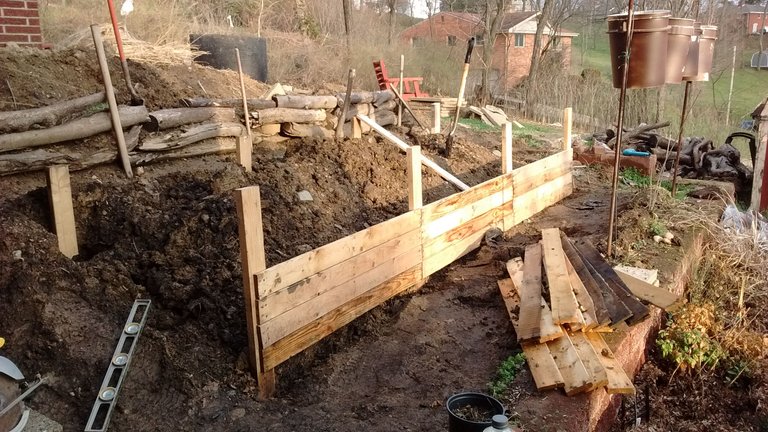
Subsequent to that, it was easy as pie to add new boards on top of each existing ones to build the front wall.
!( )
)
A Work Stoppage
However, I ran out of wood. Damn. Time to find more pallets. I searched Craigslist for a few weeks and looked at places with pallets during normal daily driving, but to no avail, it was a fruitless endeavor.
That was until, I drove by a flooring store a mile away from home that I spotted a shit-ton of pallets by the loading dock. I turned around and stopped in. As I approached the front desk, the gentleman behind it asked if he could help me. Before I finished my question, he said to have at it. I told him I have to stop home and get the truck and that I will return. Yeah! I loaded up 16 good pallets.
To be continued.... #NewToSteem #gardening
looking interesting
Can you tell me something about using beds vs growing in the soil? Do you have previous experience with the more tratidional soilgardening?
Good question. I do have experience with the traditional ground level methed. This is the first time doing raised beds, but I like them a lot more.